Part 73: Blub Blub Blahblah de puku~ or something. I still don't get why these kinds of characters are popular in Japan.

Overview: BubbleMan isn't your typical boss. He's a camping, scuba suit asshole who drives many players insane. The Battle Network 3 development team LOVED him, to give you an idea of how much they are laughing at your tears of frustration. Your difficulty with BubbleMan is entirely dependent on how effectively you're dealing with the bubbles. If you aren't keeping them down, then yeah, he's really, really hard and annoying. However, if you know how to track and predict the bubbles, then you can read about 5 seconds into the future, letting you control the battle. However, that is something I cannot teach. You'll have to learn how to deal with that on your own. It takes a lot of practice.
Instead, you will be seeing how to out troll the game's troll. You will be seeing how to use undervalued chips in useful ways and how to screw with his AI. The reason I don't find BubbleMan to be that big of a problem is because I tend not to use the same archetype that most players fall into. I actually think throwing chips have their purpose! Most players simply dismiss those as "too slow" and rather stick to other things. This is fine, except when you run into a boss that is weak to throwing chips and blocks most else.
His AI is separated into two phases: low HP and healthy HP. His healthy HP phase is rather simple. BubbleMan will move 3 times and then attack by throwing a crab that homes in on you (the crab will only turn once, so relax). Move, move, move, attack. In the event he does not move 3 times, he can, and will, still throw the crab. It seems to be on a timer of about 2.75 seconds. Don't quote me on that number, please. My body has a better feel of when he'll attack than my brain does. Also notable in this phase is that he wants to avoid direct line-of-sight with you at all times. If you are in the middle row, he will only move to the top and bottom squares. If you are on top, then he loves the middle and bottom squares, and so on. Thus, direct attacks are garbage for this fight.
When his HP is low (below 25%), he will don a Bubble shield, making him take additional damage from electric attacks, but blocks all other hits. This bubble regenerates, letting him nullify most of your damage while pelting you with arrows. In this phase, he drops the STD crab and his bubbles get faster. You WILL get overwhelmed in this phase if you don't save your nukes for this phase. Many players make the mistake of burning all their high damage combos early on, leaving Phase 2 to wreck their health. Save your nukes for this phase! He actually wants to go into your row, but you still won't be using direct attacks by virtue of the bubbles being too fast.
Field:
H = Hole
// = Space between fields
[_][_][_]//[_][_][_]
[_][H][_]//[_][H][_]
[_][_][_]//[_][_][_]
This field is a dick.
Top Tier
 : Special mention must be made for this chip. Check the video, it's better seen than written out.


 : Obstacles are your best friend for BubbleMan's fight. A well-placed obstacle stops the bubbles completely. COMPLETELY.
 : If you have an Elec Style, then use these on your obstacles and go to town on his HP! Throw down an
  and it's pretty much game.


 : While this chip works extremely well on BubbleMan, I'm going to assume that you haven't done DrillMan yet. BubbleMan is easier to S-rank than DrillMan, so it makes sense you wouldn't use this chip series.
 : I need to re-emphasize this from the Staples section of the first post. An obstacle and can deal up to 800 damage? Yes PLEASE.
High-Average Tier

 : Throwing chips are your friend here. Note that
  keeps you in place for WAY too long to be worth the damage it outputs. Of course, if you're running a defense like I said you should...

 : Great chips for this fight. You'll always get the maximum damage from the yoyo, and the chip itself can clear the bubbles, and even destroy the pesky swordfish and the purple bubble.

 : These chips are okay? If you throw them in the front column, you can deal some quick and easy damage, especially when BubbleMan goes into Phase 2, meaning you'll get off a much needed hit. You could also throw them from the back column, letting you clear some of the bubbles.
 : He's a back column pussy, so this should be obvious.
 : Free hole? Free DEATH!
 : Not a bad pick since its an obstacle, but don't stack your entire folder full of them unless you're confident you can use the PA.
 : Probably the best one from the set.
 can die though.
Suck Tier


 : You will get cockblocked if you try these. Although they might seem good, they ultimately are too risky to use effectively.
 : You are not LCS-level. Don't try to use these unless you planned 5 seconds ahead and know when BubbleMan will throw a crab

 : Remember, BubbleMan wants to avoid being in the same row as you, thus, unless you're like me and know at what frame he will switch to what square, then stay away from these!

 : You need to areagrab, and then set these on the middle column for them to do ANYTHING. That is way, way too risky. Do you remember my BubbleMan Beta video all the way back? I think that should tell you exactly how hard it is to use these effectively.

 : Why was this in my folder?
  These chips have a niche as a bubble clearer on BubbleMan. Just lay these down and watch as the bubbles are shot to death, allowing some breathing room.

 : Direct attacks are never a good idea here.
 : Only useful if you arealock him, and even then, his Bubble Shield could nullify a hit from this.

 : You can get ONE clear out of these, ONE!
Bubble Bitch Tier
 : Unless you have absolutely NO other obstacles, I can't see why you would use this at all.

 : Do you have a death wish?

 : The bubbles block these, making them a very, very poor choice.


 : The bubbles will stop these from doing anything to BubbleMan.

 : Those damn bubbles.
 : Do you ride the short bus?
 : Using these chip just gave him the decisive advantage. Unless you're running some form of
  in which case, feel free to use Geddon 2. That will stop his crabs.
 : No.
: No.

 : Are you into bondage or something?


HURR SWORDS ARE SO COOL
 : PLS
: PLS : GO HORSEY GET 'EM
------------------------------------------------------

For the video I ended up using three folders. Here is each one with a little info below

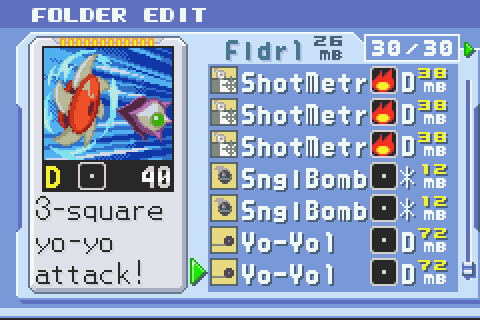
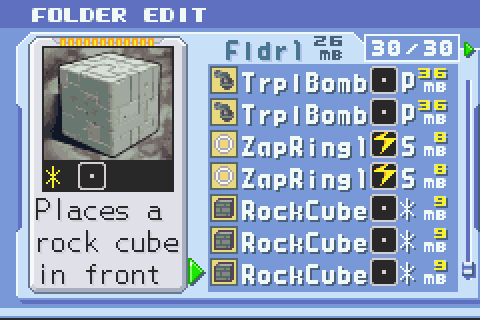
This is what I used to get the V2 chip and to mainly show off the AI fuckery in the second fight. The ShotMeteors were really just filler, but when place on the front column, they can hit the second column, thus clearing the bubbles.


What I used to get the V3 chip
Keep in mind that I want to create folders that the average player would reasonably have. There are many codes that are version exclusive and Chip Trader exclusive. With that said, I expect players to pick up GMDs multiple times in order to get multiple copies of the goodies inside. AntiDmg S can be found for free in a GMD in the postgame area. Sensor2 S is a Custom Style/Off-Color Custom S-rank reward. At least you know where certain codes are so you build these folders.


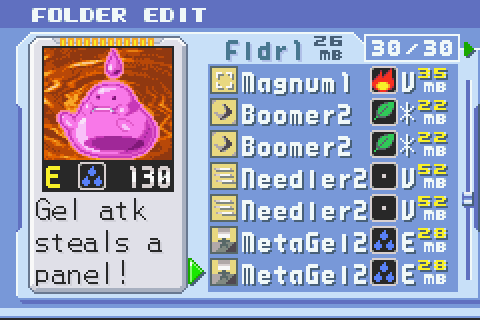

And what I used to get the V4 chip.
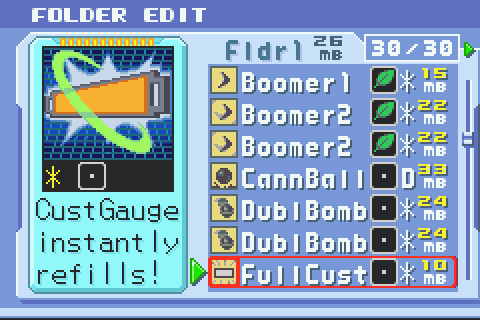
Not using FullCust is just disrespect
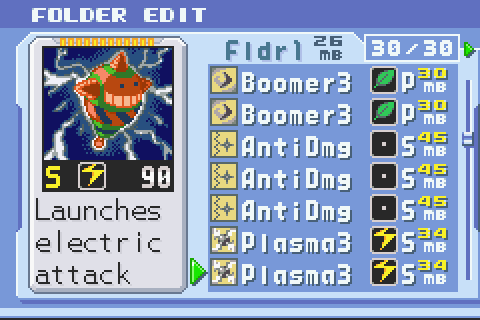
 ElecSword V is a Undernet 6 GMD exclusive and Metagel3's are from a rare virus in Undernet 7. You are going to see why Fan is set as my regular chip.
This video is dedicated to all of you.
https://www.youtube.com/watch?v=6n7C1FHpffA
Tyrannosaurus Rekt
My videos are now going public, now everyone can see BubbleMan getting out trolled.