Part 12: The Road Not Travelled
Update 12: The Road Not Travelled
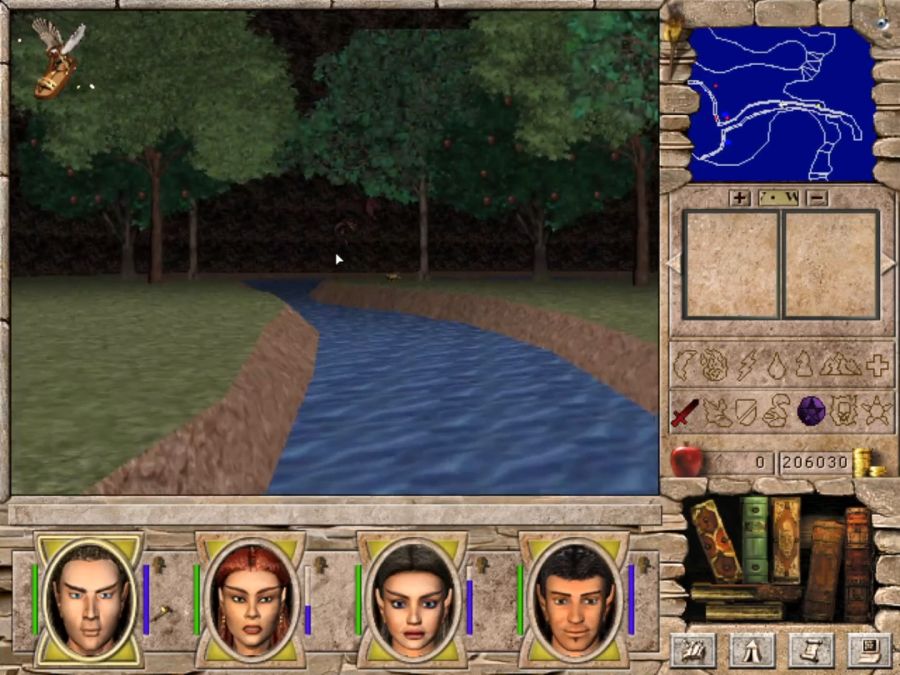
 Why hello there and welcome to Harmondale! I'm sure you're curious how I and my three companions ended up the legal guardians of this land. No? Oh, no reason to be bashful. I'm sure you'd love to hear all about it. You see, it first started when I'd accidentally put an arrow through the butler again, a bit of youthful high spirits, don't you know. My father, seeing that I was restless, chafing to explore my boundless potential, suggested that I take up a contest to become ruler of Harmondale! I know, it's crazy to even consider, but there I was, on the shores of Emerald Isle, with nothing but two-hundred thousand gold my father had loaned me interest-free and three prisoners from a work-release program that he'd paid the warden to make my sworn companions... and from those humble, self-made beginnings, I stand before you now!
So, welcome to the alternate LP of M&M7. I won't be highlighting any repeating content, only stuff that differs or things that, for some reason or another, I didn't have a good chance to show off in the main LP even if the main party did it. First, let's look at our alternate party:

Punch Fisto is an elven monk. Monks are pretty alright, their main thing is that they don't need armor or weapons and, in fact, do better without them. Once they hit Master level Unarmed, every point of Unarmed training gives them two points of extra damage per attack, which means that they'll very rapidly come to not need weapons. Weapons also tend to not come with very interesting enchantments, so no great loss. Dodging, which replaces their use of armor, is less great, since it only gives them AC. It does give them very good AC, but compared to Leather(which gives elemental resistances), Chain(which takes off 30% of incoming physical damage) and Plate(which takes off 50% of incoming physical damage) at GM level, I'm not greatly convinced by it. They also have GM staff use, but that sucks ass, and some absolutely dogshit-awful magic use(basic cleric magic on the Dark path and expert cleric magic on the Light path). Their only good miscellaneous skills are GM Body Building, GM Learning and M Armsmaster in case you're really set on having them use a staff. Dark path monks also get to use Master Disarm Trap, which is just a tad late. All in all, Monks are really just Knights that don't force you to consider whether any given item is an upgrade or whether a skill point will go better in a misc. skill rather than raw offense. Ultimately, though, I think Knights end up being stronger once they start dual-wielding.

Jackie, meanwhile, is an elven paladin. Being one of the hybrid classes, they can reach Master cleric magic(which covers most of the really good stuff, but leaves you without being able to shrug off Dead and Eradicate conditions later in the game, where they become worryingly more common), GM Mace, GM Shield, M Plate which leaves them quite hard to hurt and quite competent at smashing faces. Sadly they get a bit left behind in the smashing department due to only having Expert Armsmaster, but at least with GM Repair(like Knights), they can do something other than hurting things. I'd honestly still rather have a pure Cleric.

X is an Elven Sorcerer. Obviously that means GM Elemental magic, but elemental magic is a lot less important in MM7 than in MM6, excepting "fuck you for playing this game"-monsters like the Obsidian Gargoyles. Outside of Emerald Island, the "wade in and mash the attack button"-tactics which only took over at the very end of MM6, are generally perfectly viable. Things are better balanced so there's much less of a need to kite things, and due to the more cramped environs there's less of an option to kite things. I've also yet to meet any enemies like the Flying Eyes from MM6 which actively play "keep away" and hide out of range, thus forcing you to resort to ranged combat. Combat-wise, Sorcs get M Staff(which sucks, since it has no damage boost for skill) and misc. wise they get GM ID Item, GM Alchemy, GM Learning and GM ID Monster. Now here's the thing about ID Monster, though: It absolutely sucks rancid ass through a corpse's butthole. Firstly there's the fact that the thing you actually give a shit about, enemy resistances, you do not get until GM level. Secondly, there's the thing that you need to invest stupid amounts of points to be able to actually ID high-level monsters. Just buy the fucking guide instead, or, you know
 it. This skill is super not worth your time, at all. If you bring a Sorc but not a Cleric, I'd suggest going Light from a pure powergaming perspective, since that'll give them something good to cast. Literally the only trick of theirs that a Light Path cleric can't replicate is Fire Aura on weapons, casting Torchlight and Fly. But if you're that desperate for those spells, either an Archer or a Druid would probably be a better option, with the Druid probably inching out the archer for melee damage potential with Master Dagger.
Lastly, we have the main character of the alternate party: Scalise, an Elven Archer. Archers also kind of suck ass. Firstly, there's their elemental magic which, as established, kind of isn't that great, especially not when it's only at M level. Scalise has never cast a spell in his life, he's got X for that. So, what else are archers good at? Kind of fuck all. Okay, okay, so they get M Spear, GM Chain and GM Bow. The thing about spears, though, is that their big thing is you can one-hand them at M level(they no longer get an extra damage die for being two-handed like in MM6, mind you). The problem is that they still cannot be off handed, the Archer's only option there is their Expert Dagger(which is, of course, before the dagger gets a damage boost from skill, and they only have E Armsmaster). It's better than nothing, but only fucking barely. GM Bow is theoretically good since they're getting a skill damage boost AND firing two arrows per shot! Unfortunately, you'll probably never use a fucking bow again, outside of Emerald Island. If you really needed ranged combat, just teach your Archer Implosion and pump his Air Magic. Way better damage. Really the main thing Scalise brings to this party is his GM Perception and his E Disarm Trap, which is the best of the bad lot until Fisto becomes a Ninja on his second promotion.
Anyway, let's get back to the story...
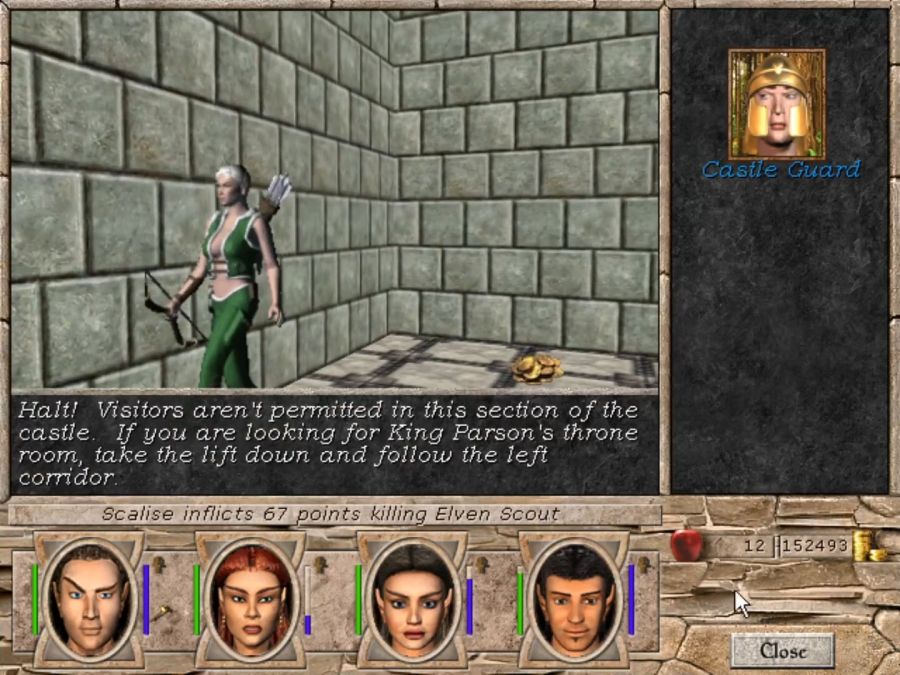
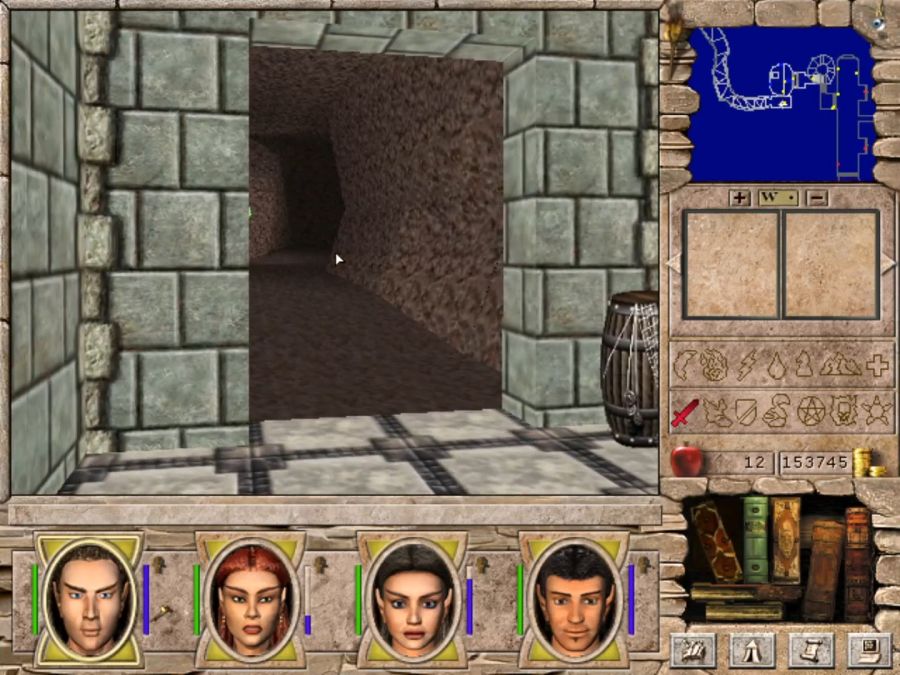
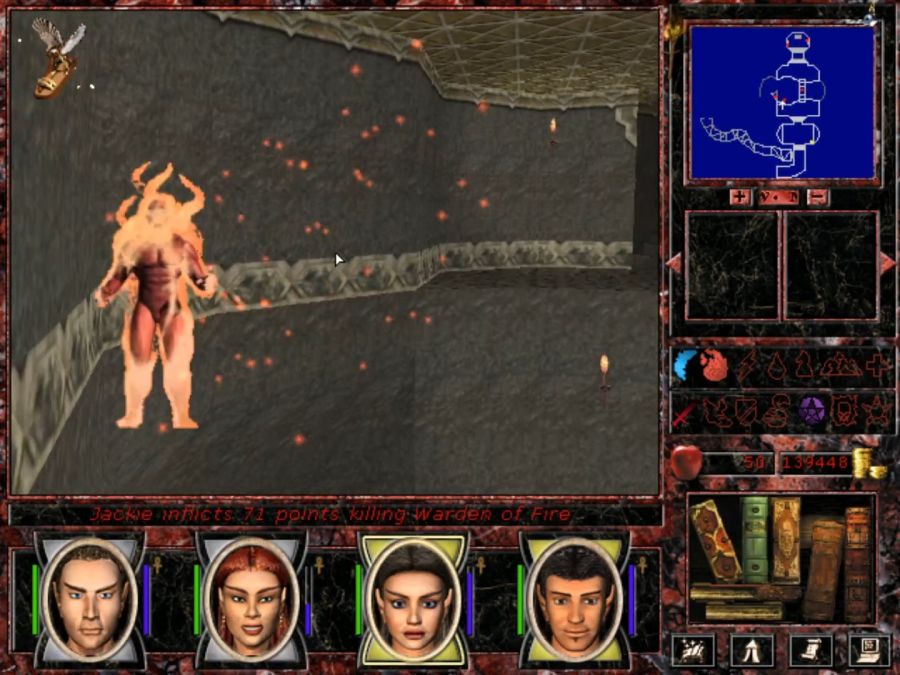
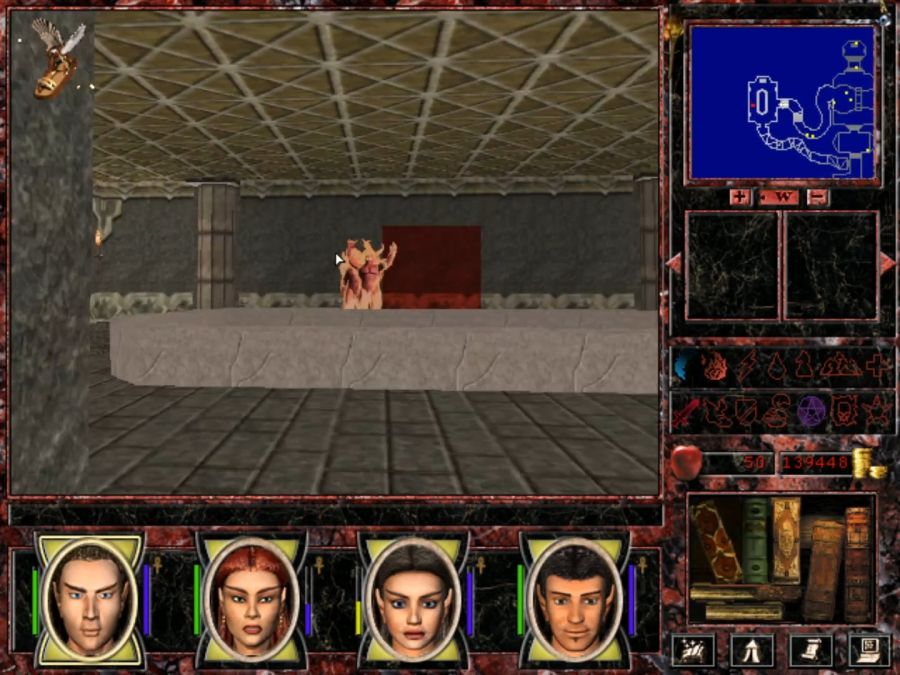
-we quickly realized, you see, that Erathia was in the strongest position in the war, and there's no reason to ally with the loser. After delivering some false plans for Fort Riverside to King Parsons, it was then time to liberate Queen Catherine's spy from his cells in the Tularean Caves. Conveniently, there was an entrance to them just outside his throne room...
Seriously, the passage on the left there, just before the throne room? It leads right down to the elves' black site for torturing prisoners of war.
They are predictably somewhat unhappy about trespassing. Sucks to be them.


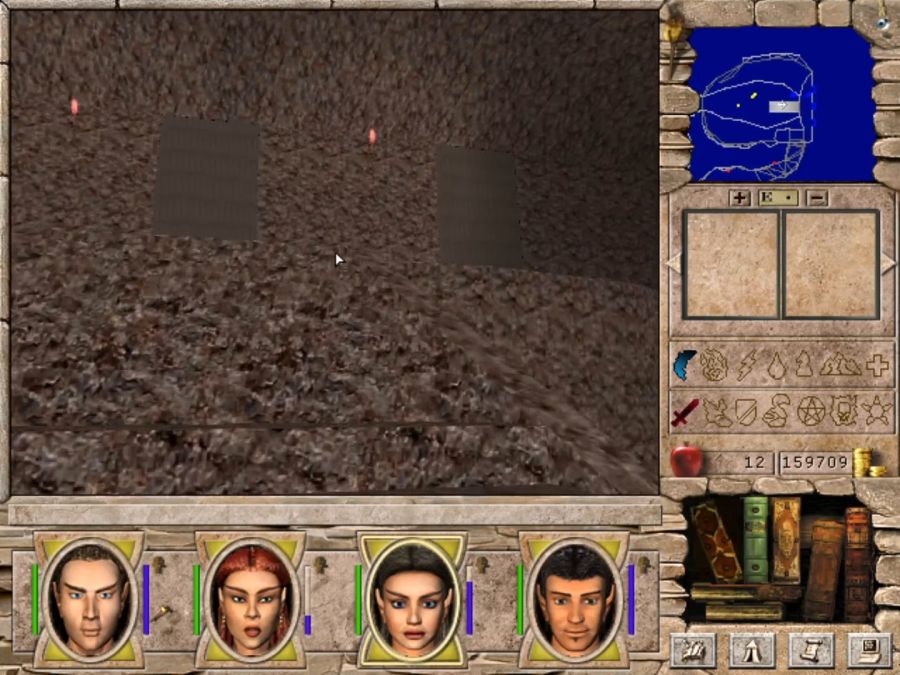
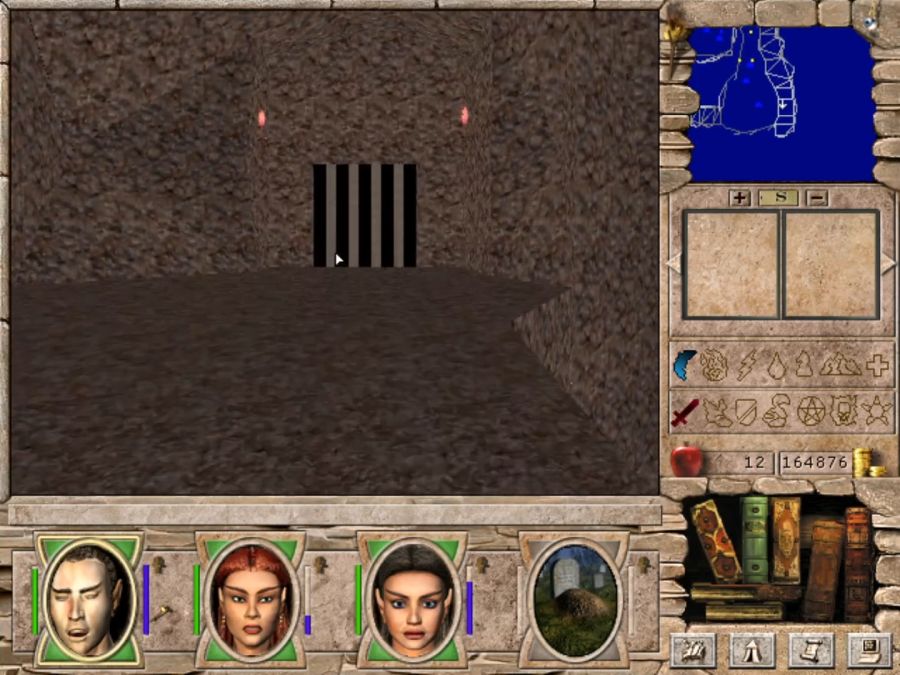
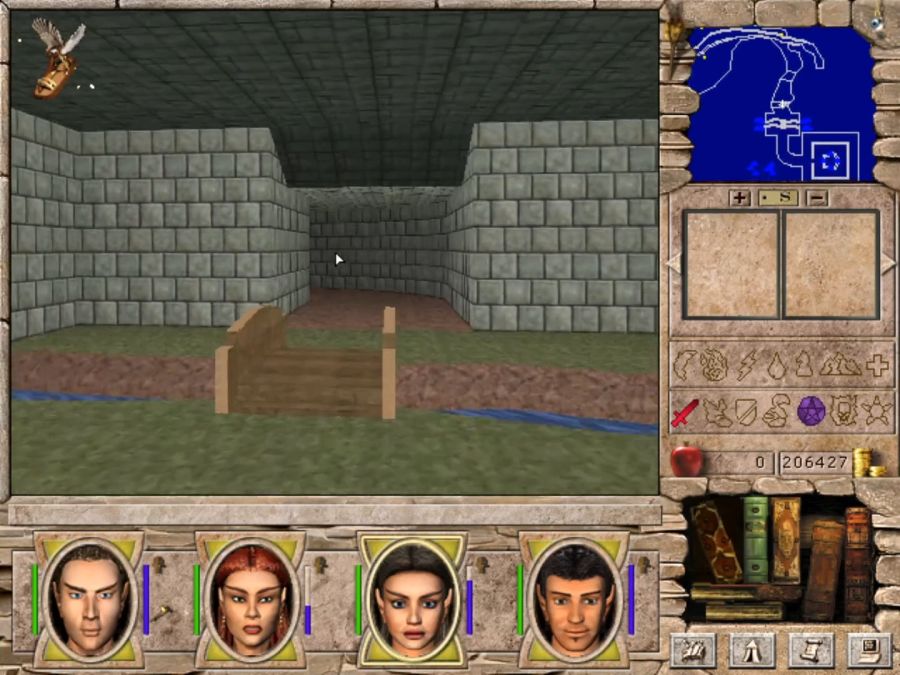
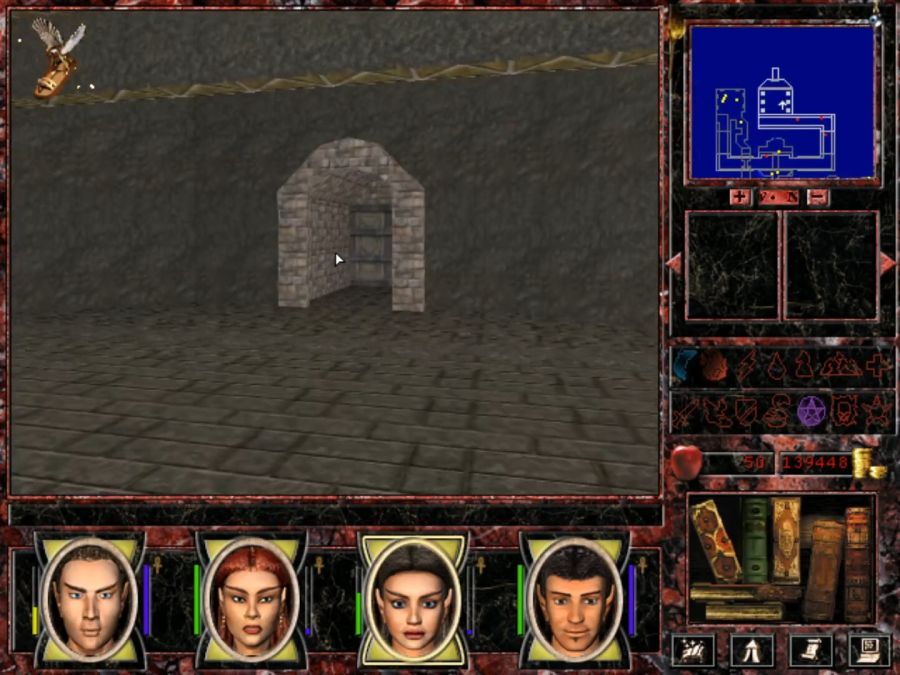
Their final security measure almost kept me out, though! Almost! See, you open this door and...
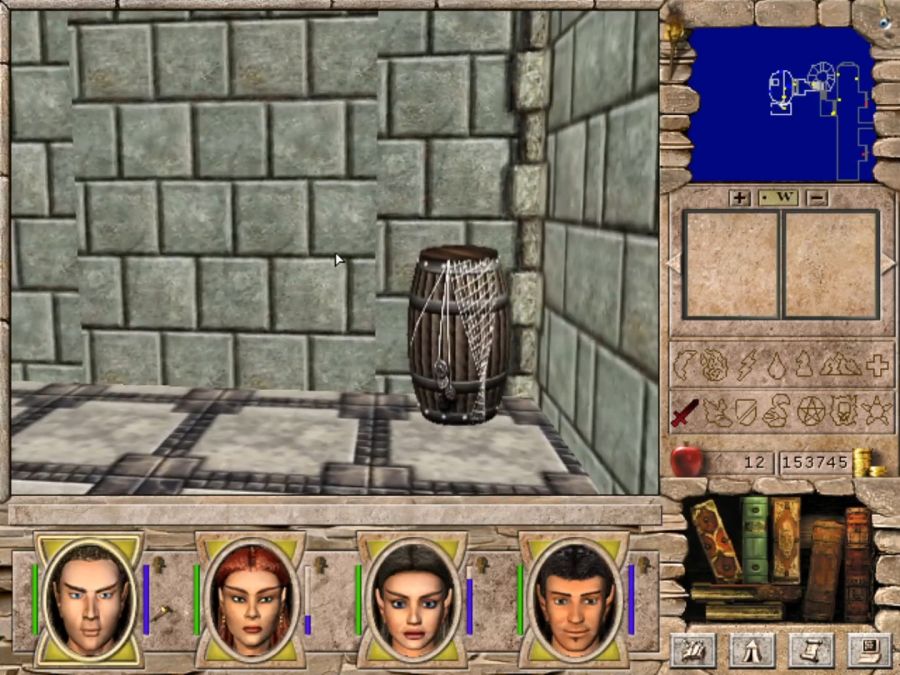
You can tell by the textures that this is the next door. But it doesn't open when clicked, and there's no lever and and and and what do you do?! Simple, the one thing the game has never taught you is relevant or even possible before.
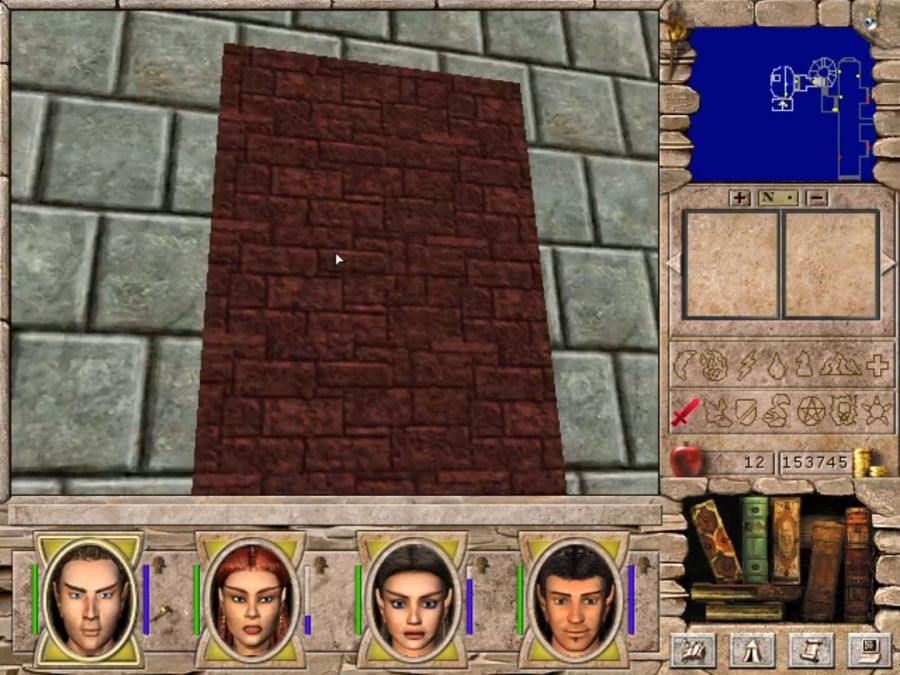
You close the door behind you. Probably the only door in the game you can close again, or have a reason to close again.
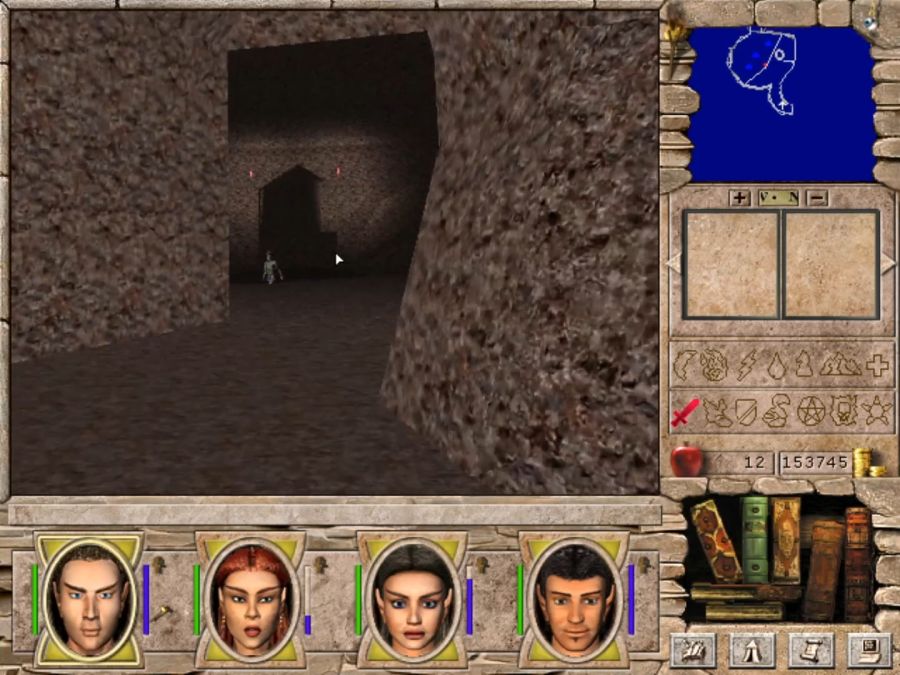

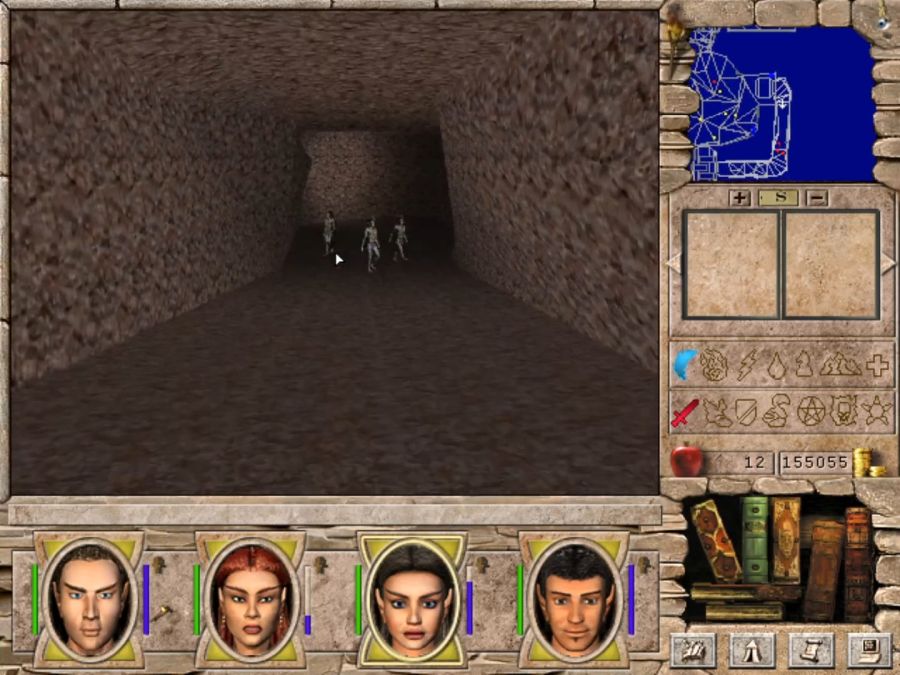
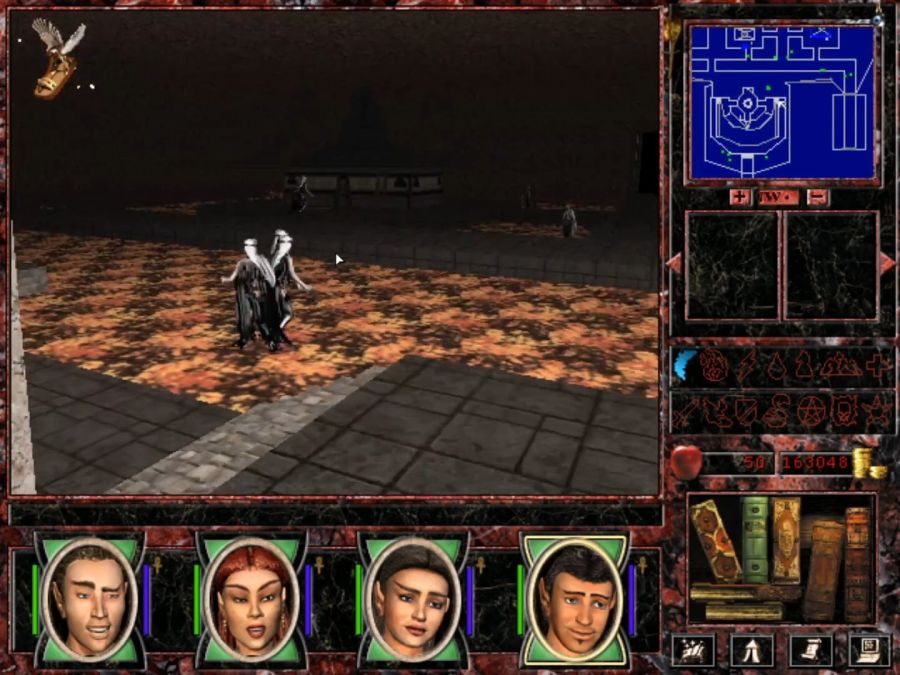
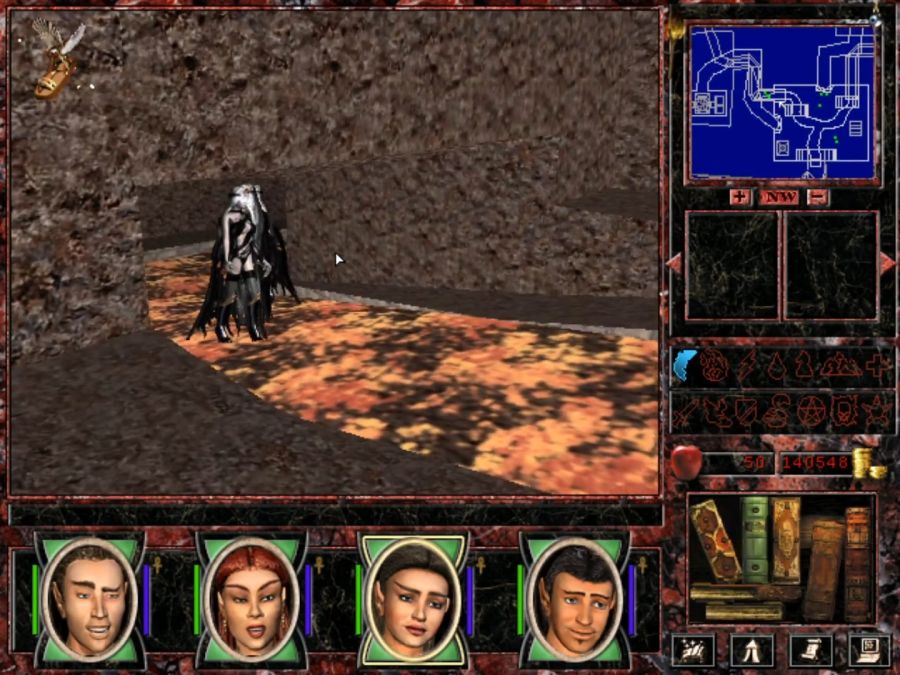
The Tularean Caves feel like one of the better MM6 dungeons, oddly enough. One part is that it's relatively large and cave-y, the other is that it actually has moving parts! That thing ahead of Team Dark is a bunch of bars that keep shoving across the walkway, threatening to knock you into monsters below. I cleverly circumvent it by simply using Jump to hop over them, but I like that it's there at all, plus it actually has three solutions:
Use Jump
Featherfall and jump into the monsters below
Time it right and get past without getting shoved over the edge

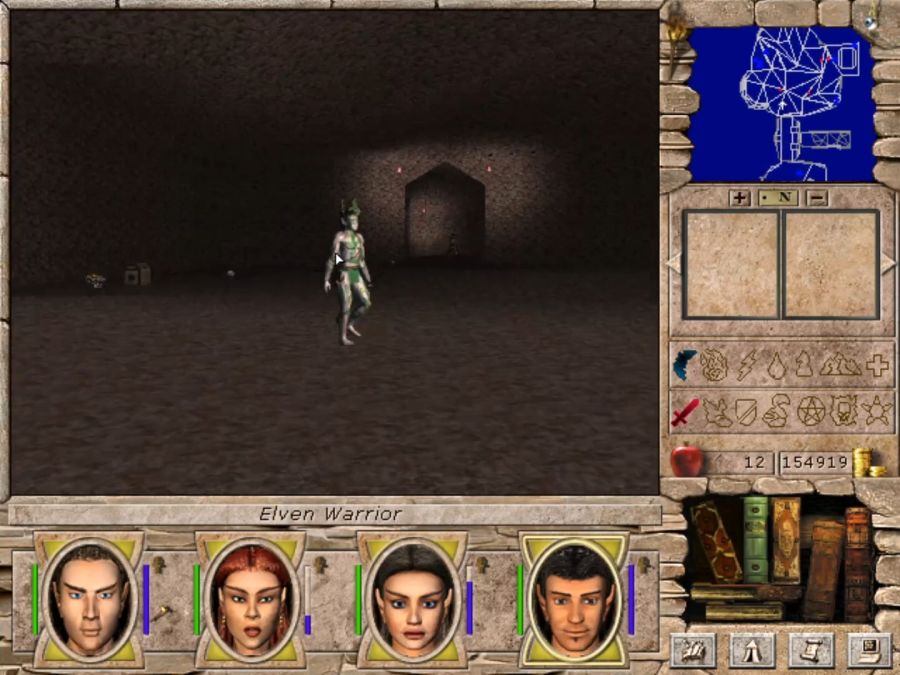
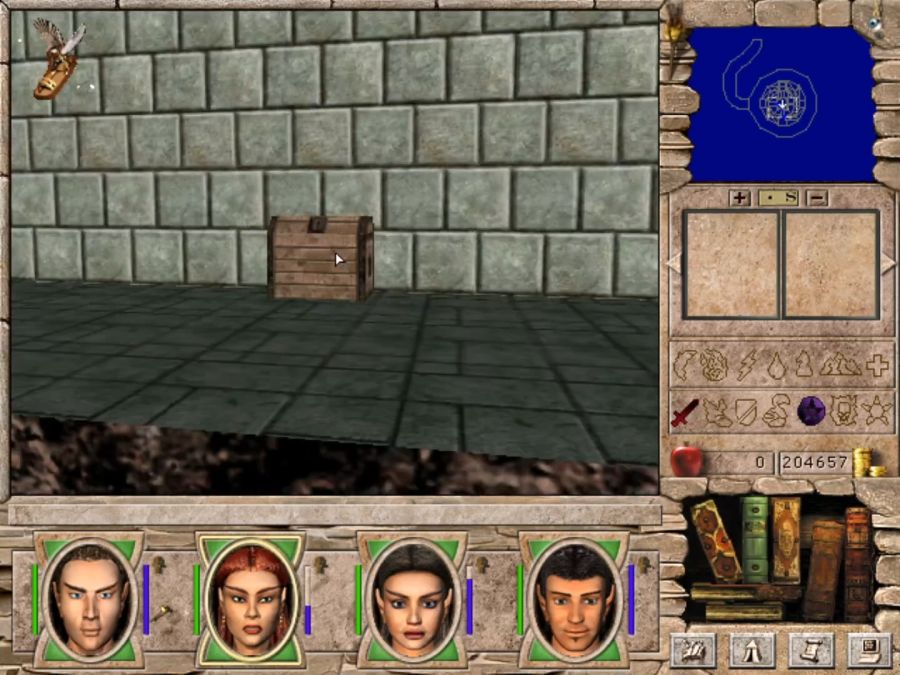
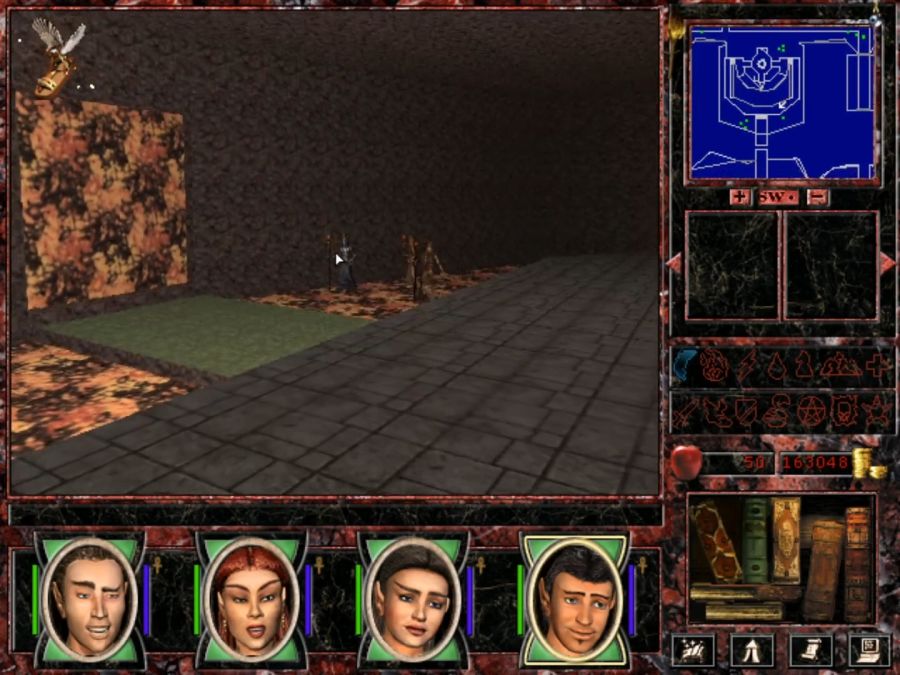
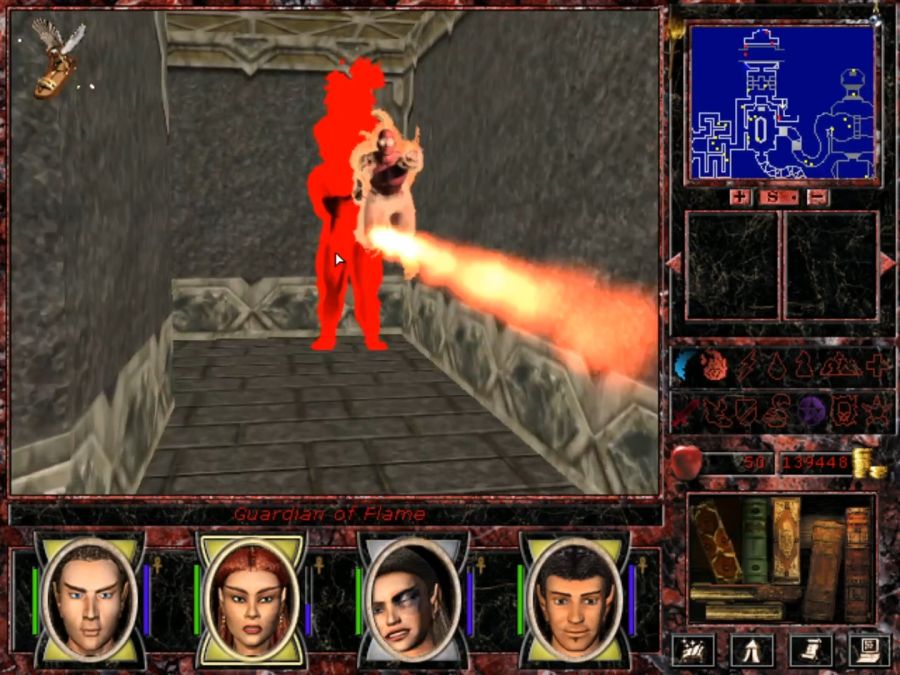
The elves in the dungeon are pretty useless, but in this case they get to be in the frame because they're guarding a chest full of exposition!
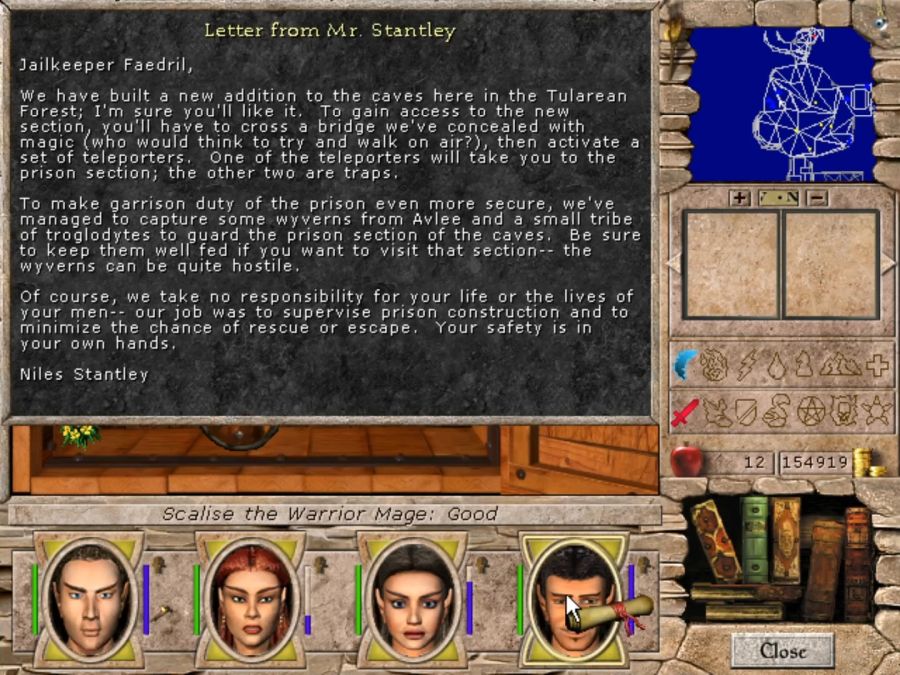
In which we learn that the elves are not good at choosing their contractors.

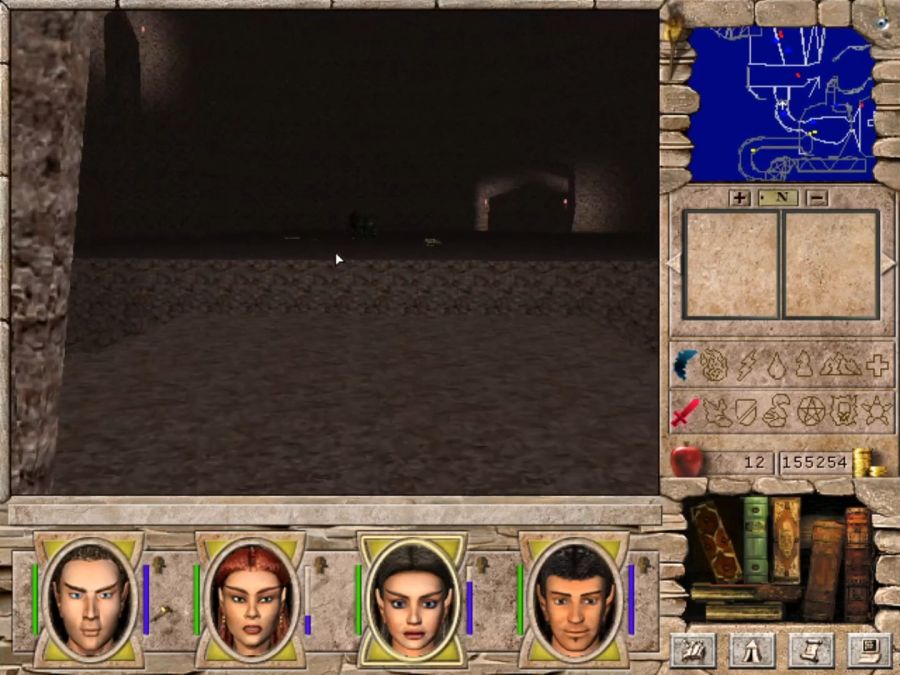
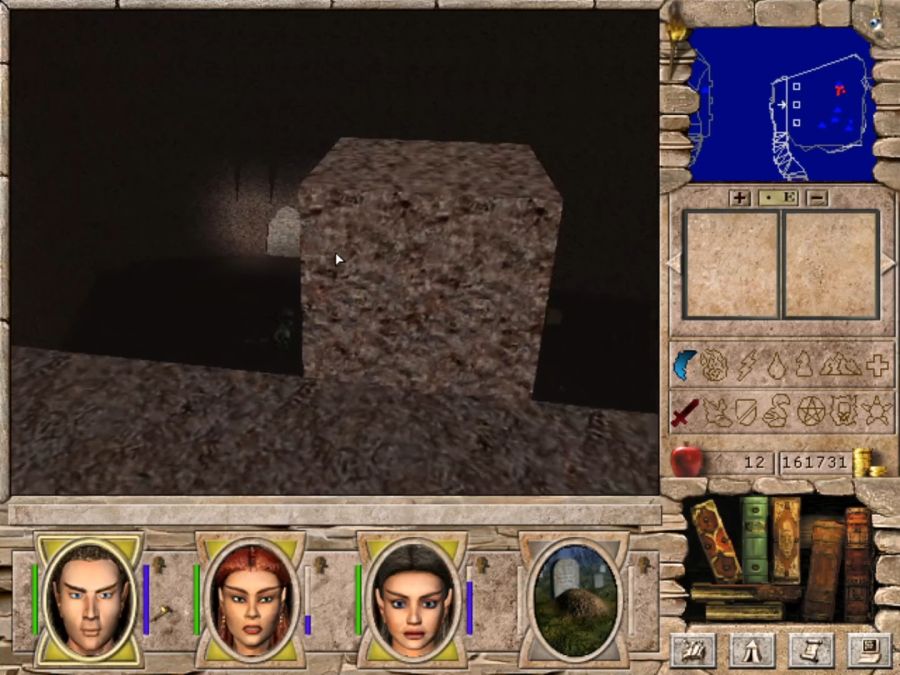
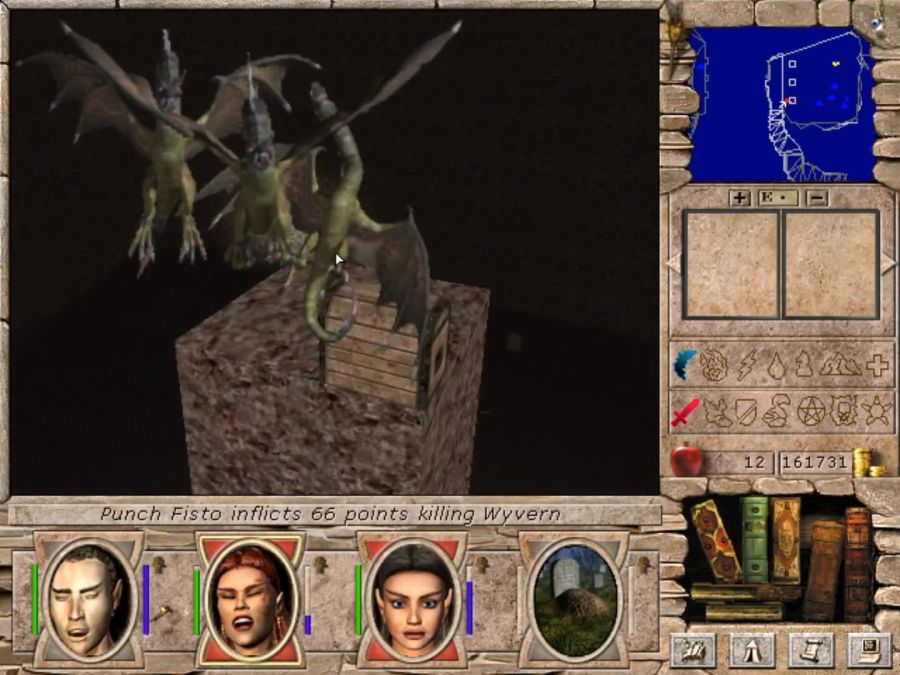
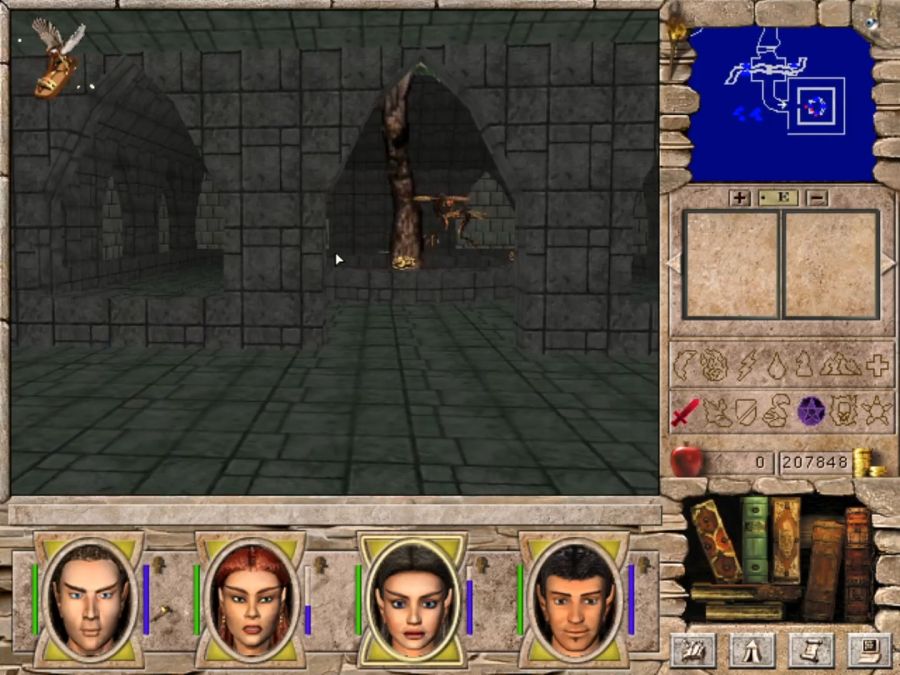
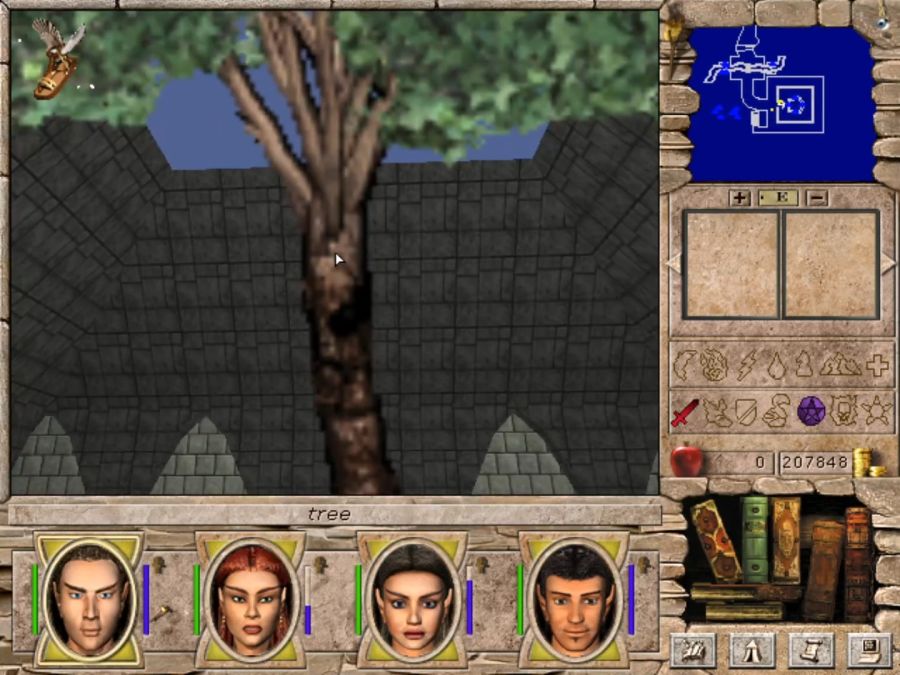
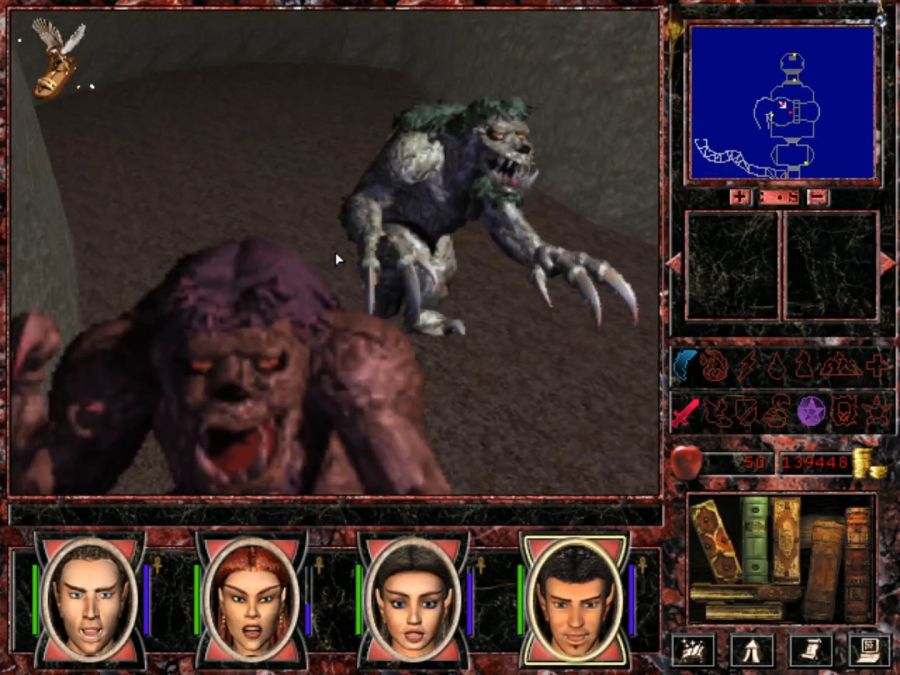
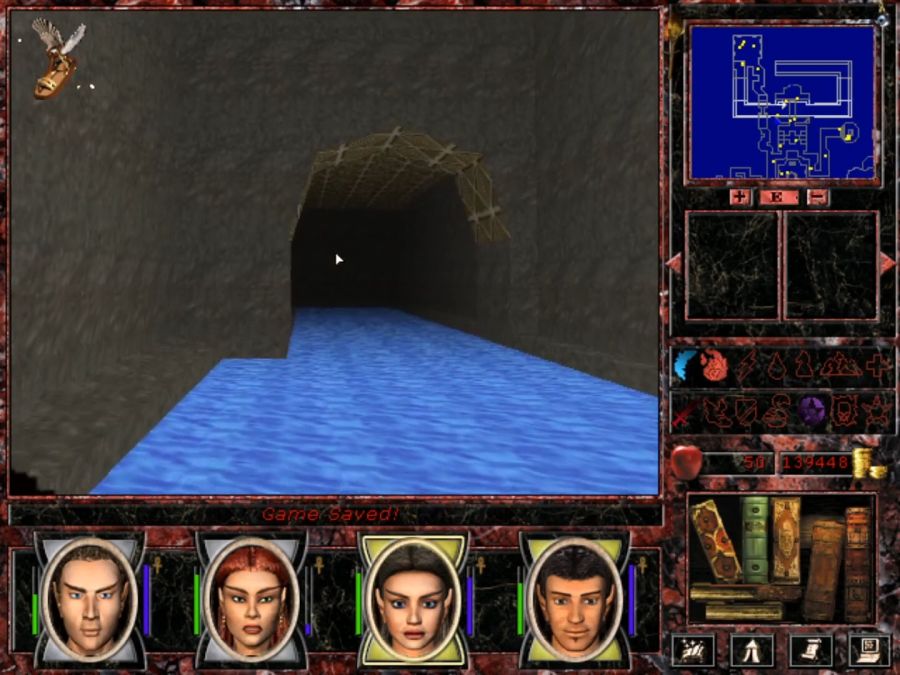
A few tunnels later we reach what might look like something uncrossable without Jump until we remember the note and simply walk across. But what's happening over on the other side?
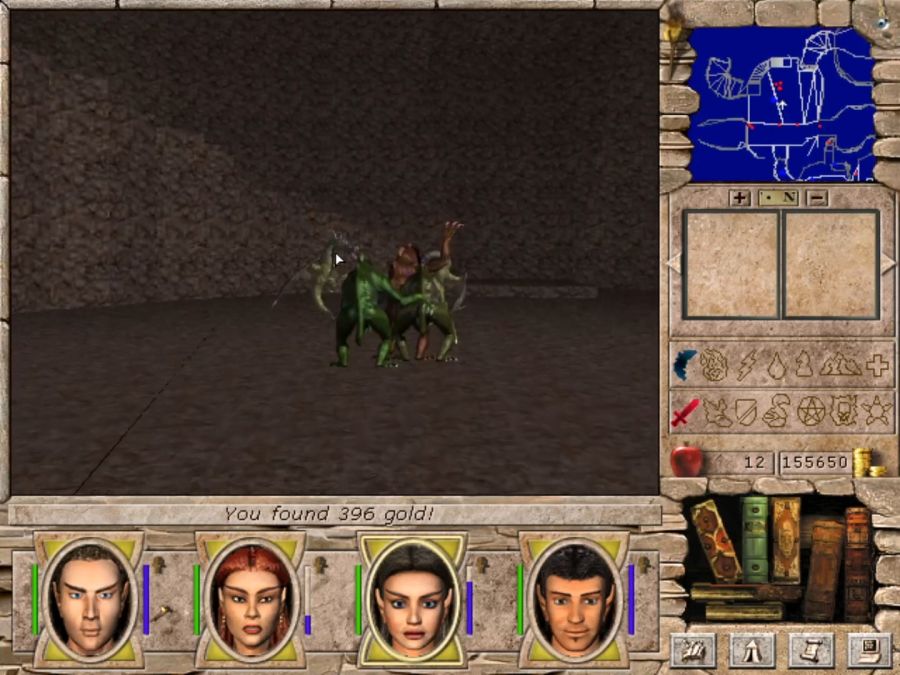
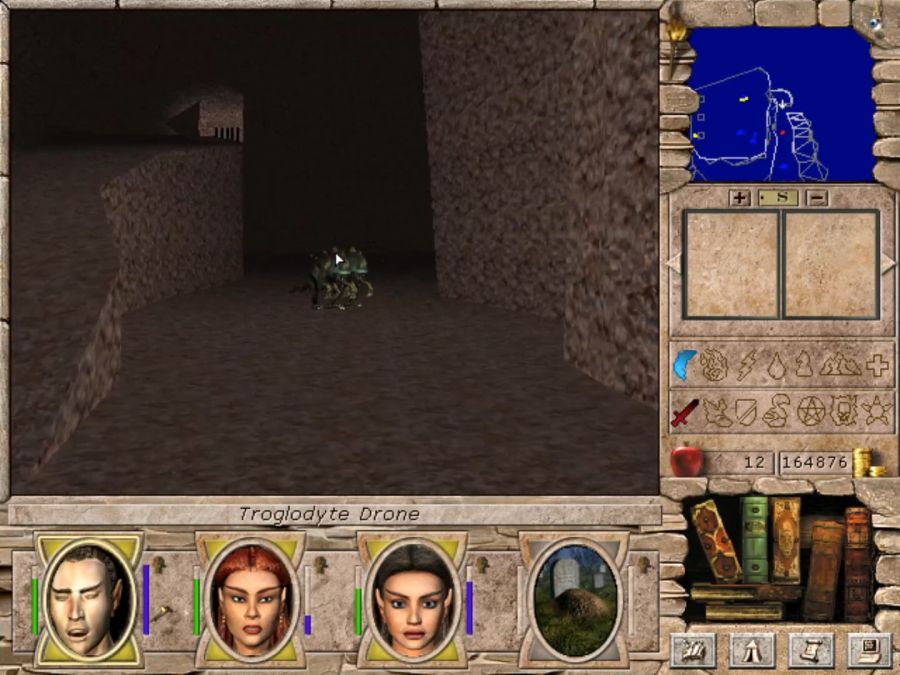
Ah, turns out their genius decision to garrison the tunnels with wyverns and trogs is suffering from the fact that wyverns love to eat trogs.


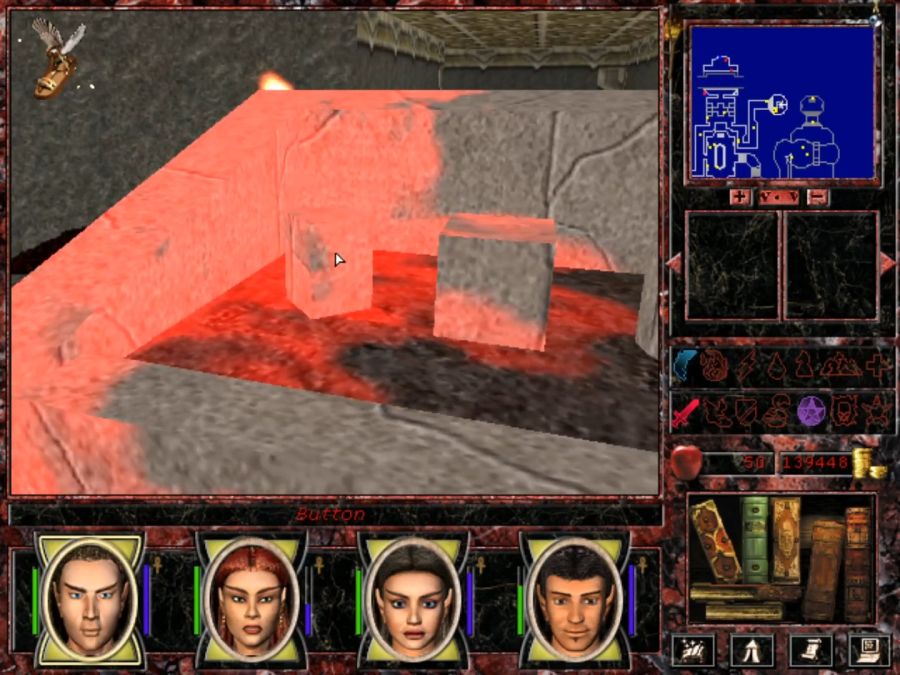
Find the lever to activate the teleporters.
Then, knowing one of the teleporters is trapped, quicksave in front of them and experiment until you don't get teleported into the space underneath the pusher rods from earlier.
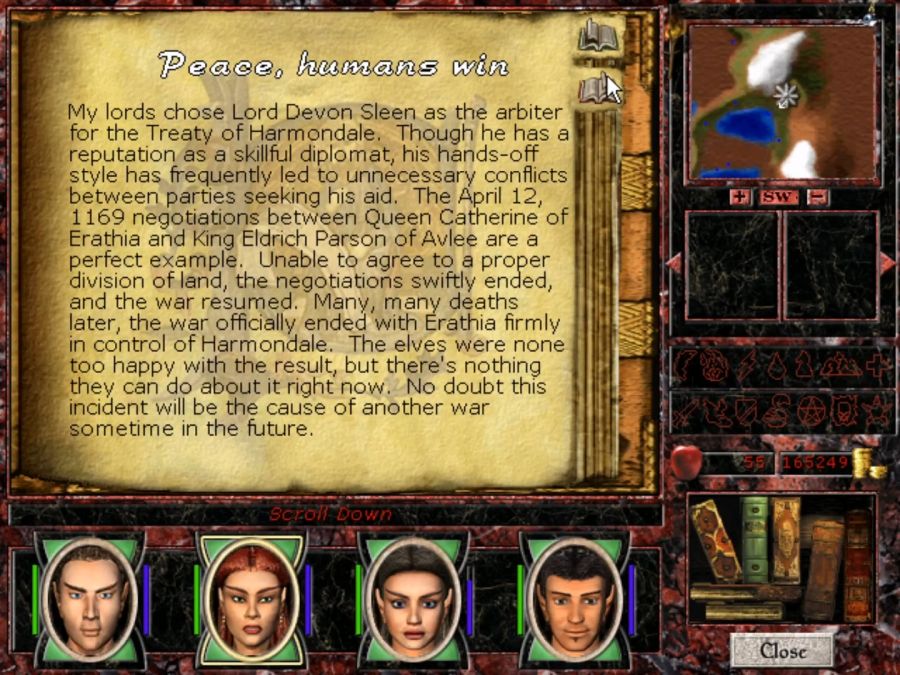
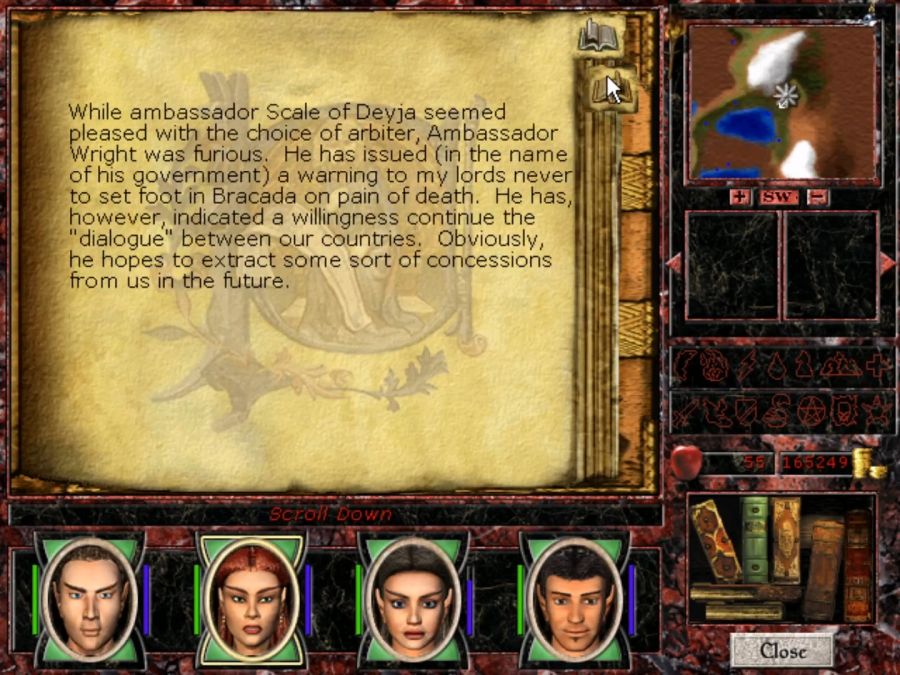
It drops you on a ledge above these three platforms that rise up and down, one of them has a chest with another expositiony note.

Turns out the fucking wizards are bad at solving things.
"Use the Lords of Harmondale to negotiate a peace treaty."
"Hey, Lords of Harmondale, want to do black ops spy work for us? lol."
And in the end the thing that does potentially end the war is if the wizards do, in fact, just send a guy to handle it themselves.

Anyway, Loren Steel is up here, behind the bars, predictably, so then it's time to head back and hand him in to Catherine.
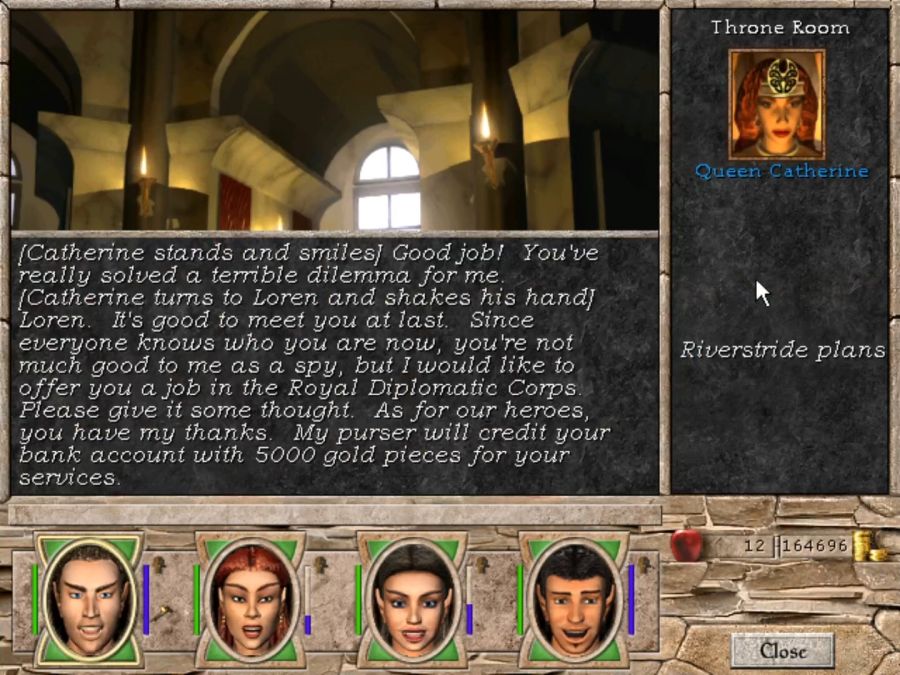
I'm not sure if it's clever or lazy that her dialogue for being handed the fake or real Loren Steel is exactly the same, except with "fake" appended.
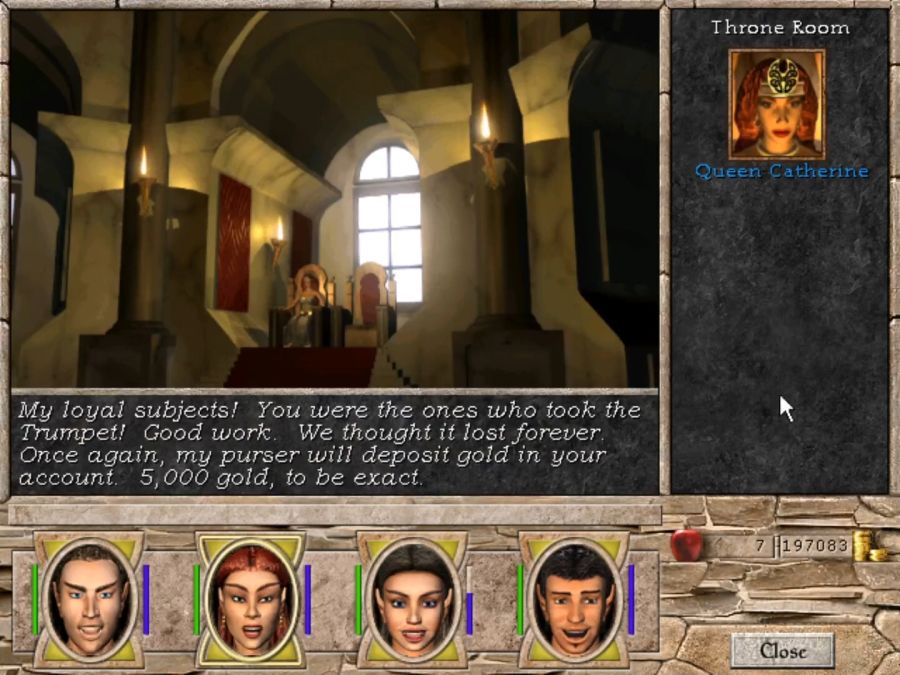
This tiny amount of dialogue for handing her the trumpet is absolutely lazy, though.
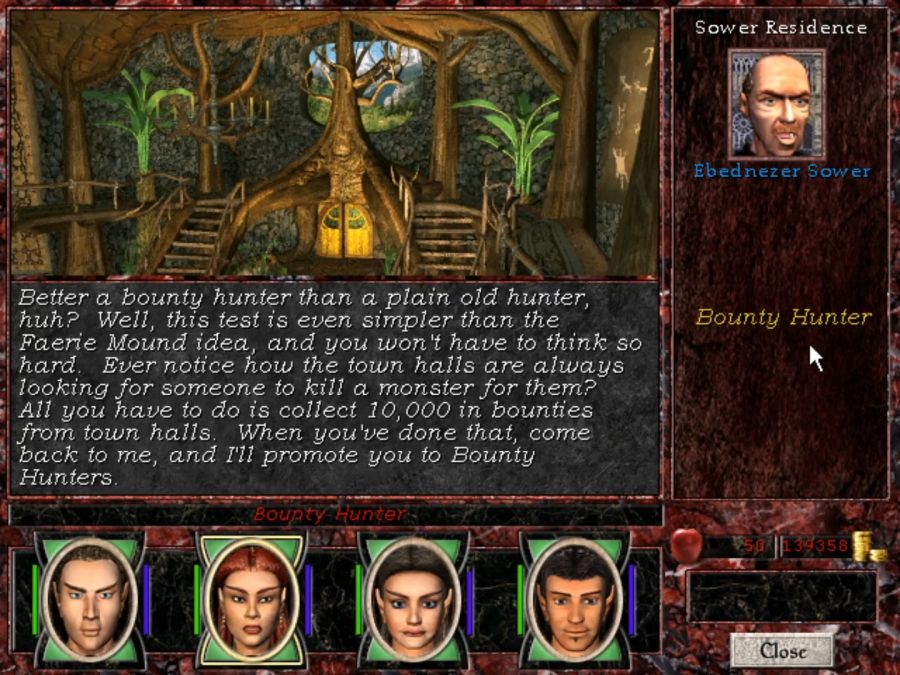
Now that we'd established ourselves as major international players, we decided to handle a few tasks for the good of the community, also for the amusement of my retainers. Fisto told me that he'd never killed and eaten a fairy yet, so off we went to the Fairy King's realm...The fairy mound adventure happened off-screen in the main LP, but let's catch up on what intro text we've been given regarding fairies...
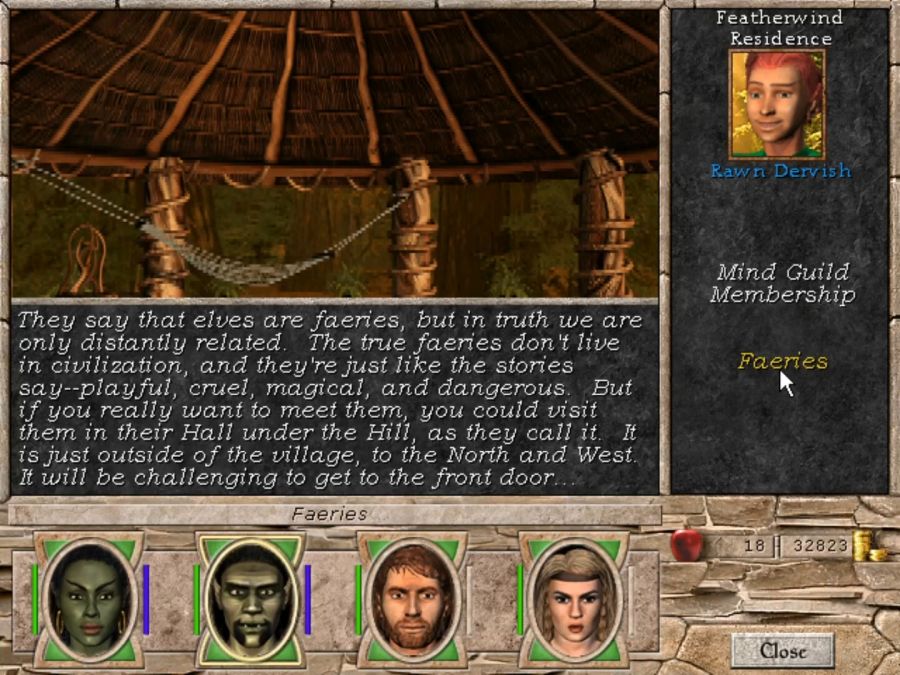

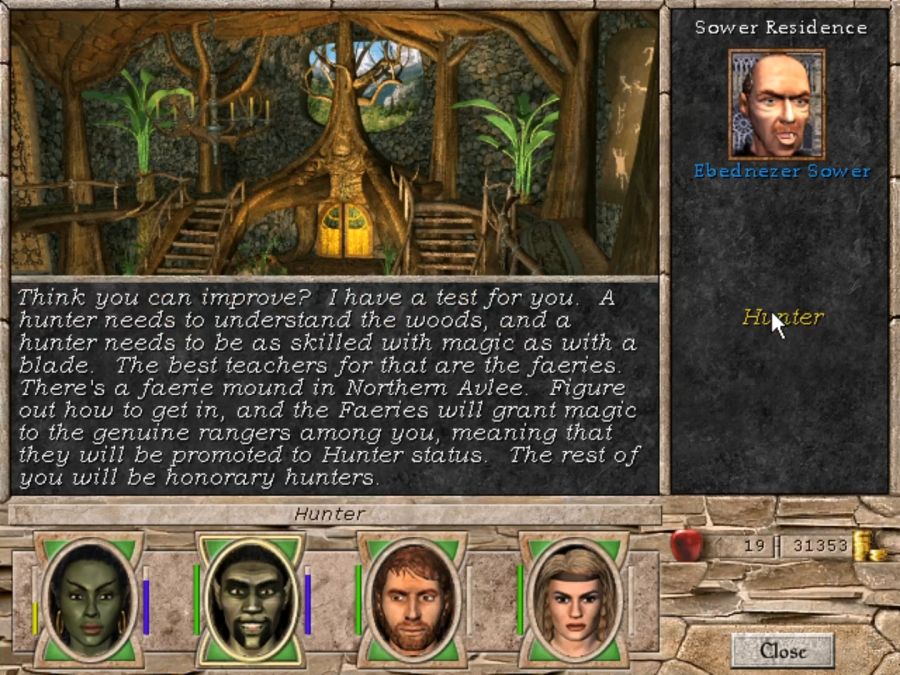
So fairies are strange and eldritch creatures, very dangerous, and simply gaining entrance to their mound is complex enough to count for the first Ranger promotion! Keep these in mind.
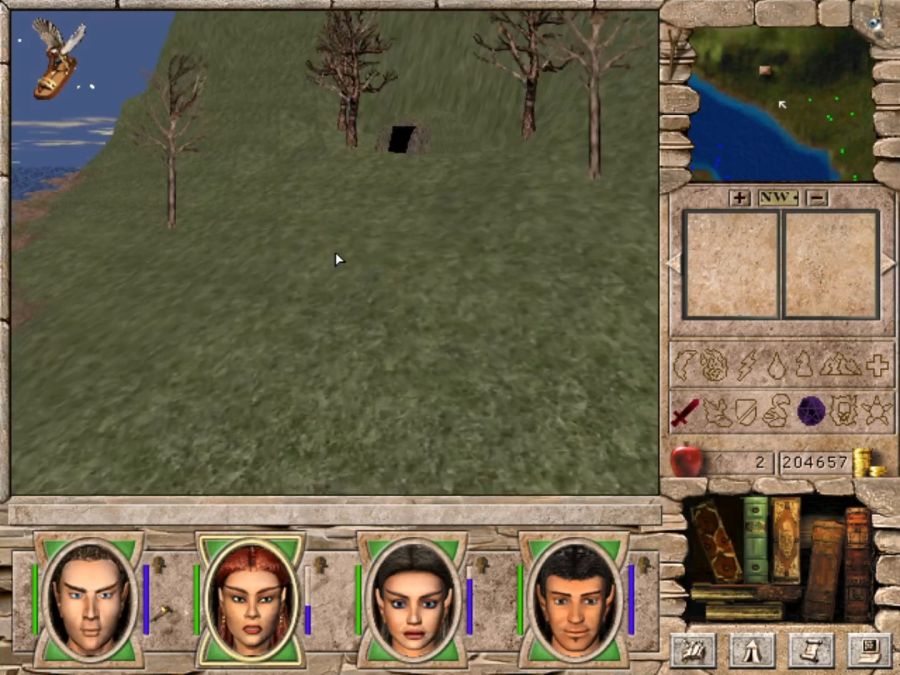
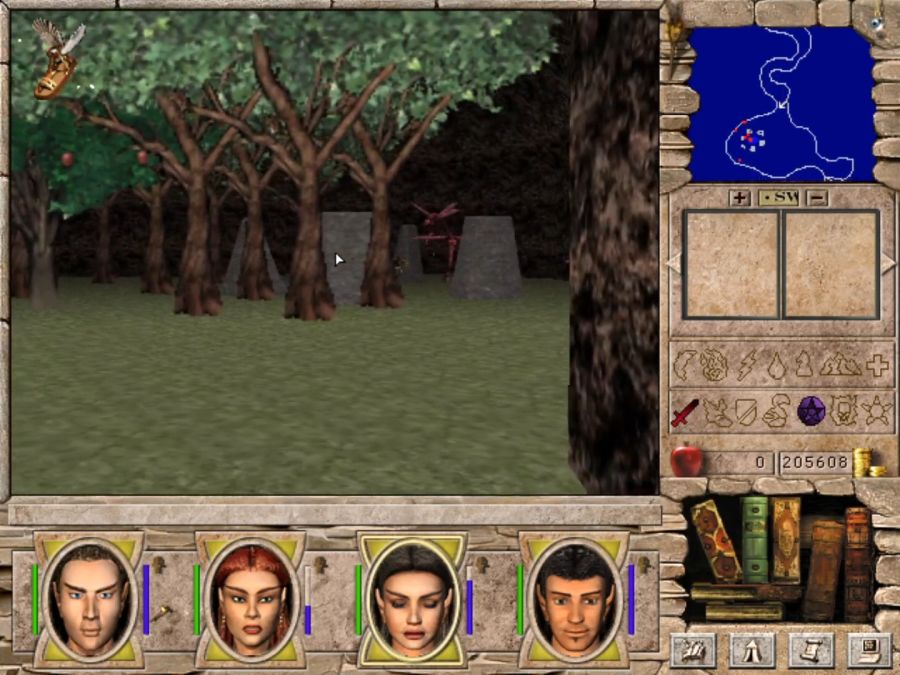
The entrance to their realm is in the northwest of Avlee, a bit set in from the coast.
Nice little hobbit hole entrance graphics.

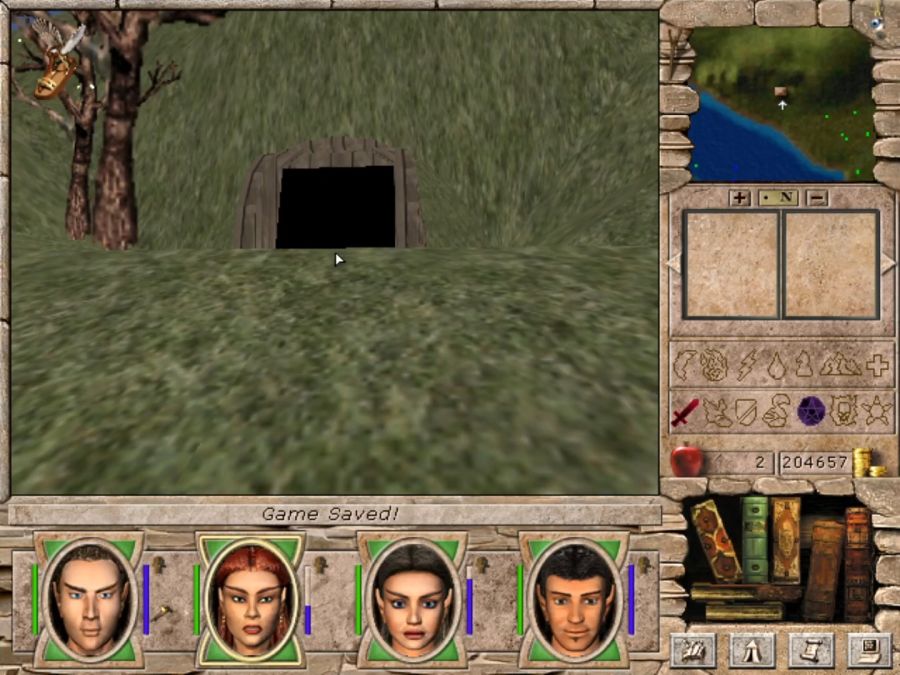
The hill under the hill.
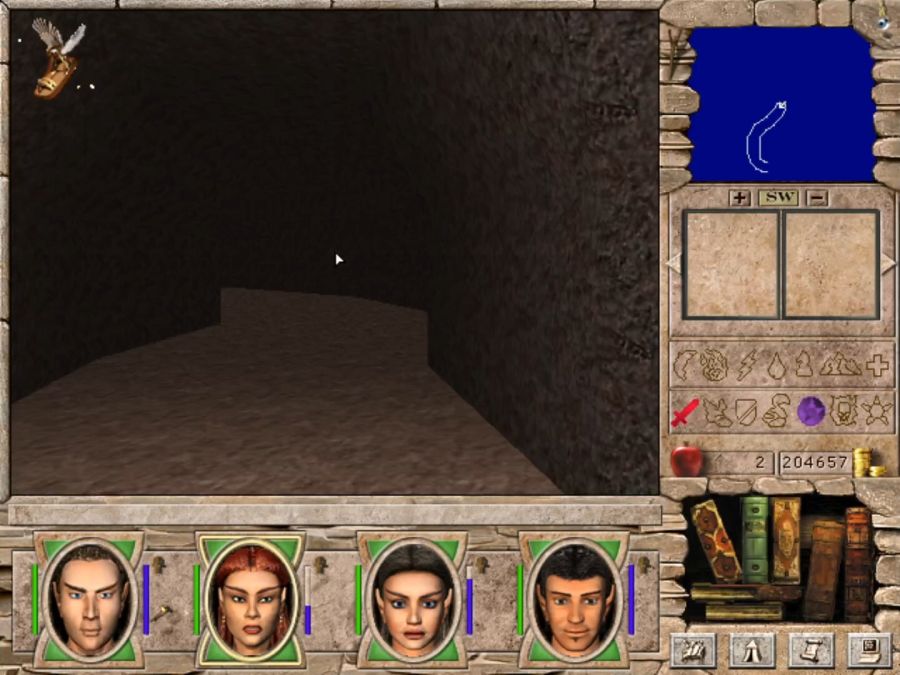
Now, the hill itself is just a vague cone. How do we get in? Hmmmm, maybe if we take a walk around it, we'll see something...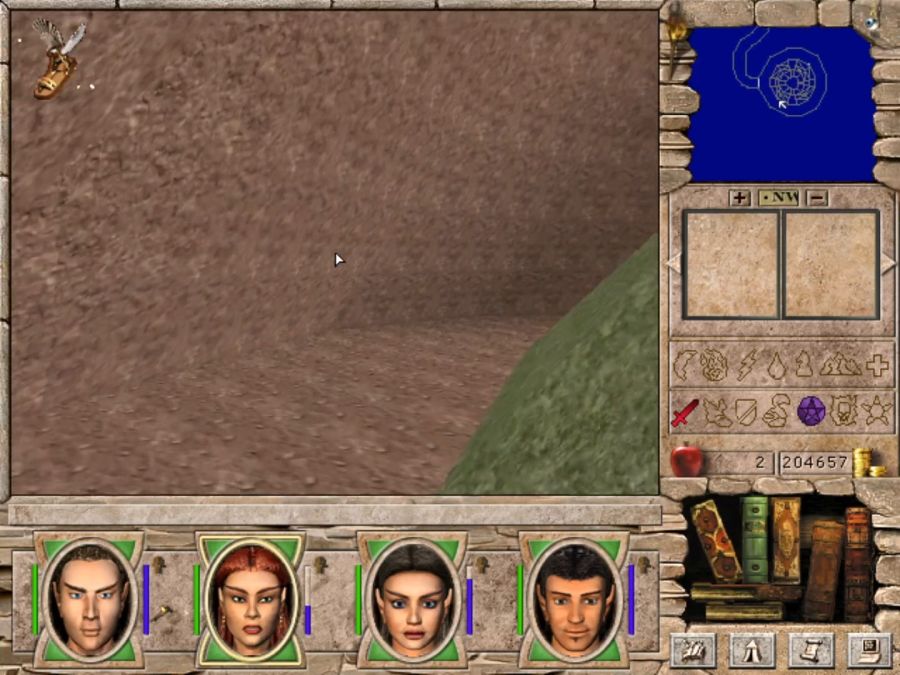


Pay attention to the minimap, walking around the hill clockwise two times "subtly"(the noise is still fucking there) teleports you to another map where there's an entrance into the hill.
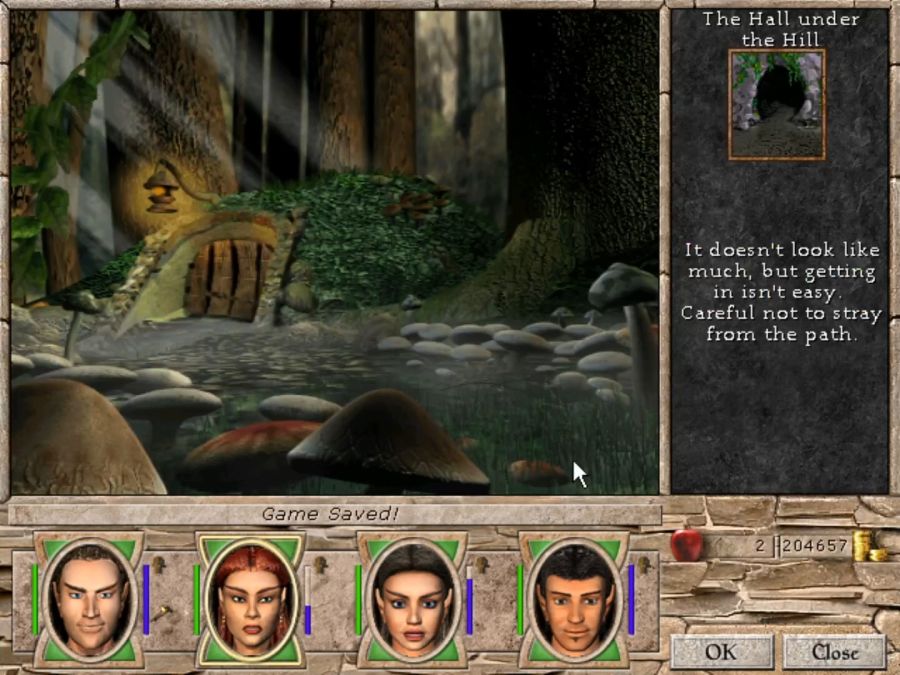
Good thing that we've proven ourselves smart enough to master the concept of "circle."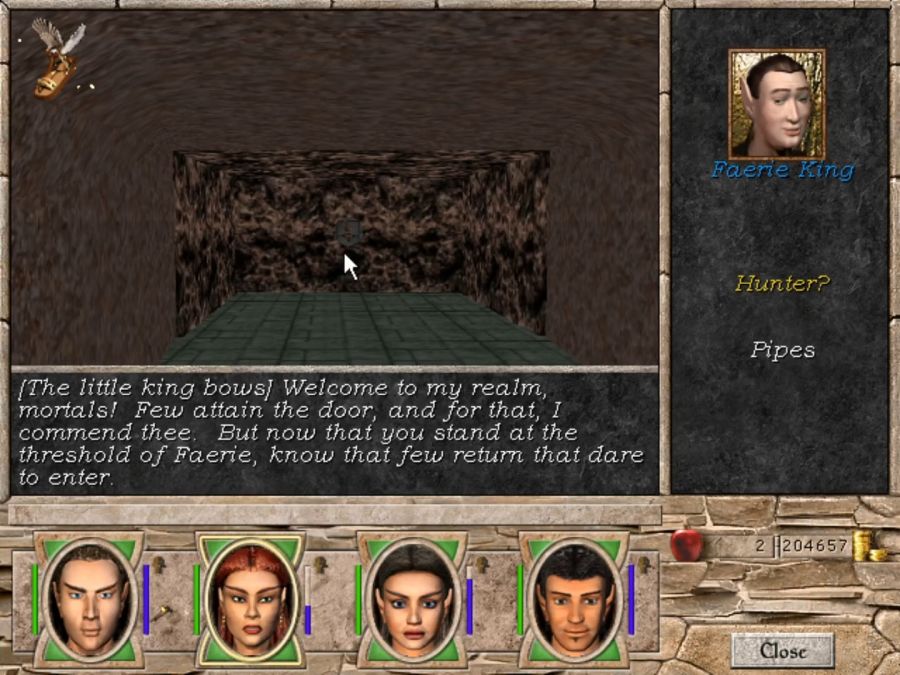

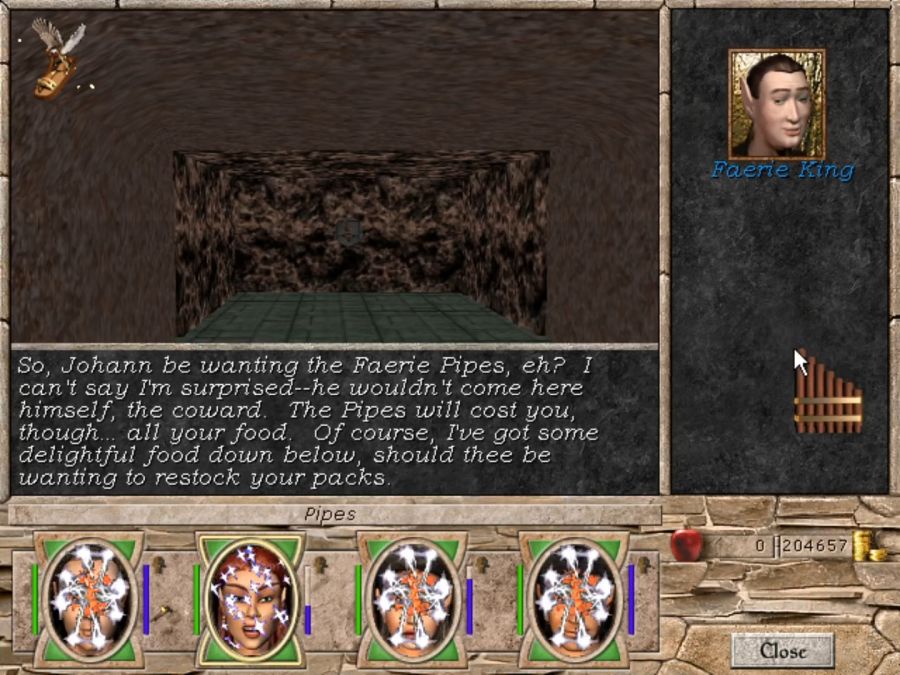
That gets us an instant Hunter promotion if we were dumb enough to bring a Ranger(they are literally "imagine an Archer, but worse in every way"), and also Kerrid's pipes in exchange for Fisto's lunchbox. But what if we were to venture... deeper? Nothing, at any point, asks this of us, but at the very least you should take the elevator down. I promise there's a good reason.
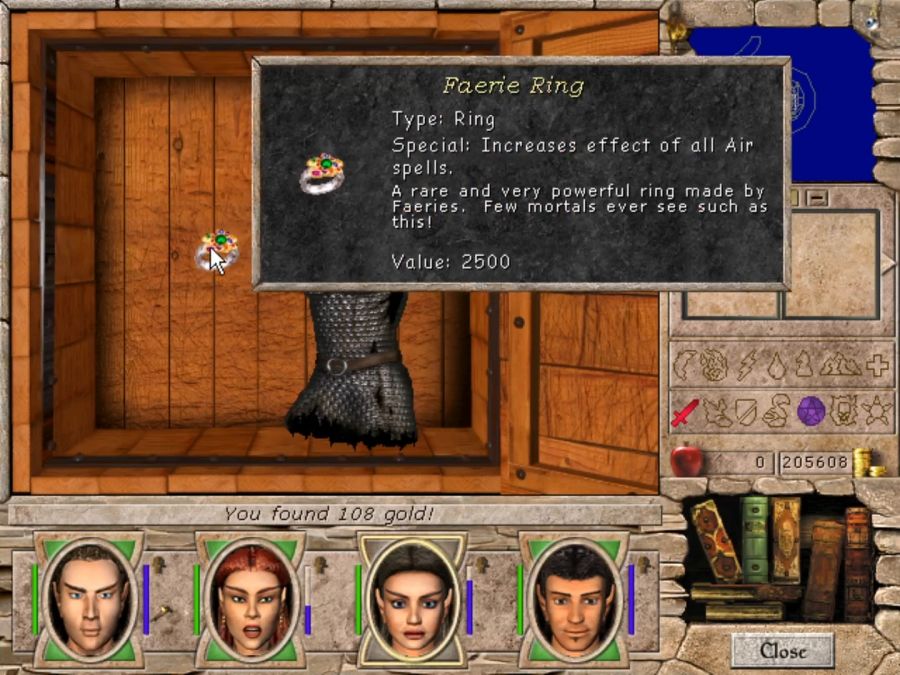
Because halfway down there's this fixed drop in a chest. If nothing else, it's a nice boost to Implosion casts, it helps your Wizard Eye last longer and it helps your Fly last longer. It'd be a way better drop in MM6, but here it's still a good drop.

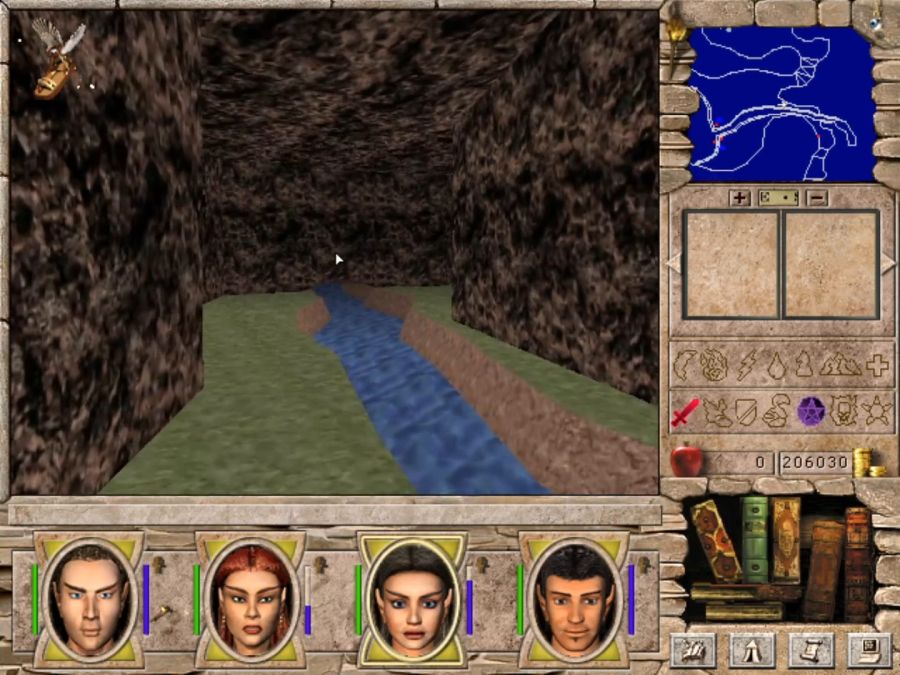
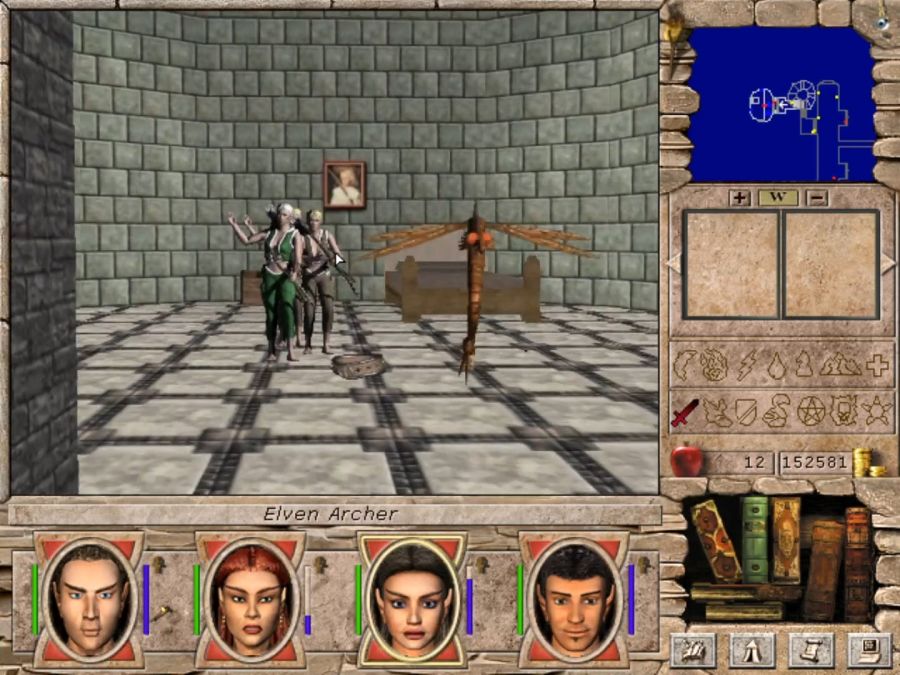
Inside, it's not entirely unlike the Monolith from MM6, being "exterior areas underground indoors." The odd thing is the enemies, which are all Dragonflies, you know, those enemies we were capable of fighting pretty well before we were out of the game's very first area, and in far smaller amounts, too. I guess in a way that's actually tricky, since you might pass them over for looting, and there's a key that only spawns on the last Dragonfly Queen corpse you pick up(I didn't even know the scripting could do that, but I noticed that every single guide said it spawned on the very last Dragonfly Queen in the last room, but I killed everything first, then looted, and as I was doing the looting from the "inside out," it ended up spawning on the very first one I killed instead).
Ultimately it's a pretty short dungeon that's way easier than it really should be. Again, compare the ease of getting your Ranger promoted to the effort of getting your Paladin promoted, or, in fact, any other first-stage promotion. I guess you could argue it's because of how bad Rangers are that they didn't want to also tax making them slightly useful, but I think it's just clumsy design.
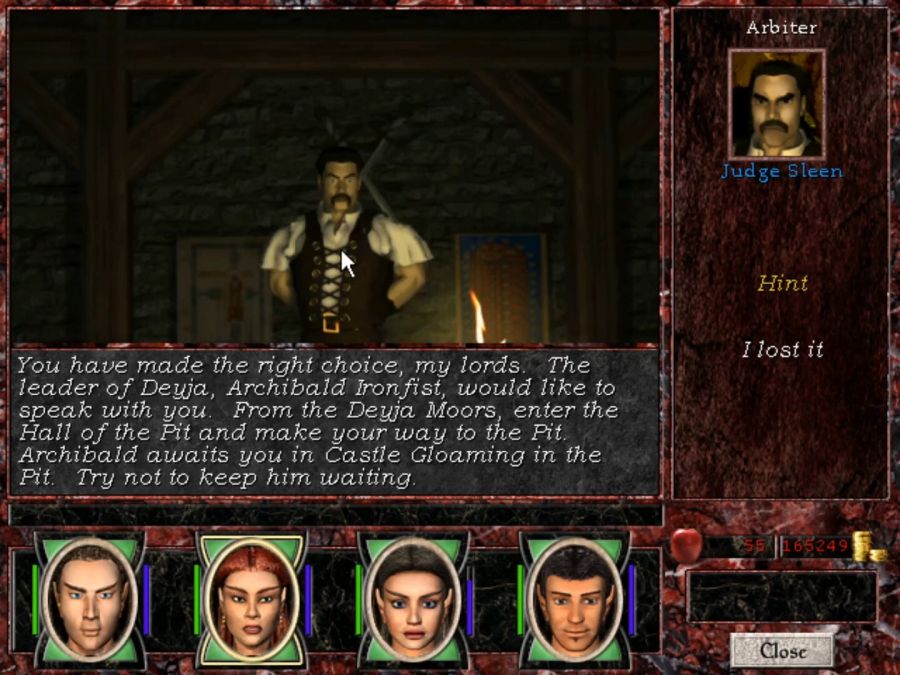
By this point we were, if I may say so, a pretty big deal, and once Judge Grey died, every major nation was chomping at the bit for a piece of this action. Carefully considering the wisest path of action- He flipped a coin! Ahem! Trusting in the will of the gods, I decided that we would side with Deyja in the coming conflicts. The first step would be to get Judge Sleen installed so he could end all this tiresome fighting...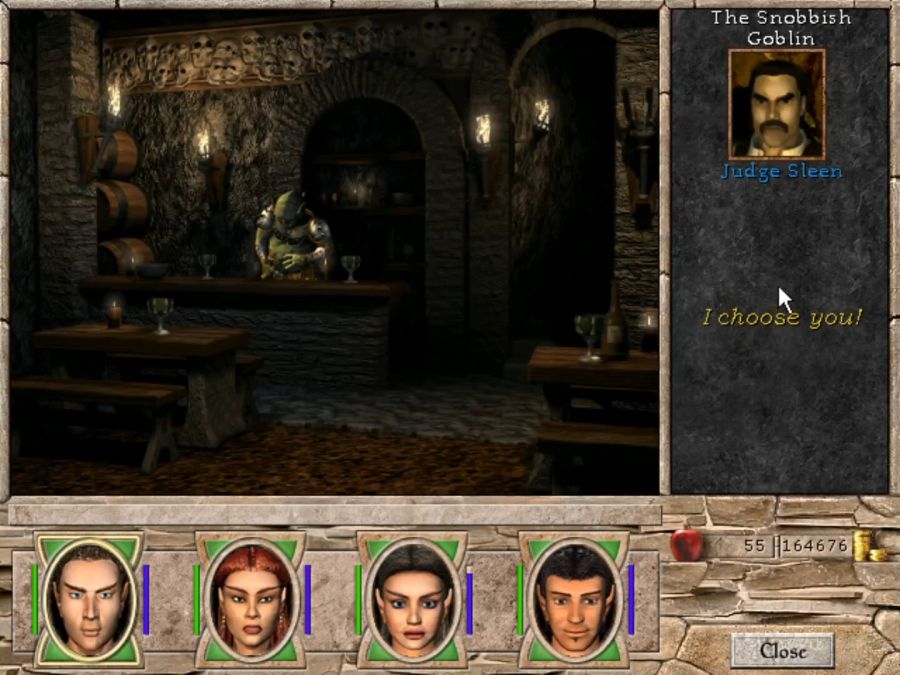
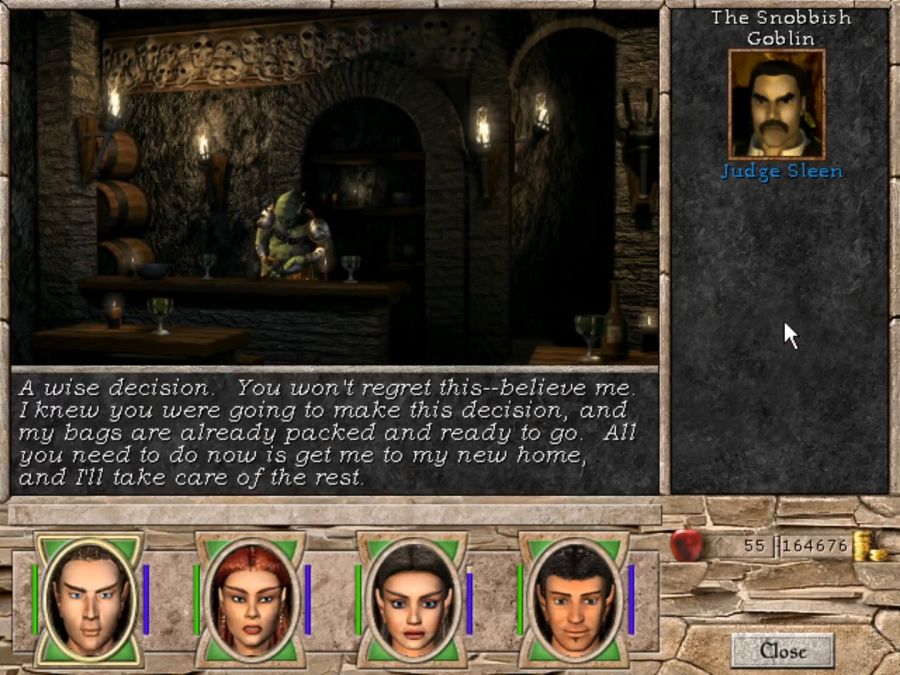
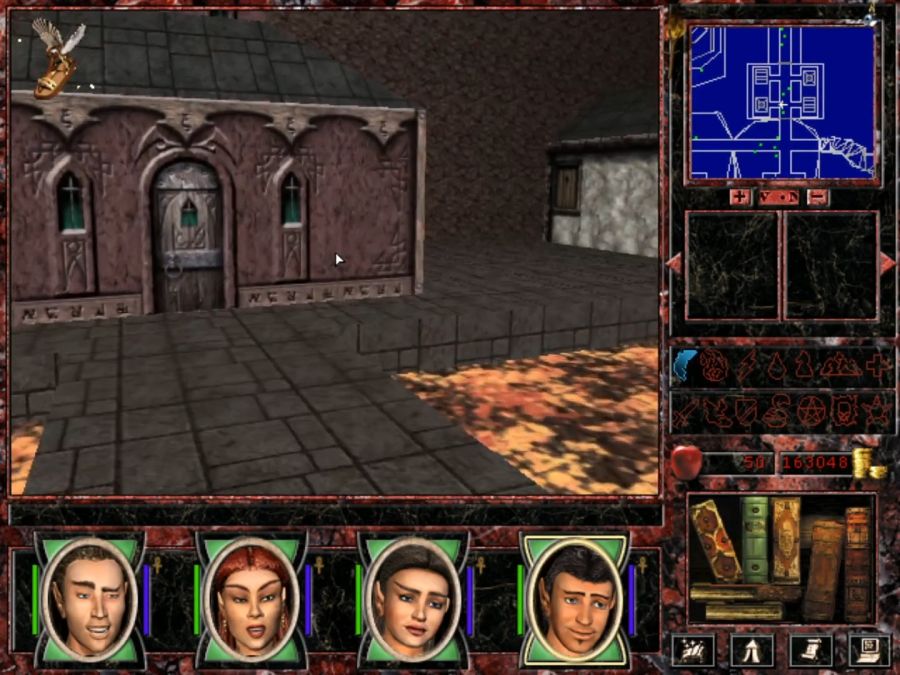
As a dark mirror of Judge Fairweather, Sleen is, of course, in the Deyja tavern and it's just a matter of hauling him off to Judge Grey's former cottage.
https://www.youtube.com/watch?v=9cU8XXC-WEk
Dang, who could have foreseen it would lead to such tradgedy. Oh well! Guess there's nothing left but to profit from it. Off to Deyja! And along the way we'll also start picking up some Dark Path promotion quests.
This new UI will take a bit of getting used to, though.
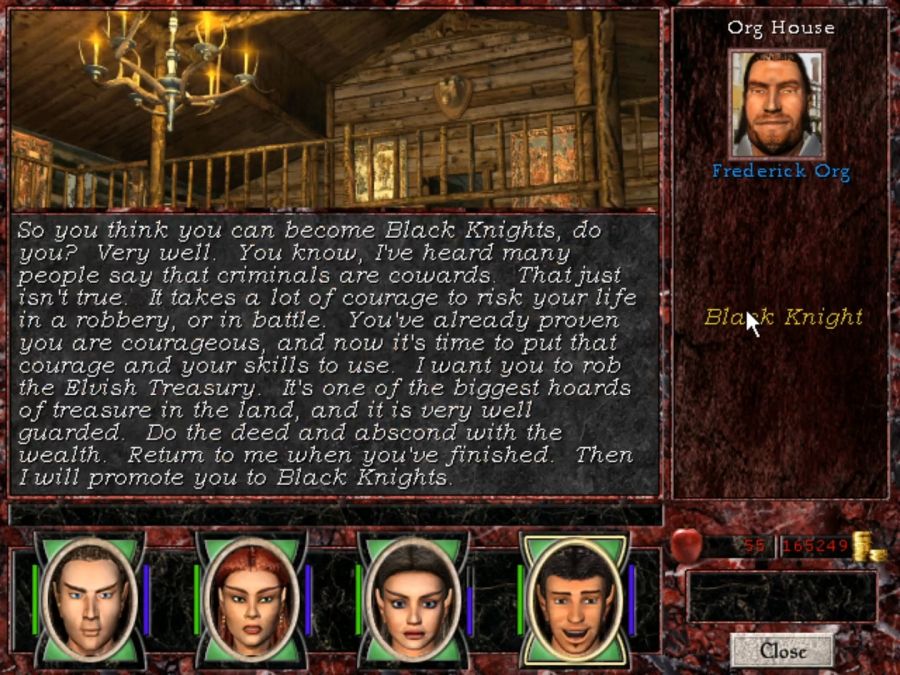
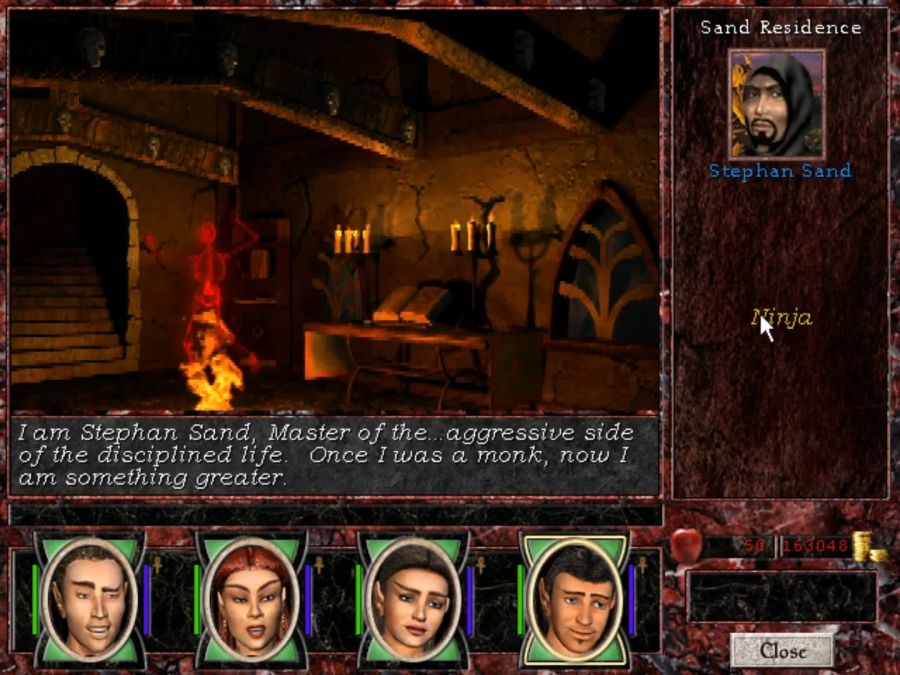
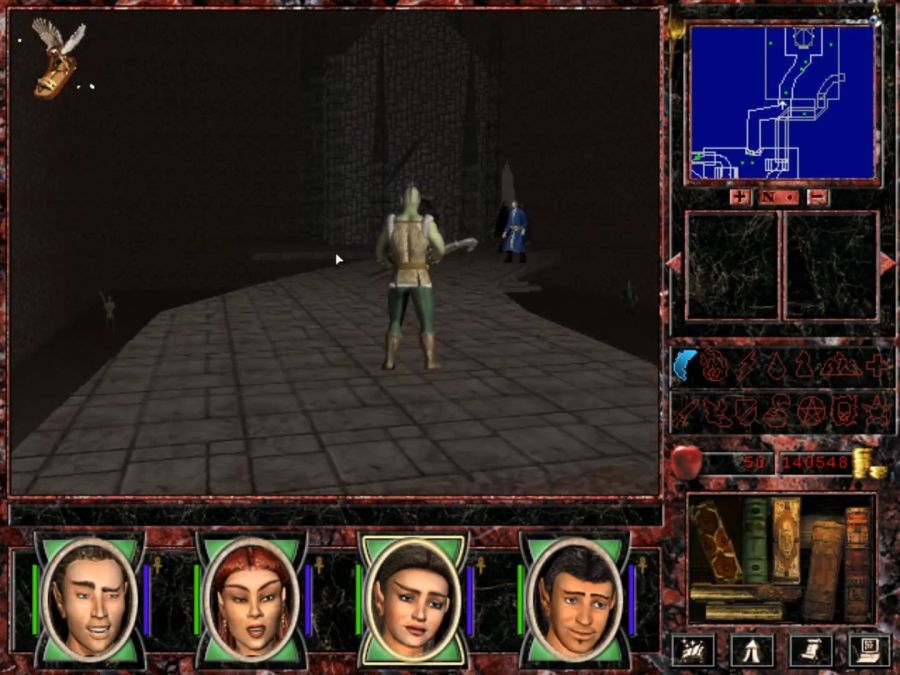
I love Org, he's my favourite professional badguy. This is the Dark Knight promotion and it's hilariously easy. I mean, seriously, the elves are absolutely nothing to sweep through. They never were.
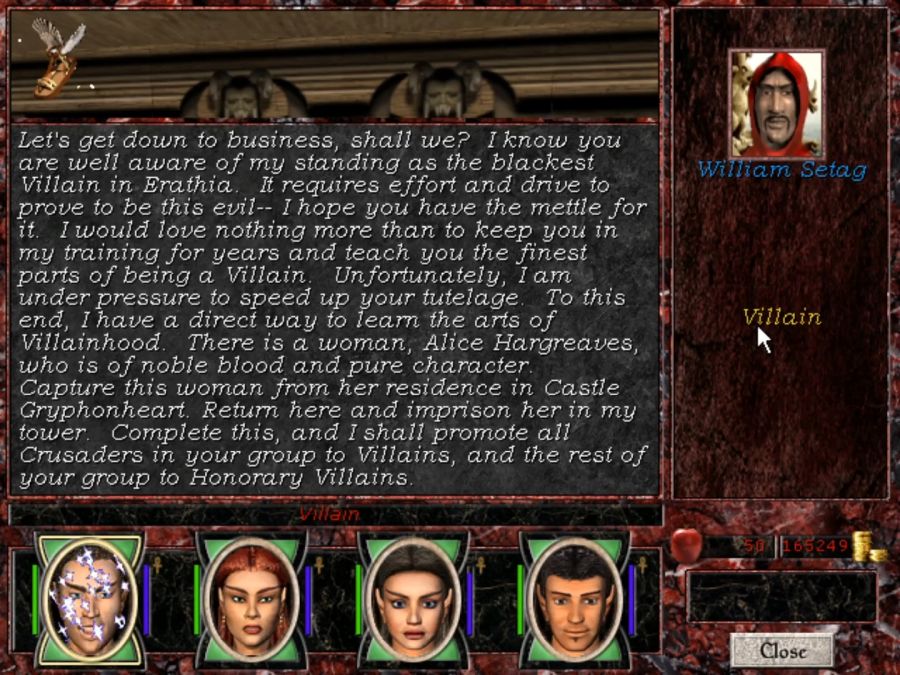
The Dark Paladin promotion is slightly tougher because it means dealing with some Champions of the Sword but... you know, if you raided Castle Gryphonheart for the paintings, you already know you can deal with that. Also super easy.
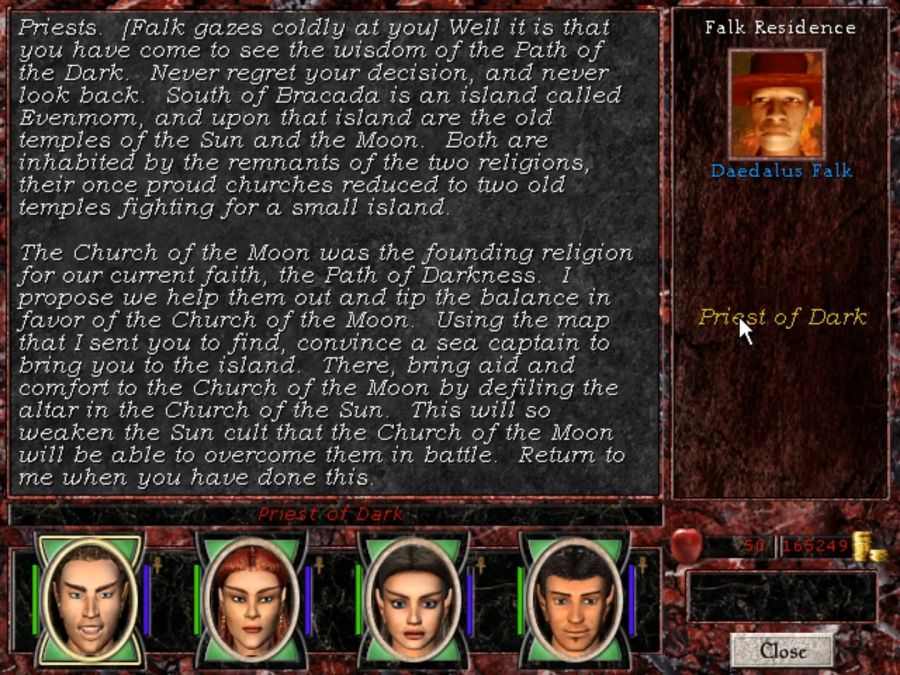
Dark Priest is a slightly less verbose version of Light Priest. Obviously, again, remember to murder your allies, too, for their sweet, magic-boosting duds.
Aside from the promotions, there's also a speechless NPC in the Bracada Desert and the Deyja Moors who now offer an extra sidequest for each path, as appropraite. They're very easy to overlook because you have no real reason to go back to visit them if you don't know about that.

Again, I have no idea how you'd get this far without being able to kill gryphons by the dozen.
Haaaaaaaaaaaaa hahahahaha, god no.
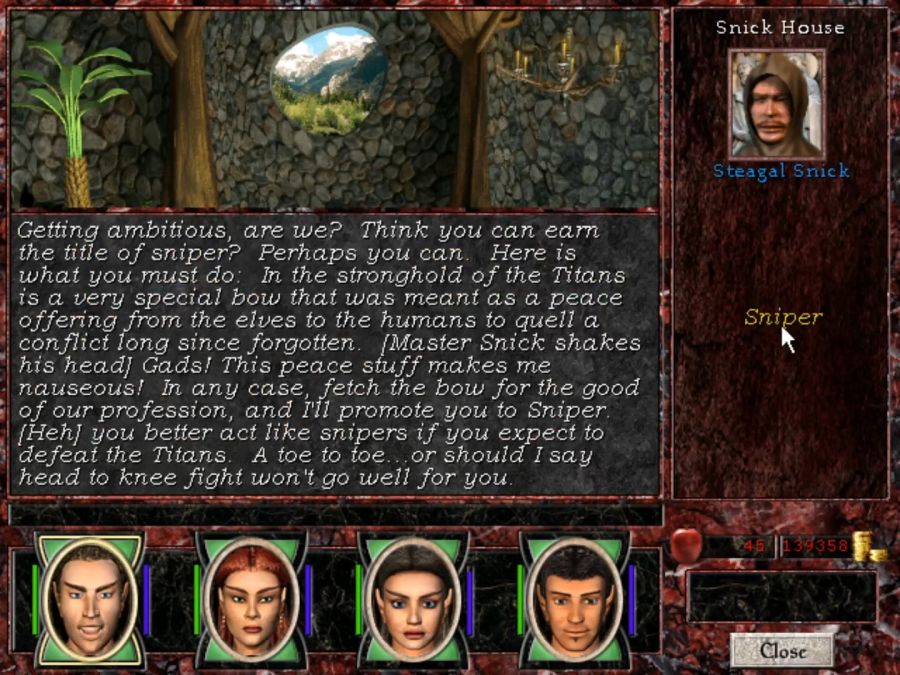
Both Light Archer and Dark Archer require you to go to the Titan's Fortress for the Perfect Bow. It's a reasonably asskicky dungeon, but it also actually has some decent rewards for the work you do. We'll be seeing that one in the main party update.
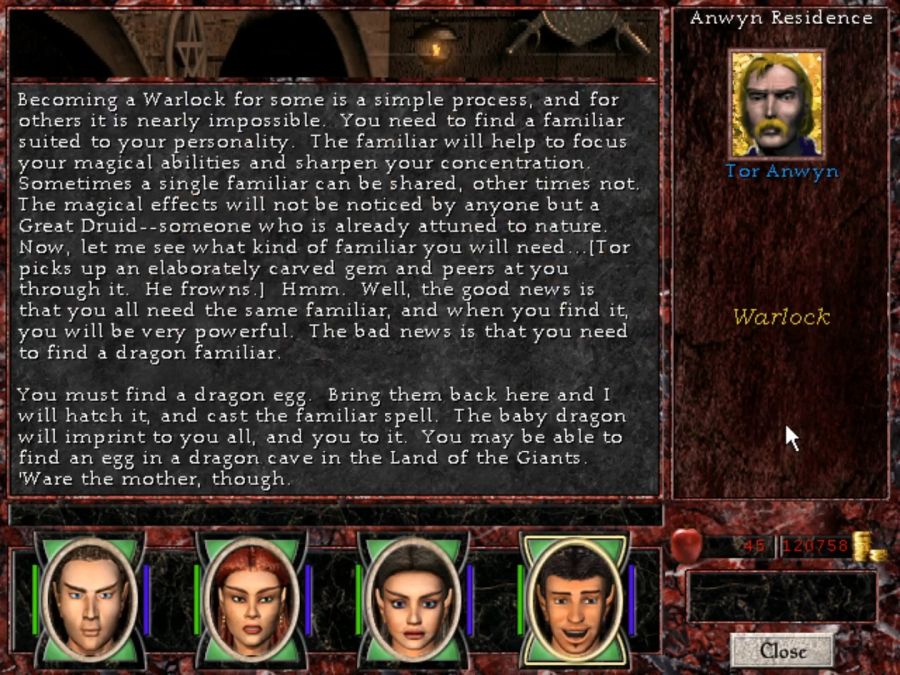
And obviously Dark Druids have to have a talk with Tor Anwyn. I think he's the earliest point in the game where you get pointed towards Eofol/the Land of the Titans. There are some good reasons to go there otherwise, mind you, including the fact that the GM Armsmaster teacher is there, which is a biiiiig bump up for Knights of either stripe.
While we're here, there's also a Nighon quest that I somehow failed to screenshot for the main team, even though they picked it up, too...
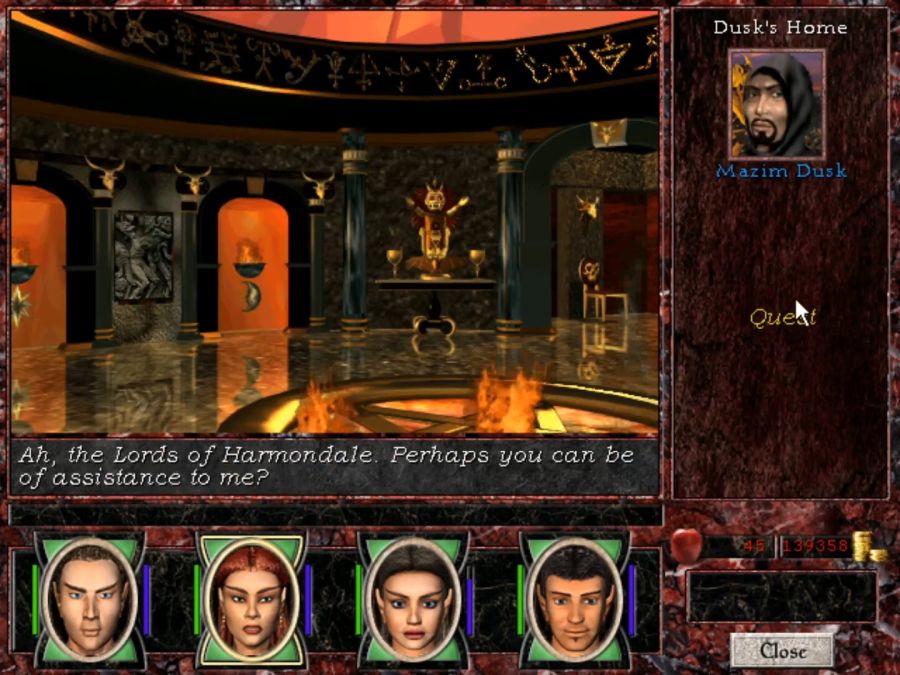

While this guy doesn't actually say it, it requires you to visit the dungeon on Nighon's shoreline.
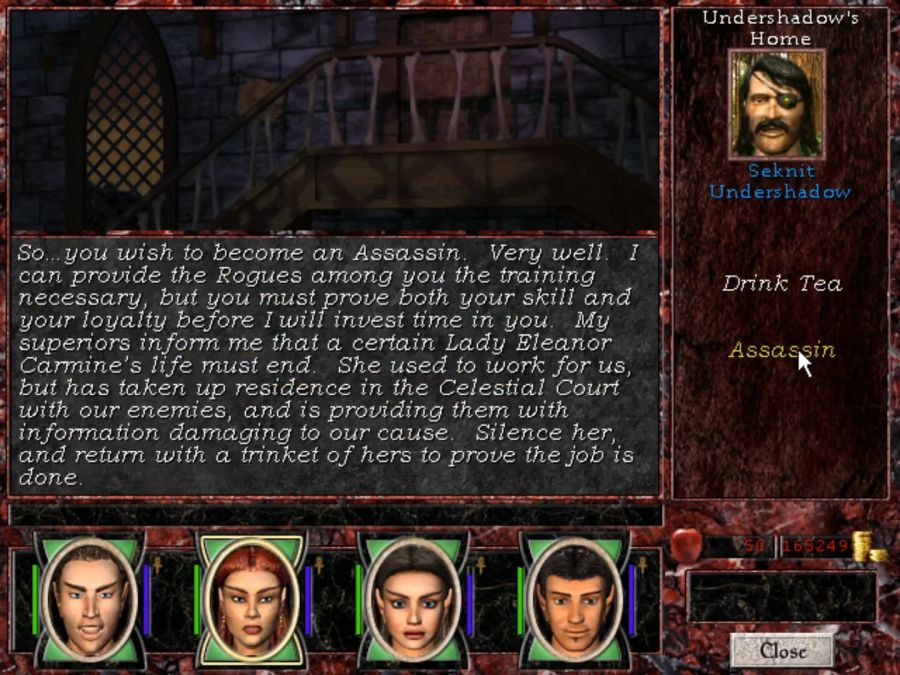
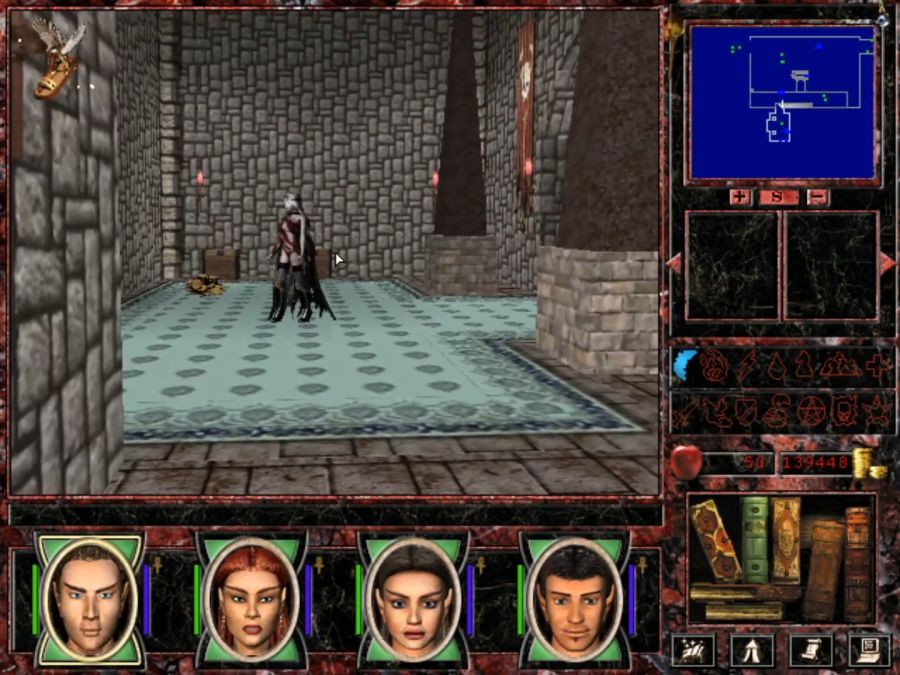
Dark Thief is somewhat more difficult since it involves busting into Celeste and getting murderous on purpose, and it's even harder to use Invisibility to navigate Celeste than the Pit thanks to the more confined layout. On the other hand, the more confined layout also means you'll be dealing with less enemies at once, rather than an entire city district sniping at you, so probably I'd just play this one as raw violence. Anyway, time to visit the Pit, this time we can actually do so without getting murdered on sight, even the monsters in the Hall of the Pit are peaceful.

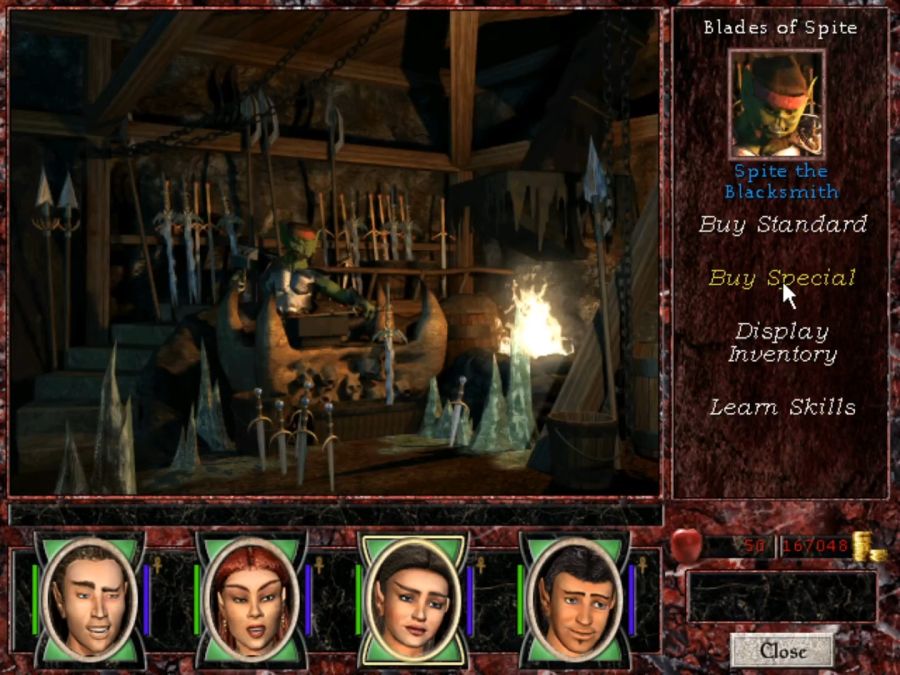
I'm still baffled by the fact that every single merchant screen goblin is an MM6 goblin rather than an MM7 goblin.

The Pit is also generally a lot larger than Celeste. Aside from pure area, it also has less empty homes than Celeste. Some of said empty homes, for both factions, get filled after you complete their test quest, but for Celeste about half of them remain empty.

Enemies being immune to damaging surfaces also leads to some occasionally amusing sights of necromancers and liches wading around in hip-deep lava while having casual conversations.
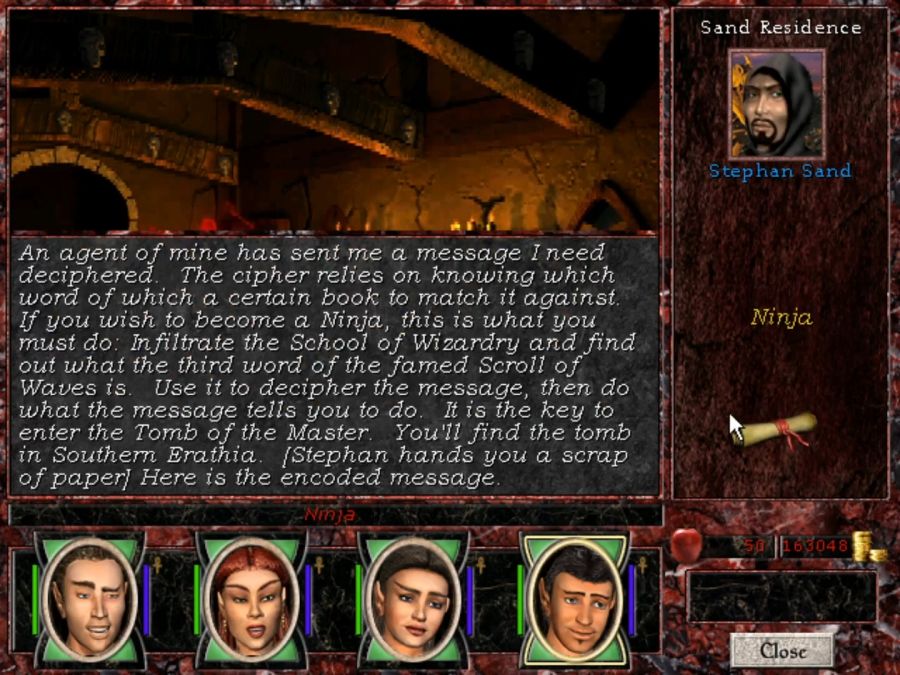
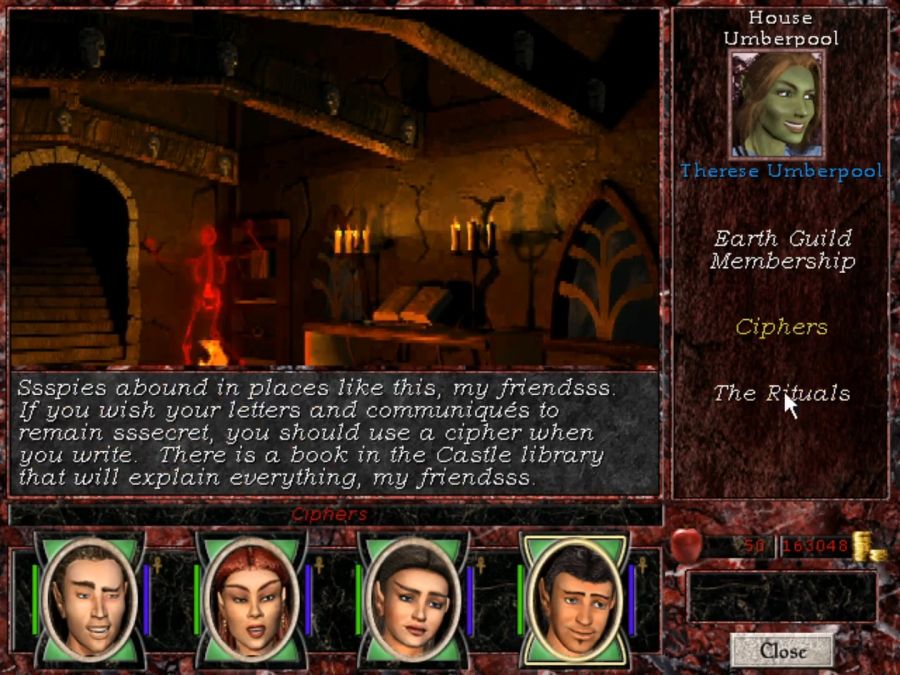
Dark Monk is probably one of the more involved promotion quests in that it's one of the few that isn't about just going to one place and killing everyone there, but instead going to one place, killing everyone, going home, reading a book, then going to another place and killing everyone. You get your "castle library" after doing your "prove we're friends" quest for either the Pit or Celeste, I believe, but I'm not sure on the exact trigger for it. I earnestly wish the game gave you more motivation to visit and use your "home" base, maybe having actually decent vendors there, or having your top tier trainer cap there, or something. Instead it's kind of easy to miss that you've even gotten that second castle upgrade since you'll likely just warp home and then walk straight from the throne room to the door out. Like hell, maybe occasionally have the Butler cough and politely remind you that some of the peasants need your WISE JUDGMENT on a case in the throne room or something.
Then again, they did literally make this game in a year, so perhaps expectations should be tempered by that.

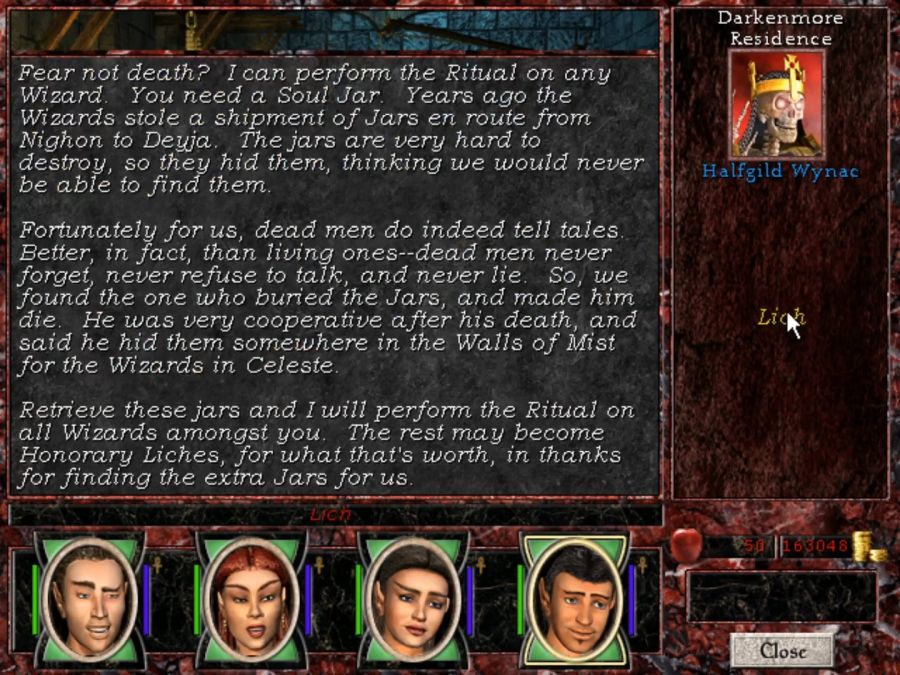

Remember the lich jars you can find in Mount Thunderfist? As far as I'm aware, any quest that calls for lich jars, can also be completed by using those jars, so you can get your Lich promotion more easily by doing that. Alternately, if you don't have a Sorc on the dark path, you can instead use those jars to easily complete a storyline quest. It's a slightly odd quest in being the only one that functions that way, having interchangeable quest items.
Now that we've made a full circuit of the first part of the Pit, let's pull up the map of the place:

The tunnel at A connects to B, B connects to C, C to D and D to A to round out the loop. The B section is a little business/guild district, C is residential and the local temple, and D is Castle Gloaming, the mirror of Castle Lambent.

Not to be outdone by Celeste in terms of OSHA violations, every store in Deyja is suspended above a pit of magma. I mean, why not. Why not.

And in the residental district we see a group of Deyja's sewer workers hard at work unclogging a magma pipe. God speed, brave labourers.
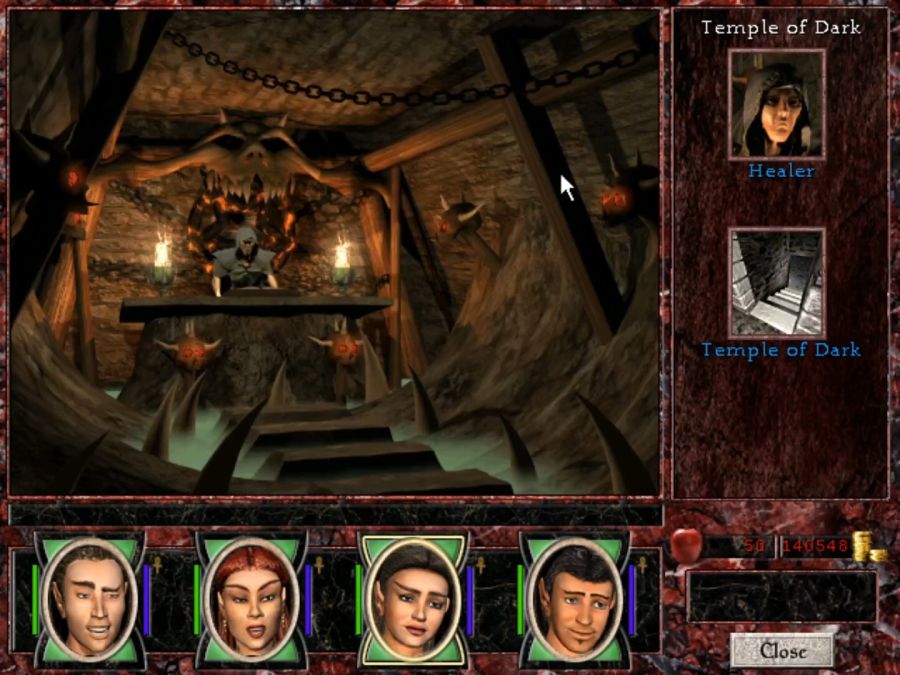
Decorations aside, the priests of the Temple of Dark at least don't have sinister glowing red eyes like the priests of the Temple of Light, so I think I know where I'm gonna get my healthcare sorted.
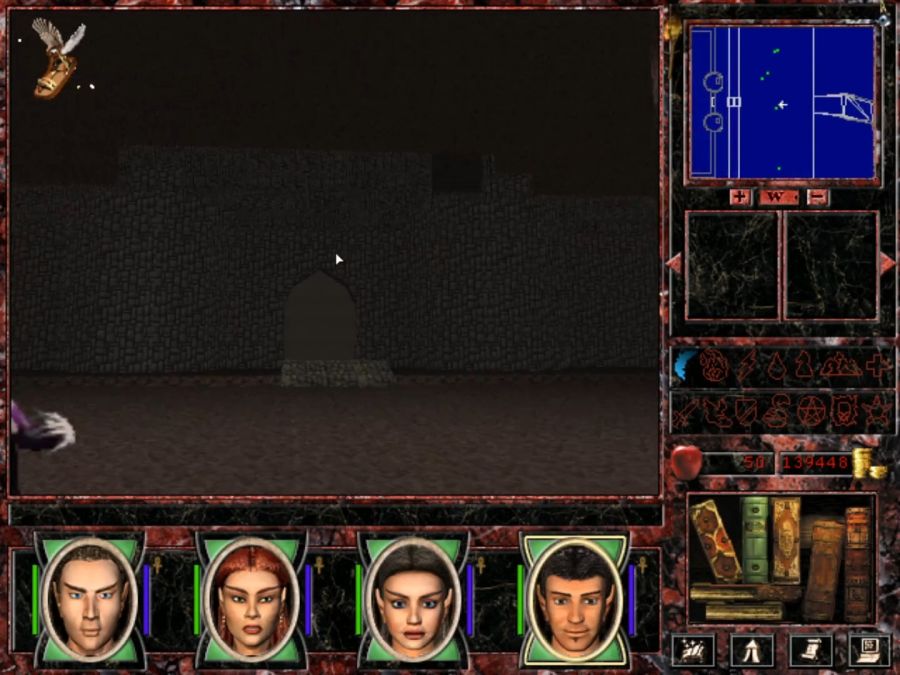
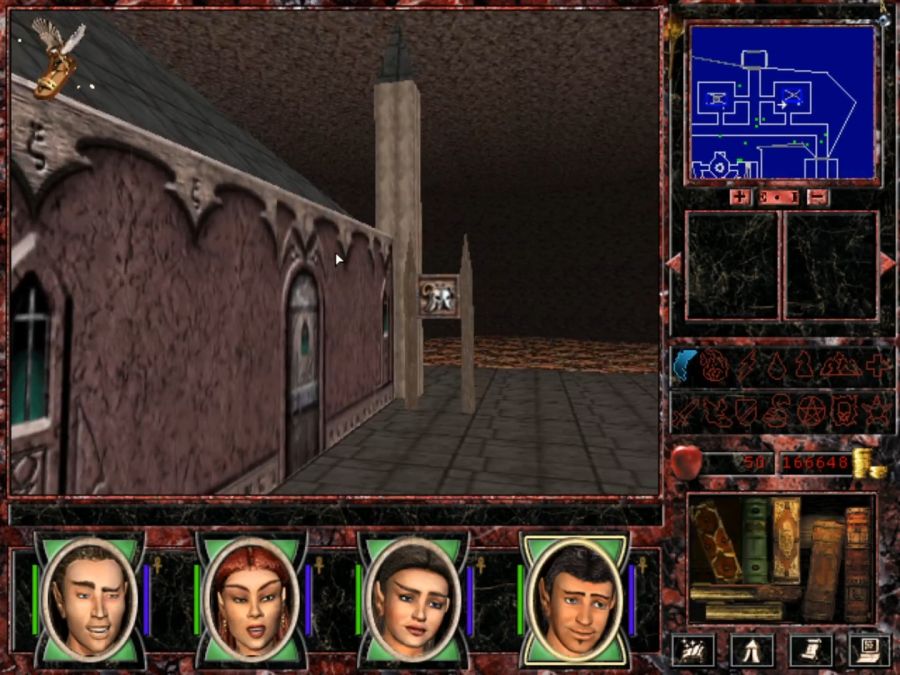
It feels like they overreached a bit with Castle Gloaming, the engine's just not made to really handle any fine detail, and they frankly didn't even bother adding any, either, so it just looks like a big ol' gray brick. Without looking at the minimap you hardly even spot that there are meant to be towers on either side of the main gate.
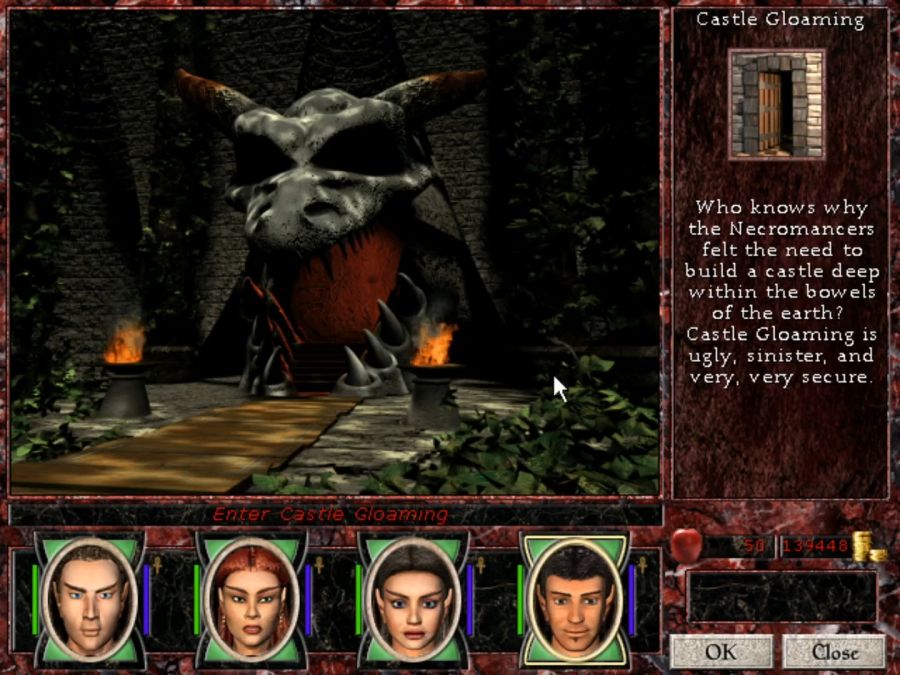
Nice intro screen, though.
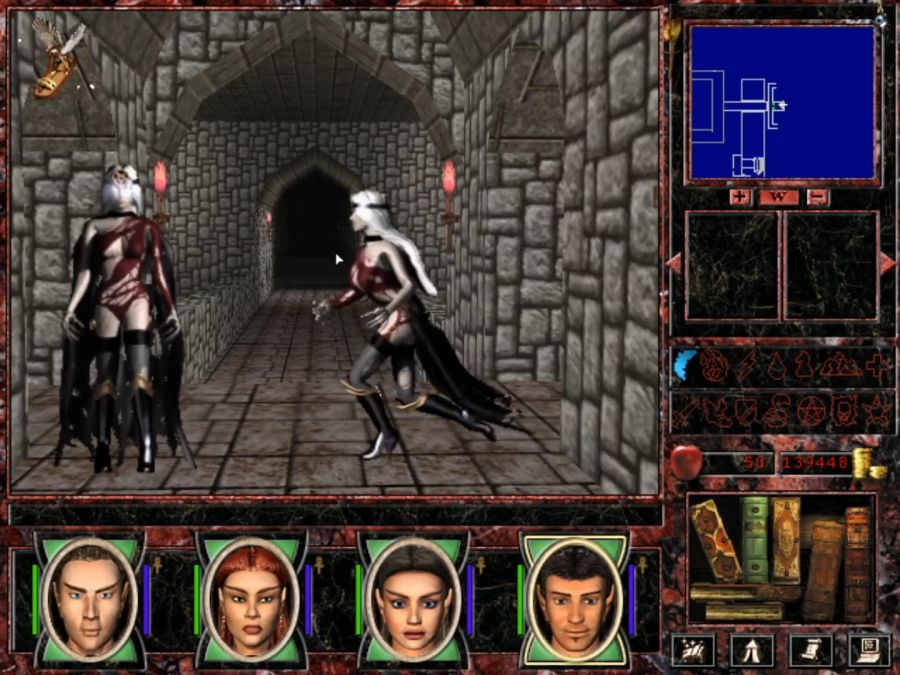
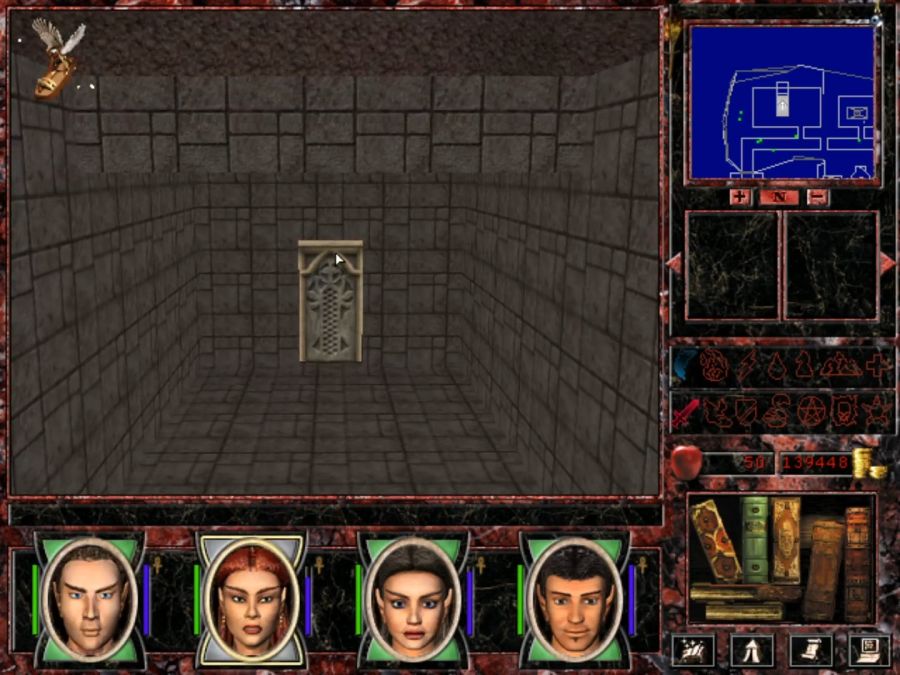
Welcome to Castle Gloaming. Now save your game, save your game, save your game. Like all the other castles, Castle Gloaming has a bunch of "do not go here"-zones. However, unlike the rest, several of them don't have any guards warning you off, so you'll just step in and instantly get vaporized(or at least aggro the lot of them). Additionally, when you do find one of them who points you to the throne room, where you are allowed, he fucking lies.
He tells you to go north when, in fact, you're meant to go south.

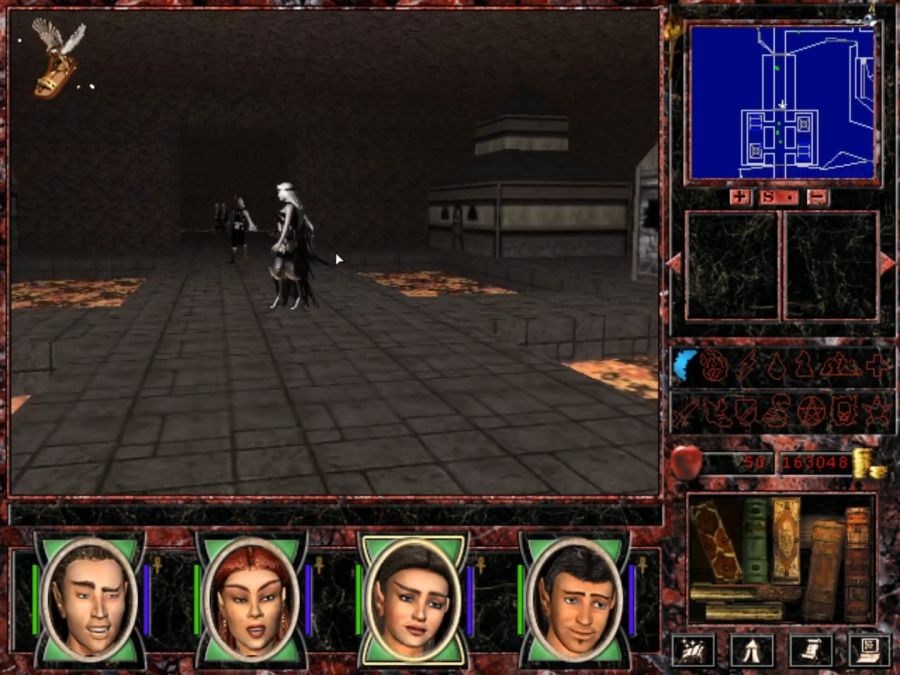
In a neat detail, travel around Castle Gloaming is best accomplished by hopping into this boat in the internal magma river and using the rudder to steer between stations. You'll want to make two hops to get to where the throne room actually is.

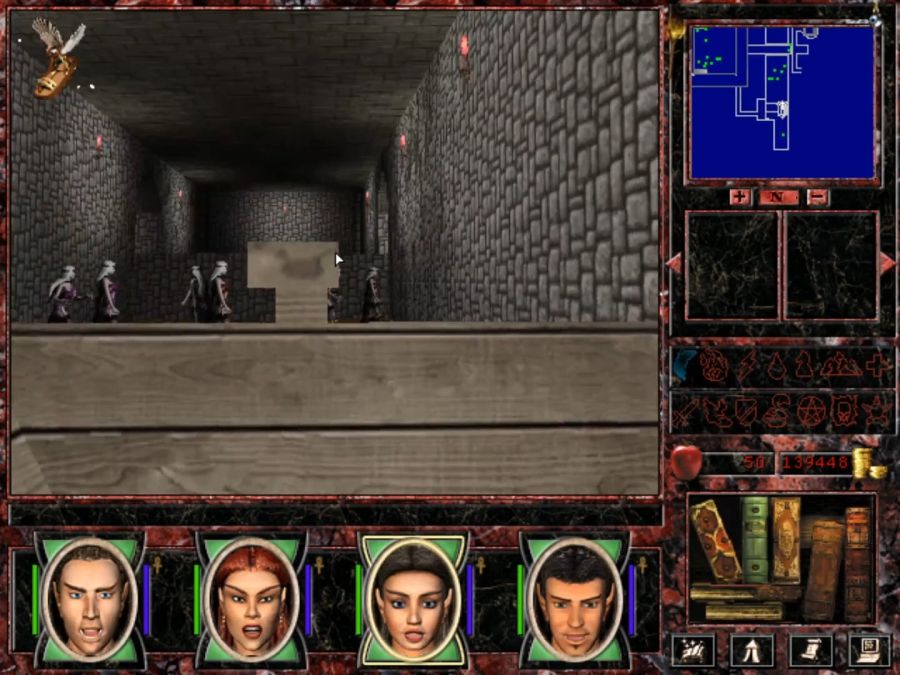
The Breeding Zone is like the Walls of Mist in that enemies respawn there every time you re-enter, so you can't slowly whittle them down or anything, you gotta roll through those fuckers in one sprint. It's unlike the Walls of Mist in that you're expected to get killy there, rather than discouraged from it. It's also unlike the Walls of Mist in that the contents are a lot nastier and the areas more designed to force you into face-to-face numbersmashes with the horrible hordes.
Similarly to how the Lich promotion sends you to the Walls, the Light Sorcerer promotion(Archmage) also sends you here. I won't be doing that promotion, though, since I got tired of carting around golem parts for the first-stage Sorc promotion and tossed them all in a sand pit somewhere. I did, of course, do it for X, but it's very unexciting. Mostly it's a matter of tediously tracking down wilderness chests and busting them open for golem parts. I would certainly not recommend doing it without a guide since your only hints are how many golem part chests are in each overland zone, once you find the box with the shipping manifest in Bracada.
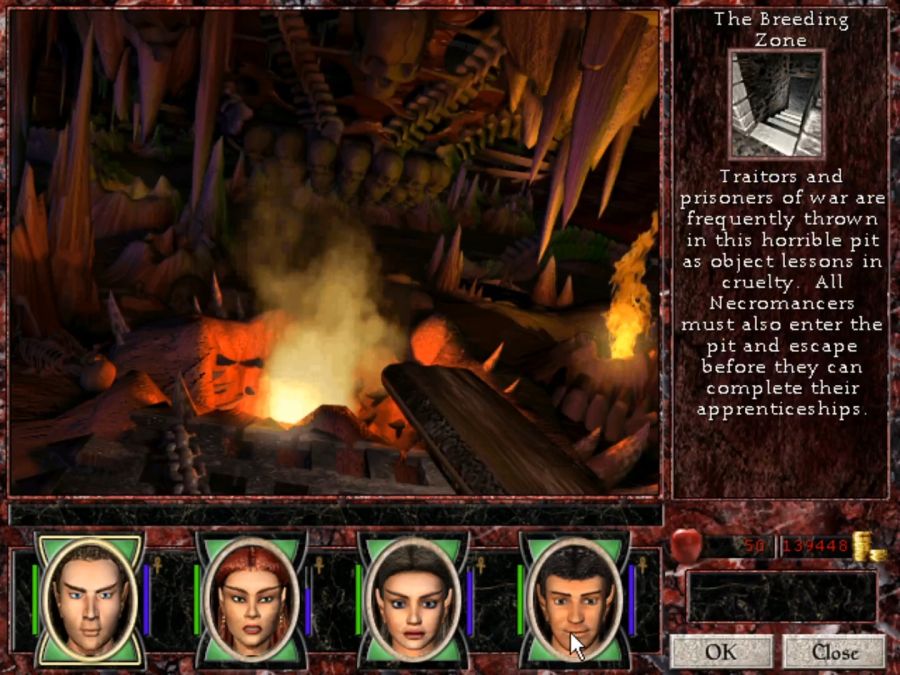

The dungeon design here is largely just a twisty corridor, zero puzzles, one little side area if you're here for the Divine Intervention book and otherwise none. That's not to say that it's easy, however, goodness no.

It might seem that way at first, since the main enemy you run into for the first 2/3rds of the Breeding Zone is super chumpy for the party's current level. One of their weaknesses is that all their attacks are mono-elemental, so as long as you keep Fire Resistance up, you'll ignore a decent lot of their bullshit. The other is that they just kind of have surprisingly low HP. Their hidden trick is that they can cast Haste, which would be scary in a mixed party of enemies. But guess what this game rarely deals in? Mixed parties of enemies.

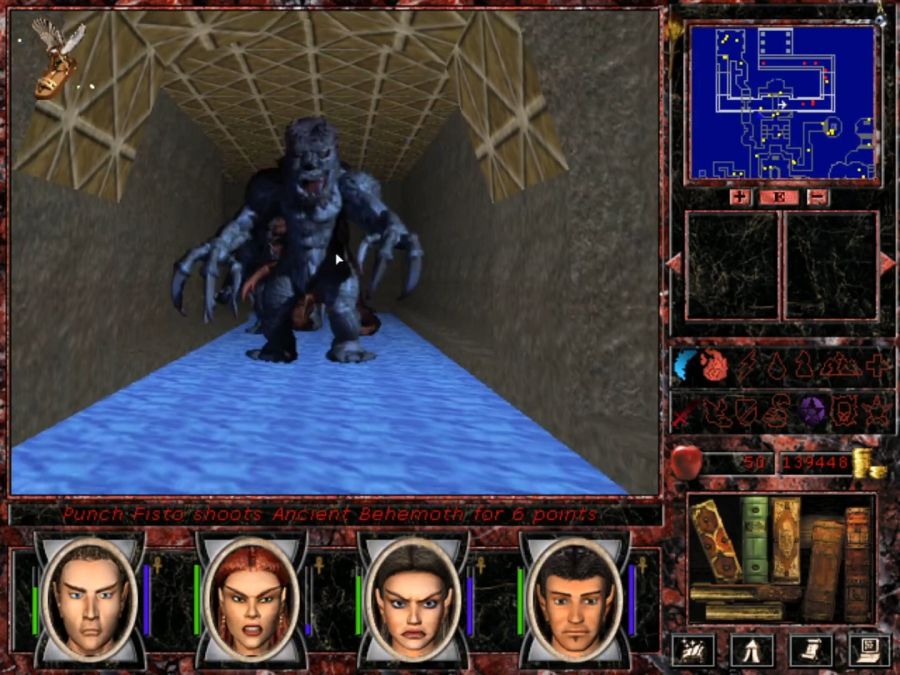
This unassuming chasm about halfway through is where you're first in for a rude surprise. You're likely gonna flick on Featherfall and just drop down and then...
Welcome to Behemoths. If I remember right they were the apex creature for the Barbarian towns in at least one of the Heroes games(or was it cyclopses that were their apex troops? I genuinely do not recall), and they're pretty rudely strong, especially since half the places where they occur here in the Breeding Zone, you don't just have to fight one, or two, but ten or twelve at once unless you manage to get them caught up on corners, and with the somewhat better pathfinding in MM7 over MM6, that's suddenly actually hard to do.
Unlike Fire Elementals, Behemoths are very simple: They have huge loads of HP and they hit like getting rammed by a dump truck. Their ability to break your armor is kind of unremarkable, compared to their raw stats, but it's another bit of annoyance they can deploy. Assuming your big fighty goons have ~300HP at most, an Ancient Behemoth(the toughest kind) will drop between 45 and 90 damage on you per hit which, being physical, only GM Plate or GM Chain armor skill can reduce. This means like six hits from an Ancient Behemoth will flatten more or less any party member, and there's pretty much never just one. They peel this party pretty fast, is what I'm saying, and I have to get creative to minimize their numbers at once, even two Ancients at once can carve a huge chunk out of this team. Additionally they have the rare "2" preference, which means that rather than having a pre-destined target, once they engage you they'll randomly pick two party members that they prioritize, and if they, say, pick a squishy mage or the like, you're in trouble.
That hidden door there leads to the small maze that contains the Divine Intervention book in a hidden compartment.
The one ""puzzle"" in the dungeon is that there are these three buttons and... it doesn't matter which one you press, because there's a wall in three segments you gotta pass and these each lower one of the segments. I don't understand it, I really don't understand it.

This canal is where the game just fucks you with Behemoths. I suspect party 1 won't have too much trouble with it since by the time they go here it's time for GM Light Magic buffs that'll probably allow Owen to make an Ancient Behemoth explode by looking at it angrily. Party 2, however, needed multiple reloads here to get through without anyone dying.

I even tried to get past via Invisibility, but it just didn't work, because they were just packed in there too densely and wandering all over the place. Awful damn things. Then it's back to Castle Gloaming to tell Archibald that we're good at killing things in his basement.

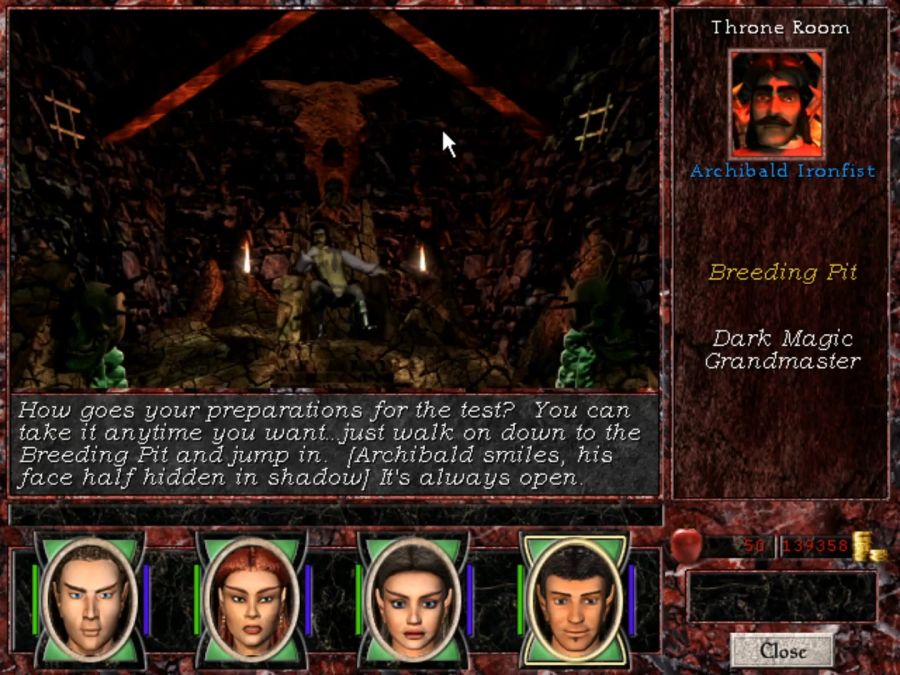
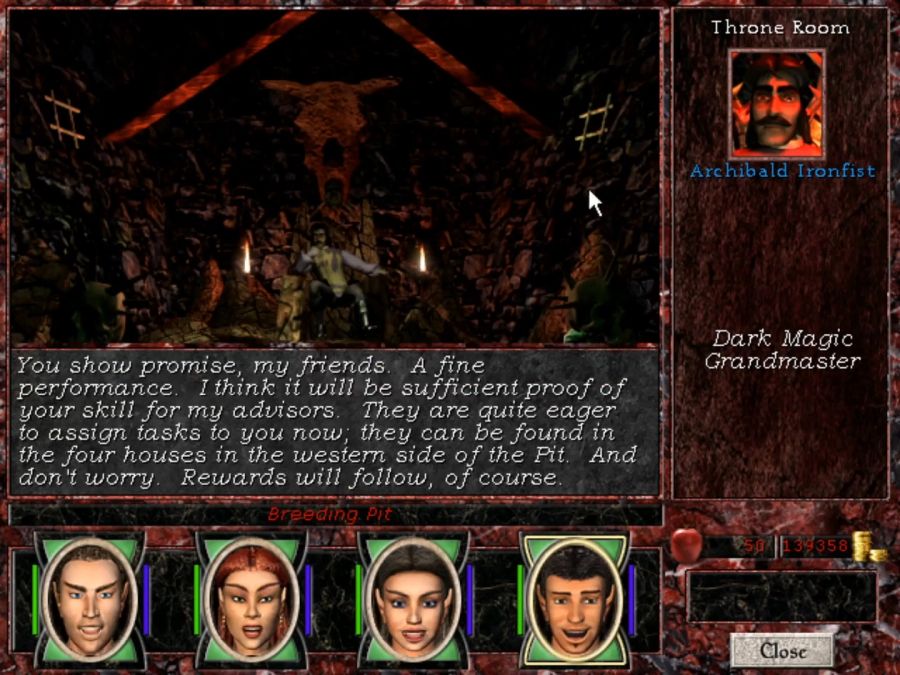
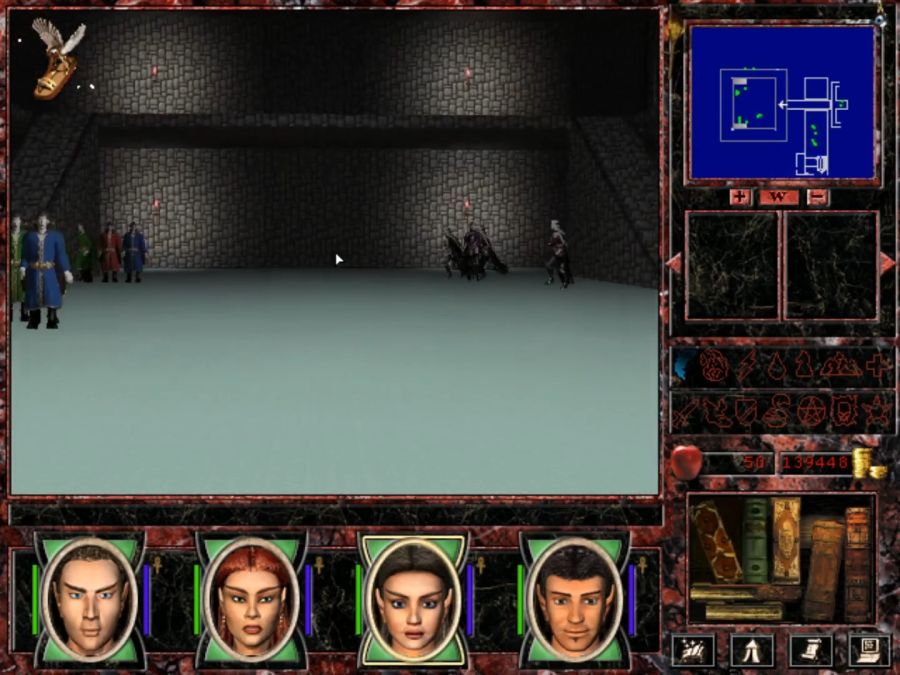
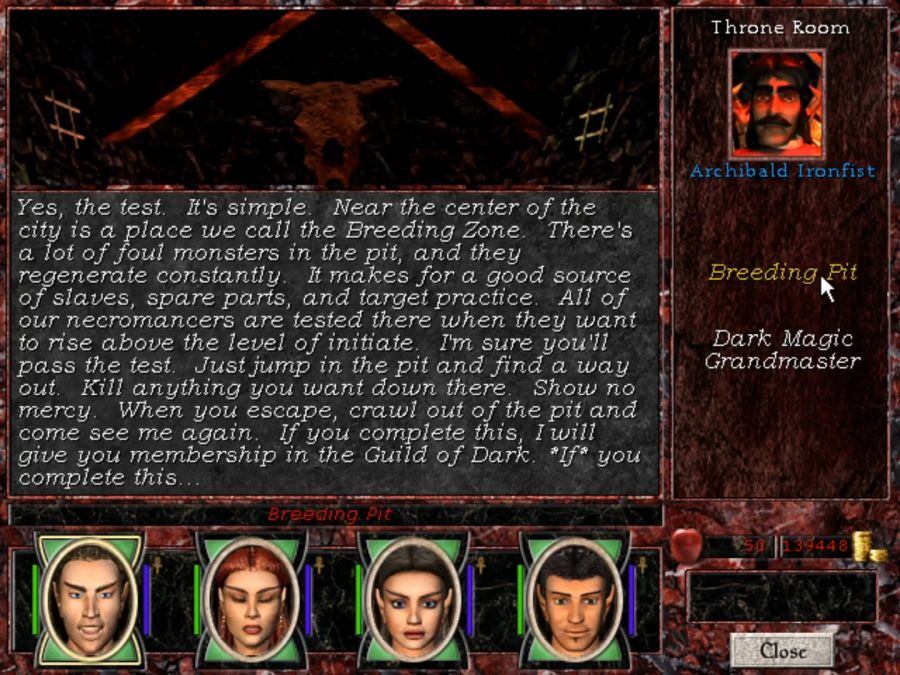
So what I really love here is that neither Archibald nor his throne room in this image, look anything like Archibald or his throne room in the intro sequence. He's got a much bigger moustache, for one thing. In any case, that's as far as party 2 gets before I switch back to party 1. Their next update will be the Walls of Mist, clearing out the last Light promotions and accidentally completing a storyline quest.
Indeed, the vaunted "Breeding Zone" was no challenge for us, and now we had Archibald's respect and adoration. Only a mere few trifling assignments were beyond us and the power we so greatly deserved... but that will have to wait till after tea. Where's that damn butler? You'd be surprised how hard it is to find good help these days. Hmmm... I wonder if we could get the necromancers to re-animate him as a zombie...Extra
Since we've now reached Dark magic, and will get Light magic for the canon team next update with them, let's have a look at it!
Dark Magic
Re-Animate: Revives a dead creature to fight for you, with all its normal stats and HP depending on your Dark Magic rank. I think it might be pretty worthwhile to cast it on, say, a dead Blood Titan or something? I'll play around with it in the Fortress of the Titans with party 2.
Toxic Cloud: 25+1d10/skill point damage is pretty rockin', it's basically an Implosion that does a harder-to-resist damage type.
Vampiric Weapon: Gives the targeted, non-magical weapon a lifedrain effect. I'm not sure if I prefer this or Fire Aura, if you don't have someone with at least Master cleric magic, this is probably superior as an alternative to healing, but if you do have, say, a Paladin or a Cleric, you'll probably want the raw damage from Fire Aura more.
Shrinking Ray: Halves an enemy's damage output. At GM Dark it also affects an entire group at once, which I feel like I might experiment with once party 2 gets access to it.
Shrapmetal: One of the "shotgun" spells that theoretically does massive damage since at GM level it hands out 9x 6+1d6/skill point damage... assuming all your projectiles hit the same thing, but the spread is really just too wide for that to ever happen. People praised it in MM6, too, but I still found way more use in the ones that just launched one big projectile that actually guaranteed did all its damage to something.
Control Undead: This would be great if A) condition spells worked and B) most undead weren't your allies when you have access to Dark Magic.
Pain Reflection: This is what you get instead of Day of the Gods, pretty much and... it's pretty decent! Anything that adds to what damage you do to enemies is good stuff, and that's technically what this does.
Sacrifice: Allows you to melt down an NPC hireling to fully restore the caster to 100% health, 100% SP, all conditions cured, etc. The caster of this, as it's a Master Dark Magic spell, will be either a Cleric or a Sorcerer. A Cleric can solve most of these problems in other ways... but I guess if you were doing an Ironman run of some sort, it might be okay for a Sorcerer to cast? Maybe? Very rarely? But probably no.
Dragon Breath: At 1d25/skill point worth of Dark magic damage, Dragon Breath is very much the "fuck you for existing and please stop existing"-spell against anything that isn't Dark Immune. It's like RAID, but for dragons and titans.
Armageddon: I think MM7 has all of one overworld area that doesn't also have a town where you could technically cast this, doing 50+skill worth of damage. Even casting it four times, the maximum number of casts per day, would, at most, take 25% HP off the average resident of that area. Don't cast this, dummy. The one use I can think of it is that casting it all four times in Bracada or Erathia would exactly wipe out even Royal Griffins. Decent if you don't want to have to really scour the place.
Souldrinker: Does 25+1d6/skill dark magic damage to all enemies in sight, both indoors and outdoors, and all this damage is transferred to the party as HP. It's absolutely a spell worth casting and, I suppose, if you have enough enemies in sight, it can replace some of a Cleric's healy powers in a Sorcerer's repetoire.
Light Magic
Light Bolt: 1d4/skill point Light damage and double damage to undead, it's actually not a bad spell for a Cleric to have as a lil' zappy thing. But honestly I think Zaggut would largely do better just hitting things with his damn flail.
Destroy Undead: 1d16/skill point Light damage but only to undead. This is absolutely a better spell to cast than Light Bolt pretty much always, especially since on the Light path you'll be dealing with a good number of liches and their ilk. THIS can probably outdamage Zaggut's weapon.
Dispel Magic: Removes buffs and debuffs on visible monsters. This will be useful never.
Paralyze: Waste an action failing to prevent one enemy from moving when you could just hit it with your weapon instead, thus permanently preventing it from moving again.
Summon Elemental: Now you, too, can trigger a Light Goo scenario. Allows you to summon, at GM Light, up to 5 Greater Light Elementals. They're not good enough to be worth summoning, really, unless you need a distraction while you run past enemies, I suppose. But then again you usually can't get past enemies.
Day of the Gods: Boosts all stats for every character by 10+5/skill point(at GM Light) which... is okay? There's no reason not to cast this. Ultimately Bless and Heroism will help you out more in terms of combat than raw stats, but you may as well take everything you can get.
Prismatic Light: 25+skill damage to all visible enemies indoors. I mean if you could see a huge shitload of enemies, this might be good? But usually you're better off just picking out the dangerous enemies(i.e. liches and such) and blasting them with Destroy Undead, or hitting them with a hammer. Like I hate to hammer this point over and over again, but with Heroism up, Zaggut's main weapon do way better damage than this! Especially when hasted!
Day of Protection: Puts up all the Resistance spells that you always forget to use, Wizard Eye and Featherfall, it also gets you better return per skill point than the basic resistance spells(x5 rather than x4, at GM tier). Since most end-game enemies do some kind of elemental damage, or cast elemental spells, it's worth casting.
Hour of Power: Casts Haste, Heroism, Shield, Stone Skin, and Bless on everyone. Shield and Stoneskin, once again, you'd never cast otherwise, but may as well. Haste, Heroism and Bless it, once again, gives better return for. Also saves you a lot of time in putting them up. Sadly nothing slaps Regeneration on the entire party at once.
Sunray: Outdoors-only where it drops 20+1d20/skill damage on a single target. It's pretty okay damage. Like nothing's bad about it. It costs 2.5x a single cast of Implosion, though, while doing only 2x the damage, so if you really do want to rely on long-ranged magic strafing, you'll get better ammo economy out of that in most cases, also Sunray still has a projectile which can miss.
Divine Intervention: It's the spell that unfucks everything which is fucked, fixing all the things and restoring all that can be restored. In most cases, though, if things are so fucked that you're considering casting this(max of three uses per day, ages the caster 10 years per cast), you should probably just reload, unless it's some sort of Ironman/honour thing where you wanna do it all with every death being canon. If you're gonna cast this, you might want a Druid along, since as far as I can tell there are no "remove all magical aging"-wells/fountains in MM7, and the only reliable way to remove the aging is Sacrifice(which you won't have if you have Divine Intervention) or GM Alchemy creations.