Part 8: Minefields And Artillery At SABINE
Heren posted:
There's a surprising amount of units in this game, more than I expecting. Are there even more coming or have we seen most everything by this point?
Yeah, there's really good variety in the units. My guess is that they don't have to worry about some units being made useless by others, since you're stuck with what they give you, and you have to make it useful - the Lenet is a prime example. Lack of deployment (and sadly multiplayer, though that was corrected in the sequels) meant there wouldn't be any metagame where players didn't build any tanks except Titans.
And of course they didn't have to worry about putting in
We've seen just about all of them, though. There are only four more, one of which will appear in this update, and one of which happens to be my favorite.
And you're right, the game is stingy with Giants, like it is with all good units

I'll put a list of units in the OP tomorrow.
---
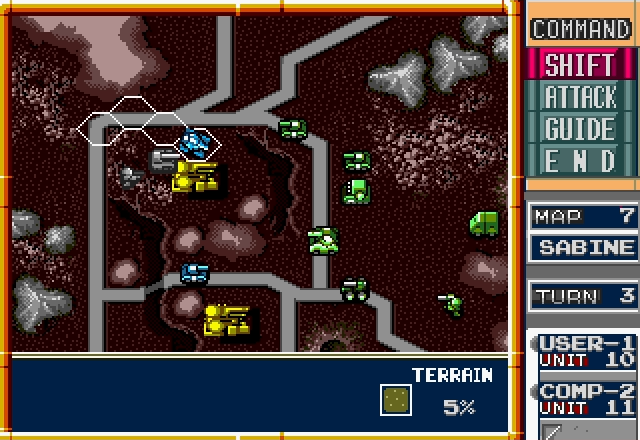
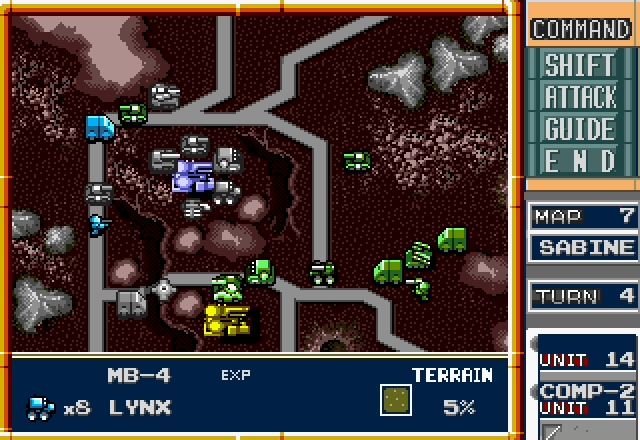
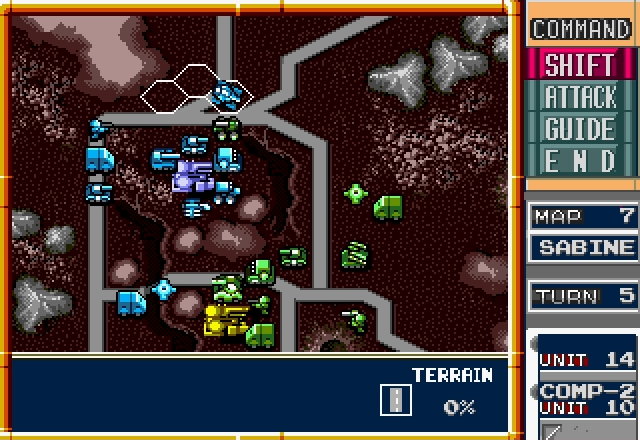
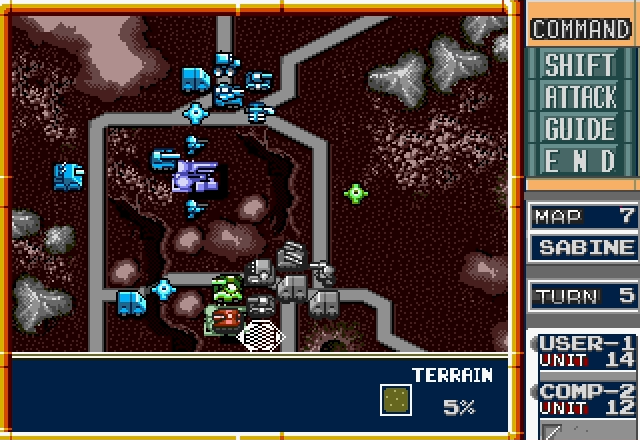
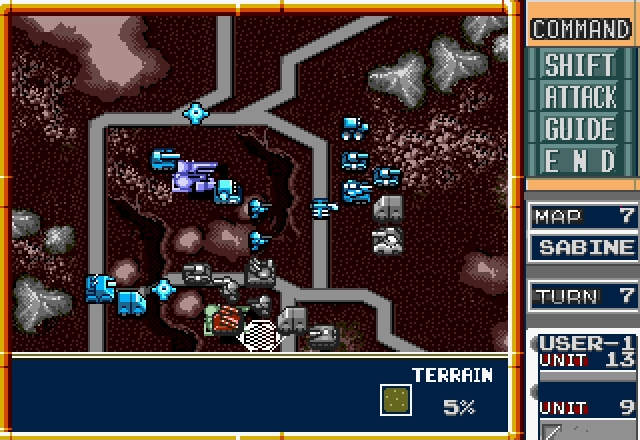
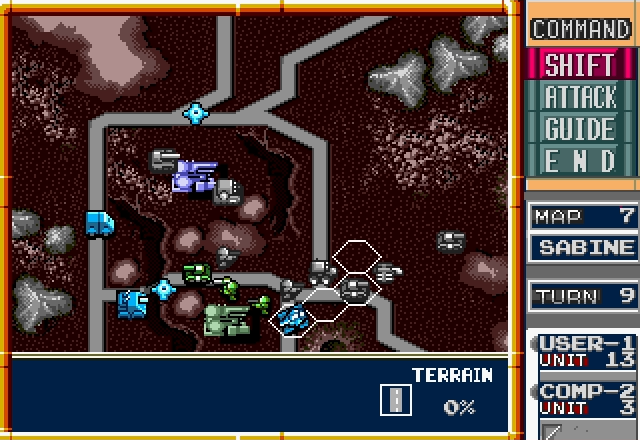
Stage 7 - SABINE

While Sabine isn't a particularly difficult level, it's still a step up from what we've been seeing, and it's the first one that really sets the tone for what to expect from later missions.

UNITS IN FACTORIES:
1 (Allies). Trigger, Trigger, Giant
2 (Axis). Mule, Charlie, Mule, Trigger, Rabbit, Hawkeye
3 (Neutral). Eagle, Bison, Octopus, Lynx
4 (Neutral). Bison, Slagger, Seeker
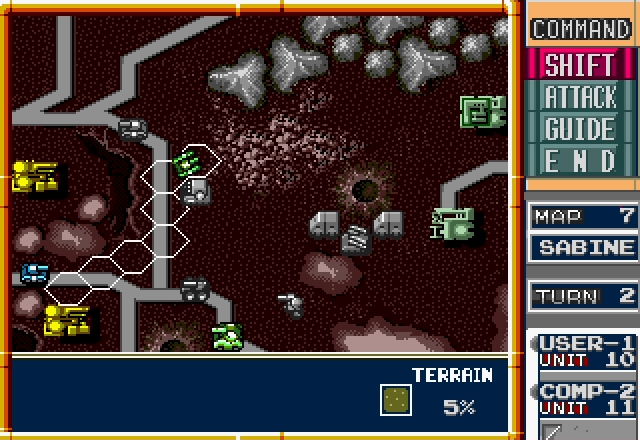
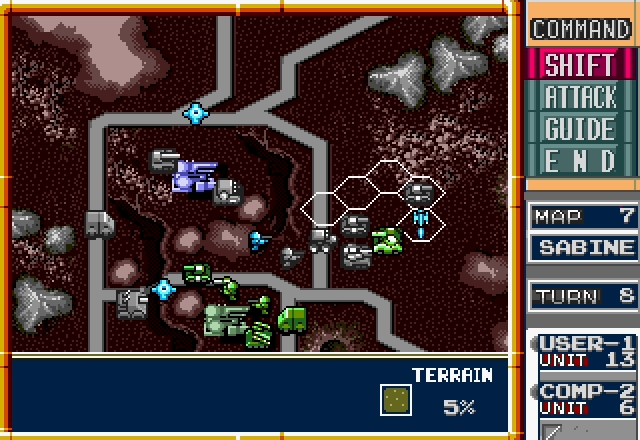
Basic strategy for this map is pretty straightforward: Take and hold Factory 3, keep the AI out of Factory 4 as long as possible. If we run into trouble, we have the Giant to reinforce us if we just hold out long enough.
While it is possible to capture Factory 4, and I've done it before, it isn't really worth the risk because the units it spits out aren't particularly threatening.
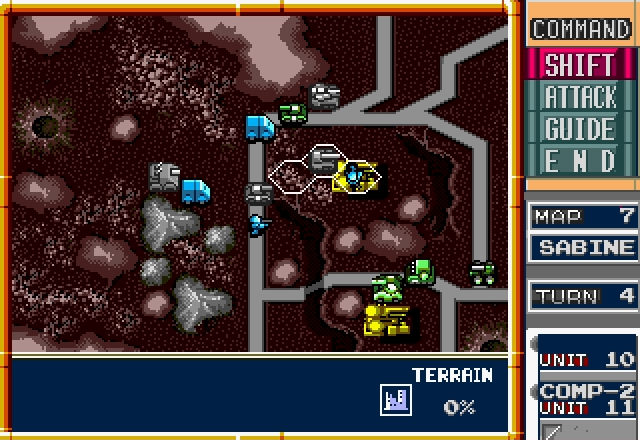
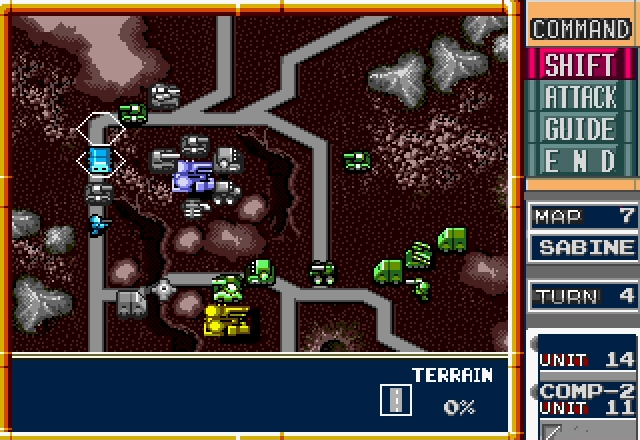
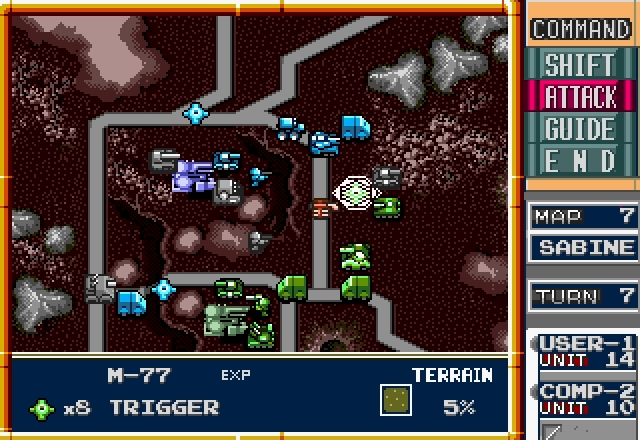
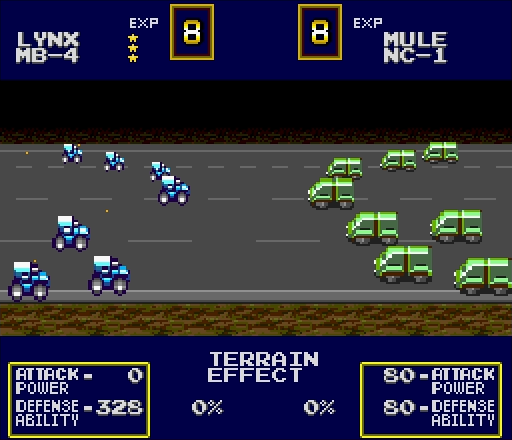
Now then, we've got a new unit on our side, called the Trigger. We can deploy it now, so let's see what it does.
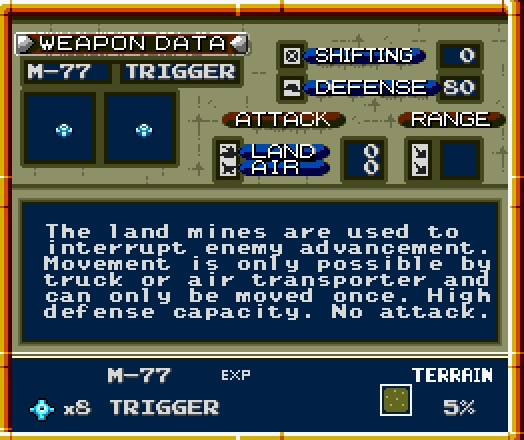
The Trigger's a rather unusual unit, but it's nice to have. Even though it's called a mine, it has no way to damage enemy units. Instead, its job is to get in the way and be a pain in the ass. Thanks to zone-of-control mechanics and a defense that's through the roof, a well-placed Trigger can grind enemy advancement to a halt until it's cleared.

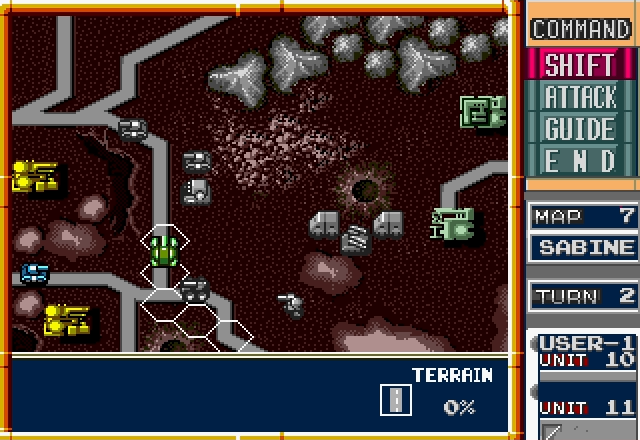
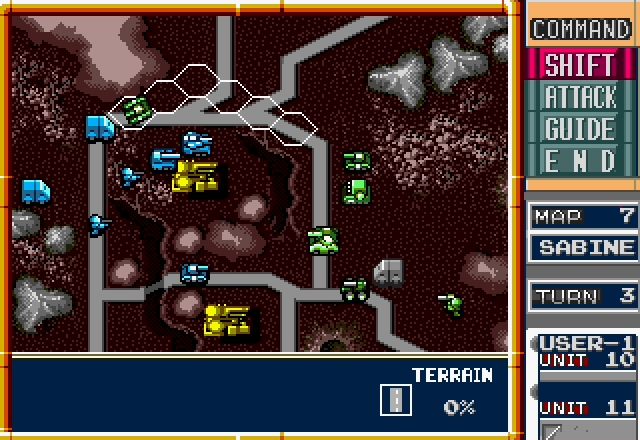
While we could load our Charlies into our Mules, they won't move any faster on rough terrain and that would leave our Triggers without any way to get out, so let's load those up instead.
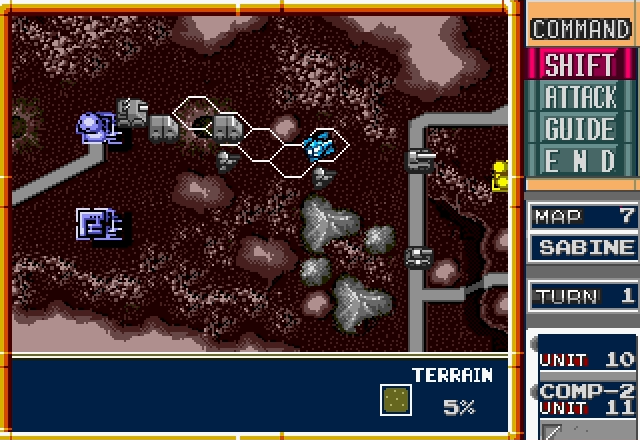
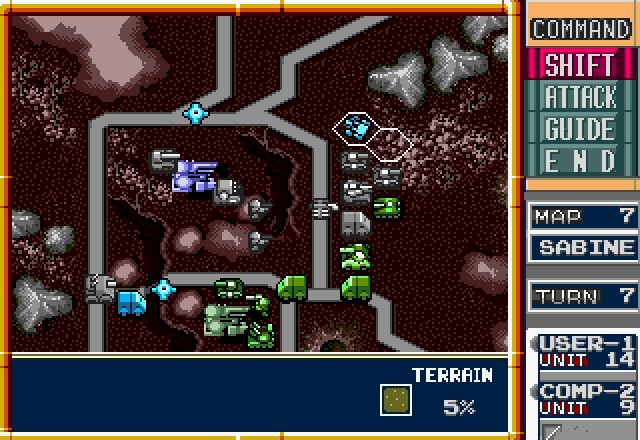
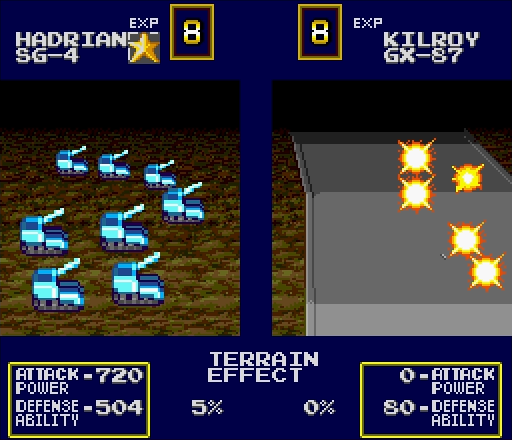
Next step, of course, is to move everyone up. The Bison will go to the south bridge to try to stall the enemy at the factory there, while the Hadrian will park itself and use the ravine to sit back and safely pick off enemy units.

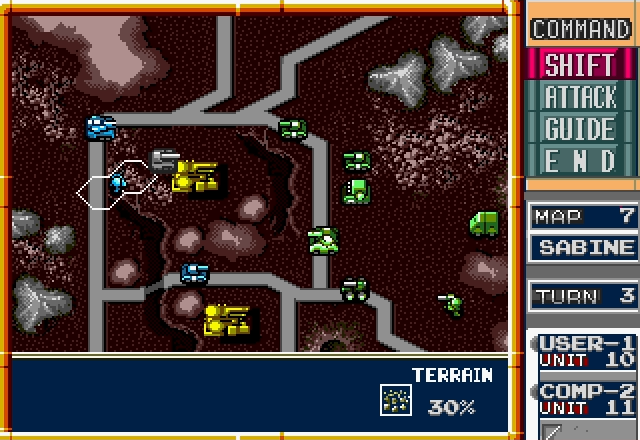
The enemy decides to send two Bisons down to my one, meaning I won't be able to push past the chokepoint.
It follows it up with a Polar for good measure, and then its units drop out of the factory. The Charlie's in the south Mule, the trigger in the one to the north.

At least the northern factory's pretty uncontested. We shouldn't run into any problems grabbing it, with the enemy sending all their forces south.
While that's going on, our Bison decides to create a nuisance.
It does a decent job of it.

The Giant is very slowly crawling toward the front, but our forward units will have to be the ones to take the factory.

I've gotta say, I don't like the look of that Rabbit, but I'm not about to complain if the enemy decides to send everything to that southern chokepoint.
...Well, shit. So much for that.
What? No! Stop it!


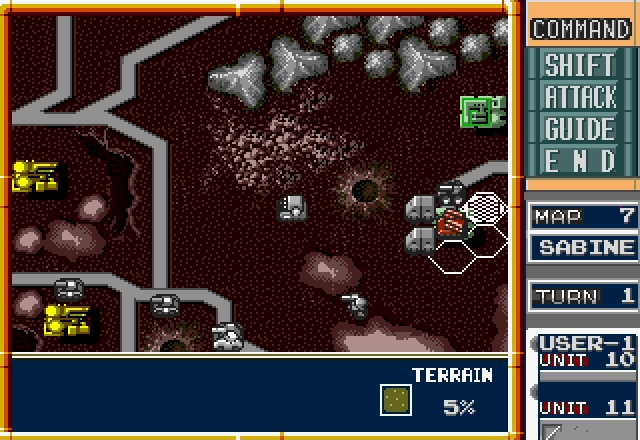
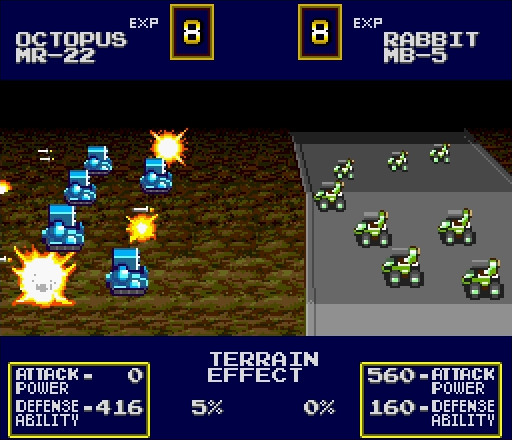
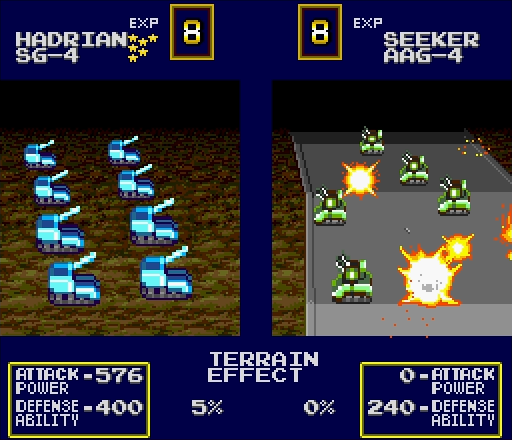
...Okay, this is where things get interesting, and it's a pretty clear demonstration that Sabine is the first map where, even if you know how the mechanics work, you can get overrun if you're not careful. The enemy has a very obvious firepower advantage.

Let's even the scale a bit. This Hadrian's going to be a strong contender for our MVP by the time this is over.
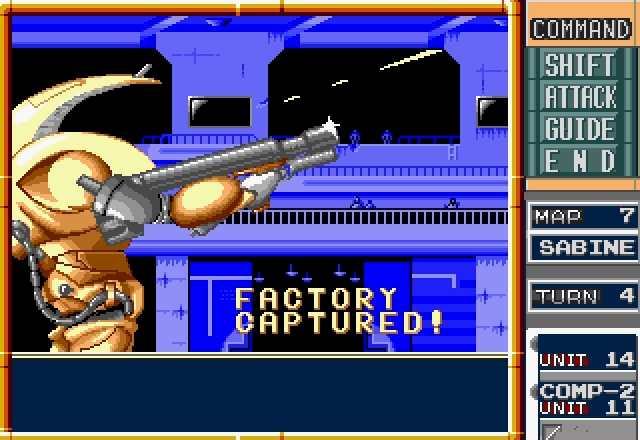
Unless something goes terribly wrong, our Charlie will have that factory next turn.
Grizzly moves up. Even if its attack power is its selling point, 50 defense is still a lot, and we need to keep the Hadrian safe.

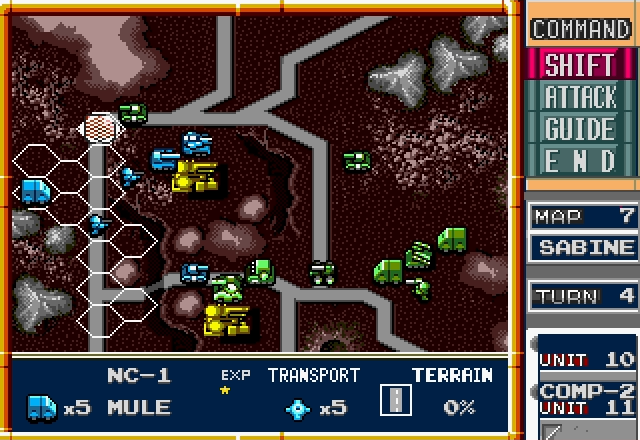
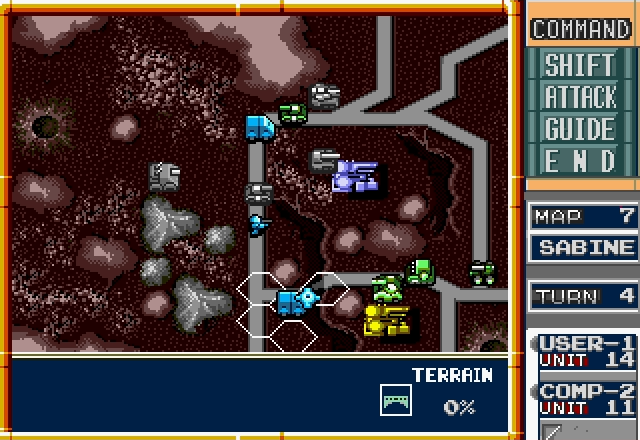
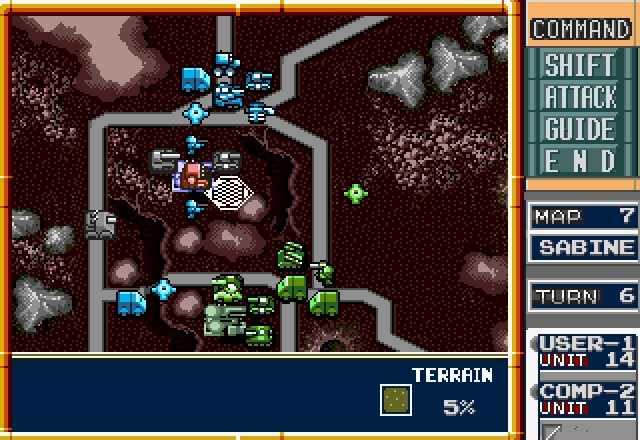
The Mules are coming, and a pair of Triggers should make things easier for our defenders. Meanwhile, one of our Charlies makes a break for the south factory. Even though he probably won't get it, he'll still ease the pressure on the northern front.
Gah! I wasn't expecting that, I was sure it'd target the Hadrian.

This actually isn't terrible, though. Sure, we lost 3 Triggers in this unit, but their defense is so high that even at 5HP, they'll create a major obstacle for the enemy.

Meanwhile, we get an unpleasant surprise to the south. I wasn't expecting it to go there, but I'm not going to complain here. I don't think I could've held the north if it went that way.

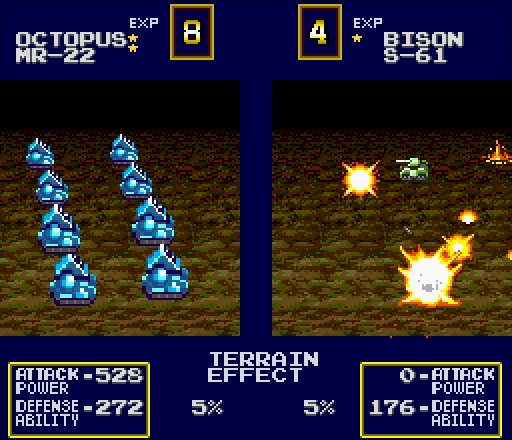
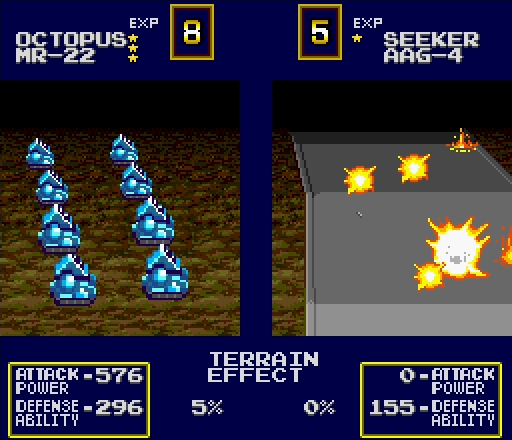
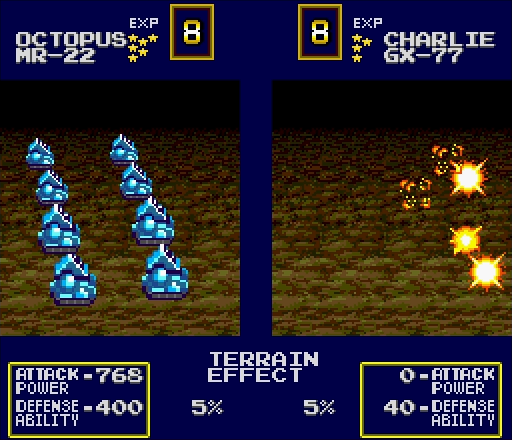
...Especially with that Octopus moving there. It can pretty much hit us anywhere in the center, and for a lot more damage than our Hadrian.
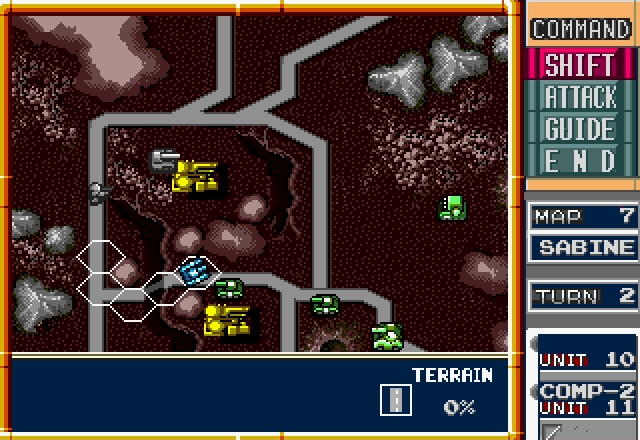
By this point the main strength of the enemy army's reached the center, and all we've got to fight it with is a few forward scouts. The kiddie gloves have come off.
This was pretty frustrating. I wanted to move my Mule ahead so it could drop off the Trigger, but it couldn't with the Bison in the way. I can't drop it on the hex directly south of the Bison because
 transports can only drop units on roads or plains
It's a bit of a long shot, but let's see if we can take out this tank and let our Mule move forward.
 So close, yet so far. At least it won't be causing any more trouble, Mule blocking aside.
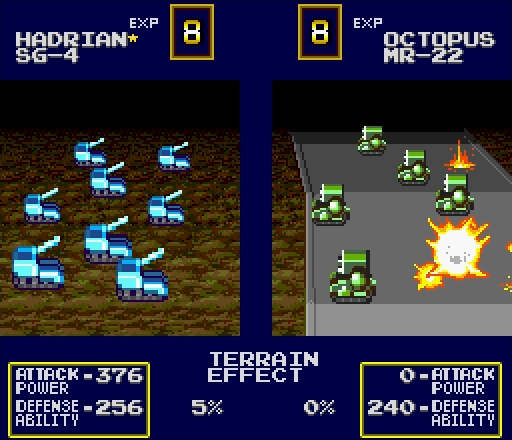
The Hadrian could've finished it off, but it has more pressing matters to attend to.

Now's as good a time as any to get our south tank out of harm's way.
This infantry also could have finished off the Bison, but it also had more important matters to attend to.
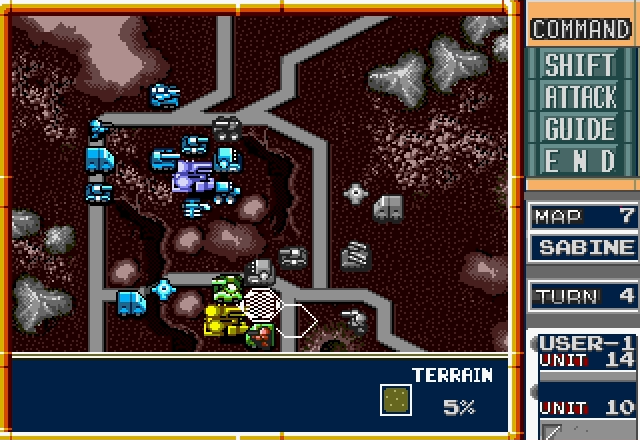
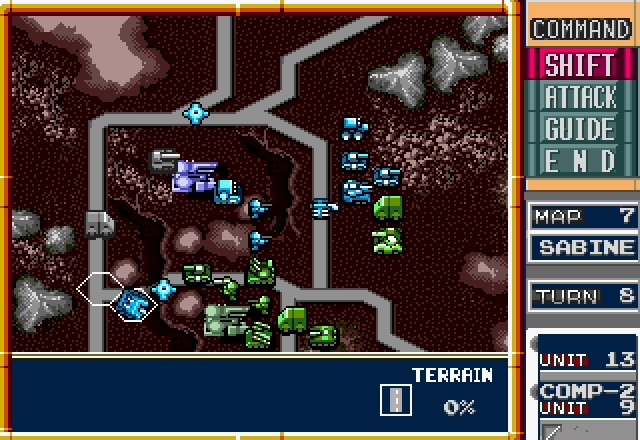
This one screenshot, right here, is pretty much the example of why Triggers are nice to have. With our Bison retreated, the enemy could've easily sent their Polar through and flanked our northern troops. Now that chokepoint is effectively a dead end for them - they have no air support and thus no way to get support/surround effect on the mine.

Capturing the factory to the north gives us a very welcome wave of reinforcements. With the enemy Octopus damaged, we've definitely got the edge in artillery.

With supporting fire from the Grizzly, our Charlie picks off the crippled enemy tank. We still didn't get to deploy our other Trigger this turn, but overall things are looking pretty good!

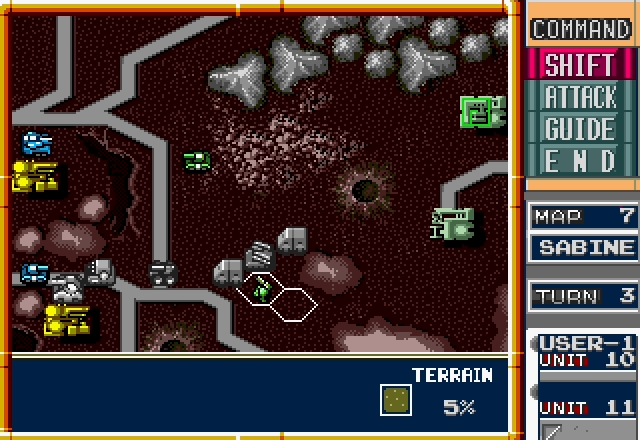
The enemy's Kilroy continues to creep towards the factory.
Oh, by the way, did you see my mistake here?

That's okay, neither did I. The AI sure did, though. Considering this was a Rabbit against an artillery unit, this could've gone a lot worse, but it's still annoying.

Eh. I was gonna send the Octopus in for repairs anyway, so as long as it survives, additional damage is just an experience star for it.
Two d'ohs in three screenshots isn't a good trend. I totally forgot about the Charlie the enemy was transporting, and now they'll get their factory a turn sooner than expected.
It's not like I could've done anything about it, though. We'll have to beat them in the south the hard way.
In the meantime, though, this Rabbit damaged our Octopus. Let's make that not worth it.

...And once again, we leave a unit at 1HP, where its ZoC can still cause trouble for us.


We'll deal with it in a minute. In the meantime, we'll send our damaged Bison in for repairs and drop a Trigger in case things go badly.
At least we can feed the kill to our Eagle. With the enemy's Hawkeye out, it can't really do much else, so it may as well get 2 free stars.
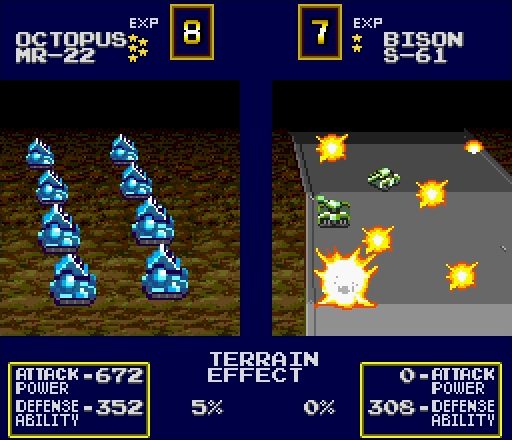
Hadrian continues its artillery duel with the enemy Octopus, and it's just about won. It'll probably hide in the factory next turn, but at least we've taken it out of the picture for now.

Hiding their Octopus in a factory, what kind of asshole does that?

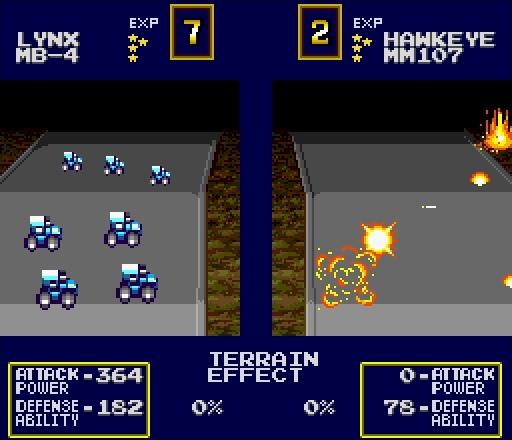
Our remaining units advance. We get a Lynx joining the fight, and our Charlies head towards the mountains to draw enemy fire.

Yep, saw that coming.

They don't deploy their units just yet, though. First, they push to the north, using a Trigger to cover their advance. Things just got trickier.
Well, the plan to draw the enemy fire worked better, and earlier, than I'd hoped!
The enemy AI hates infantry like Advance Wars' AI hates APCs. This can be a good or bad thing depending on the situation. In this case, it's definitely a good thing.

The Bison ours had a shootout with earlier goes into the factory.
Fresh units come out. Nothing too threatening, although that Seeker will make things even harder for our Eagle once it arrives.

We start our next turn and look, our Giant is finally close to joining the fight!
As predicted, the Hadrian finishes off the Octopus. The only artillery left on the map is ours

Speaking of, let's get our Octopus back out now that it's at full strength again.

Since we don't have to deal with the Seeker yet, our Eagle pops into the Hawkeye's range shadow and hits it hard.

Our tanks and Lynx push east, along with whatever direct attacking forces we can cobble together. In retrospect, I would've probably been better off hanging back and letting my artillery do the job, but I was getting impatient.

The enemy's turn comes again, and unsurprisingly they retreat their Hawkeye. At least I've made it unusable for a couple turns.

Then they push to the east to meet my forces there.
The Kilroy keeps heading towards the factory for, uh, some reason.

With the Seeker out, Our Eagle still isn't completely safe. Still, it has full health and a few experience stars, so it should be able to punish the Seeker if it attacks.

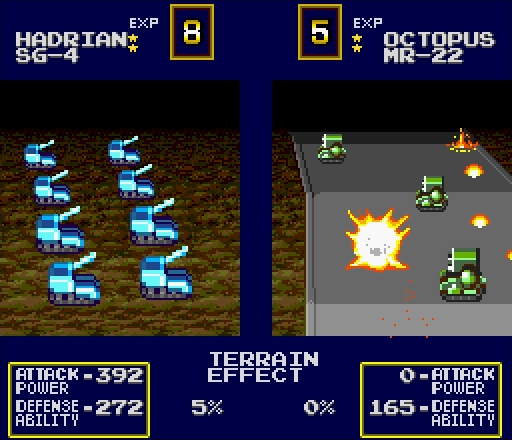
Our turn rolls around again, and the first unit to act is our Hadrian. We can shoot a Bison, or we can shoot a Bison.

An experienced artillery unit is a wonderful, terrifying thing.
Stop leaving units at 1HP damnit

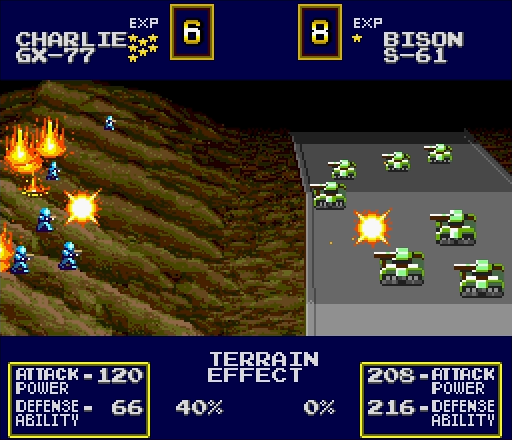
Man, how embarrassing is it when Charlies have to pick up your slack?
Now that that's taken care of, let's open up the fight in the east. It'll go a lot smoother if we can smash these Triggers.

Normally I'd complain about one being left alive, but, well, they're Triggers. This is better than I'd hope for against them.

Our Bison that we'd just deployed from the factory finishes the job.

And our Grizzly slags the Slagger.

Oh for...wait, never mind, Lynx. Carry on, then.
Then we have it retreat because, well, why not?
The enemy's turn comes, and their Slagger makes a break for their factory.

Ow, Polars hurt. Still, it could've torched far worse things than an empty Mule.

And the Seeker, in range to attack my Eagle, uh...does nothing.

...And then the Mule goes in for a suicide attack.
Sometimes, the AI's competent. Sometimes it's stupid. And sometimes, it's incomprehensible.
The Hawkeye comes out, and while it'll create problems for my Eagle again, it can't reach everywhere.
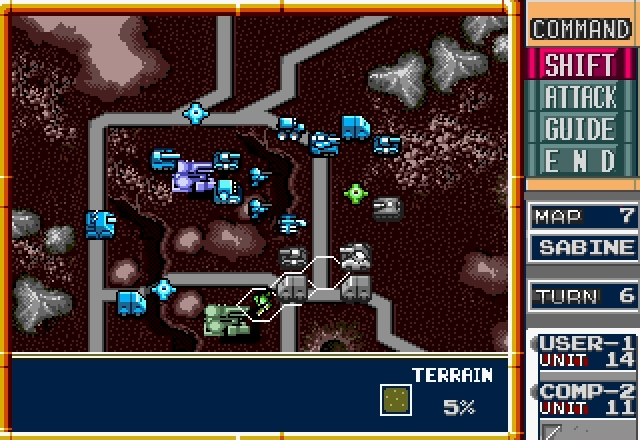
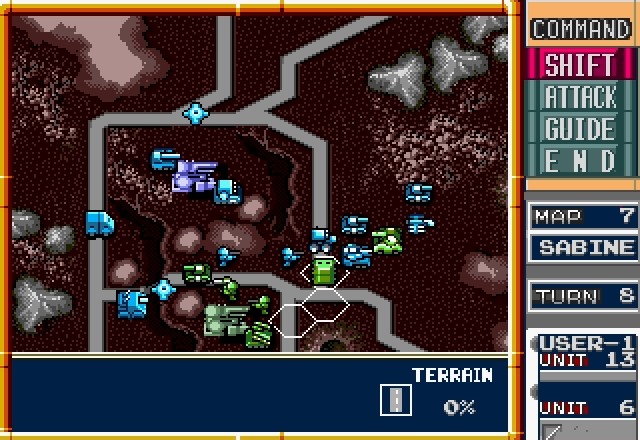
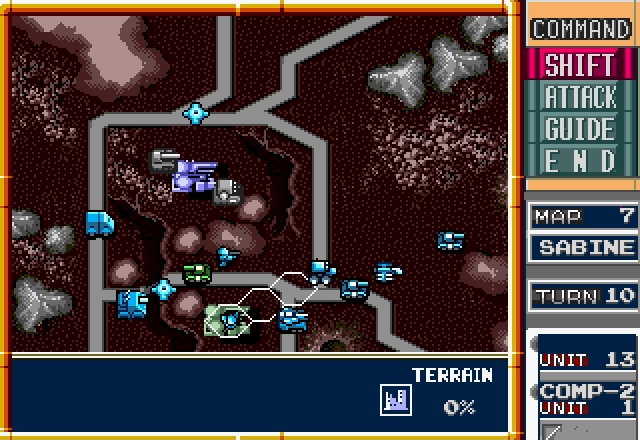
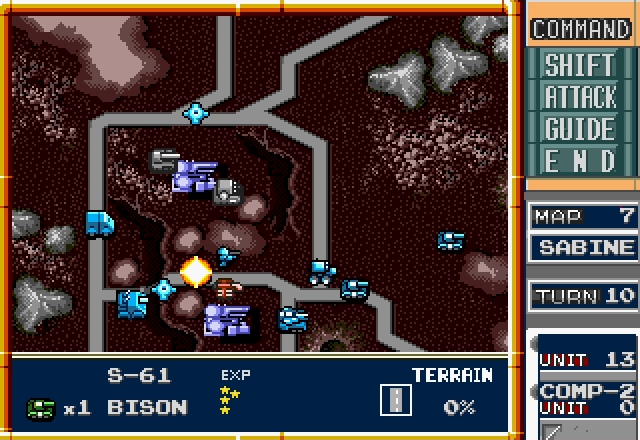
This is the situation at the start of our turn. How do we respond?
I think that's a good way to start.
And here my Trigger placement backfires: with that enemy Bison on the other side, my Giant can't get through. My most powerful unit is stuck and useless now.


But hey, keep this up and I won't even need it.

This one didn't go quite as well, but it's an unsupported Grizzly against a Polar, so giving and taking equal damage isn't anything to gripe about.
Especially with our Eagle swooping in to finish it off. The Polar doesn't stand a chance, right?

...
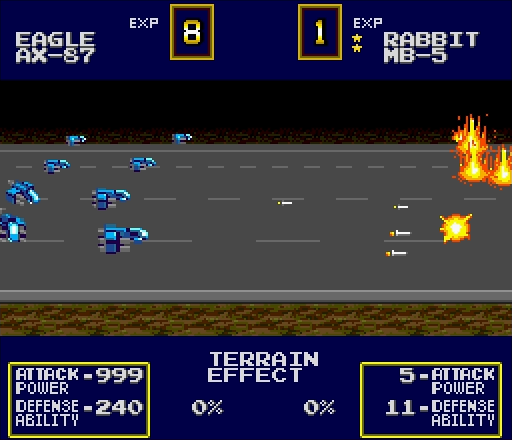
Okay Military Madness, now you're just fucking with me.

Seriously, did you see that? I had 999 attack and I did 1 fucking damage!
I mean, it wasn't against a Trigger or anything! It was a tank I had surrounded! I...I just...how does that happen?!
Like, how fucking wide is this RNG's...
...Oh, sorry. Anyway, where was I? Oh yeah, enemy's turn, they attack with a Mule.
It does as much damage attacking a heavily supported Lynx as my Eagle did against a surrounded Polar.

The crippled Polar, seeing it's getting cut off from the western base, scrambles back to the east to repair.
And with that, it's our turn again, and you know what that means it's time for.

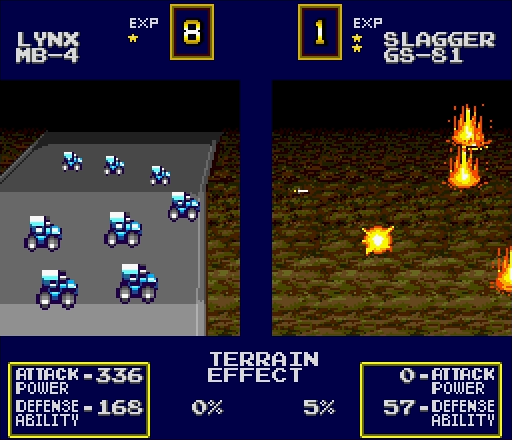
Remember kids, always take care of your artillery. It'll return the favor.

We get the Polar surrounded again, and this time the battle ends the way it should.

Our Bison attacks the enemy Mule, and meets the usual amount of resistance.

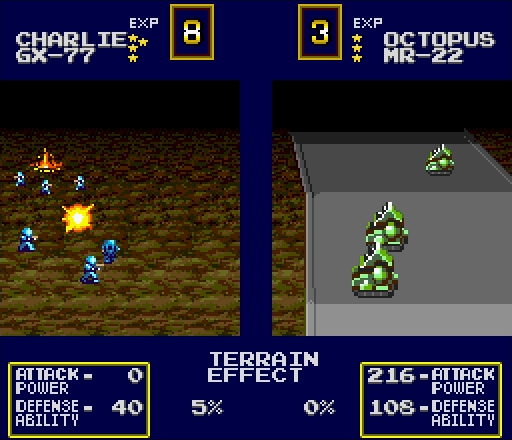
Meanwhile, our Charlies demonstrate why the surround effect, while powerful, is not an "I win" button.

Luckily our other Charlie unit fares better against a more heavily armored target. Somehow.
If the enemy still had any chance of victory, they just lost it here. They don't have any air defense left.
Yeah, I think we all realize this is over.

That goes for the AI, too, because it doesn't do anything this turn. The battle's over, let the turkey shoot begin.
World War II on the moon has become World War I on the moon.

I didn't need to do this, but damnit, it felt good!

And despite a dangerous starting position, Sabine is another Allied victory!
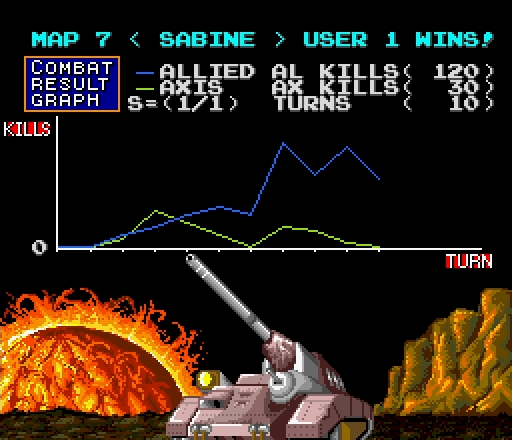
Actually, considering how tricky this mission can be, I'm surprised how heavily the casualties were skewed in my favor. Not about to complain, though.
NEXT TIME: Get the factory or die at ARATUS.