Part 12: Tanks Leading The Way At PASCAL
Thanks bodz")
---
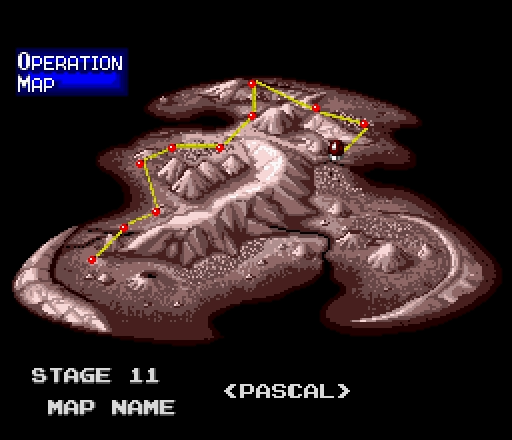
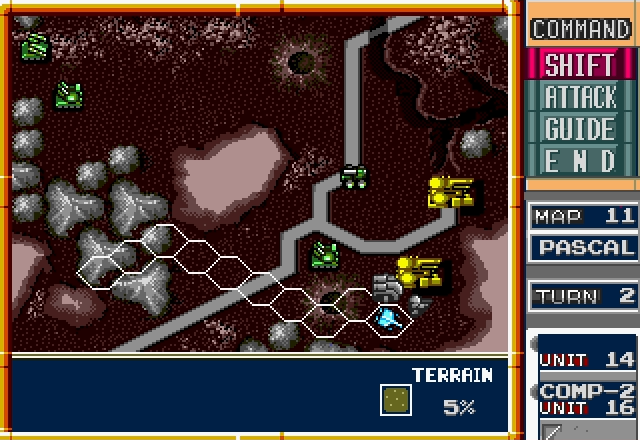
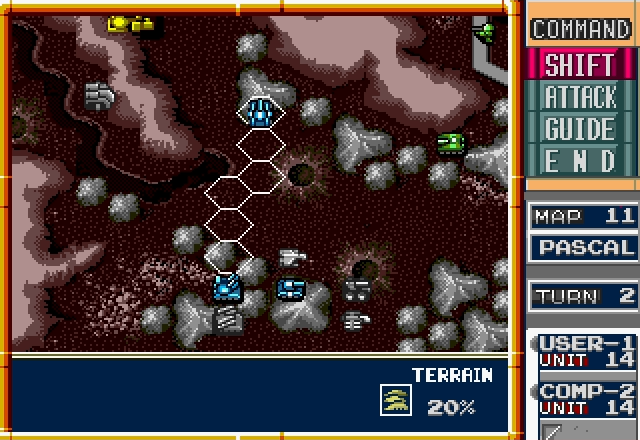
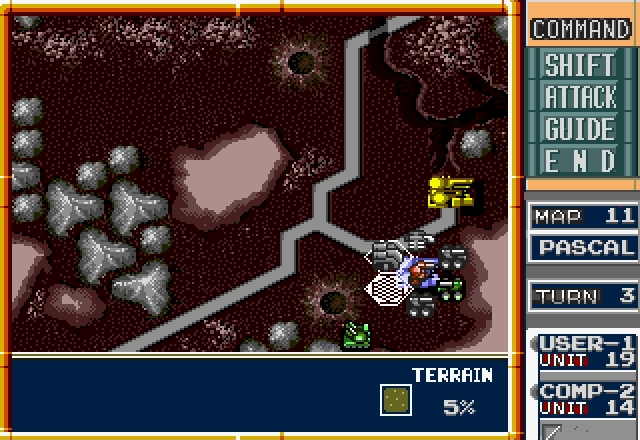
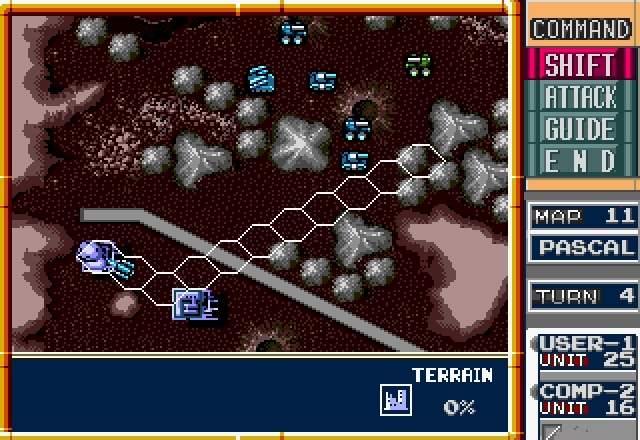
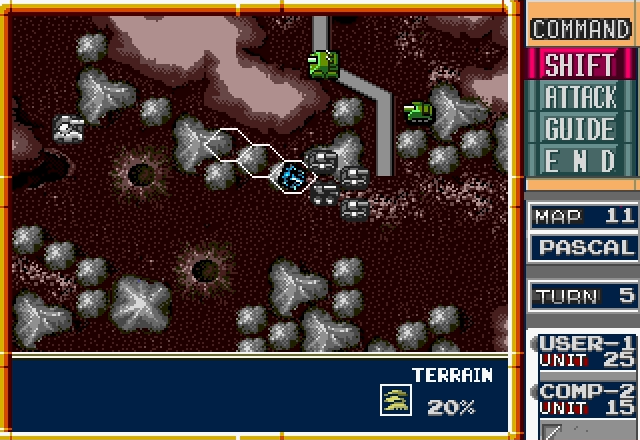
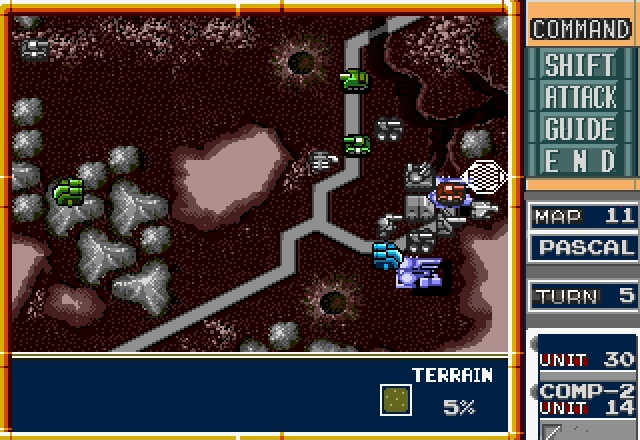
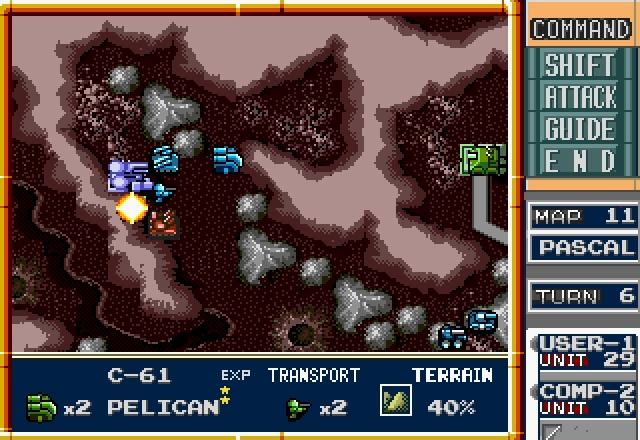
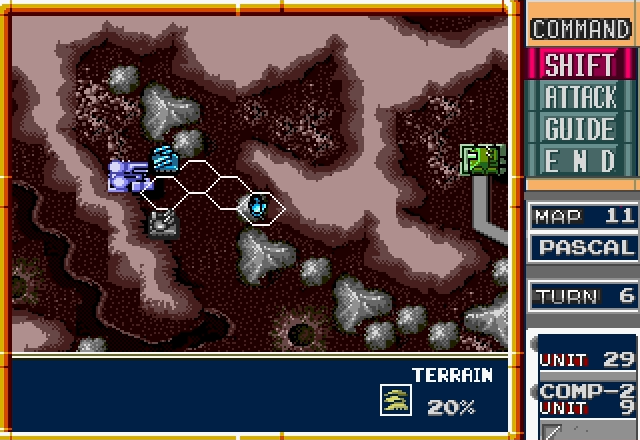
Stage 11 - PASCAL
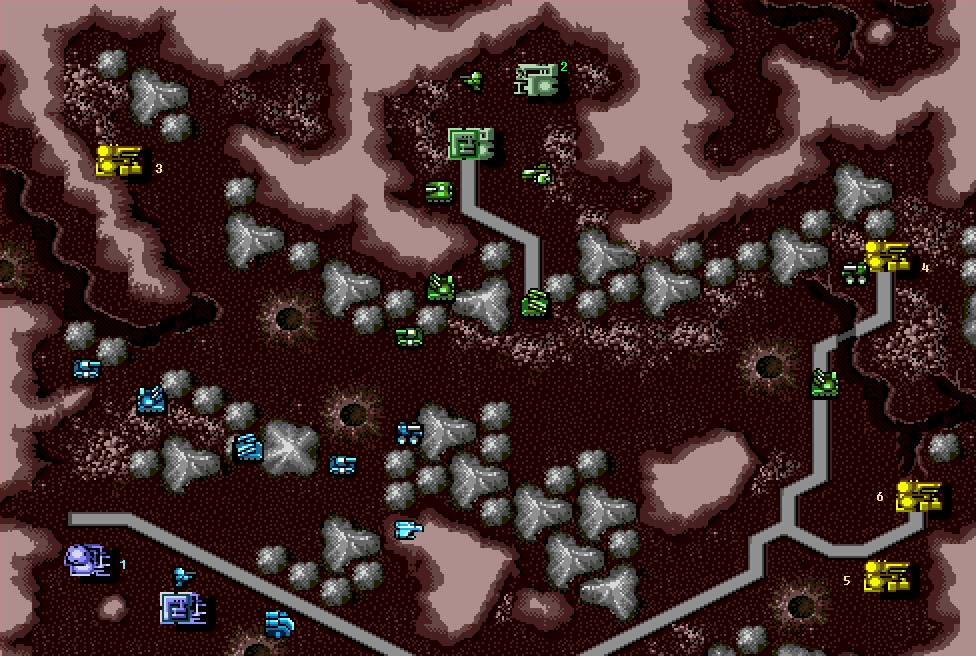
UNITS IN FACTORIES:
1 (Allies). Falcon, Pelican, Charlie, Eagle, Bison, Rabbit
2 (Axis). Titan, Pelican, Charlie, Giant, Hunter, Pelican, Charlie, Rabbit
3 (Neutral). Polar, Lenet, Octopus, Slagger, Hadrian, Hawkeye
4 (Neutral). Titan, Hunter, Bison, Slagger, Mule, Atlas, Panther, Trigger
5 (Neutral). Eagle, Rabbit, Rabbit, Mule, Kilroy
6 (Neutral). Seeker, Bison, Lynx, Mule, Atlas
If you let this mission play out the way it's supposed to, you will probably grab Factory 3 and the Axis will take the other neutral ones. While the units you start with are tiding back the massive Axis army that pours in from the east, your units in factory 3 will sneak into their relatively isolated Prison Camp, trash any stray units they have protecting it, and capture it.
We won't be letting this mission play out the way it's supposed to.


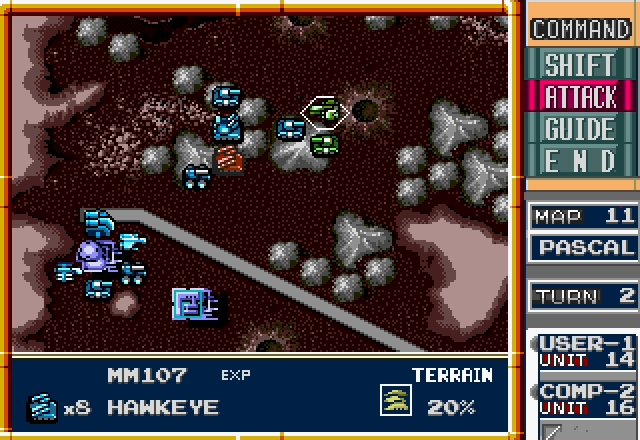
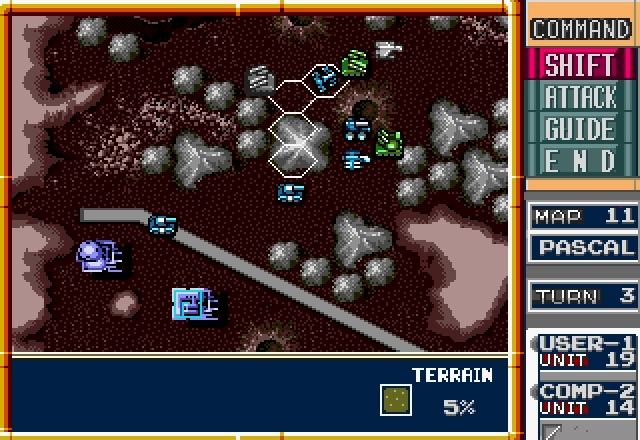
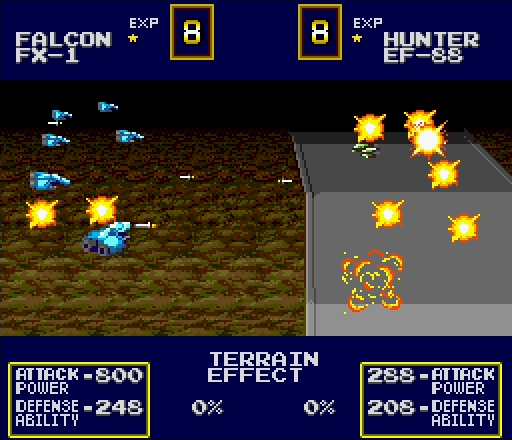
I'm sure you can see the idea here. It actually takes the enemy awhile to send any sort of real force to the southeast factories, so if you make good use of your Falcon and Pelican, you can keep the Charlie alive long enough to grab them. The Falcon is an absolute must if you don't want the Hunter tearing up your Pelican mid-flight.

Back in the southwest, everyone gets in line to hold off the Axis forces coming from their Prison Camp. It's best not to advance so quickly, so you can draw them away from what they're supposed to be defending.
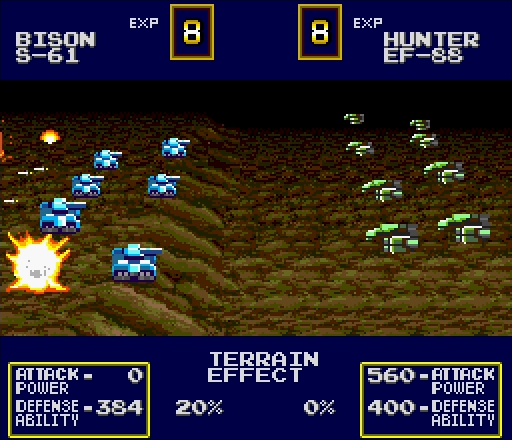
Luckily the enemy Hunter decides to go for one of my tanks rather than my Pelican, which would've complicated things pretty quickly. It's in range of a Seeker and a Hawkeye now, so it'll be dead soon.
The Bison we put on point takes a beating, but it's done its job.

The Axis doesn't do much else this turn, aside from unloading units from their factory. The Pelican is carrying a Charlie, and it (along with the Hunter) is going to complicate getting Factory 3.
Dropping off the Charlie to the southeast goes off without a hitch, but this is still a tricky position. Depending on how lucky the Rabbit is and what the Seeker decides to do, he might die a pointless death because of my
 .
.
Nothing we can do about that now, though. Let's focus on what we can change!

More specifically, let's focus on changing these eight Hunters into eight slag piles. We're halfway there already!
No, I have no idea why I was in the middle of carrying out an attack and then suddenly decided I really, really needed to move my Pelican. But hey, at least it looks like we'll get the factory!

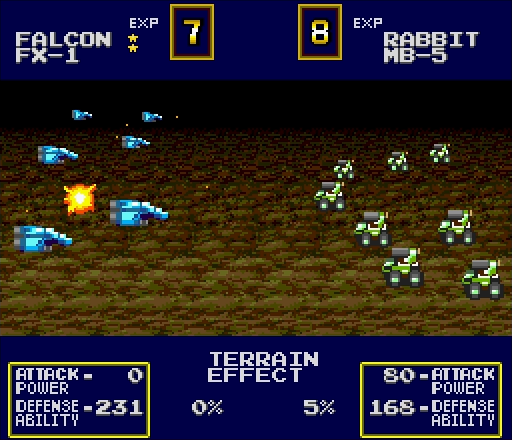
Back to more exciting things, now that the Hunter is crippled, our Eagle swoops behind the Bison and bombs it.

Our Rabbit gets some free Exp for finishing it off, then surrounds the Hunter.

Man, why can't the Allies ever get any Hunters? We wouldn't waste them.
With the Hunter gone we're free to advance. I decided to sent a Bison northwest in case the enemy made a run for the factory.

This other Bison is at 3HP, so in for repairs it goes.

The Axis starts off dropping a Charlie by the factory. Nothing too exciting so far.

Okay, okay, not a problem. 2HP Charlies can take factories as quickly as 8HP ones can. As long as the Seeker doesn't attack him, he'll be okay.

Whew.
I'm not too worried for that Seeker, since I've got better ways to shoot down aircraft.

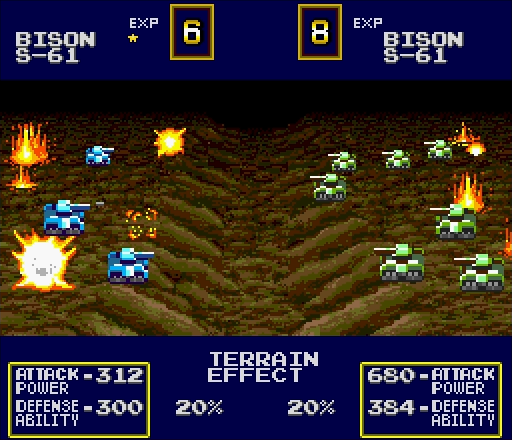
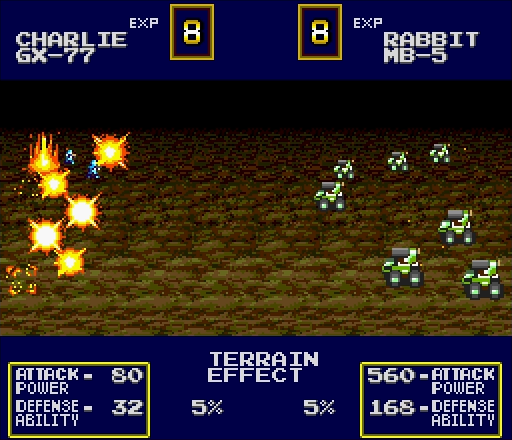
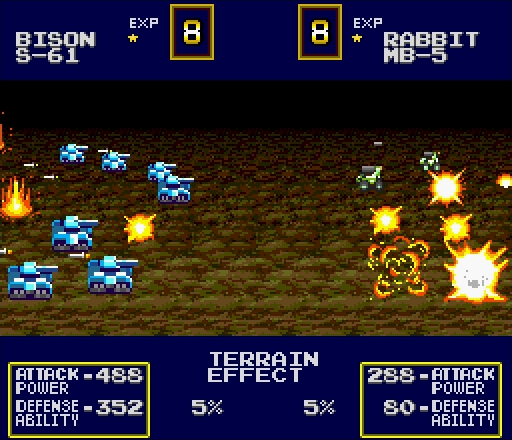
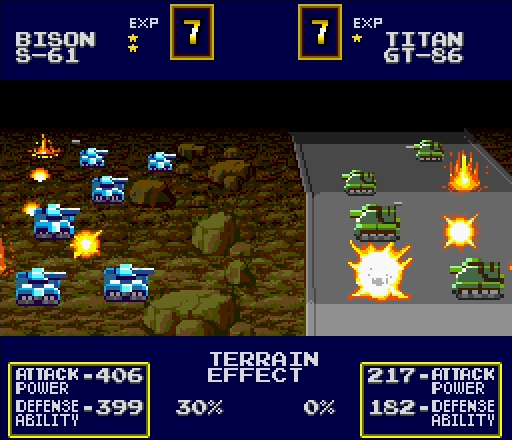
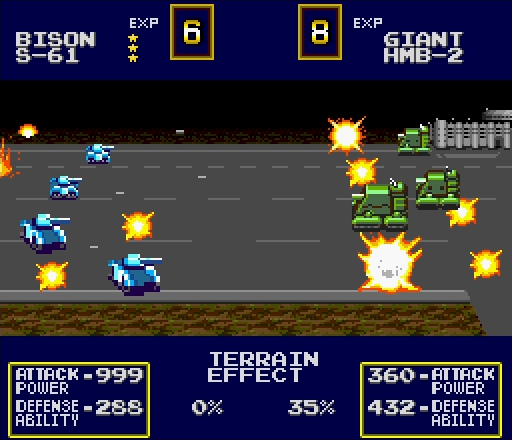
That's a lot of damage, on both sides. These guys must hate each other.

The AI rounds off its turn by sending its prison guards away from their duty to attack me. Priorities, huh?
In the southeast, our Charlie captures the factory and all of our best attackers pile out. That Rabbit and Seeker are as good as dead.

On the opposite corner of the map, our Charlie lands next to the factory, and there's really no way the Axis can stop him from grabbing it. The Seeker heads northwest to shoot down any Pelicans that come its way and to get the hell away from the enemy Slagger.
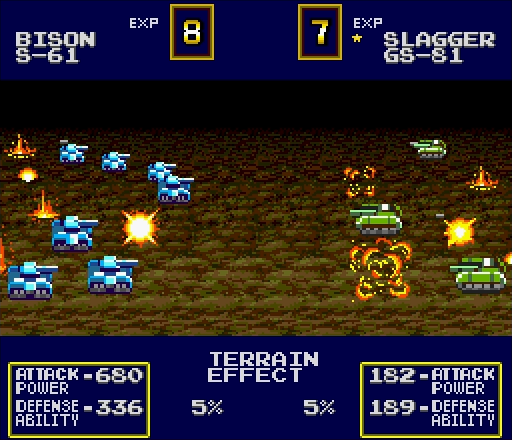
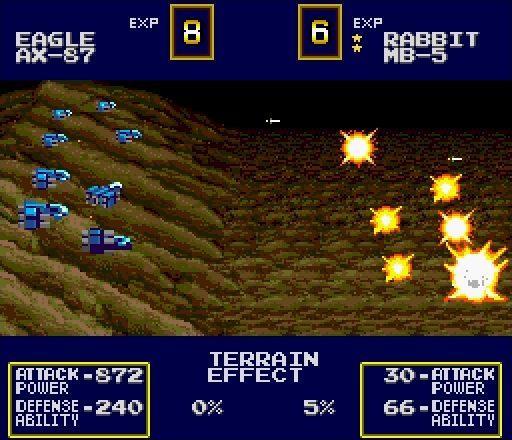
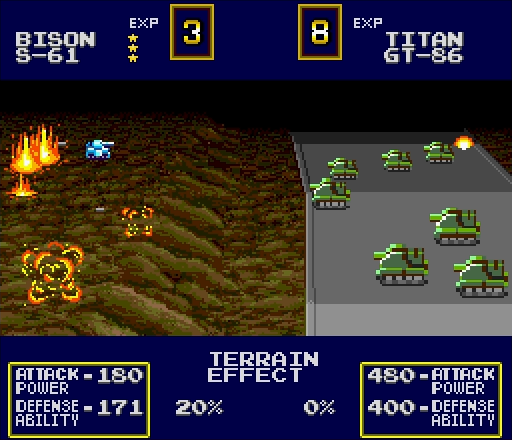
The Axis, somehow, got the bright idea to rush our tanks with anti-air guns.

I was hoping for a bit more damage than that, but there's plenty of firepower to go around.
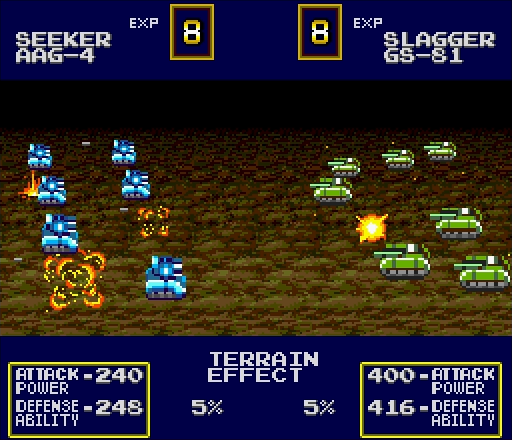
To the north, we surround the Slagger and leave it hurting pretty badly.

This Bison was at 3HP, but I think it can stick around long enough to finish off the Seeker.


This wouldn't bother me as much if my Eagle weren't at 3HP.

But hey, at least these enemy units won't be going anywhere anytime soon!

Especially that one.

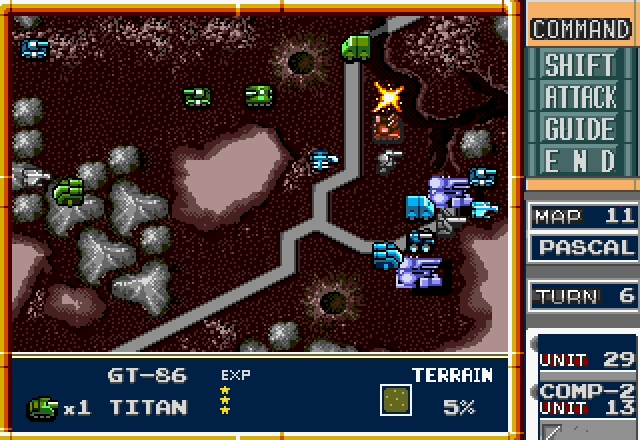
Not surprisingly, the Axis grab the factory they made a run for. Let's make sure it's the only one they get.

Well, the Hunter that was guarding the prison camp decided to pay my northwest Charlie a visit. That makes the second time this mission that one of my capturing units almost died.
Also, they make the worst possible use of their Rabbit.

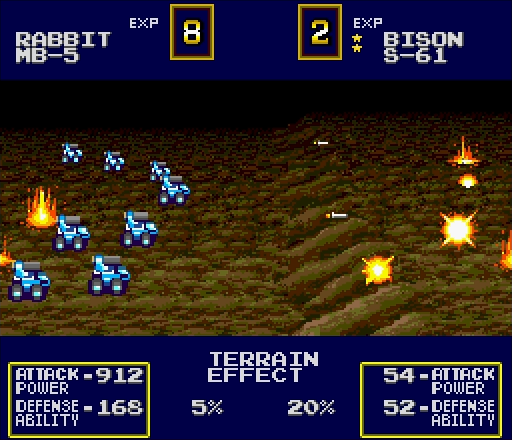
Meanwhile in the southeast, the enemy decides to do as much damage as possible on the way out.
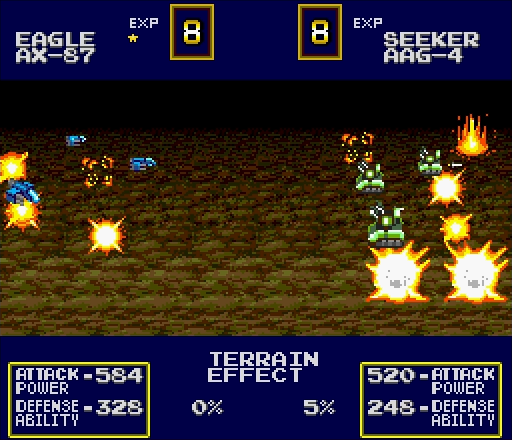
...Yeah, take a look at those numbers. That RNG bullshit I was complaining about a few screens back? I'm gonna go ahead and forgive Military Madness since it gave me this.

Since that Rabbit's next to a factory, in the long run the enemy didn't really do any damage at all. Rock on, blue bunny


This Eagle probably should've retreated, but it had some revenge (and exp) to get.

The last thing we do this turn is blow up their Slagger. We've actually got more or less an open path to their prison camp already.

Fun fact: that Pelican actually spent several turns just sitting there. Why they decided to send it out now of all times, I have no clue.

They also deploy some units from their northeast factory, and really, that's all they can do this turn.
We crush their units to the southeast in short order, but not a moment too soon. After all, before too long we'll have another Hunter to deal with.

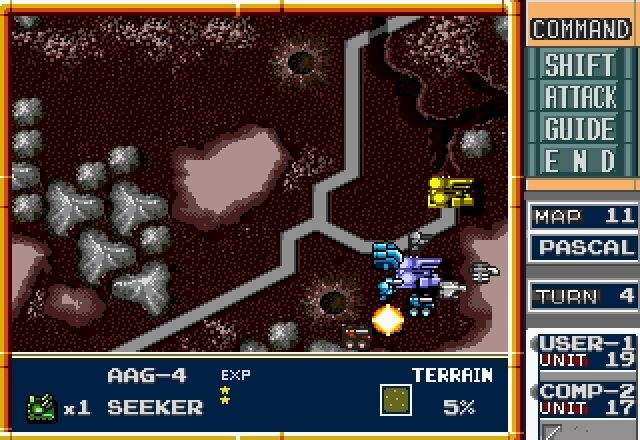
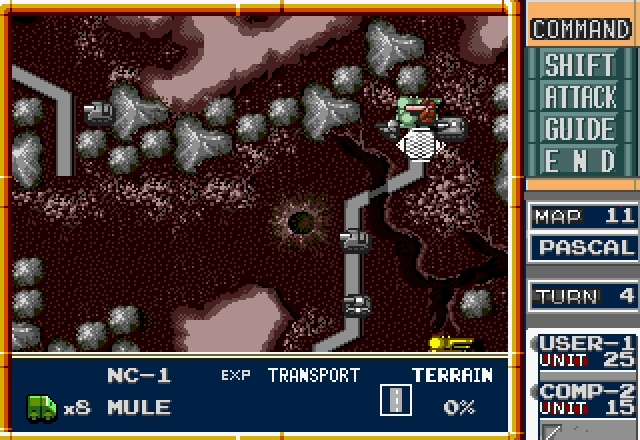
Rabbit goes in the factory, Mule comes out, and if all goes as planned, that Kilroy will capture the other factory next turn.
No, I don't know how an unarmed troop transport can help surround an enemy heavy fighter/bomber

because I don't believe in questioning good fortune

I think I can safely say that if that Pelican ever posed any threat, it's been permanently shut down.
Now that its vendetta's been settled, the Eagle can head back for some overdue repairs.
Since that enemy Rabbit decided to charge in all by itself, it's left to face our Bisons.

It fares almost as well as an actual rabbit would against an actual bison herd.

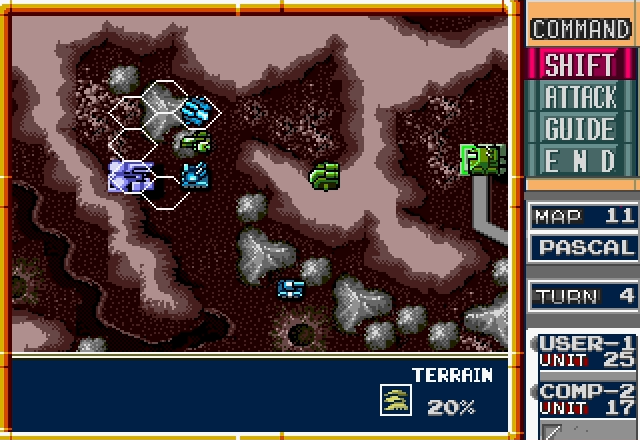
And finally, everyone moves in a line, preparing to charge the enemy prison camp.

"Charlies the enemy almost killed" count: 3

Apparently this Pelican is under the impression that it can still do something.

This one can, though! I've left my prison camp wide open!

Back east, things are getting more complicated - the enemy's just loaded their Atlas.

Right, time for a mad rush to defend the prison camp. Good thing I sent this Eagle back for repairs!

While we're at it, let's bring in a Hawkeye to put more pressure on them.

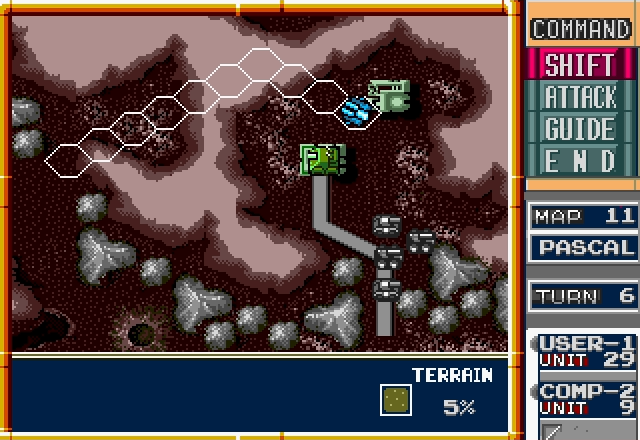
The Pelican in the northwest may not be important, but at least I can shoot at it this turn.

With our forces to the south advancing on the enemy prison camp, it's time to go for the kill.
Even with one of those Bisons at 3HP, I think we can pull this off. These units aren't that special, but even ordinary tanks are terrifying in these numbers.
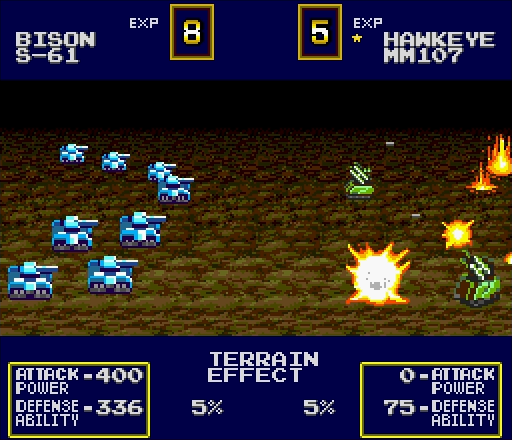
Back east, we cripple their last enemy Hunter. It's surrounded and has a Falcon bearing down on it, so any air attack will definitely kill it. Who gets the honor?

I've actually gotten a full star Mule before. I needed every available shooter that badly.
That's...a bit underwhelming honestly, considering that Bison's got a Rabbit surrounding it on the opposite side.
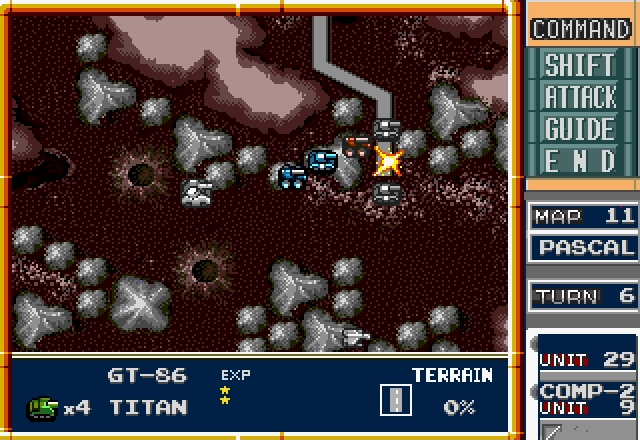
Just like the last mission, I dead-drop an Atlas right out of its factory here. It's not nearly as big of an issue this time, though, since this one has 5 places to get out instead of 2.
At any rate, it seems like we've got a good position here in the east. How will the Axis respond?

Well, at least he did some damage on the way out.
Back near the prison camp, it seems our damaged Bison's learned the Axis secret behind taking a stupid amount of shots to kill.

Overall, things aren't going as smoothly as they first seemed. With my east lines smashed, they're sending units west to flank my prison camp attackers.

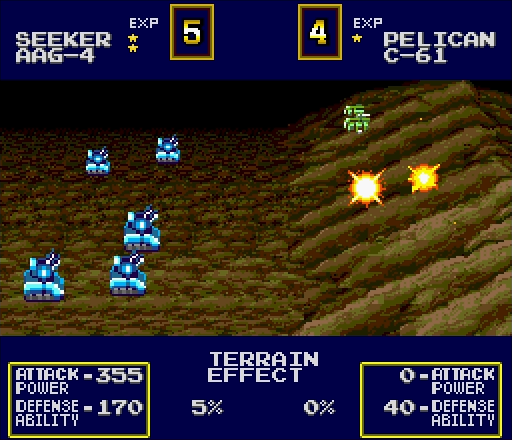
In happier news, we just blew up 7 aircraft with 5 missiles! These were the Pelicans trying to land a Charlie at our prison camp. Even if it managed to land now, there's no way it's survive with the Eagle nearby.
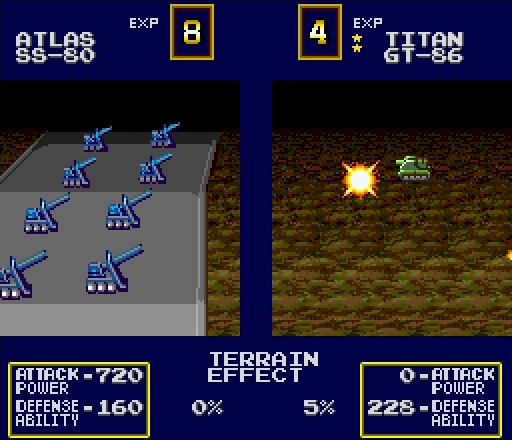
To the east, the Atlas demonstrates why it's worth giving up a deployment spot for.
It's true I could've used a unit that would get more out of the exp to do this, but my best weapons have a more important job.

They're taking out the Slagger...

...with the power of TEAMWORK!
We also toast a Pelican, which isn't particularly important but that Seeker needed something to do.
With most of the other shit dealt with, it's finally time to make the last push to their prison camp.
The 1HP Bison helped surround the Titan, because even if I retreated it now, there's no way it'd get back to the front before things were over.

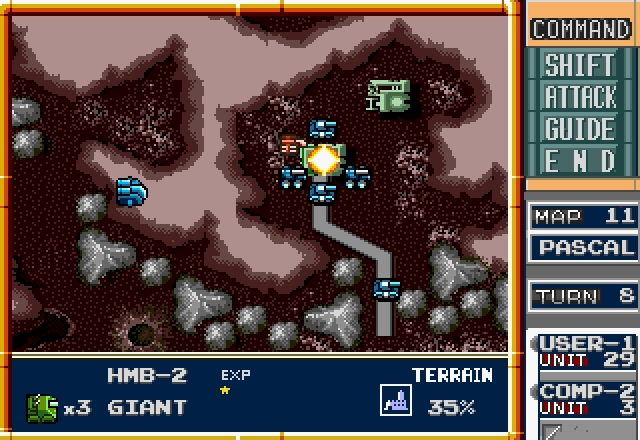
Now comes the tricky part. A Giant on a prison camp is going to have ungodly high defense, and we'll need every unit available surrounding and shooting it.
May as well bring over the...um...shit, what happened to the Charlie that was in this?

Yeah, I forgot to actually load the Charlie into the Pelican before sending it over there. Thankfully this is pretty much over anyway, otherwise that could've been catastrophic.

Despite getting shot to pieces, the Pelican decides to press on towards the Allied prison camp.

It doesn't get there.

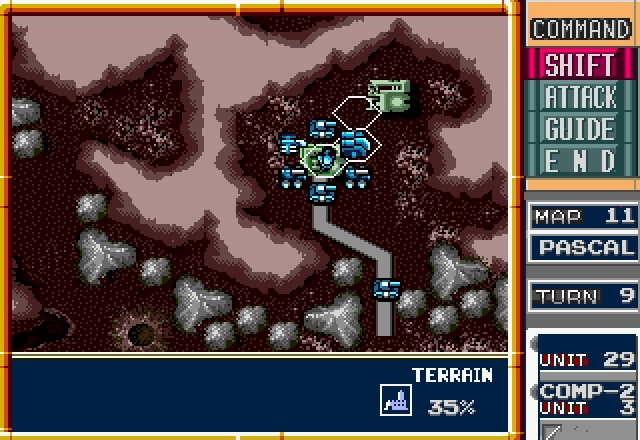
Meanwhile, over at the enemy's camp, we actually put the Charlie in the Pelican this time and surround their Giant. Here goes!
Yep, I think we've got this one.

Unless that Panther and Charlie have one hell of a plan, of course.
Guess they didn't! PASCAL is yet another successful mission for the Allied forces.

A Rabbit graces the stats screen this time, and given those units' performance in this mission, I think they earned the privilege.
This is a textbook case of grabbing factories you're not supposed to making a mission way easier than it should be. What should've been a tricky balancing act between defending the middle and attacking their prison camp became a good old fashioned stomping by our endless waves of Rabbits and Bisons. Not that I'm complaining.
NEXT TIME: The Axis tries to solve every problem by deploying more Hunters at HALLEY.