Part 24: Finale - Instead of Originality, We Have Megaman!
This one has been running for a long time in my mind. I've been busy for a great while getting things prepared and uploading the shit storm of videos that I needed to get out there, and in three sources no less! I mean, if you like being picky about your video provider, this update is for you!
Finale - Instead of Originality, We Have Megaman!
Where were we last time? It seems like such a long and arduous journey that lead us all here to this one point.
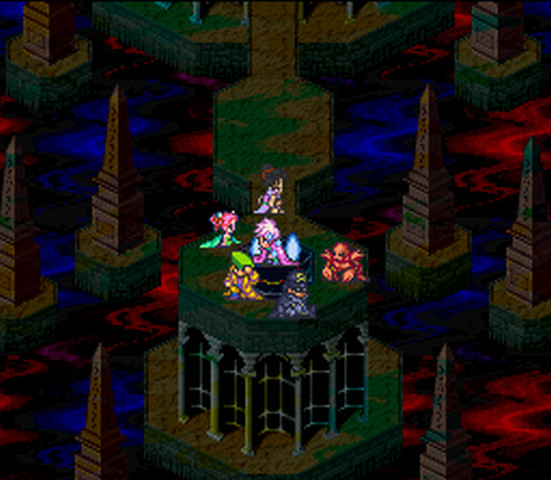
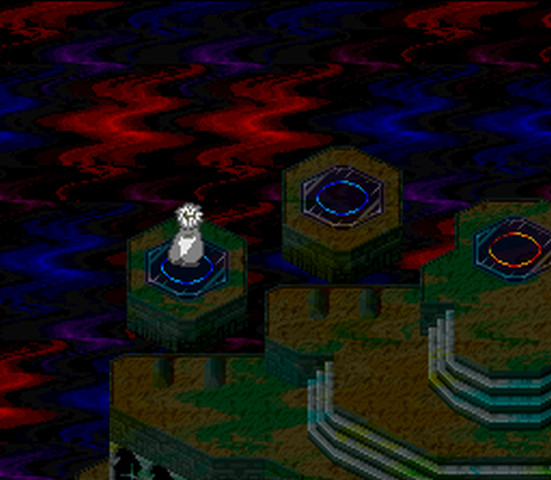
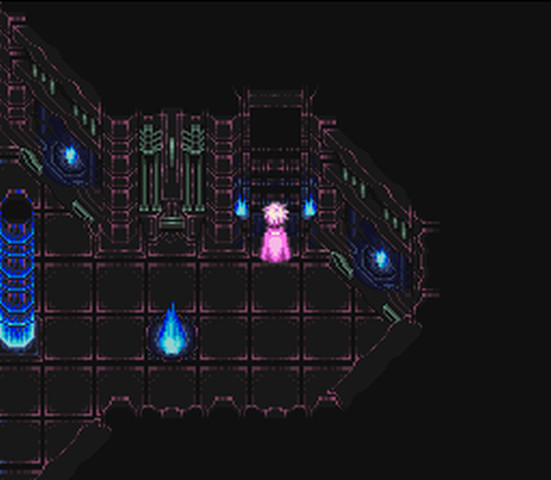
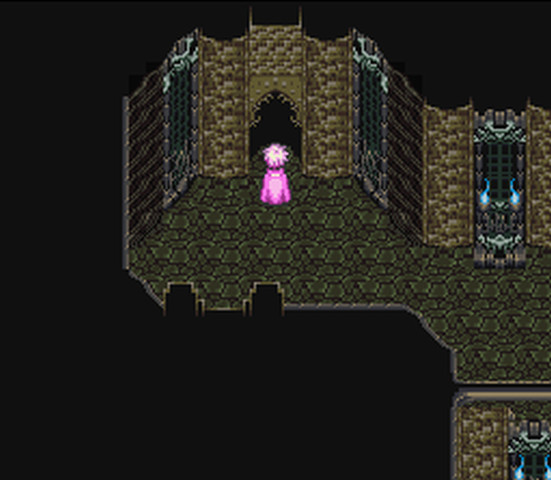
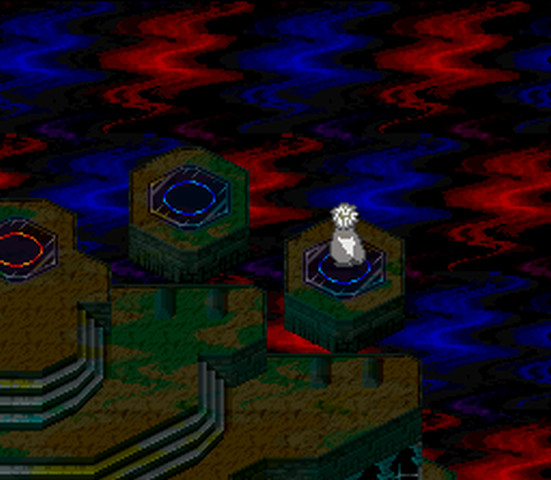
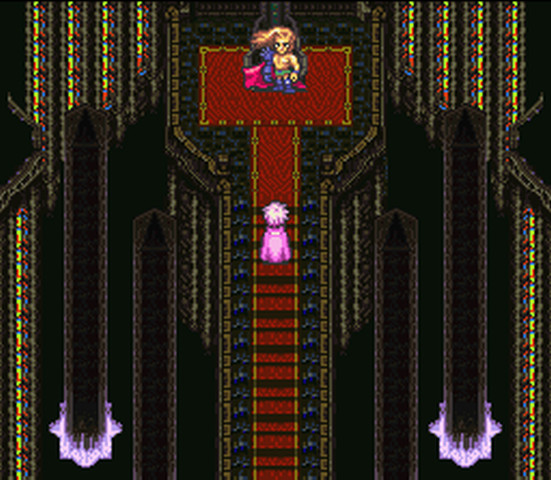
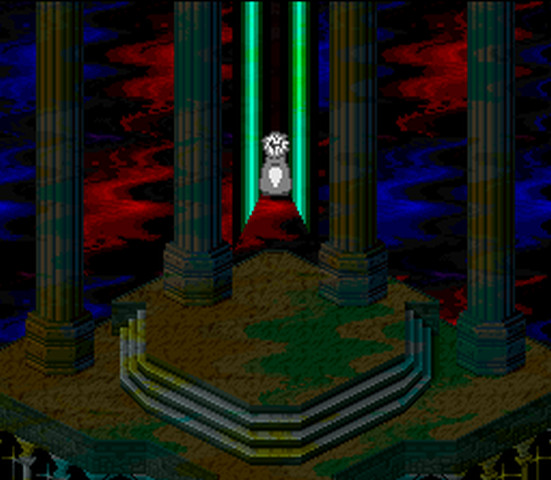
Oh, right. This is the Abyss, folks! It's the final dungeon of the game and to me it gives off a huge sense of isolation and silence, but that's just because of how empty the place feels and how everything is connected by a bunch of teleporters.
First things first, though. To at least acclimate you to how this dungeon works it is actually quite different from the normal game.
Right here. This is your healing pad for the game and it works an infinite amount of times. Also, for those of you curious as to what happens when you LP kill someone here, they just respawn in your party, fully healed. It makes sense, as this is where dead people go in this game's world.
Don't try LP killing your main character. That's still an immediate game over.
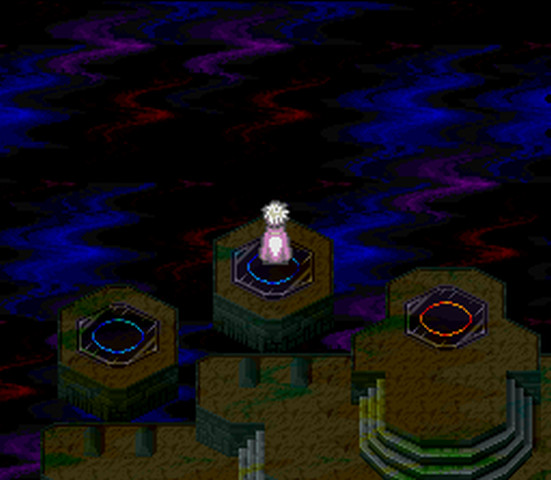
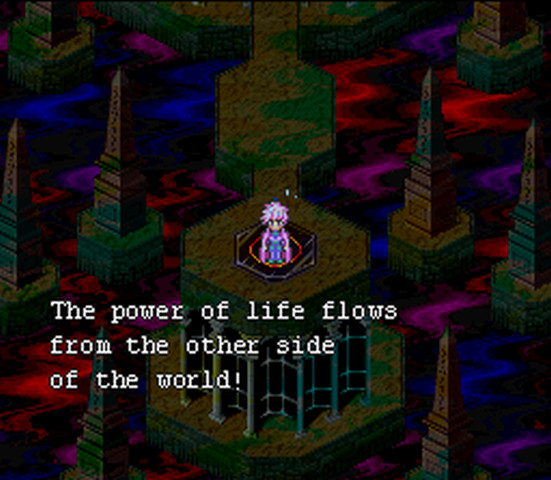
The dungeon's connecting areas are brought together by these circles. Just step onto them to go to the next area. There are no enemies in the main chamber of the Abyss, but there are enemies in the connecting mini-dungeon sections.

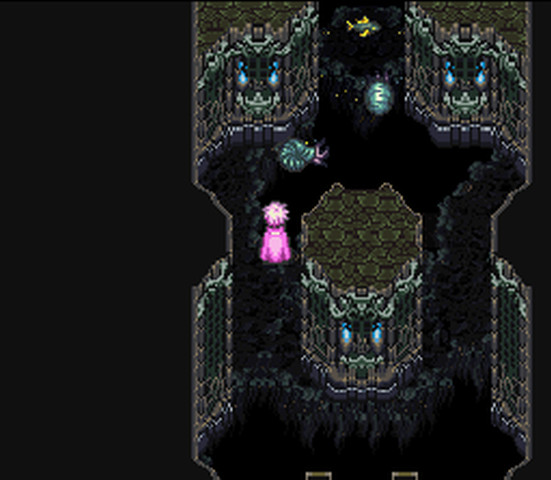
Speaking of connecting areas, not pictured here are four teleporters in total, that lead you to little mini-dungeons representing the four elements again. From Left to right it goes Wind, Fire, Water, and Earth.
Does this all sound familiar? You guessed it right! WE basically take Megaman teleporters to fight bosses, and they are pretty much refights. So without further ado, I shall go traverse into the mini dungeons!
Note: Do not go through the middle teleporter and reach the end until you are ready to lose Shonen/Young Boy from your party lineup, and then don't go back into the final room unless you REALLY want to fight an absurdly strong optional version of the final boss.
Goofy grey effects, go!
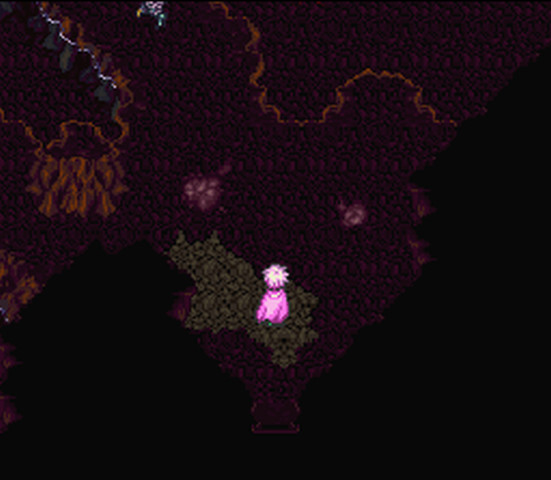
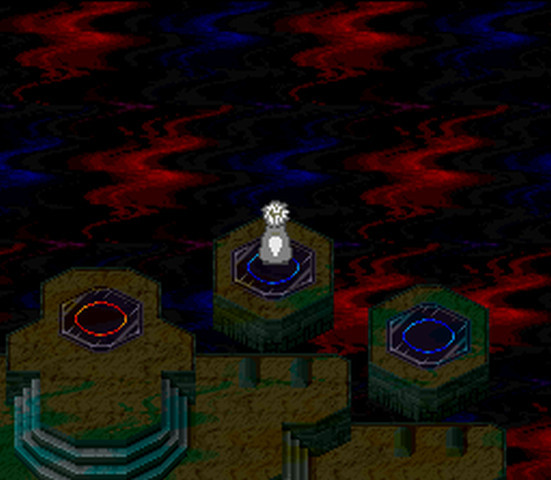
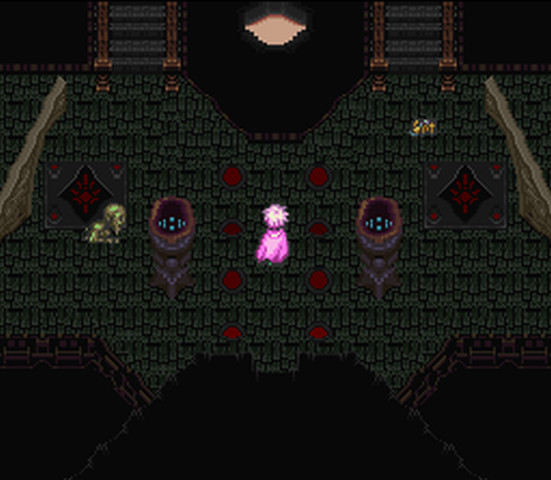
This looks familiar, doesn't it? It looks exactly like Byunei's Den in the normal game. However, with everything in the Abyss, there is a constant wavy, pulsing sort of thing that happens in all of the dungeons. It's really kind of obnoxious.
At this point of the game you might be a little disappointed with how the dungeons work. They are all fairly short and end up with hardly any variance in direction. At best there are three to four rooms at most? It's not a big deal, but it feels entirely rushed. Another thing to note that the enemies here are not the strongest ones that you can meet in the game at all, which would have been a nice change, but I guess it's to be considerate to those who come here underlevelled or whatnot.
In either case, what do we do here? We go upwards.
It's simple to evade the monsters in this dungeon area as they do not vanish from sight when you start running.
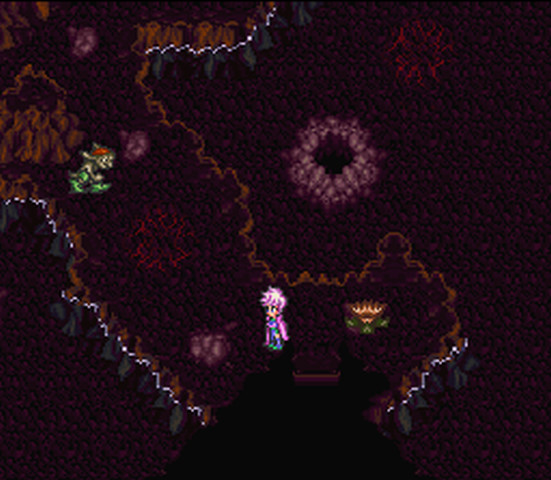
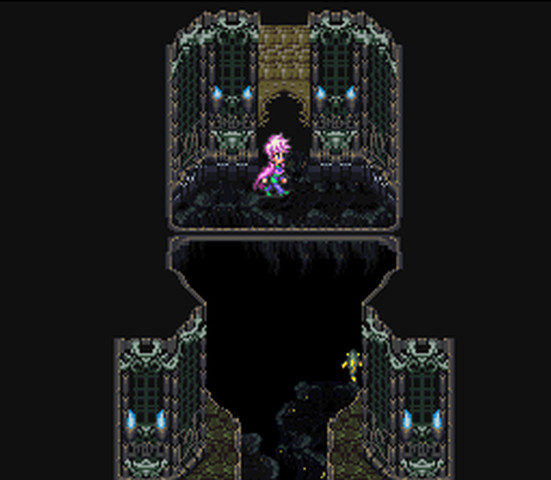
Are we at the end already? Why, I do believe we are!
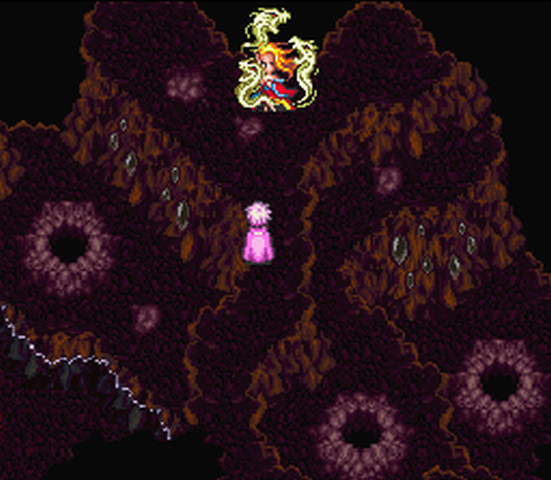
Hello, Byunei. You're looking just as freaky as you usually are. I suppose you ditched the bird, dragon, and baby though, right?

 ( Youtube / Vimeo )
 Byunei is just as she was before, though she starts in her normal fully-aggressive mode compared to her first form. She has the Super High-speed Nebula (a former Axe technique from Romancing SaGa 2) and the Earthlizer skill. If you're playing a bit smarter than I was (and not in Commander Mode), someone with a counter skill sitting in the middle of the Phoenix Dance formation makes quick work of her, and stops her Trinity Blaster technique if you're lucky enough to trigger the counter. Matador works great for this!
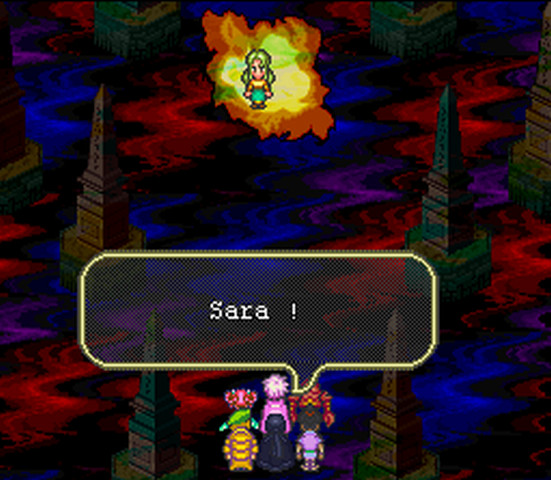
So, well, Byunei is dead. She's driven off and now what do we do?
Well, we get to go to a new place!

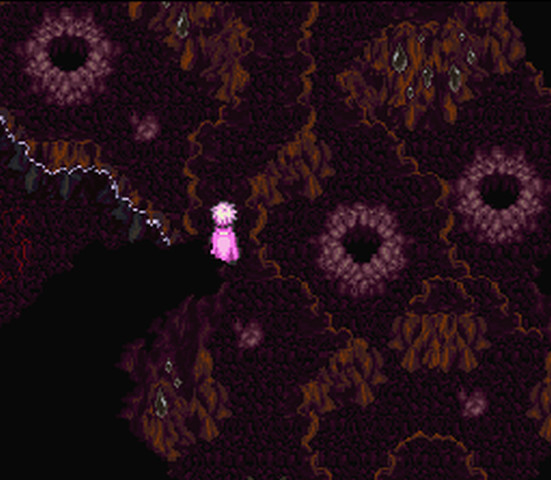
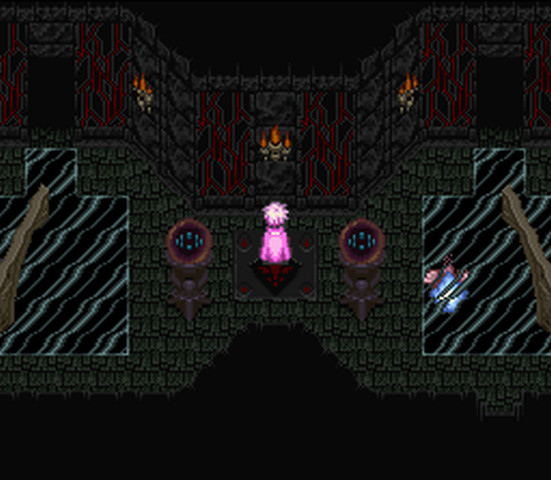
Again, just like Byunei's area, this one looks quite familiar. It has the same dumb wavy pulsing bullshit effect. There's not much deviance in where you need to go, and you just simply work your way over to a door in the upper left section.
You may be tempted to go straight up here, but you'll just find a dead end! You'll have to go to the right this time.
What a shocking turn of events! Ho ho! I am also a master of sarcasm.
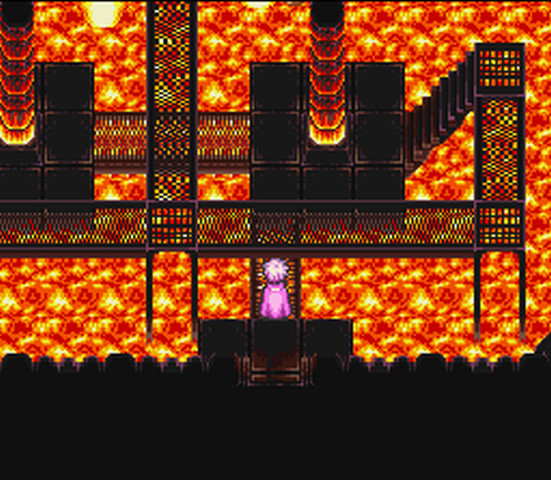
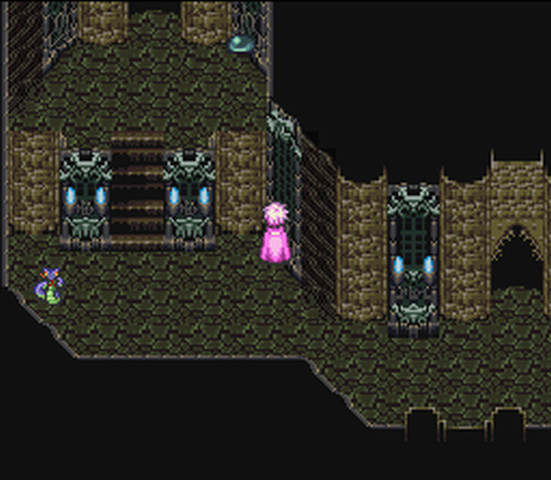
Aunas is a goon. He has a beard. Here's where I could also make jokes about the fact that he's totally flamin' and old, but I can't go there. I promised myself I wouldn't.
( Youtube / Vimeo ) Aunas carries the same gimmick he had from the first time you had fought him. He still has the fire barrier and still LOVES to use Fire Wall. In fact, he uses it most generally every time. A good formation to use for this fight is Phoenix Dance, and make sure that you have the Death Sickle evade skill for people who are not naturally immune to instant death, be they a vampire or through equipment.
Of course, making your entire party resistant/immune to fire is pretty good too. You don't have to worry about the flame barrier if someone is using the flame mantle you received from beating Aunas the first time. Otherwise, stick to long-range techs, after-image techs, and Tiger Break!
You know the drill from here on out, don'tcha?
Up, up, and awaaaaaaaaaaay!
Here's my favorite dungeon music from the Gate areas, and this is the water domain! As I show you here in this screenshot, there are two doorways but they lead to the same place. It's best to take the doorway on the left up the stairs, though.
See what I mean? Puts you right near the next room and you can avoid a pesky battle if you're in a rush.
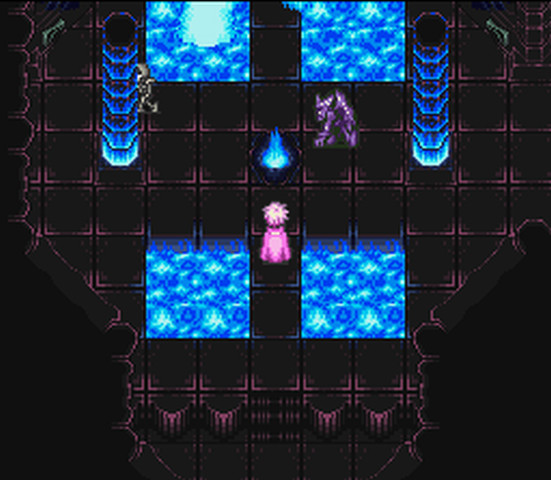
This one is a little crowded with enemies, but it's the last stop.
If you're wondering, the Abyss doesn't give you any treasures: It's the freaking Abyss, where dead people go. What would they even have, anyway?
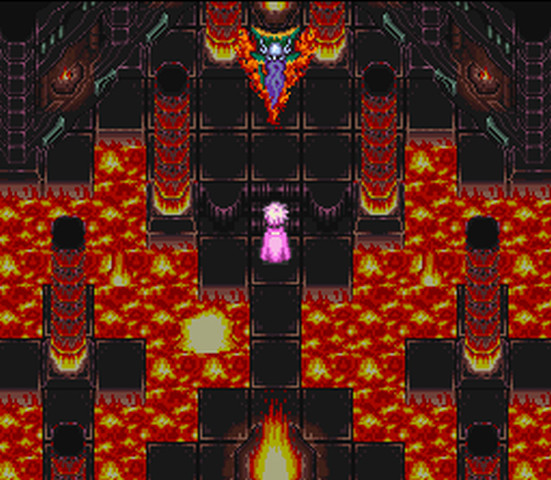
Forneus has received an even more massive makeover than the other demons, save for the Earth one. He's... no longer a gigantic fish of funny.
( Youtube / Vimeo ) Forneus is the hardest of the four bosses by far. He's one of the only ones to give you the chance of your entire party dying if they are not immune to instant death effects. He likes to use Great Wheel to wreck your party as well as abuse Mad Thunder to take a chunk out of someone's health. He uses some other spear moves as well I think, but Maelstrom is his most vicious move.
It's that time, time again. Time to leave, in a spin...
Okay, so I shouldn't sing badly in text form, blow me.
I'd make a Superman joke here, but it wouldn't be worth it.
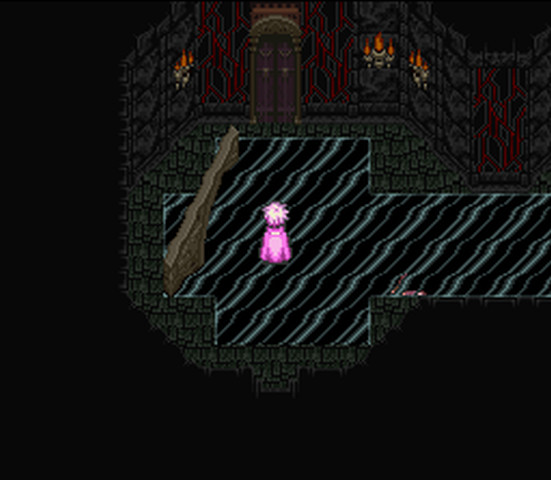
You can tell what's happening here, right? It's Arakes' dungeon from the bottom of Pidona. Same deal as the last dungeon with doors on either side of the stairway leading to the same place. However, there's no distinct advantage of choosing one of the other at first.
In this room, there is an advantage! Take the door on the left, and you'll be glad you did.
See? Aren't I an amazing genius when it comes to these things? He ha he ho!
Hey, wait a minute...

...
...
You've got to be kidding me.
Well, uh, damn.
 ( Youtube / Vimeo )
 Arakes is the easiest one but he's also the bitch of the crowd. His Big Rotation area attack will wreck shadowservants so it's generally pointless to try and set them up. Believe me, I've tried. He has an earthquake attack too but you can get the evade for it, and his other attacks consist of just physical skills. If you have people with high melee defense it shouldn't be too much of a problem, though people like Boston might have some trouble.


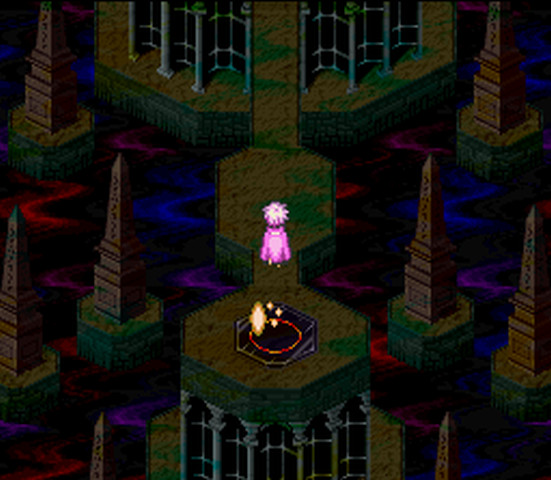
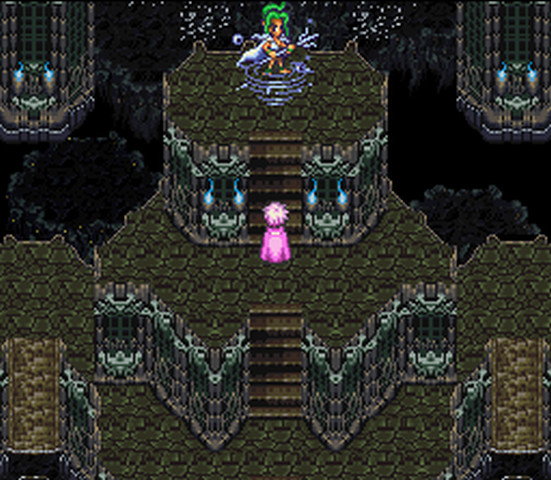
Let us go back to the entrance, now!
Fully healing in preparation for what is to come is a good option, I'd wager.
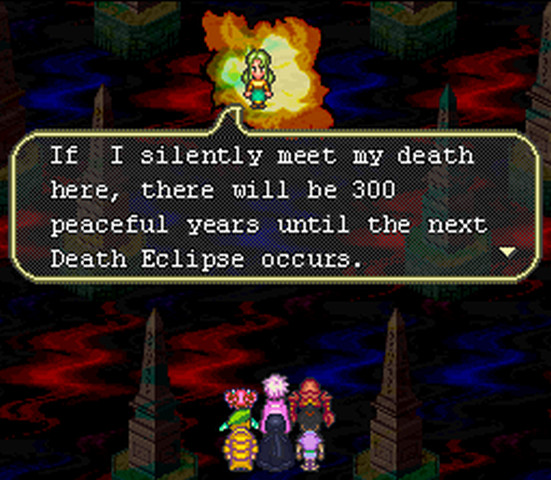
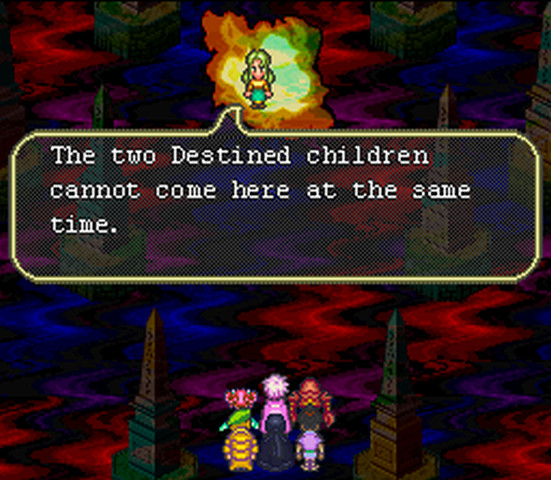
The green corridor is another teleport. This is the area of no return if you wish to keep Shonen/Young Boy in your party. Also, this is the point where you better not screw up and accidentily go back into if you do jump in unknowingly the first time.

Trying really damn hard not to make a Portrait of Ruin joke, here.

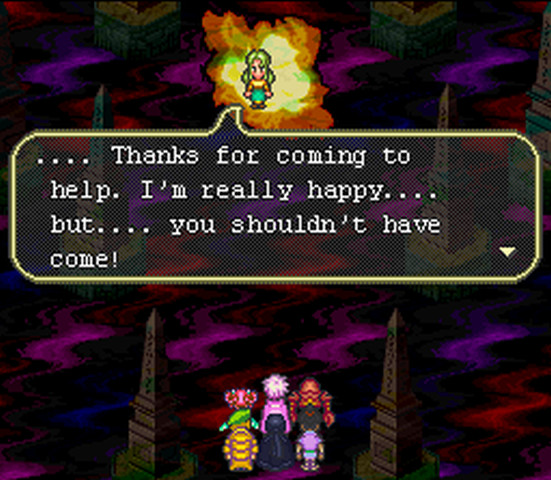
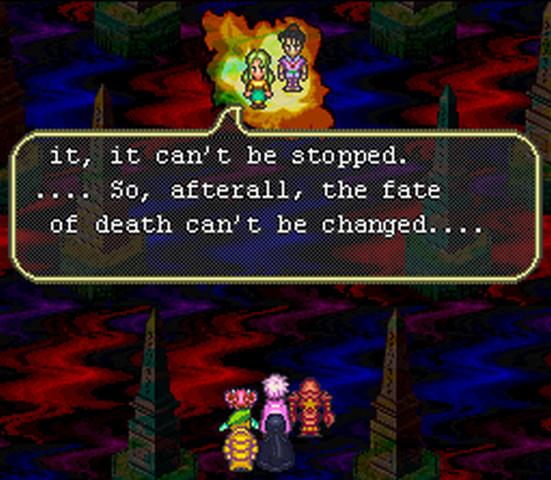
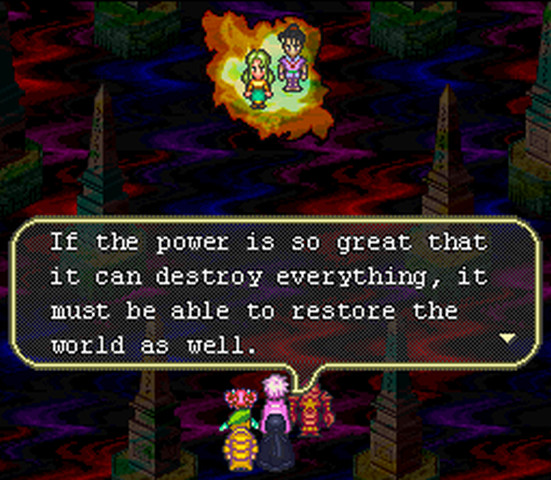
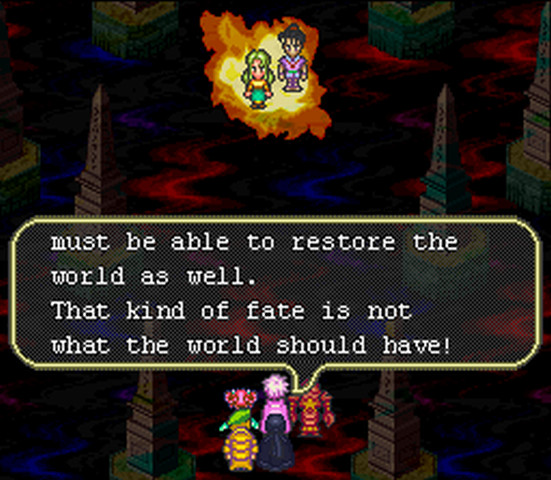
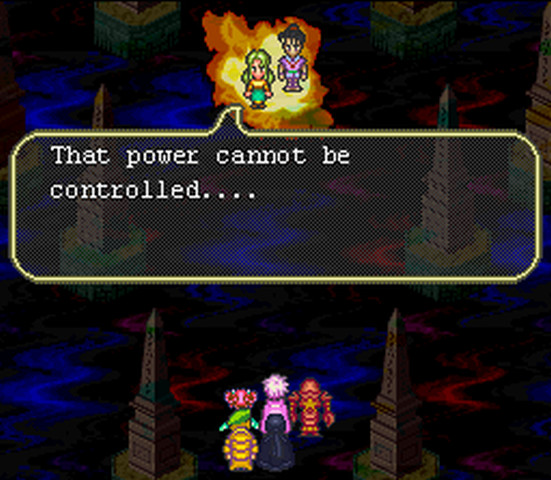
Holy shit, what? We did all of that to be told 'Man, you should've just stayed home' ?

I know I generally transcribe this stuff, but would you have believed the engrish had I done that for here? Besides, this place is really piss-short.
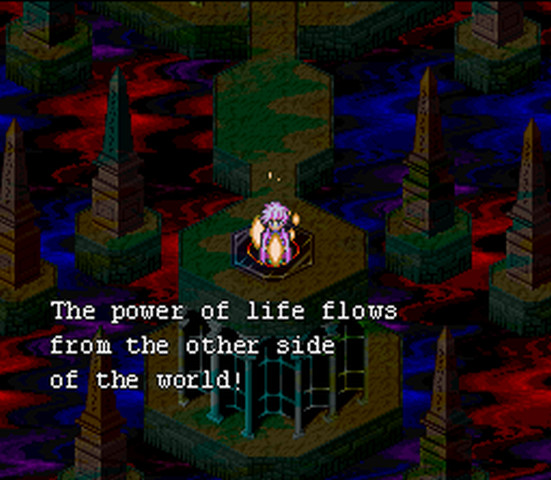
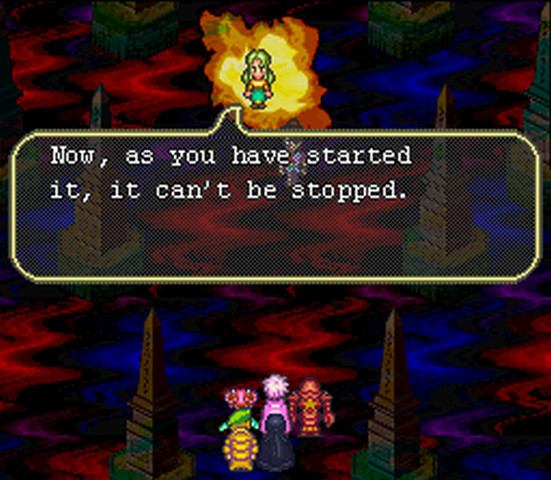
The Power of Plot compels you! The Power of Plot compels you!
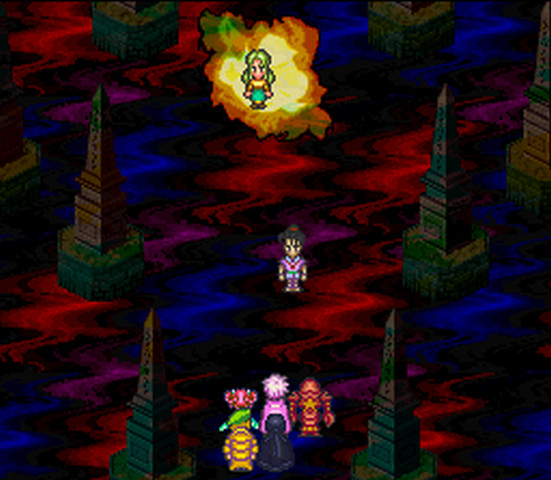
Shonen loses all of his weapons and armor at this point and leaves your party.
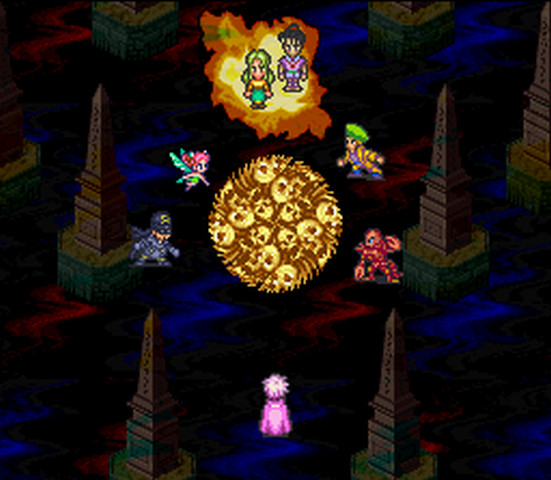
Hello, mister yellow blob. How are you doing today? It's a fine day for last bosses, I hear.

Yeah, yeah! Maybe you can turn yourselves into other objects while you're at it, even if you aren't twins. Sorry, I couldn't resist... really!

Goddamn it. I said I wasn't going to make old cartoon jokes! Now you've got me thinking of Voltron here, game!
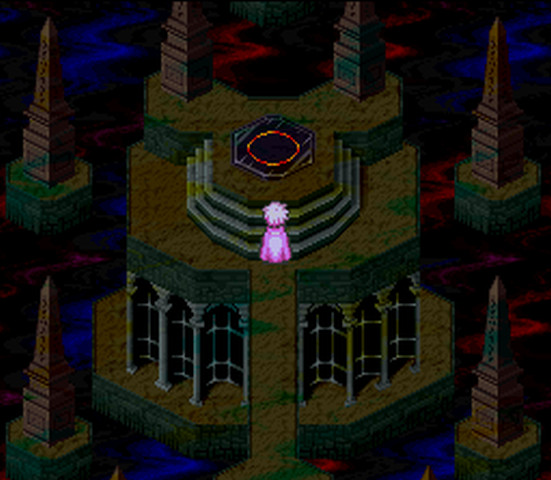
This is the second point of no return. If you go back inside, you will face the final boss.
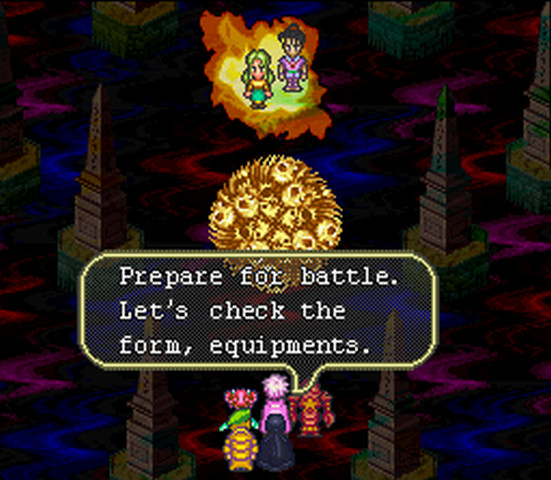
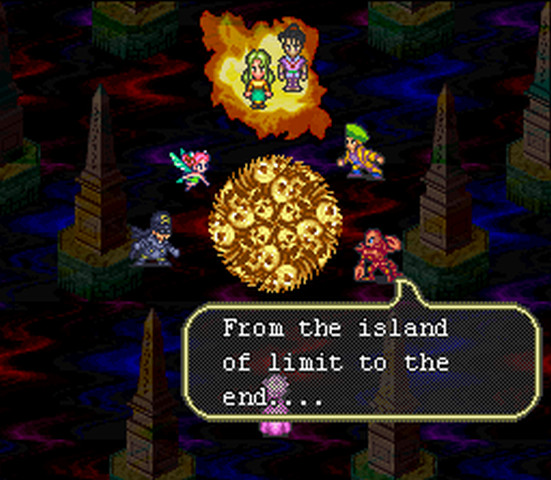
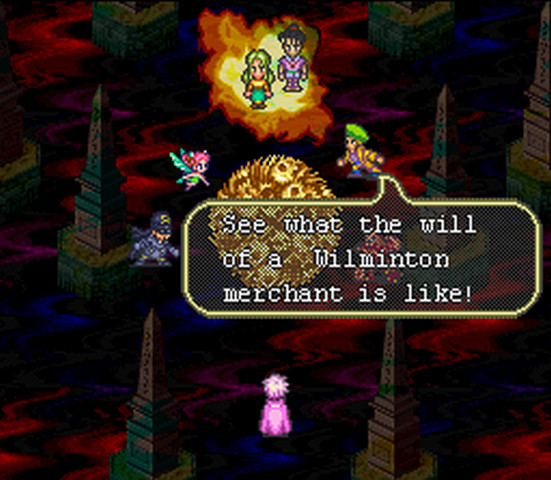
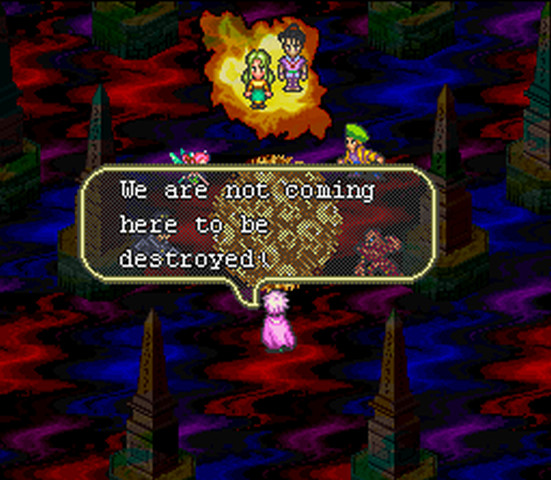
Now, everyone will run up and say their own... dramatic line to the final boss. I guess it's a last attempt at characterization or something goofy.
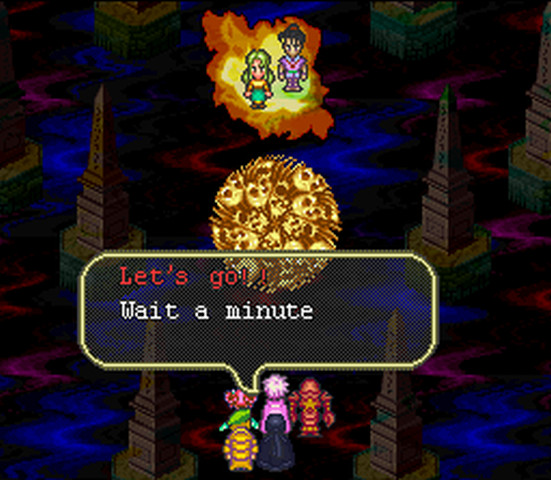
Boston: It's fun!

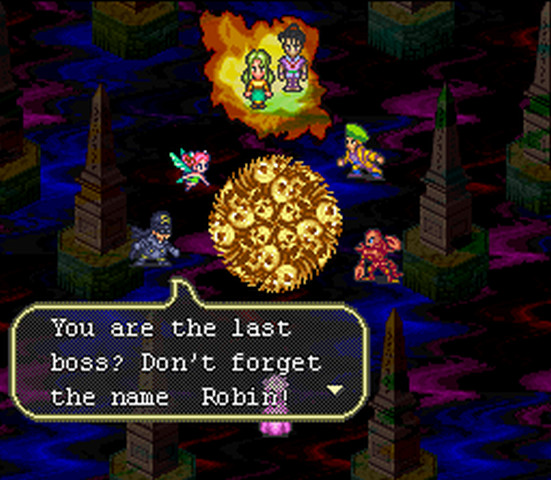
Hey, SOMEONE had to break the fourth wall, right?

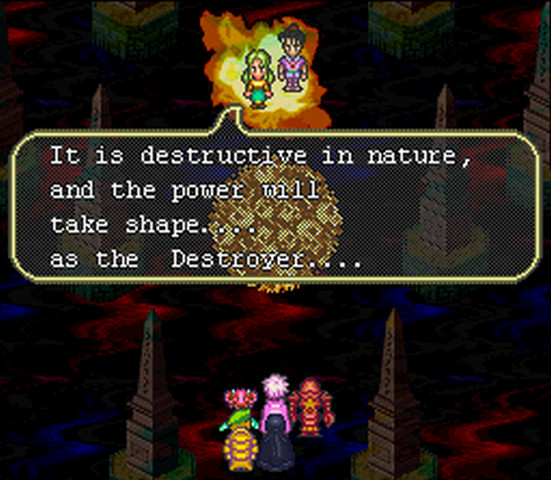
Eventually, the ball of yellow forms a female face! This then leads into what must be done, now...
Final Battle - The Destroyer
From here on out it's video territory. There's nothing left and I didn't want for you to just skip to the end and spoil yourself rotten because of mis-loading the page, you know?
The Battle with The Destroyer
( Youtube / Vimeo )
After the Battle Sequence
Yes, this DOES happen and it is intended at the beginning. Watch it all the way through!
( Youtube / Vimeo )
After this, you will then be treated to this series of events.
Endings for the Various Characters
( Youtube / Vimeo )
It's nice to see some closure to the game, though you'll have to infer on some parts. One thing that isn't shown is the real identity of Fat Robin. It's easy to guess though, especially if you've beaten the game without him in your party.
The Staff Roll
This isn't in English, but you can just see the ultimate techs here. It's a downer for some, but not really necessary in the translation unless you of course want to know who is behind what, right? Silly JRPGs though, who would care huh?

( Youtube / Vimeo )
That's... well, that's it, guys! That's the final boss of the game! I am not sure of what to do next for this, but the brunt of the SaGa style gameplay and the final boss is finished.
Oh, wait! I suppose I could share something with you!
Ever wonder what the final boss is like when you don't beat the four Abyss Lords before him?
( Youtube Part 1 - Youtube Part 2 / Vimeo ) I wanted to kill myself after trying that so much. You have no idea how annoying it is for a final boss to spam an instant kill move on the entire party over and over. I broke all of my life canes and even my rune staff, and nothing!
That's the last of it for now. Tune in next time... whenever... wherever, I have no freaking idea at this point.