Part 4: A Kidnapping
Chapter 3: A Kidnapping(Or, "First, Let's Do What We're Supposed To Do")
Last time, we had a slow teach-by-demonstration map on magic and terrain. This time, a more interesting map!


It's a short one this time around, all the more because I've just about run out of exposition.

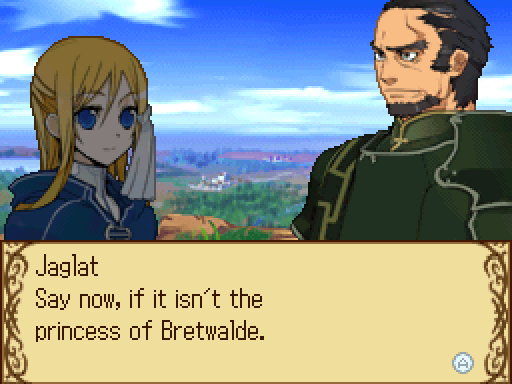
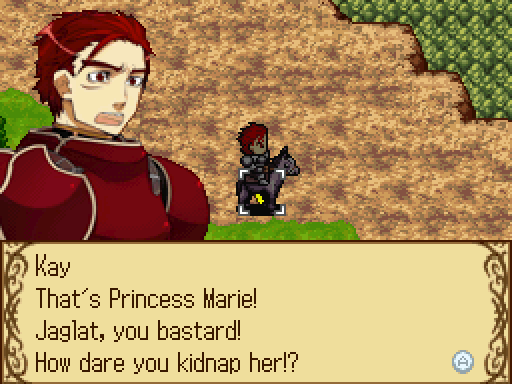
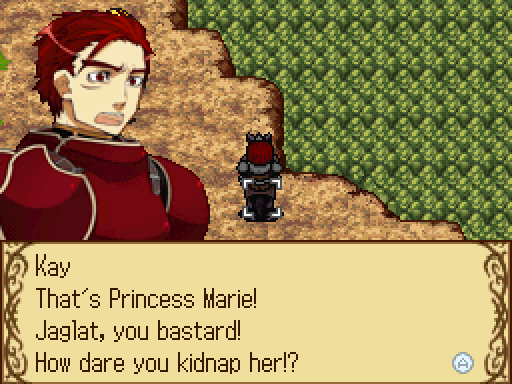
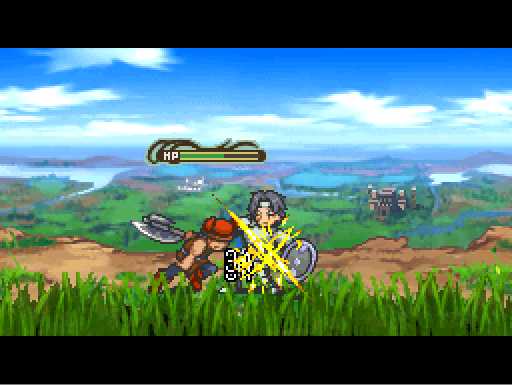
 You'll make a fine trophy...
 What are you doing!? Unhand me!
I think they made an error here. Marie has multiple expressions. She has a worried/distressed one, even. Having her smiling portrait while she's saying this gives an entirely different impression.
Can't do that. Take her back, boys! Marie vanishes.
She's a valuable hostage, so be gentle!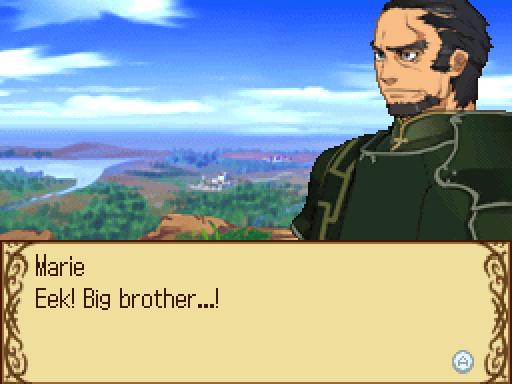
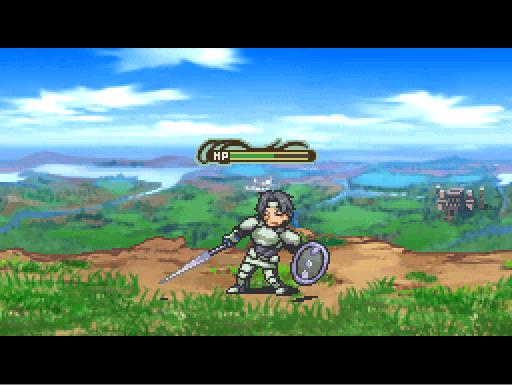
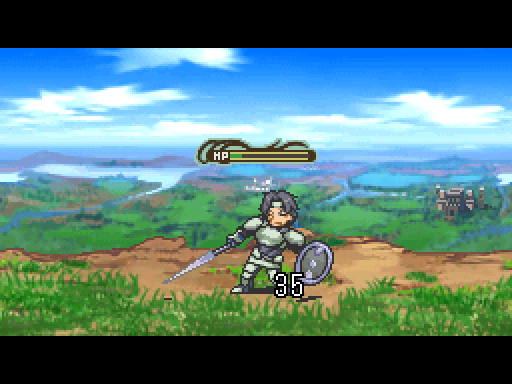
 It's been some time since I strayed so far from the castle...
 We drove off the bandits. Emir Ansom will be pleased. I hope so... Hmm? What's that?
 It's a carriage, though it looks like it's been destroyed. Could some of the bandits have slipped away?
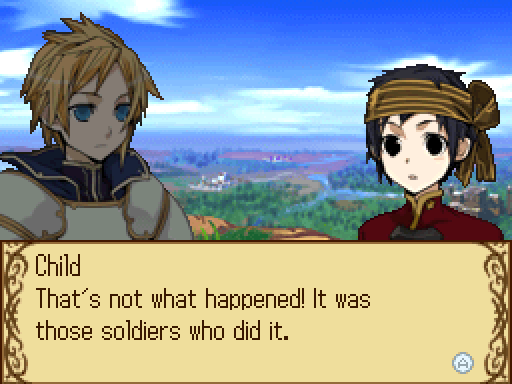 Soldiers?
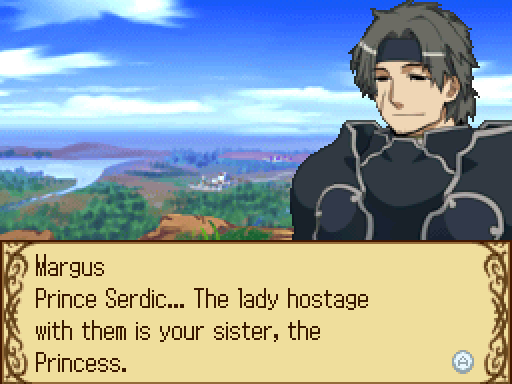
 A lady is in trouble!? Listen closely, boy... How attractive was she!? I don't think that's the problem, Margus... Oh... right. Right you are. Err, putting that aside... First, we send a patrol to confirm the situation. Kay. Margus. Will you go? Leave it to us! I can't just stand by when there's a lady in trouble. You can count on me.
Off to the preparations screen. Errands is still grayed out, so let's check who we have available.
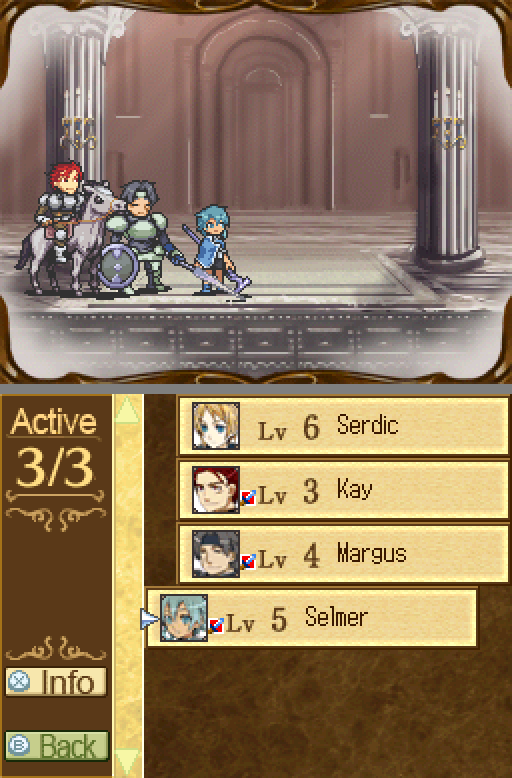
Three slots available, with Kay and Margus already selected.
As the pre-battle dialogue suggested, Serdic is unavailable. This is one of the major reasons it's nice to get the Black Ring in chapter 1; if you do that and let Kay and Margus do chapter 2 with minimal aid, then they'll be caught up by the time Serdic is usable again in chapter 4.
We can take Selmer along, and even if we won't use him for long, there's no reason not to -- this map isn't dangerous enough to make him a liability, and remember, you get bonus experience for all members at end-of-map. His selection quote:
 Leave it to me!
It's worth noting that you can't choose where people are deployed on map -- it's all based on deployment order. Yes, this is exactly as annoying as it sounds.
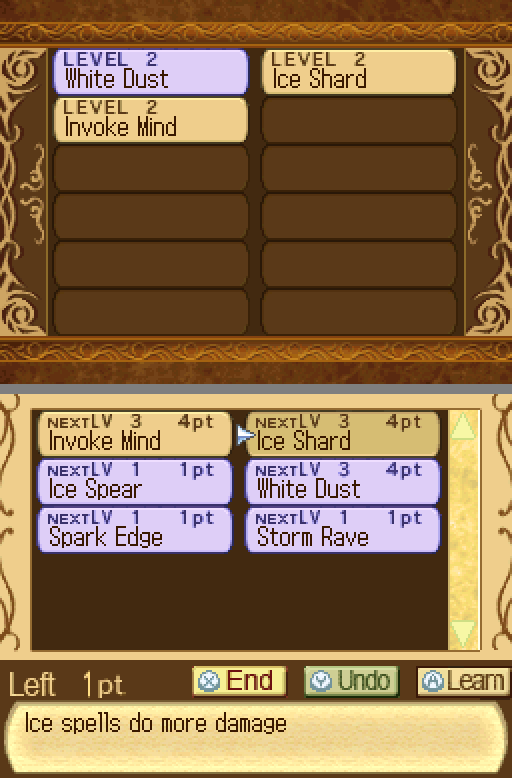
Selmer has Ice Shard (+ice damage), Invoke Mind (+magic), and White Dust equipped by default, all at level 2. Additionally, he can pick up one more Ice spell and two Lightning spells.
Ice Spear attacks in a straight line in any of the four cardinal directions, having less damage, much less range, and fewer targeting options than White Dust in exchange for attacking everything on that line and costing 1 less MP per level. It's bad.
Spark Edge has one less range than White Dust and a higher MP cost (10 per level vs 8 per level) in exchange for slightly more power. It's bad. Storm Rave attacks in an x-direction centered on the caster. This results in much more range at maximum level than any other spell -- 7 diagonal tiles, so 14 tiles away, where the next-best is 10 -- in exchange for friendly fire risk and awkward targeting. It has potential, but it's difficult enough to use that you probably won't. Often, anyway.
I don't get him anything right now. He only has 1 point to spare anyway.

No other new skills, just characters learning things other characters already had.
Margus learned Knight Codex. I picked up a point in Invoke Life.
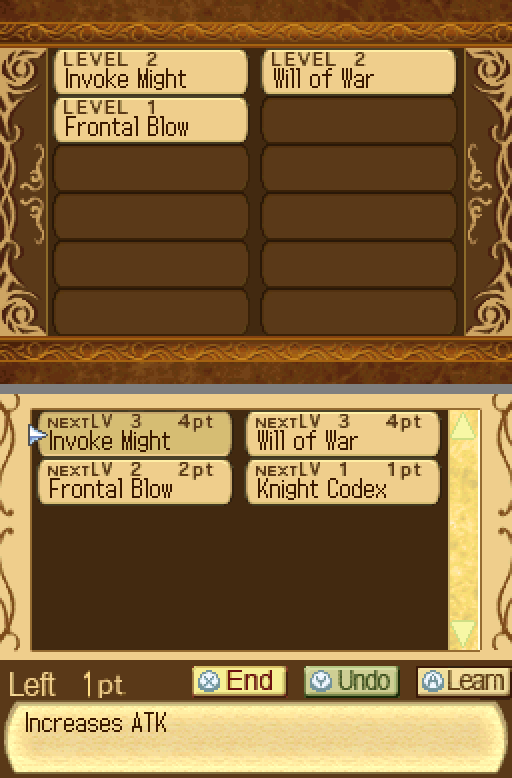
Kay learned Knight Codex and Frontal Blow. I picked up a point in Frontal Blow and Invoke Might.
He also gets the Amber Amulet from last stage. +2 Defense may seem like a small boost, but that's four levels of stat growth for Kay -- not bad.

Our condition for this map is misleading. There's a scouting point, yes, but that doesn't end the map. It instead starts the second half of the map.
If a map is multi-stage, then the "victory condition" shown is the condition to start the next stage. There's nothing to distinguish single-stage or multi-stage maps, but a "Kill everyone" objective typically doesn't show up at the start of a multi-stage map.
The first part of that defeat condition is nonsense; don't worry, Marie can't be killed.
On this map, anyway. She's currently decoration.

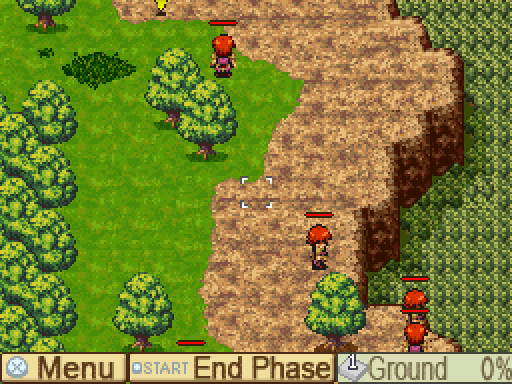

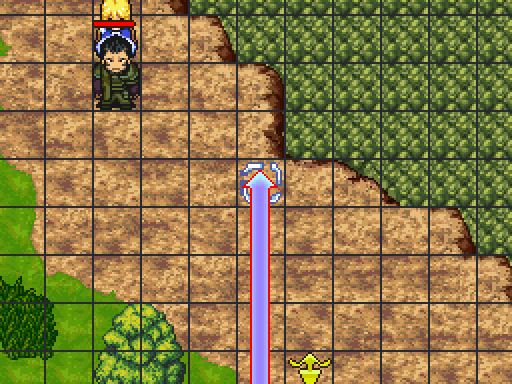
This map is just a long corridor. The trees are impassable, and the dark green grass behaves as we saw last stage. Other than that, everything is straightforward 1 move terrain.
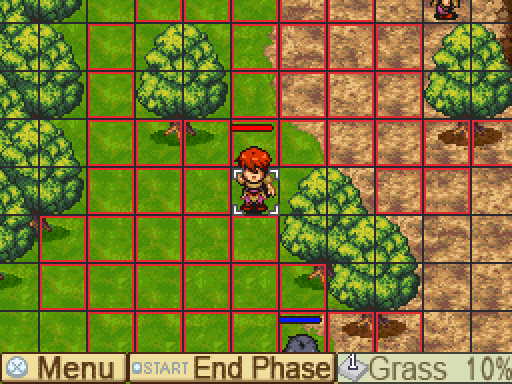
None of the enemies are very aggressive -- hell, the Scout near the top will sometimes outright ignore you, even after you nearly kill him.
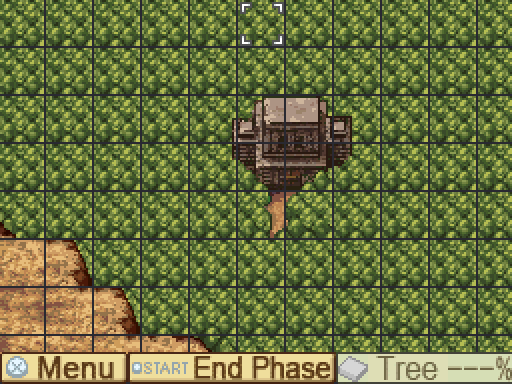
The terrain feature from the upper right area, zoomed in a little. Remember this was here when the next map is posted -- it's a nice bit of inter-level continuity.


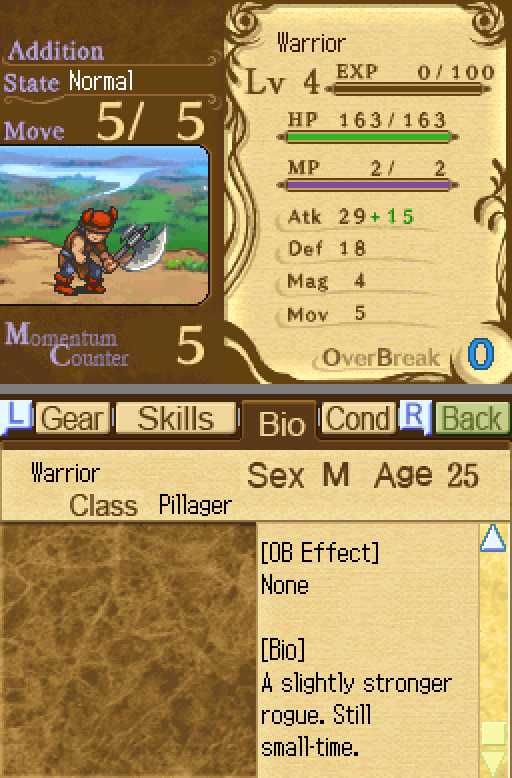
[Bio]
Upon learning Princess Marie is in the region, he schemes to put his Ga tribe in charge of the Shalem Federation by siding with the Imperial Army.
Yes, the top of his head just does that in his picture. That's where his head meets the top of the screen in dialogue, and they didn't bother to include an unclipped version for his status screen. Presumably they didn't care enough.
You know that you're unimportant when your Bio is literally just a description of your introduction cutscene. And a correction: As shown, not everyone with a portrait has an OB. At least, Jaglat doesn't have one. Right now, anyway. Maybe that will change! I don't remember, so if it's there, it must be unimpressive.
Wow, he's just putting out all kinds of "minor, ultimately irrelevant villain" flags, isn't he?
Jaglat will not actually participate in this map.

[Bio]
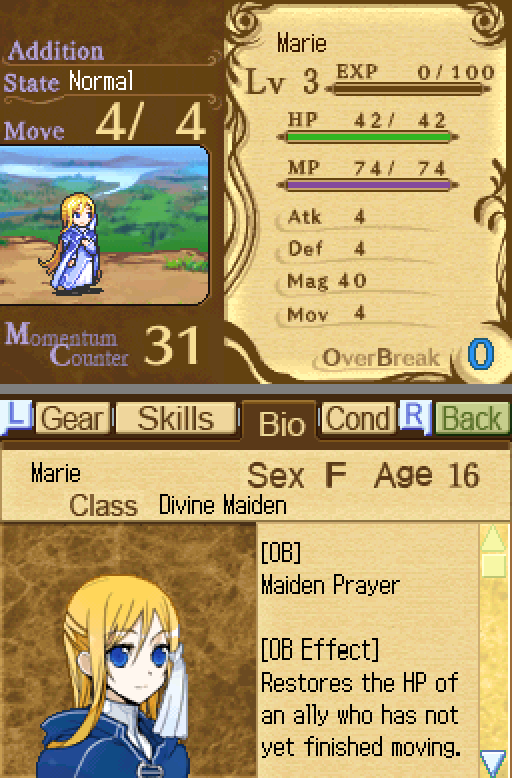
Princess of the Kingdom of Bretwalde. She was raised at a monastery in Verona. A quiet yet determined girl.
Uh. If that's what Rikka really does, should she really be carrying it around? That seems kind of absurdly dangerous. Is the sun going to forget to rise in the morning if someone breaks it? Because you see Rikka eventually, and it does not look especially sturdy.
Right. All fear for the current state of reality aside, Marie has no skills and she's just going to stand there. I'll talk about her when she's more relevant.


These enemies are more sturdy than the Bandits; it's unlikely Margus can take one down alone. Kay weakens one and Margus takes the kill.
You want Kay to head for the objective while Margus and Selmer take care of enemies. Killing them is unnecessary; it's just something you can do for a bit of extra experience and to make the map more interesting.
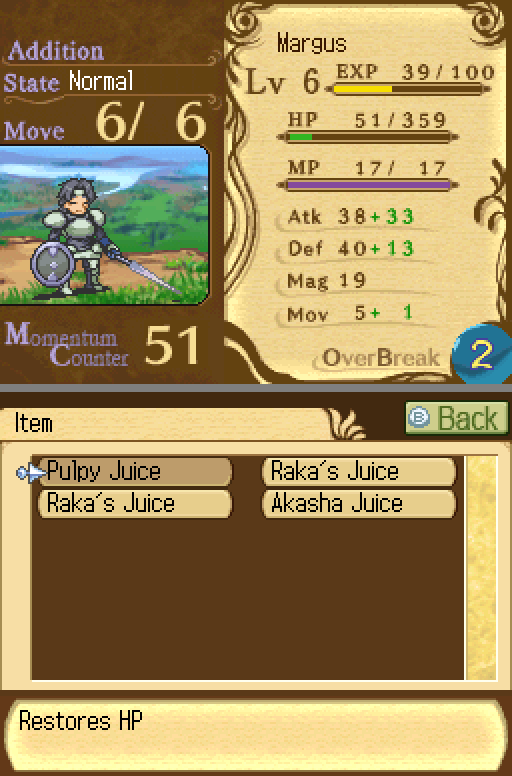
But Margus isn't going to hit level 9 by himself, so we get on that. He's level 5 now -- just four more to go.
No Margus-Kay conversation this map.
Selmer moves towards the enemies on the right side. The enemies remain motionless on their turn.

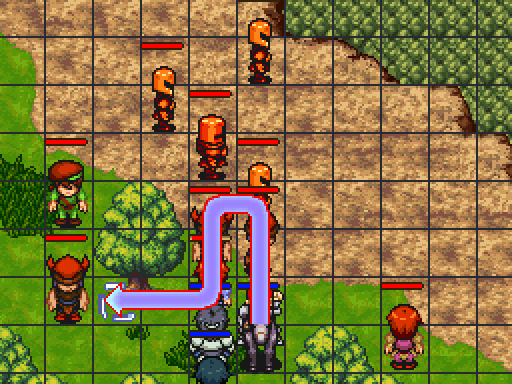
Kay moves up.
In retrospect, this was a mistake -- the top unit was, for some reason, completely passive. If I'd gone around the right side instead, I could have hit him coming and going, scoring another kill. Oh well.
Margus moves to engage the lower-right group of two.
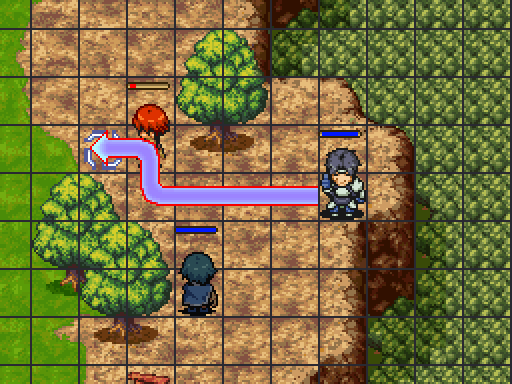
From his starting position, moving on the first turn will bring Selmer just far enough ahead to reach the man behind the trees with White Dust. Level 2 White Dust won't one-shot him, however. If you seriously want experience for Selmer, level it up -- he won't be casting more than two spells this time anyway, and you'll need it at level 3 soon enough.
I don't cast this turn, because


Next turn!
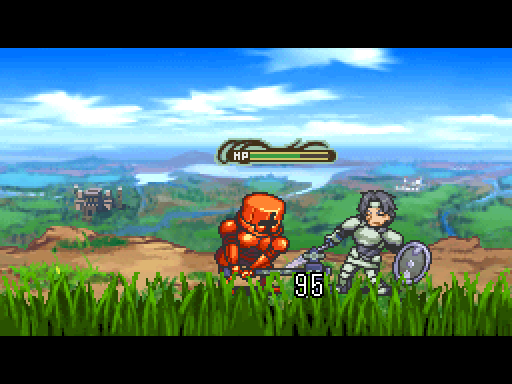
Margus attacks the group of two, killing one and wounding the other. Selmer casts White Dust on the man lurking behind the tree, just out of view. As mentioned before, he survives.
Kay ends his turn on the objective, triggering a scene.
 Damn... I've been spotted. Don't let them get away, boys!
I yelled at a guy and he saw me, somehow! That's cheating!


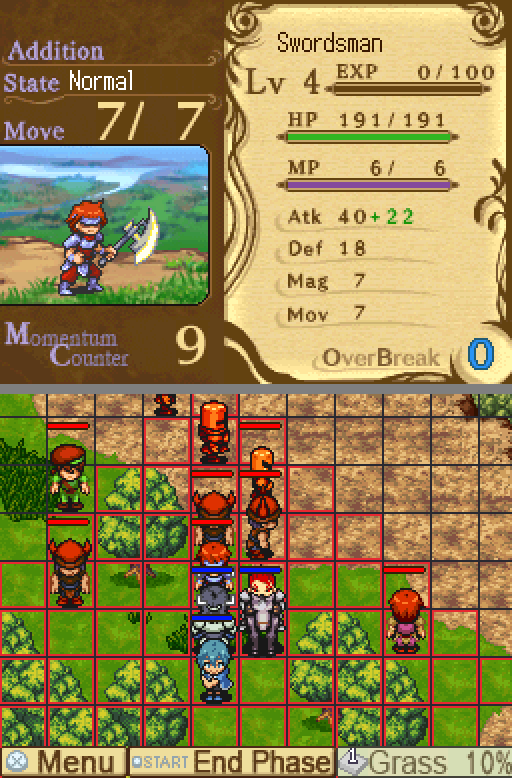
New objective! Run south. And... My. That's rather a lot of enemies, isn't it. All characters have to escape for the map to end -- you can't just have someone camp the entrance and step on the moment Kay arrives.
They'll end their turn immediately after spawning without actually moving, presumably to allow non-Kay characters to run away, since the Swordsman at the center there has 7 Move.
You'll also notice that the Swordsman is using an axe. That was not the finest moment in localization, Atlus, even if "swordsman" is usually a good translation for "blade-wielder."
I'm not going to talk about these enemies right now. You'll see why soon enough.
The survivor of Margus's attack hits him for pitiful damage. Margus is so unaffected that he doesn't even flinch.

Kay bravely runs away, attacking the northmost original enemy and gaining a level. Selmer kills the man he attacked last turn, Margus does the same.
Now that that's done, everyone books it for the exit.
The man Kay attacked turns the other cheek. The rest of the enemies chase futilely after us.

There's no enemies in the way, nothing else to kill, and they can't actually catch up. The rest is details.
As the color of the text suggests, and as mentioned in the errata post, "Overwhelming Victory" is not the highest possible rank of victory. That's "Complete Victory," in gold letters, which sounds considerably more underwhelming.
I'm not sure what you could do to get a Complete Victory here. Give Kay the Black Ring, maybe? That should shave a turn off your completion time. The experience for Margus matters more, though.

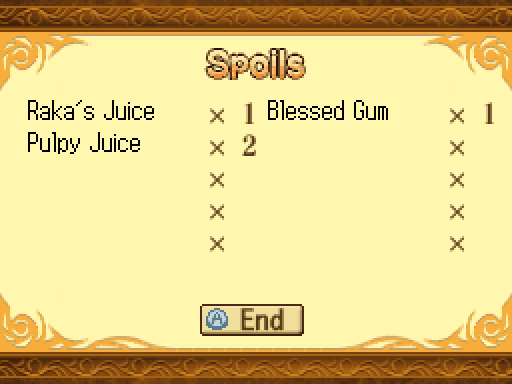
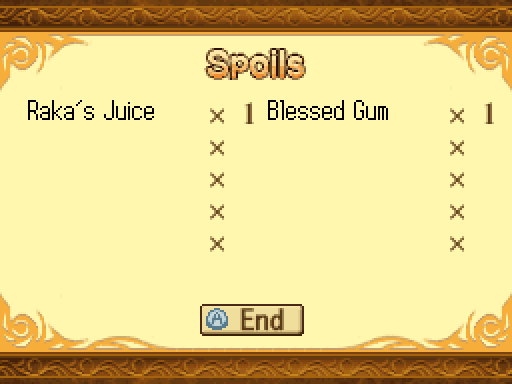
Blessed Gum is new -- it's a consumable that increases MC Gauge by 15 when used.

What I said about Marie earlier goes double for Serdic here. We've even seen the expression that should go here earlier, even, back in the chapter 1 flashback:
 What!?
This is actually somewhat of a pattern going forward. Maybe ??? thinks that Princes don't emote properly.
Damn that Jaglat! Quickly, Your Highness, let's go rescue her!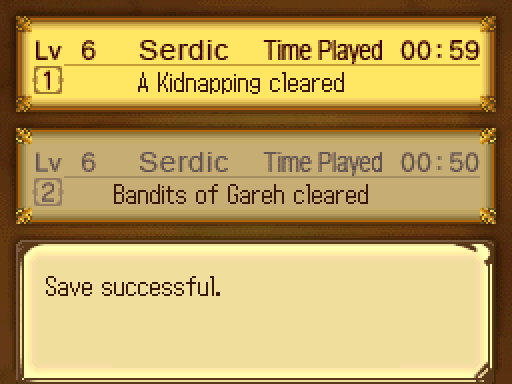
If we'd done that on map 1, we wouldn't have the Black Ring, now would we?
You know what that means.
 We load save.
Chapter 3.5: A Kidnapping
(Or, "Running Is For Sissies")
We're going to do a little preparation before this map.
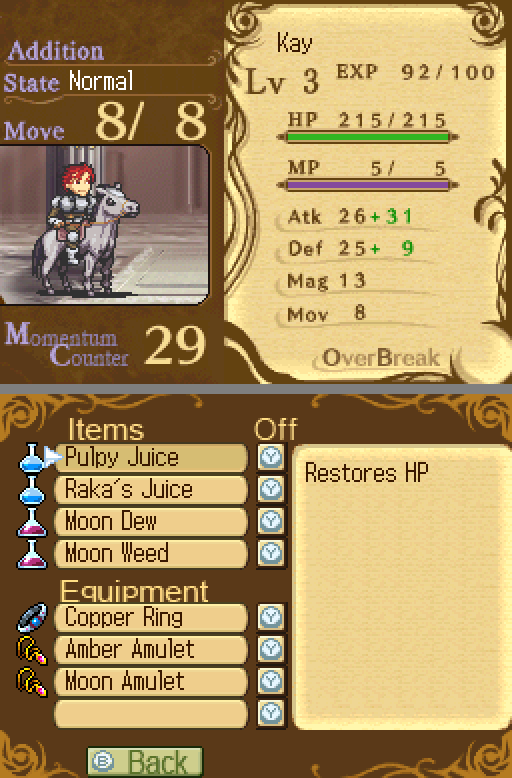

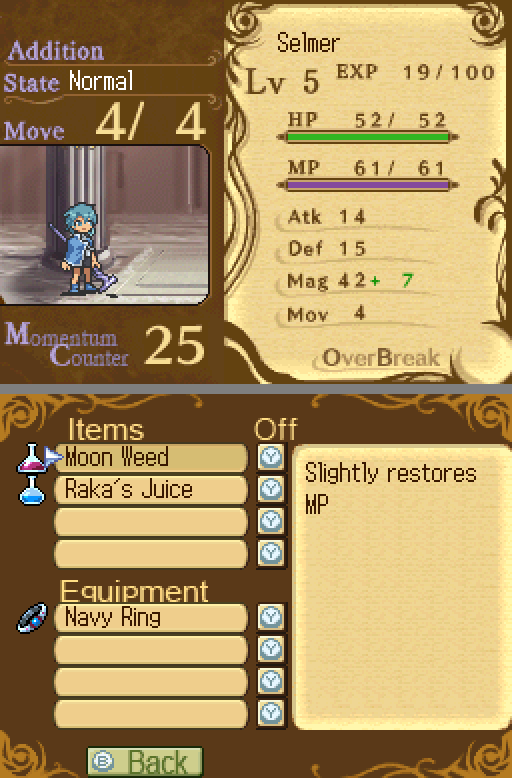
Kay gets the MP healing items and Serdic's Moon Amulet, Margus gets most of the HP healing items, Selmer gets the overflow. I only use one item, but I believe in being prepared.
Selmer still has that one skill point unused. I will feel like a moron for this later.
But first, let's go see what happens if we bother Jaglat. Go save Marie, Kay!
The answer is nothing! The objective isn't actually at the marked point -- anywhere past it will trigger the cutscene. No attacking Jaglat, sadly.
For the curious, Margus and Selmer also have lines. The conversation goes the same with Margus, with only his lines changing:
That's Jaglat of the Ga tribe, and THAT... is a beautiful woman. ...Is that Princess Marie!? Huh? Hey, if it isn't one of Serdic's men. Damn, they spotted me. Don't let them get away, boys!Jaglat, however, has no idea who Selmer is:
Hmm... That's Princess Marie of Bretwalde, isn't it? I should hurry back and tell Prince Serdic about this. Is someone over there!? So you've spotted me... But I won't reveal my identity! Don't let them get away, boys!Not that it matters.
Kay triggers it like normal and we're off.
Let's look at the enemy.
There's one Swordsman, and he is highly mobile. He should be your priority target first turn -- remember, Selmer has a glass jaw, we'd rather avoid having him killed this map, and the Swordsman is the only one that can reach him the first turn. Having him in Hurt status would be incredibly inconvenient next map.

This is our first archer. Enemy Archers work like mages or Advance Wars indirects -- they can only attack before moving. This particular kind of archer has 6 base range. You know it's 6 if they don't have True Arrows. If they do have that skill, then their range is somewhere betwen 7 and 9, with 7 most likely and 9 least.
The archers are largely irrelevant. While either of them could one-shot Selmer, their AI is individualistic -- it isn't willing to fling one of them to its death to ensure that the other can shoot him. Since moving into his range lets him attack first, they'll content themselves with firing potshots at Margus and Kay.
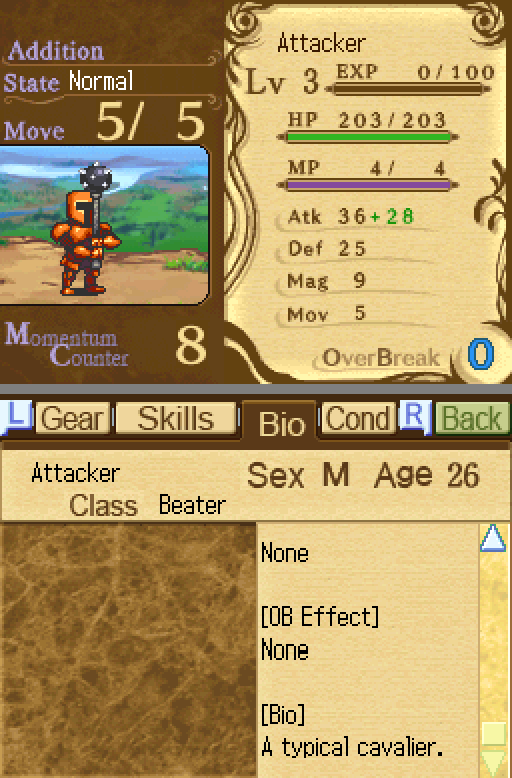
The Attackers are the enemy heavies, and they hit pretty hard. Margus takes about 70-80 damage from them. There's three of them, too.
On the plus side, they'll go down to two attacks right now, and we get first strike. Just gotta play it safe.
Warriors are filler. Nothing worth noting, really.
There's also an Armor Knight, which you may remember from the first stage. He's much weaker now, most notably lacking the ZOC skill, but he still hits hard, doing about 100 damage to Margus.
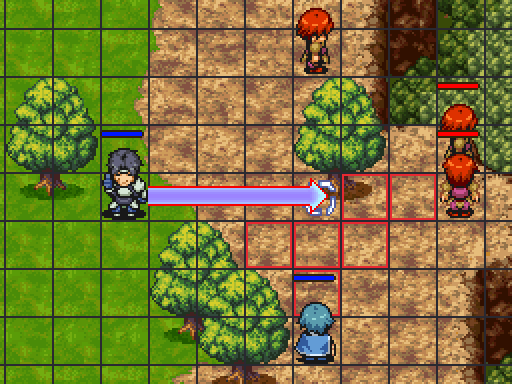
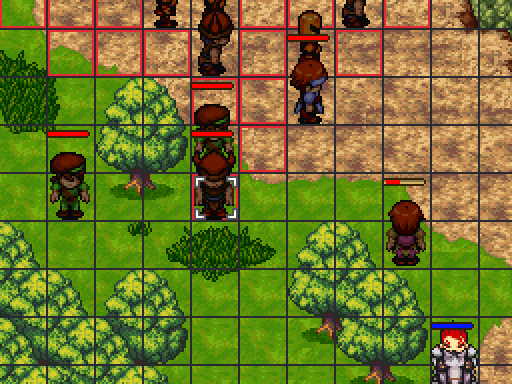
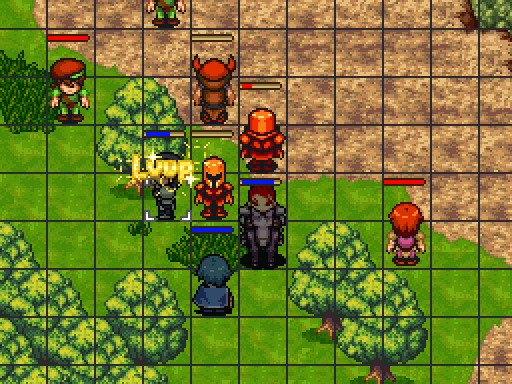
Margus and Kay position themselves on the 2-terrain cost grass, while Selmer places himself just behind them. We've waited for them to approach, letting us use the terrain to protect Selmer and lure them together. Dense groups of enemies can be as easy as small ones, provided you have enough movement.
The left archer advanced normally, but the right archer went up two tiles. I have no idea why. Mortal fear of Kay attacking him, maybe? Ranged attacker AI tends to play it safe.

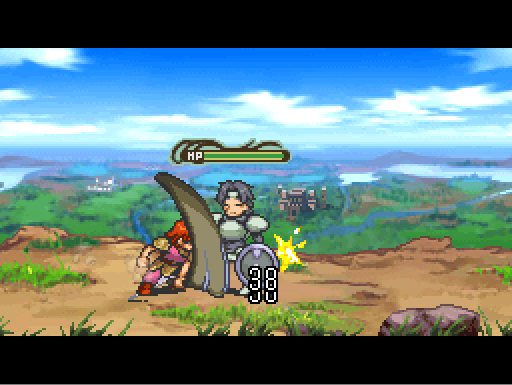
Selmer hits the Swordsman, nearly killing him. (Remember, White Dust is multi-hit. It did about five times that damage.)
Kay cuts a swath through the enemy group, moving off to the side. Conveniently enough, he misses the Swordsman.

Margus kills the Swordsman, two Warriors, and an Attacker.
In addition to funneling sweet, sweet experience to Margus, this also causes Margus's MC to skyrocket. Kay is around 30 MC right now, while Margus is in the 40s. Kay may be defensively weaker, but the enemy can't kill him, and that means they're going to focus on Margus. This is exactly what we want.

Margus takes a beating. (The flinch with no visible enemy is an archer, for future reference.)

Kay gets hit once.
MC is a very convenient system -- knowing and manipulating enemy targeting priority can be incredibly important. Don't forget about it.

It's time to consider priorities.
Priority two is to keep Selmer from getting attacked. If he gets hit, he dies. If a character dies, they have the Hurt status for the next map, whether or not they're actually brought into it. This halves all stats. Selmer isn't very important, but having him Hurt reduces our options greatly.
Looking at movement, the Attackers have 5 Move, the Heavy Knight has 5, and the Warrior has 6. Selmer is standing in front of grass, which takes 2 move to cross. This means that the two Attackers and the Warrior can attack Selmer. That means they all need to die.
Selmer can only cast on one target. Ironically, despite my earlier badmouthing of Ice Spear, now would be a really, really good time to have one point in it -- all the targets I need to hit are directly in front of him, at a maximum distance of 4 tiles, which is the exact length of a level 1 Ice Spear spell. I think the game is rubbing it in, guys. This is what I meant about spreading out skills! For mages especially, having a low level version of many different targeting type spells can be helpful.
So, which target should Selmer attack? Margus is going to attack both of them from the back -- he'll move two up and one over, finishing at Kay's current location. Kay is going to attack one of them from the front and one of them from the side. He currently has Frontal Blow 1, which is less than the damage boost for attacking from the side, so the Attacker to Kay's immediate right will take more damage.

Selmer casts on the higher Attacker. Kay attacks, killing the Attacker Selmer hit.
Margus attacks, killing the Warrior and Attacker.
The real answer to my question above, by the way, would normally be "wait and see." If two of the enemies had survived Kay and Margus, Selmer would unable to kill both. Attacking last with Selmer would allow him to flee if he was endangered, keeping him from dying.
But if I did that, Margus would probably die instead. He survived this turn with 51 HP, and an Attacker hitting from the back could finish him off here. Priority two is to keep Selmer alive, but priority one is to keep Margus from getting overwhelmed and killed. If it comes down to it, I would sacrifice Selmer to save Margus long, long before the other way around. Thankfully, we were able to keep it from coming to that.
That said, if they didn't die, I would have reset, moved the Moon and Amber Amulets to Margus, and tried again; Kay hasn't been hit enough to need them. Margus has been hit often enough for +9 defense to make a pretty big difference.
Plus, attacking first with Selmer ensures he isn't getting any kills. He's not sticking around. Kay may or may not be a permanent part of our roster, but right now he's invaluable.

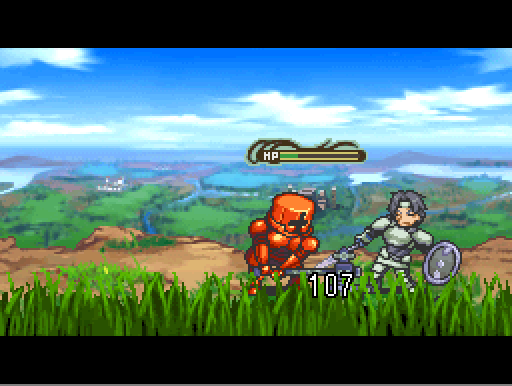
Kay attacks and kills the Heavy Knight, wounding an archer in the process.
Margus heals up. It's over now; it's just a matter of killing the archers and leaving, and they can't do enough damage to seriously endanger anyone (that isn't Selmer). It's not really worth showing off. The other enemies won't give enough experience to bother with, and there's no additional dialogue for just murdering everyone instead of running. It isn't really acknowledged.
They may live and carry news of our victory back to the others.

As I said before, the victory types are largely differentiated by turn count. Sure, we may have absolutely brutalized our pursuers, but that's slower than running away.
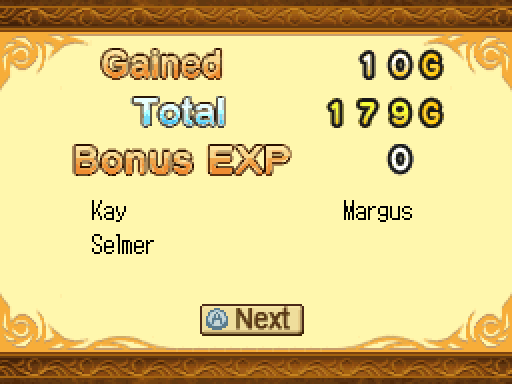
Narrow Victory is the worst victory type -- you can see the difference it makes on the after-map rewards, especially the bonus experience.
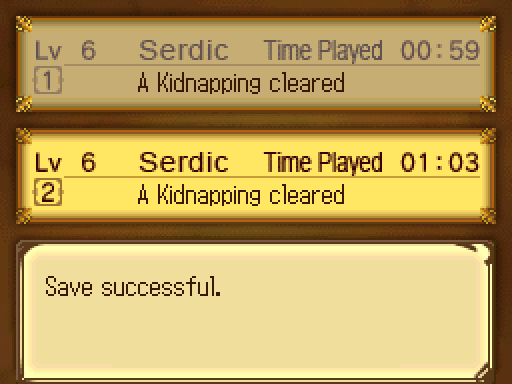
Despite that, Kay and Margus did a lot more killing this time, and it shows. Between the two saves, this one gives Kay 85 more experience and Margus 58 more, giving both of them levels, while Selmer gets about 40 less experience, losing a level, and we have three less Pulpy Juices (two lost from worse victory reward, one used in-map).
I can live with that. Murder it is!
(Selmer only gets two skill points for leveling to 6. If he got three, choosing between saves would be much more difficult. You'll see why next map.)
Next time: The Deep Forest.