Part 22
Okay, let's finish this damn Lummox off.
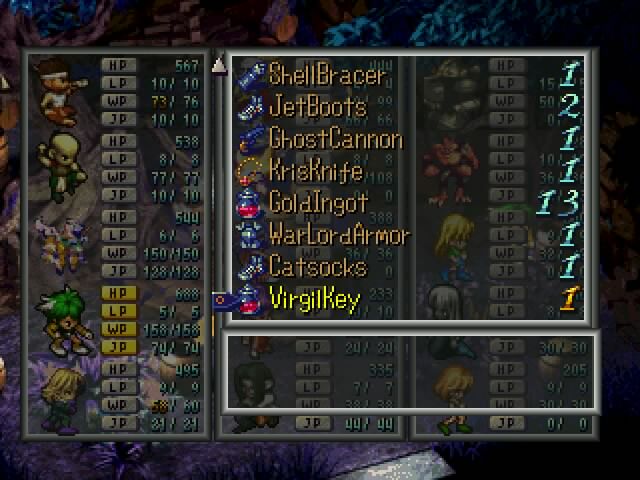
I'm actually going to start things off by describing the rings we've acquired, because I just realized I never actually did that.
RING/Guardian - Raises Defense in battle
RING/Merchant - Charms all enemies, CHA+10
RING/Thief - Hides all allies, QUI+10
RING/Healer - Restores all HP, VIT+10
RING/Hero - Cures/Prevents abnormal status, WIL+10
RING/Fighter - Raises attack power, STR+10
RING/Schemer - Causes random status ailments on enemies, INT+10
RING/Hermit - Nullifies enemy magic
RING/Lord - Restores all WP and JP, PSY+10 (note: we don't have this one yet)
They can only be used once per battle. And yes, the Healer ring is the best damn thing ever. The Hero ring is pretty damn awesome too.
Anyway, onward.

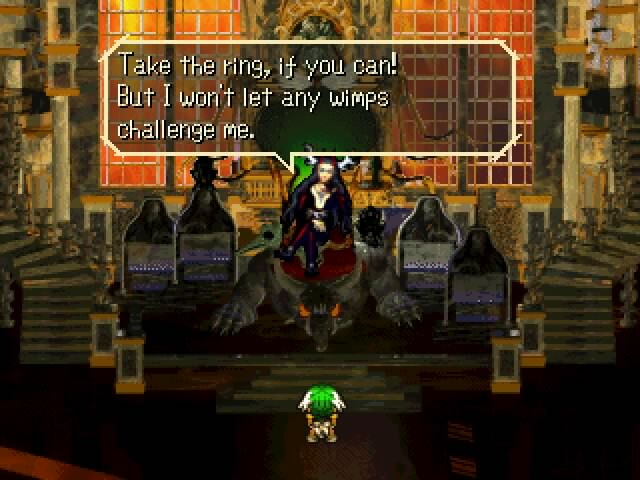
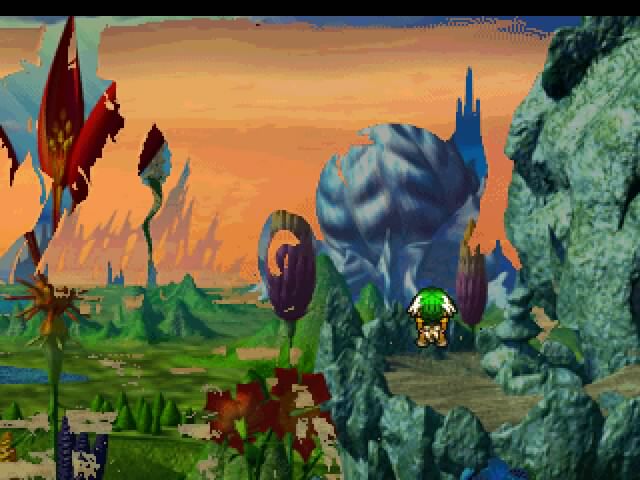
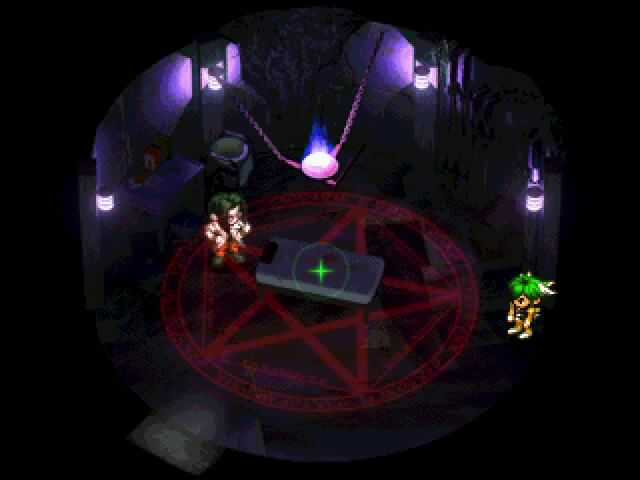
Our final destination is Mosperiburg, home of the Ring Lord. He has the, erm, Lord Ring.
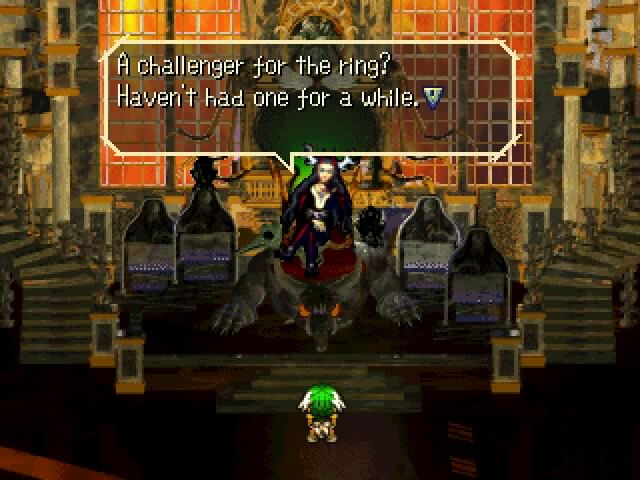
Yup, it's Virgil again. A quick note: He's a mystic, and is called the Ring Lord. Apparently some mystics can become lords when they attain a certain amount of power. Virgil here's one of them, and is probably the strongest. Time Lord is another, being the lord of time (I guess he gave up his real name). The only other lord who pops up in the game is the Charm Lord, Orlouge, and we'll be seeing a lot of him in a later quest.
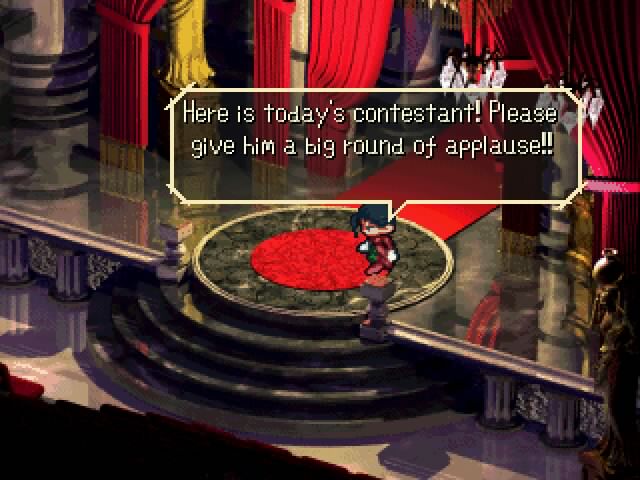
Alright. Riki, go wait in the car.
We are proud to present:
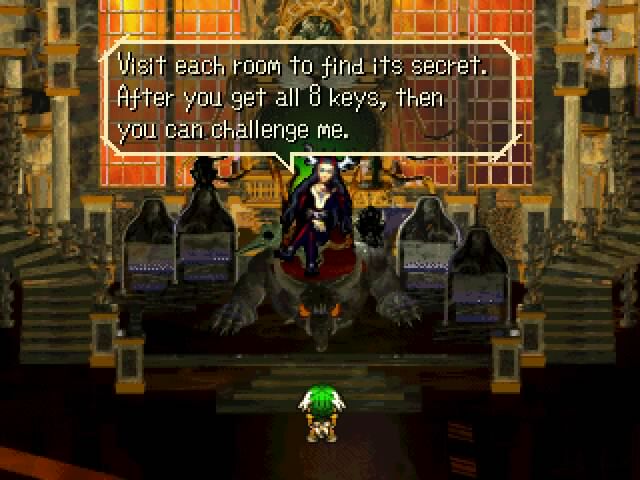
A Fucking Fetch Quest
In eight parts
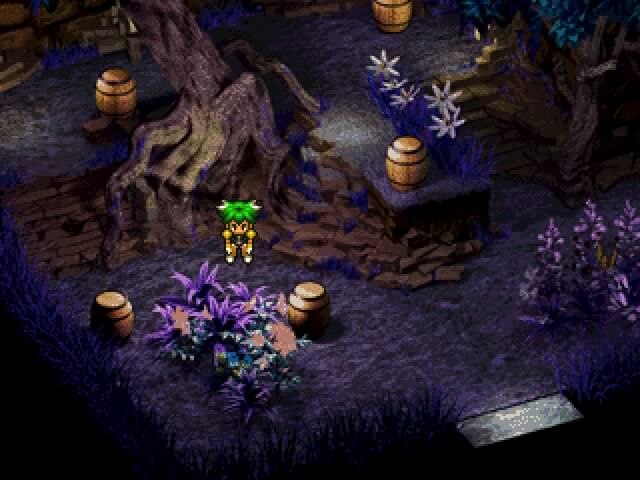
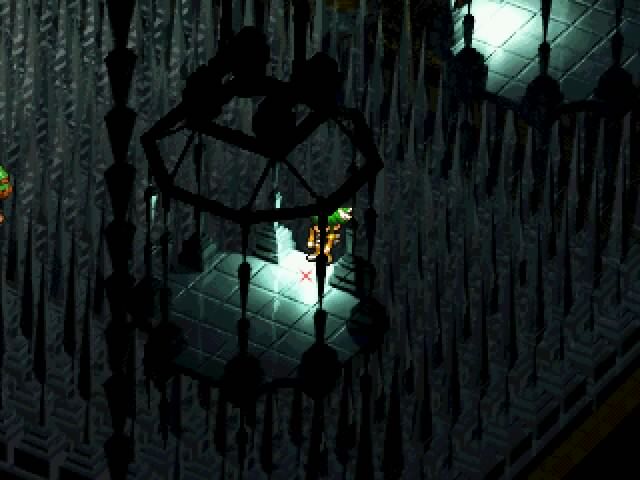
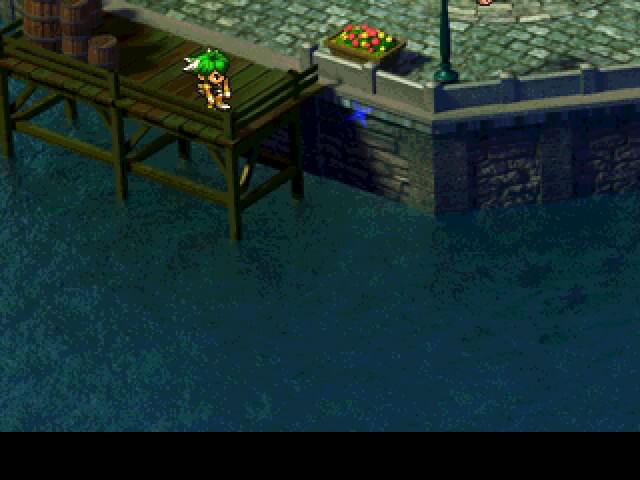
Part 1: Barrels. The first Virgil Key has been randomly hidden in one of these barrels. What happens when you select the wrong one?
Why, a battle, of course.
We eventually find it, in the second to last barrel. Which means my luck is only slightly above shit.
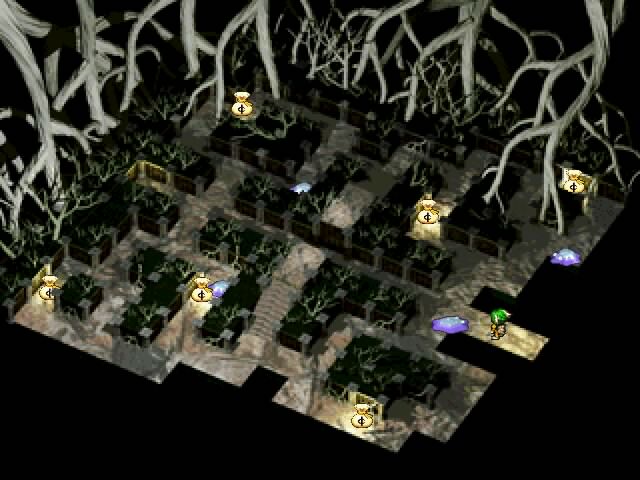
Part 2: The Money Slime Maze. Here we must pick up all the moneybags (which don't actually
give us any money, of course) while avoiding the slimes (touching them leads to a fight). I'll go ahead and note that nearly every enemy encounter found in these little events will feature the hardest regular enemies the game can throw at you, so avoiding them is desirable. After picking up all the money, the key drops from the sky, and every slime left in the maze becomes a whole fuckload faster. I ended up having to fight all but one.

Part 3: Bowling for Bean Dip. There are switches here (you might see them if you look closely) that send roly-polys after the enemies chasing us. If we manage to hit an enemy, it goes away. The object is to get rid of all the enemies. Of course, the "bowling balls" are limited and horribly inaccurate, so I ended up having to fight nearly all the enemies myself.

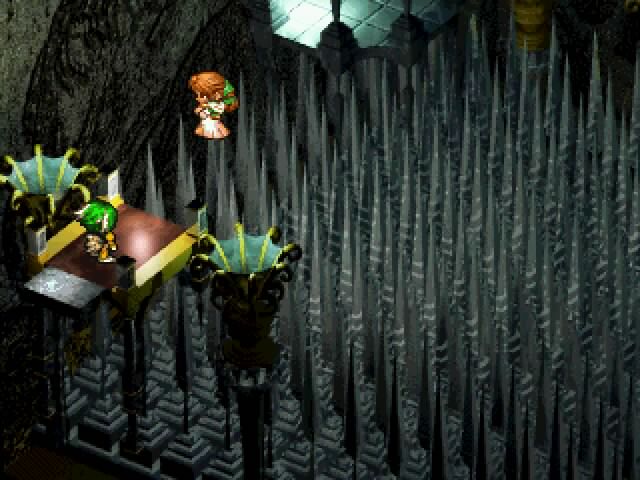
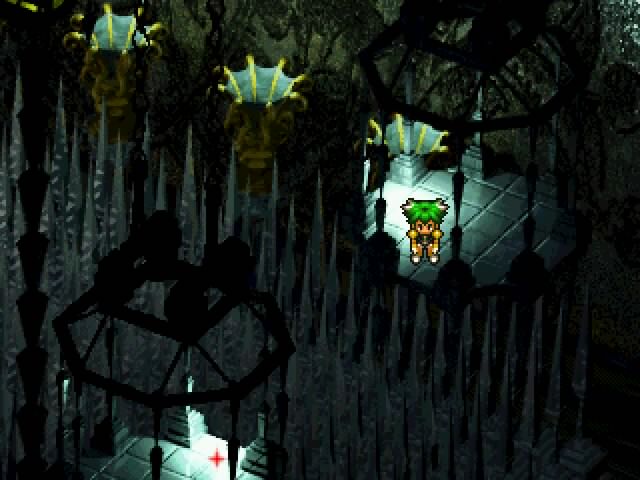
Part 4: The Spike Maze, or
I FUCKING HATE YOU, RIKI AND SQUARESOFT, YOU MADE ME CRY! This is the first of three events here in Mosperiburg specifically designed to make you hate life. The object here is to follow that woman as she walks along the spikes.
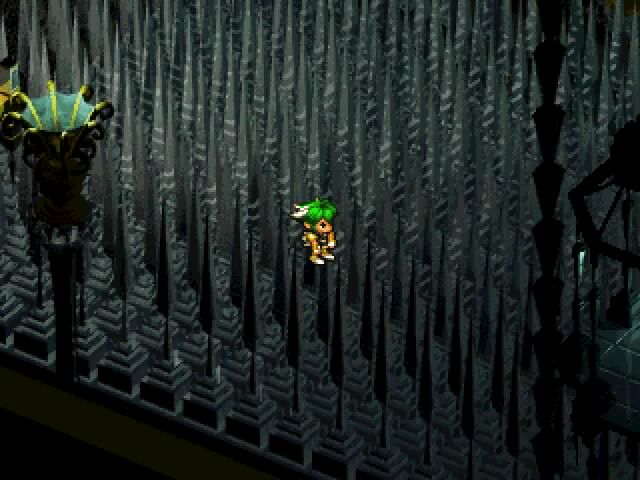
Failing to follow her will result in, YES, a fight. Note that even the slightest deviation from the path results in a fight. While you won't get in a fight if you step off the path in the same spot a second time, the fact that this area is so large means you could potentially end up in hundreds of fights. Also, anyone who's played this game knows that the controls don't really lend themselves to pinpoint accuracy. Normally that doesn't matter, but here...

Some of the fights in this room can be very tough. Yes, that's the Cyclops enemy Red encountered as a damn mid-boss in his quest. I think it was weaker here.
Also note that while the lady walks the correct path, she does it in a random manner, so she has a tendancy to repeat her steps, or completely turn around and LEAVE YOU FUCKING BEHIND.
Eventually I made it out of there. I don't know how long it took me. My screenshots say it took about an hour, but I might have taken a break here and there to sob uncontrollably.
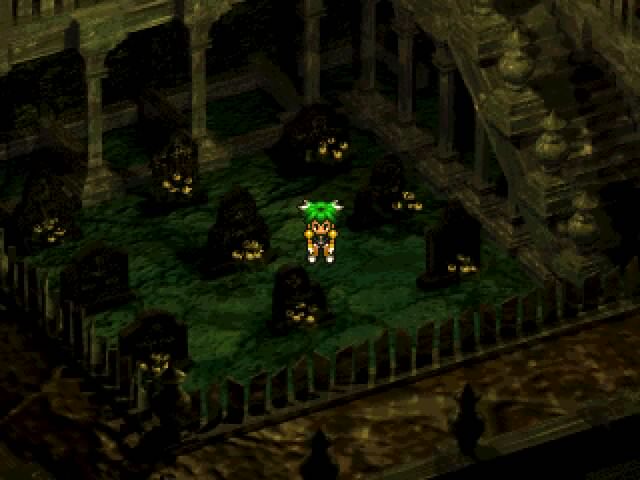
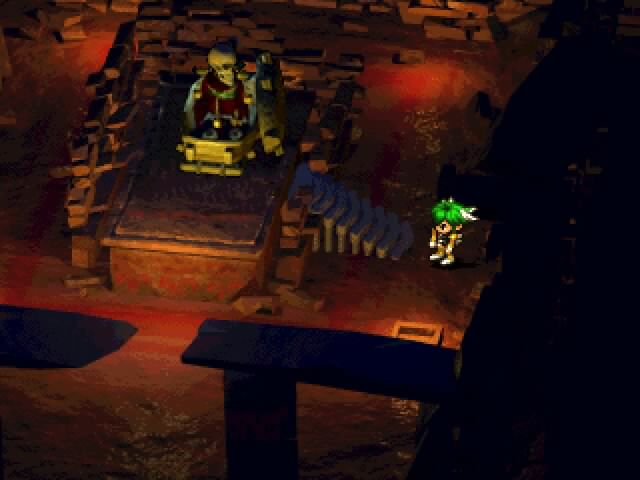
Part 5: Yon Graveyard. This is basically the same as the barrels, except instead of causing a fight when you check the wrong grave, it just spawns a skeleton somewhere in the room.
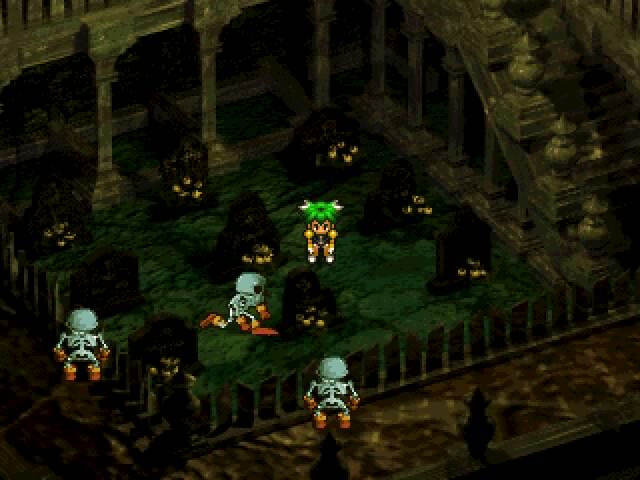
Eventually things got crowded. Note that each of those guys would lead to an encounter with a Dullahan, one of the strongest normal monsters in the game.
Part 6: SaGa Frontier Budokai. This room is suprisingly painless, just a mini-tournament of four people. Which means I only had to fight two battles, and both were easy.
Part 7: Press Your Lummox. It's a game show!
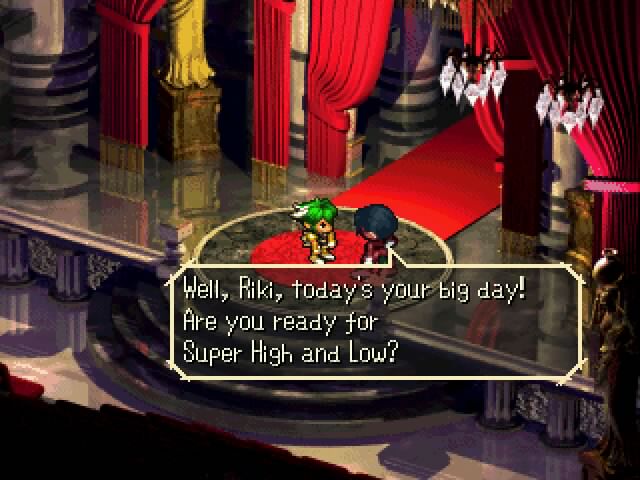
Basically, he says one item, and then says a second. I have to say if the second one is more expensive (High) or less expensive (Low) than the first. We have to get eight right to win. Getting one wrong, of course, leads to a fight.
A fight in which we are transformed into raccoons.
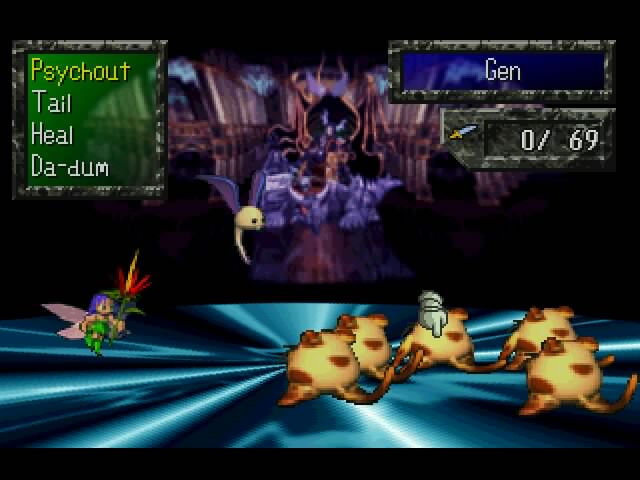
Part 8: Burning Rangers, or
You're playing as Riki? HA HA FUCK YOU! This room forces us into a fight with some Magma Slimes. Thirty of them, to be exact.
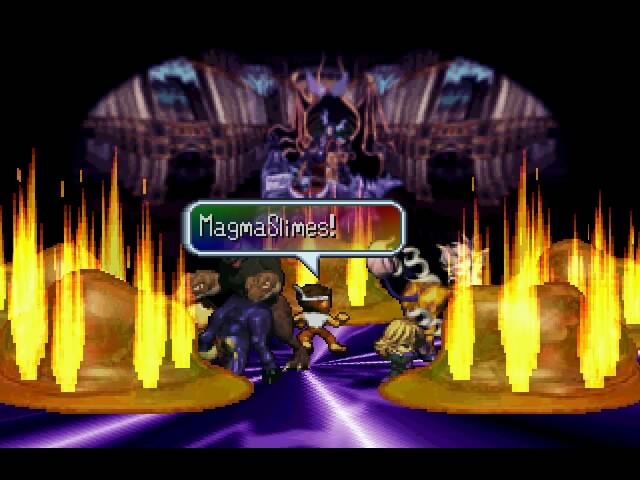
This is the second scenario designed to punish you for playing as Riki. You see, these slimes don't attack normally. Their only move is a MagmaTouch, which deals 1LP of damage each time. Remember LP? If a character loses all of them, he can't be used until you go to an inn. But if your main character loses all of his LP, it's game over. And here comes the kick in the balls: As a monster, Riki will rarely have more than 6LP. You fight these guys 5 at a time, so even if you kill all of them each round you're looking at six rounds at the least. And these guys are generally faster than you no matter how high your Quickness is. So, if you get unlucky and Riki gets hit too many times, it's game friggin' over.
We barely make it out alive.
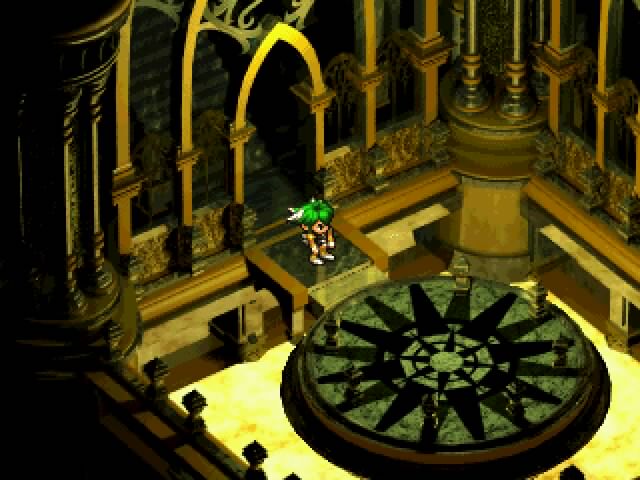
With all eight Virgil Keys in tow, we get the hell out of there and rest/save, since this is the point of no return for Riki's quest. Then we head back and return to Virgil's room.
It requires mention that the fight with Virgil is not a normal one. He cannot be killed (or damaged, even). Rather, he wants you to entertain him with combination attacks. You need to score ten points to win. The scale is:
Level 5 Combo - 5 points
Level 4 Combo - 3 points
Level 3 Combo - 2 points
Level 2 Combo - Nada
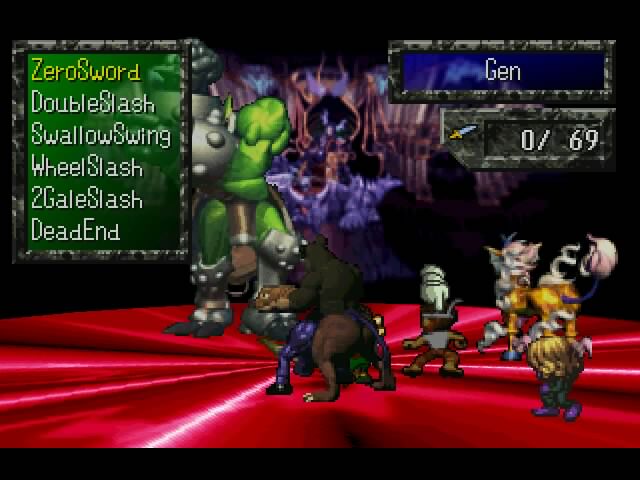
After the first round, he starts pounding on you a bit. He can generally kill a character in two hits or so, which reduces your combo potential. This is the third part of the "Riki Sucks" trifecta, as monsters are notoriously bad at comboing. Luckily, I'd been planning for this fight from the start, and most of the attacks I've given to Riki (particularly Silf and the Breath attacks) are pretty good for comboing.
 Video: I included the lil' pre-fight dialouge so that the music wouldn't be interrupted.
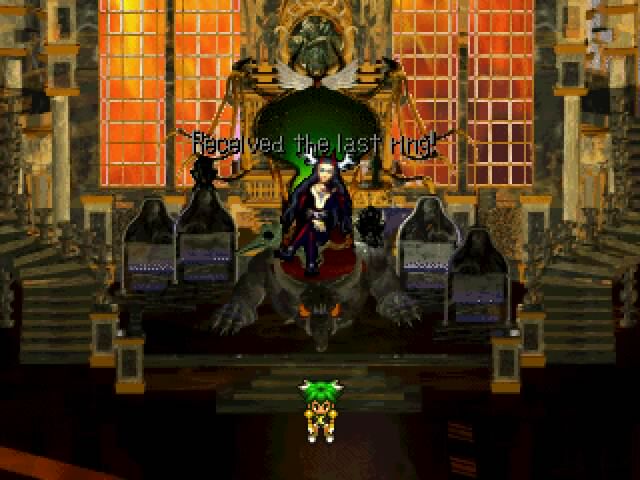
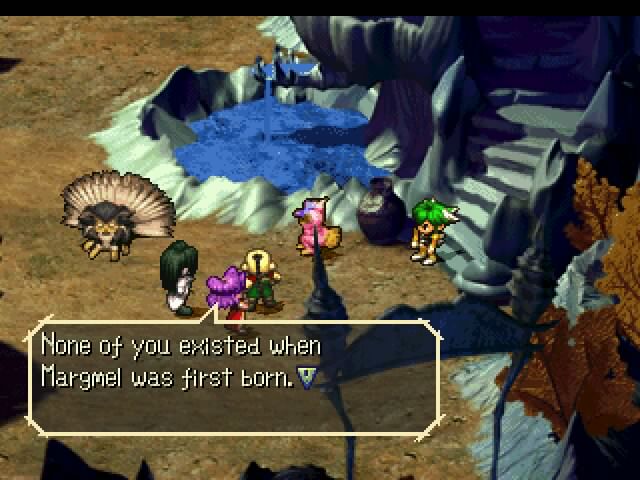
And that's the Lord Ring, the last of these damned objects. Afterwards, we are immediately warped to Margmel.

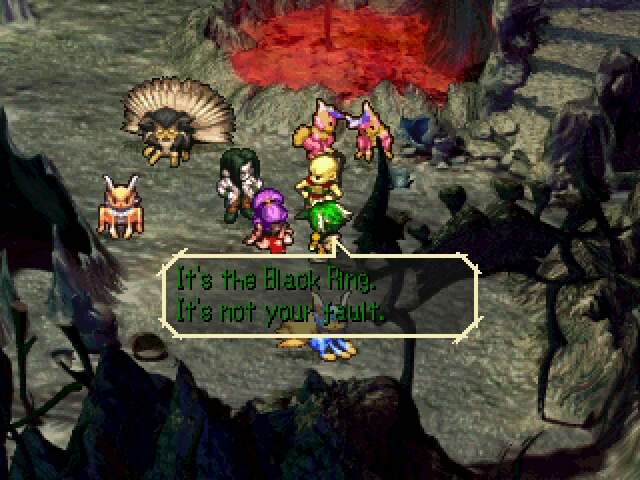
Dang, they're all still alive.
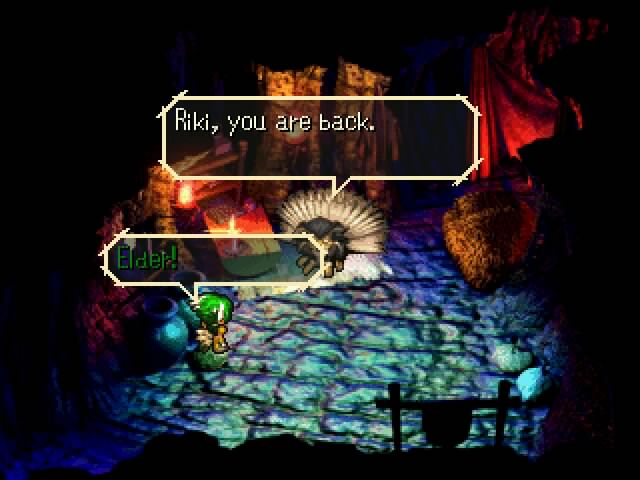
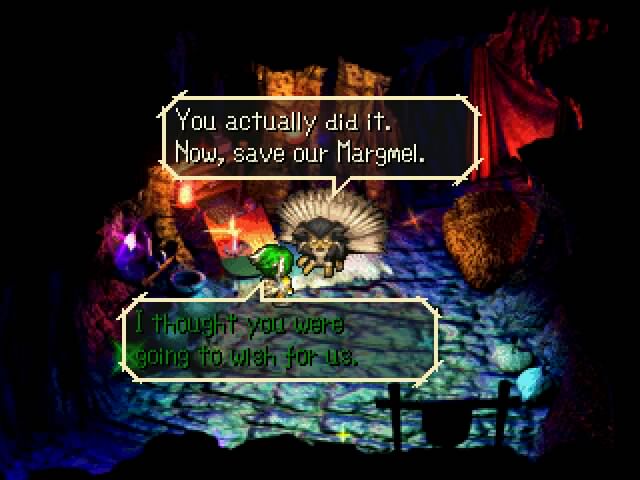
I like that the elder seemed to have doubted Riki could succeed. I sure as hell wouldn't have bet on him.

The emulator screwed up here again (probably the same problem as before), it's basically just a shot of Riki saying "Margmel be reborn!" Gotta be specific with the wording, there...
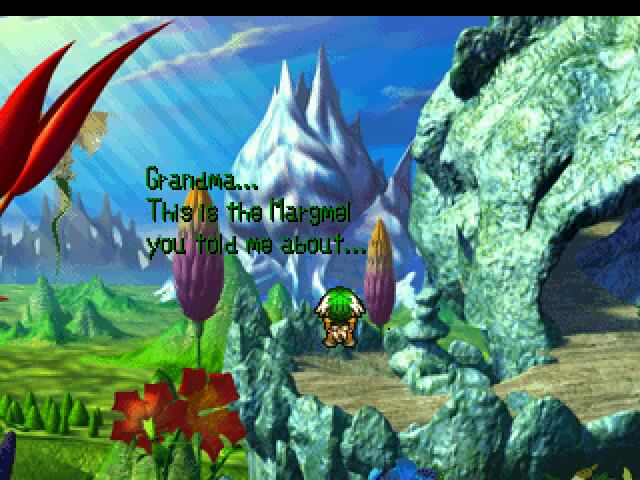
This was a nifty little effect, the new Margmel is actually "painted" over the old one.
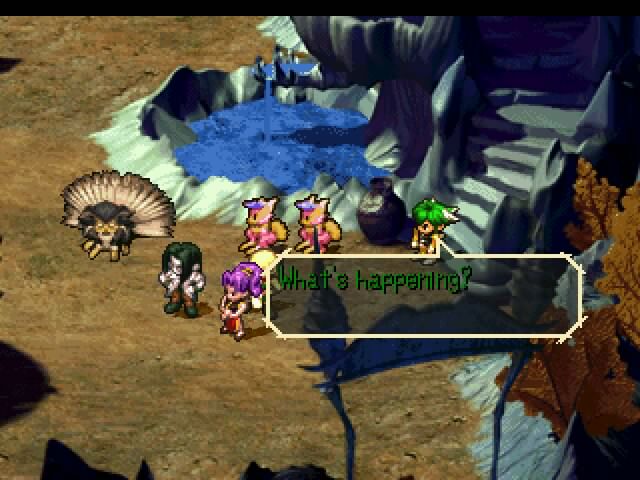
Trouble is afoot, however.
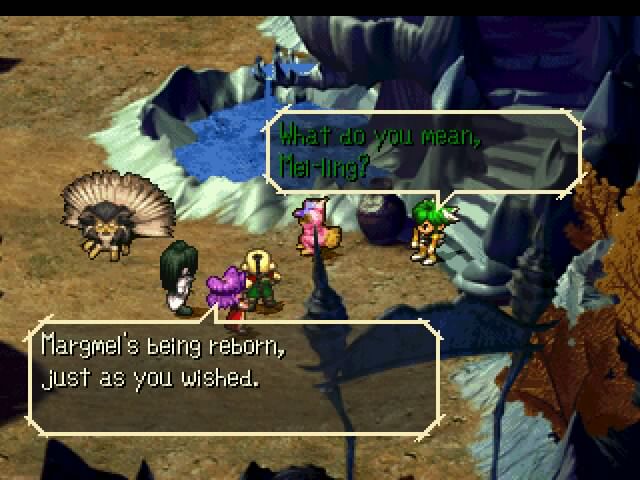
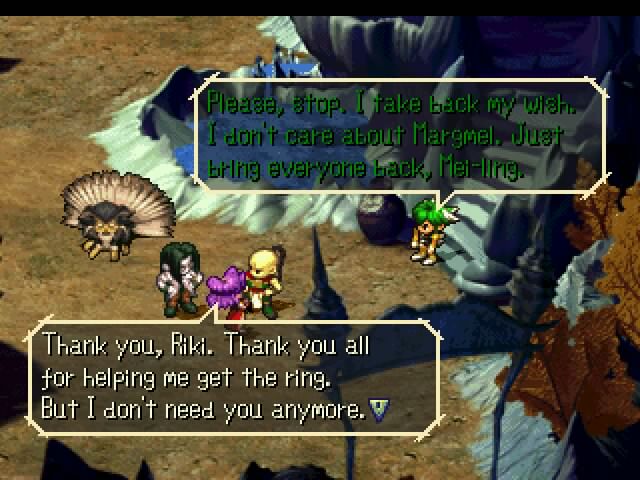
Silly Riki, don't you know how wishing works? Gotta be careful how you phrase things.


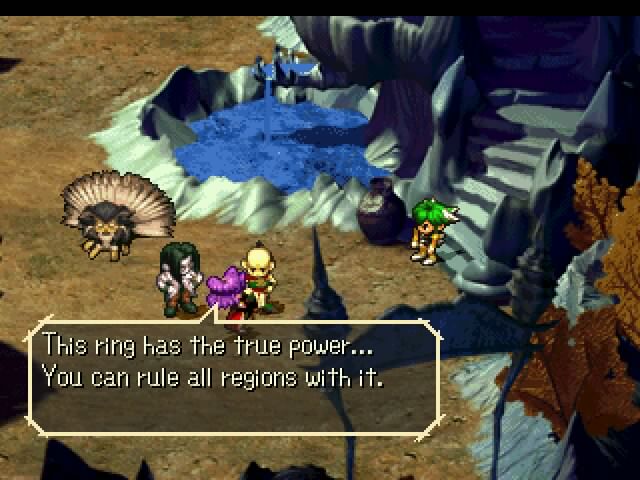
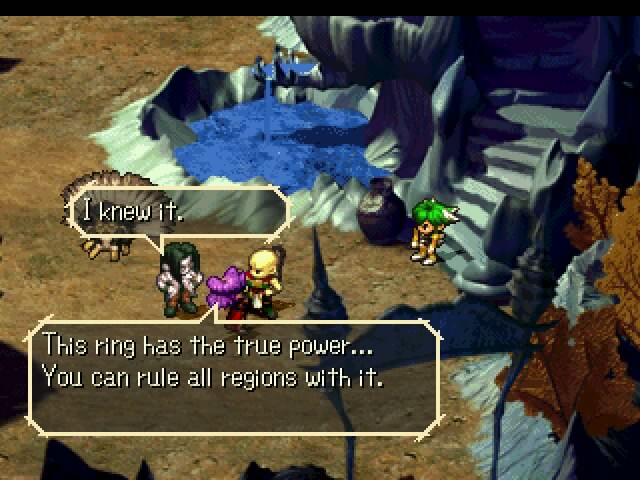
Aw shit, she's evil.

Oh Nusy, you're the best.

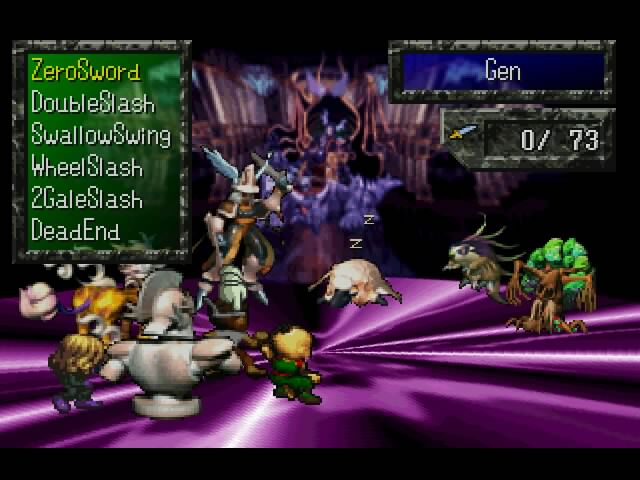
Final Boss Time!
This battle also requires some 'splainin. Master Ring is accompanied by all nine ring spirits (4-5 at a time). Killing all nine of them is a bad idea, since it causes Master Ring to use the Judgment9 attack, which will pretty much kill you. So we need to make sure to leave a crappy one alive. Master Ring only has about 50,000HP, which is low for final bosses in this game (Boss X and Hell's Lord had over 100k each), but it makes up for it by having incredible defense. Even a 5 hit DSC will hardly break 5000 damage. The only useful way to damage it is by using combos, which sucks since keeping allies alive in this fight is not easy (as you'll see).
On a technical note, some of you may have noted that the sound in my longer videos tends to lag (particularly noticable in the Hell's Lord video). This one is over nine damn minutes long, so I had to find a way to fix this. Luckily, it only required a quick update to my Growler Guncam software, so all the videos from now on should have correct sound. Also, I managed to screw around with some codecs and increase the quality of my videos while also reducing their file size. I doubt you guys will notice the quality difference since Google compresses the hell out of everything, but hopefully the videos will load quicker now.
Video: Final Boss Fight - Master Ring
Man, do I ever hate that boss.
Probably one of the hardest overall, really.
Just spacing things out here...
Okay.
Not that I hope you die, or anything.
Just like all women!!!

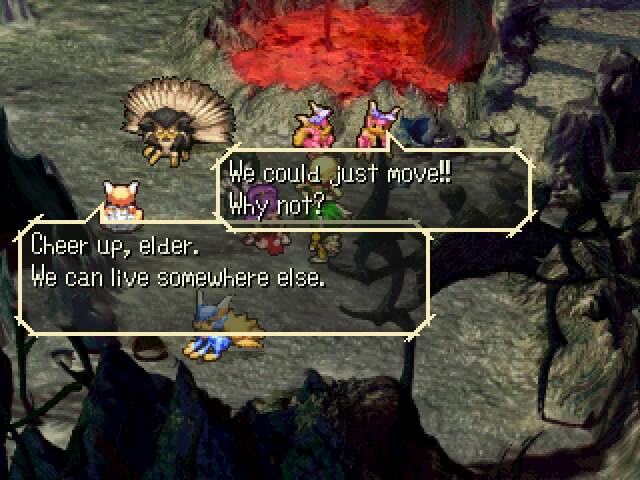
Wait a sec, now. We're not all sunshine and puppycakes all of a sudden here. The Lummox tribe demands blood for this transgression!

Well, with this failure, Margmel is now doomed to its firey demise, and the elder muses as such. But wait, what's this here?
Well whoopie winkleshits, if you guys didn't mind just
leaving, then why the fuck did I go all over creation getting these damn rings? Did you
SEE that spike room?
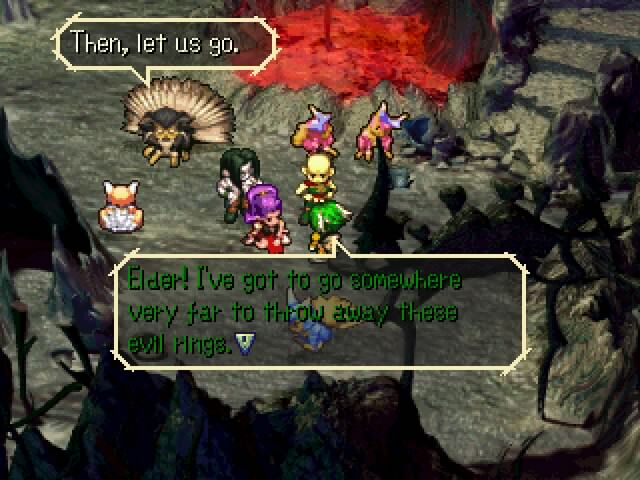
The Lummox prepare to leave, while Riki decides to dispose of the rings so that nobody else will suffer.
So he proceeds to get rid of each of them, mostly by giving them back to the people we got them from.

Why yes, this DOES more or less invalidate everything we've done here.
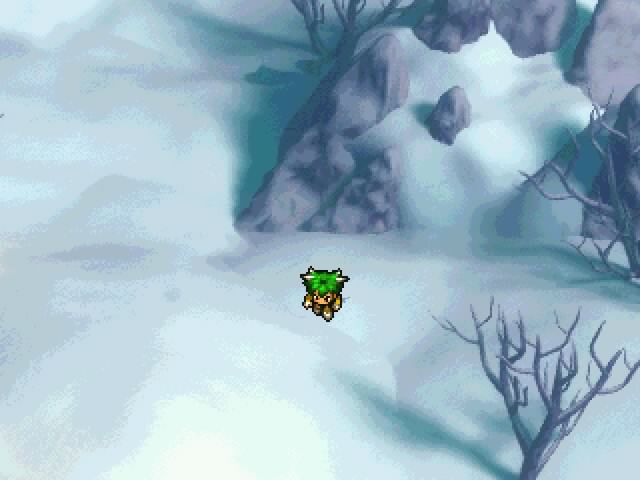
The Lord ring gets tossed into the frozen wastes of Mosperiburg, though. Virgil's gonna be
pissed.
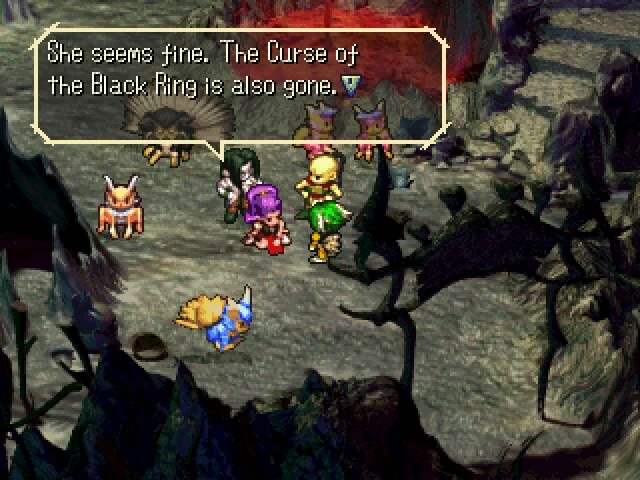
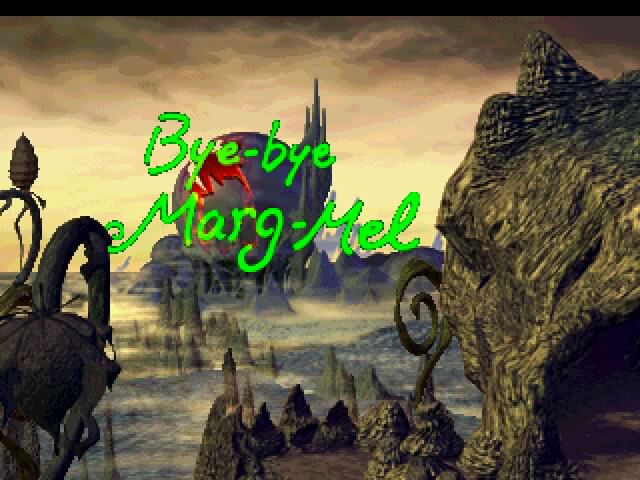
And Mei-ling's Black Ring is left behind in Margmel as it dies.
I hate you, Riki. I hate your whole damn retarded raccoon Lummox race. I hope that there was a family of Lummoxes somewhere on Margmel that kind of lived on the outskirts of the town, and that in the haste of the evacuation, everybody forgot about them. I hope they realize they're alone and doomed, and as they stand on the cliff face to watch Margmel die, I hope little Billy Lummox looks up at his daddy and asks, "Why do we have to die, Daddy?" Daddy Lummox will look down at his son, sigh, and say, "Well son, I think we deserve it."