Part 16: Bring down the sky
Part 10: Bring down the skyWalk a little to the left of the secret elven town, and we get another “random” encounter. No story or plot involved, and we can randomly trigger the fight again after clearing it. This might be the last fight that can retrigger, or it just might seem like that because this is the last area where you'll ever really want to backtrack. Not really sure which it is.

Not a very exciting battle. Gargoyles, Arrow Launchers, and Soulsowers return again, but this is the last fight we'll see most of them. Gargoyles are so flimsy that May makes short work of them. Arrow Launchers and Soulsowers kind of hurt but aren't a real threat.


New monsters. Dark Witches pack Freeze 2, which is annoying if it catches multiple people but not really dangerous. Orcs are ridiculously fat and it will take a while to chew through their HP. Casting Slow on them is highly recommended if you have to deal with more than one at a time. Dark Clerics come with Heal 3, which can actually be a pretty big problem if they're near an Orc (and they will be very often). As tempting as it may be to abuse the “beat down the replenishing HP fountain” trick, sometimes you will be forced to kill the Dark Cleric first because otherwise you won't be able to kill the other enemies.

Just showing off the new range that the robin arrow grants to archers. Having that kind of utility is very nice and makes May a much more flexible character particularly in heavy terrain. Unfortunately, enemy archers will be picking up similar capabilities in two fights, and they won't be nearly as fragile as May.
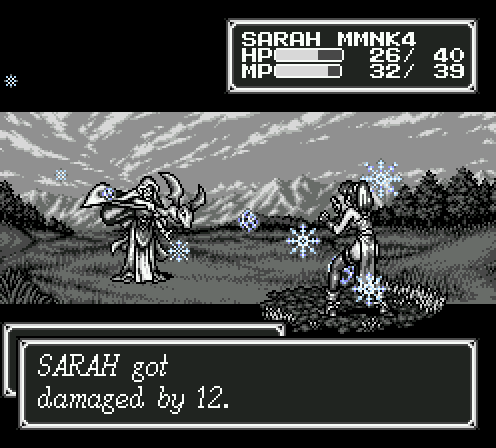
The damage on Freeze 2. It has an area effect identical to Blaze 2, but costs 7 MP, which is still too much if you ask me. The Dark Witch actually snags three characters at once with this spell, but even for me 12 damage is only worrisome because I'm limited to one healer.

This fight really only comes in two clumps, and this is what the battlefield looks like after the first one is eliminated. The random red dot towards the bottom is actually an Orc, who have pretty crappy movement. The only reason I can think of for why it was placed there was so you could get a handle of how durable Orcs are by themselves, so you're not blindsided when you tackle two more with Dark Clerics in tow.
For reference, my hardest hitters will only hit Orcs for about 10 damage, and the things have 60 HP. Luckily, that's why I pack this:

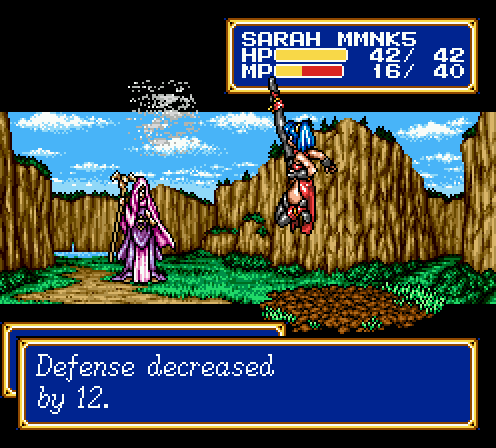
Suffice it to say that the real reason you need a second healer in Challenge Mode isn't really for increased healing power, so much as it is the need to spend Sarah's actions and MP on Slow. Slow is a wonderful spell and will win you fights.


Proof that the attack spell is far more effective on non-weapon users. Kiwi's attack went from 44 to 60, whereas Jaha's only went from 50 to 60. However, remember that the effects of attack actually decay over the course of three turns, and is a single target spell. Slow 1 has an area effect and Slow 2 has an even larger one, and both spells cost far less MP. Love Slow, because it is the best spell in the game. Love Sarah, because she is the only character who learns it.


Kazin also picked up Blaze 3 somewhere along the line. It doesn't do nearly as much damage as I'd like, and I don't really feel like it's worth the cost of 10 MP. Blaze 4 would be much more useful, as it's single-target and high damage for the same MP cost, but we won't be picking it up for a while. A large part of the reason why I like Shining Force GBA so much is that it reversed the roles of Blaze 3 and 4 (along with the corresponding levels of Freeze and Bolt). Getting Blaze 4 at this point in the game would actually turn Kazin into a very serious contender for the rest of the game, but as it is I have to do all kinds of dancing and jumping through hoops to make him useful.
Anyways, nothing much special to this fight. Orcs getting extra HP pumped into them by Dark Clerics is an annoyance, but other than that the fight is easily controlled.
Battle Report!
 Level 5 4 HP/2 MP/2 ATT/3 DEF/2 AGI
 Level 2 1 HP/2 MP/1 DEF/2 AGI
 Level 2 1 HP/2 MP/1 ATT/1 DEF/1 AGI
 Level 2 1 HP/2 MP/2 ATT/2 DEF/1 AGI
 Level 2 2 HP/1 ATT/2 DEF/2 AGI
 Level 2 1 HP/1 ATT/2 DEF/2 AGI
 Level 2 1 HP/2 MP/1 ATT/1 DEF/1 AGI
 Level 20 1 HP/1 ATT/1 DEF/1 AGI
Before I move on, I have to do a bit more backtracking.
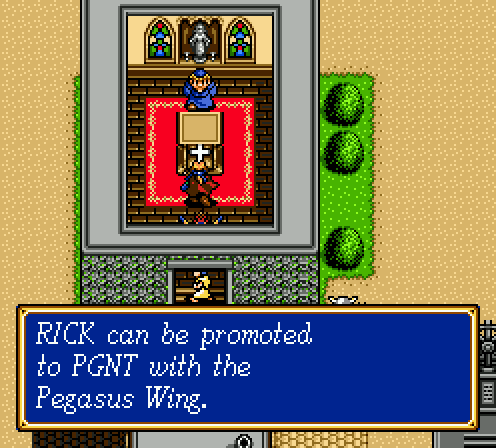
Ordinarily, I wouldn't be able to promote either Chester or Rick to a pegasus knight until far later into the game, but thankfully I can buy the appropriate item in Hassan. Due to the fact that Rick actually has extremely high defense, promoting him to a pegasus knight makes sense. Having a durable flier with a ranged attack is actually a very useful asset to have.
Trekking all the way back to west of the elven town...
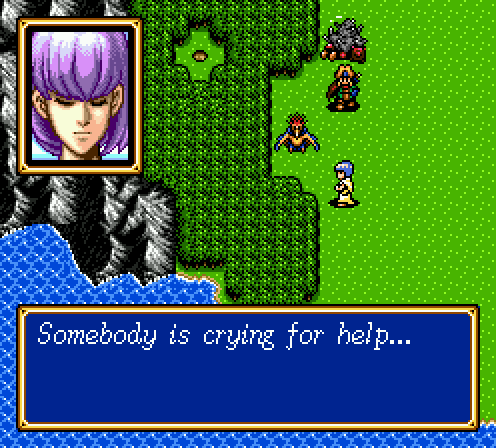


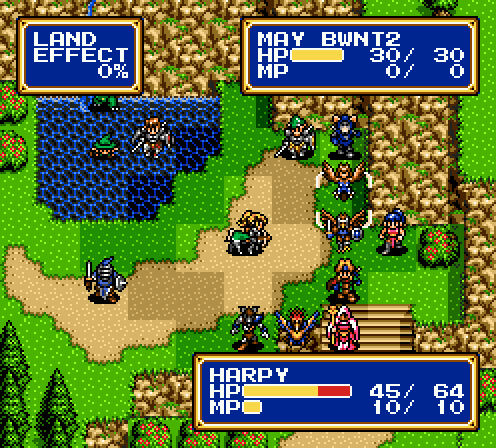
That last line always made me laugh as a kid. Curiously, those are soulsowers behind the harpy, but there are no soulsowers in this fight.

Dark Clerics, Orcs, Dark Witches, and even the Arrow Launcher return. At each corner of the map, we've got a Harpy:
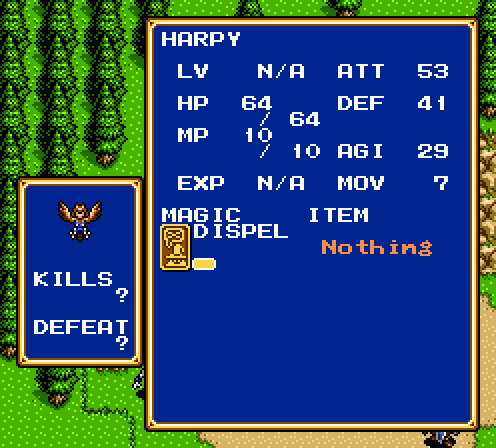
Unbelievably, they're even more durable than Orcs. They also have a chance to poison on hit, and being fliers they have extremely aggressive AI. However, there is a nice trick to this fight: Despite the red blip at the top left being closer to your starting point, the one at the top right is the one that starts off aggressive. The harpy at the top left won't become active until the fourth turn or so, which is ample time to clean out the top right harpy which attacks you from the get-go.

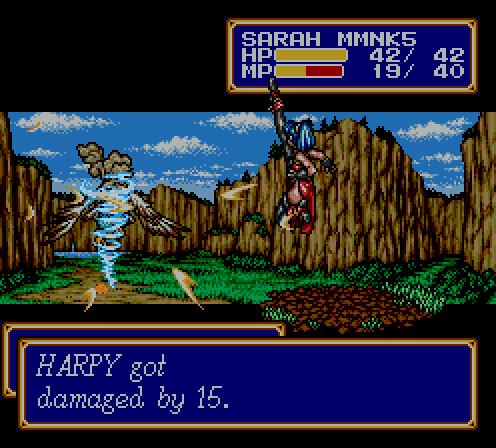
Harpies don't fuck around. Their high attack and ease of mobility also means they're very liable to break leash. For some reason, they really like picking on Kazin.

Even May with the power ring can barely scratch them. Having to deal with more than one harpy at a time is the easiest way to get this fight to spiral out of control.
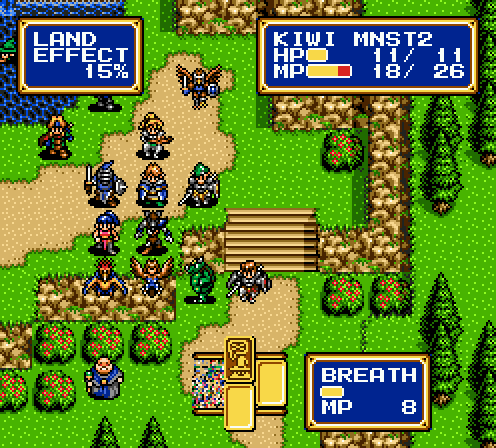
Kiwi picked up the ability to use his flame breath on command. The garbled graphic is something Obob never fixed, but you know what?

I'll forgive him for the ability to do this on command. Kiwi's durability may be going down the tubes, but being able to do 50+% to any enemy several times is going to save my hide for now.


You know what's a dick move? Poisoning Kiwi is a dick move, especially when he only has 2 HP left. As a reminder, poison does a flat 2 HP per round, making it particularly nasty on Kiwi.


Fun fact, flying units are weak to Blast. This applies to Peter and Luke, too. Naturally, wasting Sarah's MP to cast it is not worth my time.


STRATEGERY

After judicious use of Slow and isolating the harpies, I get to reap the rewards of the refilling HP fountain. I have to use this trick to get Rick some levels, because he currently has the lowest attack power out of everyone. Being a tank comes with a high price.
Battle Report!
Level 6 2 HP/2 MP/1 ATT/1 DEF/1 AGI Level 2 3 HP/1 ATT/2 DEF/1 AGI
 Level 2 2 HP/1 ATT/2 DEF/1 AGI Level 3 1 HP/2 MP/2 ATT/3 DEF/1 AGI Level 3 2 HP/2 ATT/2 DEF/1 AGI
 Level 2 2 HP/2 ATT/2 DEF/1 AGI Level 2 2 HP/2 ATT/3 DEF/1 AGI

This leads to where we're going next, wherever that is. Oh yeah, this is Elric and he joins our party. He's the first archer we get and holy shit are his base stats awful. If I still had the silver tank, I could promote him to a brass gunner, but brass gunners suck. As such, I backtrack to Hassan yet again to get him promoted and buy him a robin arrow like May has.
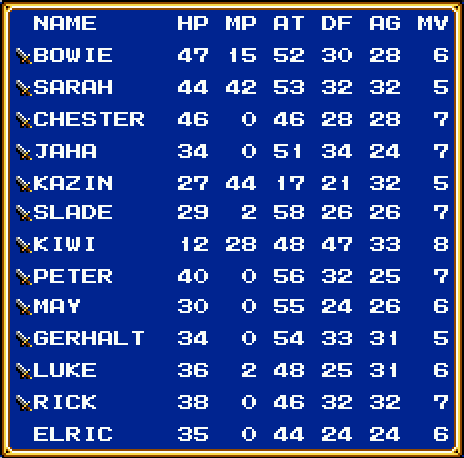
The state of the force right now. It's really tempting to keep Elric out, but I'm also starting to grow really tired of Chester, and having extra firepower against flying enemies might come in handy. I'll make a decision before the next update, but Chester's life expectancy is rapidly shrinking.
NEXT TIME: Boss battles! Two of them in a row!