Part 13: Part 13
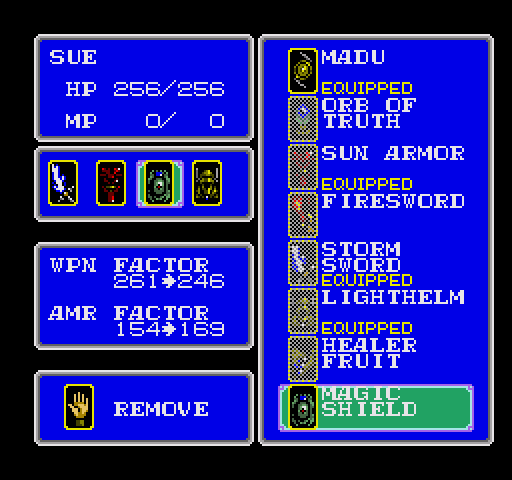
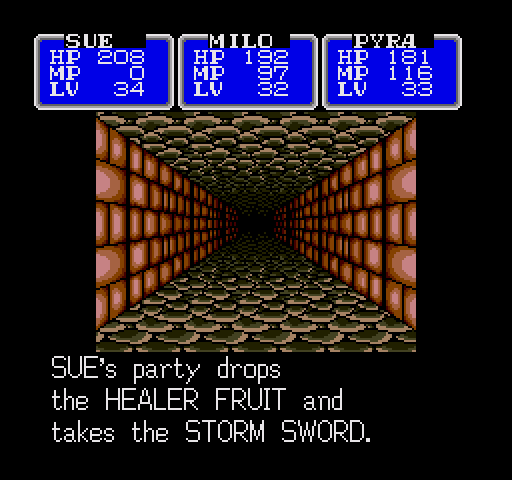
Sue's WF with the Stormsword is much higher than it was with the Firesword, and the Madu is only contributing a very small part of his total damage at this point.
He is also taking a lot of damage in battle.
Buying him a Magic Shield, the strongest mass-produced shield in the game, shifts those 15 points from WF to AF, where he needs them more.

Back to the grind, and Milo demonstrates the Icestaff.
It is very shiny.
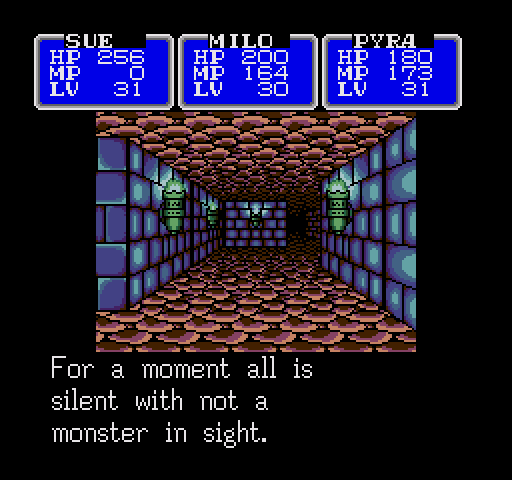
Turns out Pyra can actually cast Peace here now that our levels have gone up a bit, but I finally run into a water elemental here.

This guy was a threat in the Trials. Now, he's just as pathetic as the Grimwalls.

I've been waiting for this! Well done, Milo.

Demonikas are... nothing to write home about, but apparently they can attack twice if they feel like it.
These ones didn't. They didn't feel much of anything... but pain.


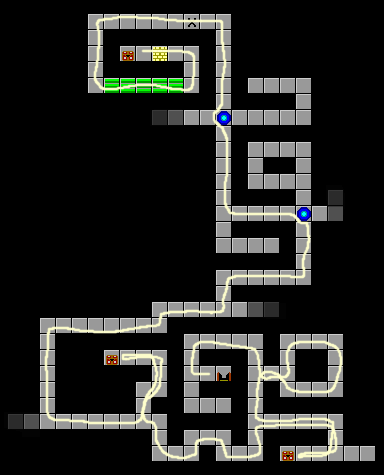
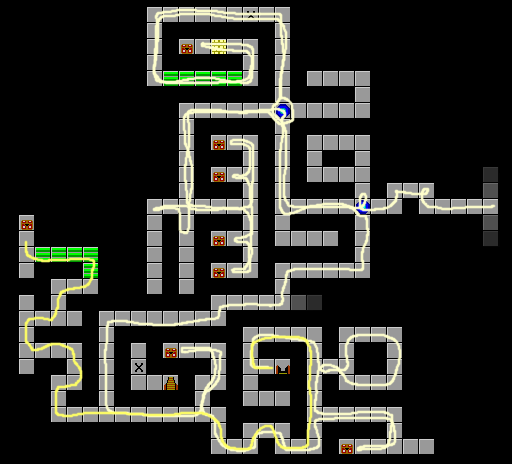
I transfer the Medallion to the fountain further into the labyrinth.

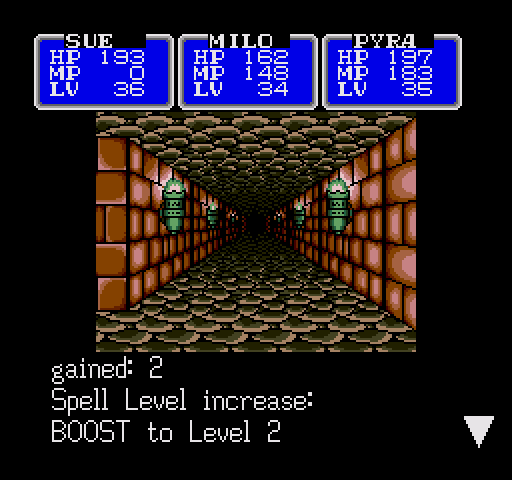
We're looking pretty good after that trip, even after Peace stopped working! Maybe the fourth floor won't be such a pain this time.
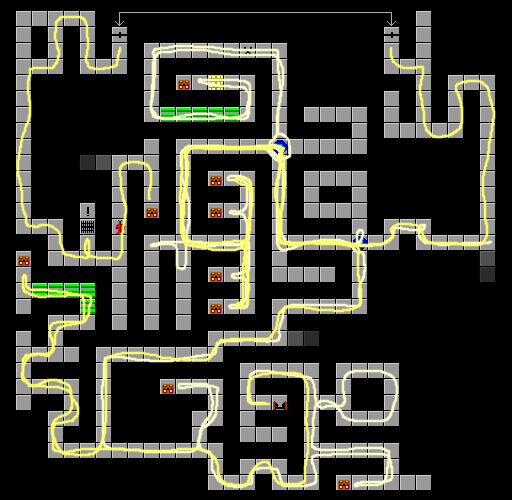
One quick pit stop later, we're at the proper entrance to the fourth floor.


Thought we were done with this fuckery? Thought the treasure on the second highest floor would actually be worth a damn? Hilarious, isn't it?

Vypers have gained the bloodroosters' "bloodshot eyes" ability... and lost everything else.
Just kill them and move on.

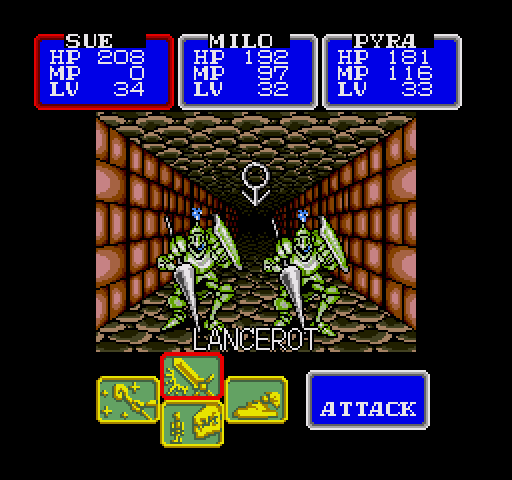
These guys can be problematic. They don't have a lof of HP, but their defence is high. Here's a point where powerful single-target weapons for Milo and Pyra might be nice, but I just had them defend while Sue pounded the knights into the dirt.

Herb-water. This is... at least worth money? A little? Which I'm never going to spend? Aw, fuck it, this one sucks too.

Dragonspawn are big, ugly, and nowhere near as threatening as they look. You'd think they would have something like salamander-breath, but they actually only have single-target attacks.
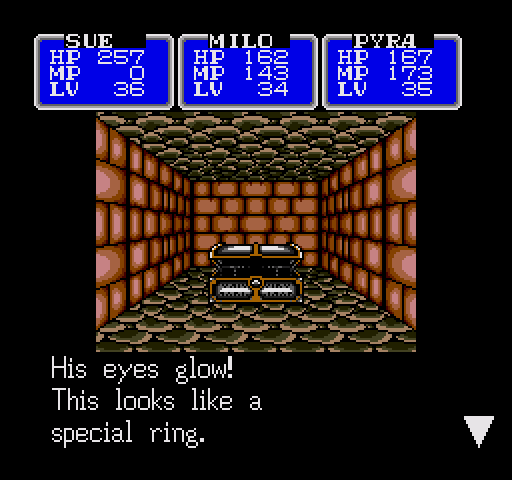
Are you seeing what I'm seeing?
Here's a chance to get a sneak peek at Level 5! Exciting, no?

...fuck damn it, you guys, I'm trying to show off something new here! Deathmasks have gained a new trick: they can randomly one-shot you with their physical attacks. Kill them first, because that's annoying.
Hobgoblins are just slightly upgraded versions of the trolls we saw earlier, but don't take them lightly; one of them hit Sue for 69 points of damage before I could get rid of them.
Desoul is really too expensive and inaccurate to use.
Here's the fifth floor!

Vaguely Egyptian and very full of powerful beasts. This one is a "Kamiliun", which hits like a truck but doesn't have any special attacks. Fortunately.

There's another chunk of mithril here. I'm not sure what I'm supposed to do with all this ore.
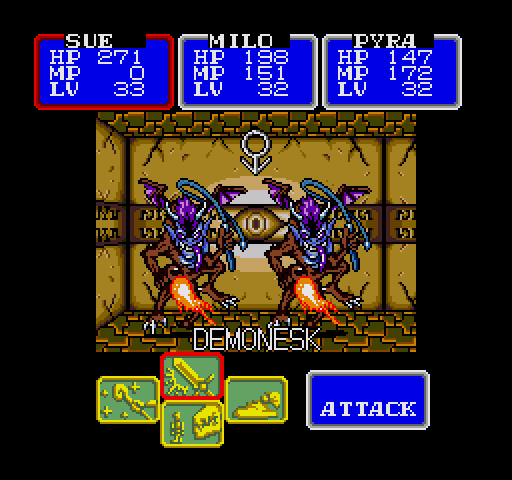
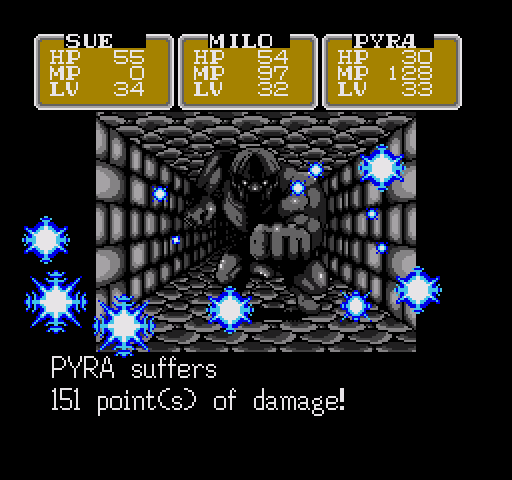
Demonesks are a huge threat due to their "freezing gas" attack (despite the fireballs on the screen) which does well over 100 points of damage to the entire party. Somehow, I survived the encounter and returned to the fourth floor...
...only to find this waiting for me.
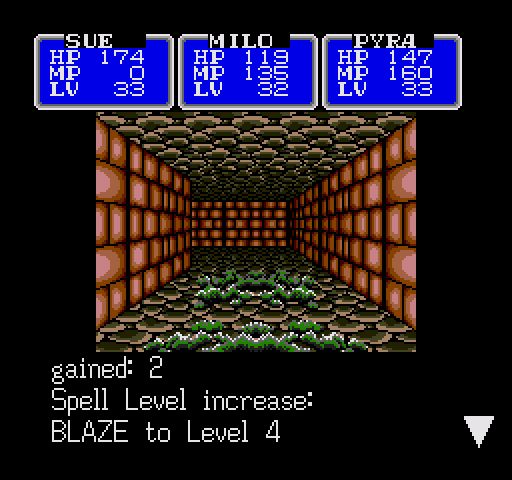
That's nice Pyra now step off the moss so you can actually use it too.

And what better to try out a fire spell on than a bunch of zombies?
As an added bonus, Blaze 4 hits all enemies on screen.
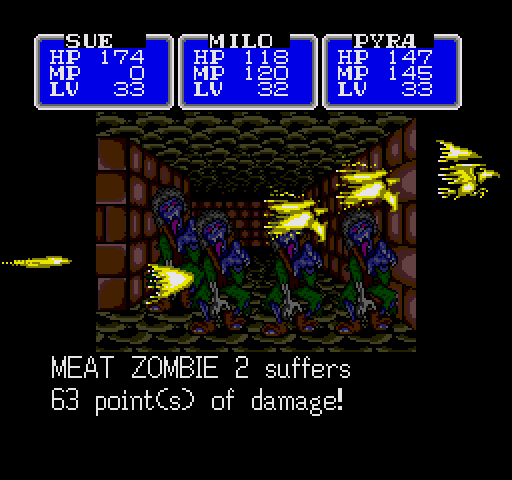
Milo follows up with Blast 4 and kills everything.


The only purpose this guy serves is to force you to carry the Orb of Truth around with you.

It is so very, very worth it, however.
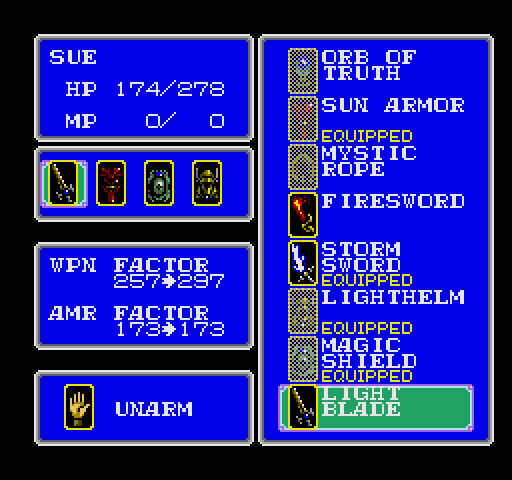
Look at that WPN FACTOR! It's insane!
...but I'm not equipping this on Sue.

Very big, very strong, able to get critical hits. Poorly named, but dangerous.
But we have ways of dealing with them!

The Light Blade is a plot item. It does not break. It is free Bolt 3 forever.
It one-shots an astounding number of enemies in here.
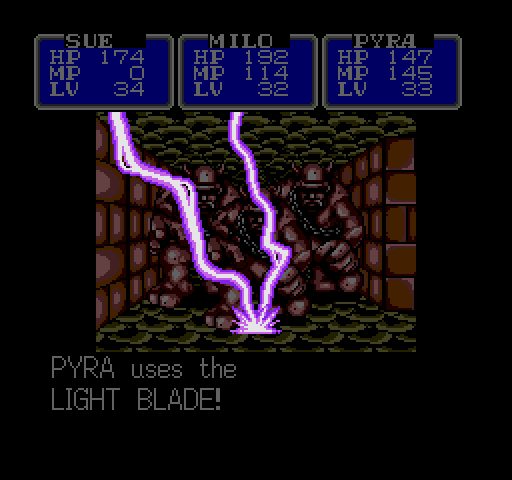
Giving it to Pyra means ending a majority of the battles on this floor with a single action.
This requires a video.
Video: Light Blade Tribute
If you live in Germany, I'm sorry; chances are you already know what I'm about to say, but Youtube hates you.

This guy falls from the ceiling in pieces...
...and proceeds to wreck our shit.
Damn, man.
Apart from that, it also has the usual "event enemy" traits - high HP and defence, and gives out nowhere near enough gold and experience when killed.
These guys also sometimes attack twice, but they're more notable for the fact that...
...they're one of the enemies that drop otherwise unique equipment!
The weirdest fucking luck.

Here's a treasure that doesn't suck, but my inventory is so full of awesome stuff, I just can't justify throwing any of it away. I'll come back for this later.
(If you open a chest with a full inventory and refuse to discard something, the chest closes and can be opened again at a later point. It's pretty nice.)

Here's the last form of chest monster.

70-80 points. Entire party. Pain.
There's two of these right next to each other.

Somewhat offset by this, however!
...if only I could pick it up.

The Syren is the last, and of course strongest, water elemental. They hit hard, twice. May also cast Muddle 1. Eh?

The weirdest fucking luck!
The Barrier Ring casts Quick 2 when used, which isn't all that useful (you have Milo for that) but I can't let this go. I discard my one remaining consumable, an angel feather, for this, and Egress out while I still have the MP.

Oh, and now that we have all that great stuff, there are some things we no longer need...
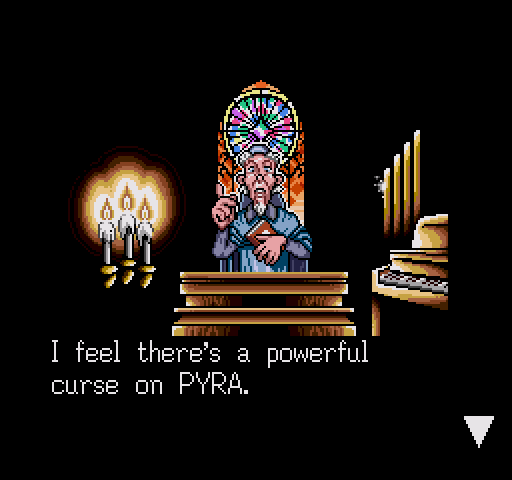
I can try to dispel PYRA's curse, if you wish.
In return, I would like to ask for a contribution of 5 gold pieces.
That's... really damn cheap. Wow. I was expecting a couple of hundred at least.
PYRA has been freed of the curse.

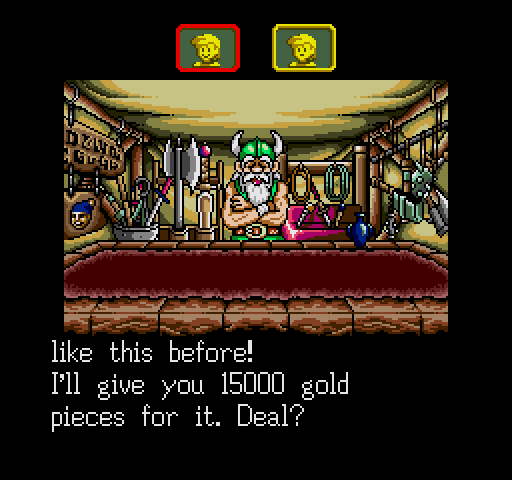
The Hexwhip is worth a lot of money.

The Sun Armor, somewhat less so.
All right! Ready for another foray into the Labyrinth!
This will be seeing use. Sooner or later.
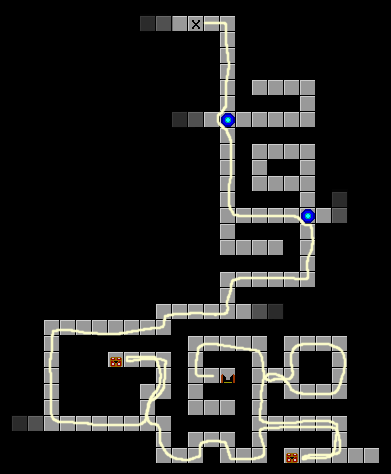
The map I was using didn't originally have this chest on it.

This is what it contained. Weaker than the Hexwhip, but stronger than the Thornwhip, and I may as well equip it since it's there. She won't be using it, though.
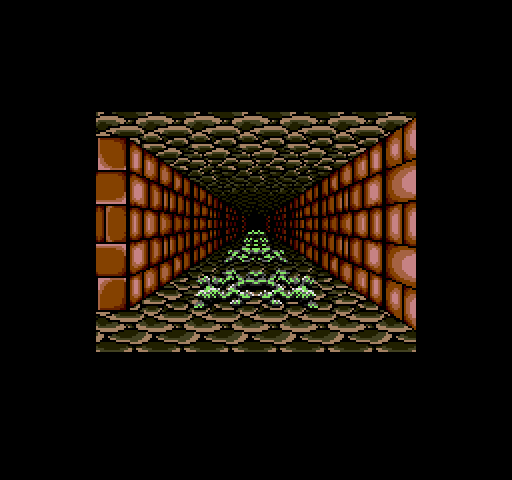
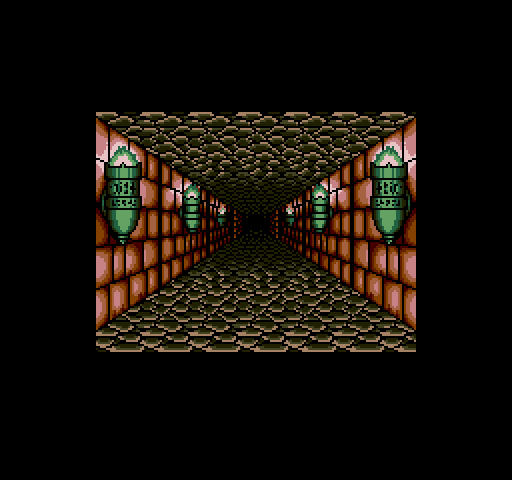
The map also conveniently omitted the MP moss. I edited it from memory - the green stuff may not be right, but it looks something like this.
This will see very little use. 20 MP, targets entire party. Pyra should not be attacking anything strong enough to require buffing with physical attacks, and it's less effective than Boost 1.
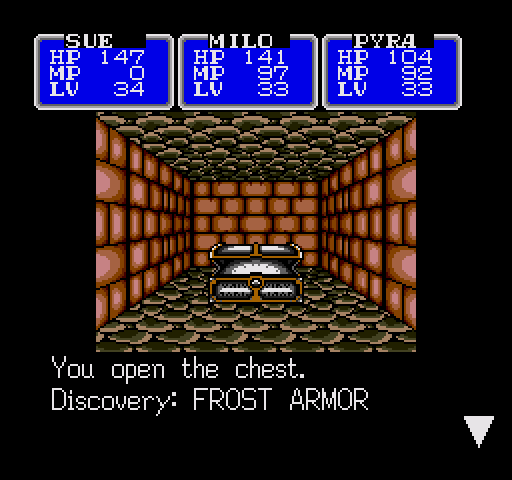
I pick up the Frost Armor. It's like the Sun Armor, but not!

And then this again.
This is made from mystic materials.
This might prove to be useful.
This thing might break if it's used too much.
Milo infodumps pretty poorly. It's a ring. It heals people. It's not that difficult to understand.
...specifically, the Heal Ring casts Heal 3, making it very useful for Pyra (who doesn't get it normally) if you have to recover a lot of HP quickly.
Here's something else that's useful for Pyra. I'll show it off at some point, I'm sure.
Torches!
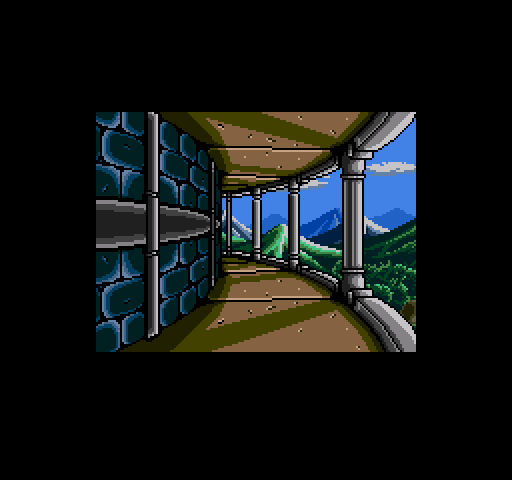
Another balcony. It's the same thing, but in reverse.

On the other side...
Video: The Cell Key. (Recommended viewing.)
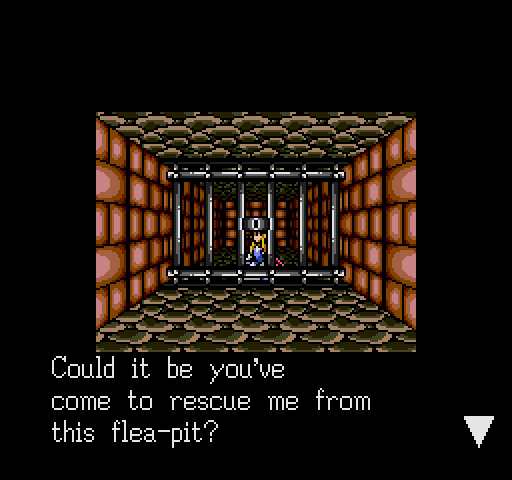
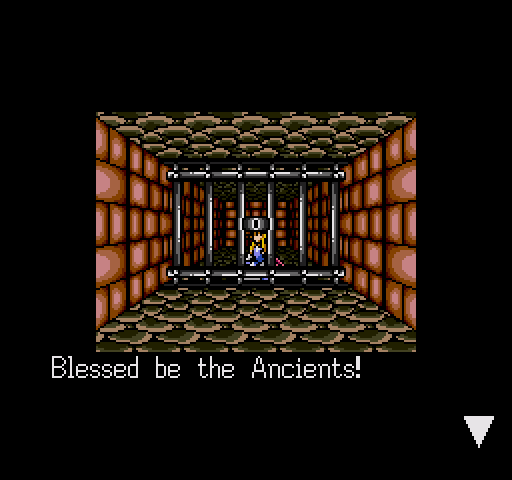
I don't think we'll get far, unless you have the key to open this cell.
To make matters worse, Mortred is guarding the key!
And there we have it.
You look shocked! You're not related to Mortred, are you?
Cruel Fate! It pains me to tell you that Mortred now serves the Dark One.
If my father learns of Mortred's "treachery," it will break his heart.
No one cares about Sue's heart

I hate to ask this, but could you please get me the CELL KEY?
Good luck!
But if Mortred is guarding it...

Oh, that's not good.

It's a pity that your quest for the Princess must end here.
Enough small talk! Prepare to meet your Maker!
 "But enough talk..."
 "Some goddamn respect when I'm about to kill my own father would be nice."
 "Some goddamn respect when we're all about to be killed by your father would be nice."

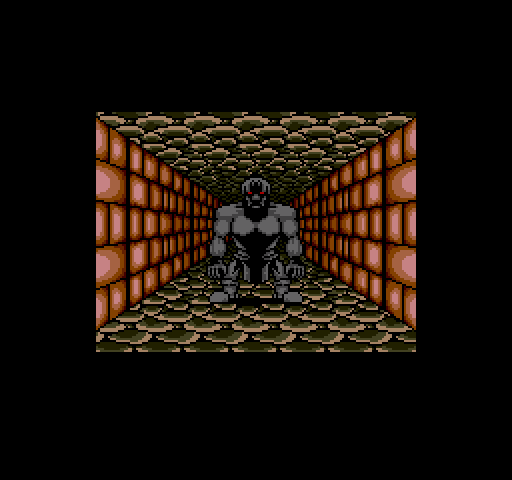
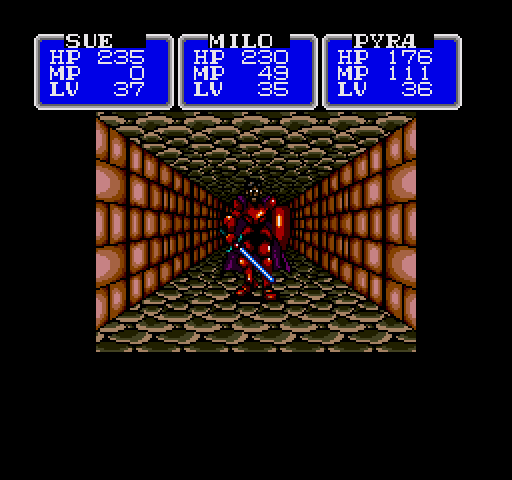
The Dark Knight approaches slowly.

But his attacks are anything but slow.
The Dark Knight is the first proper boss, and he makes all the previous bosslike encounters look pathetic. His attacks are powerful to begin with, he gets two of them most rounds, and at least one of them tends to be a critical hit. If you're unlucky, it'll be both. If you're really unlucky, they'll both land on the same character.
After beating on him some, his helmet comes off.

That doesn't mean you can slack off.
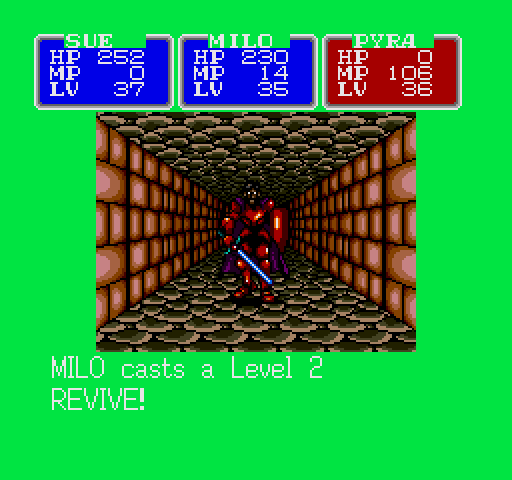
I actually had to revive Pyra twice in this fight.
Revive 2 grants full HP, so it's actually useful in combat.
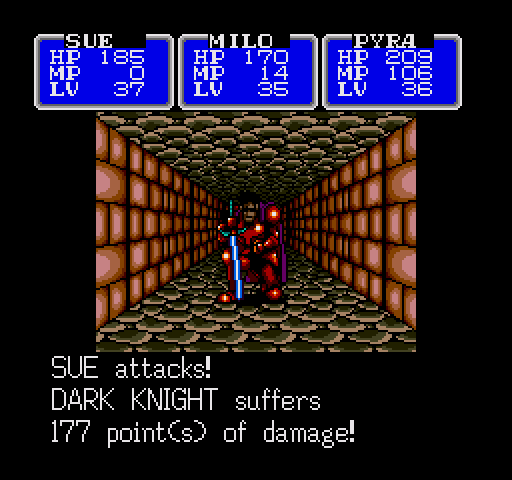
Maybe I should actually have equipped Sue with the Light Blade for this... oh well.
Once defeated, Mortred regains his sanity.

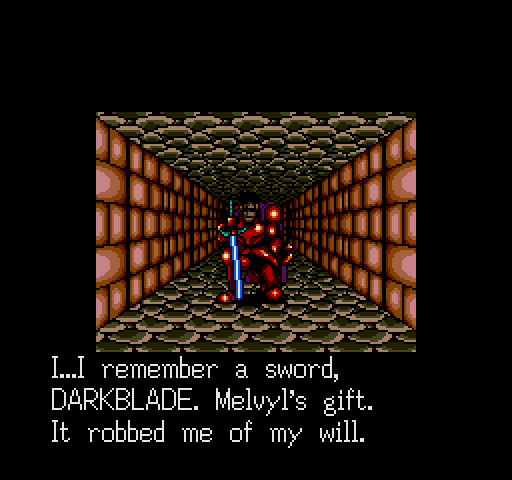
Cursed be this sword and its source of power, the Darkness!
Now listen well. Stop Dark Sol! Purge his evil from our realm!
After his last message...


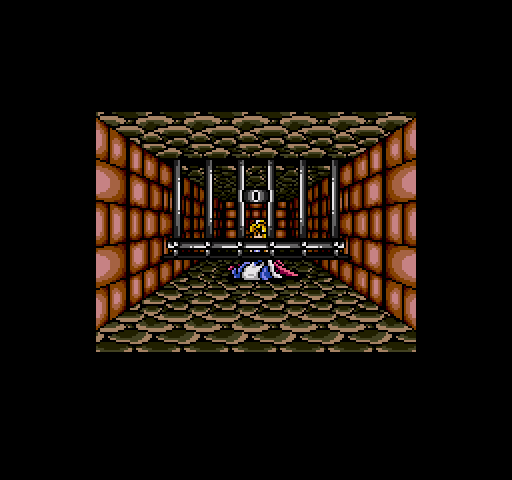
...Mortred dies and fades away.
The Cell Key lies ahead.
The CELL KEY?!
Is that the key that you hold in your hand?
At last I'll be freed from the stench of this cell!
Sue uses the CELL KEY.
I thank the Fates for guiding you to me!
How did you ever get your hands on the CELL KEY?
Oh no! No! My freedom isn't worth the price of Mortred's life!
Cursed be the Darkness that twisted Mortred's good soul!
Dark Sol! I'll have his head one day! But for now, let us depart.
I hope you don't mind me joining you.

And so, the quest comes to an end...
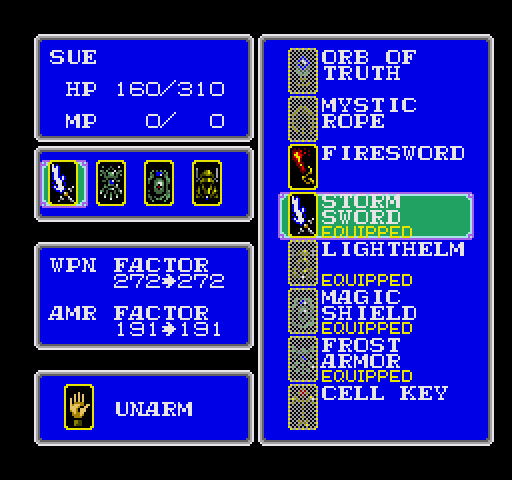
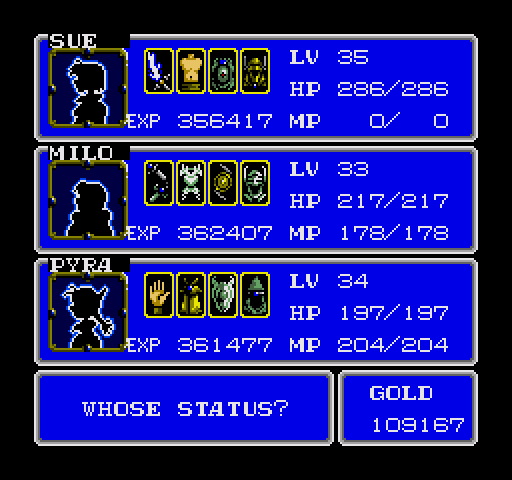
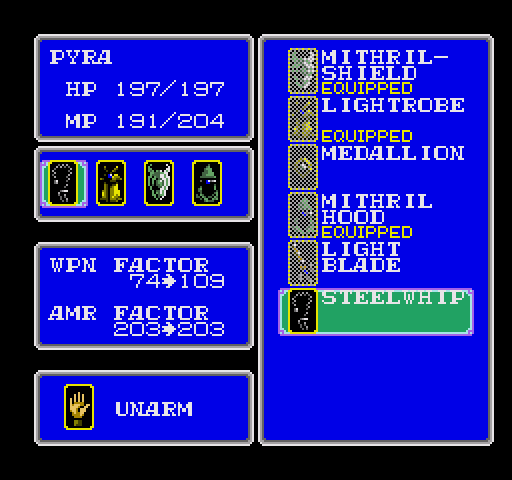
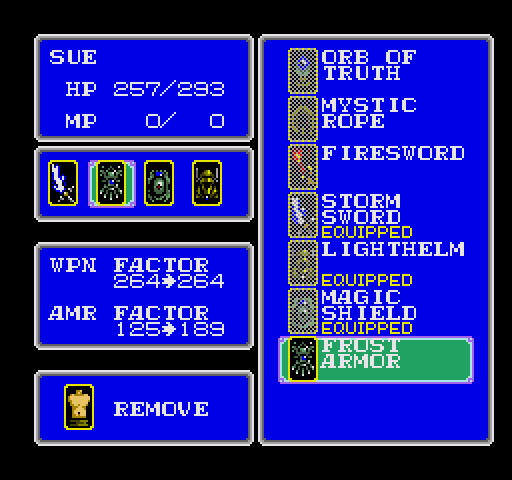
Stormsword (110 WF), Frost Armor (64 AF, resist ice), Magic Shield (35 AF), Lighthelm (40 WF)
Sue's AF is sucking less these days.

Great Flail (WF 28, TWO HITS), Mithril Armor (68 AF), Madu (AF 20 and WF 15), Mithril Helm (32 AF)
Milo: same old.

Steelwhip (35 WF, GROUP), LightRobe (44 AF), Mithril Shield (AF 40), Mithril Hood (26 AF)
Uncursed at last. The Light Blade makes the Hexwhip utterly obsolete.