Part 21: 21 - This Place is my Waterloo
21 - This Place is my Waterloo
[So we just arrived in Cape Claw and there's some violence goin' down!]

[Unfortunately, we don't have the choice of attacking the red guy.]
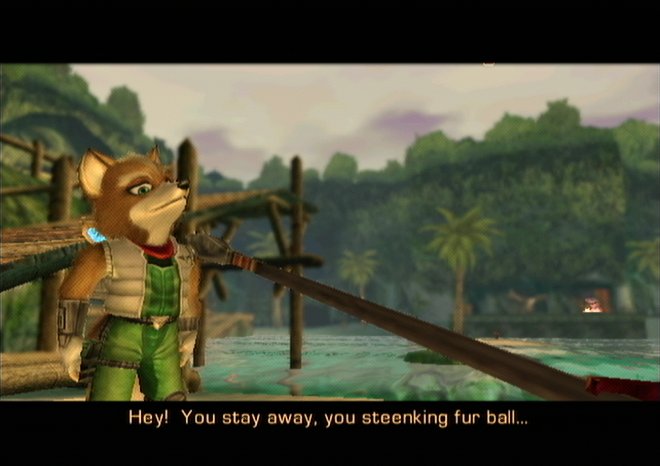
 ...or me smash you good!
Smash with a spear, eh?
 What! I just saved you! Me trust no one.
Especially English teachers.
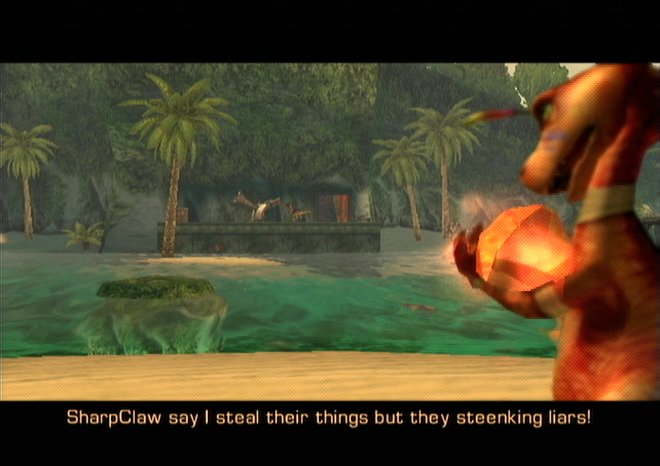 Yeah, you're clearly a trustworthy and upstanding individual.
[This will end well.]
 You take! Me no want!
 Wait, no! Don't you know what happens when you get one of these things?!
 Nooo! No want!
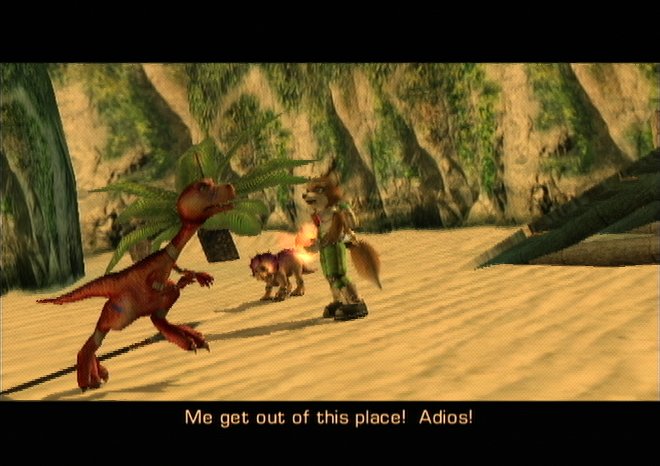 Oh god-
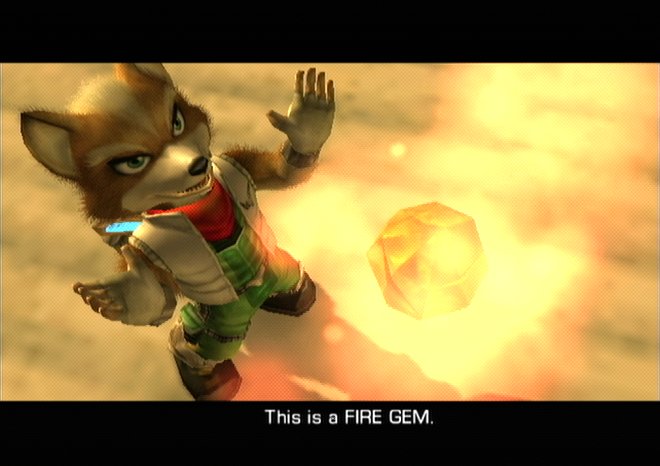 -damn it.
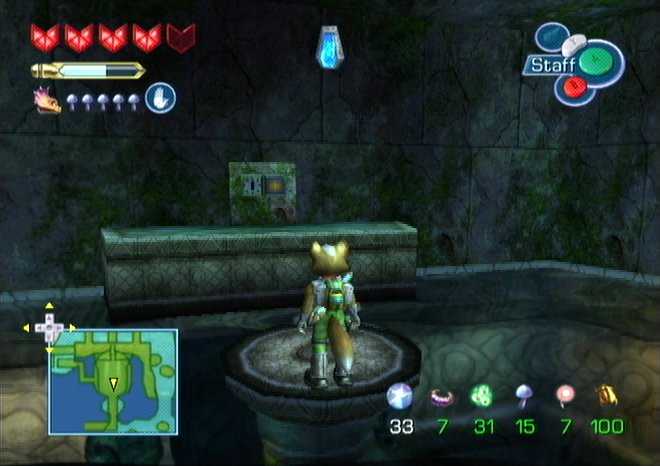
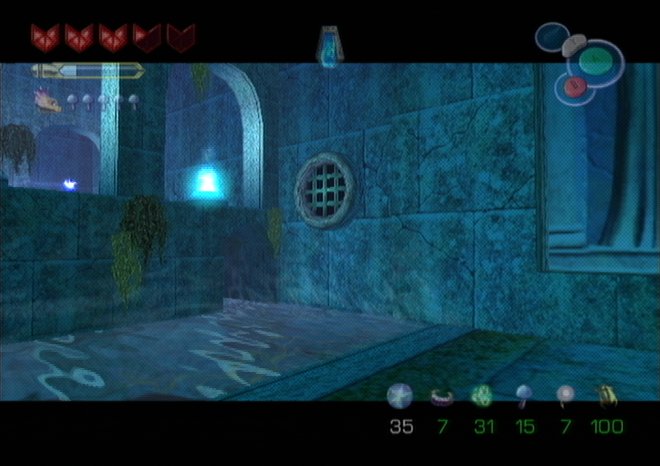
[Remember that huge Krazoa head statue? We're going in it now. Through its ear.]

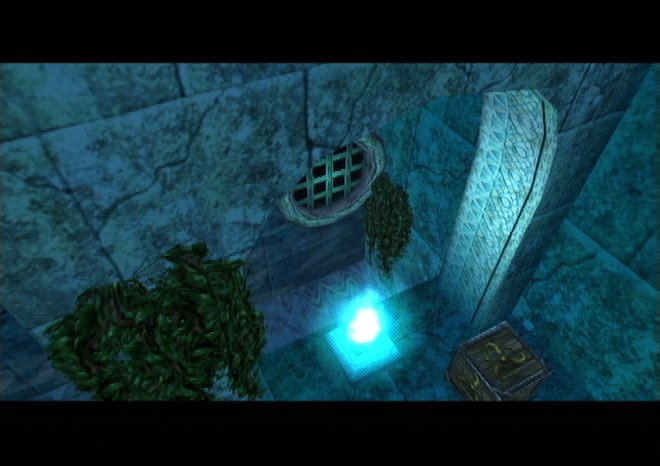
[And it's completely flooded. First off there's a big red switch that lifts another pillar out of the water.]
[It's a pressure switch, but there are no bombs around to weigh it down with so we just yell at Tricky to stay there and hold it up while we toggle a lever.]

[Which turns off a waterfall? I...Oh, whatever.]

[Beyond the waterfall is some kind of tunnel filled with whirlpools. Getting through is pretty simple since there's a powerful current heading deeper into the tunnel so you just have to zig-zag around the whirlpools and you'll get rushed along to the end pretty quickly.]

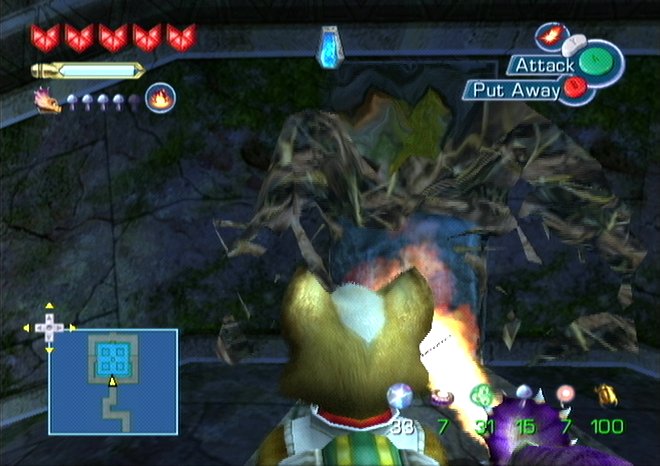
[For some reason a fire bursts up when we walk into the room. When 'puzzles' get plopped down right in front of you like this they just feel dumb.]

[As soon as we grab the second Fire Gem the previous room empties and dumps its water into our current room (they're on top of each other).]

[Ah yes, moving up in the world. We can now enter from the mouth.]

[Back up top we stuff the the Fire Gems into the smaller Krazoa Heads. The one on the left is lit up by the sunlight, but the right one isn't because the right eye of monument is blocked.]

[Nothing a little pyrotechnics won't solve.]

[I think this is the last switch gate area in the game (ignoring the flight sections).]

[Ah yes, Rare, I had almost forgotten your wily ways.]
[Shooting the target floods the room and the only two possible paths both lead to a wall of brambles, which in turn gives us a block we can push out.]

[Hit the target one more time, shove the block forwards and we're done here.]

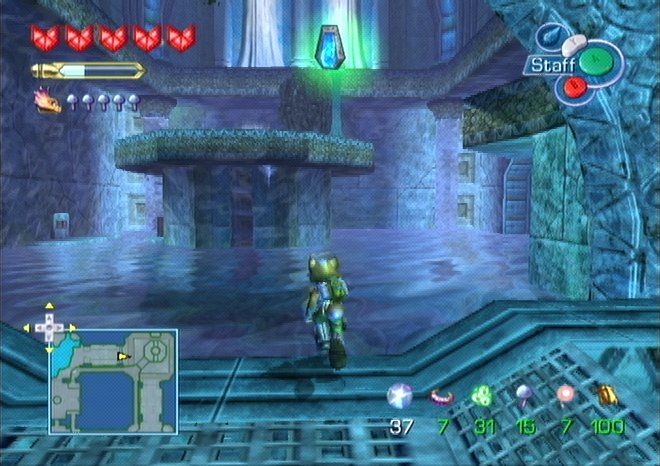
[And here we are: Ocean Force Point Temple.]
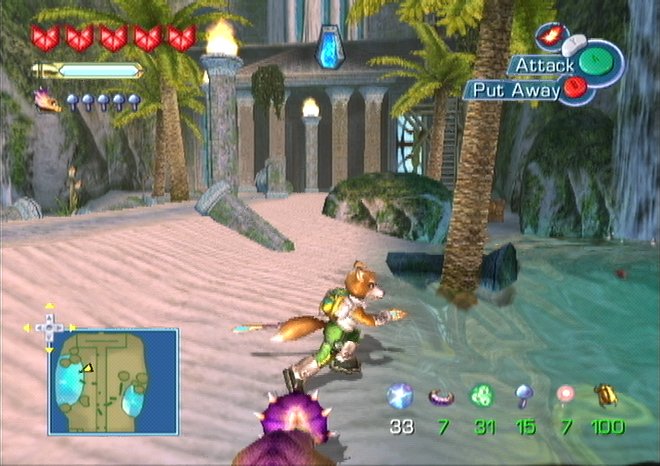
[Not much to speak off, not even any real 'hidden' areas with Fuel Cells or whatever, just some GrubTubs, poppers and assorted health/energy pickups.]
[Of course, there's no front door, so the trip seems to be kind of fruitless.]

[Then again, given the amount of flooding that happens around here not putting the door on the ground floor was probably a good idea.]
[As usual you need the SpellStone to gain entrance. I guess this is to prevent you from coming in after getting just the disguise...but could you even get the Fire Gem from the LightFoot? And why would you leave the Fortress without the SpellStone?]
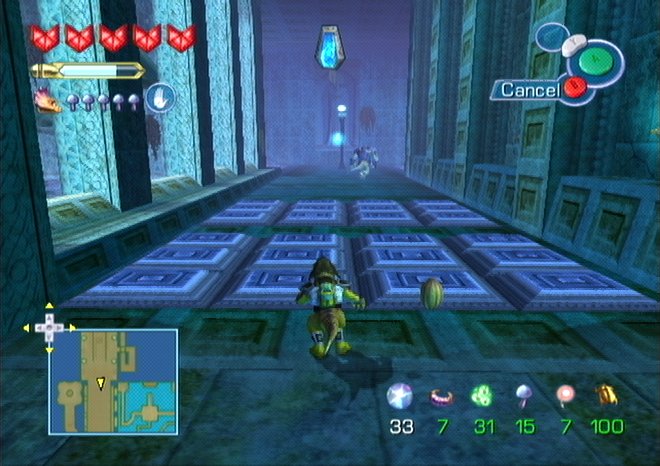
[Our first puzzle is these tiles.]
Heheheheh.

[What you're supposed to do is stand on a switch to get the wall to show you a pattern. The only real challenge is not getting all jibbered up and mirroring it and then getting zapped over and over.]
[Once you're through the electric tiles, you end up in a room with some really god damned annoying platforms to navigate.]

[The first ledge activates the colour-swapping fire that we'll use in a moment.]
[The second ledge nets us a pair of Fuel Cells and causes this pipe to turn off which was previously preventing us from swimming up a tunnel.]
[The third ledge stops another pipe which was preventing us from getting into the same tunnel at all.]

[
 ]
]
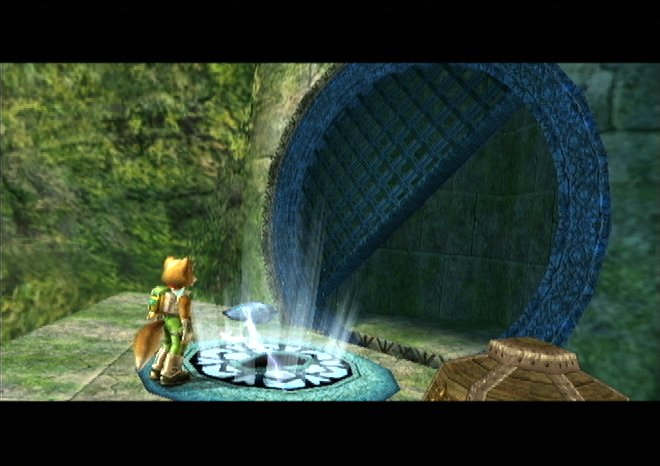
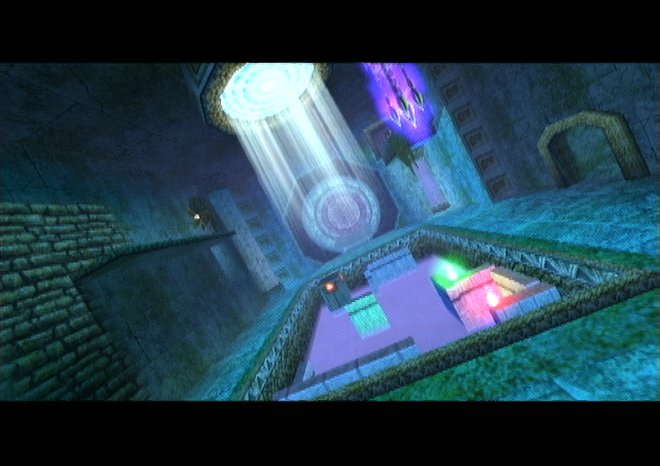
[That activated the warp point. Now we can get to the inner sanctum or whatever you want to call it.]
[As usual our options are very limited, so we head north then east to reach this room.]
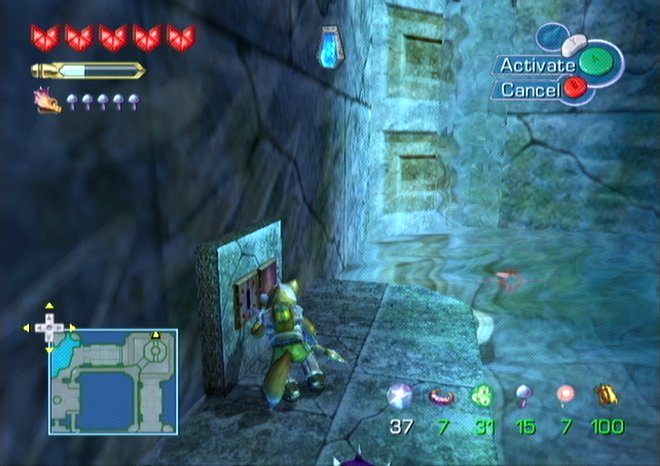
[We need the water level down for a bit, so first off we use this switch.]

[Off in a corner of the room is a trigger for a SharpClaw door that was previously submerged.]

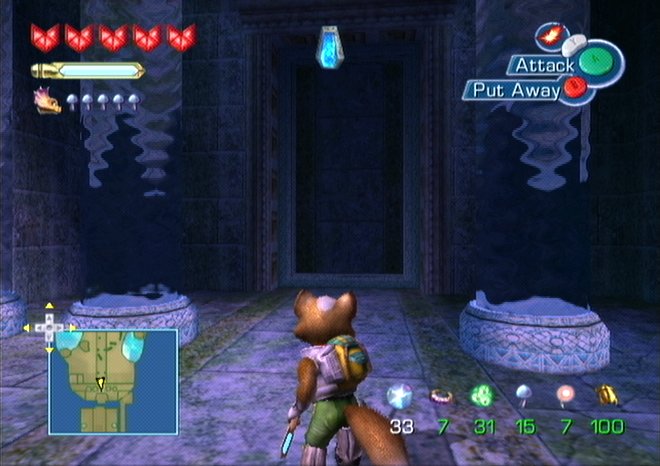
[Our real purpose for lowering the water is to open the door to the south.]

[We only wanted to open the SharpClaw door to get this block so we could get back up. Once we're back up we can raise the water and swim out.]

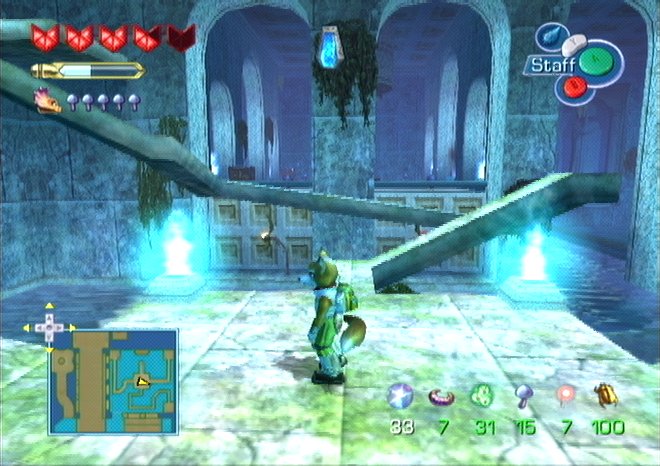
[You ever play a game and get to one of those sections that really bugs the shit out of you because despite the game being '3D' you actually don't have depth perception, and that really fucks up your ability to properly judge when and how to act, even though you 'should'?]
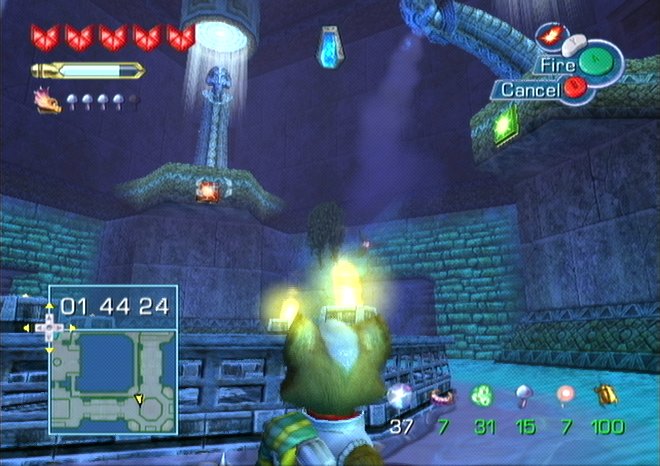
[This is one of those sections. Once you start up the central merry-go-round or whatever you have to hit the targets which cause those big Krazoa statues to lean over and barf out some water. If you're lucky they'll spray water onto the candles and put them out. Of course, you have to time it right (it takes them fucking forever to lean over) and hope that you properly judged where the fire was and where it will be.]
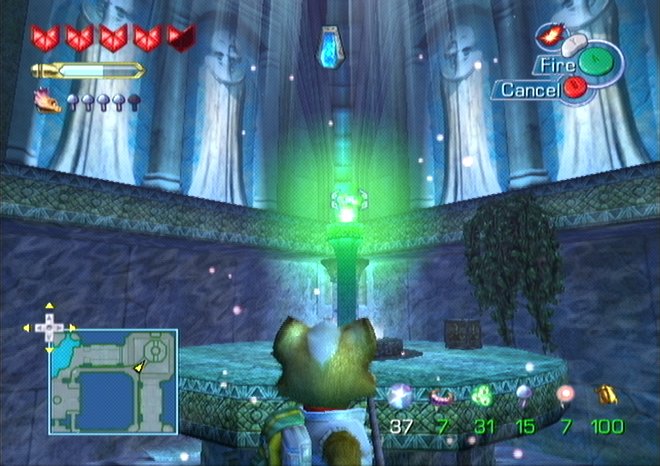
[Luckily, this time around we have lots of time to get it done. The camera immediately rushes along to the next puzzle. In this room you have to shoot the various sides of a pillar which will make it slide in a given direction. If it ever slides into the outer walls of the pit then the pillar will disappears and respawn at its original position.]

[Again, thist time is pretty easy. Just keep making it move in a spiral going left and you'll win eventually.]

[Back in the central room a Boost Pad becomes active.]
[And we're finally done in here.]
 It's amazing the planet doesn't blow up anyway if the god-spirits that constructed these stones can't even make them fit properly.
[It should be easier to tell now, but there are fewer red/blue streams of energy than last time. Each time you add a SpellStone the number decreases by one. I have no fucking clue how corking the magical energy is better than releasing it, but whatever, we're done here.]