Part 118: Operation Mange Poutine: Canadian Turn 6
Maple Leaf Axis Turn 6Wait, what! We've had some file handling issues this turn (likely my fault). Our solution was for me to play the whole turn for all our countries this turn with guidance from bunnyofdoom and ChaosSamusX. We did manage to fix the files issue, but not until I was almost done playing the turn. I still feel dirty for doing it. This turn might have a distinctly Urcinius taste to it, but I only did what we were already discussing. Had it been played by the usuals, it would likely have been fairly similar except for a DISTINCTLY IMPROBABLE EVENT which occurs at the end.
This time I scrapped trying to get screens from a recording of the turn and just tried to grab screens directly. Got a lot more images for you this time. Most of the good stuff is documented save an improbable event at the end that I didn't remember to capture because I didn't expect anything. Also, the events presented aren't necessarily in chronological order. Where it matters, they are, but largely I'm presenting in the best narrative sense for enhanced clarity and enjoyment.
We'll start with right with the combat moves I made, switch to the maneuvers and admin, and then finish with the IMPROBABLE EVENT.
Greek Tanks
I expect a couple of you cringed at the thought of a "Greek Tanks" banner opening the combat, but I assure you that this is an example of when obsolete Leopards work well (ie. when no one is shooting AT them).

Click for Full
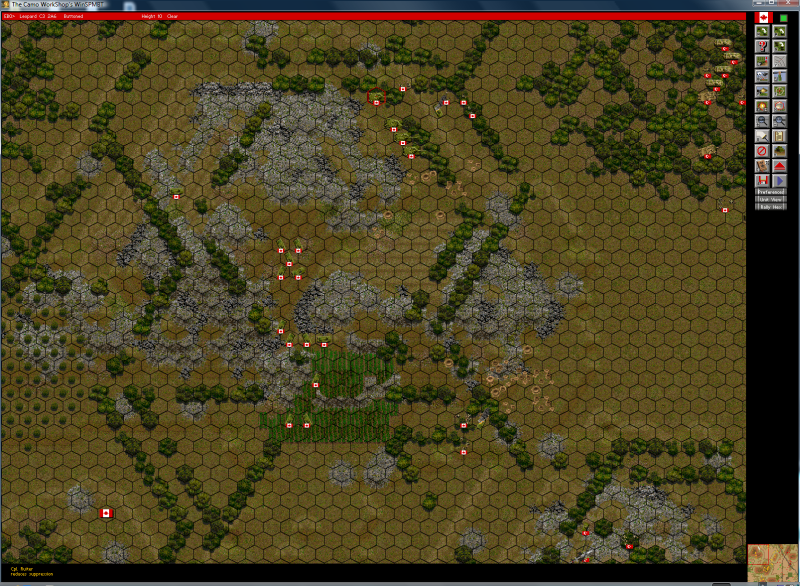
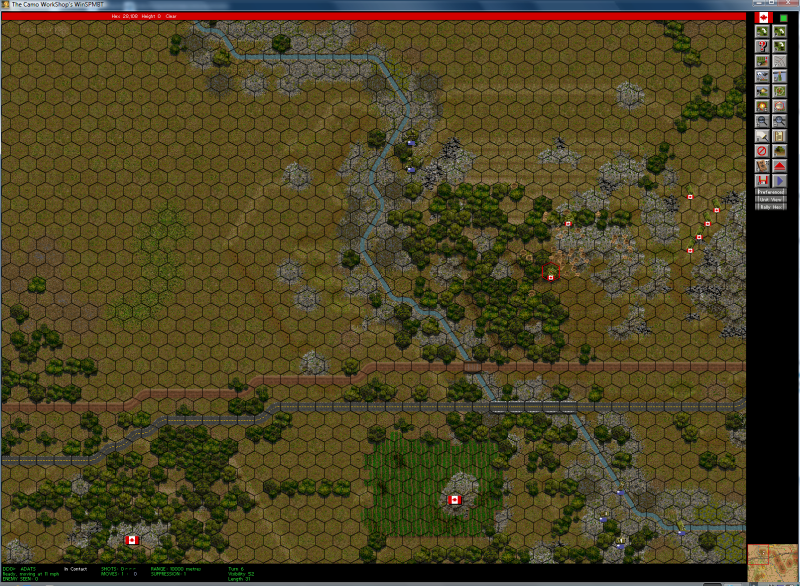
When I first booted up the turn what stuck out to me the most about the Greek situation was that the Greek Tank Company Commander standing on Blue Ridge's crest was still alive. Considering what's happened to every other Leopard in view of Blue-Red Valley that's quite an accomplishment. I guess he just magically out of view of any Chinese tanks or ATGMs, right?

Click for Full
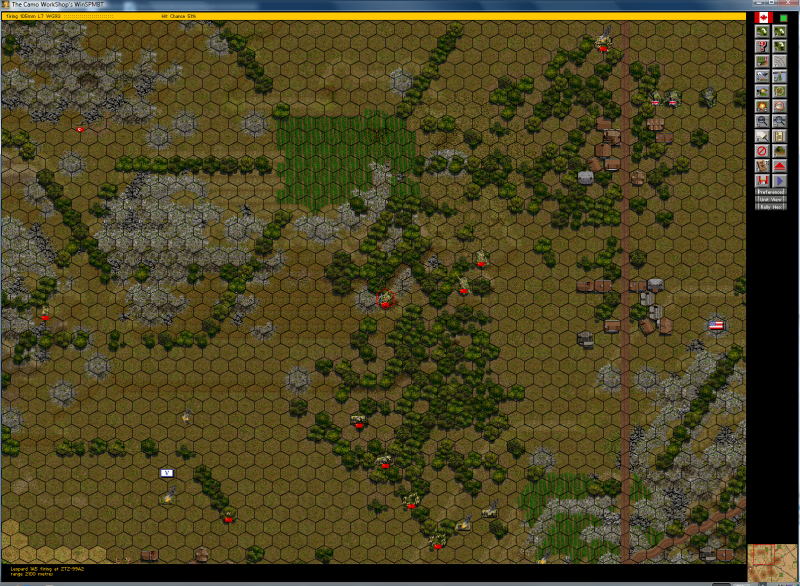
Wrong. Well, sort of. The Tank Commander can see a Chinese MBT. But not being dead... that means the Chinese tank can't see the Greek! Means if we keep our number of shots low (<3), the Tank Commander can take some free shots. Normally, given that the Chinese ZTZ-99A2 is facing toward the Greek Leopard 1 it's largely hopeless to do any damage. However, this particular ZTZ-99A2 tried his luck at shooting down my F-4 SEAD strike last turn leaving his turret pointed away from the Greek tank.
Click for Full
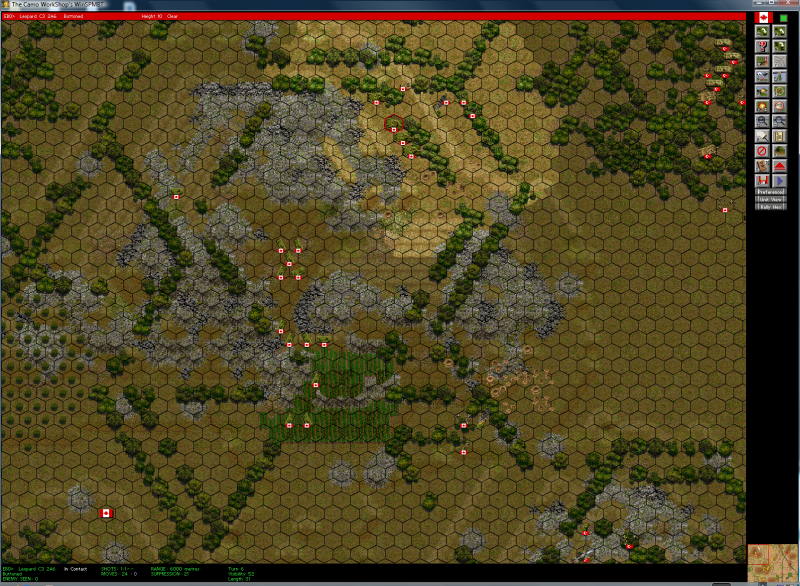
Sure enough, the first shot of the Greek turn crashes through the thin rear armor of the turret. The Chinese tank is knocked out, and, because I have to insinuate myself in all our glory, I'm giving my Turkish F-4 SEAD, Astegmen (Ensign) Tayfur (I looked it up), an Assit on that one.

Click for Full
The surviving Leopard 1A5 tank platoon to just behind the crest of Blue Ridge. They're ready to pop up for some sneaky potshots if the opportunity presents itself.
Canadian Tanks
Moving on from the Greek action, we come to the other point of combat for the turn: the Canadian Leopard 2A6s on Grey Ridge.

Click for Full
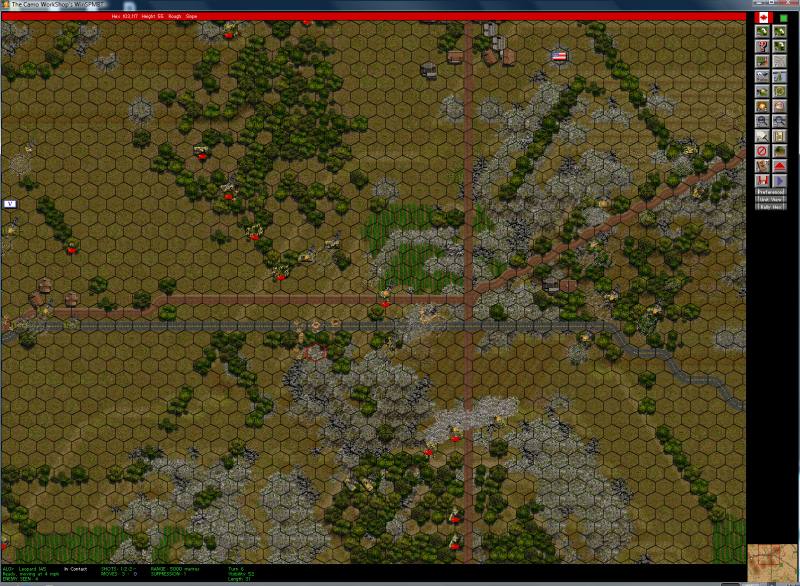
The Leopard 2A6 platoon split into two pairs and moved to positions with great visibility into Blue-Red Valley and Crescent-Red Valley. From there they had view on the two ZSL-92 HJ-9s near Red Ridge and the one undamaged one near Crescent Hamlet.
In the image, there's a dead Mengishi scout car already. I moved the southernmost Leo into the adjacent forest for the specific purpose of removing that annoying vehicle. The Chinese scouts have been getting too insidious for my taste.
Click for Full
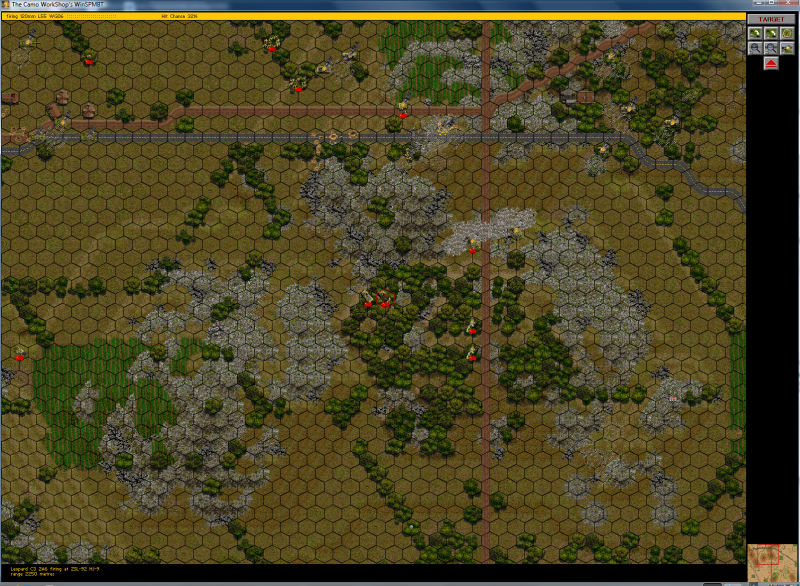
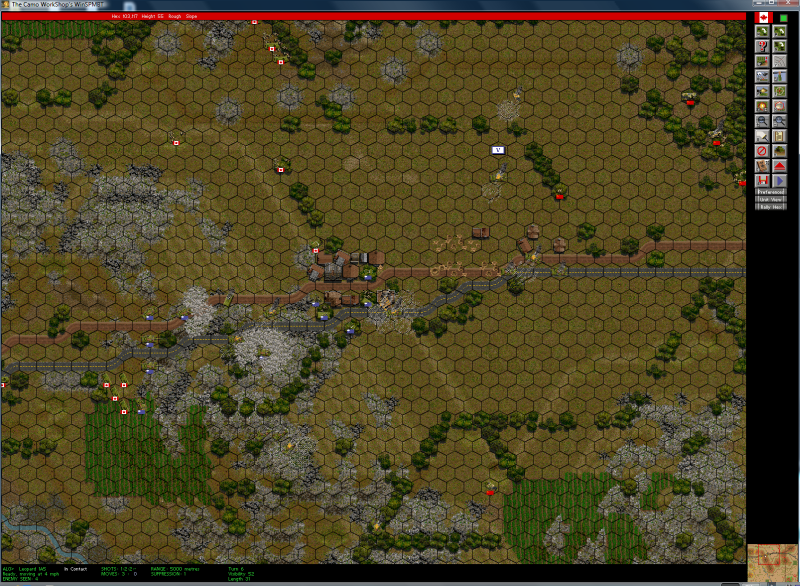
After obliterating a Chinese Humvee knock-off from scant meters away, the Leopard takes long shot at a distant ZSL-92 HJ-9. He missed. The image actually depicts the HJ-9 being taken out by his partner, three hexes behind, connecting a HEAT round to the Chinese SP-ATGM. Unfortunately, neither managed to take out the adjacent ZSL-92 HJ-9.
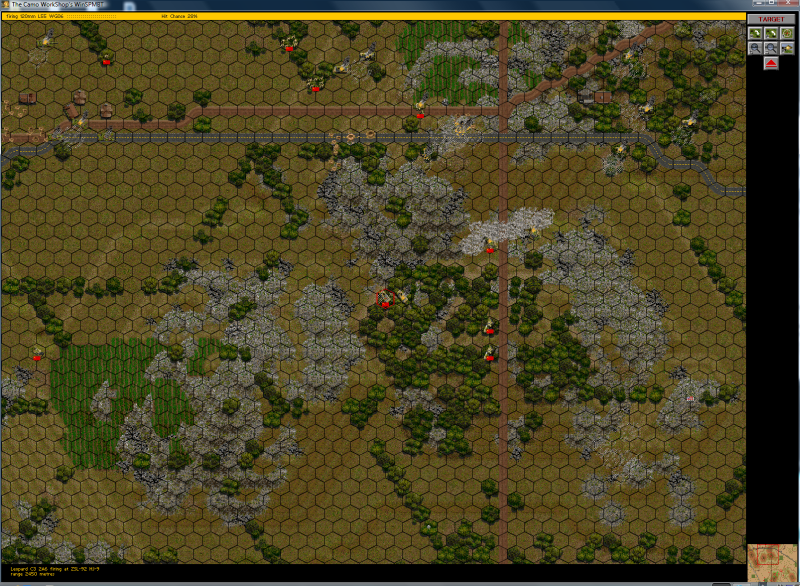
The forward tank of the pair of Leos looking into Crescent-Red Valley managed to blow up the unruffled HJ-9 supporting the reinforcing Chinese Mech Company. Luckily, his supporting tank just behind him, had sight on the one surviving HJ-9 near Red Ridge.
Click for Full
And finishes it off. It took their whole effort, but the Leo platoon managed to kill three of the four identified ZSL-92 HJ-9s. Both B-R and C-R valleys just got significantly safer.
>The Second Canadian Leopard 2A6 platoon's movement

Click for Full
First thing to do in the north is try to save the morale of a shell-shocked Leopard 2. We need all of them and this platoon still has some distance to cover. Unfortunately, his lieutenant's words don't convince him to move.
Click for Full
Perhaps he was just being spiteful. He gets moving under his own power.
Click for Full
That does leave the Lt stuck with his suppression. At least it's not enough to prevent him from moving.
Click for Full
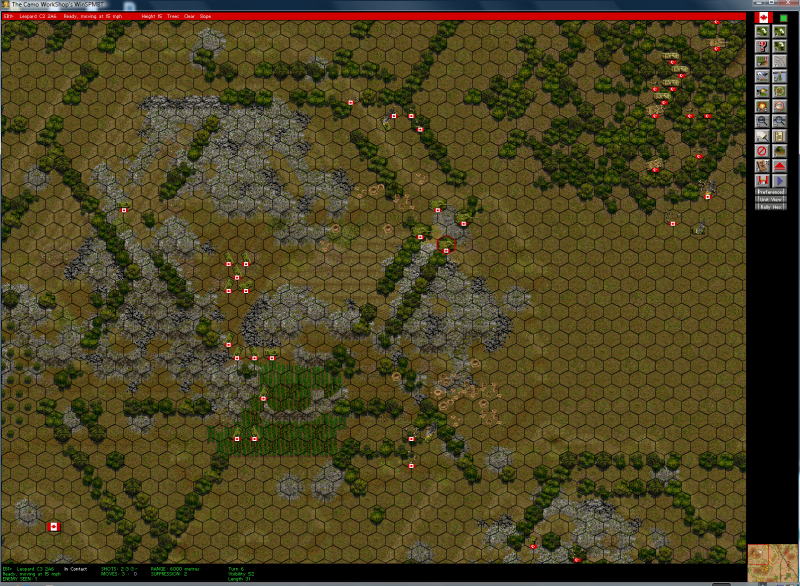
The full platoon moves to the tip of Maple Hill. Currently they are in cover, with good sight across the whole Maple-Sand Valley, and ready to make the sprint to the concealment of Sand Hill.

Click for Full
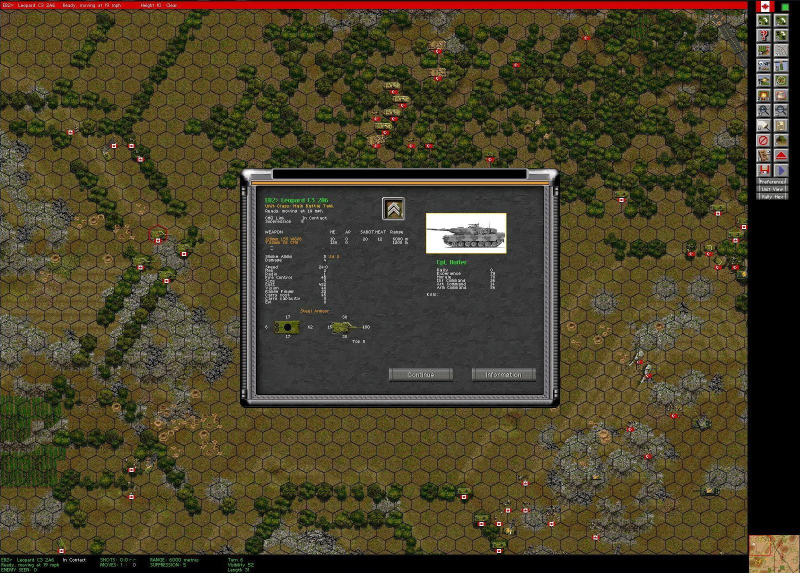
Two things should have been readily apparent from those shots if you were looking closely and know your Leopard 2A6s. First, neither tank has their commander's machine gun. The artillery must have scrapped it off the top of the tanks. Second, the first tank, # EB2, has only one shot with his main gun when he's unsuppressed and unmoving which is far below the four he should normally have. Opening up his info panel:
Click for Full
Yep. He's taken four damage, but it looks like all his fire-control and optic systems are in order. Oh. His crew is down to two. Normally Leopard's have a crew of four... Looks like it's down to the TC and the driver (I checked) to make the tank work. That tank must be a bad sight. I can see why they were pinned and thinking of bugging out. And why some words from an Lt on the radio might not make much difference.
Greek Infantry
With combat finished, we'll start with the infantry maneuvers from south to north.

Click for Full
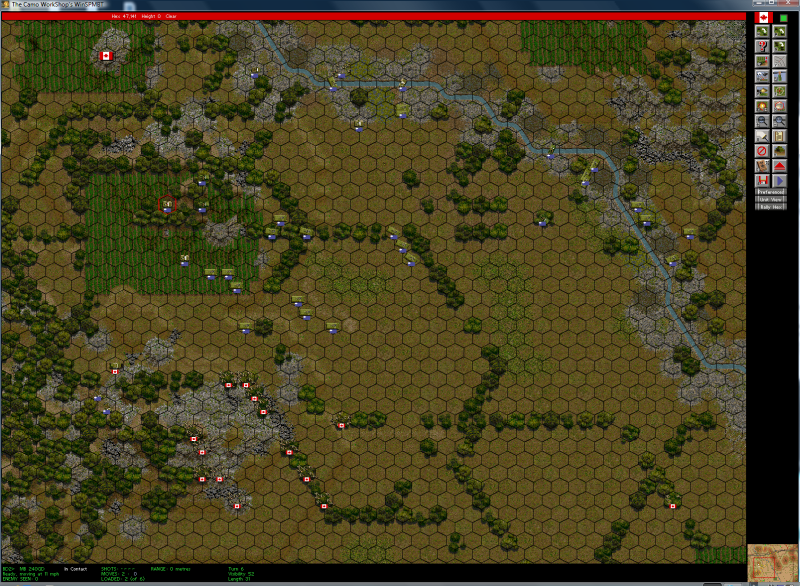
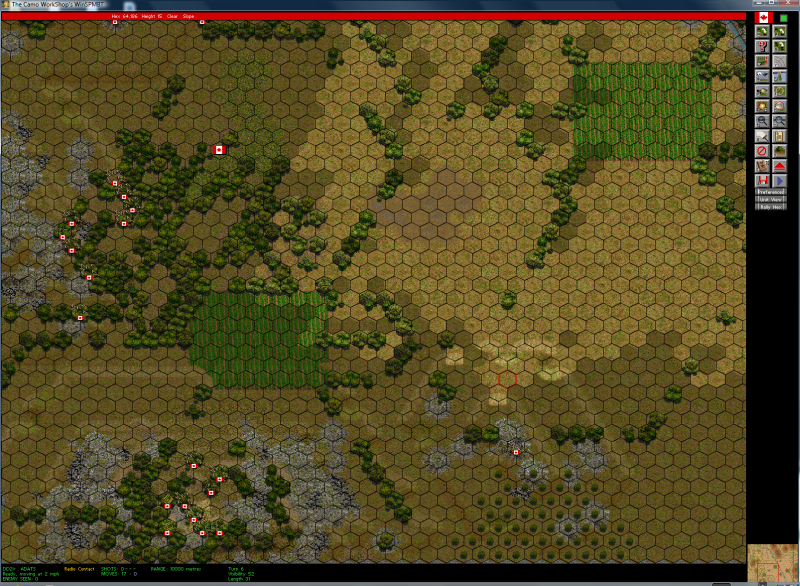
The forward Greek Mechanized Company managed to get across the river and its two other platoons reached easy distance to fords for next turn's moves. They can be on Blue Ridge's crest in two turns and set in three.
Click for Full
The Second Greek Mechanized Company started moving to to fill the line between Blue Ridge's south peak and the Canadian Reserve Companies lining our south flank.
Canadian Infantry
To ease reference for myself I've numbered the five Canadian Bison Motorized Companies based on location. Starting with 1 in the south and increasing as you go north along the line with the one company in reserve being 5.
>Bison Company 1:
Click for Full
As one platoon was already doing, the Canadian Motorized Company (1) made use of the cut in Blue Ridge's east/west leg and have moved behind the ridge and will be ready to support, relieve, or reinforce the Greeks.
>Bison Company 2, clustered around Grey Ridge, was moving to occupy Grey Ridge to flank any Chinese movements in Blue-Red Valley and apply pressure to squeeze them out.

Click for Full
First, the platoon that was on Grey's south face could do with some cover, so they were moved further forward to the treeline dropping down from Grey's western summit.

Click for Full
Next, the platoon traveling down the Grey-Green passage moved as far up as they could while maintaining concealment.

Click for Full
Finally, the third semi-deployed platoon mounted up and moved down the Grey-Green passage to a concealed location that offers them the ability to deploy on Grey's summit more quickly or move further down Grey depending on desires.
>Bison Companies 3 and 4:
Sand Hill AOP
Click for Full
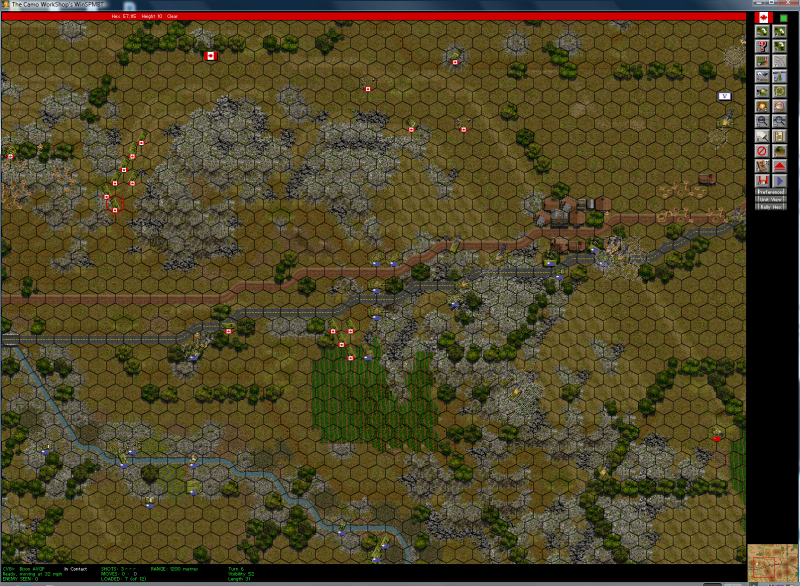
Bison Company (4), the northernmost company, was shell-shocked from 300mm rocket barrages. Took a little coaxing but they loaded up, and swung around Sand Hill into the forest below Crescent Ridge. From here they can do a lot of things:
1. Drive straight south into the forest cluster between Crescent Hamlet and Sand Hill.
2. Drive straight down the road to Crescent Hamlet.
3. or Drive over Crescent Ridge to circle around Crescent Hamlet from the east.

Click for Full
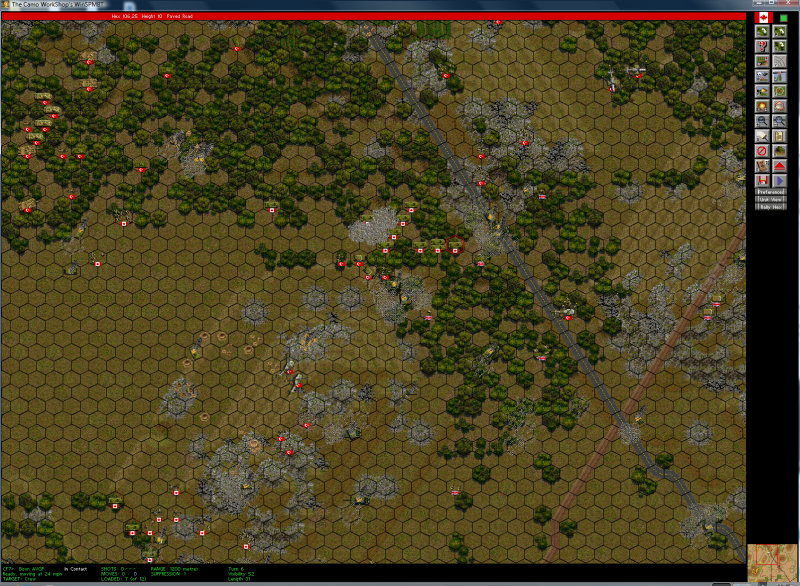
Bison Company (3), insinuated themselves to the fore of the trees between Sand Hill and Green Ridge as far as they could go without poking their noses out unduly. The one dismounted platoon worked their way further forward while maintaining concealed positions. Their Javelin team stood still in case any Chinese tanks decide that they want to be on the north side of Grey Ridge.
>Bison Company 5, the reserve Bison company:

Click for Full
Bison Company (5), the reserve motor company, moved down off of Maple Hill and towards the back of Green Ridge. From there they will be able to move toward any of our trouble spots most efficiently.
I also disembarked the infantry squad and Javelin team from the one immobilized (terrain kill) and started them climbing Maple Hill. They haven't a hope of getting anywhere useful for scores of turns, but when a transport becomes available we can shuttle them forward somewhere.

Click for Full
I also spend some time rallying the infantry squad whose Bison was hit. They can be picked up later like the squad climbing Maple Hill.

Click for Full
Looking at the survivors of the shelled Bison, I notice that the 60mm mortar is "abandoned" not destroyed. Searching out the mortar crew (CL11), I save enough of their morale to stop them from running but not enough to gain control over them. If the mortar crew can be reintroduced with their the abandoned mortar they will reform.
Admin
Did some inspection of the troops, rallying whatever needed it, and straightening some bombardments. All our 203mm is now keyed up on identified tank positions and a fair barrage on Crescent Hamlet. Our off-map 122mm rockets are also targeting Crescent Hamlet. I really don't want us to be slowed unduly by the new Chinese company in the mix. The CF-18s have been called to make a pass on the forward, identified American tanks.
The only thing worth picturing is the ADATs that I messed with:

Click for Full
The middle ADATs position on Blue Ridge had been shelled by 300mm rockets for two turns in a row, and one was understandably jittery. He had amassed a whopping 40 suppression.
Click for Full
Fortunately, he came back in line pretty easily.
Click for Full
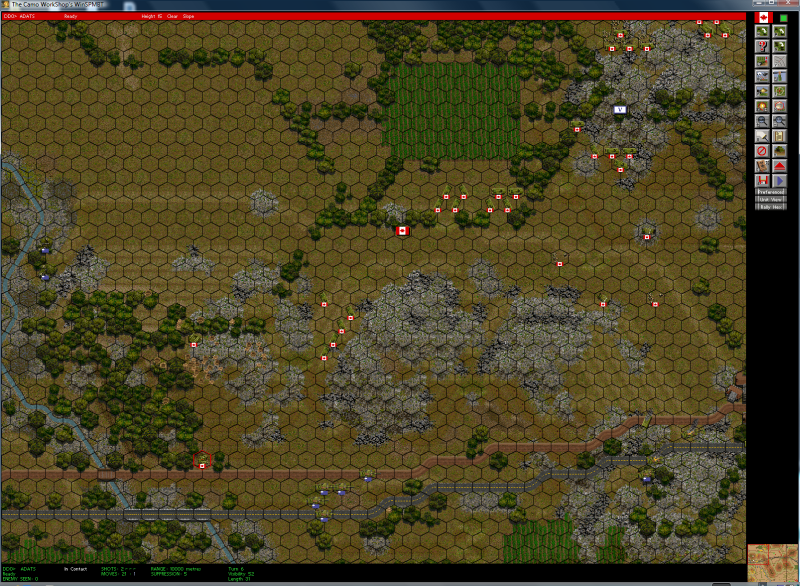
Climbed him back up the hill and twiddled the other one to try and throw off whatever vision they might have on the hill.

Click for Full
Did the same with the southern ones.
Click for Full
Here's their final shuffle. And that's the turn. Well everything I planned.
THE IMPROBABLE EVENT
While going over our opponent's line at the end of moving everything, I noticed that the two ZTZ-99A2s behind Red Ridge's crest that were destroyed by CF-18s last bombardment phase were joined by a third. While unsurprising, I did not recall seeing such a fellow when I first glanced at the beginning of the turn. Sure enough, when I checked, he had not been visible.
However nothing of ours had line of sight on the Chinese tank. After some deep inspection, I discovered that, on his way to his position, a Greek Leopard 1A5 had espied the ZTZ while on route. Huh. The thing is so invitingly showing us its flank. I really wanted to take it out. That's cool, but what can we do about it?
Checking the Greek tanks, I found that the Company Commander and one Greek Leo had movement enough to crest the ridge and have sight on the Chinese MBT. Unfortunately, I wasn't certain of how safe it was to poke a Leo's head out. So, I looked at my assets for this skirmish:
1. One Greek tank who hasn't moved and still has 3 shots available; his lack of movement will give him good accuracy but make him an easy target.
2. One Greek tank who has moved a great distance and has 2 shots available; his movement will give him poor accuracy and make him a hard target.
Plan begins to form. If I pop up the tank who moved a bunch (2), he'll draw whatever reactionary fire there is, relying on his speed to keep him safe, clearing the way for the stationary tank (1) to pop up and fire two rounds at the Chinese tank. Then, being stuck out in the open, they'll both pop smoke.
Execution: Tank (2) popped up from behind the crest. Not a shot greeted him. Knowing that sometimes the game gives your first move into an opponent's sight as a freebie, he fired off a shot at one of the IFVs in the forest between Grey and Red. Again, not a shot greets his aggressive actions. His moves complete, tank (2) pops smoke.
Tank (1) now moves from his cover. Moving forward two hexes, he accrues a speed of just 4mph. Laying his barrel on the Chinese ZTZ-99A2, he has ~50% hit chance and two rounds to rock and roll. Probability is good. And it delivers. 105mm Sabot round punches through the side armor and knocks out the Chinese MBT. Woot! Tank (1) pops smoke and concludes the very successful operation.
Click for Full
This image has the dead Chinese tank. What I didn't mention is that the IFV that tank (2) fired at is also dead. Fracking 12% hit chance!
Click for Full
And both the Leopards are okay!
INCONCEIVABLE!
I'll be back in a bit with some overview shots and the updated kill list (add 2 ZTZ-99A2s, 3 ZSL-92 HJ-9s, 1 Mengishi scout car, and an unlucky Type 98-I IFV)