Part 99: Operation Mange Poutine: Turkish Turn 1
Turkish Turn 1The opening moves of the Turkish forces begin phenomenally.
Click here for the full 1606x1176 image
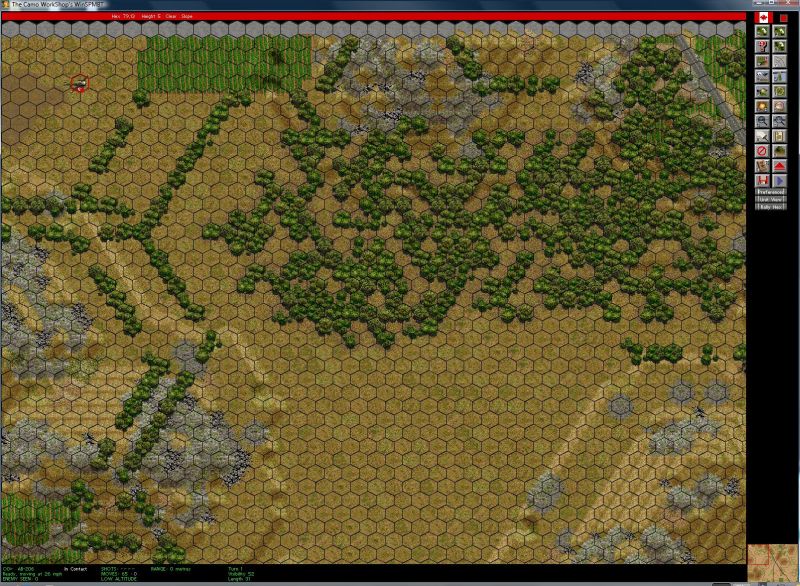
The northernmost Scout Helo separates itself from the rest and is the first to cross the starting line. No resistance is met coming around Maple Hill.
Click here for the full 1606x1176 image
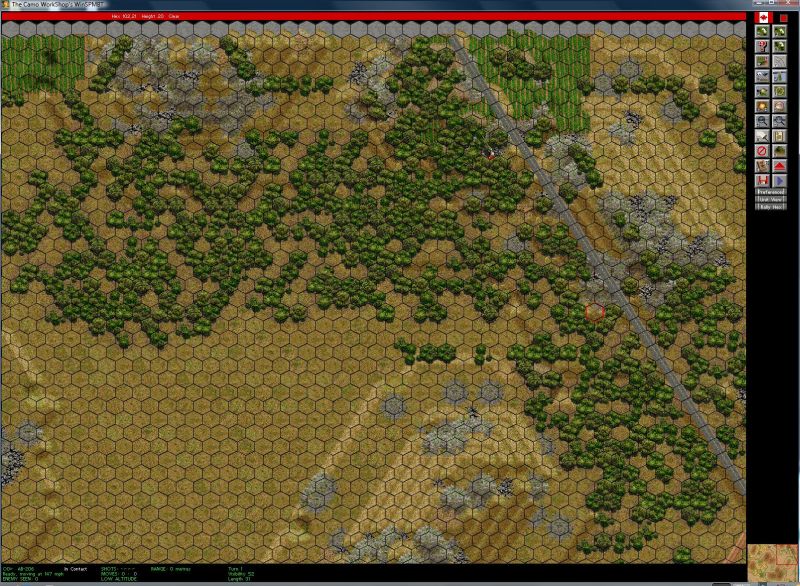
The Scout Helo tests the waters all the way up to the southern end of the westernmost hill of Crescent Ridge. Not a bark from the opposition, but I didn't attempt to push the bounds with the scout. With any luck if the whole forces lands forward deployed without revealing themselves we could build a nasty surprise for our foe. The Scout Helo retreats to a hillock overlooking the paved road.

Click here for the full 1606x1176 image
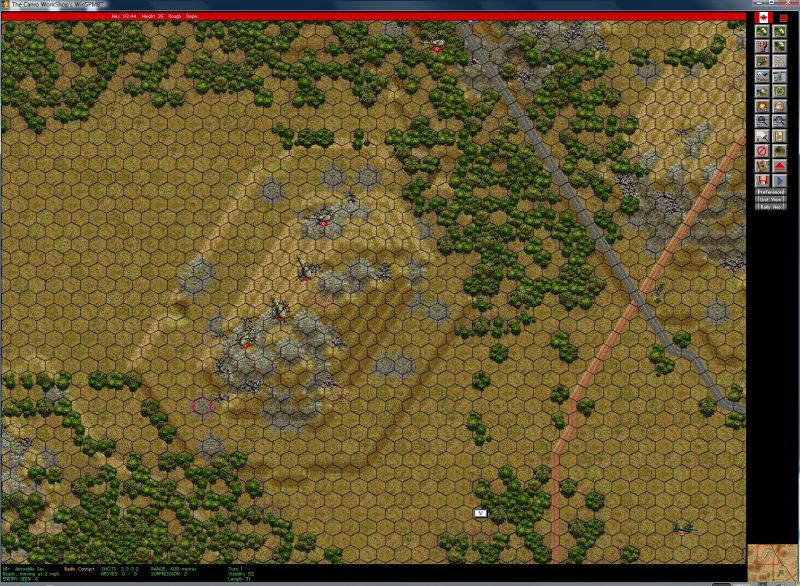
The northern pair of Cobras chopper up to the moderate hill along the north edge of the map. From there they have good sight on the valley before Maple Hill and some area before Sand Hill.

Click here for the full 1606x1176 image
The cannons and one Spike ER top-attack ATGM is disabled on each attack helo to conserve ammo.

Click here for the full 1606x1176 image
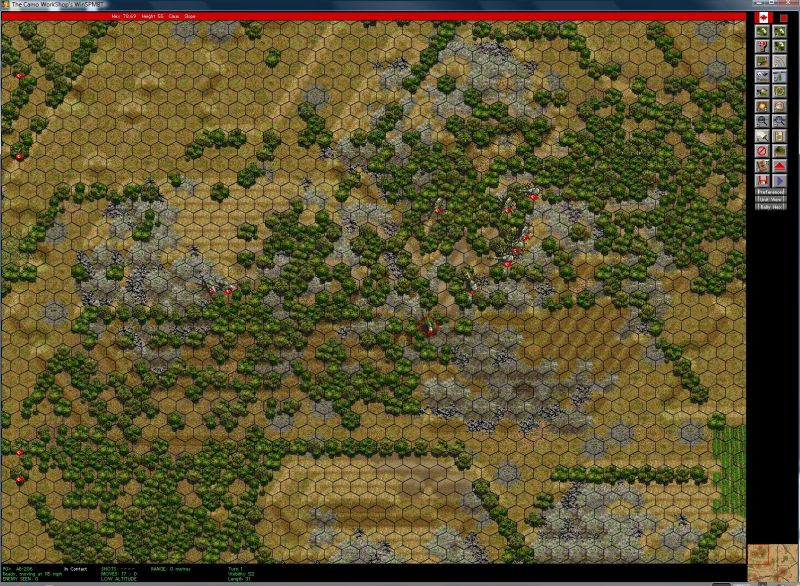
Following the Scout's trailblazing the first platoon swoops in upon the westernmost hill of Crescent Ridge undetected.
Click here for the full 1606x1176 image
The second platoon follows suit on Sand Hill.
Click here for the full 1606x1176 image
In a similar result, the southern Scout Helo finds no opposition to a covered move to Green Ridge. The rest of the Airmobile force, one platoon and a weapons company, descends upon the ridge. The second pair of Cobras takes up station on the westernmost summit of Green Ridge overlooking Grey Ridge and a portion of the village in the central valley.
Click here for the full 1606x1176 image
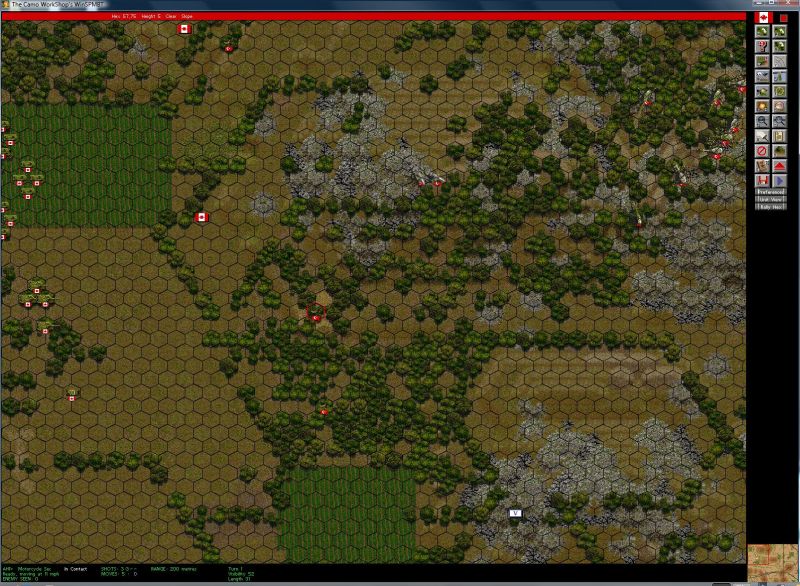
The two southernmost Motorcycles chopper forward into Green-Grey Valley.

Click here for the full 1606x1176 image
The Motor Scouts on the south side of Maple leap forward. They take cover in the trees. Next turn they'll swing south and enter Green Ridge to link up with the Airmobile elements on the ridge.
Click here for the full 1606x1176 image
The Armor units on the north side of Maple charge forward a few hundred meters. It'll take three more turns, but they'll take up station around where the northern Cobras are and cover the Maple-Sand valley.

Click here for the full 1606x1176 image
The SEADs are keyed up again. The two F-4s that still have a Popeye precision-guided munition are targeting the one Challenger visible. The four without are lined up to strafe the two Stinger teams and one Type 88 SPAA we have located. The one F-16 (The other one took some bullets and is nursing its wounds right now. It might return.) will be put on stand-by until we find a good target for its CBUs.
Click here for the full 1606x1176 image
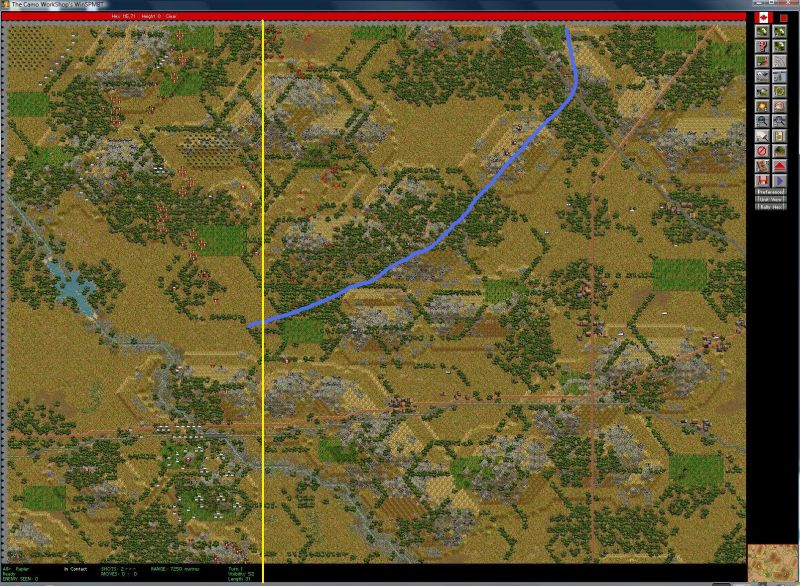
And to wrap it up, here's an image depicting the nominal front line as per the end of Turkish Turn 1. We've thrust a large bulge all the way up to their line of forward deployment for no losses and the distinct possibility of having gone unseen. Ambushes are quite doable and a commanding position on the hills could be attained within one to two turns.