Part 5: The Doom of Two Adventurers
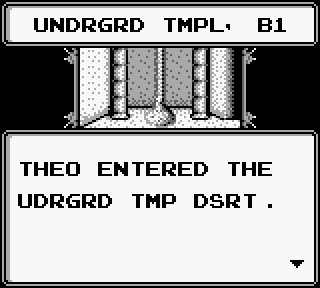
As you can see, place names often end up pretty mangled in this game. I think this is supposed to be "Underground Desert Temple" but it could be anyone's guess. At any rate, this is our second dungeon of the game and it's fairly entertaining for its short length.

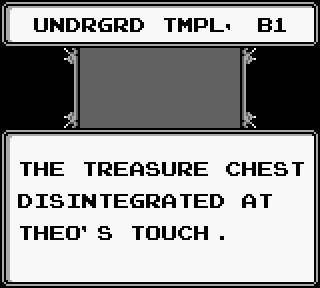
There are a number of treasure chests scattered about the place, and a casual attempt to open them will reveal them to be locked. Hitting them, however, will get you some loot. It's a nice little touch considering how decayed such a chest might be.

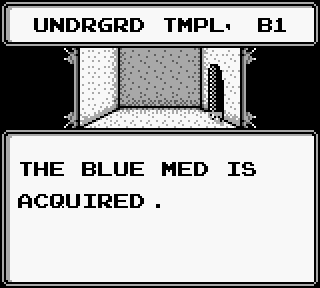
I have no idea what this is or when you should use it. I have a feeling that seeing the kanji would actually help in this case, as it doesn't appear to be a weapon.
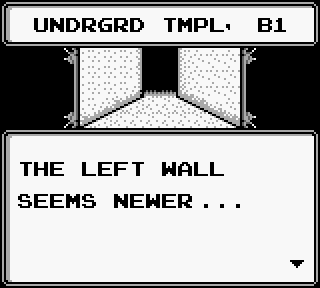
The other gimmick of the temple is destructible walls. Examining each room will reveal the occasional wall that you can destroy by hitting it.

The enemies in here aren't anything special at first, although I believe the salamander can breath fire. Since they tend to come as an addition to large groups of enemies, however, Theo usually kills them before they can demonstrate any such ability.
Most of the side rooms contain fairly useless chests, with minor healing items.

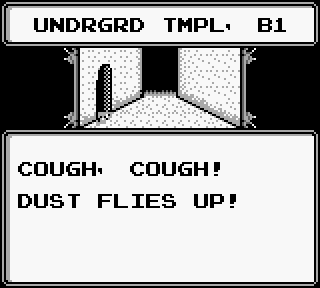
A few of the walls are booby trapped, but the damage is always a minor 2 points. I suppose if you managed to trigger every single landslide in the place and never healed anyone you might manage to lose Nina by the end of the dungeon.
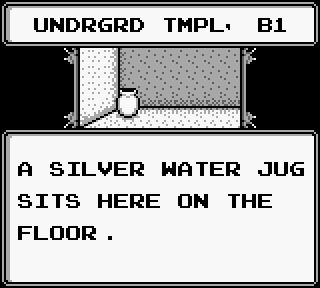
Someone has been kind enough to place refreshments around the area..
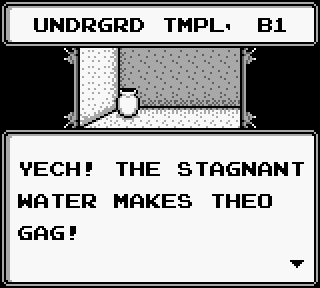
And color coded them for your convenience. As a hint, if you see something made out of a semi-valuable metal it's generally not safe to touch. This costs us one landslide's worth of hit points.

A more valuable treasure is the Water of Life, which might very well be a portable revival. I'll tell you when I have one person die and it not turn into a total party wipe.

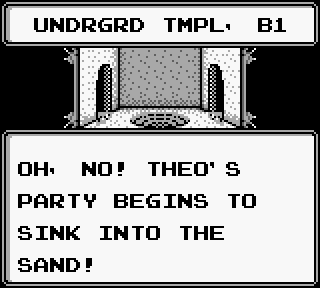
The treasure hunting is broken up by a few special events, like the sand trap at this T intersection.

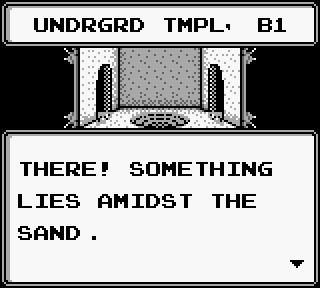
You lose a couple of HP immediately and more with every action you take until you stumble onto the correct one. Violence solves all kinds of problems.

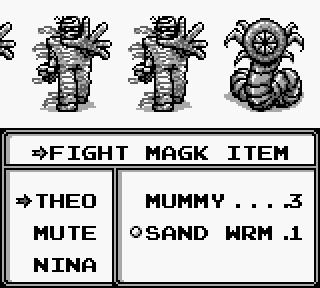
Hitting the ant lion den scares this ugly bastard up. It's more of a miniboss than anything and isn't appreciably tough, but it's better than most of the enemies we've been dealing with. Despite the intimidating description, this attack only did 4 damage.
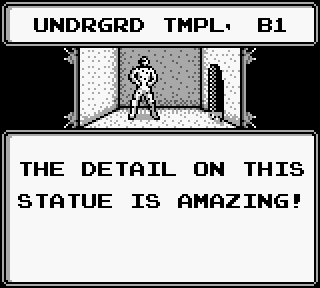
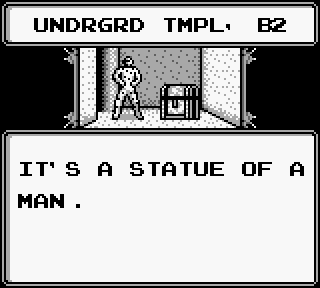
An amazingly lifelike statue in a temple full of basilisks and such is usually a bad sign, although there's no indication that basilisks in this game actually cause petrification. The point still stands.

Eventually all our exploring leads us down some stairs. Not pictured: Me acquiring another Kikanzou.

Evidently there's a one ant lion den per floor policy. It's a bit less effective now that you've seen one and know exactly what to do to get out of it.

The enemies take an uptick in difficulty on this floor, including moving former boss type enemies into regular encounters. The Dorg are probably the creepiest, with their bizarre nipples that they appear to be touching while you fight them.

All this fighting gets Theo up another level, and gets him what might be one of the best spells in the game. What makes it so great?

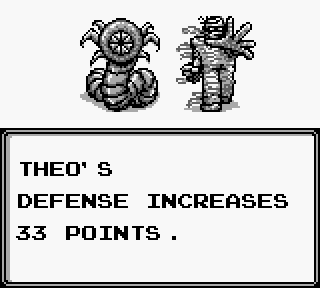
Fortify is a single person spell that buffs all of a character's combat stats. In addition to nearly doubling Theo's attack and defense it adds a small but noticeable amount of agility. A single casting can turn Theo into a tank and make most enemies into a joke.

Not to be outdone, Mute gets a new elemental spell. It might be a bit more powerful than the basic fire spell, although that's debatable, but it also exploits a common weakness in enemies from this area.

The second floor serves up a gold water jug, which heals 10 hit points for everybody if you haven't been psychologically scarred by the previous jug. I'm surprised they didn't decide to reverse it and make the damaging jug more powerful than the healing jug.
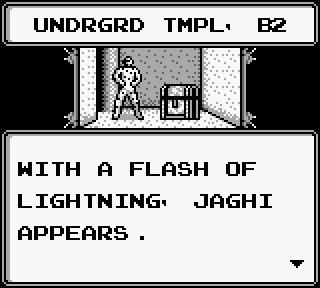
Just the look of this room screams importance, with that extra large chest and all. Lightning striking indoors and a mysterious creature Jaghi appearing provides a boost to that theory. What's a Jaghi, you wonder?

Turns out it's this guy. I don't know how Theo became aware of his name since the last time we saw him, as he didn't bother to say anything like "Remember the name of Jaghi in your nightmares" or anything like that when he left.

Predictably enough, Mute goes apeshit... as much as he can without changing expression. It's a very archaic sort of challenge..

But Jaghi figures it'll do well enough for now. In my mind this all goes back to the question of why he didn't try to kill us 5 or 6 levels ago.

The fight goes as badly for him as you might imagine. I'd like to say that Mute took revenge for his father's murder with a hate fueled-magical rampage... but it actually ended when a Fortify enhanced Theo blasted him for nearly twice as much damage using a sword.

The Shard of Earth is back in our possession, but anyone with a rudimentary knowledge of RPG plot devices should be able to figure out that there's about 3 more of these damn things out there.
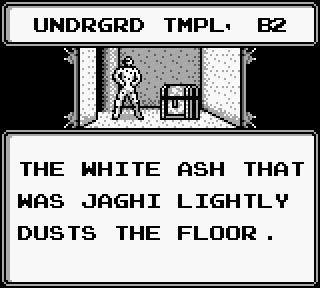
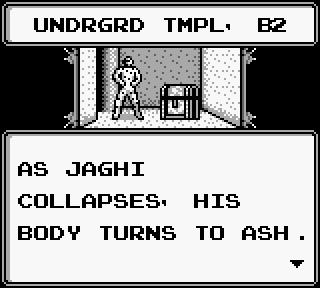
Compared to most tidy monsters who disappear without a trace once we destroy them, Jaghi makes a horrible mess.

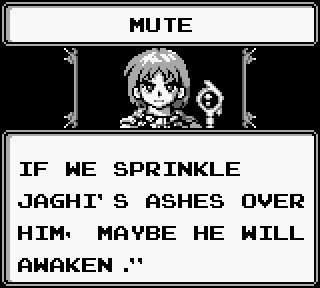
The game assumes by this point that you've found Nina's father and that he's been petrified. Either that, or Mute's burgeoning psychic powers told him the fate of Nina's father. At any rate, somehow he makes the leap of logic that the remains of a creature that can turn someone to stone is the most obvious way to cure petrification. We'll go with that.
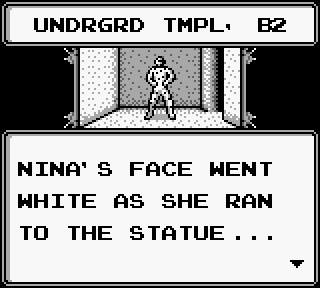
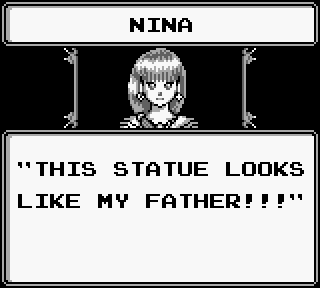
Two rooms to the west we find Nina's father. You'd think she'd be a bit less surprised since Mute already told her what happened to her father.

This is probably a lot easier than hauling his ass off to the shaman and having him take care of the problem.

Nina, unlike some people, gives credit where credit is due and talks up how heroic the prince has been. That's what we like in a good subject.
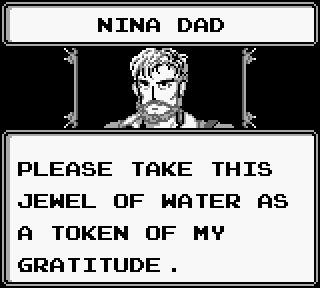
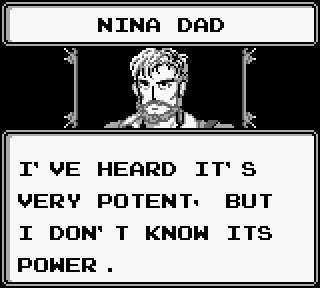
In exchange for un-stoning him, Nina's slightly creepy looking dad pawns a magical item whose function he's a bit unclear about onto us as a reward. How would you feel if you saved someone's life and they handed you a random piece of junk from around the kitchen and said that they didn't know what it did but that you could have it?

He's even too cheap to spend the 15 gold we spent to get a hint as to what it does. Useless git.

Thankfully he leaves and takes his equally useless daughter with him.

Yes, SoH II even has temporary party members.

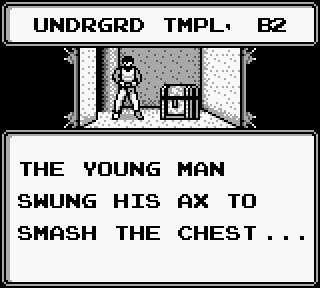
Jaghi's ashes are still in our inventory, and there's a few more statues scattered around. Going back to the big chest, Rapeface McFadden here immediately tries to take the treasure for himself.

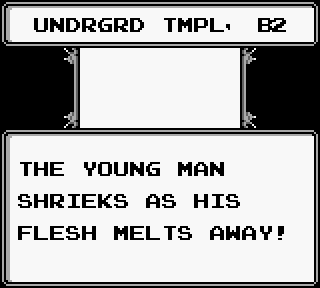
... it doesn't go well for him.


Theo's seen a lot more death than most people his age, or most people of any age for that matter, so he takes all this in stride and simply muses thoughtfully to himself over a steaming pile of bloodstained bones.
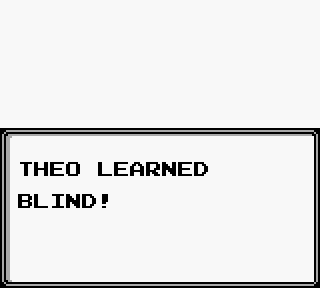
On the way out we get another spell, which appears to be an amped up version of Dark. It won't be seeing much use, all things considered. Mute learns this one as well, although it won't do very much for him either.

The first statue we passed in the desert turns out to be this rather dim looking, but grateful, fellow..

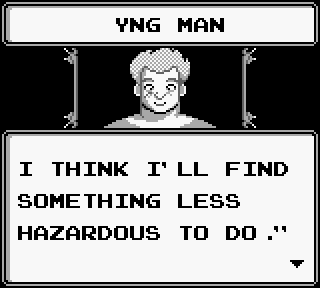
Who winds up deciding that being an adventurer isn't for him. At least somebody learned a valuable lesson here today. Next time: We'll investigate the lake area and put that Jewel of Water to use.