Part 51: The Dwarven Ruins

Are you ready for the big optional dungeon? It's one that we can't even try and clear in one go; we need something we can't get until we finish a different dungeon. That we can't enter until we finish this one. It'll make sense before too long, I swear.
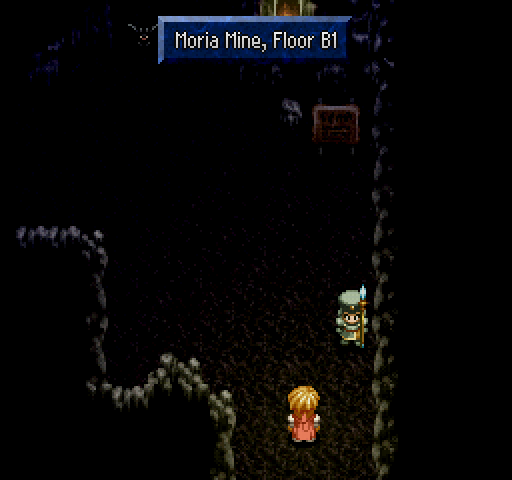
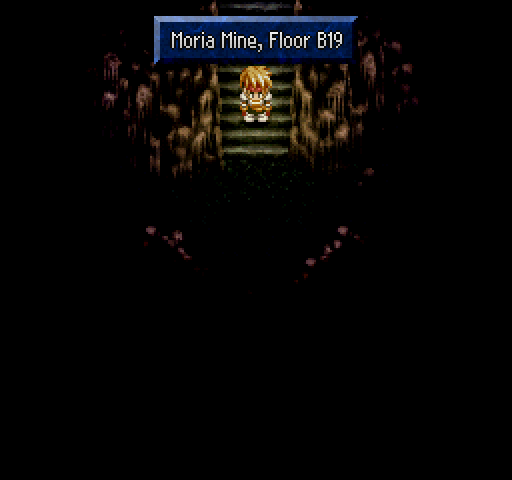
I'm sure you're wondering what we're doing at the Moria Mine of all places. Well, we need to go through here to reach our real destination.


Just like before, we need to use the Permit to actually get in. Somehow the one we have from around 200 years ago is considered adequate permission to this guy, complete with a sarcastic quip. More importantly, let's go talk to him again to see where we need to go.

Conveniently our old shortcut passage from before enables us to reach floor 9 without any trouble at all. The random encounters here are unchanged from when we had to come here so there's no point in wasting your time with them any more.
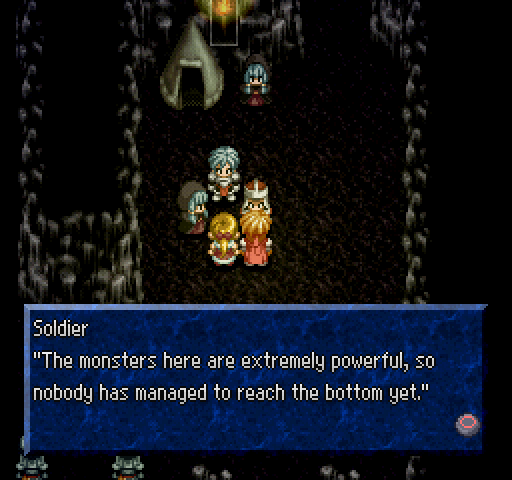
Just before the actual dungeon-in-a-dungeon, there's a minor rest stop with a store, makeshift inn and a few dudes to talk to. This soldier's got a sort of accurate descripton of the enemies in the area; they're the strongest random encounters, on average, but a lot of them are pretty easy even if you just come here at like level 50. It's not uncommon to end up in the mid-80s if you go through the entire thing, and for good reason; some of the stuff here can be just plain nasty. More on that later though!
As for the store? If you need to buy something, just buy ingredients and gels. There's no real reason to buy Holy Bottles at any time, ever, but there's a VERY good reason not to do so:
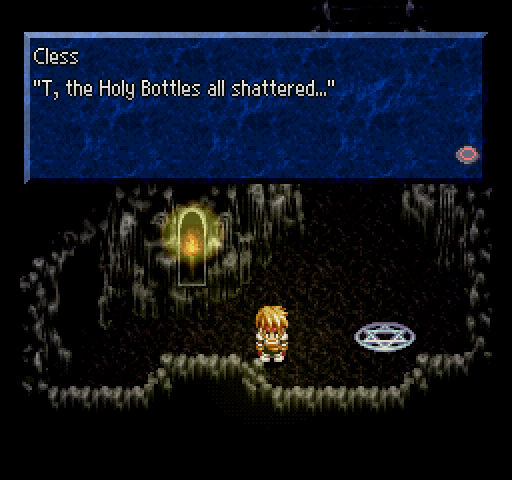
The game won't let you bring them in. There's two ways to get around this; if you use one before you enter, you get the reduced encounter rate until it wears off normally. We'll be using the other way when we come back, so don't worry about that.

So, welcome to the Dwarven Ruins! This thing on its own is 11 floors long, but the first 5 or 6 are super short and the game keeps changing things up enough to not make it drag. Mostly.

There's a whole slew of new enemies down here, and whilst they mostly appear on their own on some of the later floors specific combinations of them can actually be challenging. The Banshee is... she's terribly unexciting, really. She has a whole one attack that hits in a straight line directly in front of her so if you're above or below that point, or just behind her, you'll never be hit. It's a giant laser. At least it has a bit of a bonus effect that rarely happens; occasionally if it hits someone, they'll be put to sleep. Sleep is a status ailment that we can't actually cure. If the person under it gets hit or we finish the battle, they'll wake up, but that's it.

One of the nice things about the way the dungeon's set up, is that we can see stuff on a lower floor sometimes. It's a minor touch, but I like the thought of it at least.

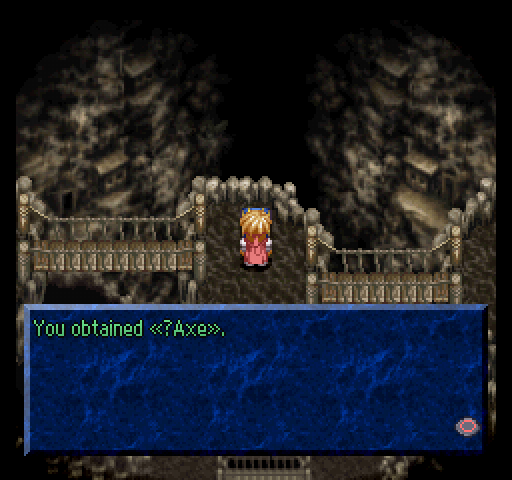
There's some nice treasures in this dungeon to be sure, but there's also a fair few not-so-nice treasures as well. The things we find right now will vary between the two a bit but this definitely comes under the latter.
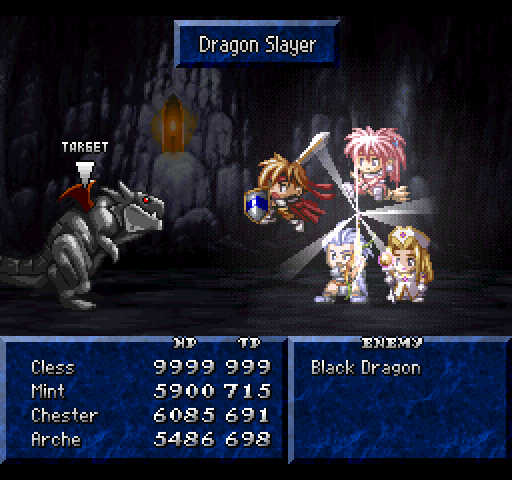
The Black Dragon is a pretty straightforward enemy, and its not even rare! It has a massive chunk of HP though and absorbs Dark as you'd expect. the only thing of interest about it is that its attack can sometimes petrify whoever gets hit by it.

Now for my second least favourite regular enemy. Not of the dungeon, of the entire game. Bigfoot here is the other source of repeatable Ivory but he is not worth the hassle of fighting. Whenever an attack is inputted by either you or the AI this happens:

When that happens, the guy becomes immune to all physical damage. That's not all though; as you might imagine, those spikes are NOT for show. Touching them will damage you. There's also a very high chance of them paralyzing you. On top of that, there's a very good chance of getting stunlocked by it depending on positioning. If you get stunlocked by it, you take damage every few seconds (remember, there's next to no invincibilty frames unless you're taking specific actions!) so you're effectively dead then and there. Amazingly, this is the one enemy against which Mint has some damned good offensive use; Time Stop will cripple these guys. No matter whether they're defending or standing upright, when it goes off they're completely helpless. Now, Time Stop is still stupidly expensive with a Fairy Ring (25TP with, 50 without) so it's not exactly cost effective depending on how unlucky you get with needing healing etc on top of it.
Also Fire murders them something fierce so Arche can decimate them single-handedly if she tries.
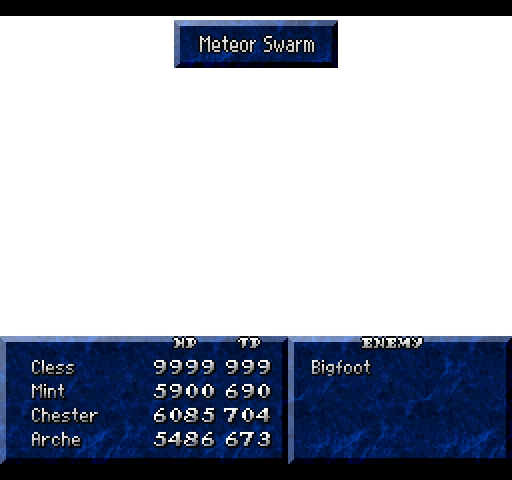
Other times, she just drops a bunch of meteors on them. Either one works.
On the 16th floor, there's two pathways. To continue through the dungeon, you want to head to the right but if you head down...

We don't want to linger around here for too long, and if we didn't have the one item we need coming here would be a waste of time to boot. As is, just going past the entrance is enough to trigger a cutscene.
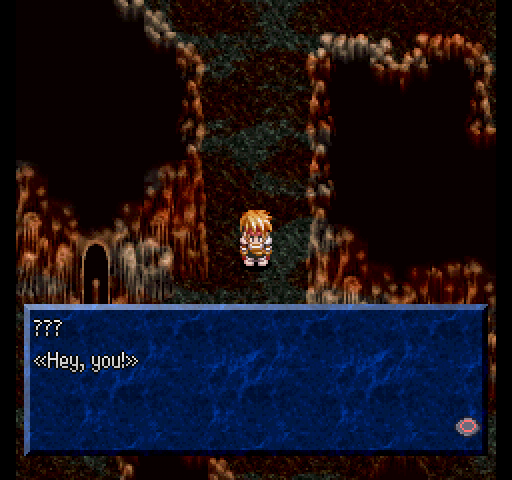
???: Behind you.

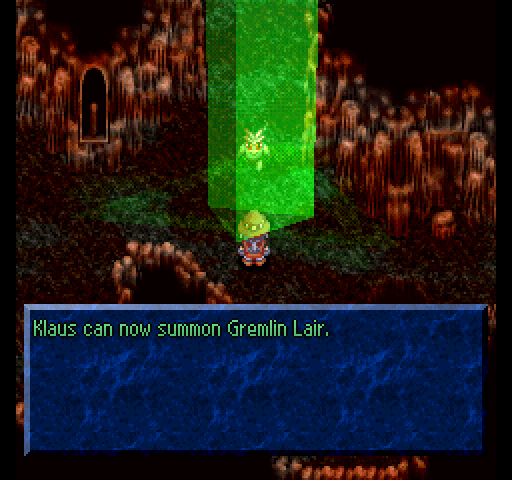
 : They call me Gremlin Lair. Anyway, what are you guys doing here? This isn't a place humans should be, you know.
 : What sort of creature are you?: I'm from the Demonic Realms. The air here is so rich with miasma, you must've already known that, right?
 : Klaus, you aren't thinknig of...
 : You never know. If I form a pact, they might prove useful as Summons.: What're you whispering about over there?: Oh, it's nothing you need to worry about. : More importantly, you look kind of hungry. Am I right?: Why? Do you have something tasty to eat?: Yeah, for you, there's nothing tastier than <<magical energy>>.: If you'll lend us your power, we'll give you as much of it as you want.: Fine, fine, whatever you want me to do, I'll do it! Now hurry up and feed me!: Slow down now, there's an order to this. First, we have to form a pact. Tell me which one of these rings you like best.: Pact...? Something about this seems suspicious! Eh, whatever. Let's see... I like that blue one.
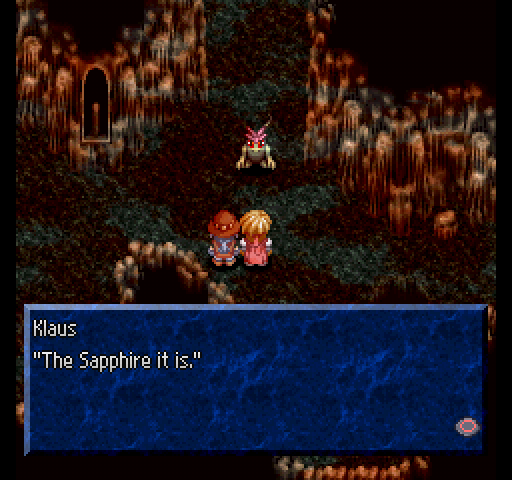
The Gremlin Lair is kind of a crap summon all things considered. It deals low triple digit damage (100-200) per hit, has a terribly small hit box but hits several times and deals non-elemental damage. Think of it as a combination between Efreet and Maxwell and you have the basic idea. The biggest flaw with it, however, is that despite combining the best aspects of two different summons it costs a lot of TP to deal less damage than other summons we got earlier. Let's look at it this way; Origin costs 36 TP to deal in the area of 4500 non-elemental damage no questions asked. Gremlin Lair costs 42 TP to deal around 2000 non-elemental damage in total, a little more if it doesn't miss that often. Maybe there's some hidden super-awesome use for the thing but I haven't found one.

At least for getting 10 summons, Klaus picks up a title for his trouble. Only two left and we've got them all too!
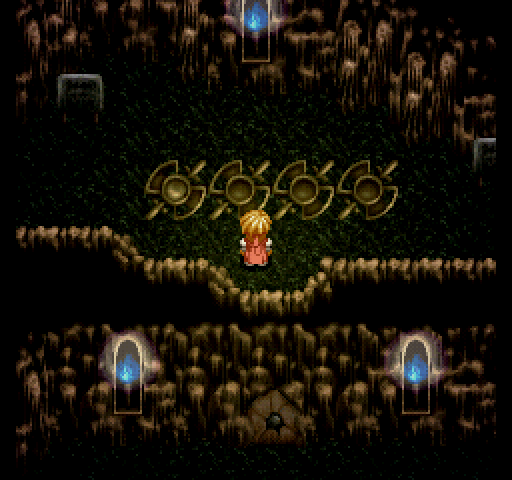
The sign to the left tells that to solve this puzzle we just need to have every switch pressed. Sounds easy, and that's because it is, but the one minor twist is that when you press a button, it affects the ones either side if possible. So, if we press the one on the far left the one right of it will become "unpressed." The solution is pretty simple though, so if we think of the numbers from left-to-right being 1, 2, 3, 4 then just press 1, 2, 3, 4, 2 (or 1, 2, 3, 2, 4; either one works) and you're done.

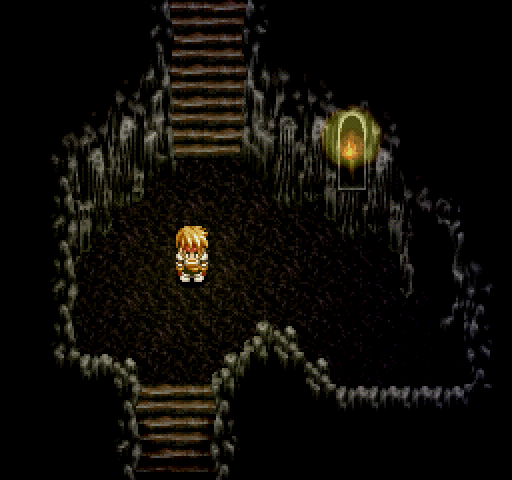
From the 18th floor onwards, you get an uncomfortably small amount of light so there's only one thing to do, right?
Unfortunately, no. That doesn't work here because we have light! Sure, it's an incredibly small and borderline useless amount but that doesn't matter, clearly.
Now I'm not gonna lie, the first time I did this dungeon I got stuck on this very floor for a ridiculously long length of time. Comparatively, now I can just get through it in no time but that makes you miss the one treasure here worth taking and I can never remember the right path to it.

After blundering around for about 10 minutes you'll either find the exit, end up going in circles for ages or find this door on the far, far left somehow. You want to find this door... maybe.
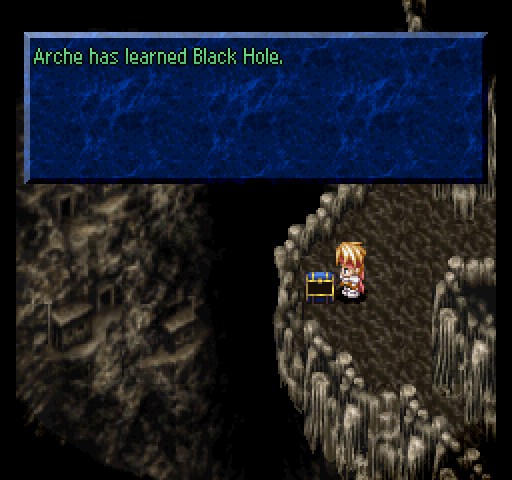
Black Hole is Arche's second best spell and it's her only means of dealing Dark elemental damage. Originally, this was an instant death spell which made it questionably less useful. As is, it's only marginally more useful since everything worth using it on will resist or absorb it.

Lives up to its name though.
Once you've got Black Hole, there's no reason to hang around on the 18th floor so there's this room to deal with next. This room is not fun. It's a maze. Wherein you can't see very far ahead. And there's a billion dead ends with either no treasure at all or crap treasure like a Longsword, or piece of Leather Armour, you need to Rune Bottle.
For blundering through that room eventually, you get a second Bahamut's Tear on the main path. Not gonna complain about that one, even if Dymlos is more useful.

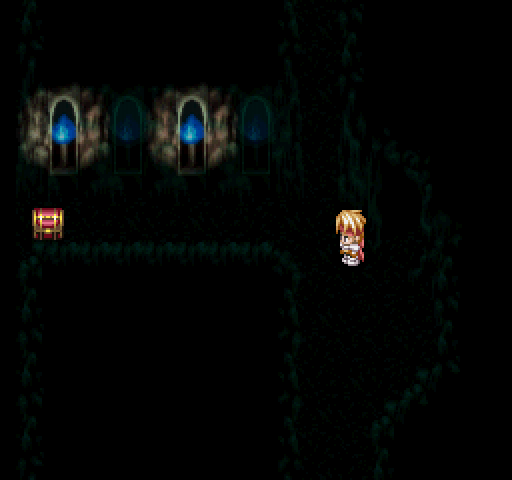
The next room is terrible though. No light at all, so you're stuck wandering through the area completely blind and there's no indication that you're making any reasonable progress or not.

Every few seconds for the briefest of moments, you'll get a flash of light that doesn't last anywhere near long enough.
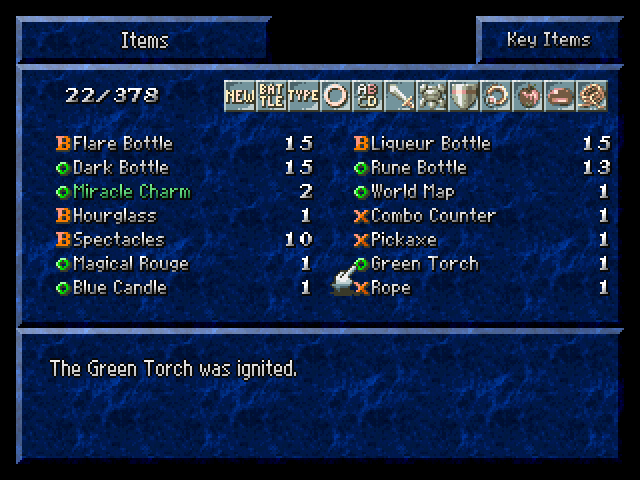
At least this time we can give ourselves a bit of help.
Emphasis on the "a bit" since it's still needlessly difficult to see anything.
Oh and this room is another maze. There's a few things worth going out of your way for though, but it's still a ridiculously terrible maze; you have to skip opening certain chests if you want to give yourself any help in navigating the place. At least you'll probably end up not being able to open several of them since they contain things you should have 15 of by now anyway, like milk or gels.

In a room off the north end of the maze, we can find some equipment for... Suzu of all people. the Kannazuki is her best piece of armour, and the other chest there contains a katana.
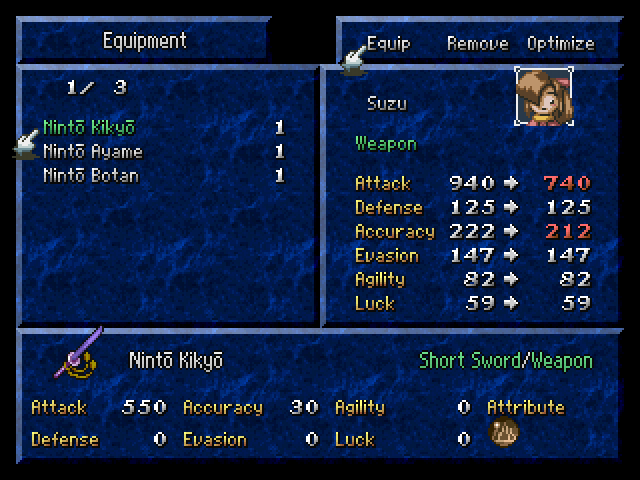
It's not quite as good as the one we got from clearing out the Cave of Ordeals but that Earth attribute will actually come in handy. I'm as shocked as you are.

The Kannazuki is much more useful, since it lets her absorb Wind, rather than merely resist it. It also gives a fair bit of a defence and evasion increase which is sort of nice too I guess.
There's a room just here that you probably can't see because the lighting is terrible, but trust me when I say there is. It has a Rune Bottle, Force Ring and Hourglass in it. There's something worth using that Rune Bottle on coming up actually, so picking it up if you need to wouldn't be a bad idea at all.
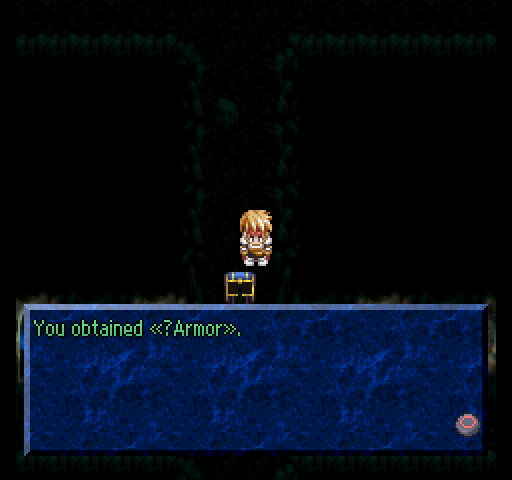
Namely, this piece of armour right here.

On top of being Cless' best piece of armour, both statistically and with a ton of resistances (80% damage resistance for non-elemental and Thunder, 30% for Fire and 50% for Wind), this is yet another item from the Legend of Ishtar.
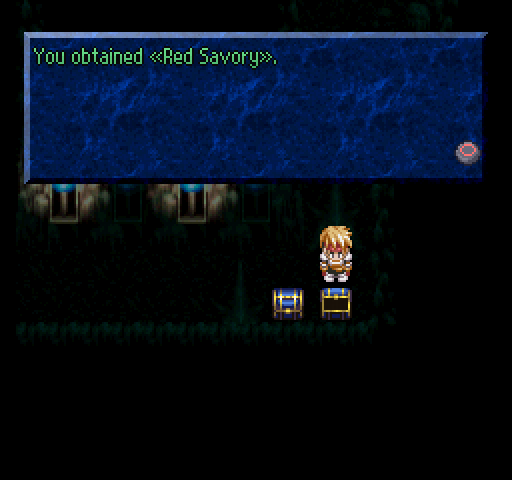
Aside from that, the only item in the main area worth getting is a... red herb? Huh. This is the only one that comes in the advanced form, and it's way too late to be a hint to use the Rune Bottles on the normal things. The extra TP is nice though.

On the penultimate floor, we get a really obnoxious puzzle with some minor issues. If you step in front of a statue so it can see you, it'll hit you out of its line of sight and send you back to the beginning of the room (for the most part). The issues come from the statues LOS. There's no way of knowing what it is shy of blundering in front of them all at varying ranges, and some can see a lot further than others.

The way you're supposed to do this puzzle is pretty weird as well. You're supposed to step in front of certain statues to get pushed past others, but even then you'd be put off doing so. If you step in front of some statues when they hit you, you'll get hit by another one for your trouble. Or maybe I'm just overly paranoid and get stumped by the simplest of puzzles. Either one's good.

The 21st floor is the final floor, but it's not as small as any of the others. It takes up several screens, has its own miasma'd area (with nothing of interest in it, annoyingly) and even introduces new enemies. New, incredibly powerful enemies.
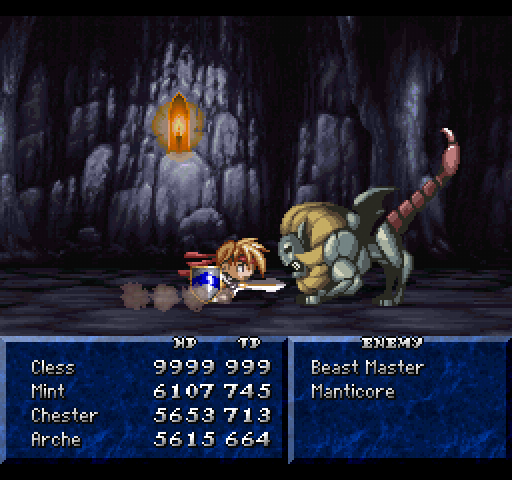
Take the Manticore for instance. It has a ton of HP, absorbs Dark (as per usual), can deal a fair bit of damage with a regular attack and if it does hit you there's a chance of being poisoned. In spite of this, the Manticore is an easy enemy compared to some other stuff added down here.

On the bridge, we can see our final destination below us. It's technically considered part of the same floor but its also a seperate area. It will sort of make sense later.
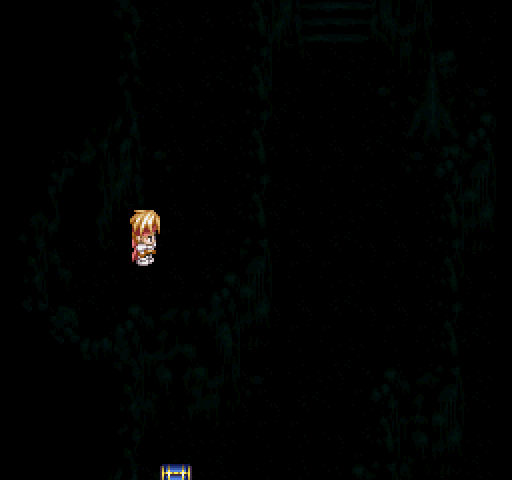
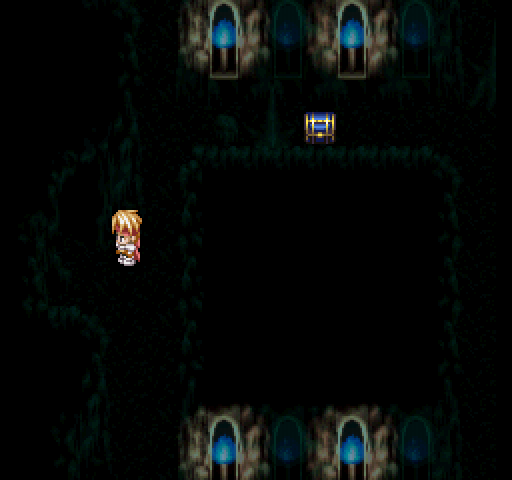
Can you see anything here other than Cless, part of a chest and maybe the outline of the walls? I know I can't, and this is with the extra light granted by the torch and candle! This area sucks but there's a fair few things to nab in it too.
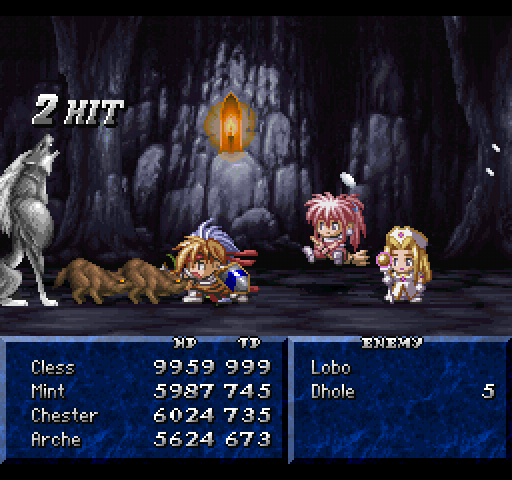
Anyway, meet the Lobo. He's the second hardest random encounter enemy (the hardest coming up later), and he never comes alone. He comes with a wide variety of things, like the Dholes, Banshee, Manticores, Beast Masters... He's incredibly strong, on top of having about 45,000 HP, and an alleged fire weakness. He loves to lurk just off-screen with a ton of enemies between you and him so he can murder you before you get near. Unforuntately, he has just the one attack of note (hitting everyone for water damage with that howl) so he's easy to shutdown when you finally get near him.

It's quite telling as to how far we've come in the second half of the game, when we're finding a Fairy Ring in a treasure chest and the response is a resounding "meh."

It's even more telling when we have a full set of Elixirs sitting around unused somehow.
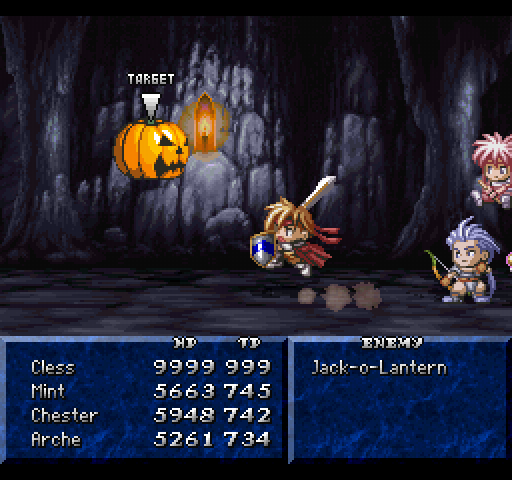
Oh and there's another magical flying pumpkin down here. It's a bit more resilient than the one in the arena, but it's also easier on account of having a full party.

Close to the end, we can find a room that's pretty hard to find if you don't know its there. It looks easy here because I somehow managed to take this shot when the light was flashing.
For the incredibly low price of 470,000 gald you can pick up a new arte for Suzu. May Shower is a not-wholly-terrible arte but for the one thing we'll be using her for (yes she has a use soon!) it's completely pointless. Go figure.

The conveniently placed save point just before the final room is surprisingly useful, since the obvious boss coming up can be a bit tricky.

And now it can't be. This doesn't make Mint entirely invincible for this fight, however. Only mostly invincible. There's still one attack that can deal not insignificant damage.

Switching to the Gungnir for this, because Dymlos isn't quite as effective as you'd want him to be.
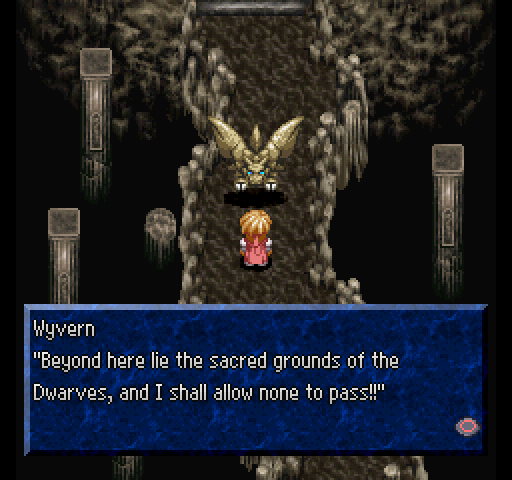
Players of the SNES version will remember Wyvern with seething hatred, I imagine, since he was the boss fight at the end of a set of arena battles in that.

Even I think of him as being kind of difficult. Shame he doesn't really live up to that in practice.
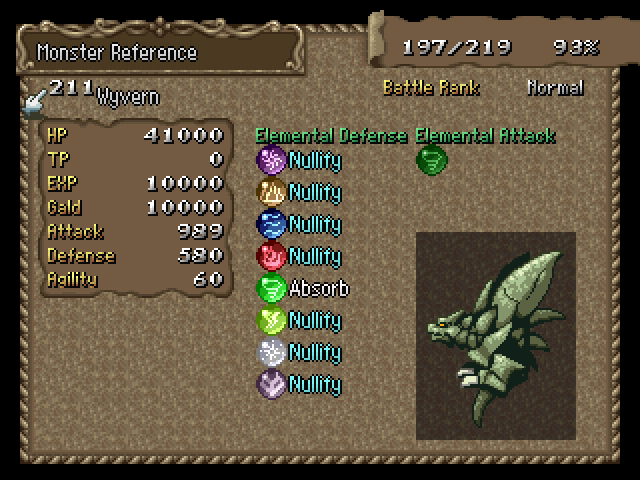
He seems like the kind of boss that should give you trouble, but after Lilith he's nothing that challenging really. He's essentially Ishrant only a bit harder. He can spit his fireballs whenever he wants, and throw them at you from across the battle arena rather than just set them up as a shield... but they're fire elemental so two Princess Shawls make them irrelevant on at least one character (I picked Mint for obvious reasons). Suzu can absorb his regular attack with her ultimate armour so she gets to stick around for that too. It doesn't tell you it here, but he's weak to Earth so she even gets a weapon he's weak to, and Chester has at least one attack that can take advantage of that Earth weakness too.
I can see why people would have trouble with him, since he does deal a lot of damage pretty quickly but he's also an anticlimax for a boss so late since just seeing his sprite lets you know exactly what he's going to do before you even enter the fight.

He's also standing in the way of what he referred to as a temple.

It's full of treasure.

Lots of treasure in fact. 20 items in total. That's... that's quite a lot. Most of it is great too!
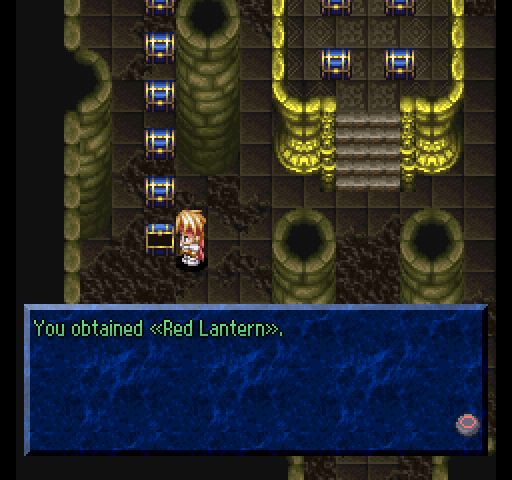
Even if you want nothing else down here, because you're crazy, the Red Lantern forces you to work through this dungeon anyway. We need this one with the torch and candle to enter the Cave of Shadow; we can't even get past the entrance without it!
Also the three of them together make up the "Light of Darkness' Bane" which was part of that Legend of Ishtar. The penultimate item we've gathered for it, in fact.
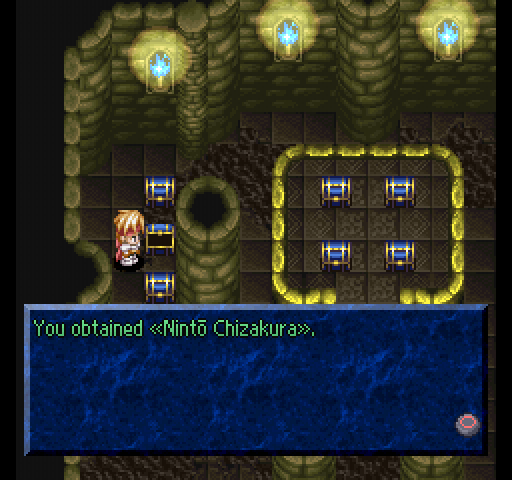
This is Suzu's 5th and ultimate weapon. It's Dark elemental and has an "amazing" 999 attack making it, by far, the weakest of the three melee users best weapons.

These are an interesting accessory. They reduce all damage by 30% regardless of its source or element, and there's technically two of them available. If you use a Rune Bottle on it, you get...

These things. The Nightmare Boots are significantly less exciting, though, since they merely boost the in-battle movement speed of Mint, Arche and Suzu. Using a Rune Bottle on them gives you the Persian Boots again.

The Scout Orb is a pretty cool item. It works as an infinite use Dark Bottle, Holy Bottle and the ability to nullify either all at once. It lets you vary the encounter rate to a point; you can't set it to give you a battle say every other step or never give you one but you can set it to the same rate as either bottle. And when you change the encounter rate via it, the effect lasts until you manually change it to a different one.
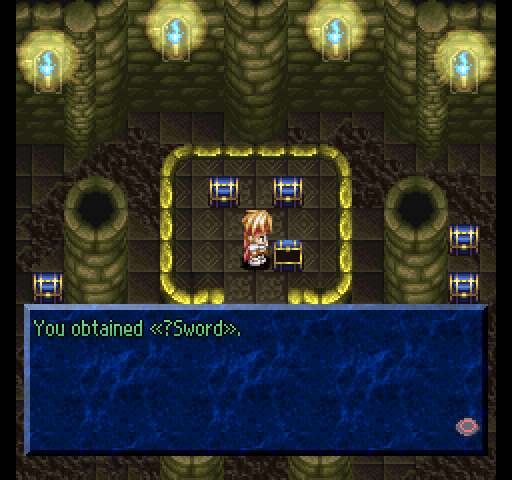
This is Cless' best sword. I prefer it to the Gungnir and Bahamut's Tear but they're all effectively his best weapon depending on playstyle etc.

As if there could be any surprise at all, the best sword is called Excalibur and it references Arthurian lore in its description... before slipping back to Tower of Druaga. Still, we've got all the items we need for that sidequest now so we can finish that when we get out of here.
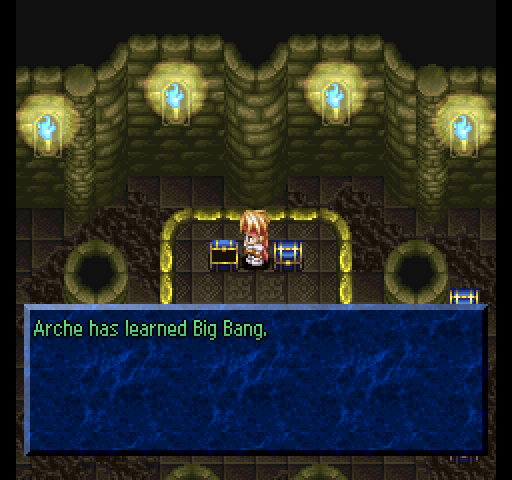
Big Bang is Arche's final spell and it's Light elemental. It's also ungodly expensive so you'll probably use it once to see what its like and then ignore it.
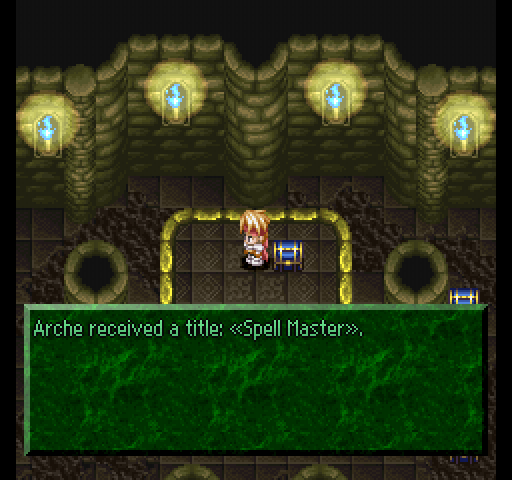
For getting every spell, Arche gets one last title relating to that. At this point the only one she's missing is for mastering every recipe and since she's a terrible, terrible cook that's going to take ages to get and its not worth the hassle.
And Cless gets his final Arcane Arte from the other chest. All that's missing now is the base arte he learns from Dymlos and that's quite a ways off still.
The other chests just contain stuff we can't take with us like extra Miracle Gels, Life Bottles etc. Nothing interesting.
Now that we're done here, we just need to walk to the 17th floor to take the emergency exit that was hiding just off-screen. The final stop on our sidequest extravanganza is the only place we couldn't go to until now: the Cave of Shadow.