Part 1: BF1 - Thieves' Stronghold
Introduction
New Game!

And we're playing on hard. Not a lot has changed from the GBA version's only difficulty to the PSP's hard mode. Normal is quite a bit easier though, and this will all be explained as we go through this.
Introduction
The Kingdom of Fantasinia, located in the center of the continental world.
Times of peace and prosperity continued for many years under the Holy Sword and a wise king, but this was not meant to last forever...
The end came so suddenly...

resist the incursion, but with loss after loss to the imperial army's devastating offensive, the fortress of Karona fell. Nothing could stop Bronquia from sacking the Royal Capital of Paltina.
Gulcasa, the Emperor of Carnage, had deposed his predecessor by force, and became the new emperor of Bronquia. Emperor Gulcasa led his elite troops personally into Castle Paltina, where after an earthshaking battle, he slew King Ordene.

Yggdra Union - Chapter 1


Although this barren land of rocky mountains and red earth is Fantasinia Kingdom territory, it has become a haunt for thieves.


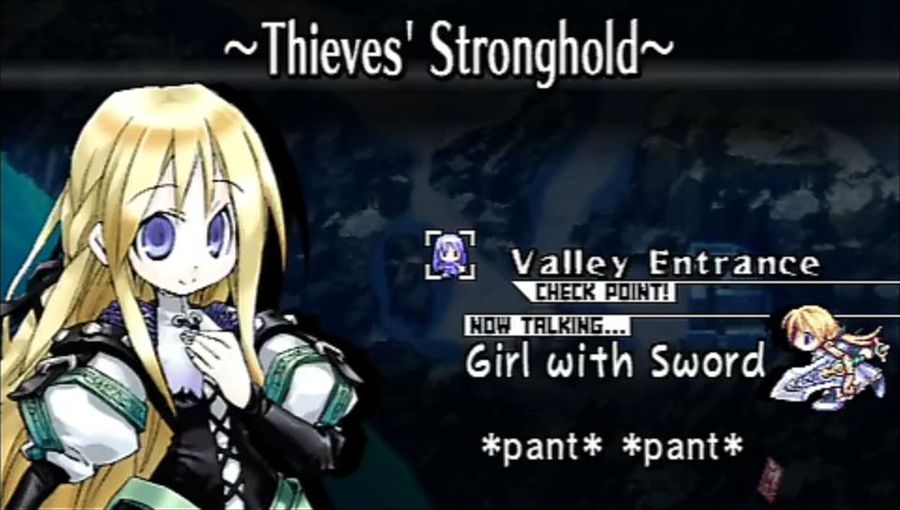
 ...! A dead-end!?
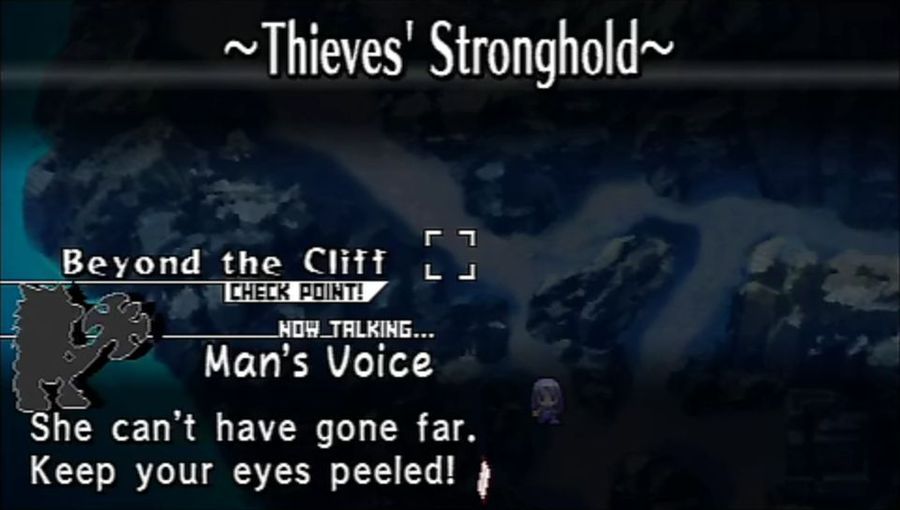
 Oh! That's...!


 Are there any likely hiding places nearby?
 Alright, torch the place. We'll smoke her out.
 It's a question of what's less painful... Fire? Or my sword.
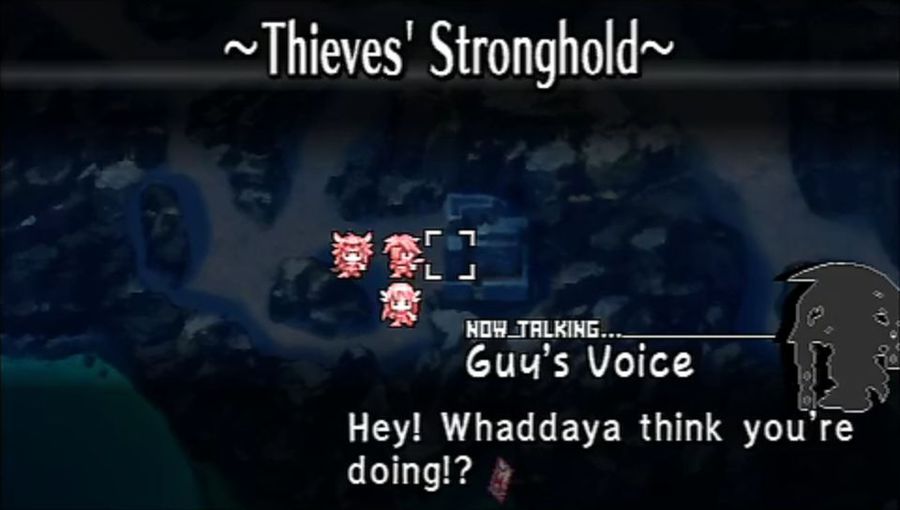

 It's the thieves that infest this dump!
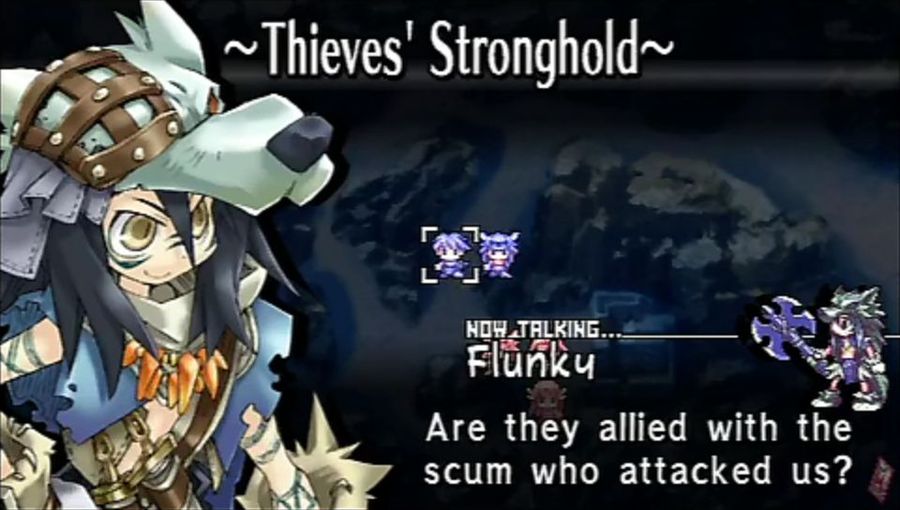
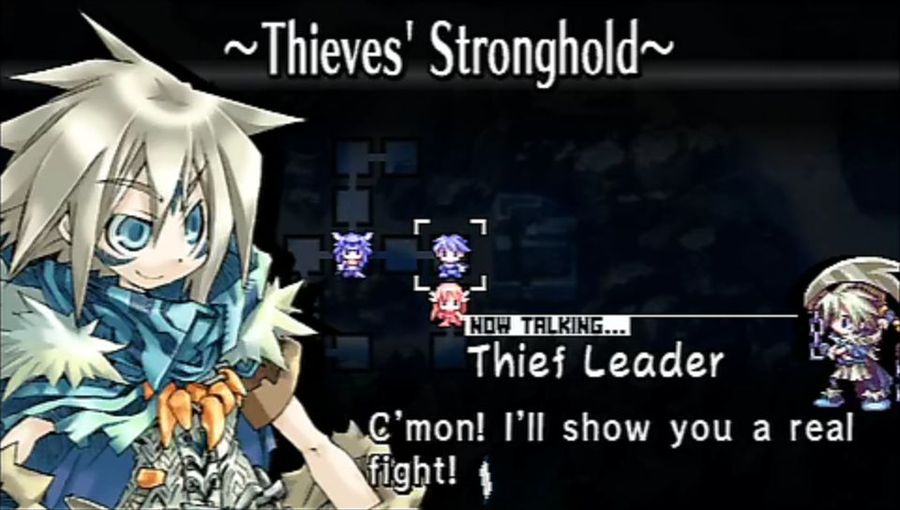
 You've got some nerve, burning down our home! We'll show you what we do to anyone who messes with us!
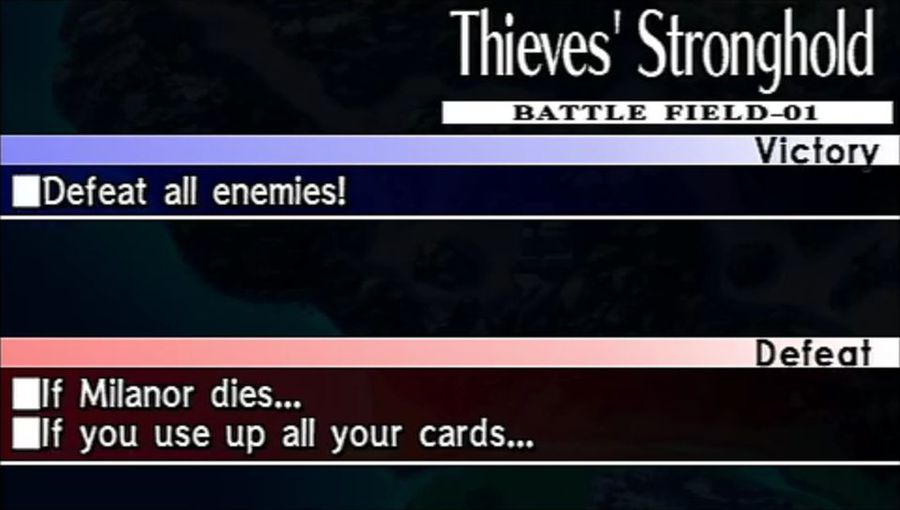
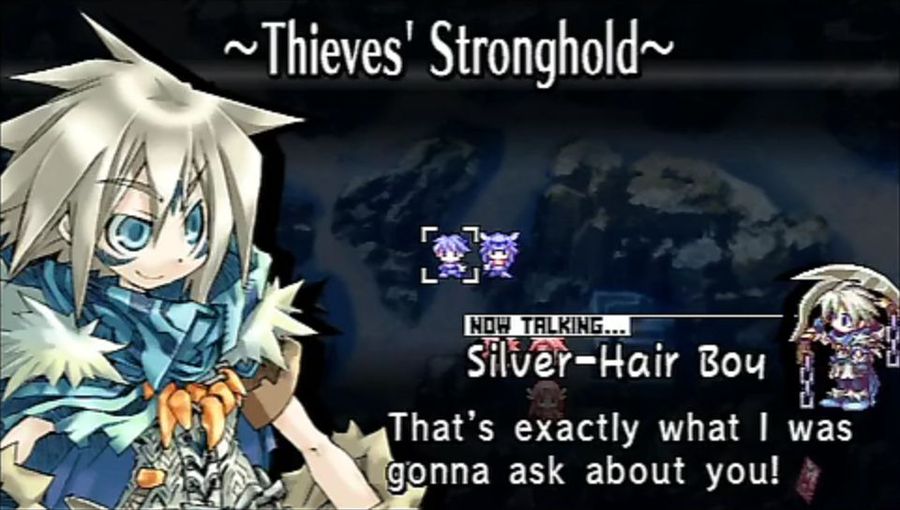
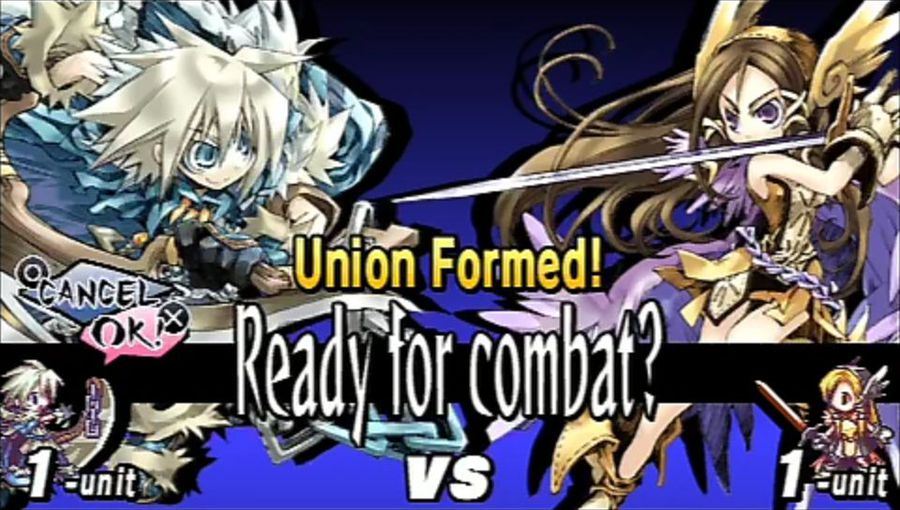
Simple enough battle. Milanor is the leader of the thieves, and we just need to defeat the three enemy units.
Pah! What can a bunch of petty thieves do?You'll eat those words!
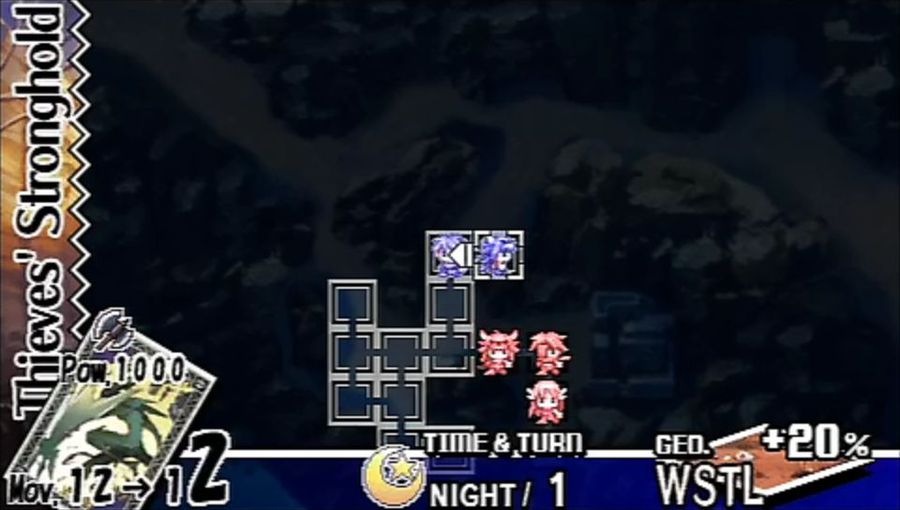
Now we can get started. Each turn starts with us picking a card to use. Each card has a variety of attributes, but right now we're only concerned with two.
First, is Mov, and it's pretty straight-forward. We get to move as many spaces as the Mov on the card allows. The movement can be distributed any number of ways between our active members. Milanor can eat all 12 and go the distance, or we can split it, 6 and 6. We can also alternate movement - Milanor 1, Flunky 2, Milanor 5, and waste the remaining 4 points. Regardless of movement, however, we may only make one attack per turn. After the attack, anyone except the unit who initiated the attack may use up any remaining movement.
The other stat we're interested in is Pow. After each battle, the damage we deal is based upon the Pow of the card. Higher is better for us, obviously, and we like it when the enemy cards are lower.
We're using Steal this turn, which is a little lacking in the Pow at only 1000, but its 12 Movement is among the highest in the game.
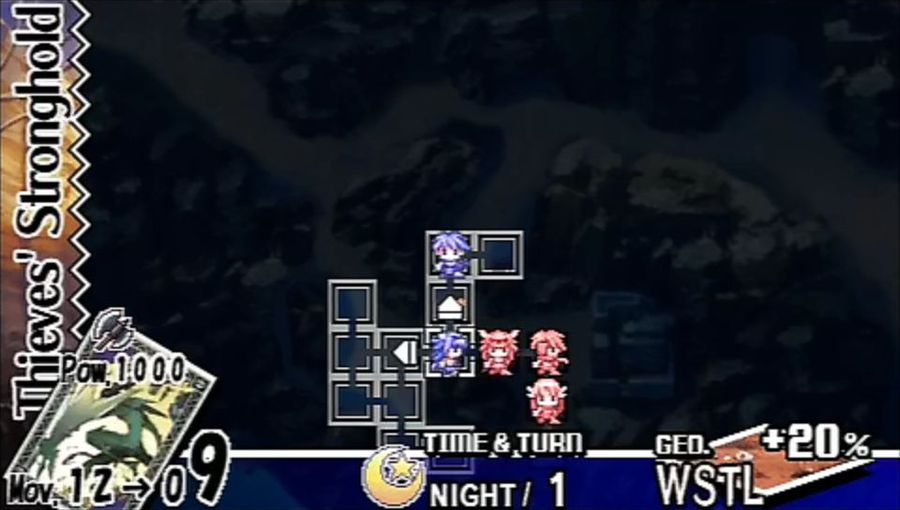
First thing we do is reinforce Milanor's dominance as thief leader, and make the Flunky use 3 Mov to charge the enemy.

 What's this?
Meanwhile, Milanor can go relax over here, and he finds an item for his trouble. Well, time to get some combat going.

We select the Flunky, and then chose our target. He can only attack the enemy adjacent to him, so we don't have much of a choice. We can also see a few interesting stats on the targeting screen.
First of all, is morale. Right under the unit's name is their current morale. Our Flunky in this instance has 1880, vs our foe's 470. Morale basically represents the life of the unit. Once that's depleted, you're out of here.
To the left is the combat prediction. By Flunky, we see a circle. By the enemy, there's a triangle. This is a quick and dirty estimate of how well the unit will fight in this match-up. Circle is good, triangle is a little low. These aren't sophisticated measures by any means, but represent what would happen in a straight-forward fight between them.
To the right are four coloured bars - green, red, blue and purple. These are the attribute levels for the unit's Gen, Atk, Tec, and Luk stats. We don't need to get into it right now, but as you can see, ours are bigger. We have the slight stat advantage in this fight.
Finally we'll look at the cards on the bottom. We have Steal, with it's 1000 Pow. Our enemy's card has 900. The morale loss the enemy will take when we win is based on that 1000 power. Conversely, if we lose, the damage we take is based on their 900 power.

Ready to roll.
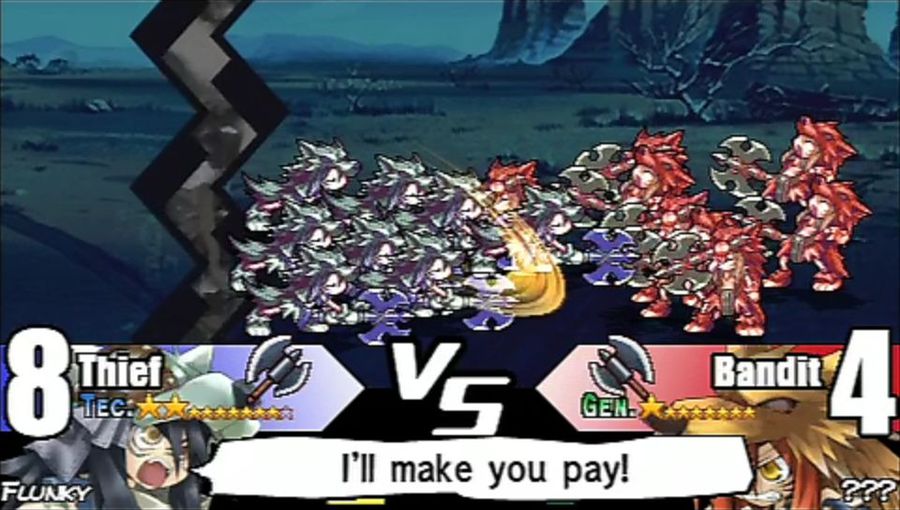
The battle begins with us running in from the left, and charging the opponent. Normal units start with 8 characters, and our charge dropped our enemy to 4.
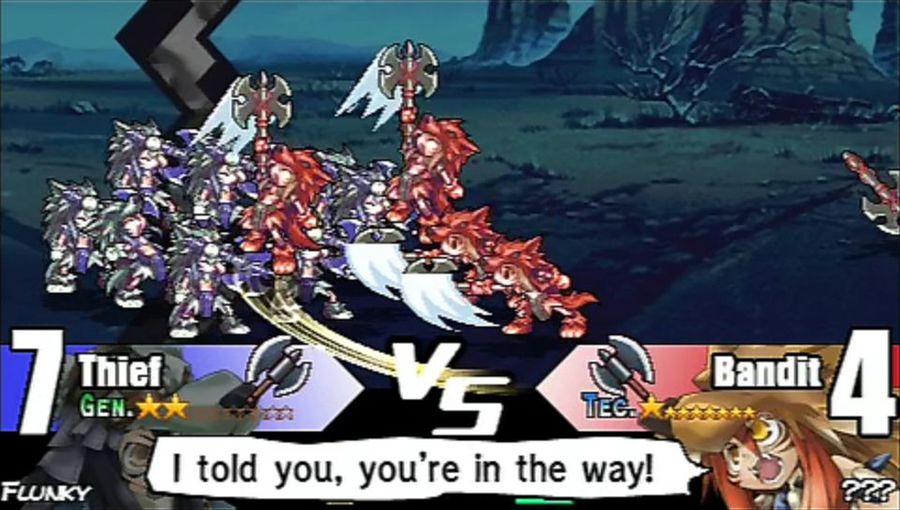
They counterattack, which is the second phase of combat. We're left with 7 members, so we're ahead in this conflict.

For now, all we can do is watch as both sides keep swinging. As damage accumulates, each side will lose members. The leader (or head) of each unit (which is hard to tell in this group of generics) fights with roughly double strength, and is the last to go down in an ordinary battle.
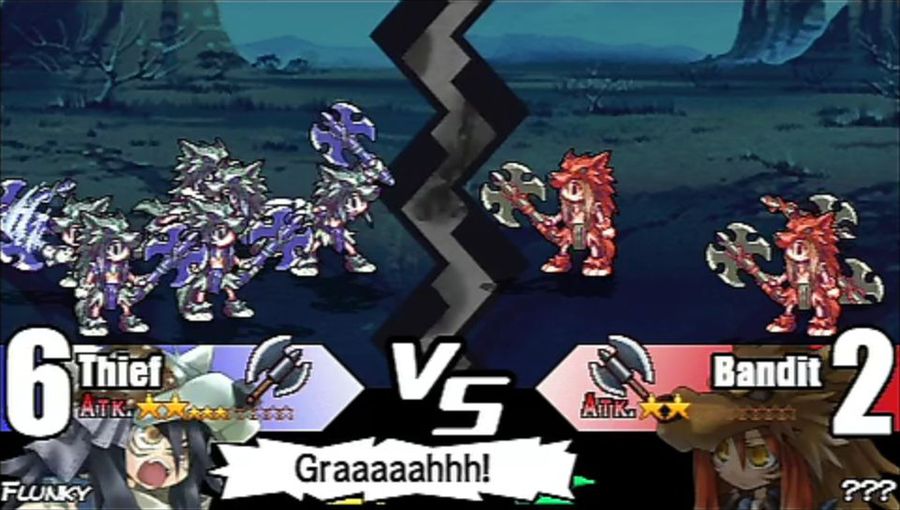
Occasionally the party head will shout out and do a special attack called a flash attack. This deals a quick spike of damage, and will annoy the shit out of us when the enemies use it later on.
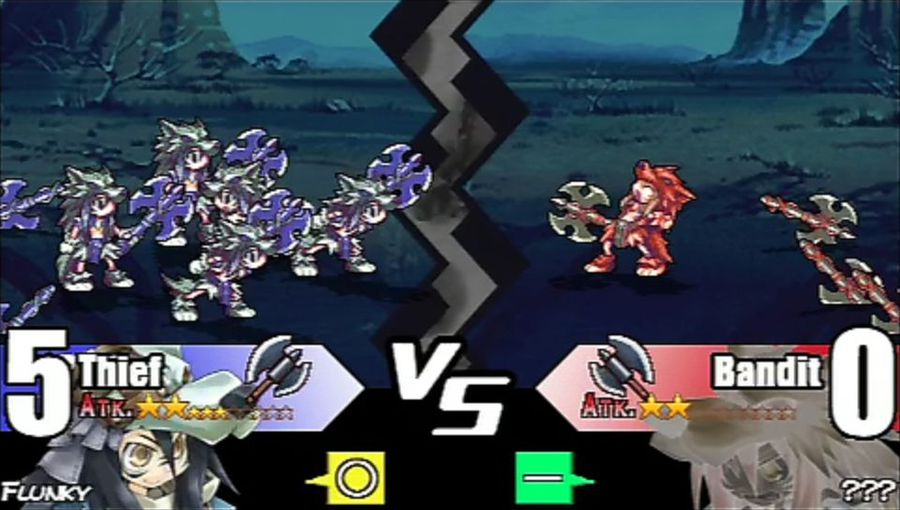
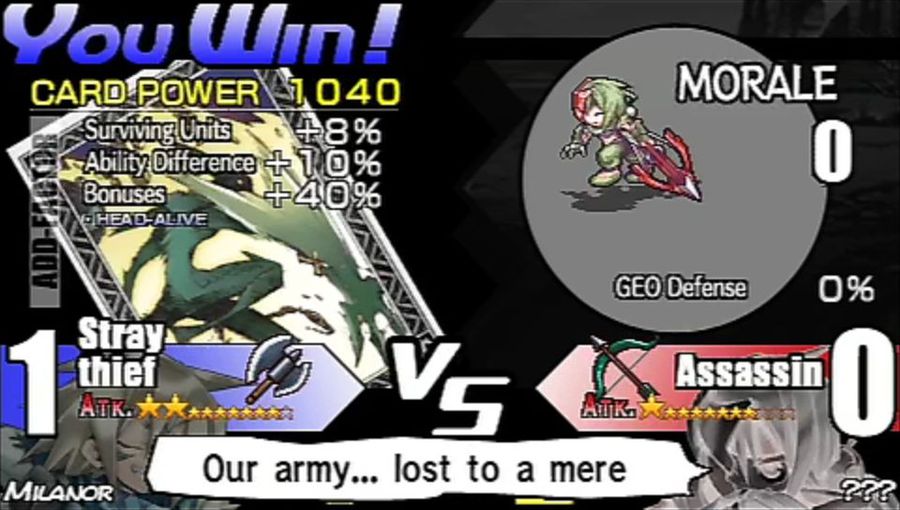
Eventually the head goes down, and we emerge victorious.

Now is when our card's Pow will come into play. The amount of damage we deal is based on both the card's Pow, and the results of battle. For the most part, we'll see three variables which influence the result.
First is Surviving Units. We get 8% damage, times the number of units that survived - 5 in this case. At minimum this will be 8%, and we'll see it go as high as 64%.
Next is the Ability Difference. This is the difference between our Atk stat, and the enemy's Gen, times 10%. We had one star higher this time, so we deal 10%. If the enemy's Gen was higher than our attack, we could have a negative modifier here, and we'll deal less damage. In the result of a completely negative result, however, we can't heal the enemy.
Finally we see a Bonus for Head-Alive. We'll almost always see this 40%, since there aren't many ways for the victor's head to ever fall, but it does happen.
Add it all up, and we get 90% of our 1000 power, for 900 damage. The enemy only has 470 morale, so they're out. An interesting thing here is that no matter how bad we get our ass kicked in battle, if we do the final shot and win, we will never take damage.

Poof
Well... shitty deal.

May as well have the boss man earn his keep, so we'll throw him up to the front
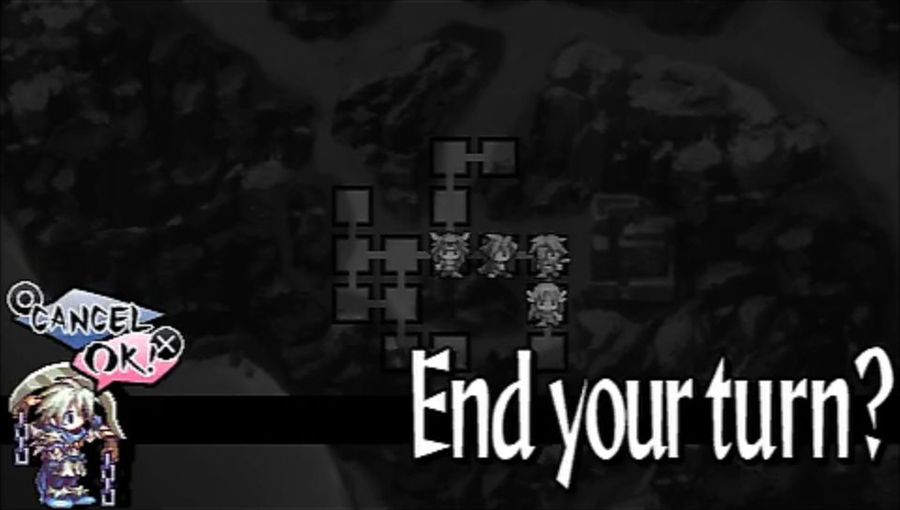
I said earlier we can only perform one attack per turn, so that's it for us.

At the start of the enemy turn, we can see what card they're using. Each enemy faction has one card per map, which they use every single turn. We see here that it's Revolution, and is near Steal in power. It also has a pretty impressive 10 Mov.

The enemy assassin comes straight for us, so let's check her out. We're way ahead in the morale department, so nothing to worry about there. Combat estimates show us both at black triangles, which means we're both fighting without advantages or disadvantages. We also have the slight lead in stats, so this would be a wash...

but for one little thing...

Bow users do their charge attack from the safety of their side of the field.
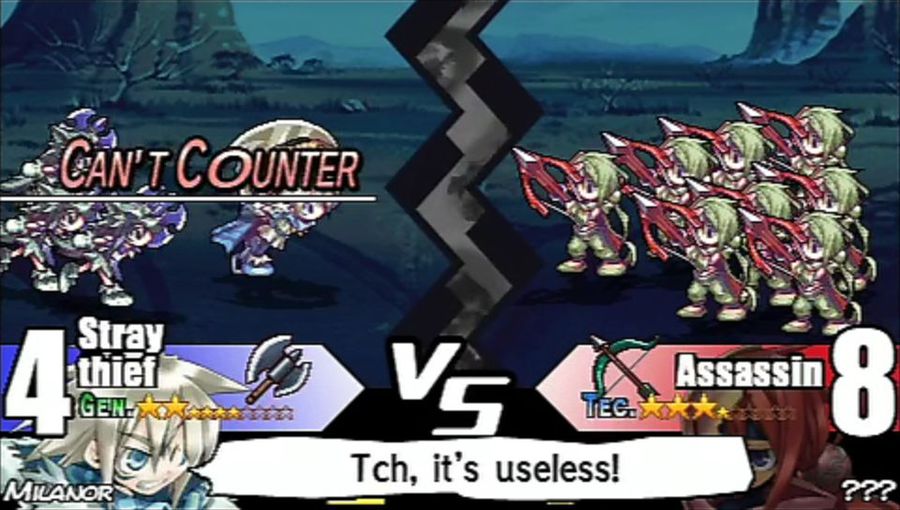
Which throws us completely out of position, and unable to counter attack. Milanor will have to make up some ground here.
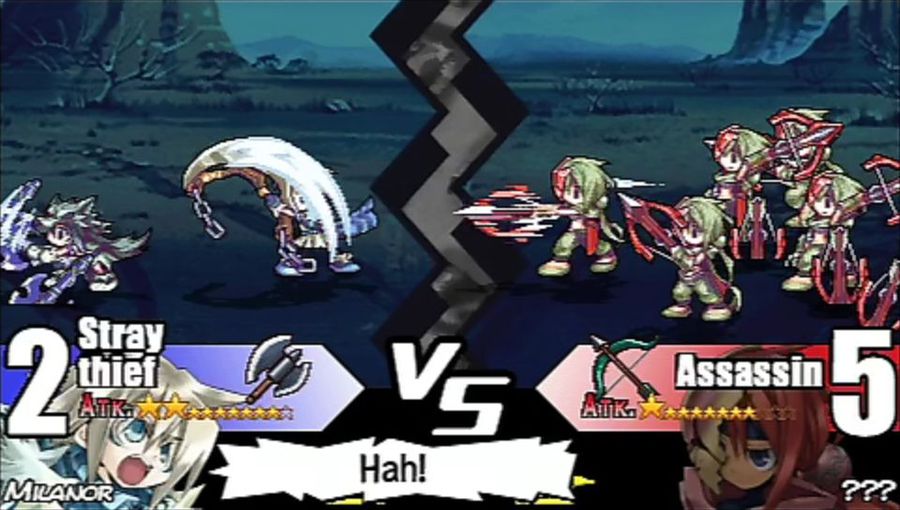
And due to his slight lead in stats, is well on his way. We lost two, but took out three.

And it's down to a one-on-one.

Which we pull through.

Pretty similar result screen. The only difference is our one surviving unit, which drops our Surviving Units bonus to 8%.
It's still more than enough to drop that 320 morale to zero.

Each enemy has a Pow Up! stat. Whenever you deal morale damage to an enemy, the card you're using will gain power. You gain a percentage of the Pow Up! based on how much enemy morale you drop. Since we're one-shotting our enemies, we always gain the full stat, which has been 40 both times. Our Steal card, which started at 1000, is now at 1080.

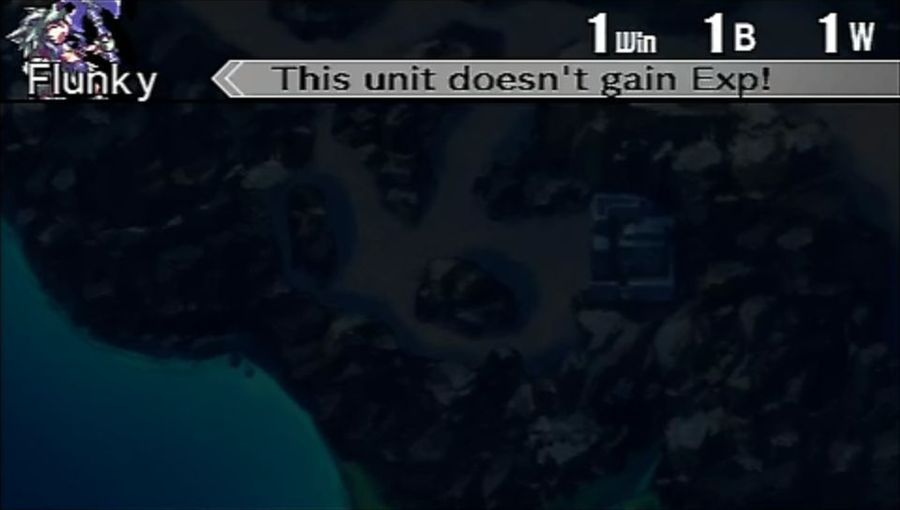
And that Exp doesn't go to waste this time.
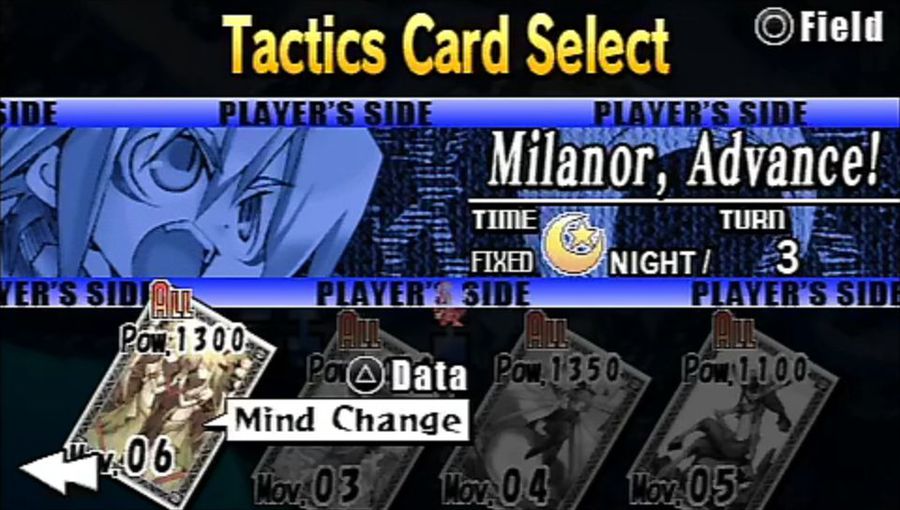
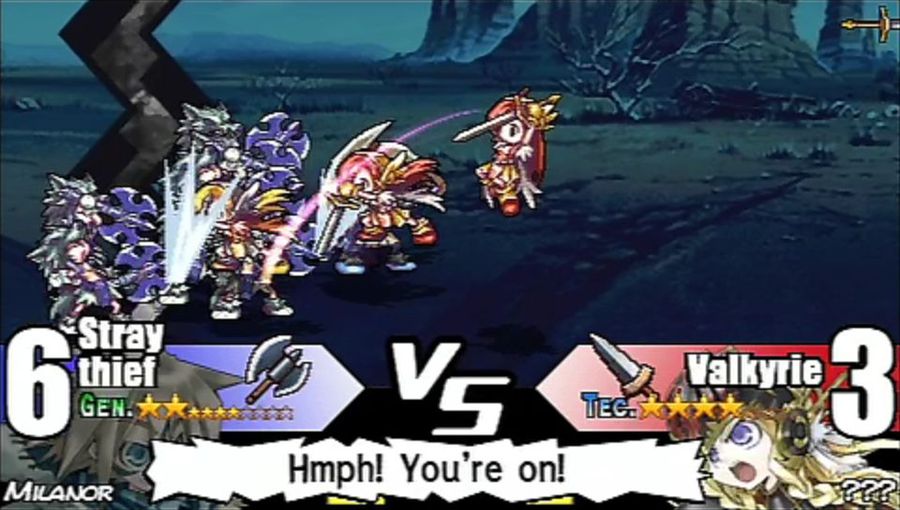
This time we'll use our Mind Change card. It boasts significantly less Mov at 6, but a much higher Pow. The Mov doesn't even matter right now, since the enemy is boxed in.
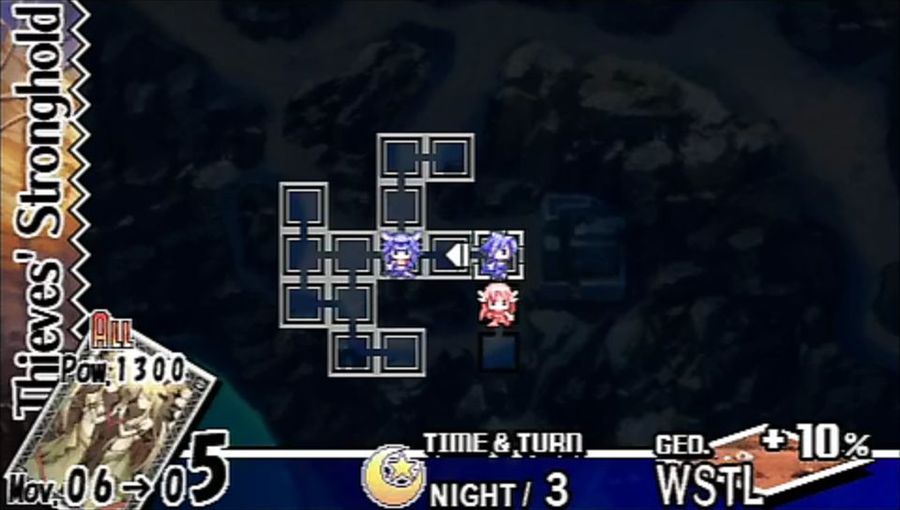
So let's move over and do this.


The commander is quite a lot stronger than her lackies, but not so much that this should be a problem. We do see from her black triangle (vs our white) that she fights slightly better, and her Tec stat (blue bar) is a little bit higher. Either way, one good round and we should be able to take out her 1160 morale.

We're well on the way to making that kill happen. We take out 5 Valkyries with our charge.
And we're in good form after her counterattack.

Things aren't looking good for the firestarter.

It was a good show, but we'll only end up doing 72% of 1300, or 936 damage. We'll have to take her out next round.


And the next round doesn't take long to come up. There's only one thing she can do this turn, and that's attack us.
Battlefield 1 Combat

Oh...

So, yeah. Not looking too in our favor this time.

But Milanor fights on. The game throws us a bone here. Milanor can't be defeated in the first battlefield. Expect very few bones as the game progresses

And that's the end of that.
 Th-They're stronger than we thought!
The enemies flee, and the leader drops an item on her way out.

Milanor is the obvious MVP here, and gains a small stat growth at random. Since we beat the Quick Clear turn limit, we get +2, instead of +1. If we lose and retry a battle, we're ineligible for any bonus.

And this is the item the enemy commander dropped. I'll get into item details as we go on. I don't want to make an even bigger info dump, and we can't even put items to use yet anyways.

We also gain the enemy's Revolution card, which will make a nice addition to our repertoire.
 They knew what they were doing... We lost a few men.
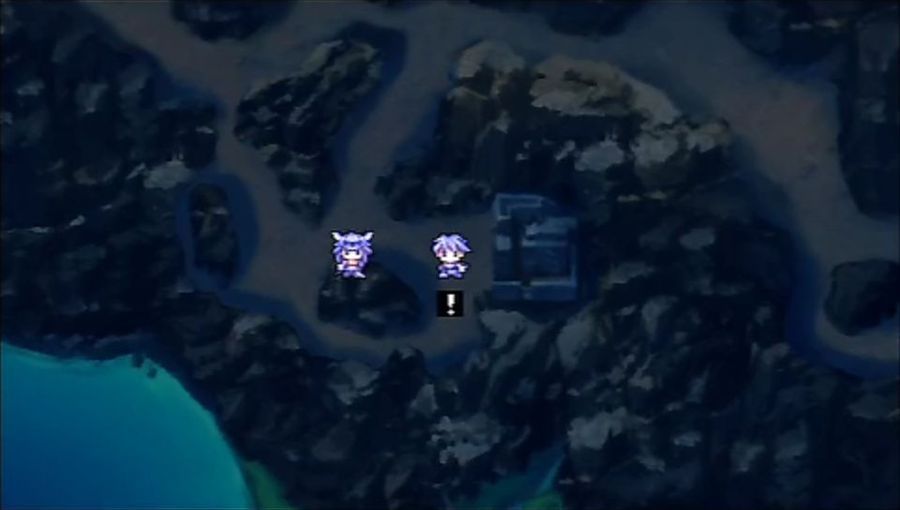
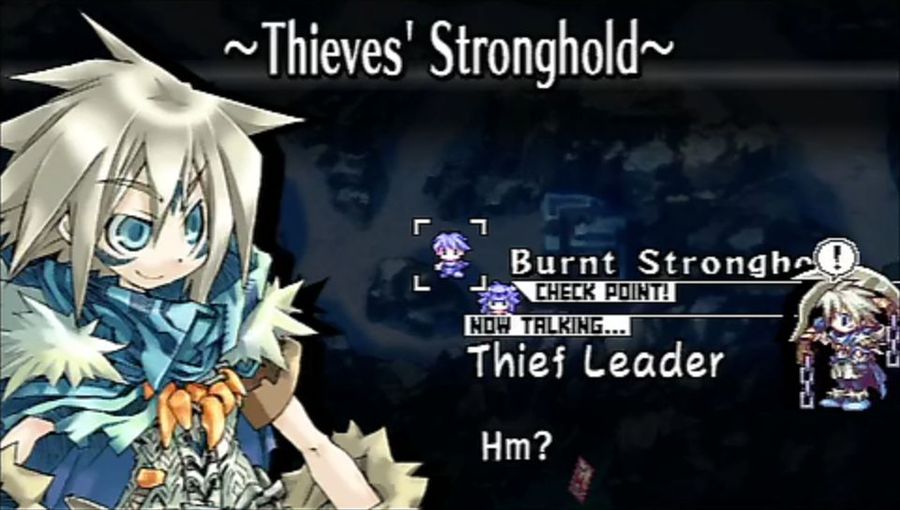 Hey! You in there!
 I know you're hiding in there. It's safe to come out now.............
Awesome. She speaks Squall.
Hmmm... you're a pretty one. What're you doing here? Isn't she a survivor from Castle Paltina?What? So... those guys were from Bronquia's army?...Please! I have nowhere else to turn! I need your help to defeat the Empire!Our help, eh... Well, it won't come cheap. I'll think about it if you give me that sword of yours.... This sword is precious to me. I'll not part with it. But I can give you anything else. Name your price.Anything...? That's a lot to offer.... I am Princess Ygddra of Fantasinia. If you aid me, you have my word as royalty.Hmmm... Alright... How 'bout your castle? We need a new base, you see.Very well. Although, right not it's being occupied by the Empire...We'll just have to steal it back from them, won't we?
And we have just the card for that.
I couldn't stay here even if the fort was still standing. We've already picked a fight with the Empire, after all.Then... begging your pardon, Mr....?Milanor's the name. You've got yourself a deal, Princess.Thank you...Let's move out, everyone.Is that sword all you've got to defend yourself?Well... I have these.Hey, cards! These'll help.This is the 1st Cavalry's... The other is from the 2nd Cavalry. They're from the knights who gave their lives for me.Then, we'll make use of these against Bronquia. It'll put their souls to rest.... Yes, I believe so, too. I hear these cards hold an ancient power within them. I must borrow those powers now... Only with them can I make all of our wishes a reality...
