Part 45: Door 4

Okay, so... the third run and it's gonna be pretty short. Other than the stuff behind the new doors, I'll just be glossing over a large chunk of this. We've seen pretty much everything between the rooms before, so other than quickly recapping the main points so you have an idea roughly where we are I'll be skipping past them entirely.
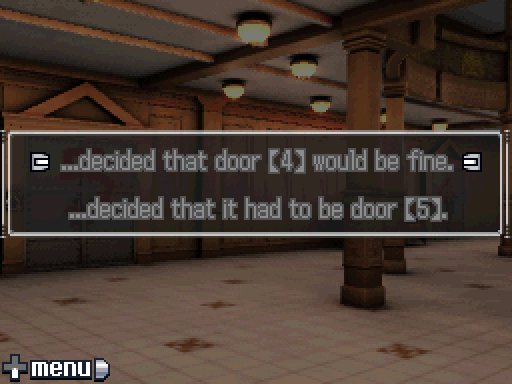
I say "new doors" but it's also the first time we must re-enter one of the rooms we've already dealt with. If there weren't two choices here, it'd be quite simple but as is we need to make an actual decision here.
There's more stuff behind door 4 worth seeing, so that's where we're off.

Fun fact: holding down the Right button on the d-pad affects these little scenes, as well as the dialogue.
As for the rooms, well we've seen most of it so instead we're gonna bounce around a lot. Primarily we're just going to focus on anything new or that I just skipped over before.
Well, at least the stuff that warrants it anyway. The choice during the scene when we grabbed the matches, for example, isn't worth the hassle.

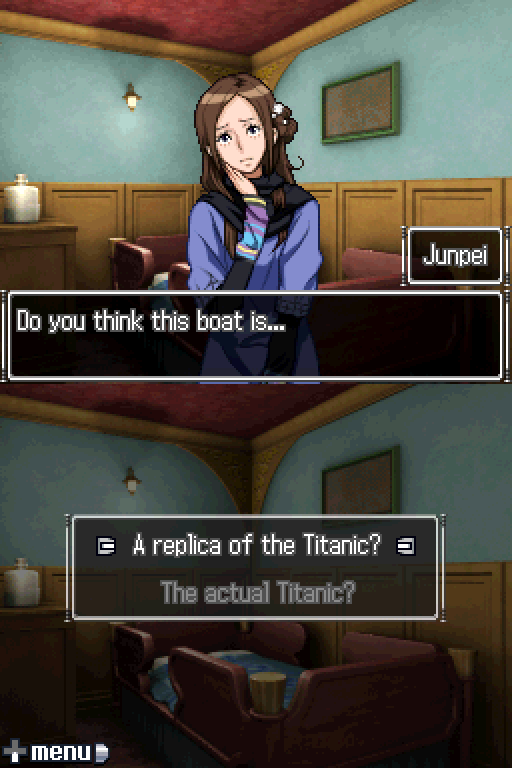
 A replica...?
 Yeah. You know, like a copy of the actual boat. Who on Earth would make something like that?
 No way! Do you even know how much money that would take?
 No idea. But all they've gotta do is break even, you know?
 Break even...? Yeah. They could use it as a cruise ship.
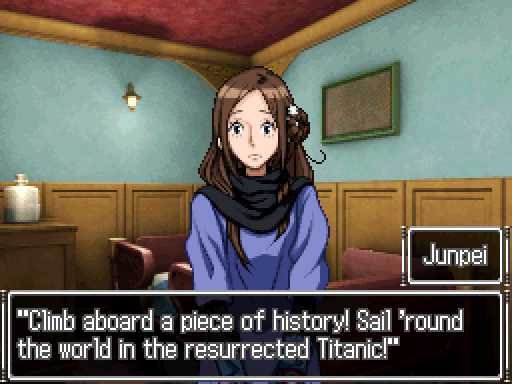
...I'd be perfectly okay with this. Hell, I'd actually get a ticket for it.
Hell, with marketing like that, they'd probably have more customers than they'd know what to do with. Do you really think people would want to ride on a ship with such an ominous past? It's the site of the worst accident in history. Over 1500 people died... I wouldn't be surprised if you'd get cursed just for going. A curse, huh...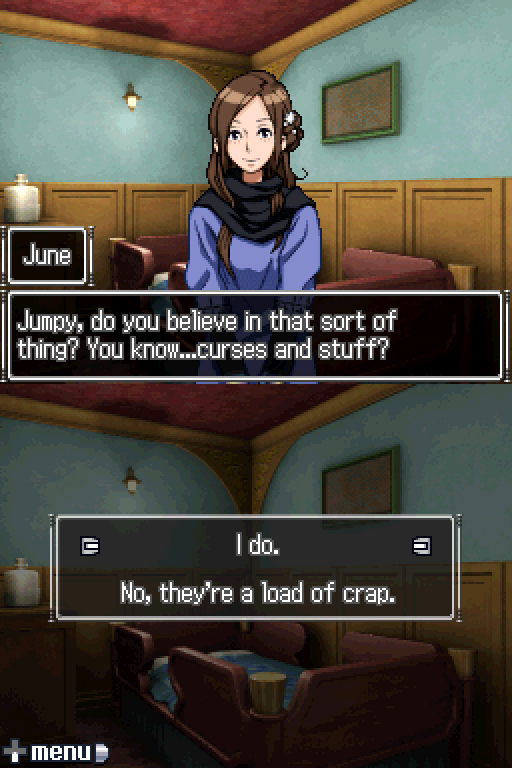
You might notice that neither of these choices are greyed out here. That's because by suggesting this was the Titanic itself we bypassed this option, and got railroaded into one of its choices. It's the same reason why Door 2 wasn't grey when presented with the 1/2/6 split.
Junpei scratched his temple.
 What about you...? Nah, I guess that's kind of a dumb question.
 Yes, I do believe in curses.
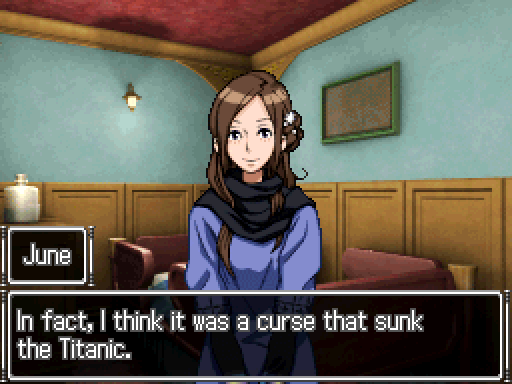 What?
What? A curse sank the Titanic.
...And we've seen it from here.
[Music: Binary Game]
You might've noticed that there was no mention of the RMS Olympic this time. Makes sense, since we posited it was a replica rather than the real thing.
Anyway, let's grab the dresser key and the matches and leave June on her own.
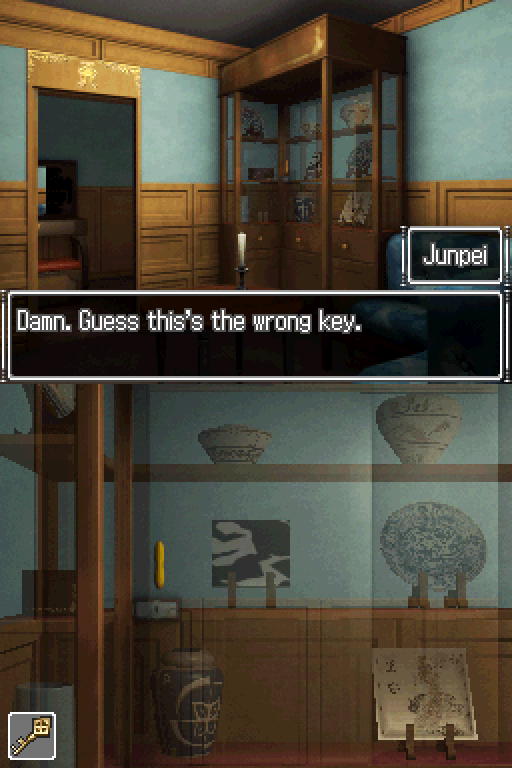
 Well, that means there's gotta be another one somewhere around here. Otherwise we aren't gonna be able to open this thing.
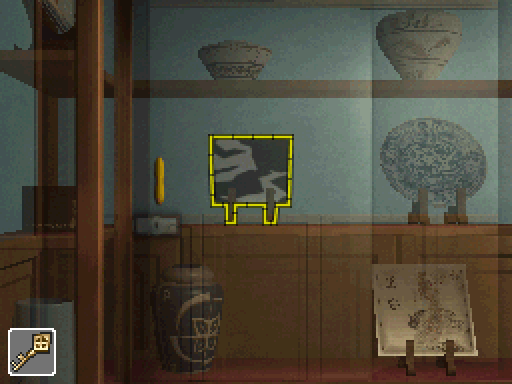
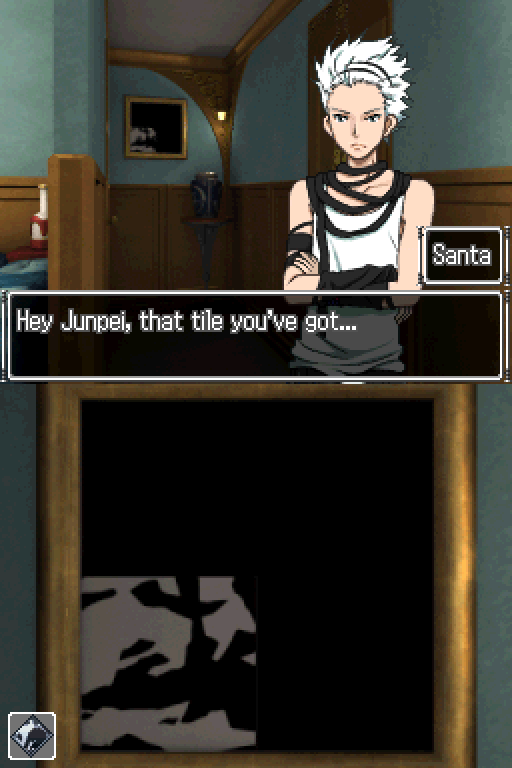
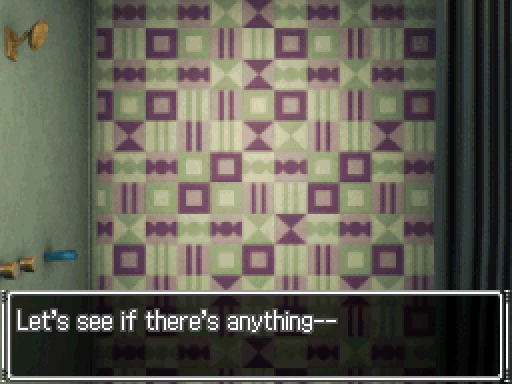
A completely minor thing, but we never did examine the tile from here.
That's a pretty weird-looking design.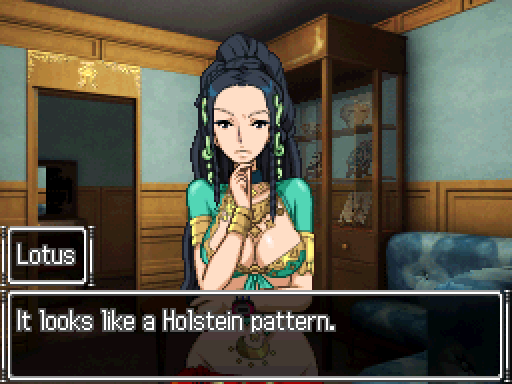
Holstein in this case is not referencing a painter or a psychologist or anything. You're smart people; you probably know what it is.
...Moving on.
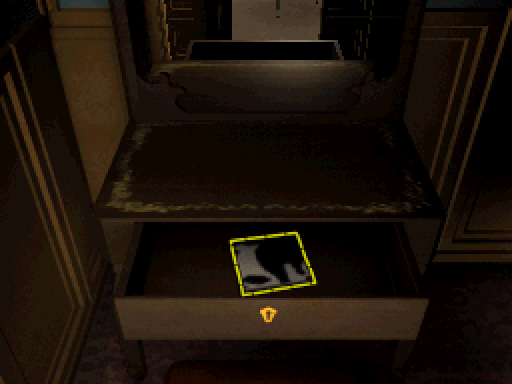
We don't have light in the bedroom yet, but we don't need it for this tile thankfully. Just gonna grab this real quick like and jet off to the painting that needs it and 2 others.
 You think maybe you're supposed to put it in one of those empty spaces? I mean, the pattern does look kinda the same, doesn't it?
 He's right... I think so too.
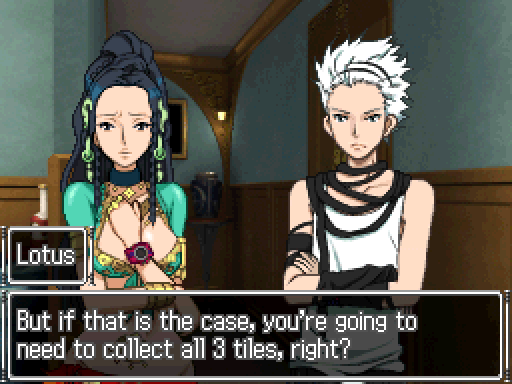 Don't you think we should collect all of them before you start putting them in?
Okay, yeah, so to do that we need the candle. Because it's also the key for the display cabinet.
Of course, the game points out you goofed if you have the matches and the candle...and don't light it.
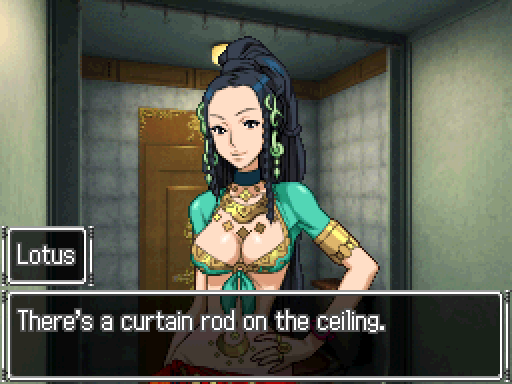
Hey, Junpei. That room's pretty dark.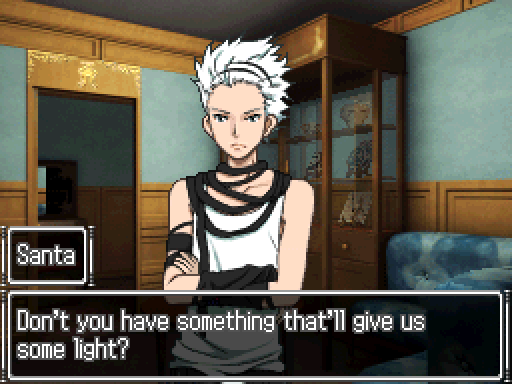 Something that'll give us some light...
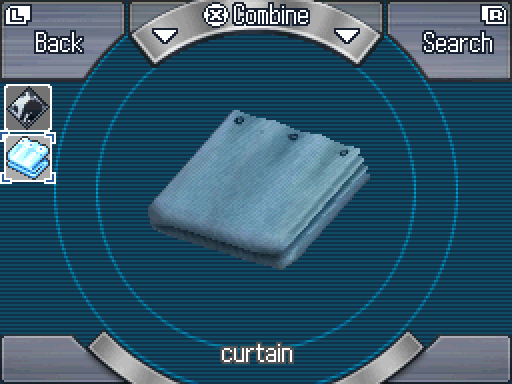
The only important thing in here is grabbing the curtain. That's the trigger for the candle becoming the candlestick key.
It's also important for the bathroom.
Yeah, there is.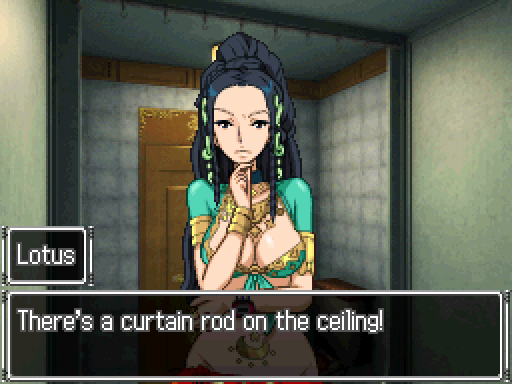 Wh-Why does that make you angry?
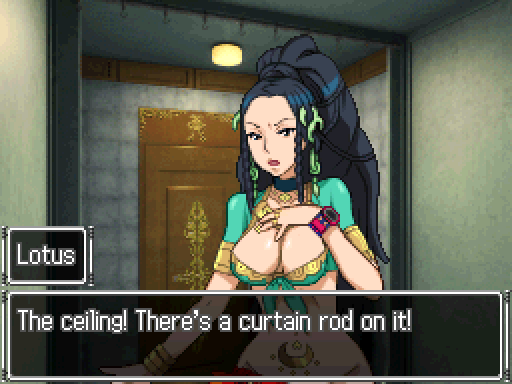 Okay, okay, I get it.
 Then hurry up and move! Come on! Get going! ...
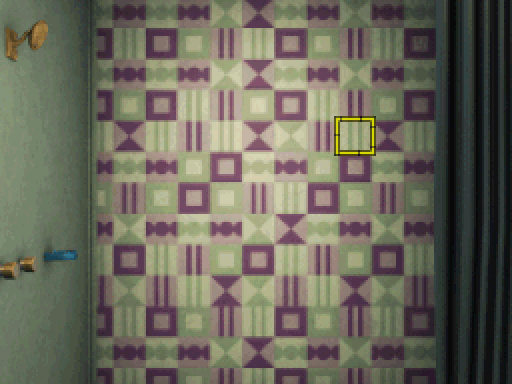
Eh, there's no need to actually hang it up. Of course, if we don't we can get this tile anyway.
Junpei just pulls it out by sheer chance.
Of course, with this now we can go hang up the curtain and peep through it anyway.
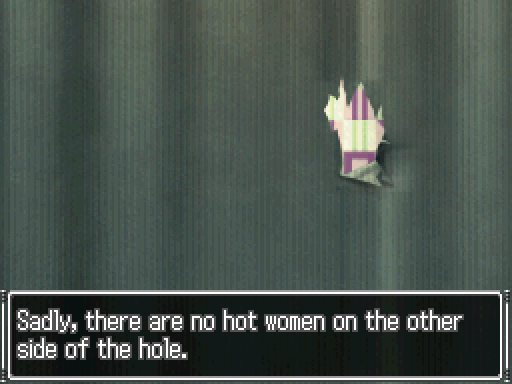 (As such, there's no point to looking through it... So I won't.)
...Let's go get the last tile now.
[Music: Who Is Zero?]

But after doing so, Santa offers us his weird bookmark. We, uh, have no use for it so he can keep it.
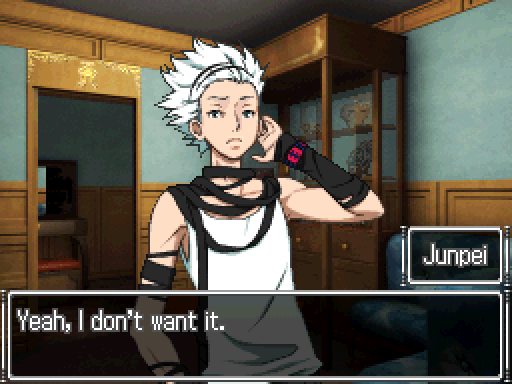 Why don't you give it to Lotus? Ahh. Good idea. Will do.
Santa turned and headed off to the other room.
 Hey, you old bag!
He walked into the next room, waving the bookmark...
Junpei turned back to his work...
[Music: Silence]
[Sound Bite: Karma (3)]
 ...
...
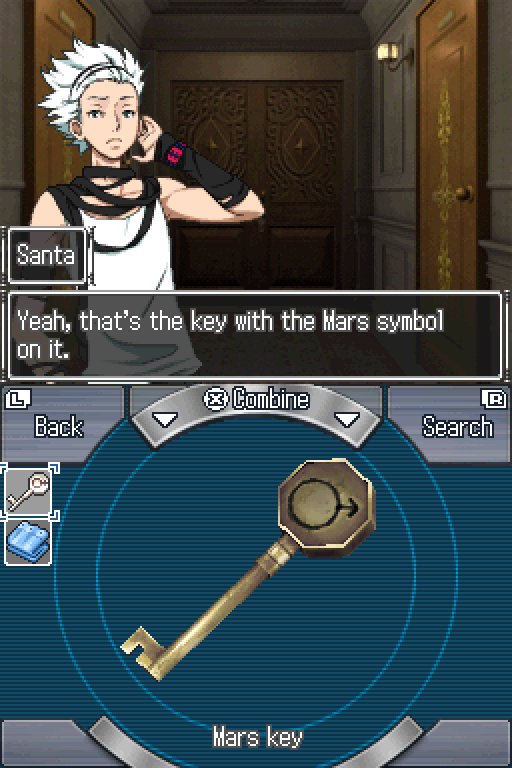
...And with that, there's just one last thing to deal with. We solved the puzzle, grabbed the Mars Key and now we have to choose something other than Funyarinpa for the Rorschach test. In fact, we're going to choose all the other answers that are still wrong - to Lotus - but worth looking at.
All two of them.
[Music: Riddle and Puzzle]
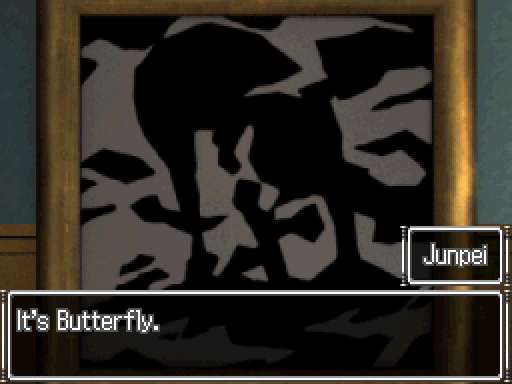 Cho "Butterfly" Yusofa. This is the head, and this is the nose and the mouth... W-Wait, what!?
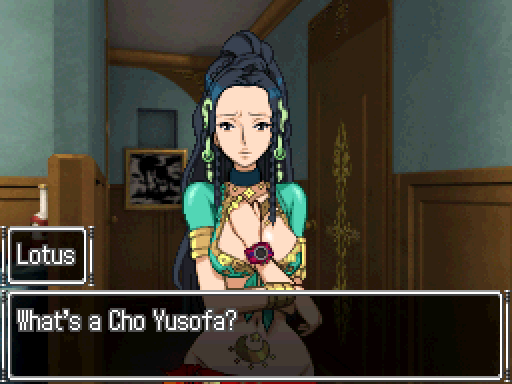 What?! You mean you...you don't know? He's
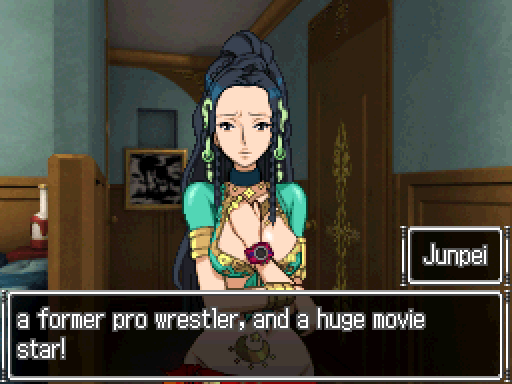 He was just in this movie called "Man-Bag"! Oh man, it was so sweet...
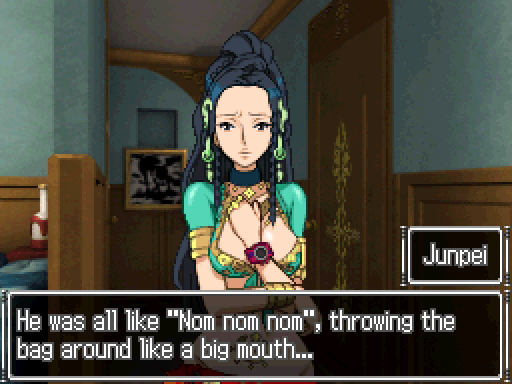 ...And then, like, guns and gadgets and stuff would fly out of it. Damn, just thinking about it gives me chills.
Several seconds of silence passed, as Lotus stared at Junpei.
 You're just screwing with me, aren't you, Junpei? ...
 Forget it. I'm just gonna tell you.
Wait, wait, wait. We get a second chance!
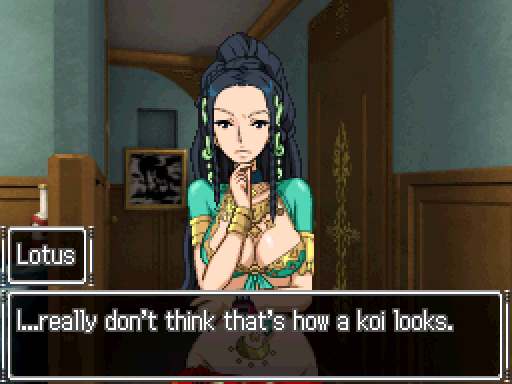
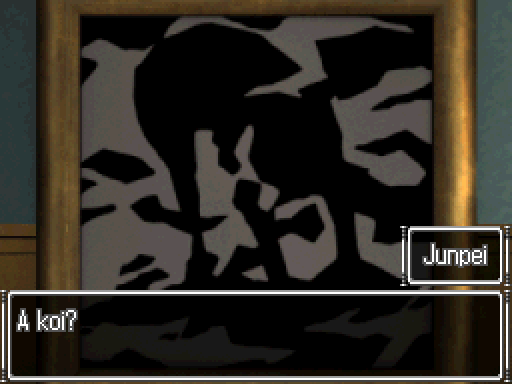 See, here's the head and the tail. And this here's the hands and the feet back here...
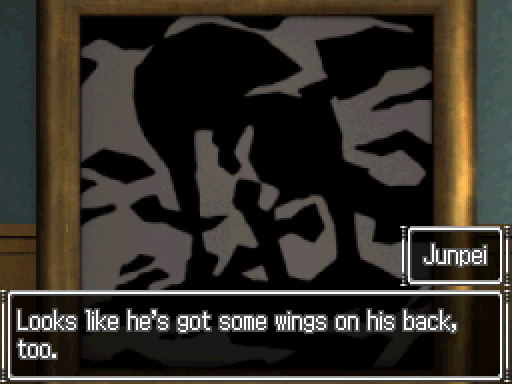
Junpei pointed to what he was talking about.
After 3 seconds of silence, Lotus looked at Junpei.
 ... Junpei, are you just screwing around? ... Forget it. I'm just gonna tell you.
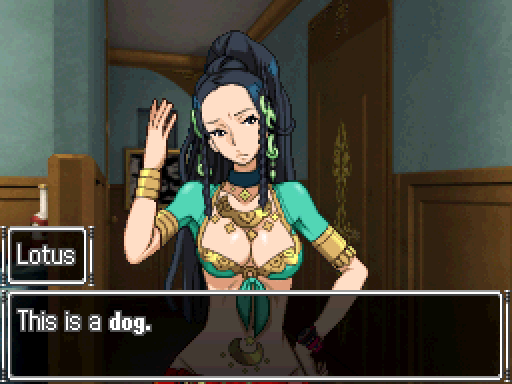
And then she tells us all about some wacky experiment that she doesn't even think was real in the end and we leave.
[Music: Binary Game]
After looking at the two items we can have in the corridor with us, at least.
You know what that means, right? We used that thing to open the door, and now we're out here. That key will open this door! Come on! What are you waiting for?! (A shower curtain with a hole in it.)
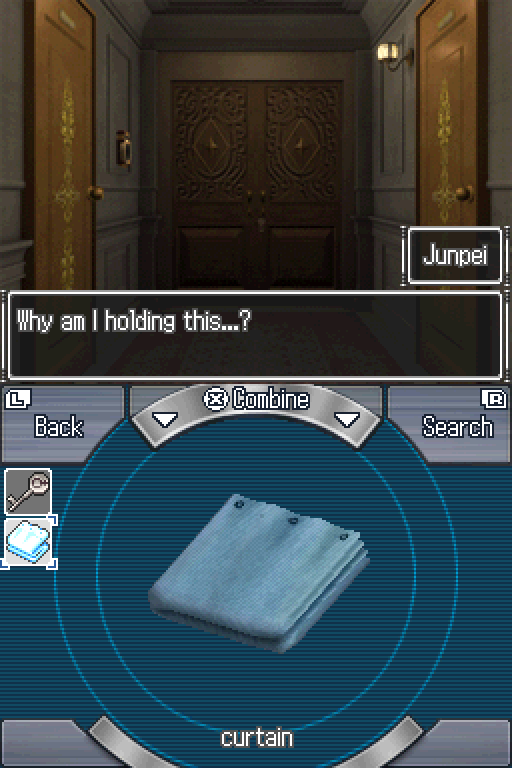 (Ah well. I'll just throw it away later.)
And on that note, we're done in the 2nd Class Cabin for the second time.
And so we head on through the hallway, and enter the Kitchen!

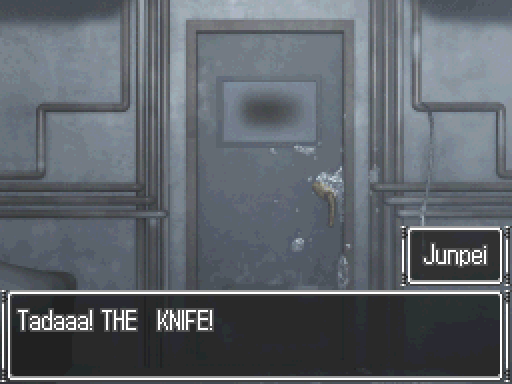
There's not much to do here, beyond grab the whetstone and a rusty knife...
[Music: Riddle and Puzzle]
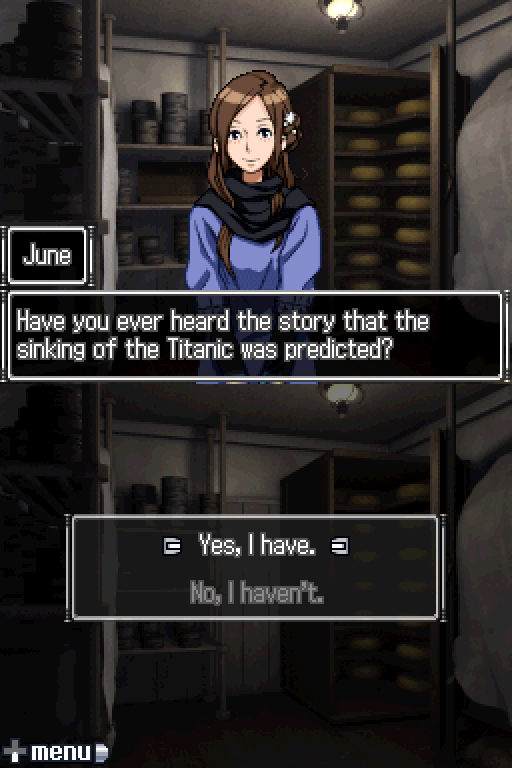 Ooooooh yeah. I know what you're talking about. There was a novel that had a bunch of stuff in it that described the sinking of the Titanic before it actually sank. Yeah, that's the one.
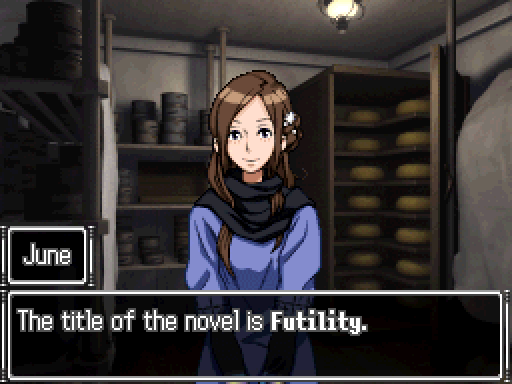
Since the last time we had this conversation, I have read some of the book and... it's actually pretty okay. I can answer the one question that is probably on your mind, after I mentioned it last time.
John Rowland does indeed fight a polar bear. With a pocket knife.
 It was written 14 years before the Titanic sank. But-- I know, I know. I mean, I didn't know the name of the book, but the story was the same, right? It was just like what happened on the Titanic? Yeah.
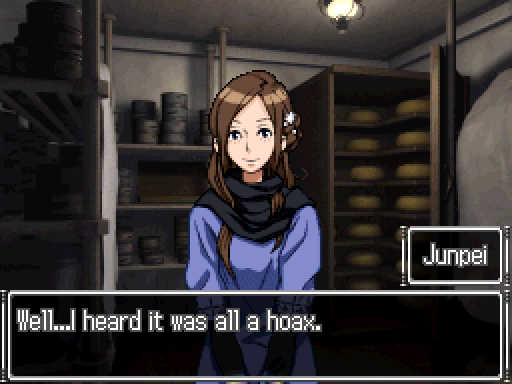
And on this dialogue branch, Junpei feels fit to explain what the deal is with the real version of Futility.
...A hoax? I heard that the stuff that matched up to the Titanic so well was actually added after it sank. Apparently, the only thing that was the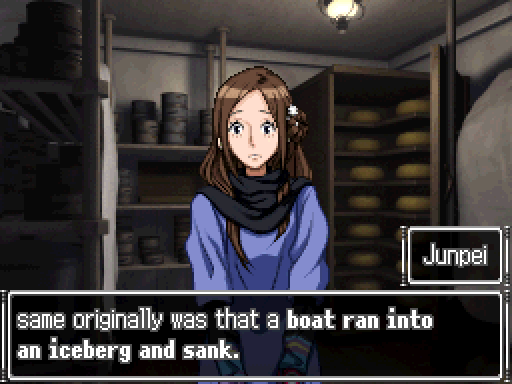 But...the novel was published in 1898, 14 years before the accident... Like I said, that was the first print of the book. 14 years later, the author heard about what happened to the Titanic. He figured that was his chance, you know?
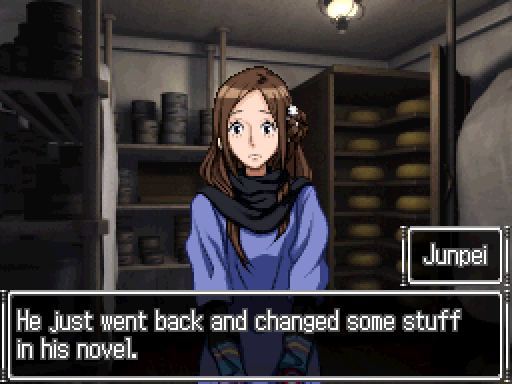 So that it matched the Titanic exactly.
Surprised by Junpei's response, June seemed rather taken aback.
 R-Really? Really...
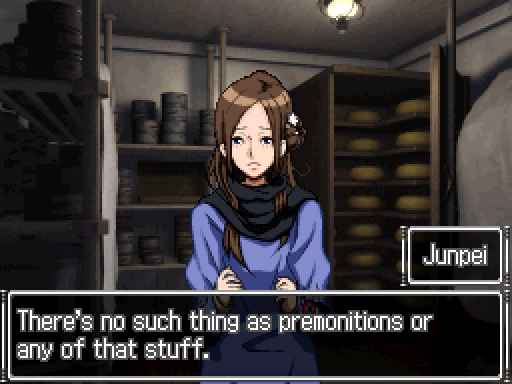
For a moment, June looked very unhappy, more so than Junpei thought was normal for such a discussion.
...But it lasted only a moment.
With no apparent reason, she suddenly looked up at him, alarmed.
But! But, but! That wasn't the only book that predicted the Titanic sinking! ...It wasn't? Yep!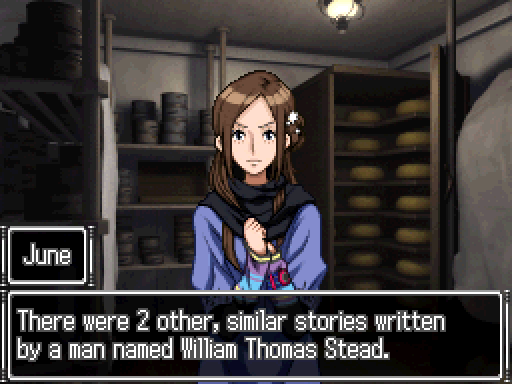
And from here it continues on as we saw it last time.
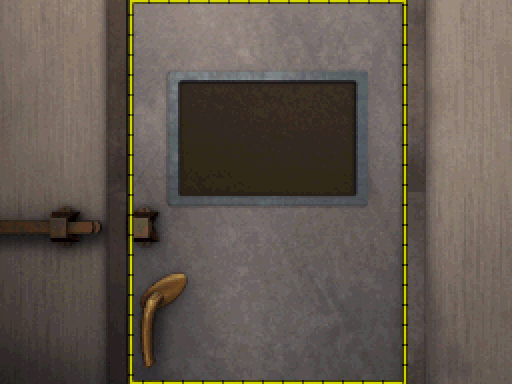
So the only thing to do here is step into the freezer and get locked in.
[Music: Tinderbox]
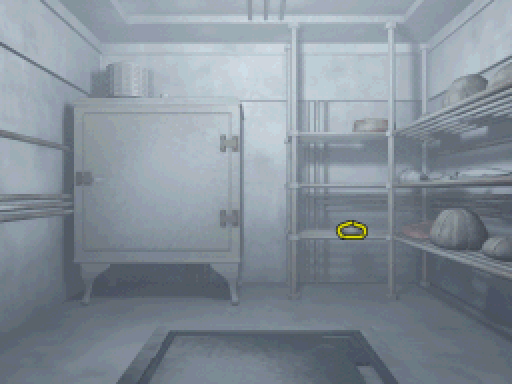
It's kinda hard to see, but you can grab the pork itself rather than examining the shelf. It's just a bit harder to do.
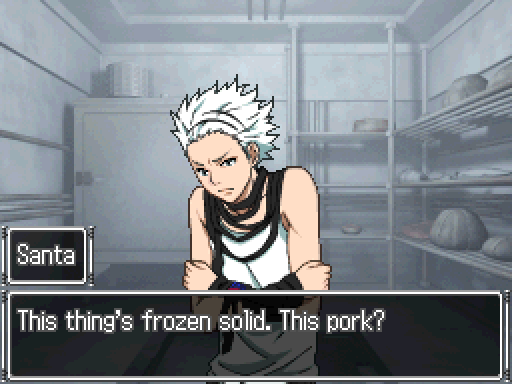 Yeah, seems like it.
 What's this thing? It looked like a tag or something...
Nothing much else to do but collect everything we can and make our dry ice bomb.
[Music: Silence]
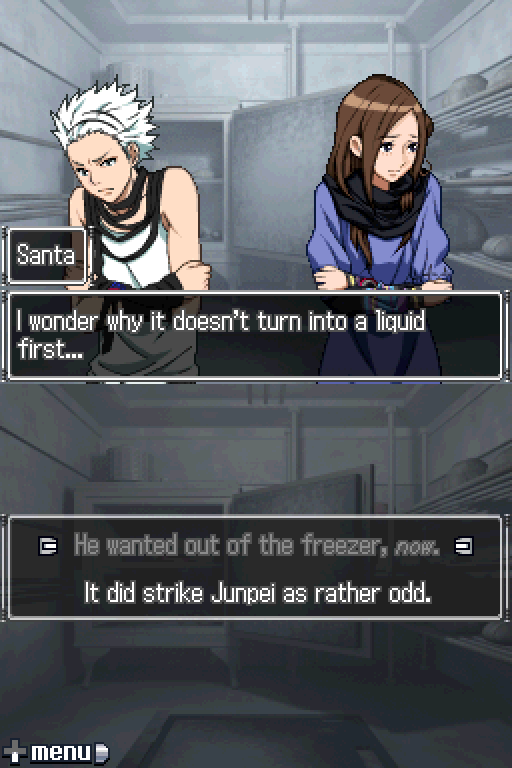
Here, though, we're going to do things a bit differently to what you'd expect. Once again we're going to want to get out of here ASAP.

And now here we're going to choose that this strange type of ice doesn't matter.
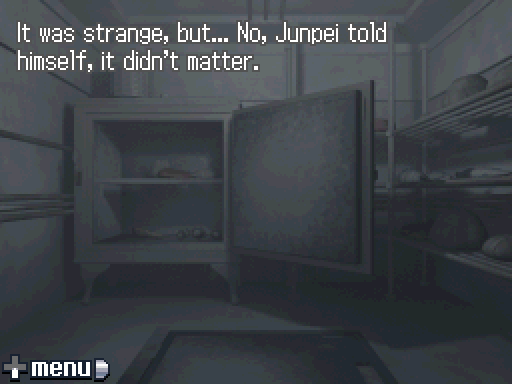
Their first concern needed to be leaving the freezer, or none of them would be around to ponder scientific quandaries for very long.
[Music: Tinderbox]
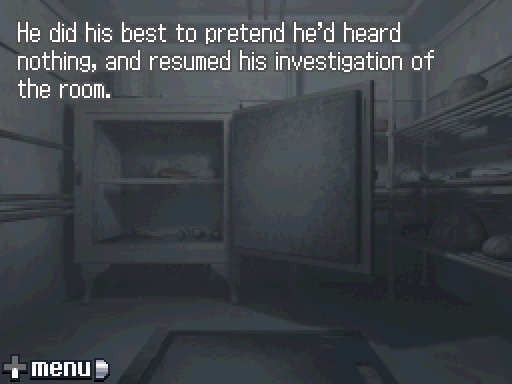
Before we actually leave, though, we do have a few things in here that we can examine now...
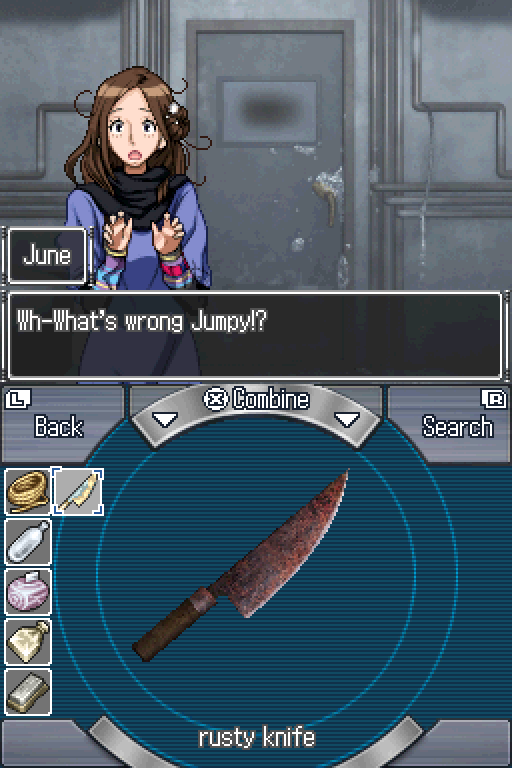 Why did you just pull out a knife?!
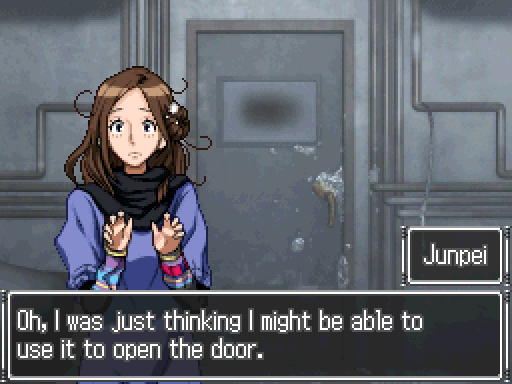 C'mon man, all you're gonna do is break your knife. Is the cold in here startin' to mess with your head?
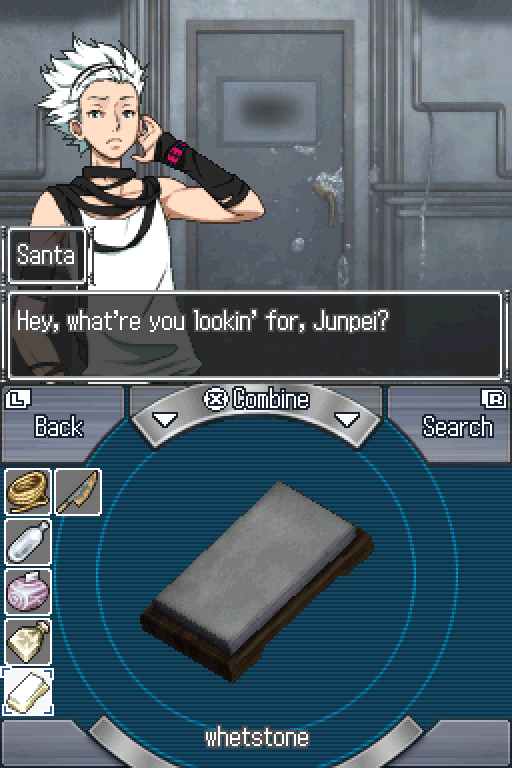
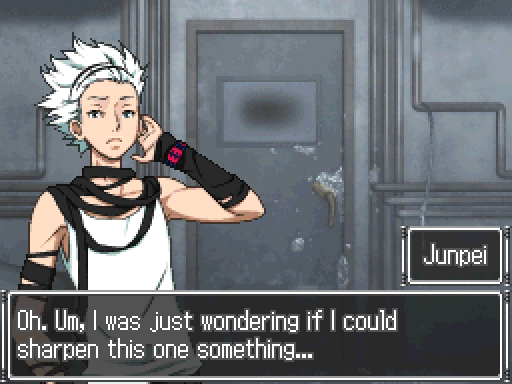 Why the hell are you doing that? We don't have time for this crap. Let's try and find a way out of here first.
And, of course, we can always sharpen the rusty knife with the whetstone. Yes, even in the freezer.
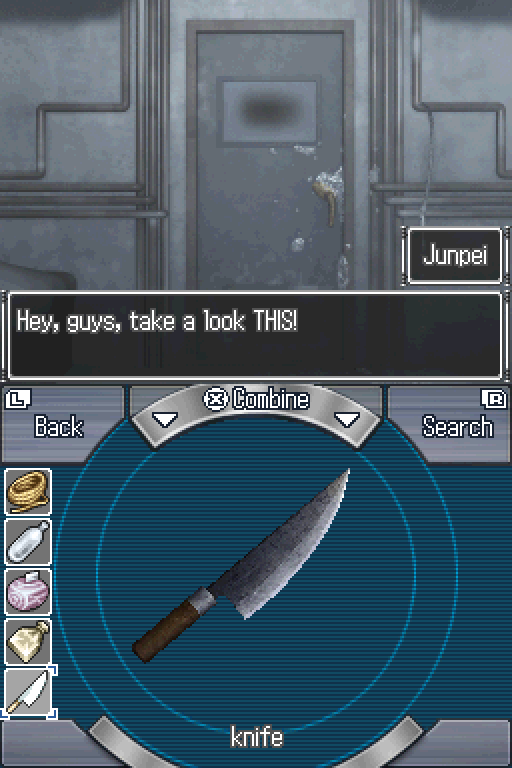
 ... ... Well, I guess the cold finally got to him.
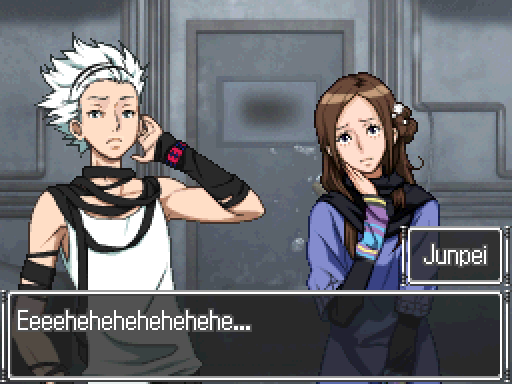
 Jumpy, you're scaring me...
And with that done, we can now leave the freezer.
And in fact the kitchen altogether. There's nothing else in it now, worth our time.
[Music: Extreme Extrication]
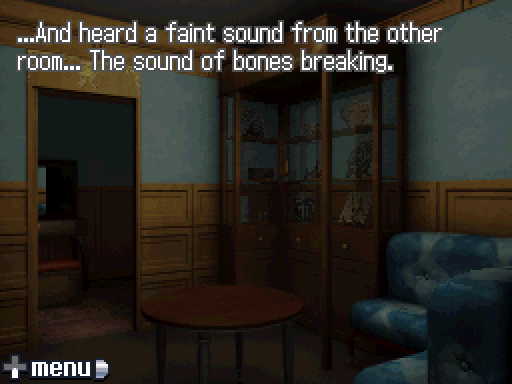
Now we're gonna skip a LONG way ahead. Past meeting back up with Ace, Snake, Clover and Lotus. Past searching for the missing bits of the DEAD. Past the realisation that Snake's MIA.
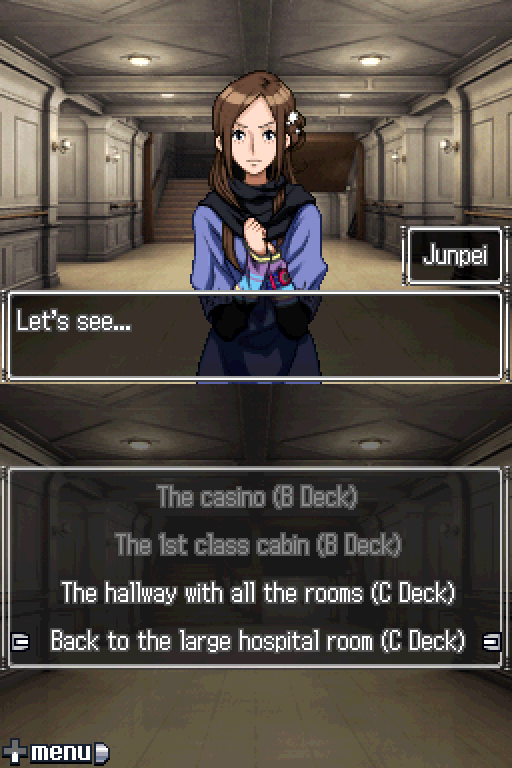
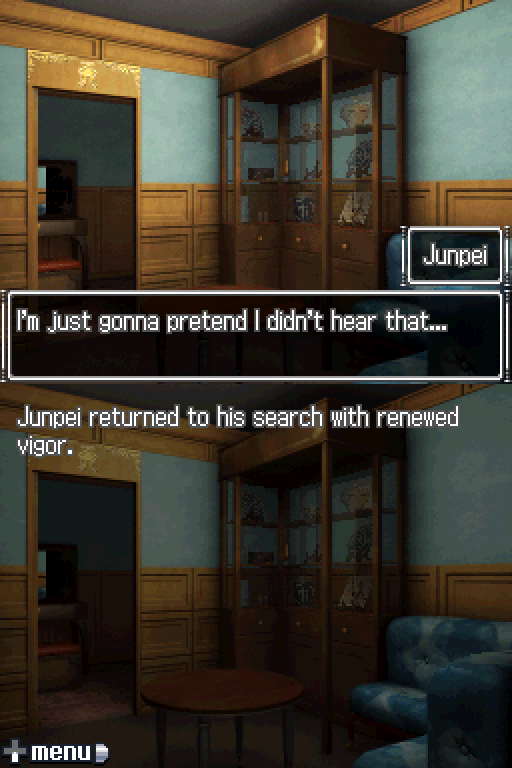
We're cutting right into the search itself. Most of it is optional; the only thing we need to do, is go back to the large hospital room.
Let's go back to the large hospital room. Huh? Why would we go back?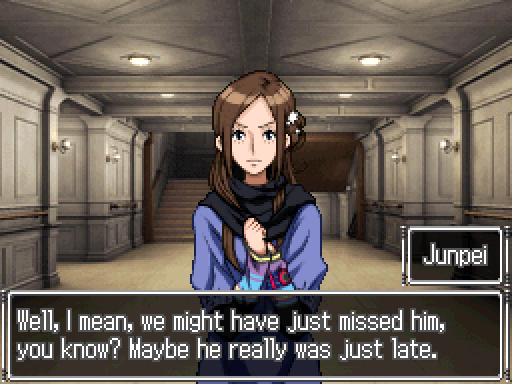 Oh... I hadn't thought of that... Okay, let's go.
They turned, and ran down the hallway to their right.
Once here we can choose to talk to Santa or ignore him. Again, we're gonna talk to him.
This time, we know about a strange old man with a 0 for a bracelet. Maybe he's our perp in this scenario.
...Okay, Junpei doesn't know about him but that's irrelevant.
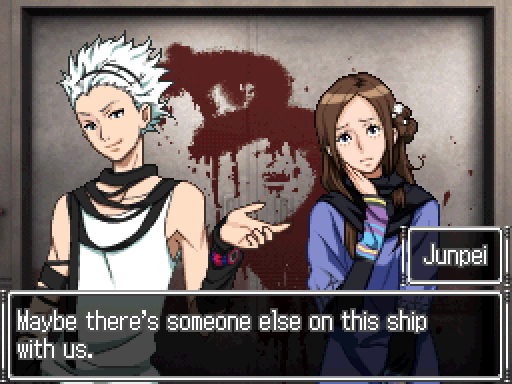
You mean someone hiding here? Yeah. Well, I mean, it's just an idea.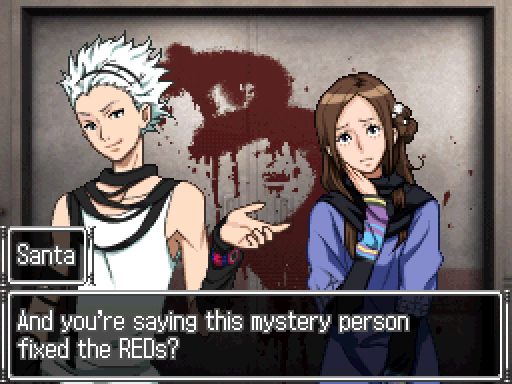 Yeah. Why? That's... Um... I don't know.
Santa shoved his hands into his pockets and cracked his knuckles.
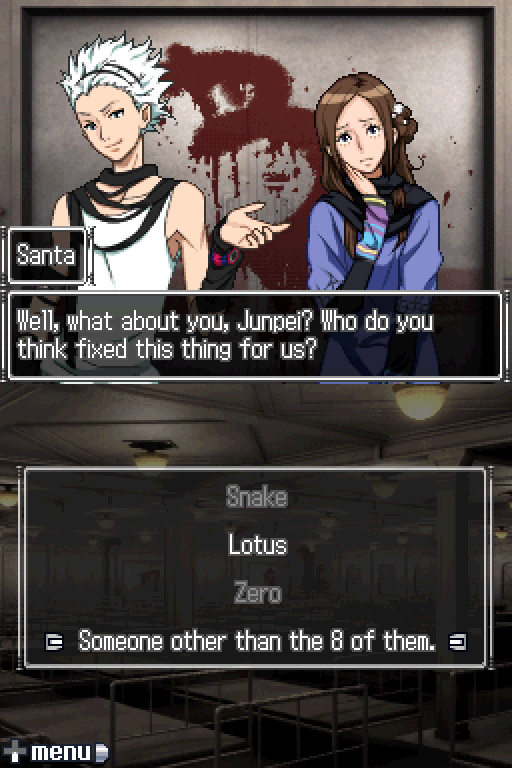
Seems unlikely. Why?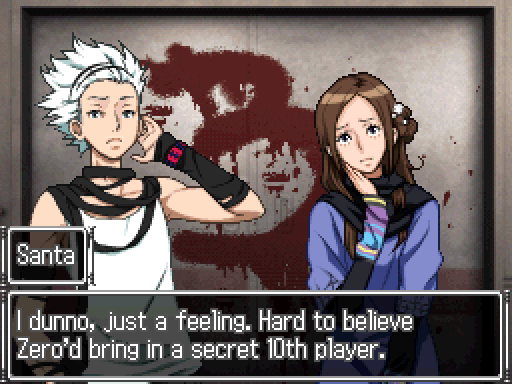 I mean, the name of the game is "The Nonary Game", for Christ's sake. You know what "nonary" means, right? It means "9". No, that's not what I meant. I mean more like someone who's been living here for a long time.
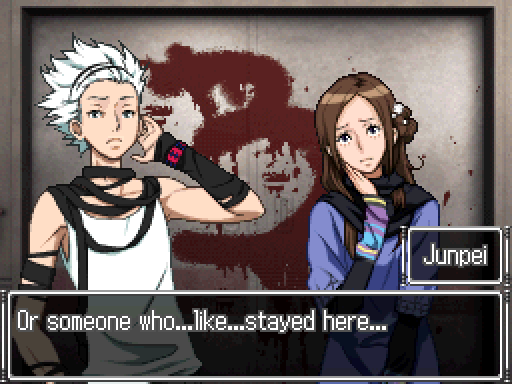 Seriously? That's even more ridiculous.
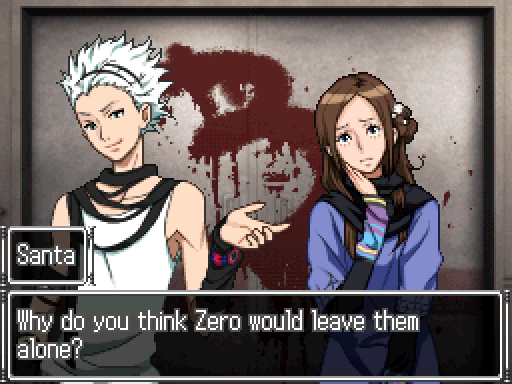
Junpei furrowed his brow.
So, in other words one of us is the person who fixed the RED.Santa grinned.
 Bingo.
...We know how it goes from here. Having gone back to the large hospital room is the only thing we need to do, so having done so we can end the search right here.
This leads to the same old rigamarole of Lotus suggesting we leave someone behind, Ace puts himself to sleep etc. etc.
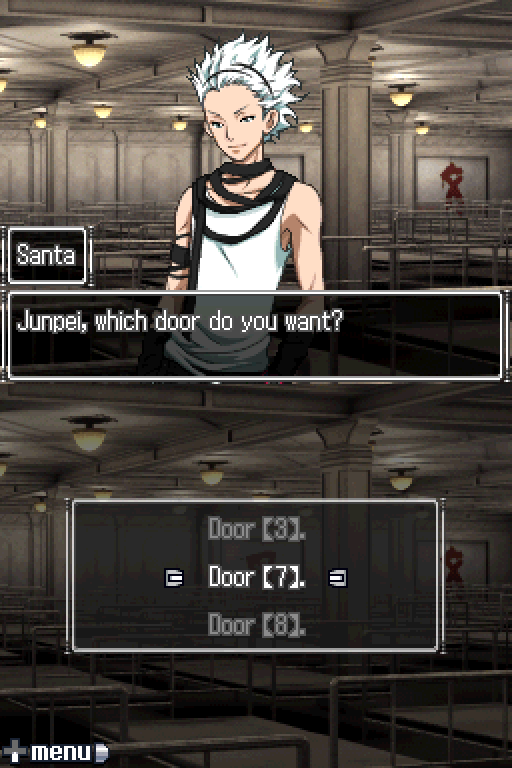
Seems to me, though, that we only really have one option left...

Lotus concept art #2.