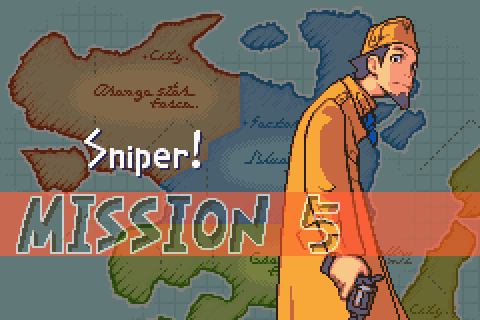
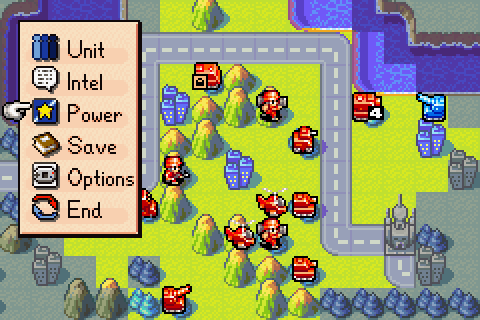
Part 10: Campaign Mission 5M: Sniper!
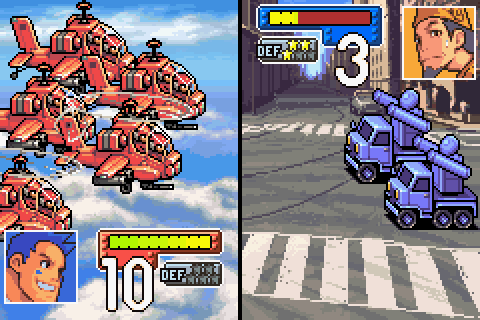
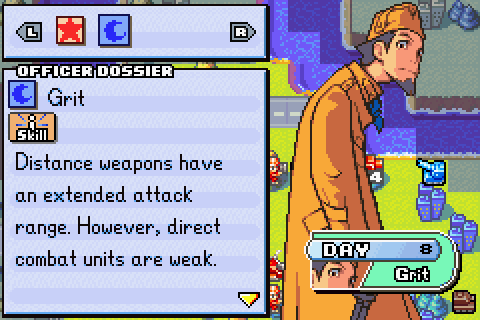
Mission 5M: Sniper! (or "Max vs. Grit: Round 1")So far we've just been pushing Blue Moon out of Orange Star. But now it's time to continue the pursuit into Blue Moon itself. After all, we'd like some answers from Olaf.
 Where is that fool?
 I'm right here. What are you bellowing about now? Bellowing? Let me tell you something, you...
 My apologies, exalted commander. I am at your service.
Pffhahahaha
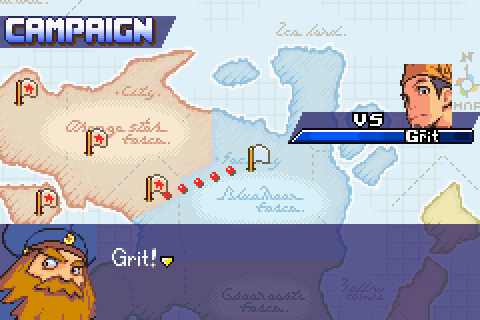
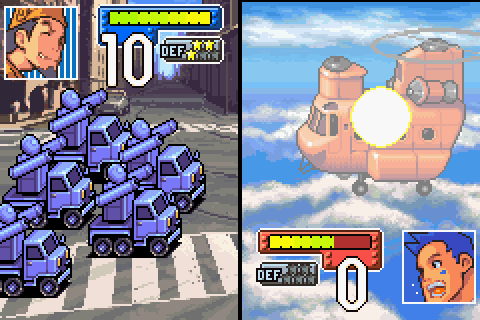
That's better. You just remember your place. Now, listen closely. Those units we saw earlier have advanced further into our territory. This is your chance to redeem yourself. Do what needs to be done. Riiight. So, I should wait here and... Wait? What do you mean wait? Paul's troops are... Oh, OK. Understood. If duty calls, your humble servant Grit'll answer! If I didn't know better, I might think you weren't taking this seriously.
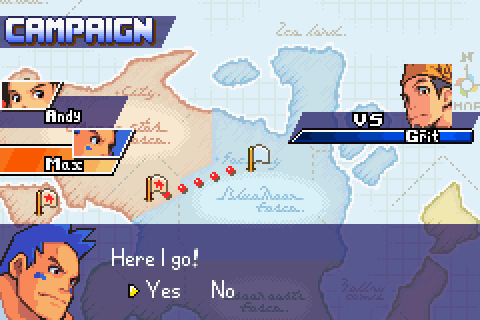
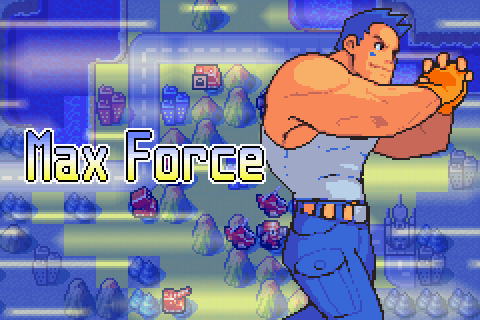
The thread decided to go with Max, so here we go. It'll certainly be thematically appropriate for Max to face Grit.
Grit continues to stare into our souls.
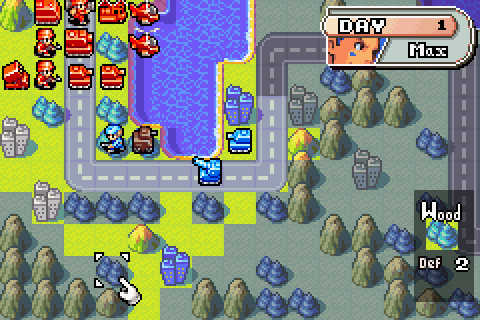
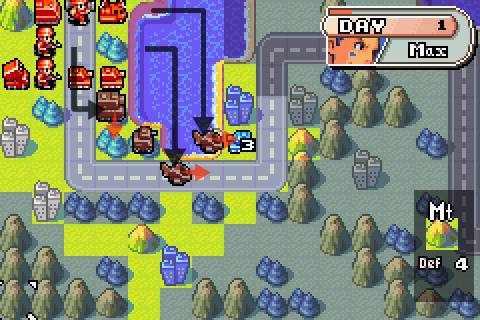
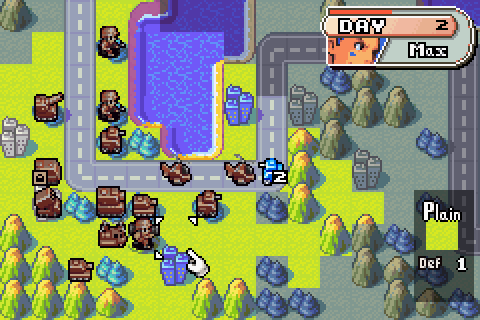
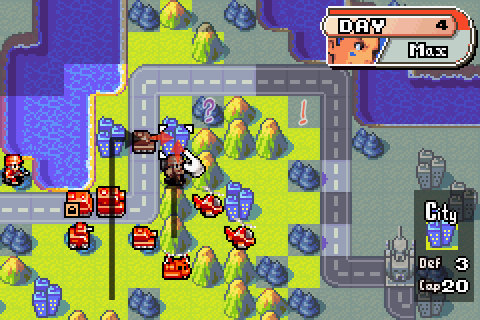
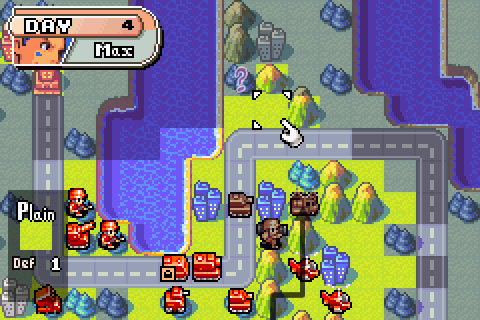
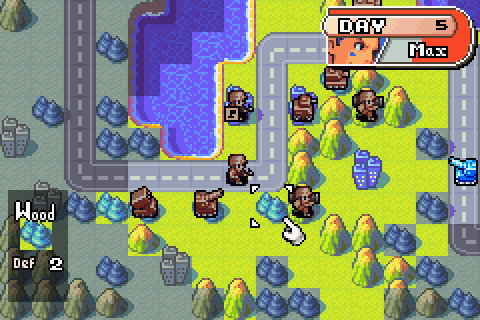
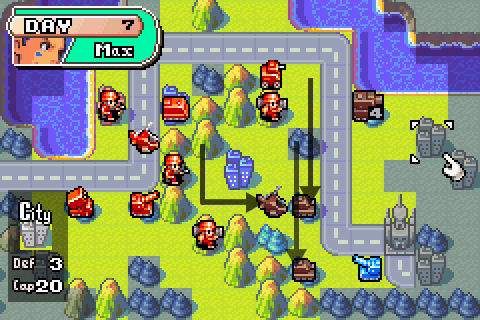
Day 1
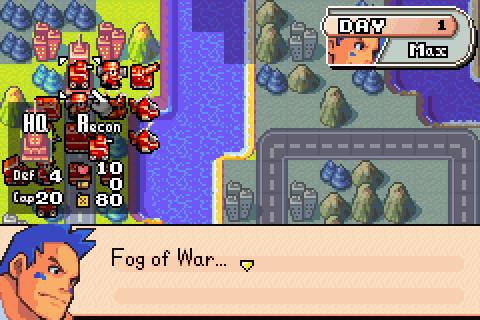
 What's "Fog of War"?
 Please tell me you're joking.
He probably isn't, Max. Frankly, this is one of the more believeable questions he's asked.
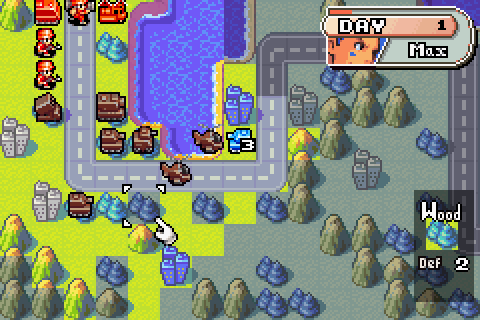
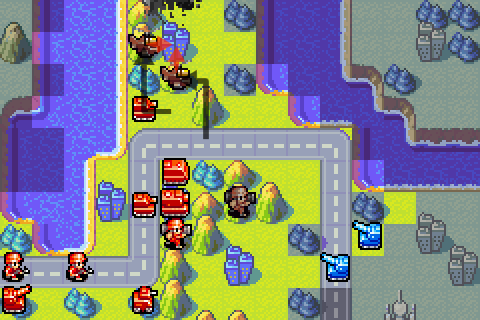
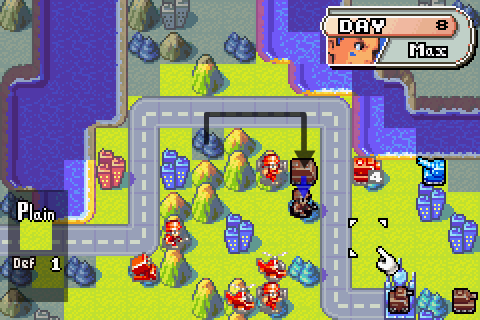
See that gray stuff blocking your vision? That's Fog of War.Advance Wars: reifying ontic dumping since 2001. Fog of War isn't just a visual representation of situational uncertainty brought about by poor intel, it's literally grey stuff blocking your vision.
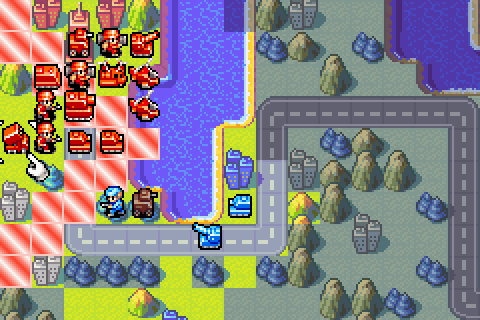
Now, I wonder where the enemy troops are hidden. How do we find 'em? Well, recon units have a good vision range, so let's send them out first. But if we leave them out in the open, they'll be sitting ducks. Our safest bet is to leapfrog from wood to wood. Units hidden in woods are almost impossible to spot. Boy, that seems pretty simple. You just don't know enough to realize the danger, Andy. If we can hide units in the woods, then so can our opponent. If we're not careful, hidden units will blow us away! All right. Let's move out!
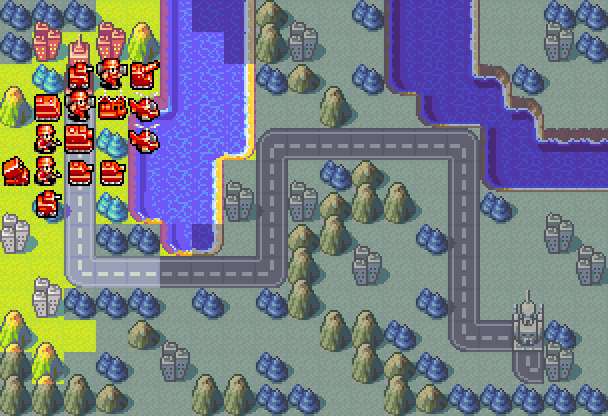
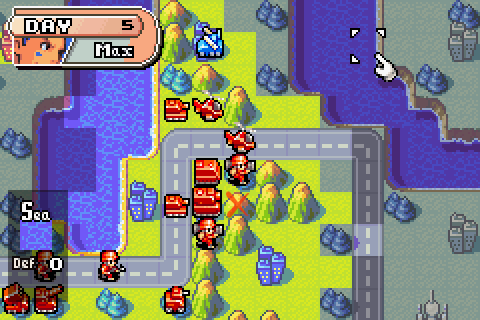
So okay, Fog of War. Any tile with a greyed-out effect on it, you basically can't tell for certain if there's a unit there or not. So how do we light the squares back up again? Well, all our units have a vision range (our best units here being our recons, with a vision range of five squares, and our tanks and B copters, with a vision range of three squares) and every square in that range is lit up - with a couple of exceptions. You can only see into forests (or reefs) if you're standing right next to them. Air units can't hide in them though, same way they don't receive movement penalties or defence bonuses. The AI gets a bit tricksy here though, because it can see the entire map except for forest/reef squares. And even then, they "know" that the unit's in there (they just can't fire on it) and will make spotting that unit a high priority.
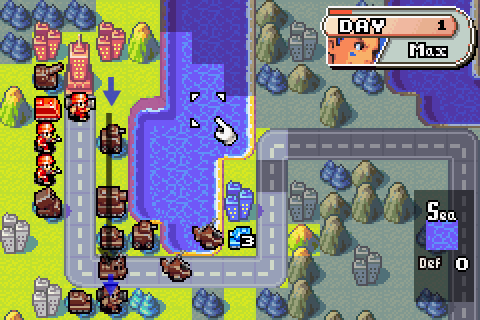
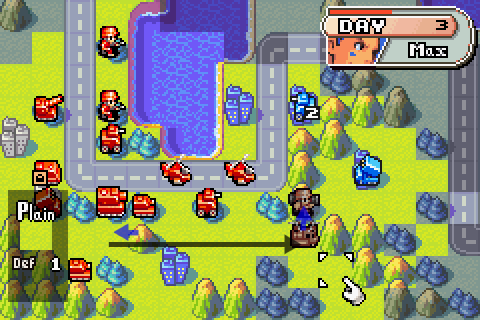
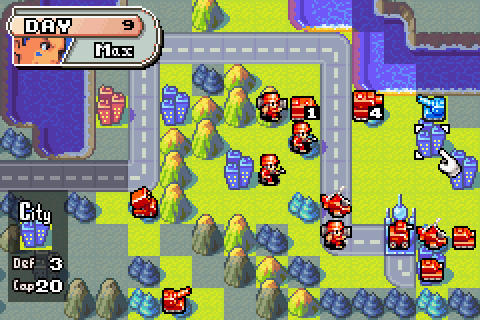
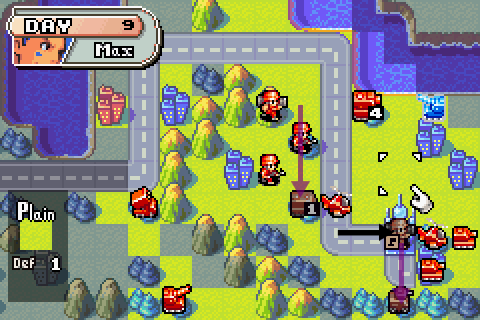
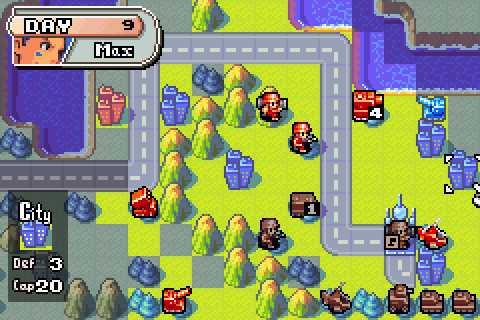
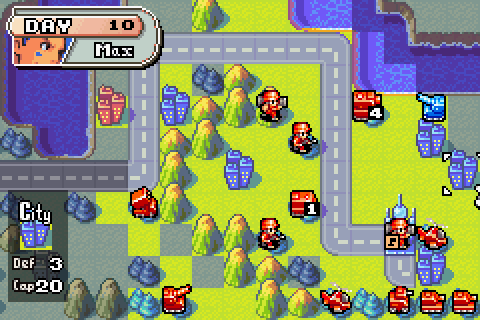
The strategy here is straightforward enough: we sweep across the map towards Grit's HQ, destroying anything we spot. If we haven't routed Grit by the time we reach his HQ, we shrug our shoulders and capture it.
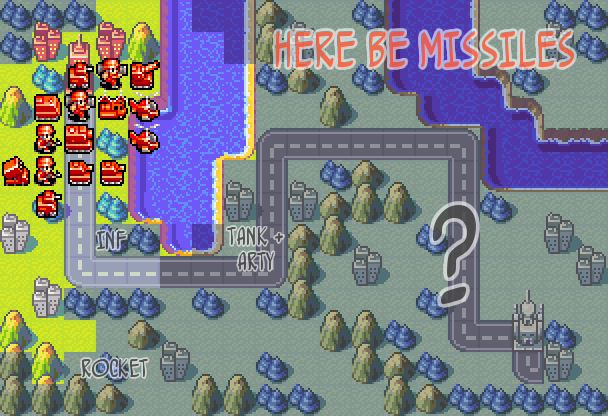
A confession: while I was looking up map pictures for the game* (well, it beats composing them from scratch out of screenshots. No sense in reinventing the wheel) I saw the unfogged version of this map, and while I've forgotten a lot of it, a few things stuck in my mind. There are some missile units in the north of the map, an infantry unit in a forest near the start, a light tank and artillery west of it and a rocket in a forest to the south. The rest of it's kind of a blur though.
* Thinking about it, I should really credit these things. This particular map, and the maps before it, came from Wars World News. Most of the maps I used in AW2 came from Advance Wars Net. I extracted some of the CO portraits for this game myself, but most of them are from Black Hole HQ
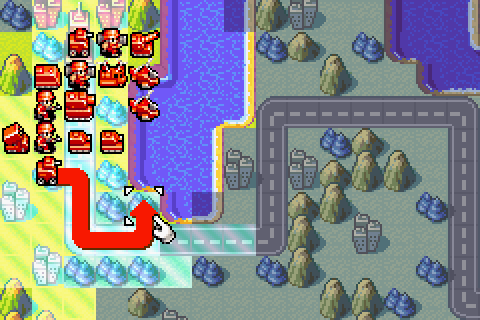
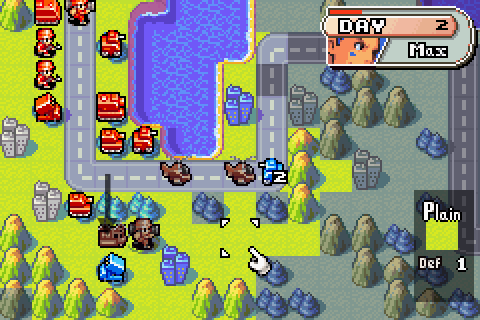
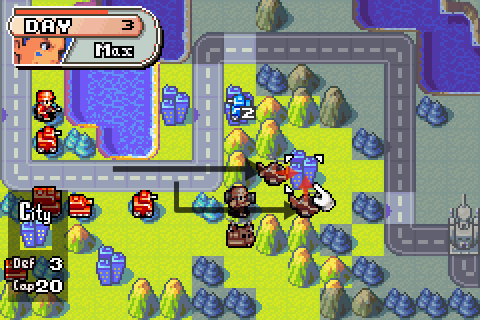
Anyway, since I know about this infantry... I can steer around it. See, the thing about Fog of War is that if you run into a unit you can't see, your unit gets ambushed and immediately stops moving... which basically leaves it as fodder for the enemy indirects. So if you know the location of a unit in Fog of War, and you want to avoid an ambush, you've got to be careful with the path you select.
Yep, there's the infantry. And the tank and arty too.
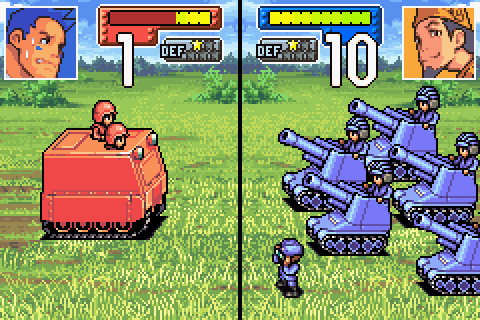
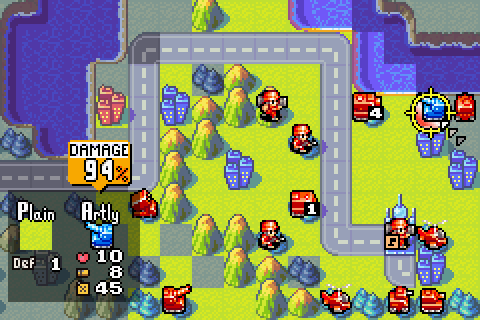
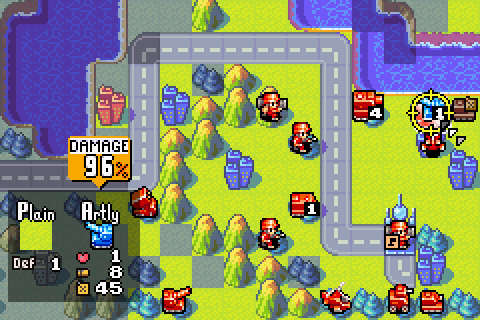
Can we hit that infantry with our rocket launcher? Well, no, because we're Max.
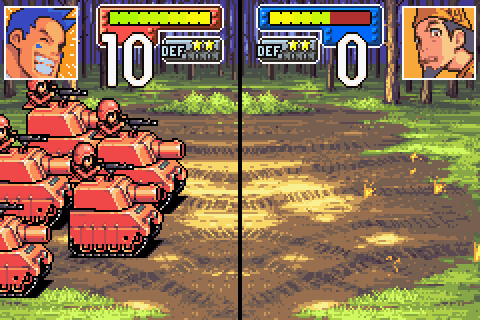
Fortunately, Max has another solution to this problem.
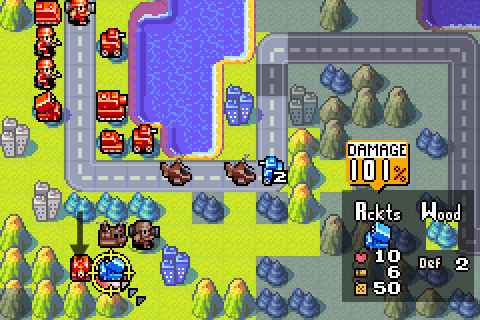
As that infantry goes down, my B copters take on the other units. B copters can't hide in forests, but they should be fairly safe as long as they steer clear of those missiles.
Moving my light tanks and rockets up into forests.
More general unit movement, including sending my T copter downfield with a mech. Since there's no more forests to stick units into, I'm leaving my infantry back there for now.
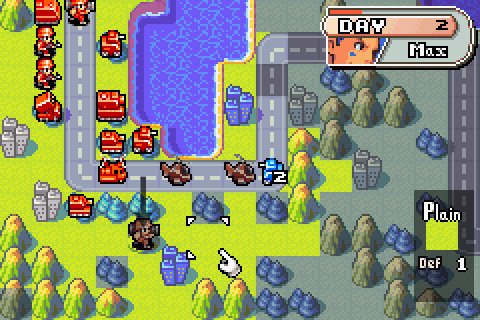
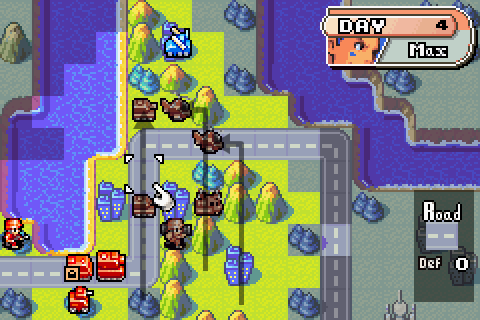
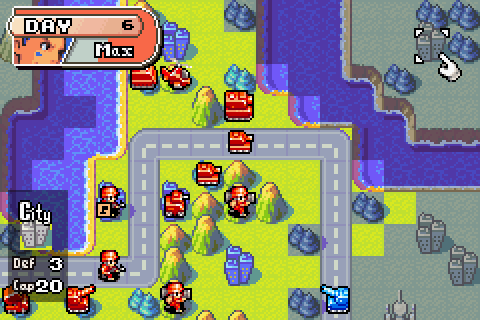
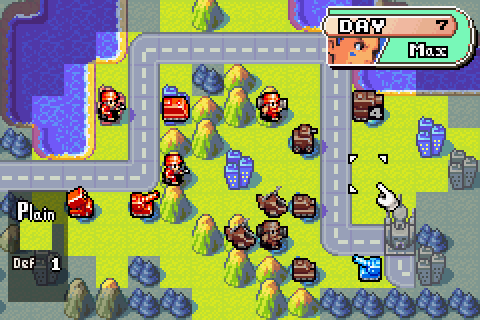
Day 2
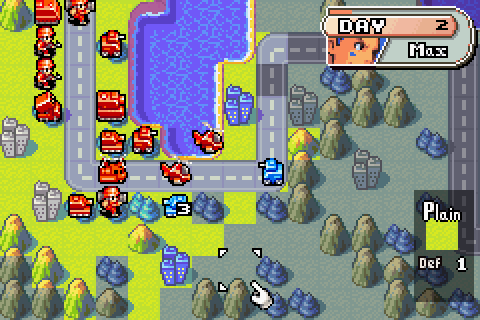
Grit moves his damaged tank about a bit, and a recon emerges from the gloom.

B copters get to work on smashing them up.
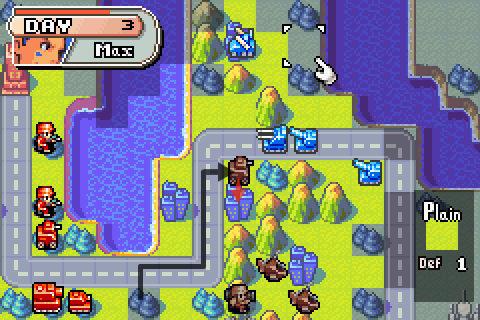
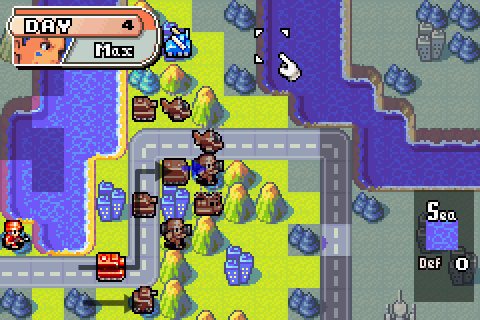
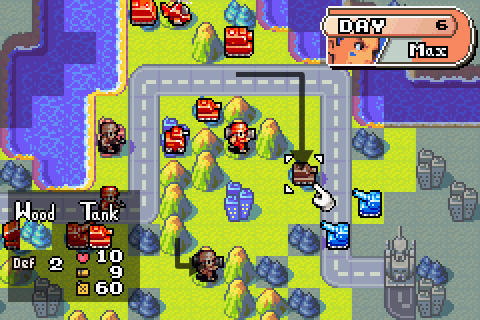
I said that recons, tanks and B copters were our best units for vision, but we've got a couple of other tricks up our sleeve: infantry and mechs have a vision range of 2 under normal circumstances, but when they stand on mountain squares that climbs to 5. Even so... we still can't see into that forest diagonally down from that mech. Better do something about that.
T copter goes onto spotting duty and yep, there's a rocket launcher there.
Well we'll soon take care of that.
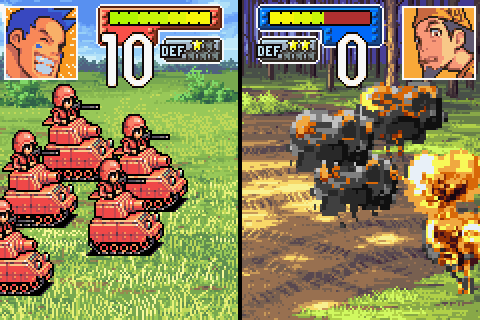
You seem to have a bad case of Exploding Rocket Syndrome there, Grit.
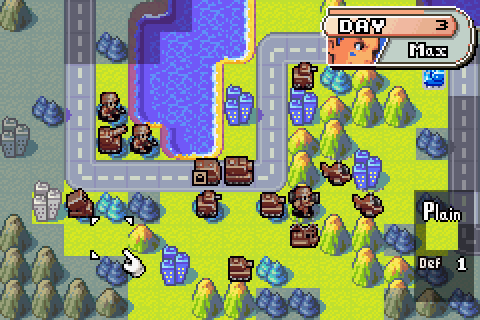
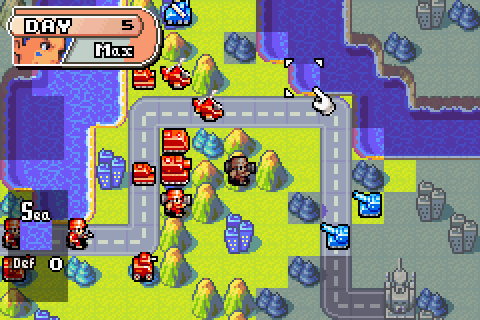
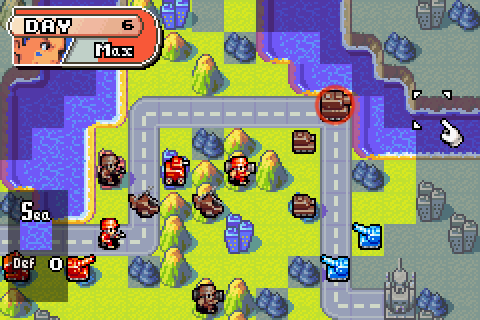
Tanks and recons move up to secure the forests.
And everyone else follows up.
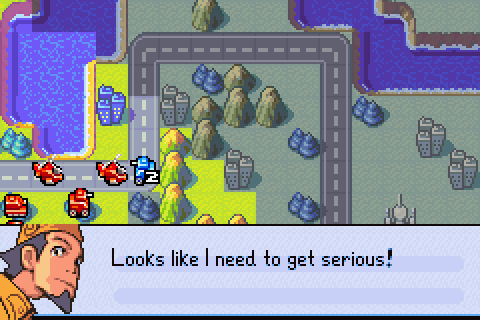
Hoo boy. Brace yourselves, everyone...
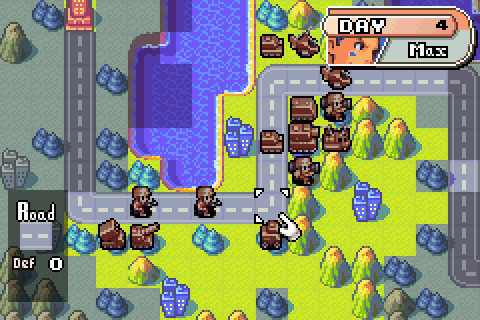
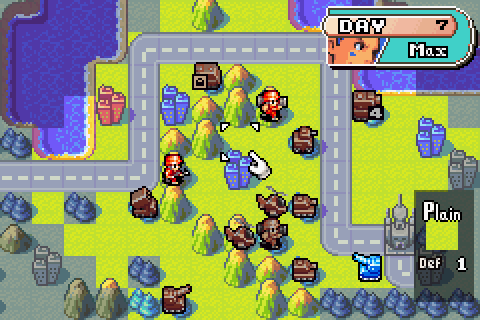
Day 3
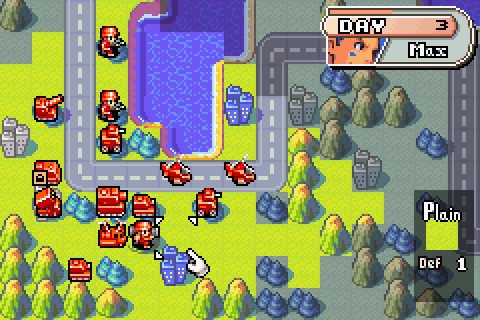
... well, except for the bit where he doesn't launch any attacks. I guess that's woods for you. Although the fact that nothing attacked the mech or southern tank suggests that the area's fairly clear.
So let's do some scouting. Paradropping a mech onto a mountain reveals a rocket launcher, as well as that damaged recon from earlier.
Well, my B copters can take care of that rocket launcher. Hope Grit doesn't have any AAs around here...
Oh okay, there it is. Killing that damaged recon with my own recon has exposed me to a world of hurt here.
Not much we can do about it though, so I just move the rest of my troops up. With that rocket launcher behind the mountains down, I'm fairly confident that this area is clear, so I'm leaving some of my units out in the open.
Yeah, there goes the recon
 .
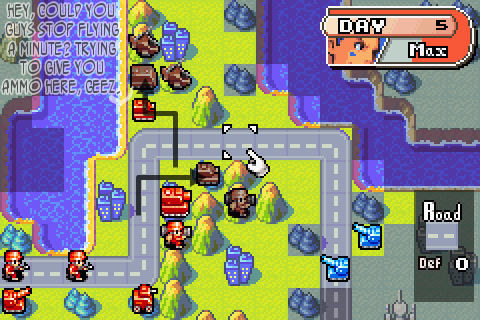
.Day 4

All right, we'd better take that AA down. We've been relying on our B copters a fair bit this mission, and that AA's a big threat.
So let's get in there.
Tank leads, mech cleans up. Now the next big question: where are those artillery? Hindsight and logic says that one of them should be in the square marked with an "!": I spotted arties on plains and road earlier, and it was the arty on the plains that fired at my recon. But I was starting to get spooked about the arty that didn't fire, the one that moved somewhere else. Could it be in the forest? (the ? square)
Nope. And now of course I've left my T copter in missile range (the city to the north) so that's another unit down. But what if the arty's in that other "?" square?
Nope. I also move my B copters into missile range because hey, if I'm going to lose the T copter anyway it may as well die for a cause.
And since I've cleared this forest I may as well use it as somewhere safe to hide a mech.
The stragglers advance.
Who'd be a transport unit in AW1, eh?
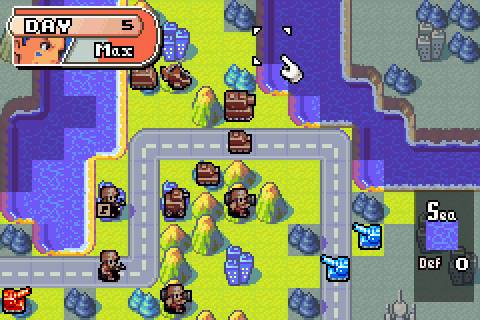
Day 5
Hmm, no sign of those arties.
Oh wait, there they are. They're running away (Grit's armies in this mission are very much "Attack! Attack!... Retreat! Retreat!")
Unfortunately, the artillery are out of B copter range. Shame, I've got a bone to pick with them.
Oh well, I've also got a bone to pick with this missile launcher. So let's target it, instead.
Hmm, my B copters are starting to look a little low on ammo.
I send up my APC to resupply them.
Moving the other units up.
And the indirects continue to tail behind rather uselessly, like some kind of appendix.
Day 6
Grit continues to run away.
So let's follow him. One of my tanks drives into a forest up close in order to keep an eye on him, while one of my mechs continues its mountaineering course.
Tanks and copters move closer. There's a rather dumb error here that leads to all kinds of silliness in the closing turns.
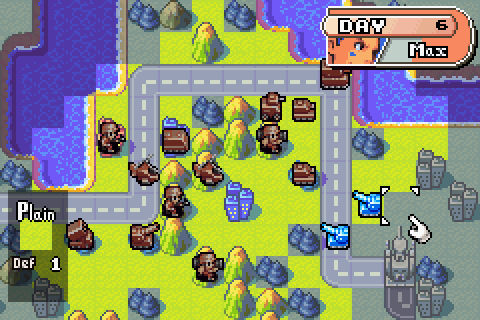
Everyone else moves.
Here's where the error hits in. And now I'm panicking about finding a rocket launcher on a city. Wherever could it be?
Day 7
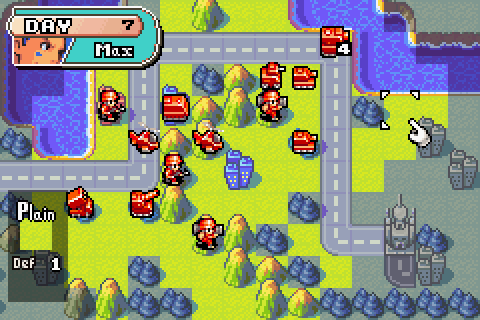
Taking that hit did at least charge my CO Power up. But I'm going to leave it a turn: I want to get in position first. Caution is the better part of valour, and so on.
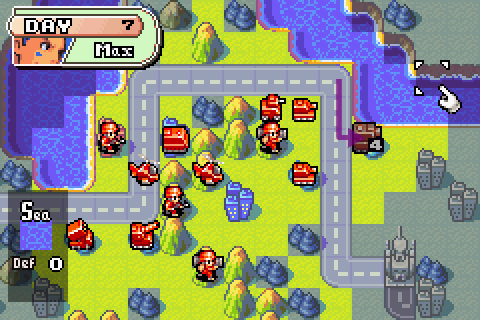
First let's get this damaged medium tank to some kind of safety.
Then leapfrog the tanks down through the forests. Aha, there's one arty. No sign of these rockets yet, though.
They aren't on that city...
Oh well, whatever. I'm sure it'll turn up. In the meantime, let's get ready for using Max Force next turn.
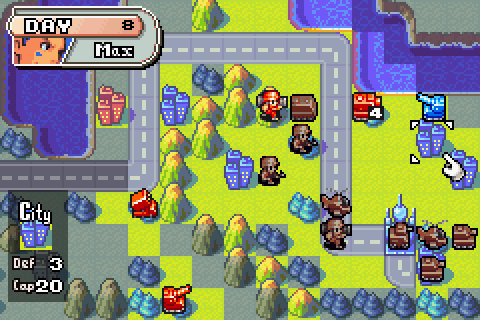
Day 8
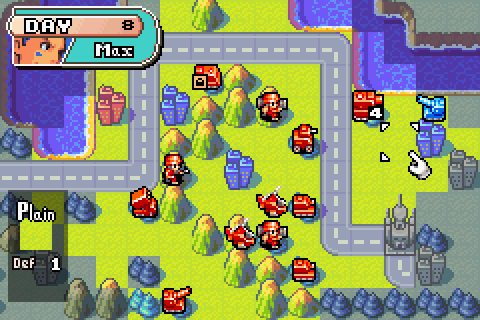
Those arties continue to mess about.
Well we'll soon see about that.
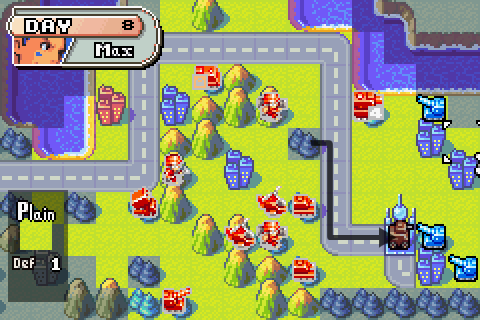
First some vision. There are all the arties... but where's that rocket launcher? Wasn't it supposed to be on a city? (Have you guessed where it actually is?)
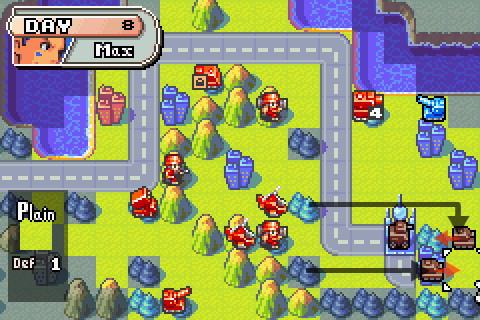
Oh well. My tanks take out two of the arties with one-shots.
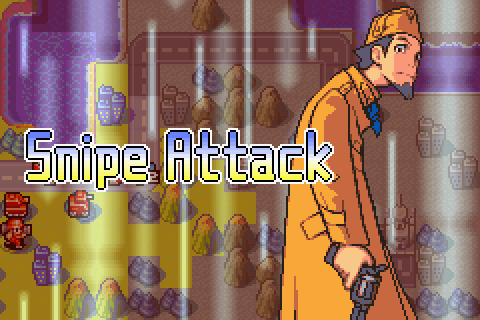
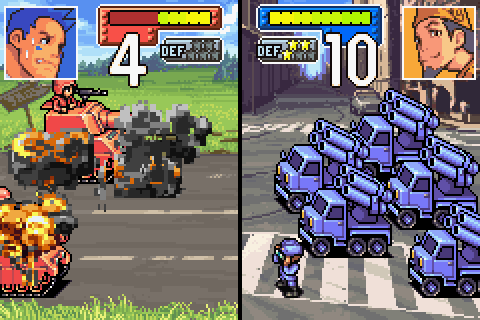
Grit's got a Snipe Attack primed now, though...
I try to provide a distraction for him shooting my mechs with my APC. Although honestly I'd probably stopped thinking straight by this point. Again in hindsight I would probably have been better off using the APC to distract Grit's mystery rockets, whereve they were - and then attacking Grit's artillery with my medium tank. Even at 4HP, a Max Force medium tank should pack a good punch against an arty. But no.
Oh well.
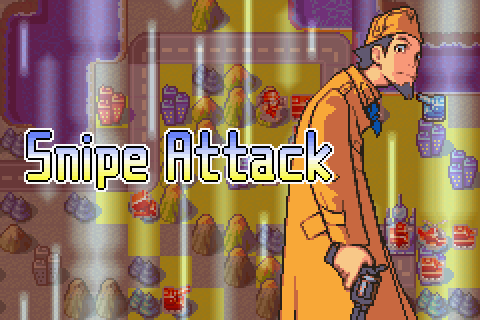
Here comes that Snipe Attack...
... and somehow my APC just survives.
Day 9
Okay, sod this.
I've had enough of Grit's mind games. Let's just shut up shop and take the HQ capture.
Incidentally, that mystery city rocket? It's on the northeastern island, along with his second missile launcher. I'd remembered the missile on that island from my brief peek at the unfogged map, but not the rocket launcher. Oh well.
Day 10
Before I finish this, I just want to deal with that arty.
For old time's sake.
Tank can't quite destroy it in one shot, so I send in my B copter to finish.
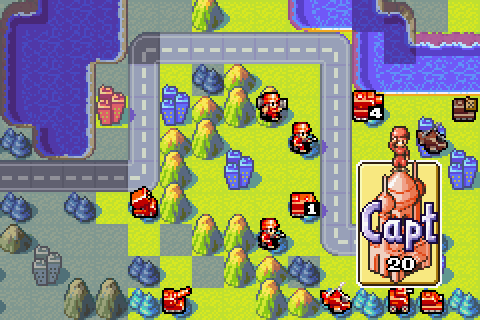
And there goes the HQ.
 Grit? Is that you? I was wondering why I hadn't seen you around lately, and now I know. You're working for Blue Moon! You traitorous piece of gar-- Aww, Maxie. Don't be like that. I got my reasons for doin' what I do, you know?
Well, no, we don't know. Perhaps you could enlighten us?
Man, I'm getting out of here before you get started preachin' again. See y'all down the road! Hold it, Grit! Dang! He got away. But what's he doing with Blue Moon?Maybe he just really likes snarking Olaf.

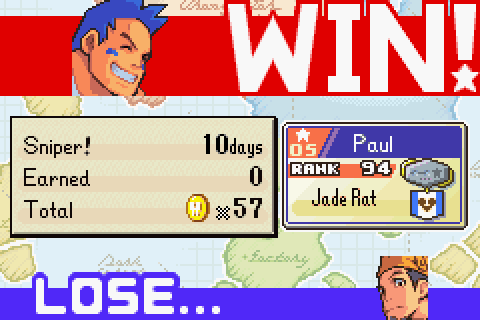
Yeah... only an A-Rank (and correspondingly only nine coins rather than twelve). I think I took a day too long about it. But that's the problem with Grit: you can beat him easily enough if you're cautious, but the thing about being cautious is that it starts hurting your speed score and... well. Maybe I shouldn't have just shut up shop with an HQ capture and actually gone looking for the rocket and missile launcher. Maybe I should have just gone "screw it, I'm Max" a bit more.
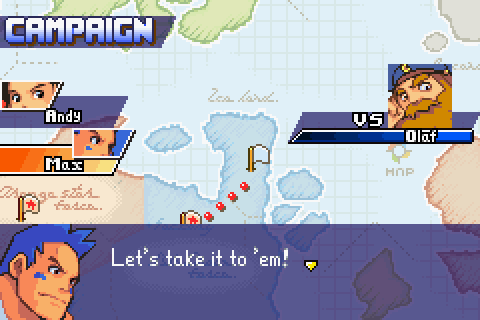
But hey, at least it got the job done. A win is a win and all that. And an A-rank's still a pretty solid result. So let's move on. We've got another choose-your-CO mission next. It's against Olaf, and this time we have a twist:
For this mission, we aren't being asked to win by rout or HQ capture (well, we could, but have you seen the stuff around Olaf's HQ? Discouraging, to say the least). Instead our goal is property capture - the first army to 12 properties (cities, bases, HQs, whatever) wins. Naturally Olaf starts with six properties and we start with three
 . There are eleven properties on each side of the river, so we're going to have to grab at least one from the other side. This mission has a reputation as one of the toughest in AW1, because of how easy it is to lose: one slip-up and Olaf'll have his twelve properties.
Don't worry about the little shield icons on some of Olaf's units, they just mean that the unit is set to defensive AI: it won't move unless we enter its movement range (again this is something that the site I got this from added to the map because they thought it'd be helpful. Continuing the credits theme, this map and subsequent maps will be from Wars Wiki).
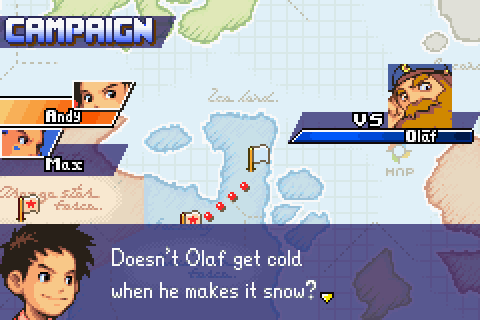
So again, Andy or Max? Note that the mission after this (and the last mission on this path before the paths rejoin) has you automatically picking Max, so if you want to see some Andy, now's your chance. Who's actually better for this mission, I can't say (sure would be handy if we had Sami right about now though...).
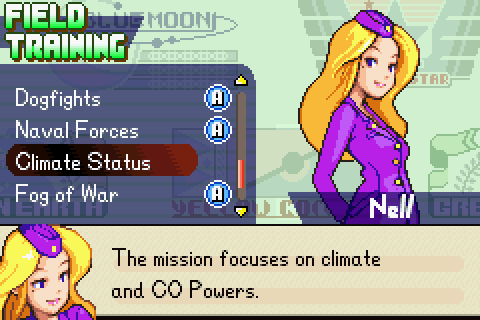
Of course, before all that happens we've got Field Training to finish up (the A on the Fog of War mission came from me having to beat it to access Campaign). Stay tuned, etc.