Part 69: Advance Campaign Mission 6: Olaf's Navy! AC as Max
Advance Campaign Mission 6: Olaf's Navy! AC as Max (or "ruvenj of botes")
Youtube video (16m52s)
 its tiem for ruvenj of botes. wiv paul are alkydere fedule sockerbagarn and (until somefing goes rong) sylphid
 look what you've done to this man! will he ever recover?
Eh, don't worry. He'll be fine by the time AW2 rolls around...
... well, until Toy Box, anyway.
whatNothing!
Mind you, as much as I'm picking on Olaf here, this one's a toughie. Much tougher than I was expecting, certainly: I had to restart this more times than I have with any AC mission so far. He may still not be fielding any infantry or mechs (much to Grit's chagrin) but Olaf's had his ground troops swelled by four medium tanks and a couple of artillery. His navy, as far as I'm aware, is still the same, but my rockets and artillery won't be able to lend any support to my navy this time, as they'll be far too busy putting their own house in order.
I picked Max for this, for the usual reasons, but sometimes I wished I had Andy's healing to work with here. Still, playing with Max has its payoffs.
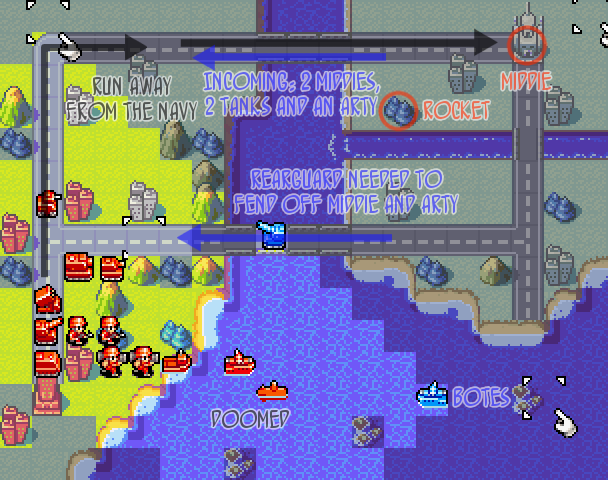
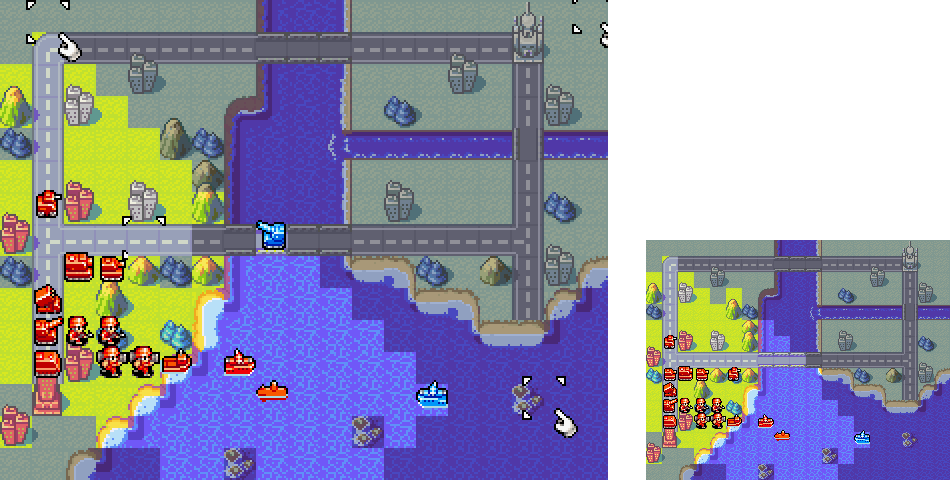
The basic strategy is to sent the main body of the land forces to the northern bridge, nicely out of the way of Olaf's battleships, then grind forward against those northern forces. Meanwhile, battleship and mechs do their best to stop Olaf's southern land forces from flanking us (although the battleship's only going to get one shot off before dying). Advancing on the HQ area, we find the rocket that was hiding in those woods in NC, and a medium tank parked defensively on the HQ. We're going to need to spot and swat the rocket, and lure the middie forward into range of our own rocket. After that, we've just got to capture the HQ - which after all that is the easy bit.
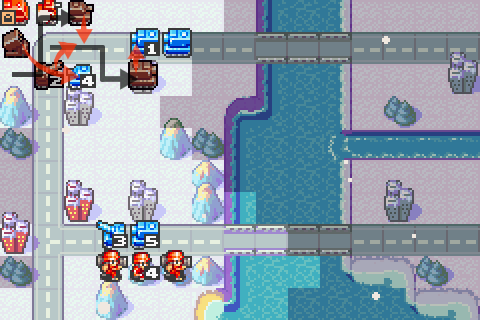
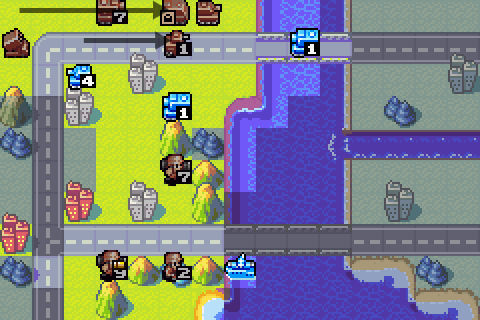
Sub goes out scouting, and my battleship moves up a square to get out of range of the revealed battleship. Meanwhile, the APC loads up and follows the rocket launcher upfield.
Tanks and recon form up in a little diagonal line that doesn't really do anything, but it looks cool.
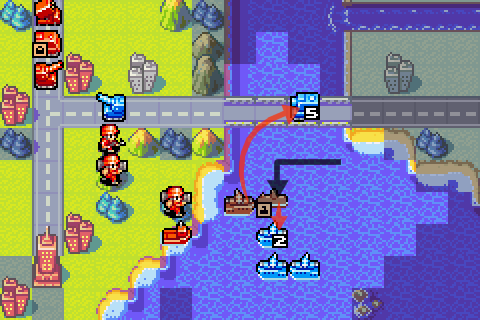
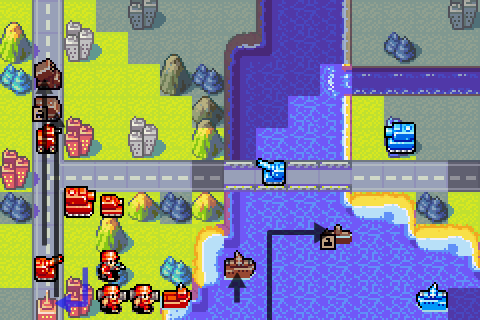
Day 2, and my battleship performs its one useful action this mission. But it's a very useful action: knocking that medium tank down to 5HP is an important cog in the victory. The sub does what Max's subs do and cripples a battleship - arguably I didn't need to do this and all it's doing is charging Olaf's power bar, but hey-ho.
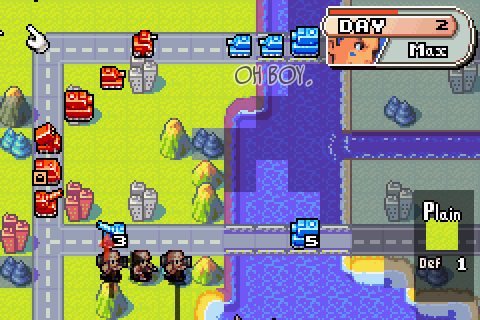
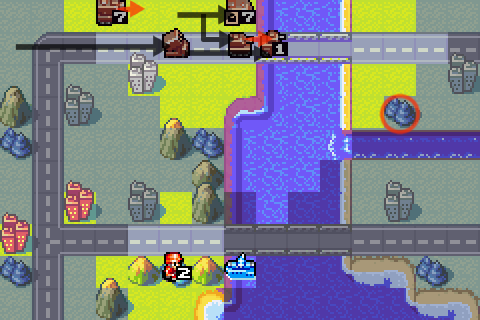
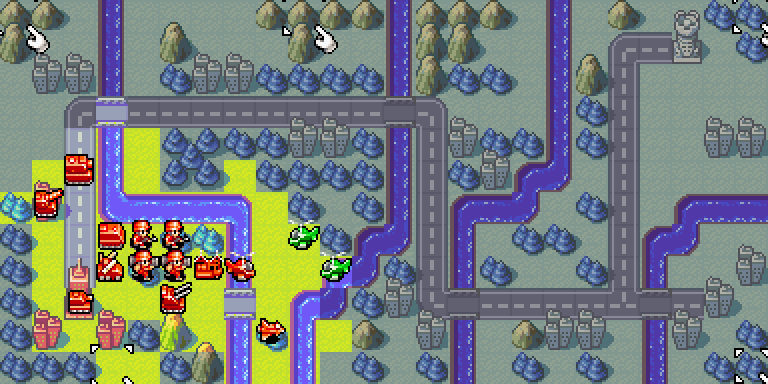
Mech attacks artillery, and looks like Olaf has some nasty stuff coming over that northern bridge. Not pictured: a second medium tank behind the first, and an artillery behind that.
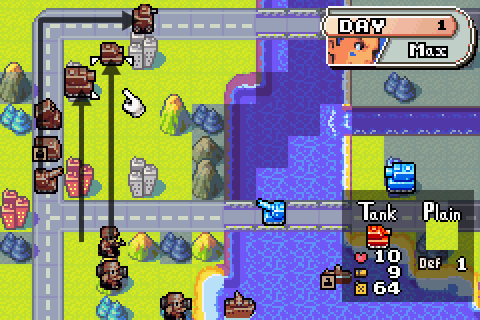
Time for some unorthodox tactics as my units decide to try and lure Olaf forward into a more favourable situation. Taking point are the medium tank (which Olaf's light tanks won't dare to attack, and which is out of range of the middies), the artillery (because it's a Max artillery and, despite a semi-heroic performance last mission, they really aren't very good at all) and a recon (hoping like heck that Olaf will attack the arty instead).
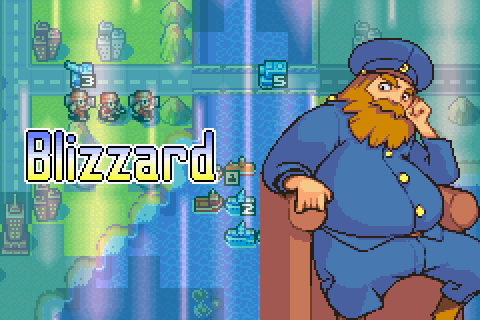
Olaf and Max trade CO powers (I'm getting fed up of animating CO power screens; the file sizes are huge). As hoped, the arty takes the hit, in the kind of reverse-meatshield move that only Max could pull off.

Max continues to hit like a truck. With Max Force active, this would probably have been a one-shot if not for Blizzard. The tank is kind of in harm's way from that offscreen artillery, but the city's defences should help with that.
Down south, my mechs continue to work on that 5HP middie, knocking it down to 1HP. You might have noticed that my navy's been wiped out - but without that one battleship shot, these mechs would be having a much tougher time of it.
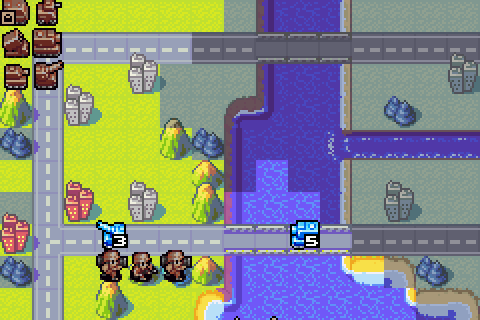
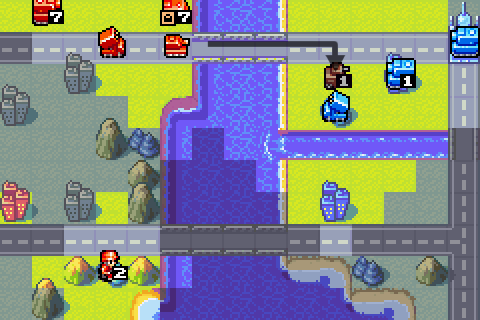
The snow clears, and I continue to work on smashing stuff up - in the north, rockets and medium tank take down the full health middie, and there's a tank taking down an artillery, and light tank removes the arty. In the south, I finish off the other arty with a mech.
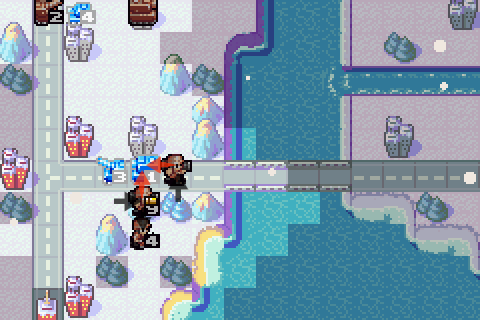
Moving up to get a clearer picture of where everything's retreating to.
Day 5, and although my mechs might be eliminated, that 2HP infantry continues to provide intel from its forest. Tanks clear up some stragglers, and we move up to the edge of a certain hidden rocket launcher's range.
Found it! Found a whole bunch of other stuff, too.
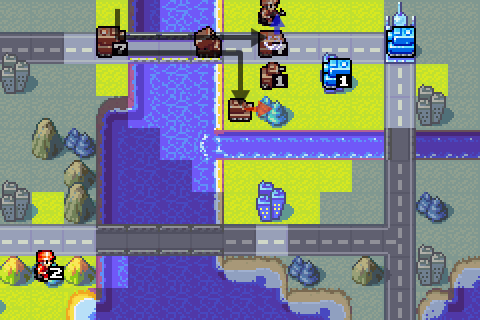
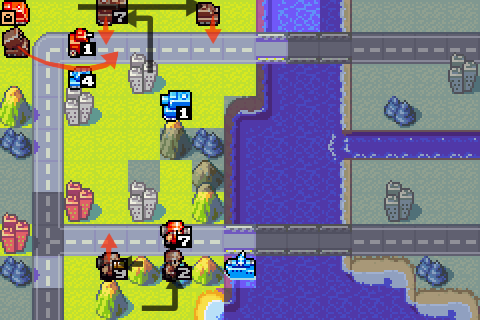
The light tank handily dispatches the rocket launcher, and I end up moving my rocket launcher... straight into medium tank range. A bit of
 will soon fix that, though (after dropping the infantry off first, anyway).

Next turn, with the medium tank lured away from its HQ by the promise of an APC full of candy, the thunder comes down.
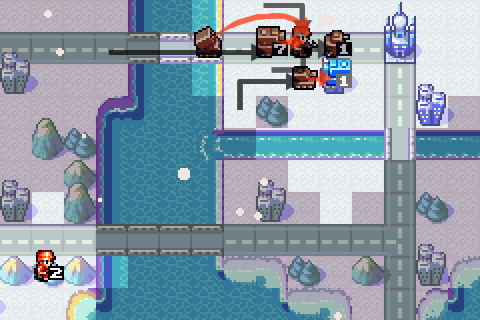
We've nearly got this, guys!

As capturing begins, I cover the bridge in case anything untoward happens.
But it doesn't.
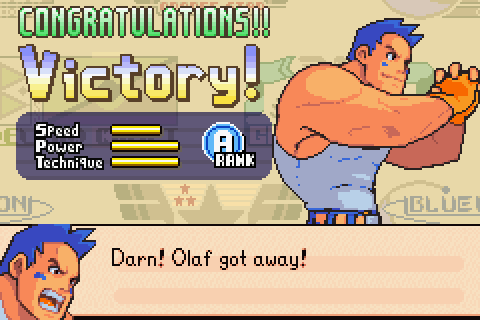

Mission successful! I'll take an A-Rank (hey, it's still better than the score I got for routing this in NC).
Now then... it's time for Sami's Debut, and round 2 with Eagle. We're down a B copter, a T copter and an AA, and I have no idea what's out there - a few exploratory forays at the end of the video didn't really tell me anything. So... I'm open to suggestions for this one. Max for the firepower, or Sami to make the HQ capture easier? This isn't a formal vote or anything, I just want people's opinions/advice here.