Part 99: Advance Campaign Mission 18: Rivals! AC - Part 1
Advance Campaign Mission 18: Rivals! AC (or "Where does he get all these wonderful toys?") - Part 1
Youtube Video (51m18s)
Good grief.
This mission will be split into two rather long halves - but hey, since it's the final mission, let's push the boat out with some longer videos. The first half involves the giant firefight to subdue Eagle's attacks on my base, and getting myself into a position that I can't lose from. Probably. Joining me again are Sockerbagarn and Slur, even if we do forget to introduce ourselves in the video
 . Join us for the best part of an hour of bombers killing infantry, missiles killing bombers and comparing Von Bolt to Richard Nixon.
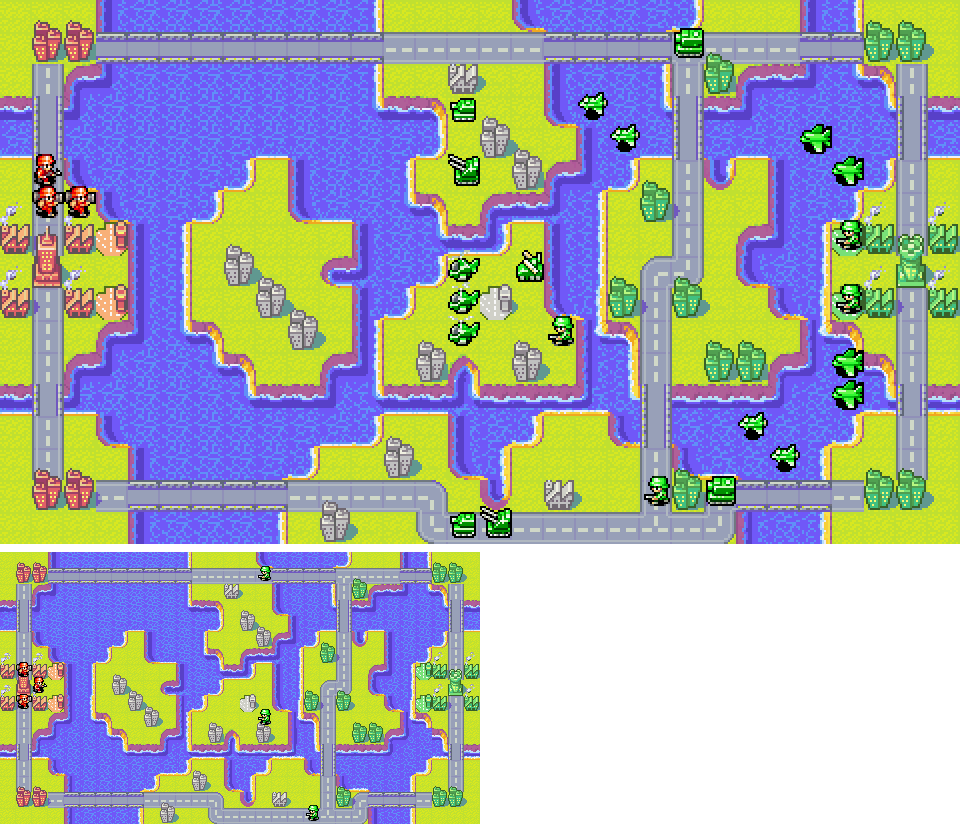
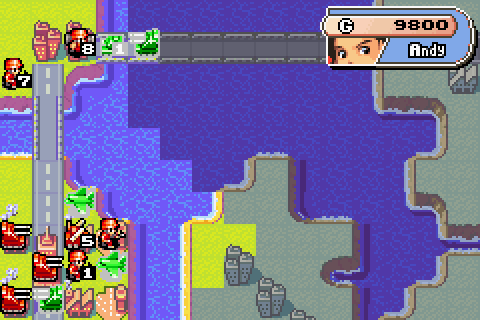
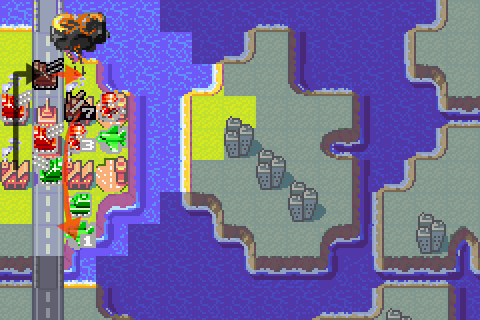
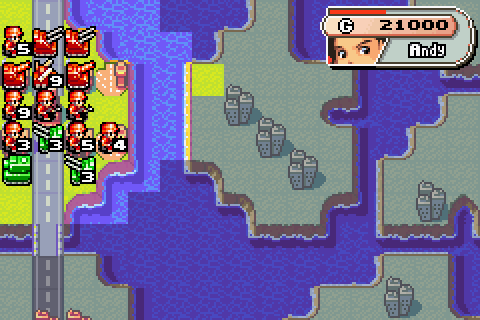
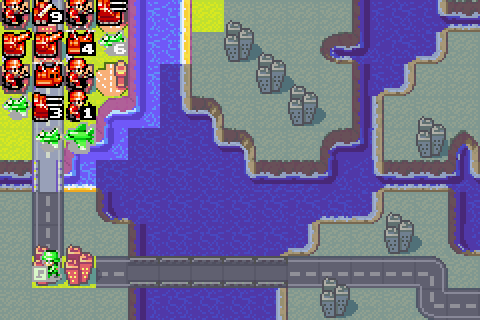
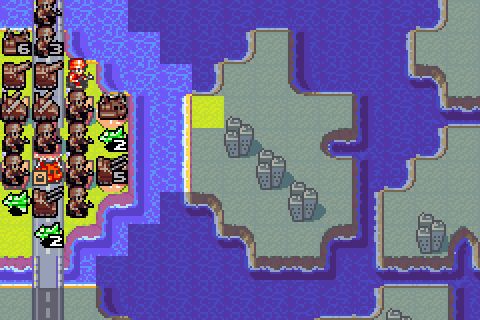
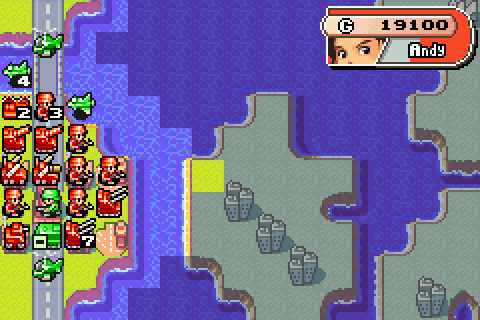
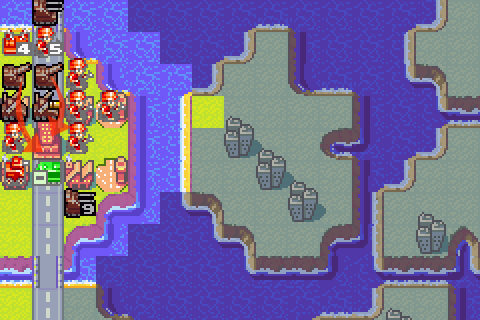
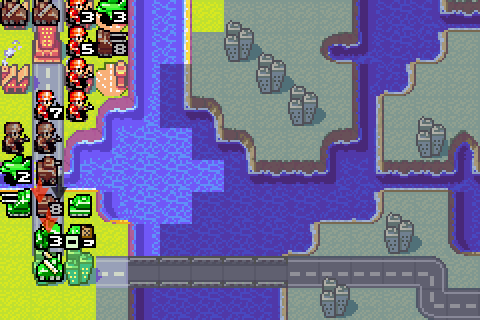
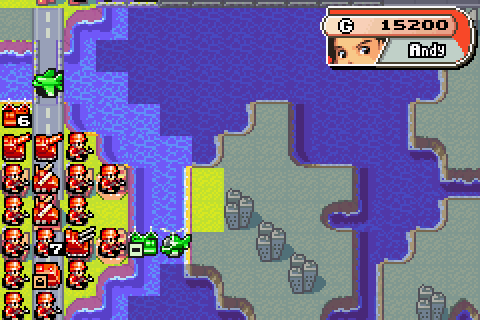
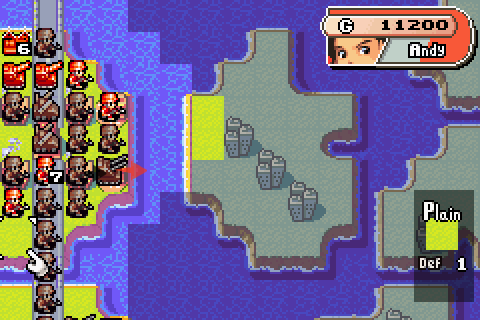
Stripping away the fog one more time for a comparison with NC. Yeah, in addition to his initial production advantage from the original Rivals!, Eagle has a lot more starting units this time round. It's usually not so bad to deal with one of those problems, but both at once is going to require pulling out every last dirty AI-exploiting trick in the book. When you're outnumbered and outproduced, you have to make your units work as effectively and efficiently as possible. Against a human, you'd have no chance, but with the amount of derps that the AI makes... you've got something to work with, at least.
As for a strategy map... you know what, I think I'll leave you hanging on this one. Call it a surprise. I mean, I was surprised I even beat the mission on this run, I was still looking to see if I could get half a plan together. So let's just play it by ear and see how it goes...
Day 1
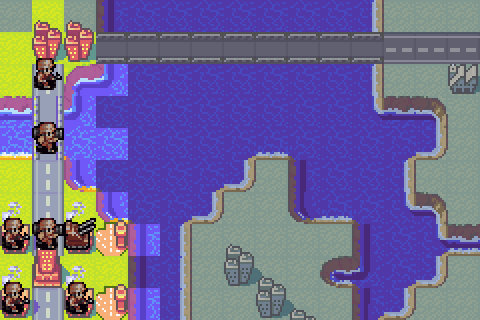
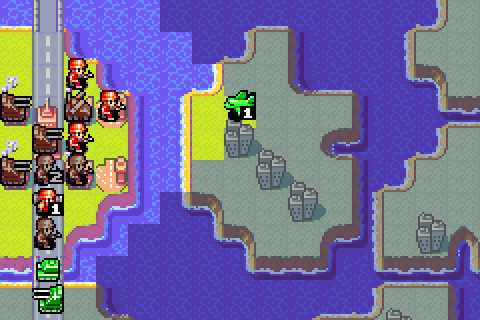
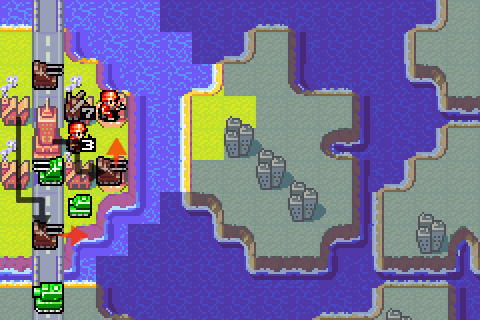
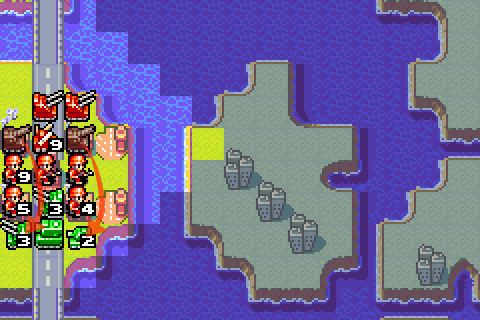
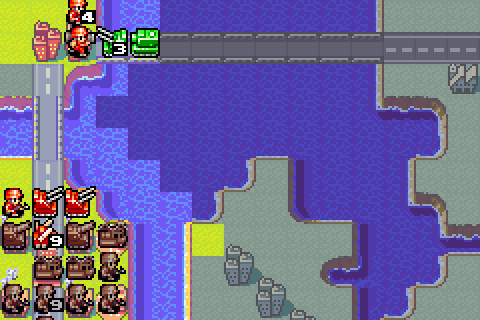
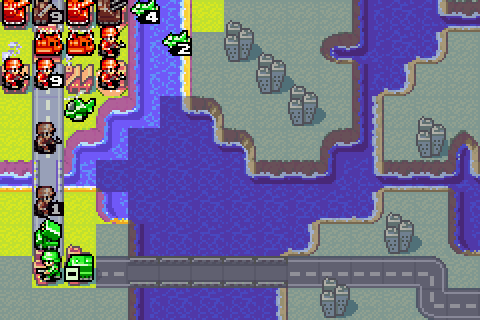
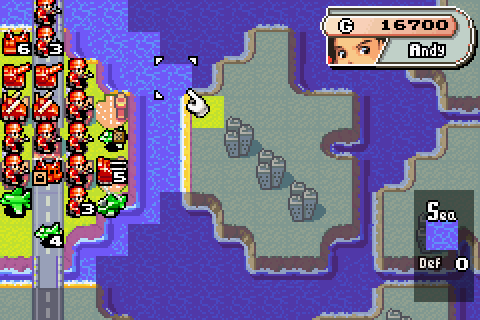
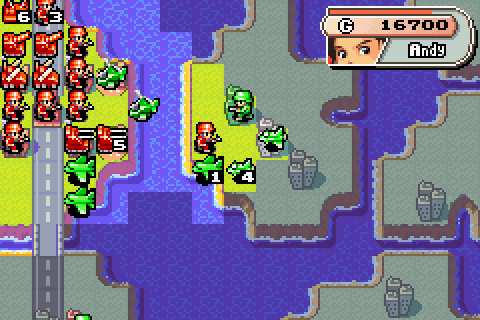
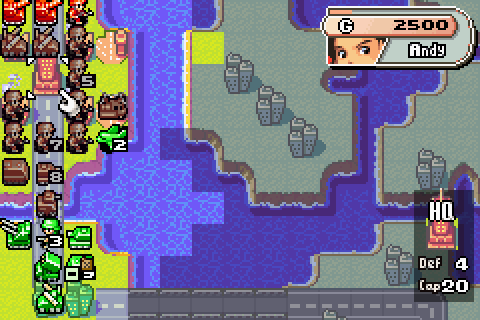
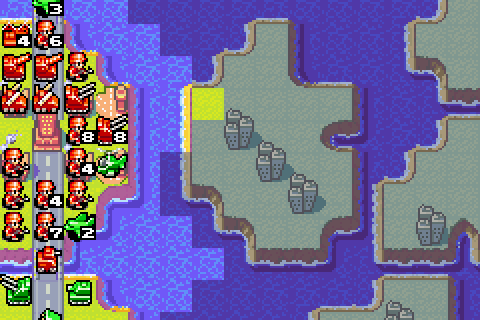
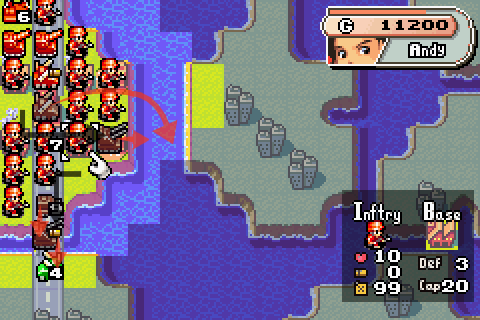
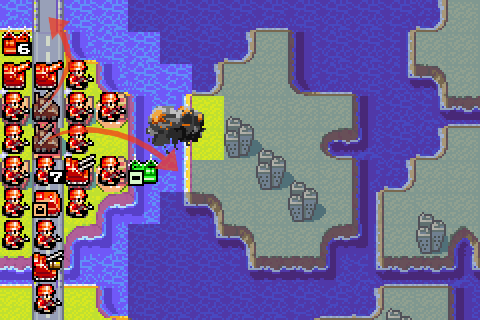
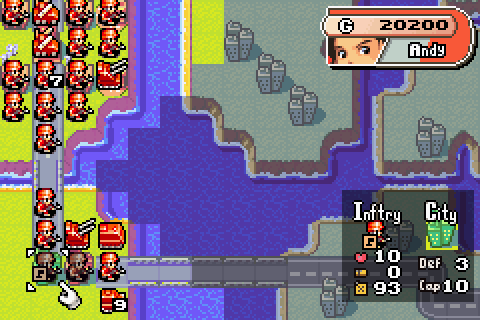
My starting infantry and one of the starting mechs head north, with the goal of blocking up the entire northern flank. The other mech heads south - ideally I want to block that flank off with it and the infantry I'm building this turn. Also - surprise, surprise - I build an AA.
Day 2
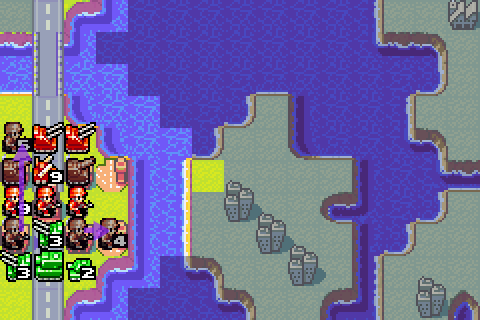
Another AA, and a couple more infantry - but I'm leaving 1000G spare so I have enough for a missile truck next turn.
Day 3
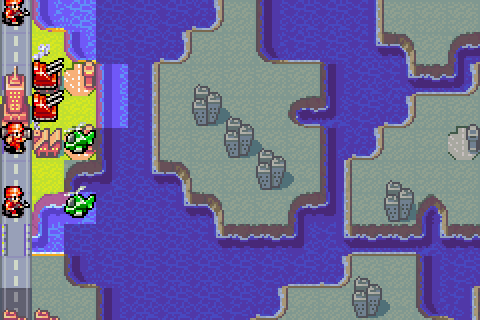
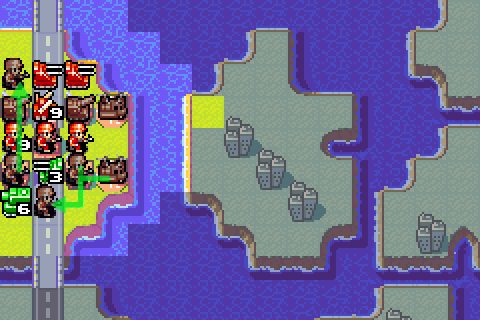
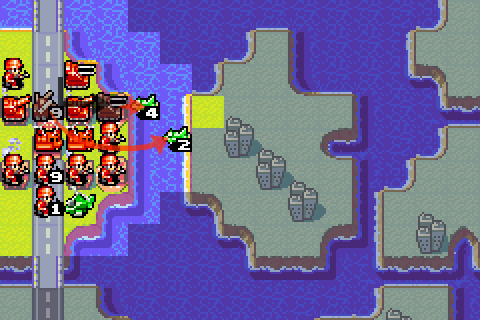
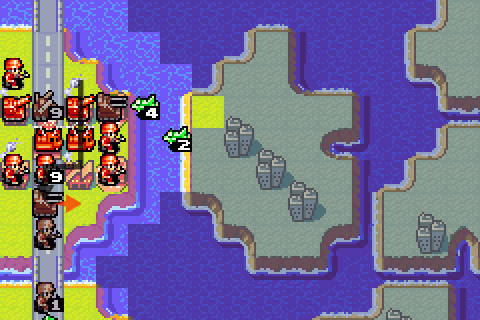
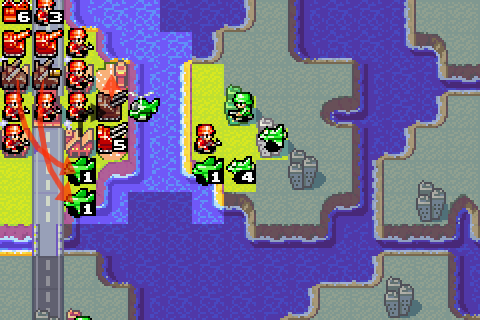
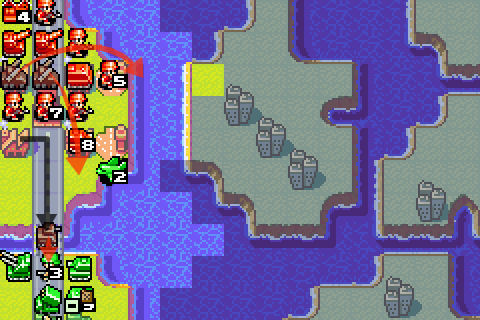
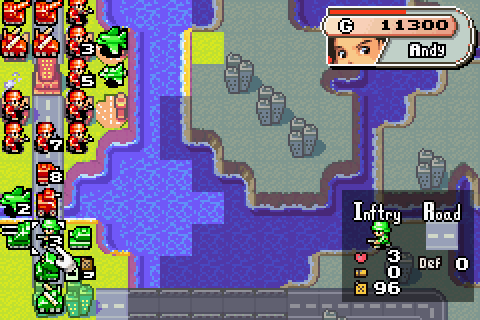
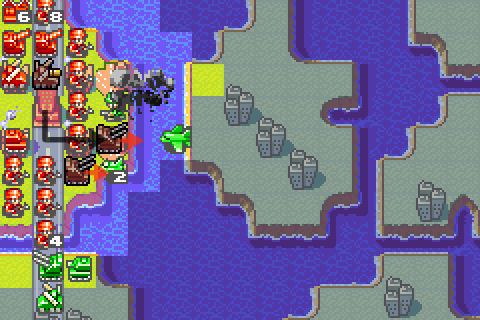
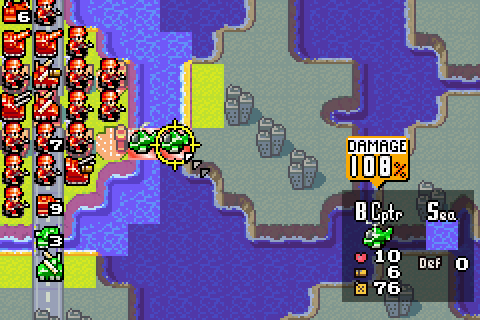
Here come the B Copters - and one of them is sneakily out of AA range.
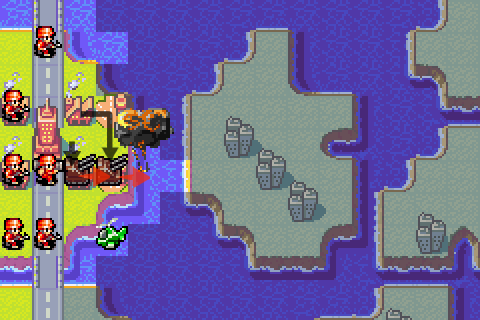
That's okay, though - I've only got two AA anyway. And taking out the B copter I can hit reveals the third one, which is in range of an AA. Jolly good.
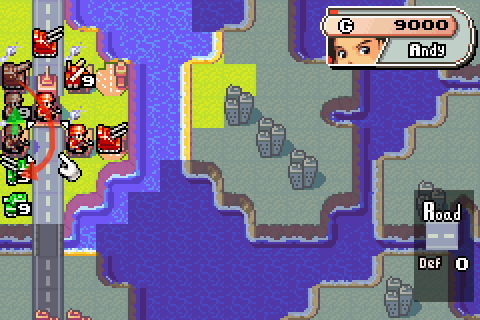
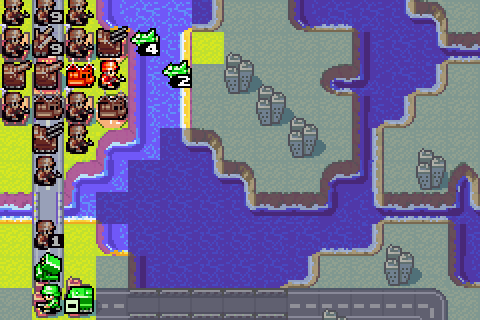
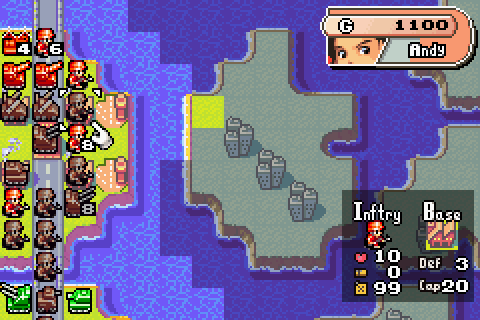
The promised missile launcher. As infamously situational as missiles are, this is exactly the sort of situation you want them in.
Day 4

See what I mean?
Missiles target the revealed bomber (ugh, Eagle's defence bonus. That bomber is going to run away and join a later wave, naturally), while one of my AAs chases down the final B copter.
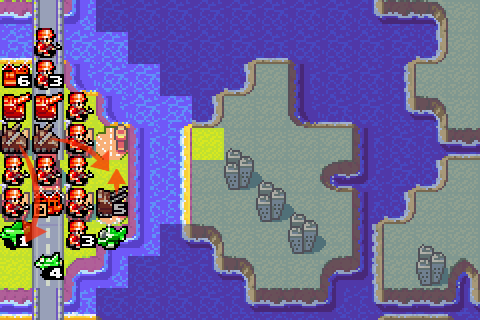
In the north, time to get a cheap shot in on this light tank.
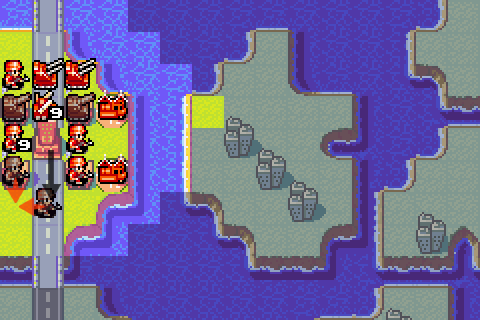
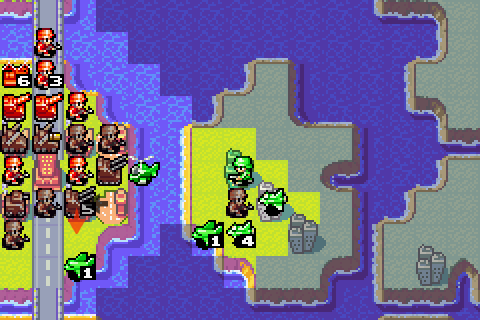
Screw it, let's have three AAs. Yes, Eagle's ground forces have shown up, but he has a bunch more bombers coming in very shortly.
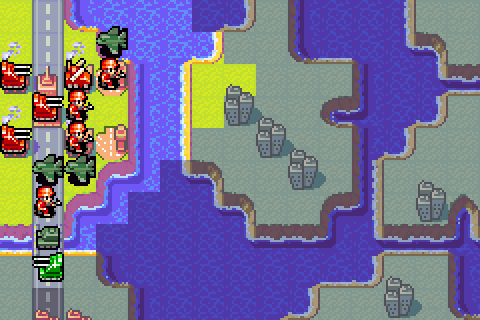
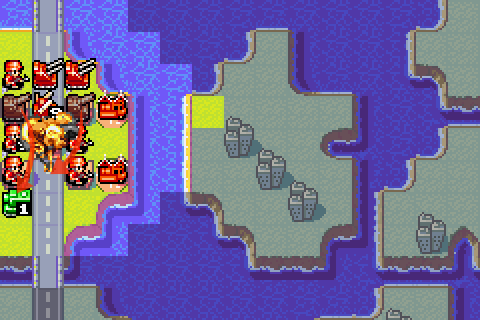
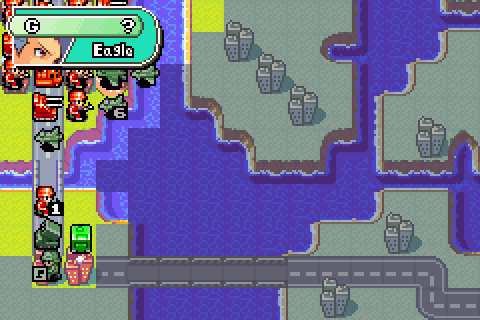
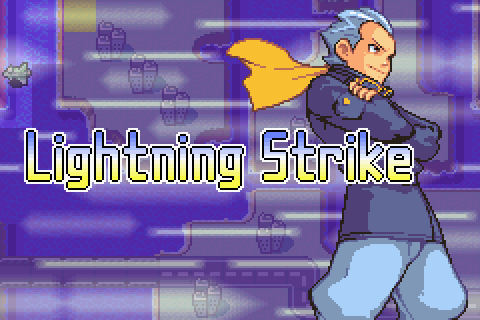
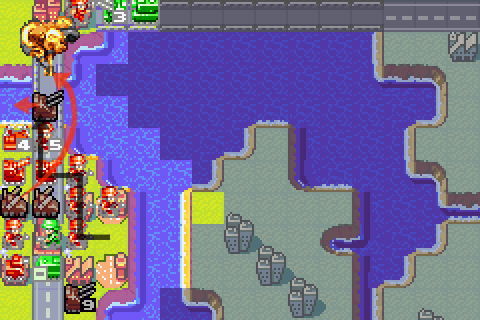
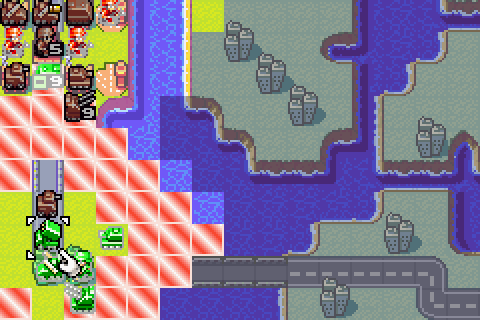
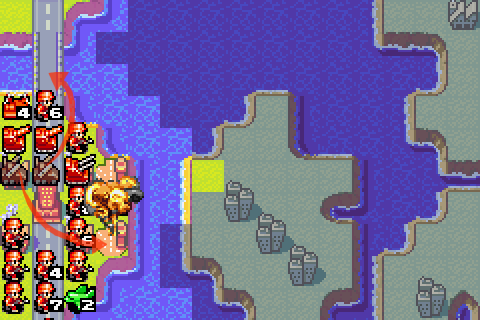
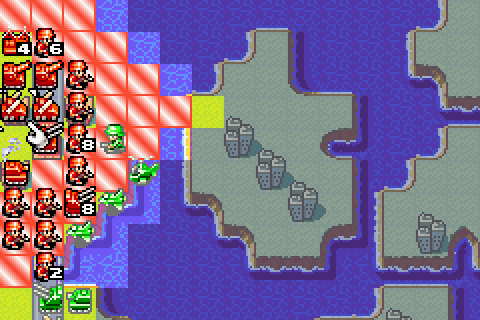
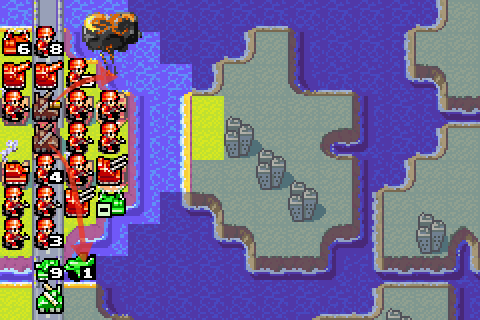
As seen from Exhibit A.
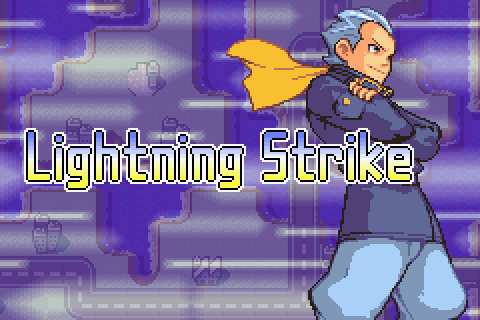
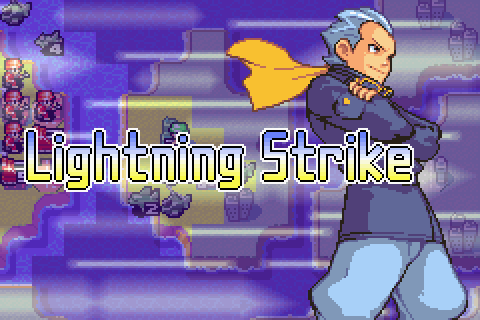
Aaaand Exhibit B: Lightning Strike. As with Meteor Strike in The Final Battle, all those predeployed forces charging to their deaths really build up the ol' meter.
Day 5
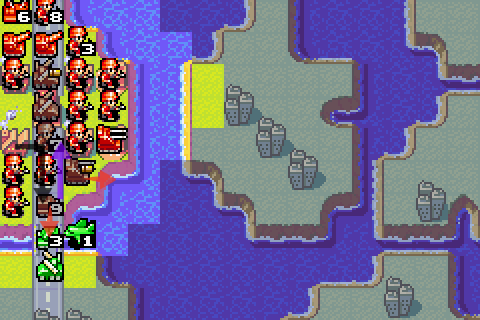
But you know what? That wasn't so bad. Eagle decided that infantry and missiles were higher priority targets than the AAs (I guess with his weakened units, he didn't fancy taking counterattacks from the AAs?)
Speaking of counterattacking, now's the perfect time.
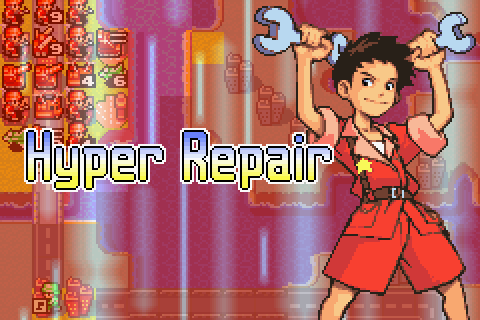
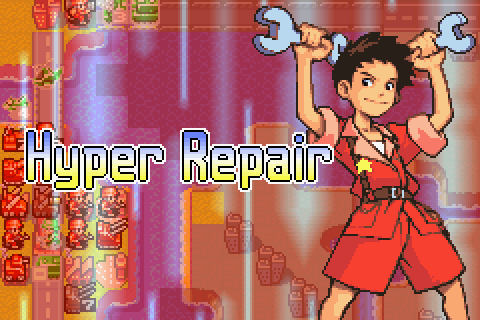
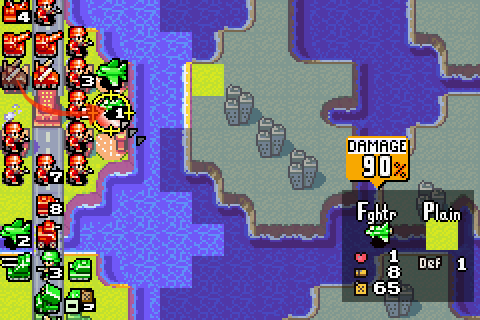
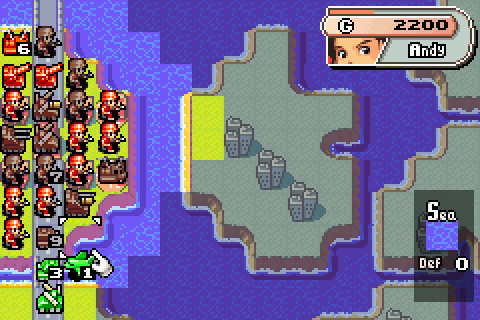
Eagle's weakened defences let my AAs one-shot his bombers (well, 95% anyway - happily, both shots finished the job), while even the 7HP (3HP at the end of Eagle's turn. Thanks, Hyper Repair!) missile launcher gets to have fun, knocking another bomber down to 1HP.
The second AA also one-shots a bomber, while the third one finishes off the 1HP bomber. I've got to say, this had easily been the best I've coped with Eagle's first Lightning Strike, and might well have been the point at which I began to believe. Of course, there's still that medium tank lurking.
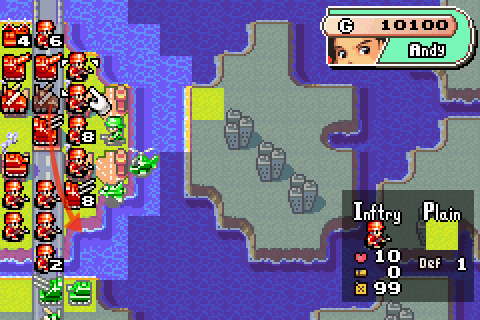
Knowing that that 1HP light tank is going to retreat, I put the infantry back up front in the north to protect my valuable mech. And I build an artillery to deal with that medium tank (another first - I coped so well with Eagle's bombers this time that I felt safe deploying artillery!)
Day 6
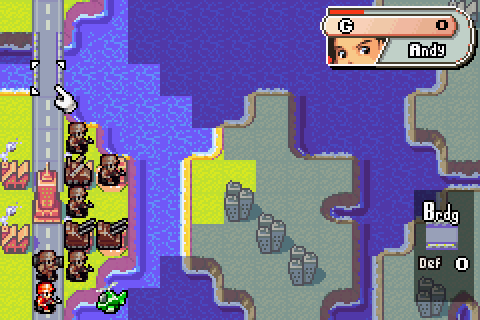
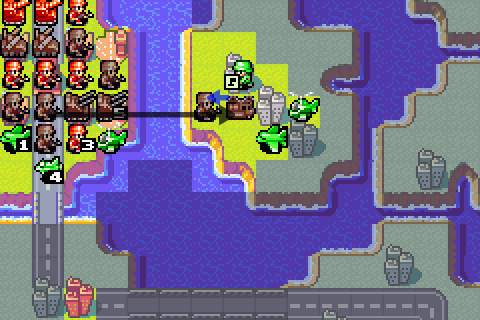
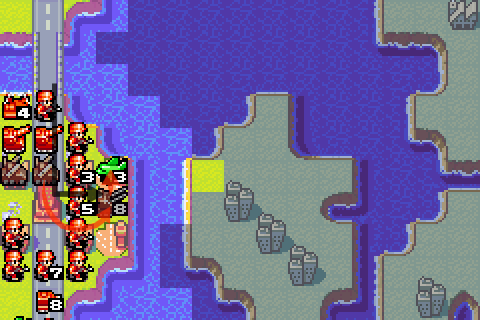
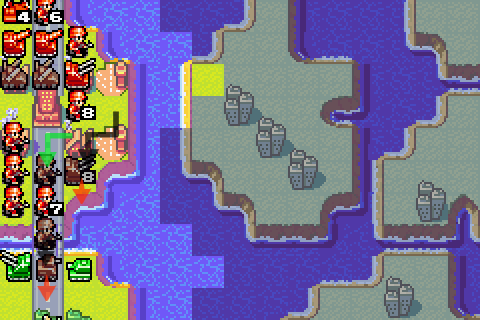
And that arty's in the action pretty quickly, bashing up Eagle's advancing AA while the infantry do some joining.
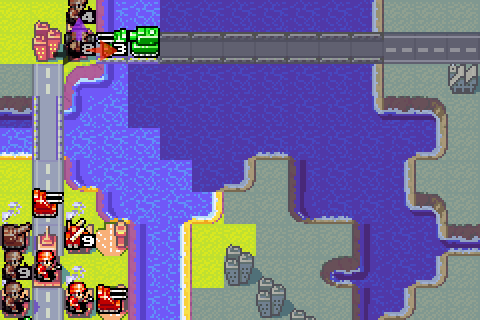
Mech knocks AA down to 3HP - an auspicious number. 2HP and the AA retreats, 4HP and it might consider attacking and getting destroyed in the counterattack. Instead, it sits there forever. And, since my initial panic about rocket launchers was unfounded (it really must have been a missile launcher that Eagle sent north), this side of the battlefield basically remains unchanged for the rest of the mission. No, seriously. Similarly to Rivals! NC, Eagle wastes a whole lot of money filling this bridge with troops that will never see combat - and with no rockets close enough to the front lines to actually attack my mech.
Another artillery for good measure.
Day 7
Well on the downside, that medium tank hasn't wandered into arty range. On the upside, it's been blocked from attacking, too. Good ol' "always move the fast units first".
Full HP light tank and AA get it in the neck.
Retreating damaged troops and bringing in fresh ones.
Day 8
Aha, now it's in range.

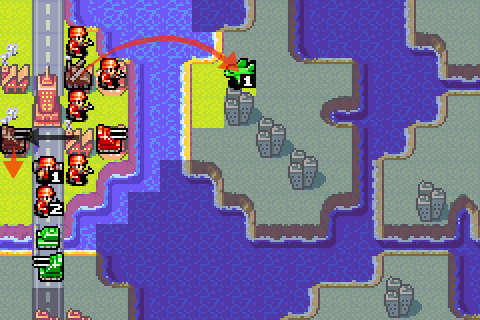
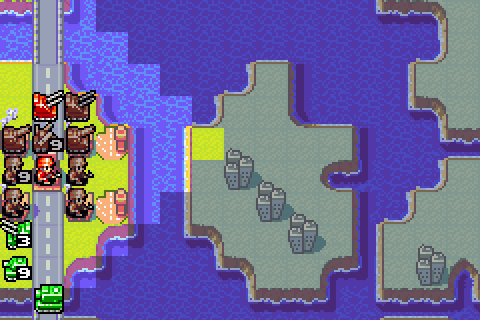
Let's take it down to 6HP, and finish off an AA for good measure. Also, with the majority of Eagle's initial forces under control, I decide it's time to tempt fate and bait those fighters forward with T copters.
A bunch of infantry joining, as I try to be clever and trap the other AA in. Also, a second T copter.
Day 9
Artillery continue their job, destroying the 3HP AA and knocking the medium tank down to 1HP.
And then some cheeky infantry stroll in and finish the middie off.
I think I may be over-egging this whole "T copter bait" thing.
Day 10

Still, here come Eagle's fighters.
There go Eagle's fighters.
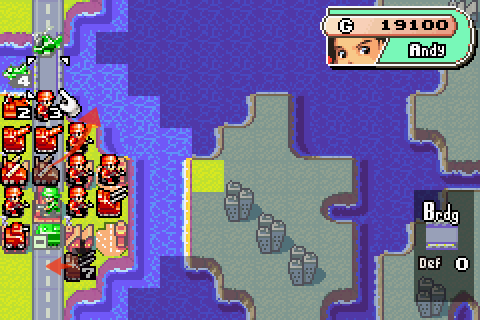
Scouting reports reveal rockets to the south. You might have noticed some of my troops getting inexplicably dinged the last turn or so - here's why.
So of course I park the AA in rocket range to take down the B copter, when I could have kept it safe on the base. Of course I do
 .
.
More T copter treats for Eagle's fighters.
Oh boy, here it comes...
Did I get lucky with the first Lightning Strike? Is this where it all goes horribly wrong?

Day 11
And yeah, that AA takes the second round of rocket fire. Smart, Paul. Real smart.
But on the bright side, we can fix some of the damage. And also be well-positioned to counterattack Eagle when he's at his weakest.
Makes sense to have the damaged AA attack the damaged fighter, right? Although hey, I just left another AA in rocket range. Good job, me.
Missile trucks seem like a solid investment at this point (and it's not every day you hear me say that).
Day 12
Another bomber. Where does he get all these wonderful toys?
Oh well. You set 'em up, Eagle, and I'll knock 'em down.
Screw it, let's go do some scouting... ah. Another bomber waits in the wings. What the hell, Eagle. What the hell.
Day 13
Oh my.
Well, you do the job that's in front of you. The pair of missiles go after the pair of bombers, while my healthy AA downs a B copter.
And this time, I'm not going to leave my AA in rocket range when they move in to attack. And speaking of rockets, I deploy a recon as the traditional cheap-ass solution to them.
Much like birthdays (I'm 30 now. I was 26 when I started this LP
 . Hell, I was 29 when I beat this mission and started writing up the post...), Lightning Strike comes around again all too soon.
Day 14
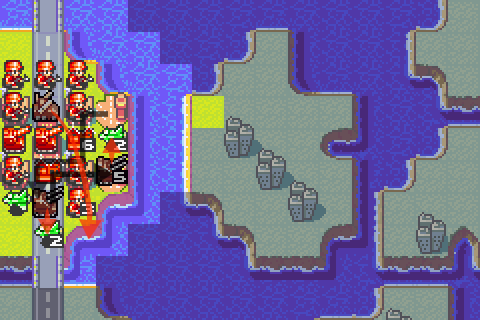
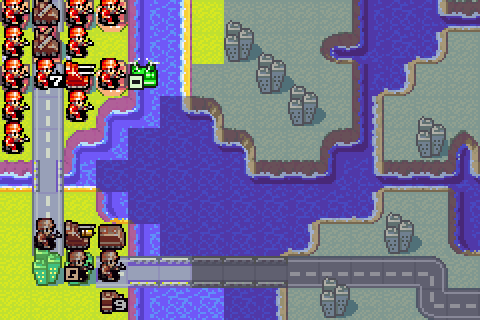
And Eagle's even managed to drop some infantry on my HQ (thank goodness he isn't tag-teaming with Sami
).
Fortunately for us, Hyper Repair comes around just as quickly as Lightning Strike - at least, after I launch a couple more attacks to fully charge it.
A couple more attacks send the rest of Eagle's air force reeling.
Oh, right, yeah, infantry on my HQ. Nearly forgot, there.
Recon rolls south to find a bit of a mess waiting for it. I build another recon to replace it, and a light tank to help with the assault on that tank and AA. And I've left an AA in rocket range again. Maybe I should have taken that copter out with missiles... Oh, speaking of missiles: I deploy an APC to resupply the one that was running out of ammo. It should also make a useful decoy...
Day 15
At least Eagle seems to be running out of bombers, if the fact he's sent a damaged 2HP one back into the fray is anything to go by. Still got plenty of B copters, though.
Missiles keep the copters honest, while I sneak the recon into the range shadow of Eagle's rockets.
And since I have an APC, let's take this opportunity for a bit of the ol'

Day 16
Aaaaand another bomber.
Hey, guess which dumbo forgot to check range shadows before deciding which missile truck should attack which plane?
Good job we had an AA in reserve to damage that bomber.
Recon and tank punch through to cripple that hated rocket launcher...

... and that's pretty much it for Day 16.
Day 17
Eagle brings in a B copter, but he doesn't really do much other than harass a few infantry.
And we make pretty short work of it.
Finishing off the rocket launcher and the 2HP bomber, while joining some infantry together.
We're going to need a tank to deal with Eagle's tank and AA, though.

Well, here we go again
.Day 18
Eagle continues to pull planes out of his scarf. And irritatingly, those fighters are out of range of my rear missile launcher.
The front one can land a hit, and it's enough to charge up another Hyper Repair.
I've been able to use them to counter the Lightning Strikes pretty well so far.
And the AA can deal reasonably well with the rest... ahahaha, ANOTHER bomber, ahahahahaha...

Oh well, nothing we can do about it right now. Instead, let's take out this infantry and bloody the nose of the AA at the southern chokepoint. I also take advantage of a quiet turn for the rear missile launcher to finally move it off its starting base and onto the HQ. As well as freeing up the base for deployment, it brings the missiles a little closer to the action.
Day 19

Eagle's latest bomber takes out my light tank. Dammit, man, that was my spearhead for crossing the southern bridge! Oh well, I guess I have another one... and plenty of tools with which to get some revenge.
The pair of missile launchers keep doing their thing...
... while the replacement tank gets in on the action.
And let's have yet another T copter to draw out fighters with.
Day 20
Or B copters, that works too.
The HQ missiles remove one of them, and I take the other out with an AA - trying to save some ammo on the missile launcher on the road. The other AA messes up Eagle's own missiles, after my light tank finishes off taking out its opposite number. With missiles on his front line, Eagle is really running out of stuff at the southern chokepoint.
Another APC, for the standard supply/transport/distraction roles that they so usefully cover.
Day 21
Finishing off the missile launcher, then scouting ahead with infantry to reveal an AA trying to repair itself. The tank soon takes care of that.

Yet another fighter evaporates under withering missile fire, as my APC gets up to some loading/unloading shenanigans.
A super-exciting first half of Eagle's latest Lightning Strike turn sees only two units (the bomber and T copter in the background) actually move into my vision range.
Day 22
Whisper it, but I think we're getting to Eagle. He's only got a handful of units to show us this time.
And what he does send at us is easily dispatched.
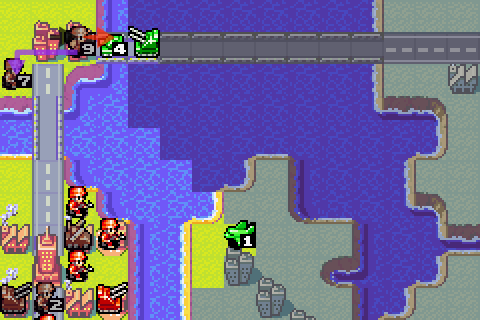
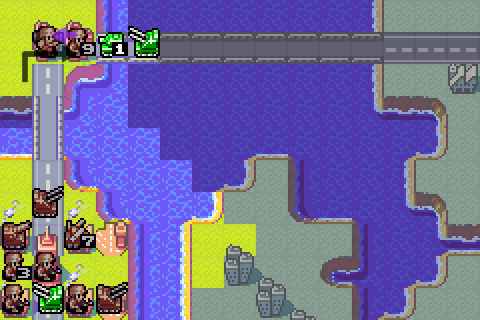
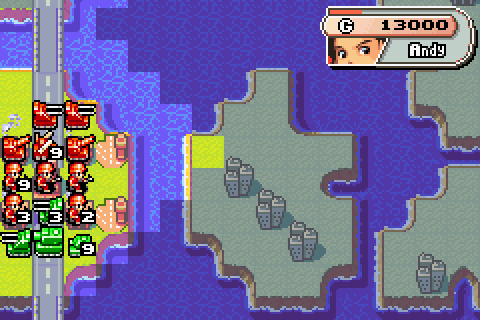
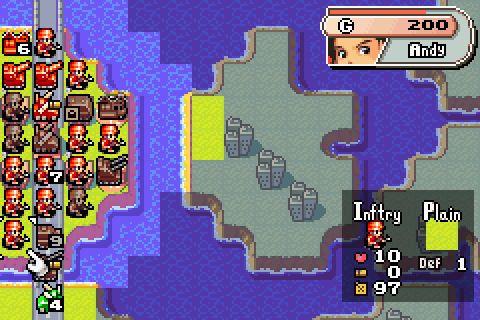
Now then, time to recapture these cities. Defending on a budget is one thing, but to attack Eagle we're gonna need all the funding we can get.
Speaking of which, I need to try and save some money. As those ground troops crawl their way also the southern bridges and islands, they'll be very exposed to flanking moves from B copters and bombers - so at some point I'll need to establish air superiority. And that comes at a price: I'm only making 9000G a turn right now, and getting a fighter and its T copter
escort up and running costs 25,000G.Day 23
Eagle did nothing on-screen at all this turn, letting me get on with some quiet capturing. And, since this is the point where I had to drop a save and stop what I was doing, let's end the update here. Next time (well, after part 2 of Socker's Final Battle), I'll be looking to finish this off. There's a fair gap between making sure you can't lose and winning, of course - heck, city-wise I'm currently in a worse position than I was to begin with. But I've proved something here: it's possible, with a little luck, to survive against Eagle on this map without turning the whole thing into a mad desperate dash for his HQ. And if you can survive, you can thrive.
Next time: we travel backwards in time a little to see Sockerbagarn finish off his run of The Final Battle. Can he get that S-Rank?