Part 9: Determined To Never Return Here The Rest Of The Despair Desert Gets Finished At Once
By actively trying to avoid delays, I'm managing to cause delays. Goddamn irony...As you may recall, last time we got through one of the three worst areas in the game. Or, uh, part of it at least. It's never that easy with blatant filler after all. Straight after the Despair Desert you're thrust into the desert sanctuary... which isn't exactly a sanctuary at all.
Hosted (Part 2) (Part 3)|Youtube (Part 2) (Part 3)
Aside from being the longest dungeon yet, for no adequate reason whatsoever, it's a pretty boring dungeon. It's where the game actually starts getting a little tricky but it's nothing majorly difficult yet. Only really one or two parts that are challenging.
The rewards are what make this seem like blatant filler. You gain nothing of any use whatsoever. Sure, the Sword is a nice upgrade that permanently replaces the pissweak Dagger, but its strength is about the same as the Iron Flail's and the only advantage it really has is being a bit faster per hit. It can perform a "Charge Attack" by holding the attack button for long enough but the minor damage increase doesn't make it worthwhile since it takes a while to be able to actually do. The Long Boots... quite possibly the most pointless upgrade out of everything. You can jump a little higher (yay?) and aren't slowed down by irregular terrain. Would've been nice before the Despair Desert rather than after them... Oh and there's another massive problem with them that we won't be covering just yet.
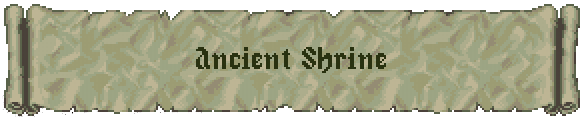
No, now with the Despair Desert finished there's only one thing for it; gotta ransack the entire place so as to never have to return here ever again and be happier for it. To make this truly ideal, the first thing to do is head back to where the Sand Cape was acquired but without entering the cave.
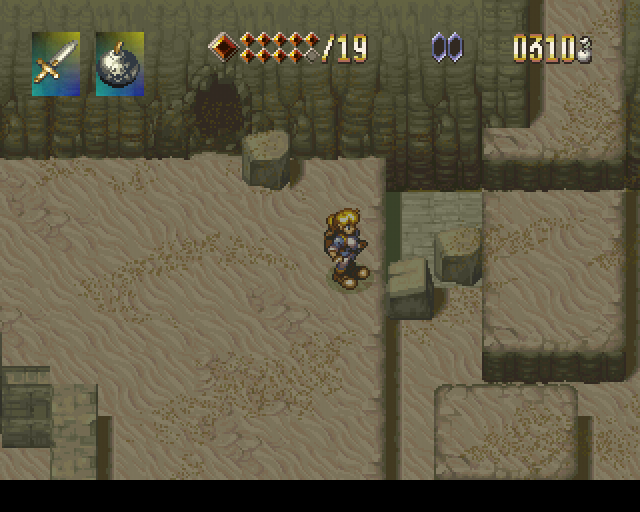
From here, with the Long Boots at least, it is possible to head north into that small area to reach a rather unique building. Where said building is, is the second way to enter the Despair Desert.
For the longest time I thought that this was the actual desert sanctuary because of how much it stands out so I devoted ages to trying to enter to no avail. Needless to say, when I first found my way in there I was more than a little disappointed. Make note of the water behind it though; that is important too. Yes, Alundra can't swim. No, he won't need to.
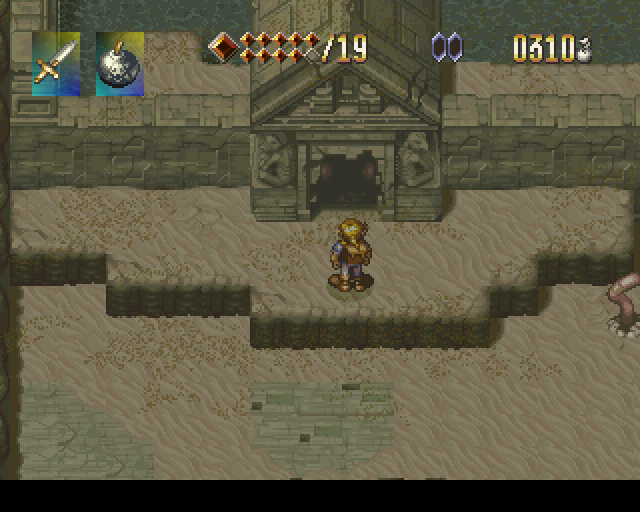
Inside the unusual building is a locked door. It looks like there's a signpost back there, but there's no clear way inside. I initially presumed that you needed to swim in from the back and do a mini-dungeon there later. This is not the case, for this place is completely optional.
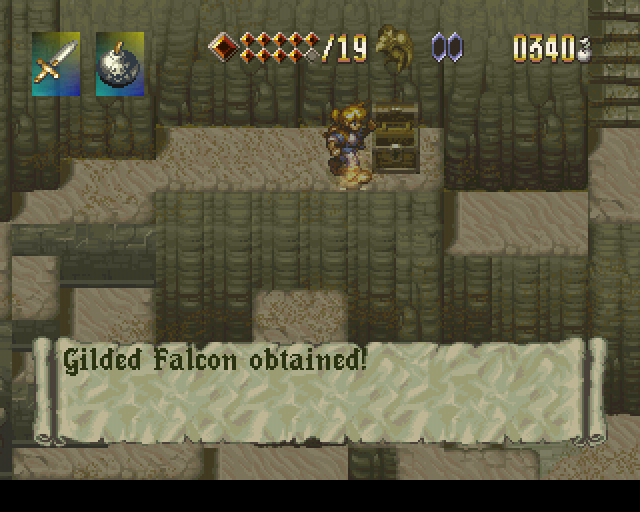
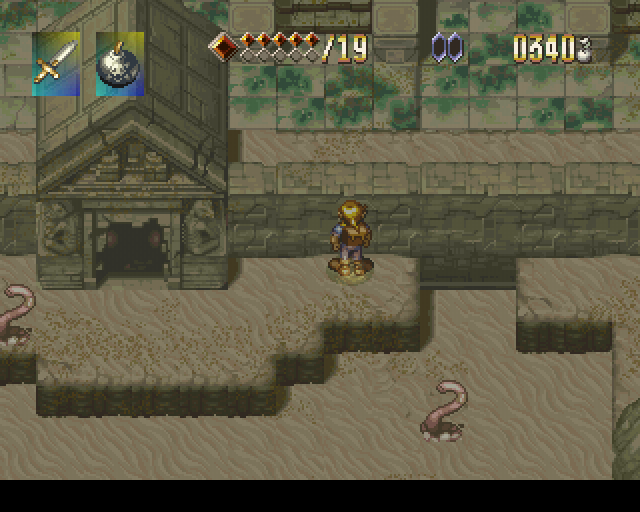
Near where we need to go, there's another Gilded Falcon. The stairs to the right of here will be important shortly but for now they're easily ignored.
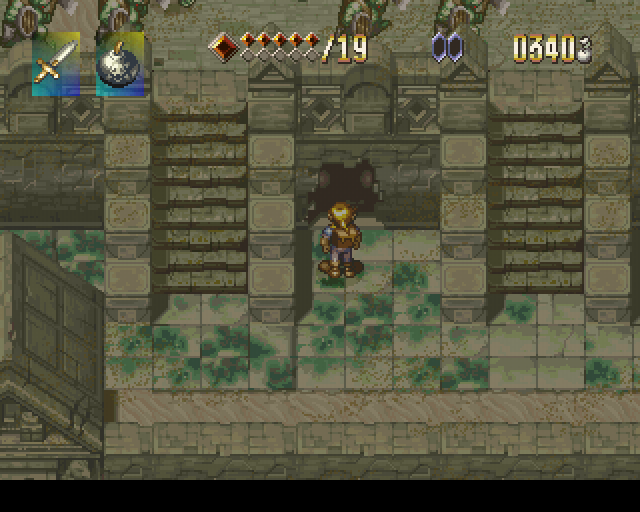
Just to the left of the Gilded Falcon is this cave. It's actually easy to never find this place since without actively heading to it, it will always be just offscreen. Inside, there's only two things to note; one is something that is unusable for the time being, the other is an important item. Since getting to this place can be quite tricky in and of itself, I've included that as part of the video.
Aside from the key itself, the only other thing to note in there are the three pillars behind it. They will hurt Alundra if he touches them since they're kind of on fire. If you didn't know that in advance, you'd possibly try doing something with them but end up harming yourself in the process.
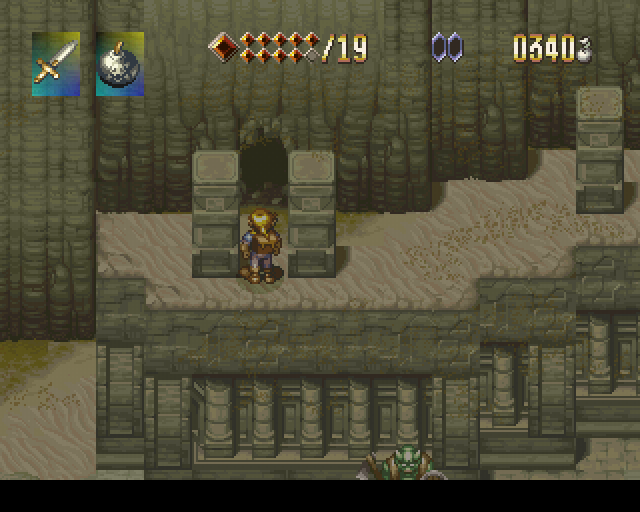
With the key in hand, it's just a matter of taking the short walk back to that strange building near the Sand Cape's cave.
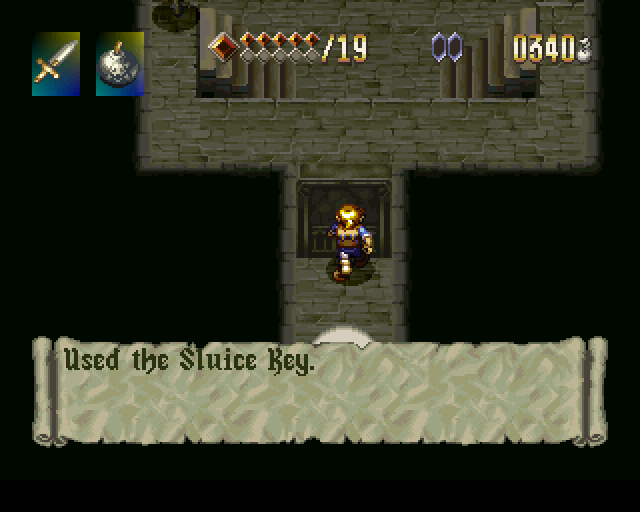
Naturally, the Sluice Key is how you actually get in there otherwise this would've just been a massive cocktease. It stands to reason that this place has something to do with water at this point.
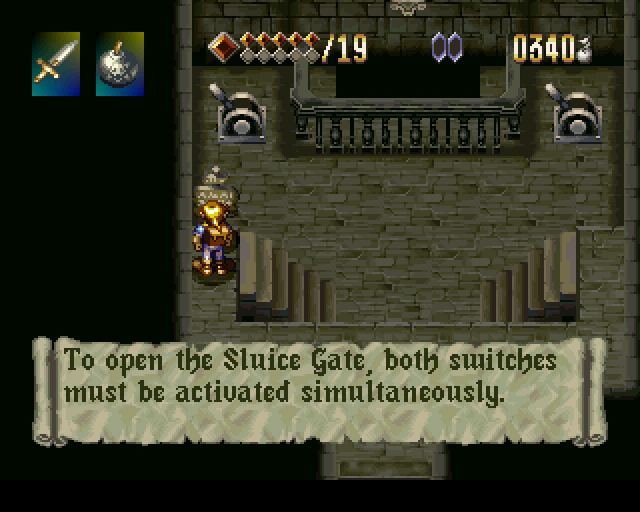
Despite sounding like something pretty hard to do, it's disappointingly easy in actuality. The Sword is worth using here, because it's slightly faster than the Flail. As you've probably already guessed, this mini-puzzle is done by hitting one switch whilst a Bomb detonates hitting the other. You don't have to be pixel perfect with your timing, but you don't have that much room for error either.
Upon accomplishing this arduous task, water is drained from the lake outside. There's no items in there at all so this all seems pointless but there is actually a purpose to doing this even if it's not apparent at first.
By draining the water, this cave becomes accessible. There's no other way to get to this and there's nothing here apart from this. This is the one thing that saves the Despair Desert from being the worst area as far as I'm concerned.
...Saying that, what you have to do in here isn't exactly great either, but the reward salvages it.
The places "between the pillars" the man was referring to are the archways that are scattered throughout the world map. There are eight of them in total and they actually have a purpose at this point. At least five of them are activatable at the moment. For the time being, all eight are merely one way as you must enter one to be able to leave it again.
I might have panned the Long Boots earlier, but they do actually have a minor use; with them we can gain another Life Vessel and another Gilded Falcon. Well, more than one of the latter because I inadvertantly skipped like three or so. Since this is the most opportune moment to activate the few archways you'd realistically use (all three of them and one is only for grabbing some items later!) we might as well grab the Life Vessel and Falcons since most of them are along the way anyway.
That makes a quarter of all Life Vessels and just short of two-fifths of all Gilded Falcons obtained thus far.
With all that now done, there's nothing left but to head back to Inoa to get a hint as to what comes next.
Next time: you want how much for a Life Vessel?!