Part 29: Last Armageddon
Last time, we raised the Lake Shrine and then sort of gained entrance in it before finding a teleport outta there and into Inoa somehow. Since it's pretty much intended to help get supplies and save and stuff, it's the ideal time to go and do one thing.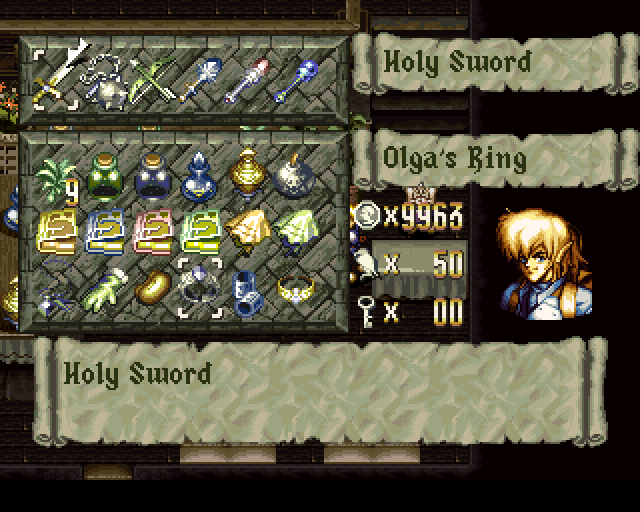
Get a full inventory, of course. This could be done inside the Lake Shrine itself, instead, but we might as well use some of the gilder we've got sitting around since there's bugger all else to do with it.
Speaking of the Lake Shrine, there's still one last thing that needs to be done before we can actually enter it!

Hosted|Youtube
It's just a simple final puzzle that opens up the Lake Shrine, for real. It's nothing particularly challenging, and the hardest part is actually getting to the switches. Though that, too, is simple via a process of elimination moreso than anything else. Upon entering the portcullis, the dungeon begins for real...
Hosted (Part 2) (Part 3) (Part 4)|Youtube Part 2 (Part 3) (Part 4)
Well, this is a long dungeon alright. Even discounting the exterior, it goes on for quite a while. Sadly, that's what stops this dungeon from being truly awesome. It lasts way, way too long. Everything else about it is pretty good. The music, the actual appearance of the dungeon, the puzzles are a decent mixture between being simplistic and difficult (though the hardest parts are, as always, caused by the camera). There aren't overly many enemies, but there are enough environmental hazards to warrant use of the Water Book at least once.
The fourth video only handles the final bosses of which there are two (well, three). The Dragon at the beginning is, oddly enough, not the easiest fight here. You can only damage it, with regular weapons, whenever it's on the ground so magic is the order of the day here (as per usual). Its attacks are fire elemental and thus can be negated by Nava's Charm but there's not much fun to that. At least it doesn't drag on for way too long unlike a certain other dragon from before...
Anyway, afterwards you're fully healed just in time for two more fights. Both of which are against Melzas himself and the first one is ridiculously easy (and is the easiest of the three final fights). He uses a simple pattern and his attacks aren't all that damaging either. Whenever he appears, he spawns several fake clones much like Sara did. Unlike her, however, it's not dumb luck as to which is the real one. No, whichever one spawns last is the real one here.
After that, the real final battle begins and under normal circumstances it might just be harder than Zorgia is. Its attacks CAN hurt, a lot, depending on your armour and it's pretty durable on its own. In the event that anyone gets this far with the Cloth Armour, they probably won't beat this form since its attacks deal 30 HP worth of damage if you still have that, which gives you very little room for error. Even with the Silver Armour, the damage can pile up quickly if you're not fully prepared. As with everything else, for the most part, though spamming magic makes it pretty much harmless.
Following that, there's just the matter of the ending. Speaking of which!

Hosted|Youtube
Next time: Alternative boss strategies and some of the missed optional things.