Part 19: Master of Arena - Chapter 8: Life Without Nest Support
So as we saw the end of last update, our support from Lana Nielsen has been officially severed. No new missions coming in from her. What's a Raven like me supposed to do now?
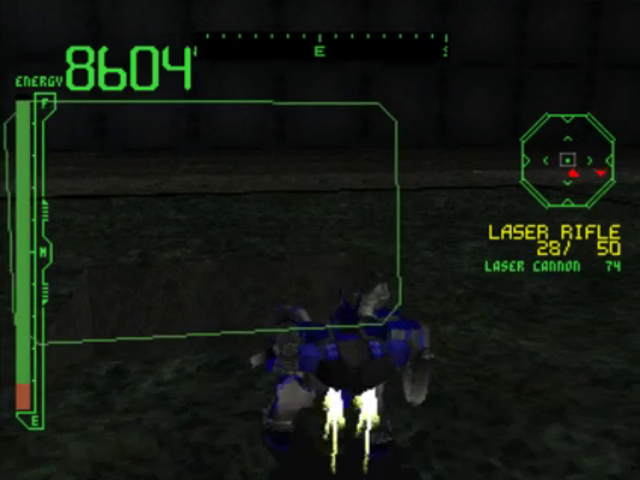
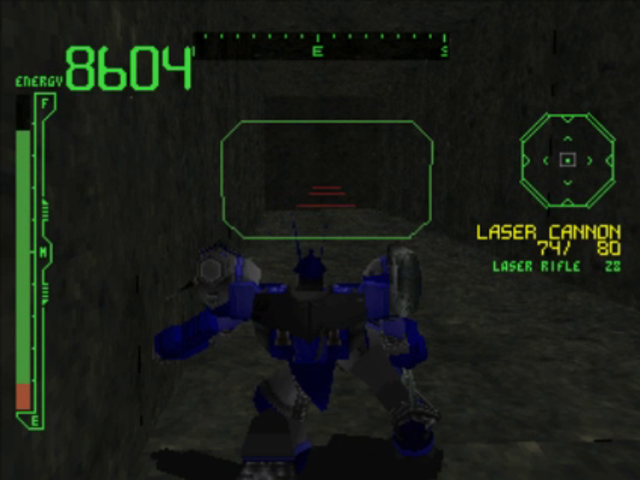
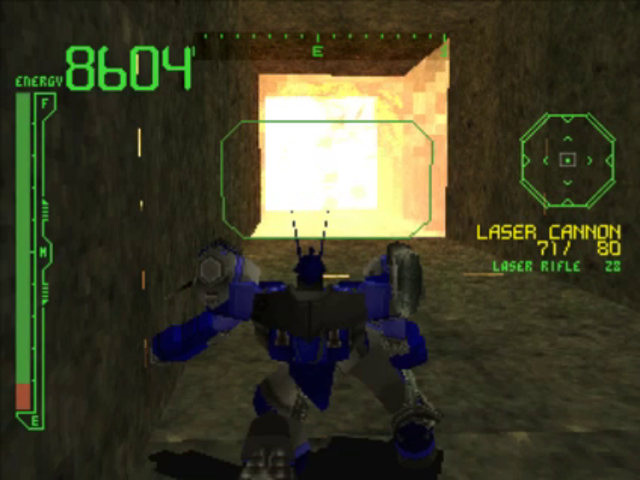
Kick more giant robot ass in the Arena. Only gotta fight everyone else above us for another shot at Nine-Ball, so let's go. Not holding anything back with these laser arms.
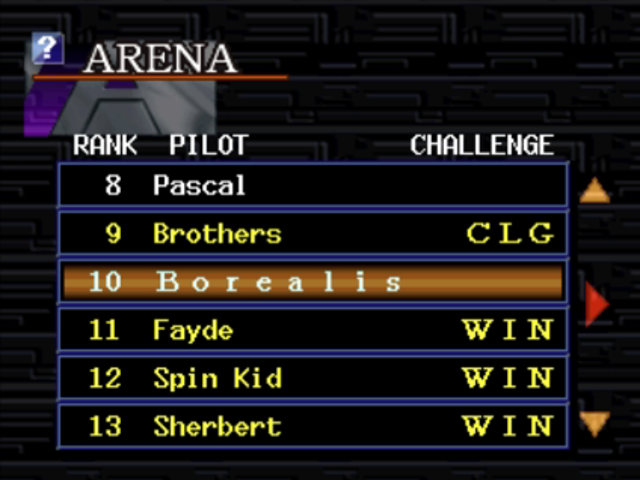
Main Arena Ranks #9 - 7


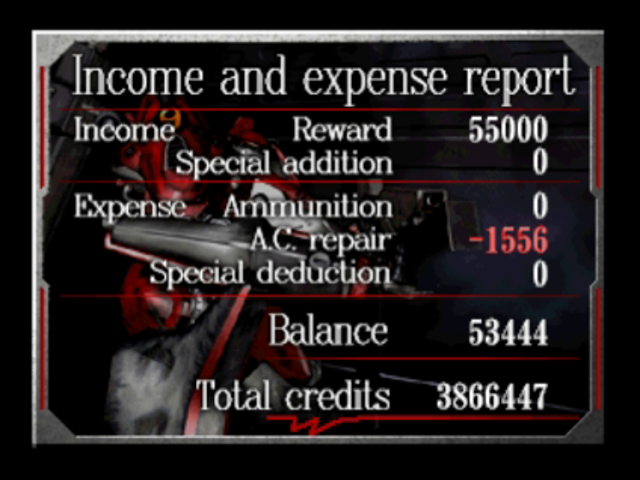
Reward: 78000 C
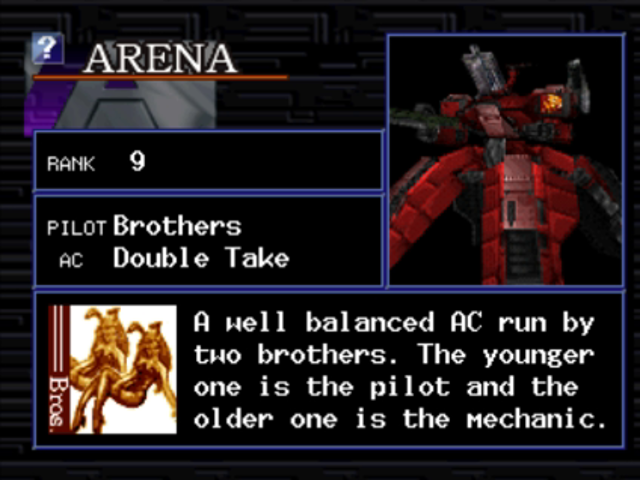
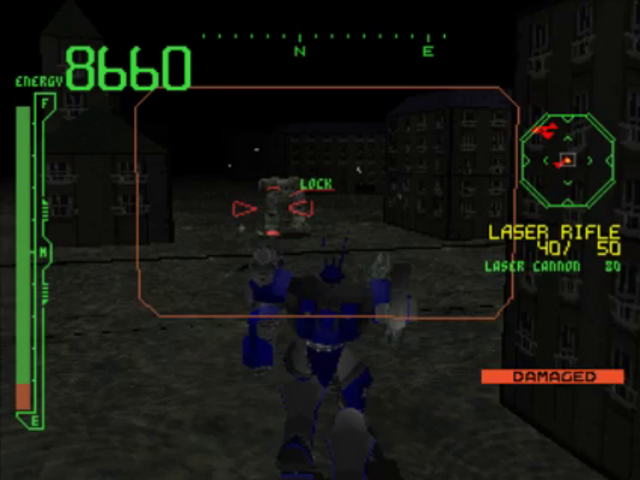
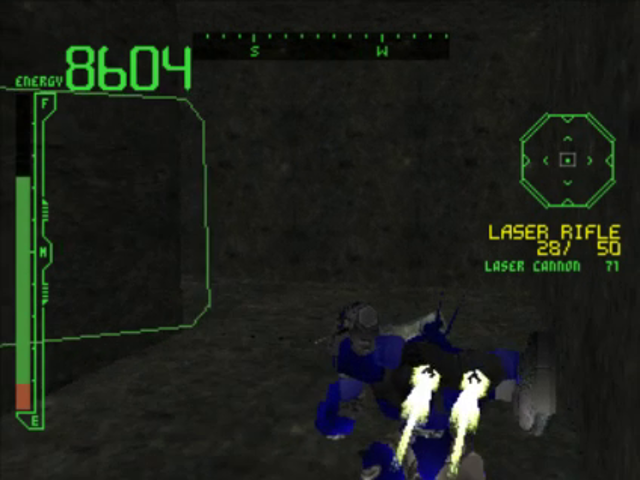
The Double Take has got some impressive weapons in the form of a back laser cannon and linear rifle, the majority of which it uses the laser cannon similarly to how I tend to use it. Although after having gone through the hell that was the Four Legs Arena on the game's second disc, beating this guy with a leg type I'm most comfortable with served as a little bit of catharsis. Even with the few thousand points of damage taken it isn't that hard to stay on top of him.
Reward: 83000 C
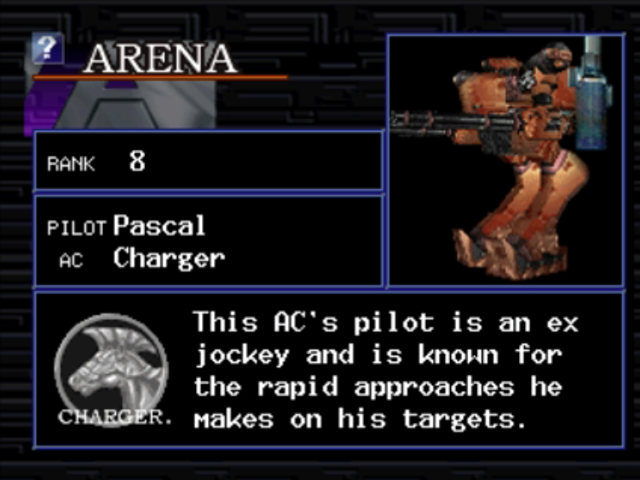
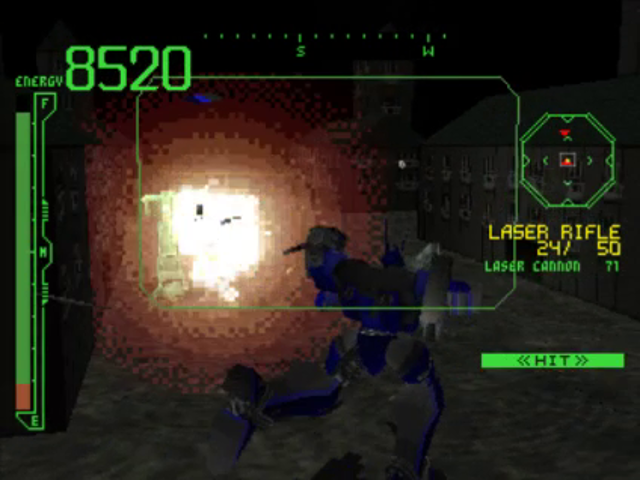
The Charger's biggest threat are the gatling arm cannons, which combined with his tendency to go airborne and, well, "charge" at you becomes extremely tricky to deal with, hence why I fell back on the parking garage stage. And even then I only got out of there I alive with only 600+ AP remaining. I was firing blindly in a bit of a panic because I thought the fight would be a failure, but hooray for splash damage!
Reward: 89000 C
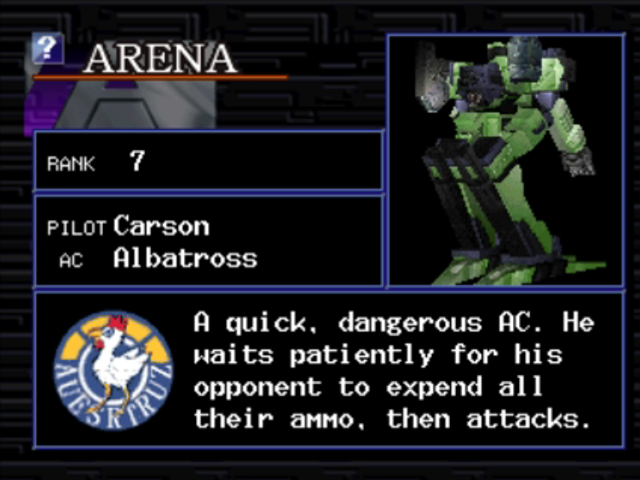
Carson's behavior with the Albatross is very interesting as it is very clear the developers set the distance slider for his behavior to far away as much as humanely possible. He stays true to his description and will rip you apart with the FINGER and other weapons in his arsenal once you've expended your ammo. Or he'll use them randomly whenever you get too close. This particular map saved me some of the hassle that comes with chasing him because the open green field with trees is actually a mine field, and when you can lead your opponents to land on a mine and blow themselves up (or set off surrounding mines as well), you can cut their health down pretty quick.
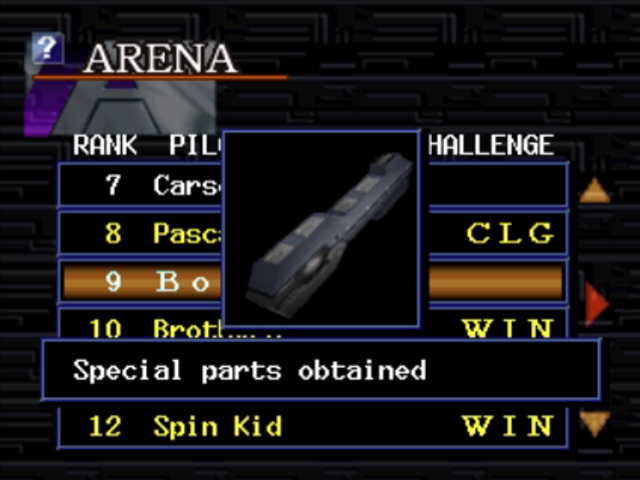
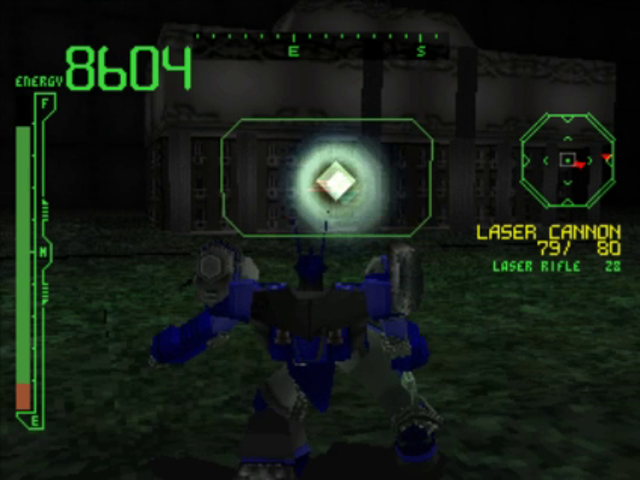
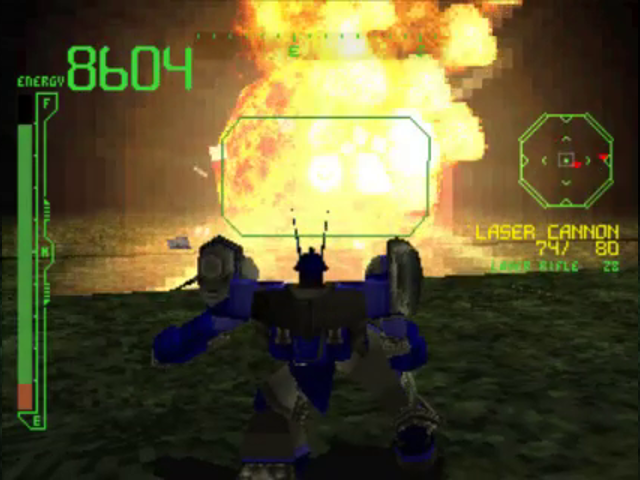
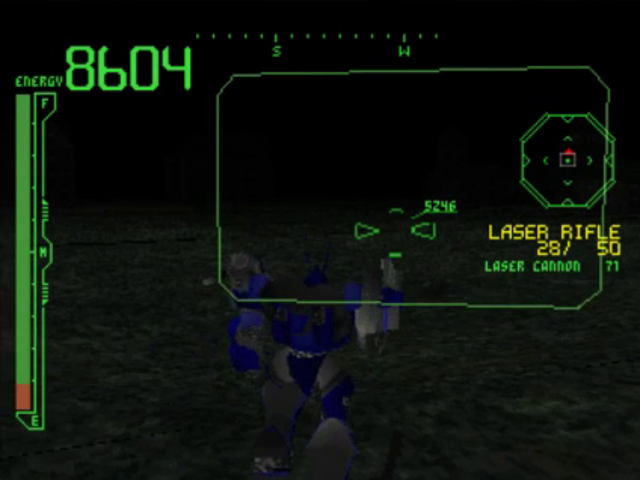
Now, you might have noticed during the last two matches I swapped out my back mounted laser cannon for something different. Upon Defeating Brothers, this is the item that you earn and I decided to give it a test run against Pascal and Carson. The results were very evident I had clearly never used it before, but hey you gotta give me points for actually doing different things every once in a while, right?
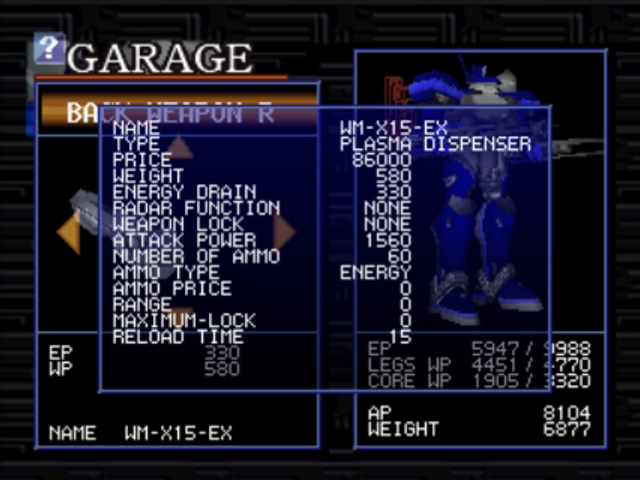
The item in question is the WM-X15-EX, a weapon that is described in game as a Plasma Dispenser and is the only one of its type in the game. It fires bolts of Plasma like a mortar shell, firing upwards with a trajectory and landing on the ground to deal damage to anything in its radius. Naturally, a vertical weapon would be very useless on something like the parking garage arena, but even without ceilings this weapon still requires a fair amount of knowledge and skill to use properly. Its place in the inventory selection when in the garage is sandwiched between the various rocket weapons, which do not have lock on capability and require users to lead their shots in order to hit their targets. In the case of the Plasma Dispenser, the trick is more in knowing the range that the shots fire and how you can also use your position in the air to even further influence it. It's challenging for players that are used to weapons with lock on targeting, but if used effectively, a single direct hit from a plasma shot is almost equal to a single shot from the KARASAWA.

Anyway, never mind that, we've been kicked back out of the Arena after only 3 rounds as we got a new message in our inbox.

Sender: PROGTECH
An emergency situation has arisen.
We have an urgent request regarding
a mission for you. Please read the
request description for more info.
Yep, even with no more mission report coming from Lana, our sponsors over at PROGTECH are more than willing to give us some extra work (by taking away our Arena license as incentive to get shit done).
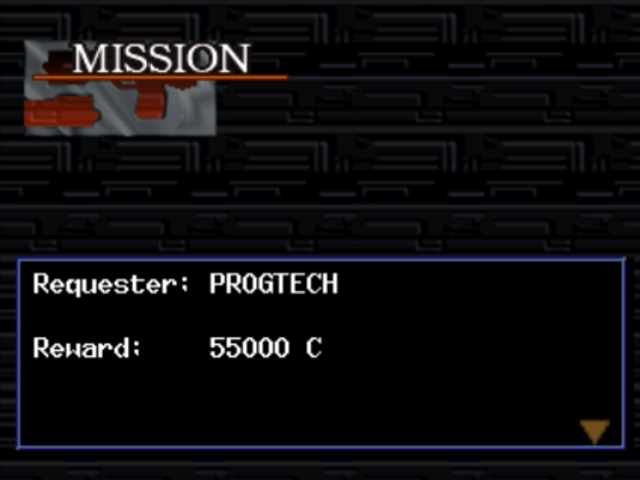
We're requesting you to assist our transportation team. They are now moving from the Marine Laboratory to our HQ, but
they have come under attack
The transportation team is being guarded by our Escort Team, but they are being overwhelmed by the enemy's forces.
You must be careful...all units, both friend and foe, send the same signal. You'll need to make visual contact before
initiating an attack. Otherwise you might hit our team.
Attacking blindly may lead to friendly fire casualties. Be selective and save as many of our units as
you can.
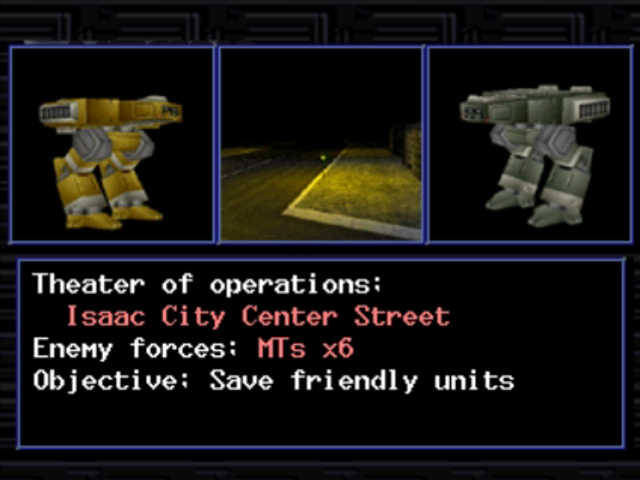
Remember way back when in the first Armored Core when there was mission involving the Isaac City Guard, and how you had to deal with walker MTs in the sewers while covering the asses of the guard's walker MTs? Remember how fun that was when an enemy managed to blow up one of your allies but they were still all so spread out.
Depending on how good of a player you are, this mission could end up being way worse or way better than the old one I had just described. The difference comes in whether or not you have the right approach and can execute it quickly. Which you shall see.


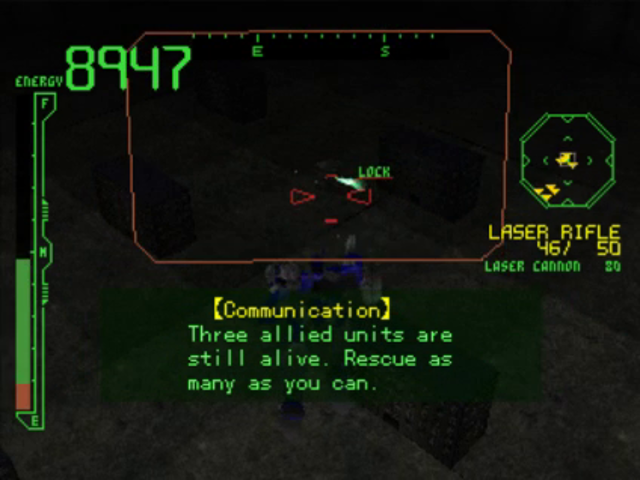
Right from the start, we see our first friendly Stinkbug coming under attack by three enemies, all to the left of the player's start position.
We got three units we need to protect, but as word from experience, it's damn close to impossible to keep all three alive so just focus on the grey Stinkbugs in finishing them as quickly as possible.
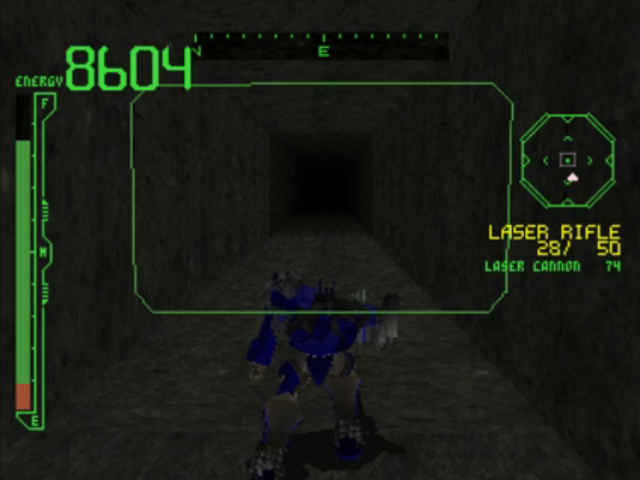
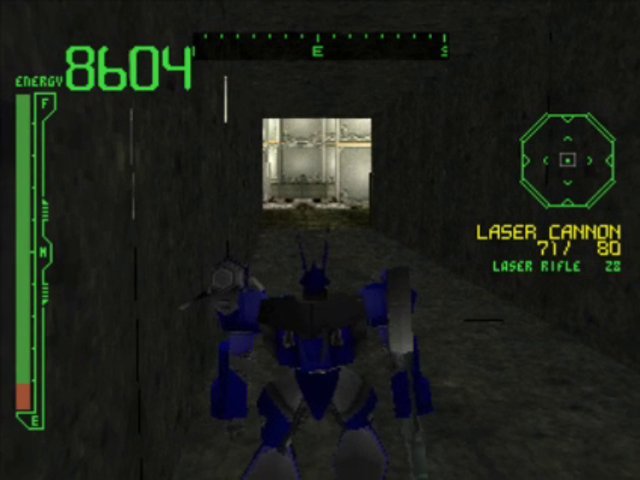
Clear out the first half of the enemy forces then book it north. For low visibility maps like this underground city it makes me glad I have a good enough radar to keep track of where everything is.
Also by the point you're ready to move to the next half of the enemy forces, the first ally should be dead. Can't help 'em all.

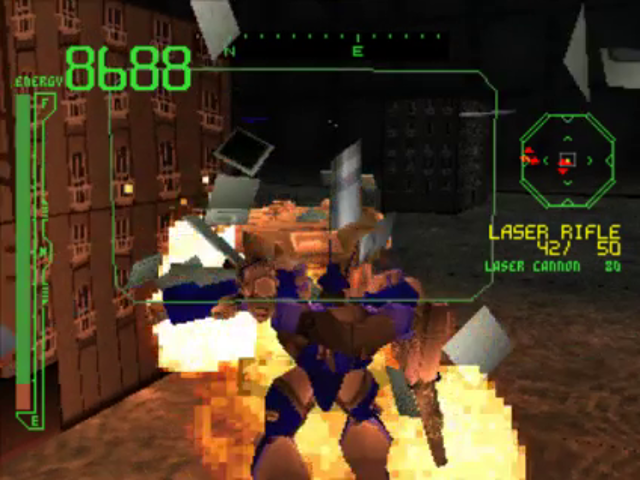
The three remaining enemies are spread out, attacking the ally MT from the front, left, and right. I focused on the left and center MTs, but any two is good, just to keep numbers low for what else is needed during this mission.
You see, there is a hidden AC part on this level, and it is hidden behind a single large building standing out in the northwestern area of the map. Just blow up the building for start.
Just drop down the hole in the ground and follow a tunnel. There comes an intersection with three possible paths, but only left is the correct one.
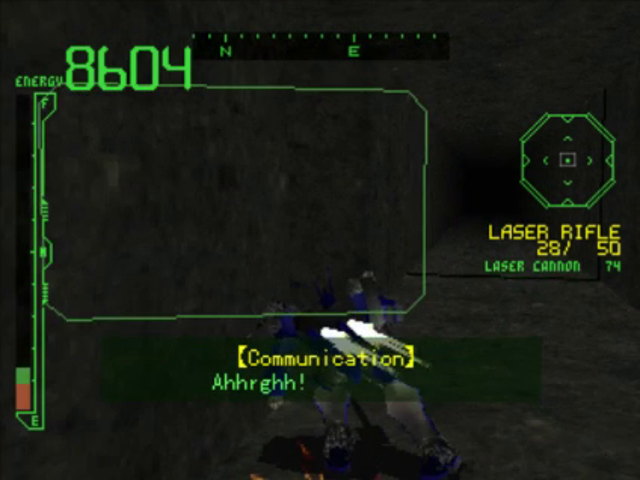
And there goes the second ally MT, the being attacked from three angles. There was still the one enemy nearby and he finished him off. Though at this point the plan is set and we're safe for the rest of the mission.
Now, I said left was the correct path, but all these pathways have a wall at the end. The one on the left however can be blown up...
...to reveal a secret room.

The secret part on this mission is a new FCS, something that we haven't really seen in a while what with all the unique arm and back weapons we've been getting. Now it's back to the surface.
Now, the strategy behind my approach this mission worked because while the MTs will eventually kill each other once they start shooting, they are extremely lousy at moving to other targets. By isolating the last enemy MT and keeping it as far away from the first ally we saw at the start of the mission, things are assured that the last ally won't be killed and the mission forfeit. The enemy I left behind in particular was surrounded by multiple buildings so that provides extra obstructions between the two just in case it happened to enter some range that the weapons were still viable from far away.
And at the end, even with one surviving MT, we don't get any special deductions for the other two being killed, making this by far the best protection mission in the series up to this point because they won't charge you for bullshit that was out of your hand like Isaac City.
We made it back, we can do more Arena matches, and we got a follow up email on that assignment we just finished, from a familiar face. Well, as much as there are "familiar faces" in a game where everyone talks to you via text email or radio chatter.

Sender: Elan Cubis
Thank you, once again. I can't
imagine what might have happened
had you not been there to assist.
I heard that Nine-Ball did not
appear this time. Some peculiar
things have been discovered about
this elusive character...I will
relay this information to you.
Here is what we know about the
NEST-registered pilot, Hustler One.
No one has ever actually met him.
Another interesting item, is the
fact that a great deal of
information pertaining to Nine-Ball
and Hustler One has been erased.
This has piqued my curiosity and I
will be looking into the matter
further. I'll let you know if I
discover anything of interest.
Now, I know I've dropped mentions every now and then across these LPs about the actual canonicity of these games, particularly Armored Core 1 as it relates to the current events of Master of Arena, and Nine-Ball is at the center of them. Depending on how you look at some of it, this might just further confuse the matter on whether or not MoA is just reimagining the events of AC1 or if they are separate events and that a lot of things in universe had to be done inbetween titles to facilitate Nine-Ball's return and heavy prominence in the game.
For start, there is the information that states no person has ever seen the pilot Hustler One in person. While Armored Core has never really gone out of its way in the series to show what the pilots actually look like, there is an actual image from a Japanese artbook for the very first game that shows what Hustler One actually looks like.
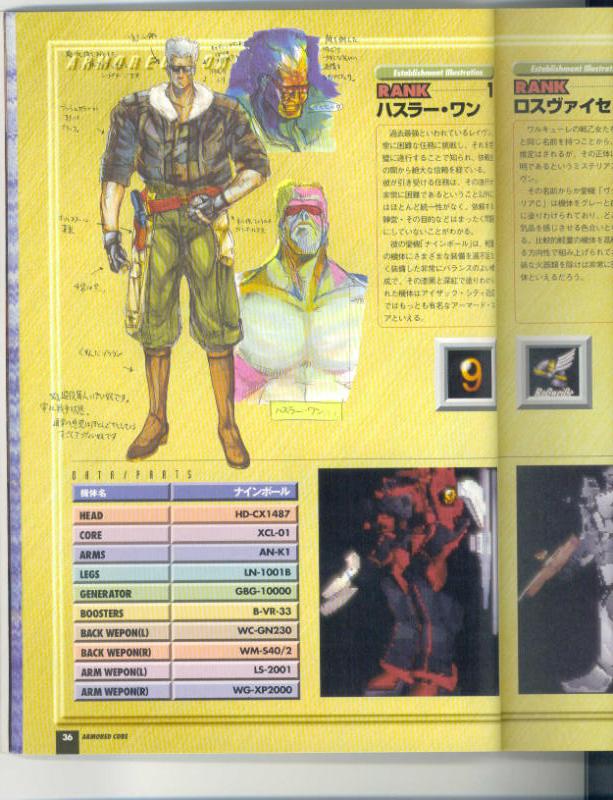
As for whether or not these images were to be taken as canon at the time or simply there originally as personal reference for the designers, I have no real clue. Only resource I really have to go off of is the AC Wiki which has this image and description in the first place, but given all the effort spent there on pages for each individual enemies and parts per generation, you can all be the judge on its validity.
Which then leads into the second piece of info from Elan's report in that the majority of information about Hustler One was erased. What information might that have been? Well...based on the fact we ran into 2 Nine-Balls at the end of the first game and the reveal there was an AI calling the shots on everything, I wouldn't be surprised if the image was just there to give people at the time the false perception that he's a real person and Nine-Ball as he is now is just another machine connected to some sort of AI. No one's seen him in person, and actual images of his likeness being erased would add to that fact.
But I've speculated enough. I still think this game is on some level a re imagining of the events from AC1, but even that has its own holes and threads that will make the rest of this update way longer than it needs to be if I keep rambling.
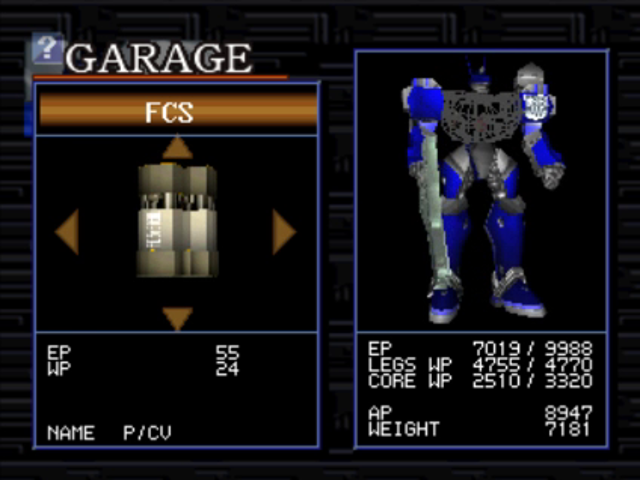
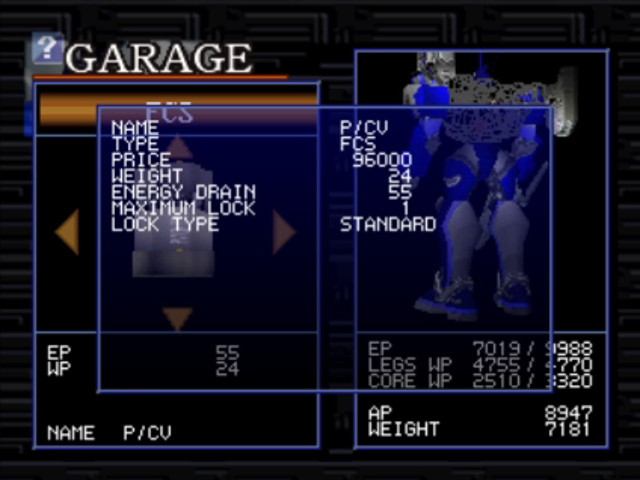
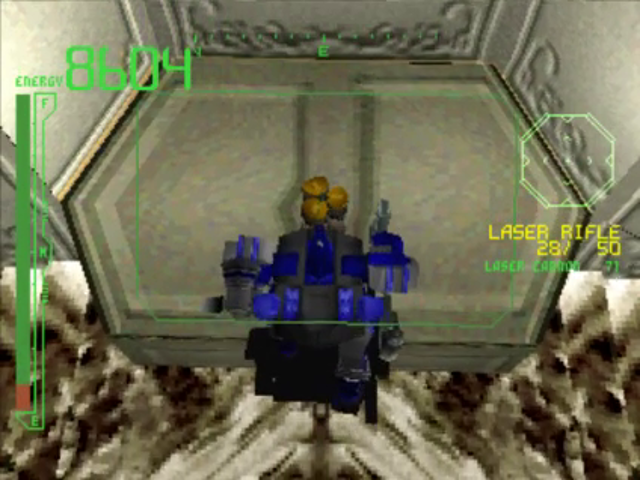
To finish things up, here's a closer look at the FCS we picked up in the last mission. The lock type is standard so the view box would square instead of horizontally rectangular like our current one. And it is tied with the QX-9009 for the heaviest FCS in the game, and has considerable energy drain on top of that.
With no discernible special abilities or gimmicks, the shape of the view box mixed with special energy weapons doesn't make for a good combination so I'm sticking with the TRYX-QUAD.
We'll continue to bash heads against giant robots in Arena battles and further unearth the mystery behind Nine-Ball. Payoff will come soon.