Part 2: Freight
Update 02: FreightWelcome back. Last time we started the game off and explored Ranger HQ and LowSector. Now it’s time to strike out into the depths of Sheldar until we reach the cargo we’ve been assigned to guard.
As mentioned in the previous update, we can switch the party leader fairly easily. Simply press R1, and…

Presto, Ryu’s our man again.
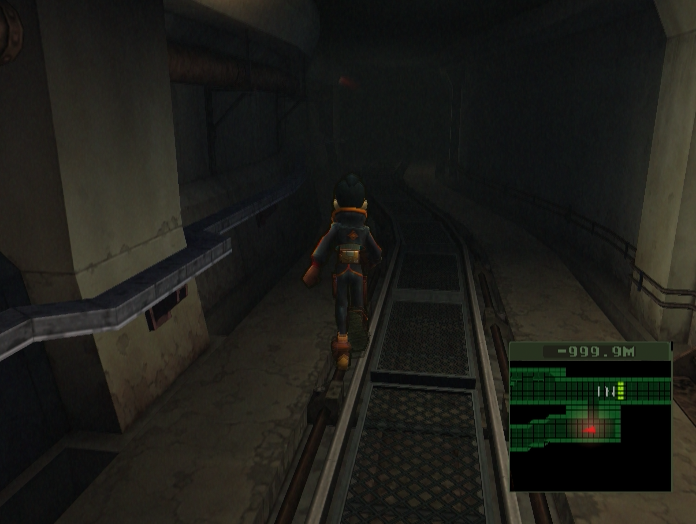
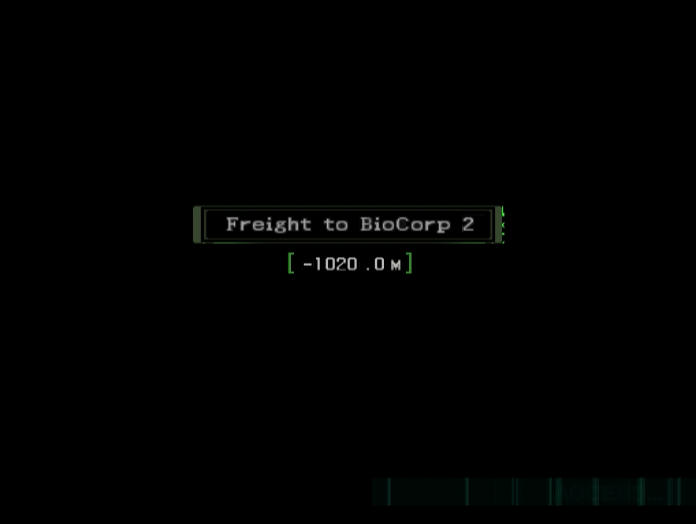
Music: Lift
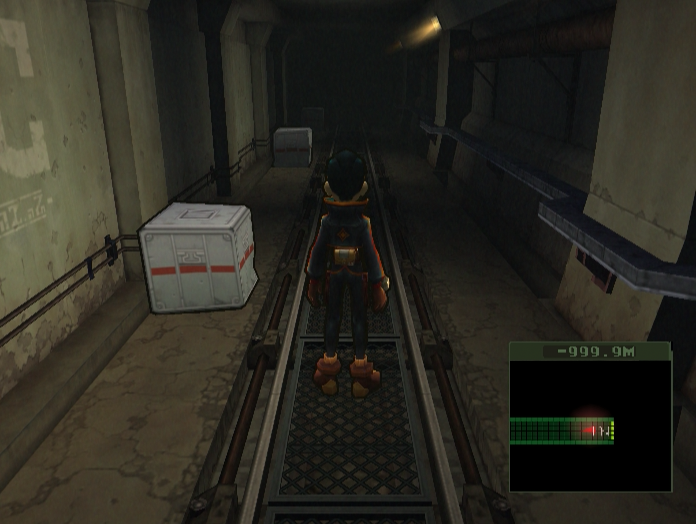
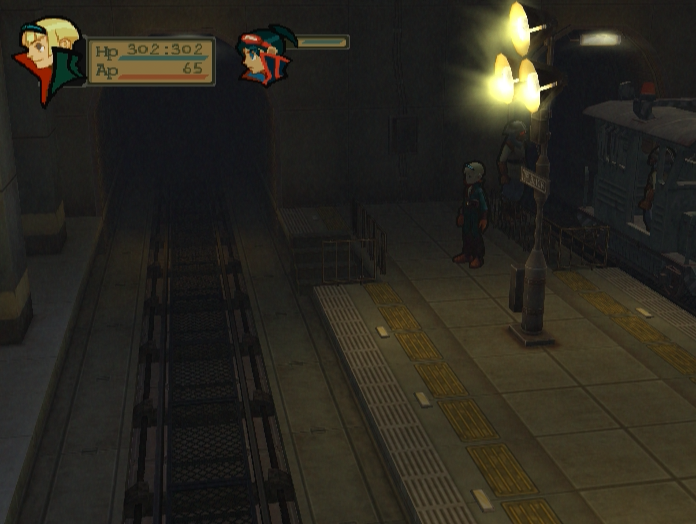
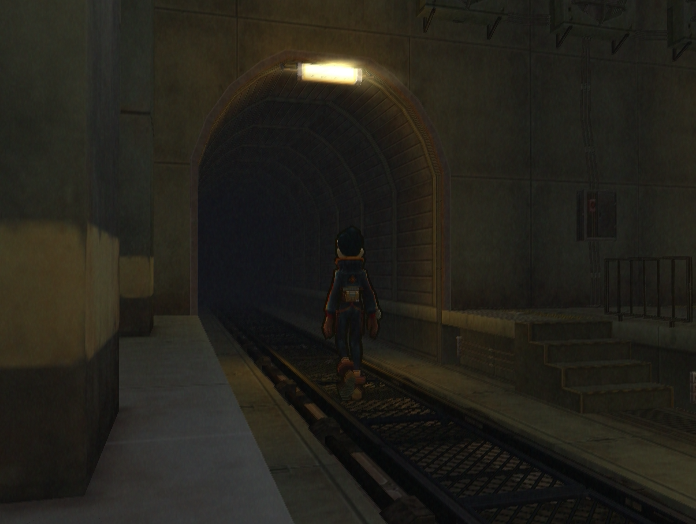
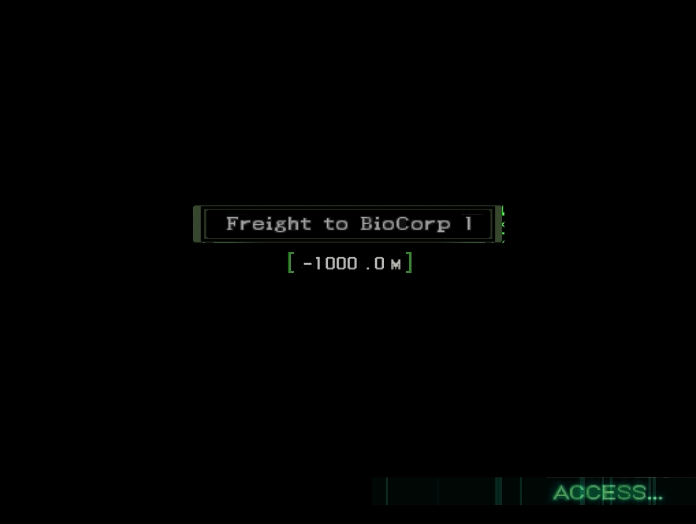
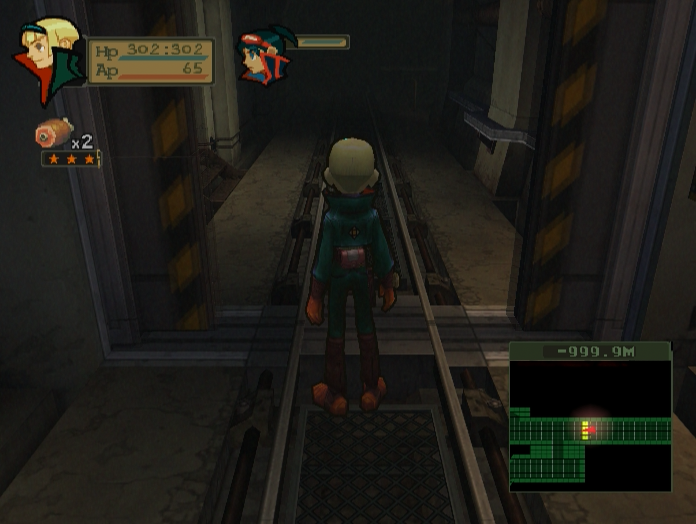
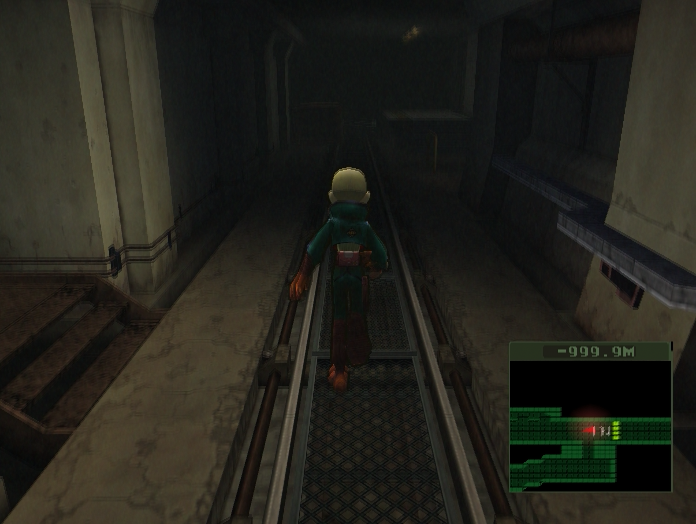
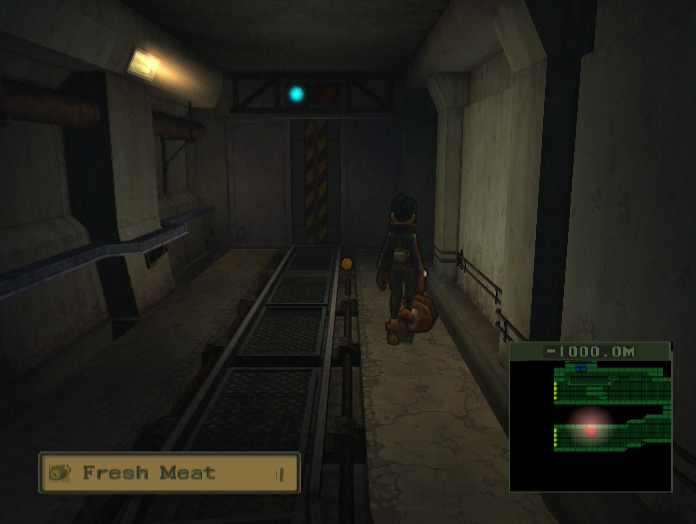
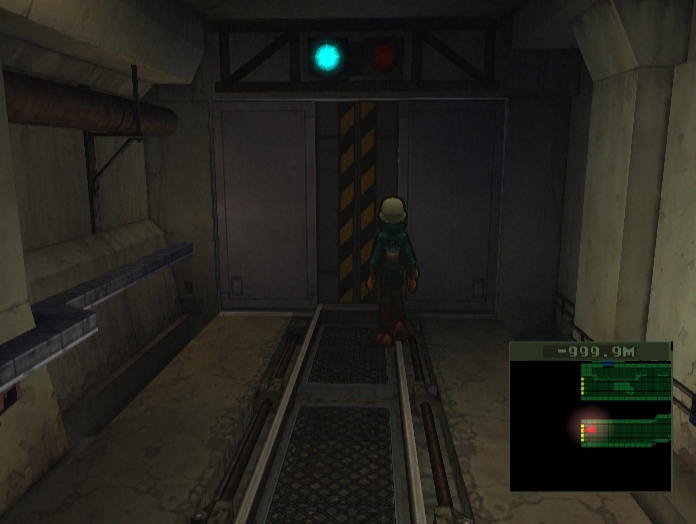
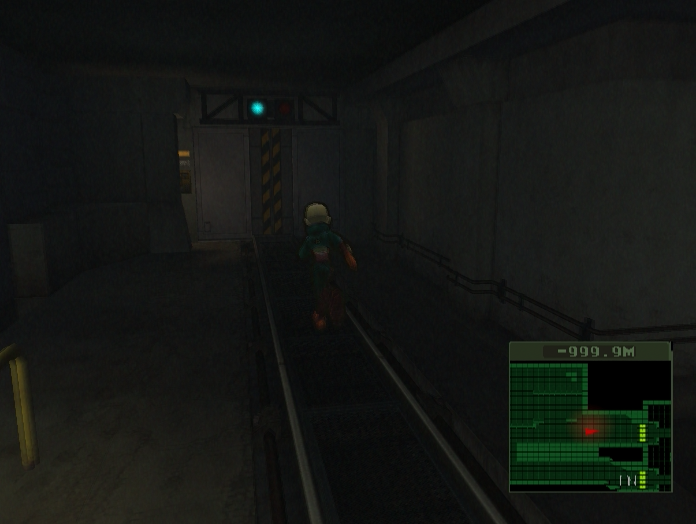
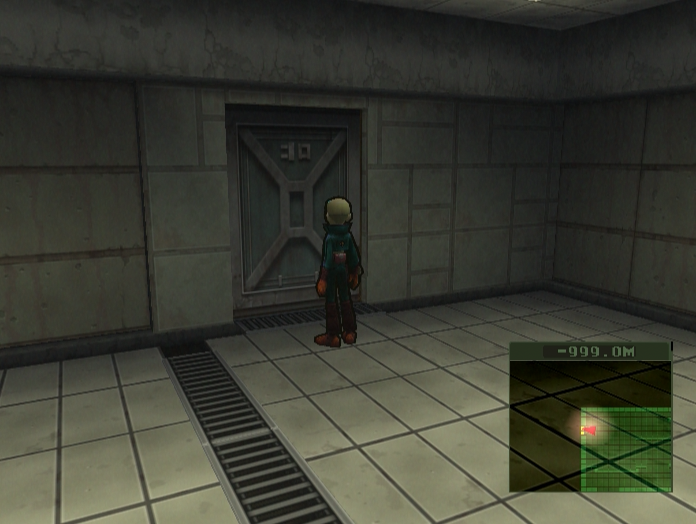
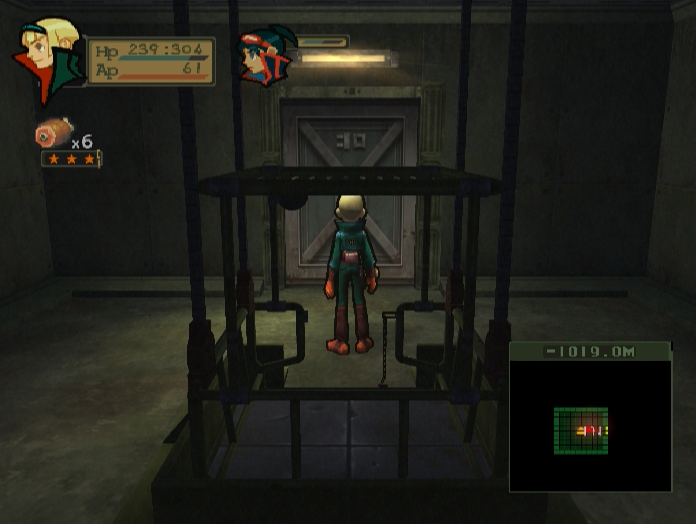
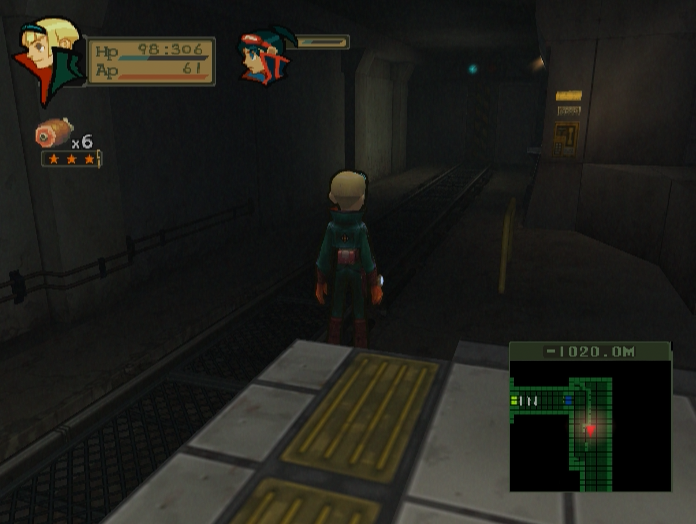
Walking through the tunnel leads us into the game’s first dungeon, the freight line to BioCorp. Since we’re about to encounter some enemies it’s probably a good idea to check out Ryu and Bosch’s status screens.
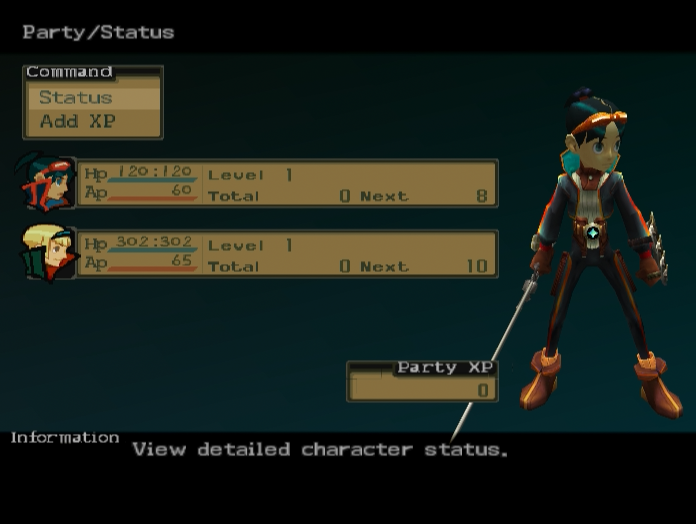
The party screen can be accessed from the main menu and displays our current party. It tells us some basic stuff like current HP, total AP and how much Party XP we have stored up.

Selecting a character gives us a more in-depth look at their stats and skills. The numbers in brackets in the status box are the character’s base stats without taking equipment into account. A lot of armours and shields apply penalties to speed, so that’s why those numbers have higher bases.
Ryu is fairly average in terms of stats. He’s got good HP, Attack and Defence, with decent Movement but fairly low Speed and Magic.
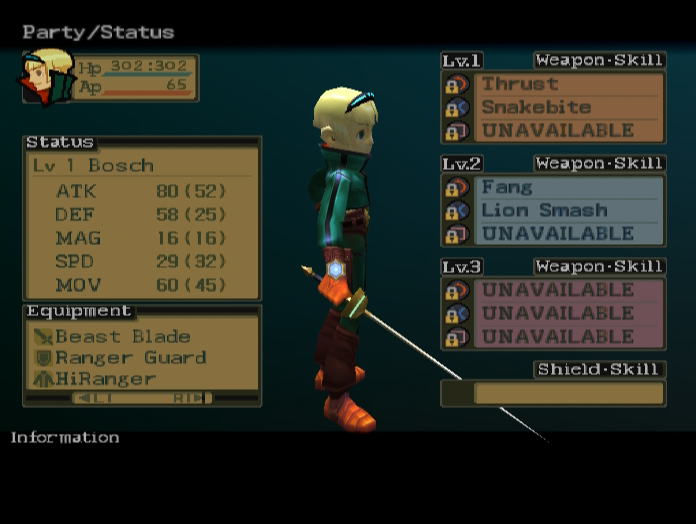
Bosch on the other hand is an absolute beast. He’s got more than twice as much HP as Ryu, and all his other stats bar Magic are vastly higher. I guess this is what they mean when the other Rangers say he’s headed for the top.
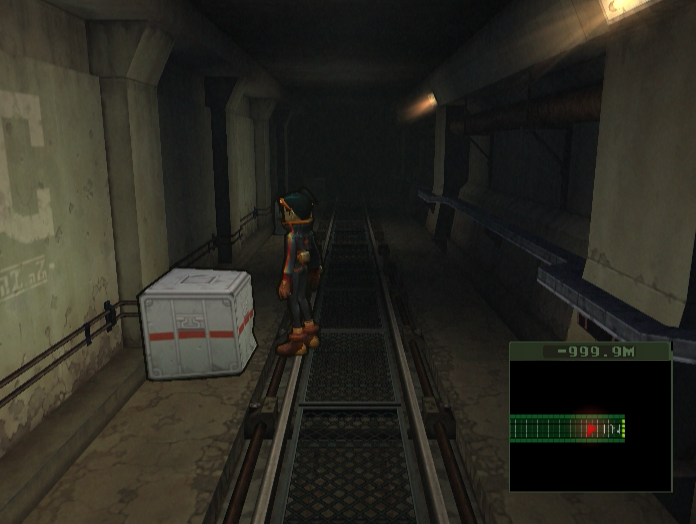
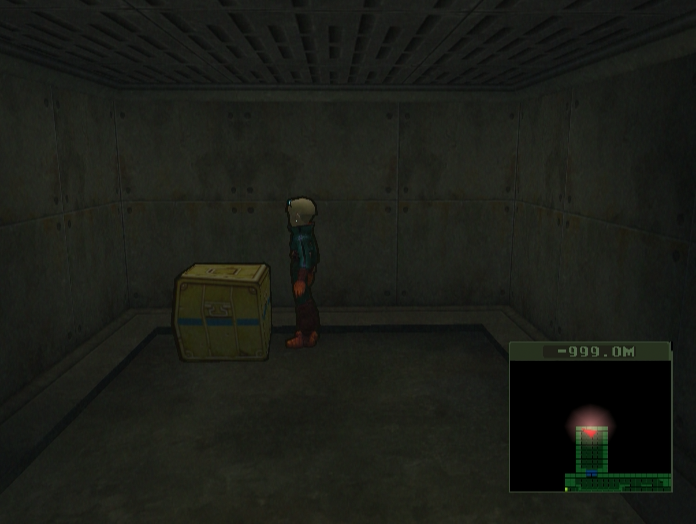
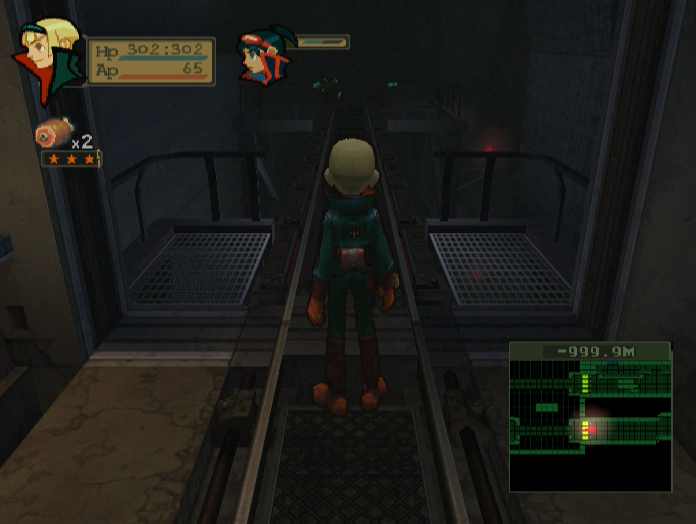
With that explanation out of the way we’re free to move on, but…these boxes look a little suspect, don’t they?
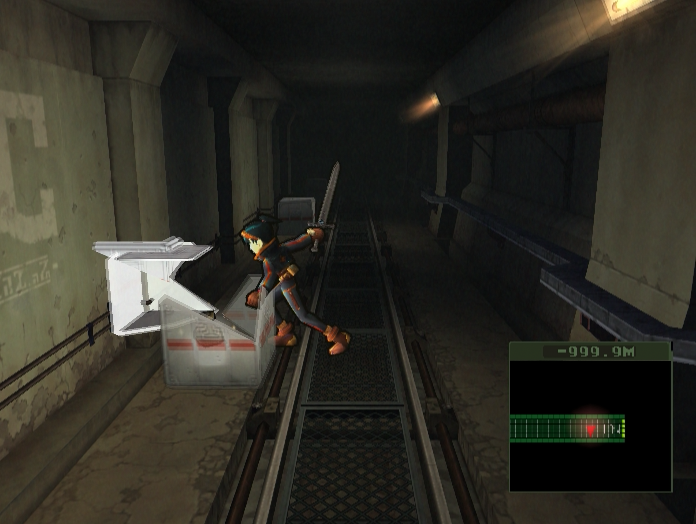
In dungeons, pressing the ‘X’ button will cause the current party leader to attack, which in Ryu’s case is a sword swing. This can be used not only to score pre-emptive strikes on monsters, but also to break destructible aspects of the environment such as these boxes.
Doing so is highly recommended since they often contain items, money and other goodies.
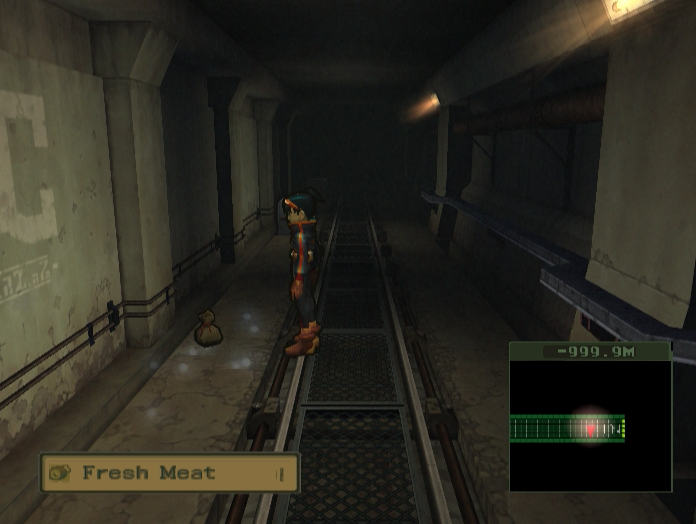
Bosch also has an attack, although in his case it’s a kick. There are three crates in this hall, containing two Fresh Meats and 20 zenny.

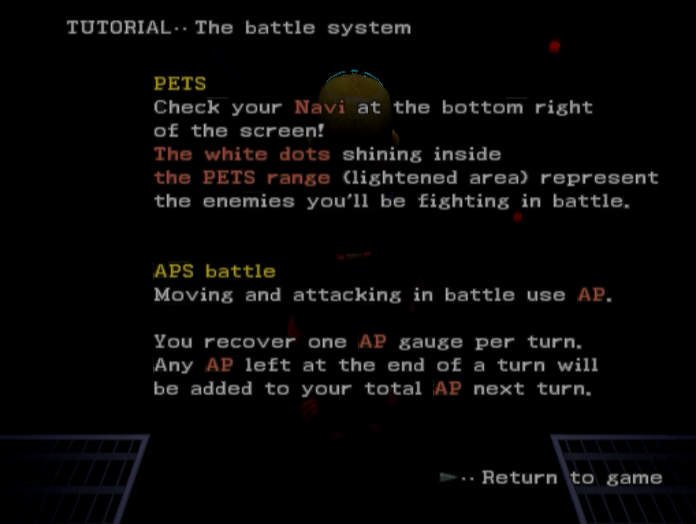
After moving through the door we get a brief tutorial on pre-emptive attacks and bait, just in case you missed the conversations about them in Ranger HQ.
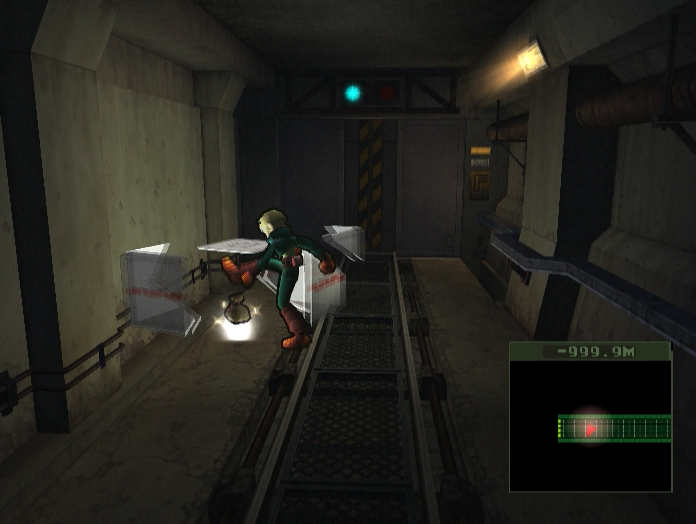
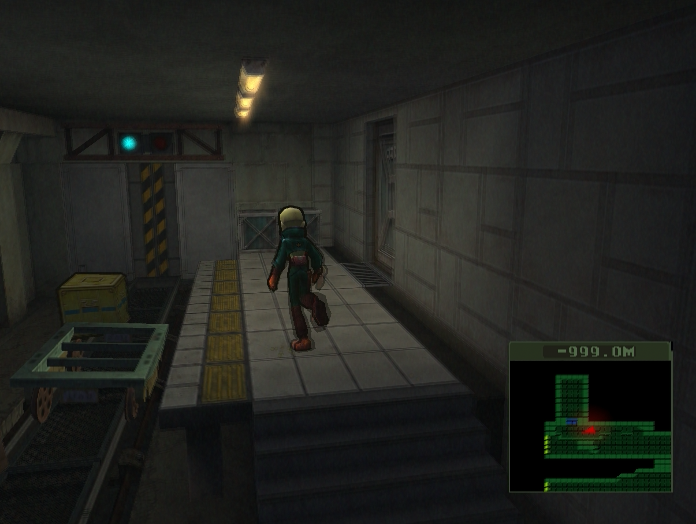
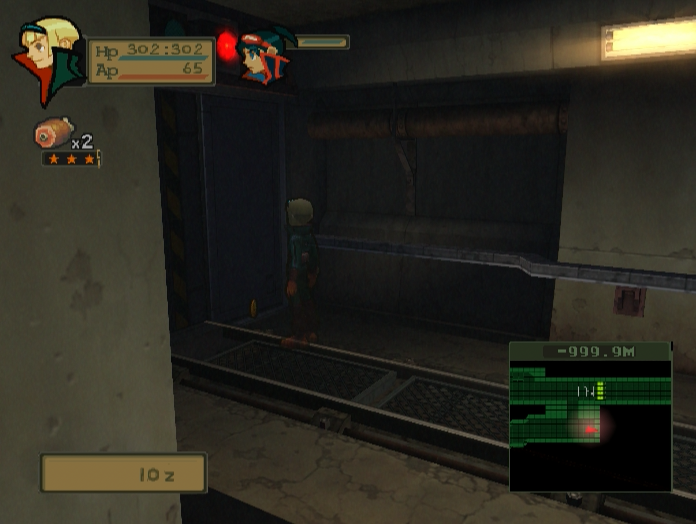
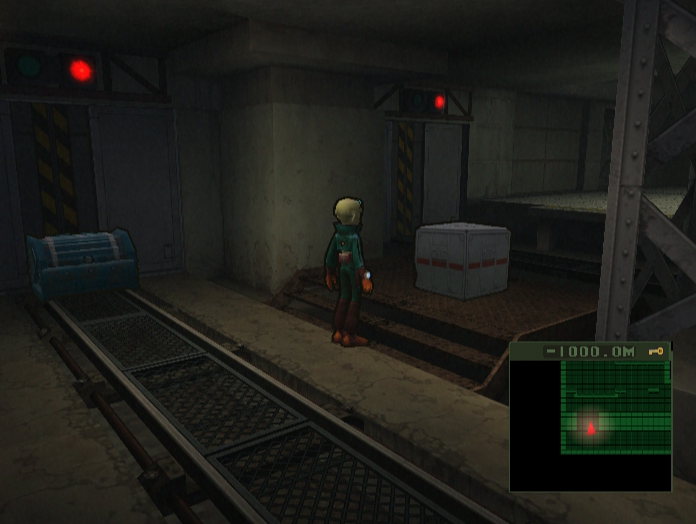
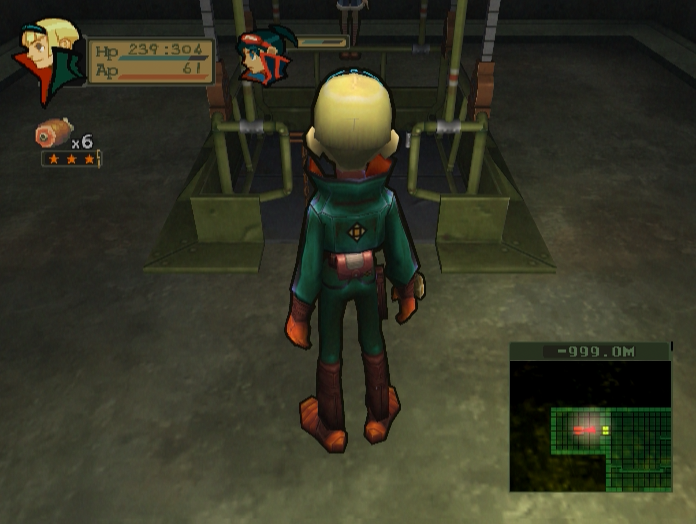
If you look at the map in the lower right of the screen you’ll notice that there’s a fork in the road here. We need to go left to continue, but there’s something down the path straight ahead that we’ll definitely want to grab before we go that way.
In a little side room next to a blocked off doorway we find our first gold crate. Gold crates always contain better loot than regular crates, so it’s usually worth going after them.
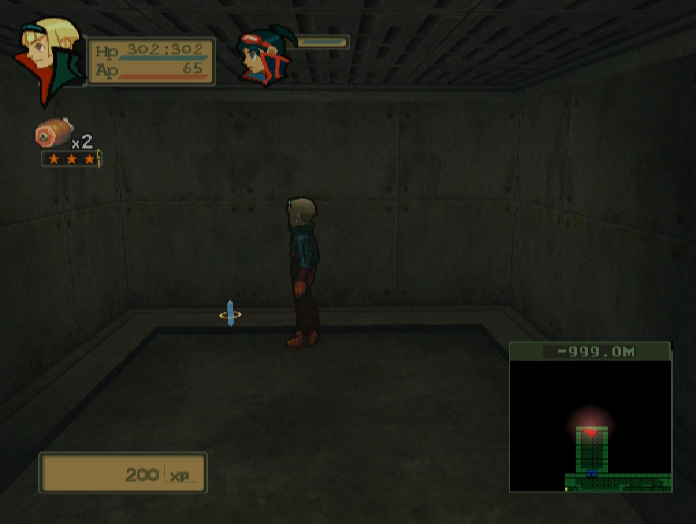
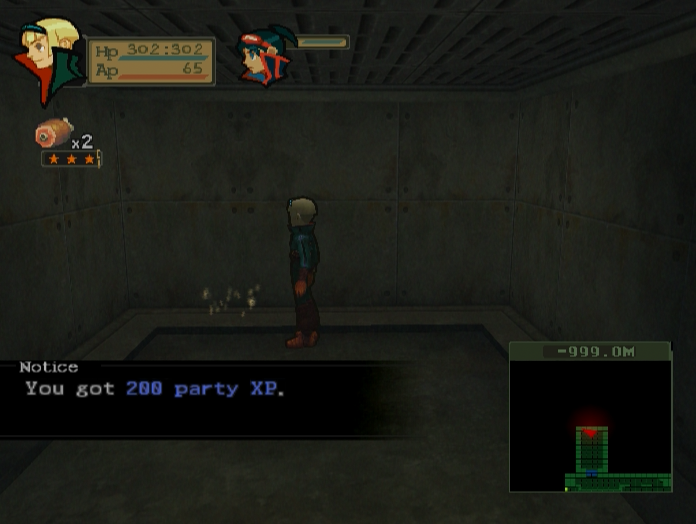
In this case we get some Party XP. Party XP is experience that can be manually assigned to any character from the party screen.
Note that loot in both types of crate are randomised.
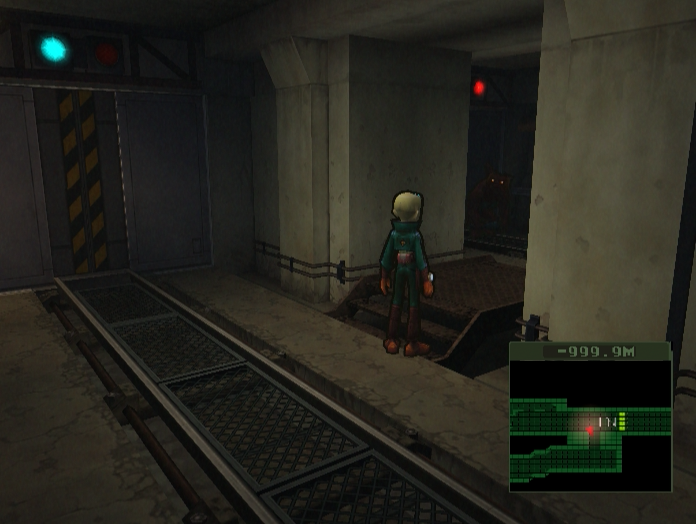
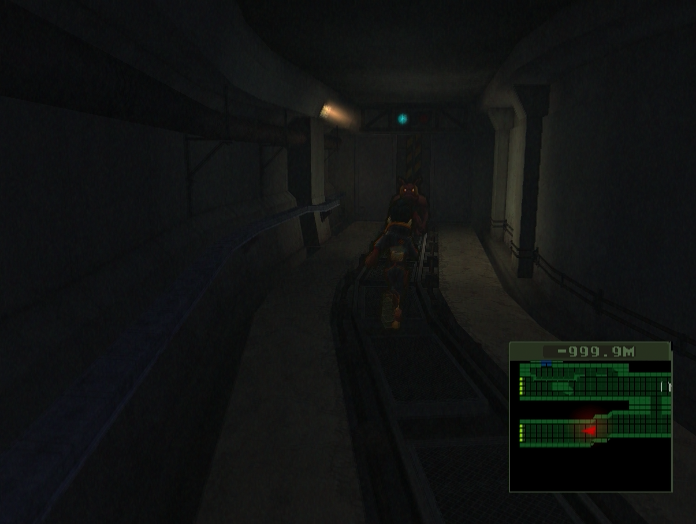
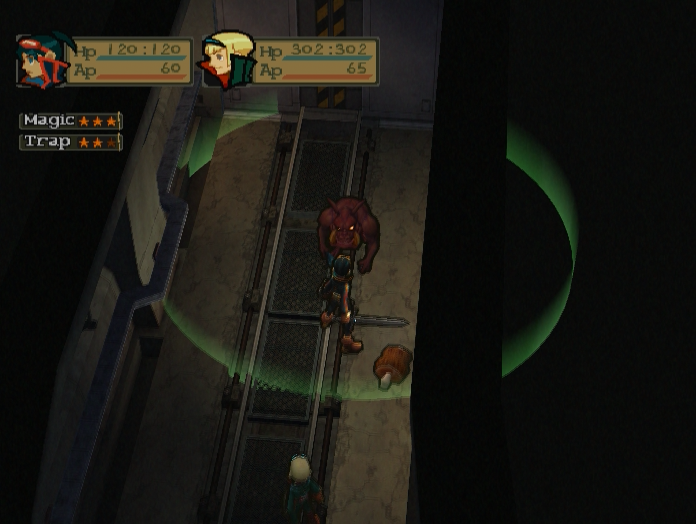
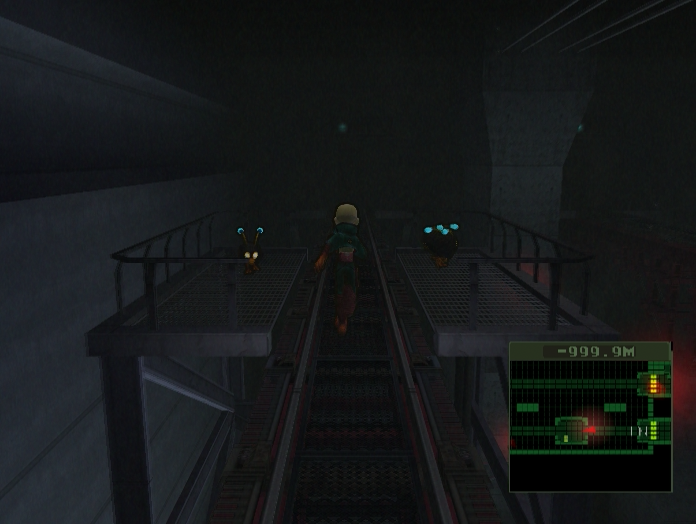
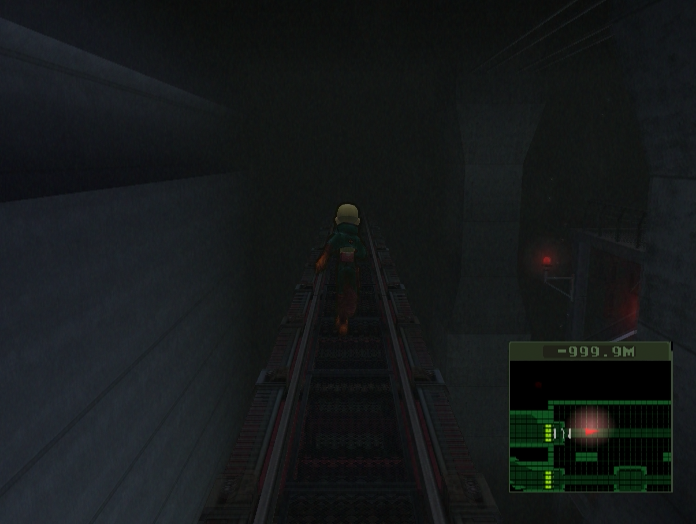
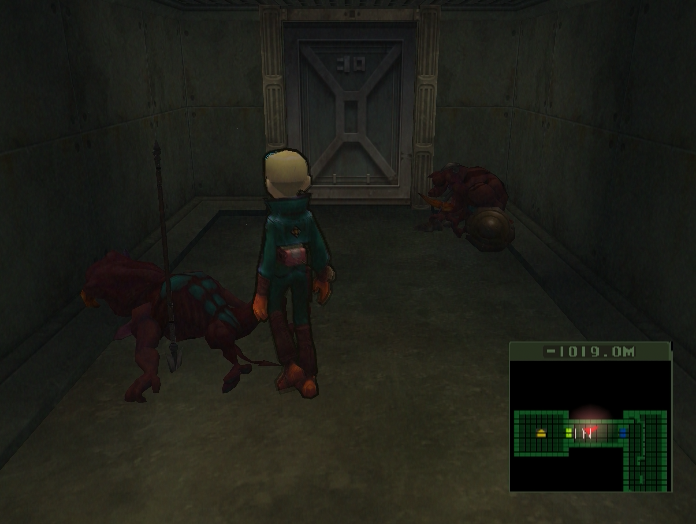
Anyway, back to the fork. You may notice a glowing pair of eyes peering out of the darkness ahead.
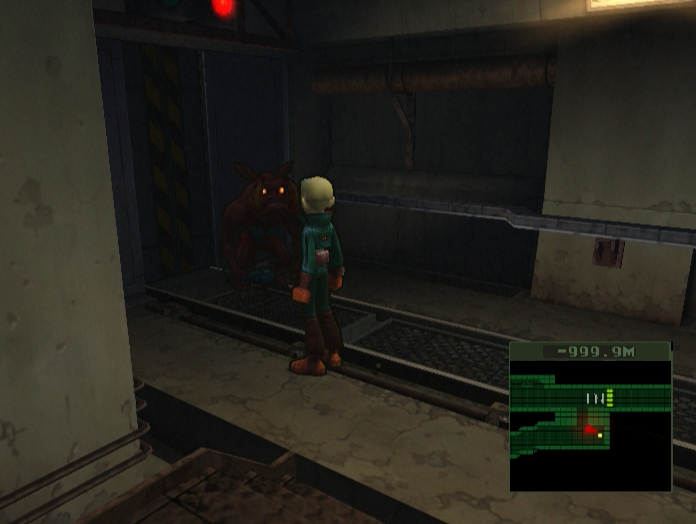
They belong to the first enemy in the game, a weird man-pig genic called a Duke.
It is promptly kicked in the face. This initiates combat and sends us into the battle screen.
Music: Going Out To See The Sky
Breath of Fire: Dragon Quarter’s battle system was fairly unusual at the time of its release, in that combat takes place in the field rather than an abstract battlefield. There’s a brief transition, and the perspective and dimensions of the area are wonked a little bit, but for the most part the field is replicated faithfully.
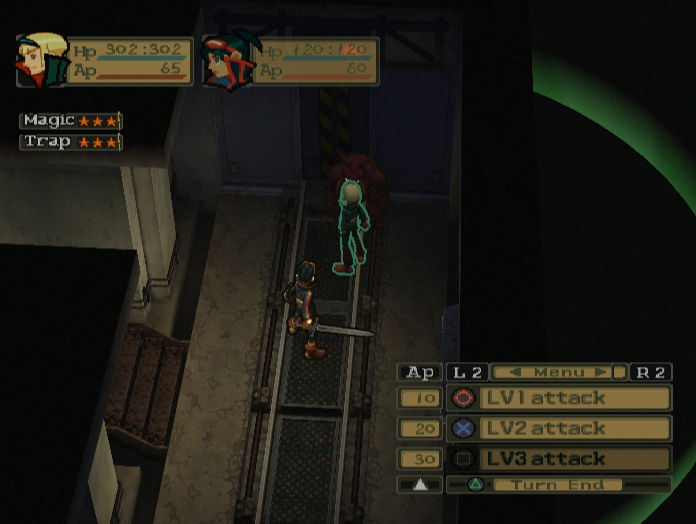
Anyway, let’s talk combat. Bosch’s kick scored a pre-emptive strike, which means we get a bonus round called an EX Turn to deal some damage before the regular flow of battle begins. This bonus round only applies to the character that attacked in the field, so only Bosch can get his licks in.
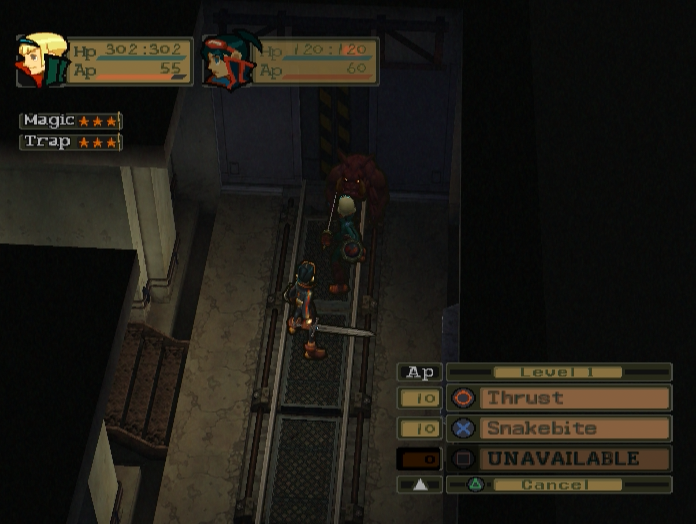
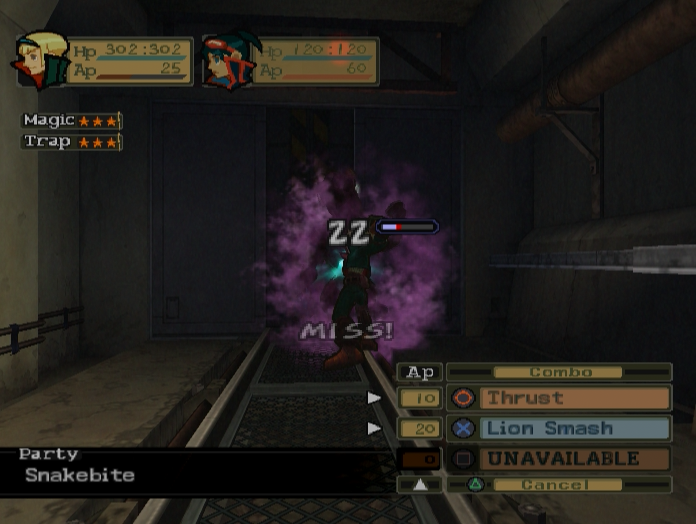
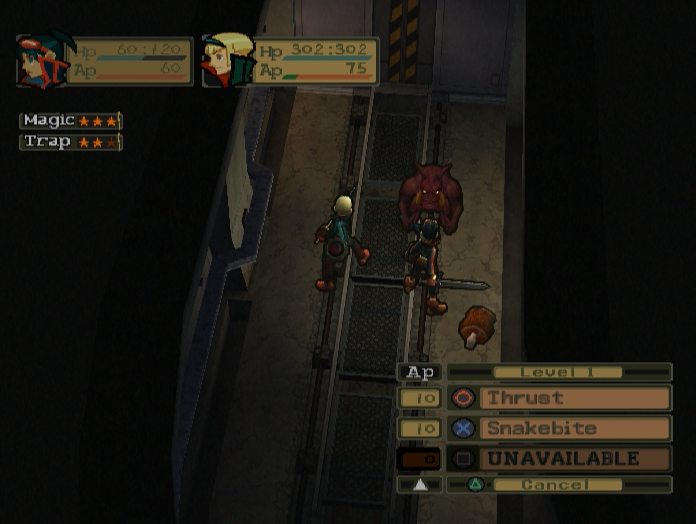
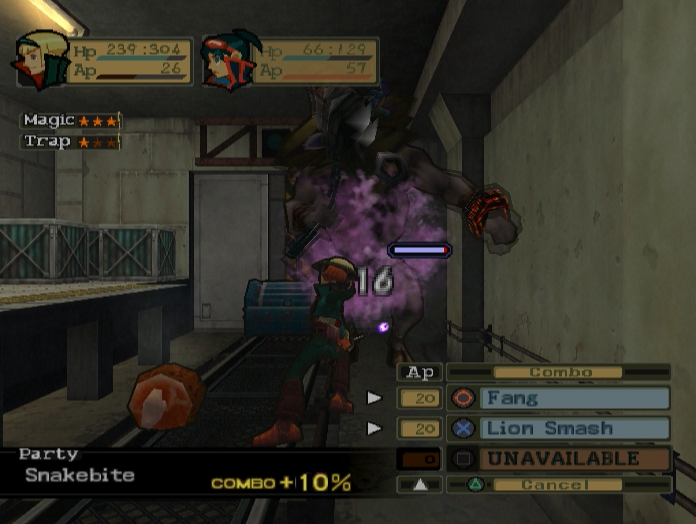
Pressing the ‘Circle’ button brings up our selection of Lv. 1 Attacks. Bosch has two Lv. 1 Attacks, Thrust and Snakebite.
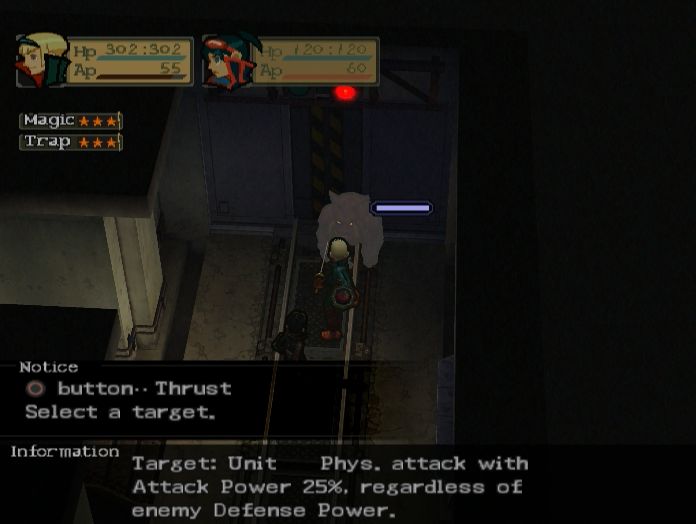
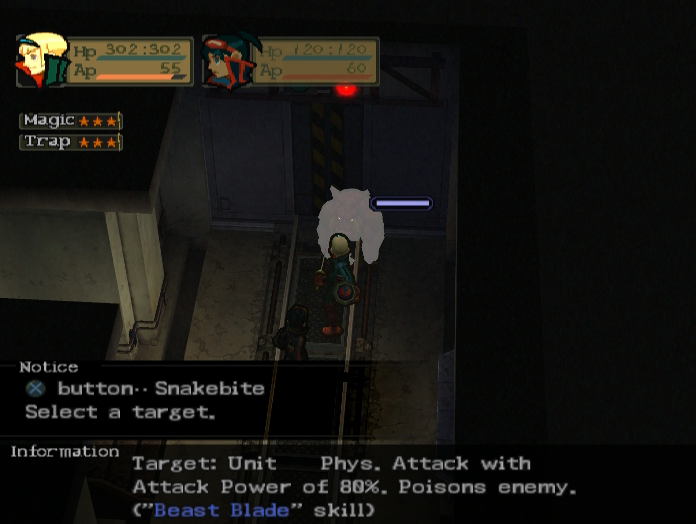
Selecting either one will bring up a screen explaining their effects so you can more effectively plan your attack. We can use this to find out that Thrust is a weak attack that ignores enemy defence, while Snakebite has a chance to poison the target.
Snakebite is effective and even poisons the Duke, but we’re not done yet.

The attack menu remains in the lower right even as the attack goes off. This enables us to chain our attacks into combos. We can use Snakebite again, but that would be wasteful seeing as how the target is already poisoned.
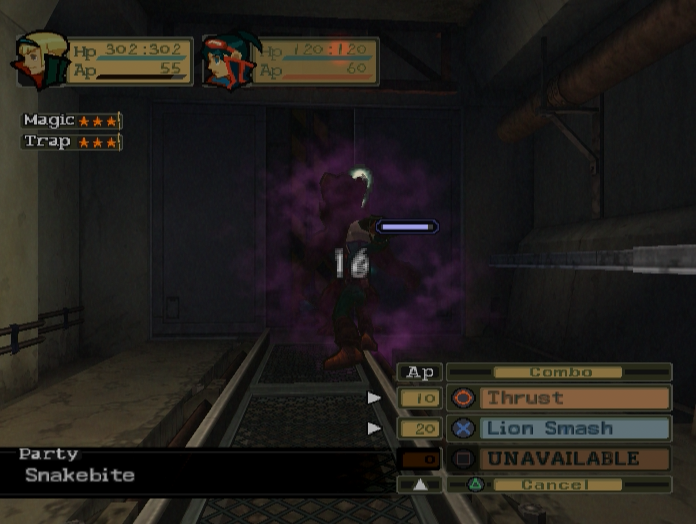
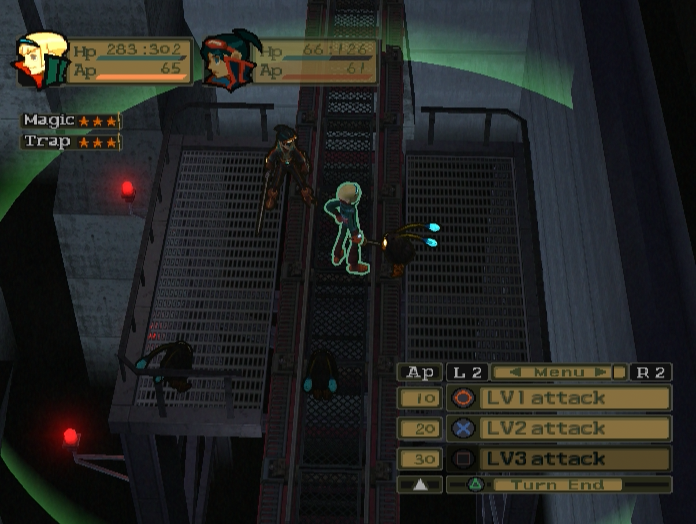
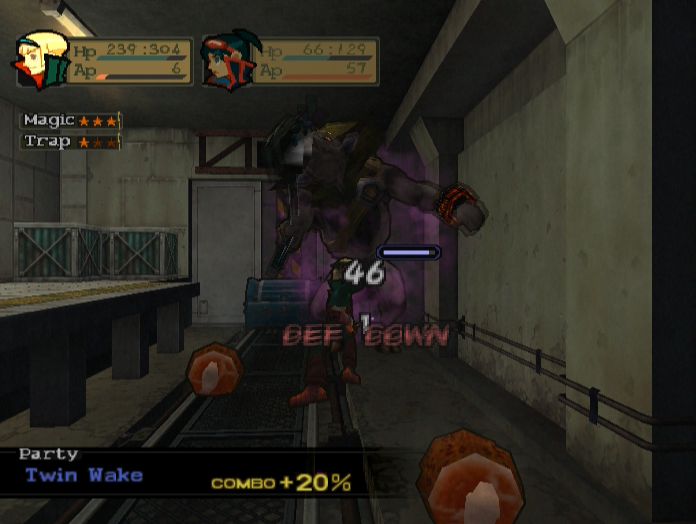
Pressing R2 on the other hand will bring up more options, allowing us to use either Thrust or Lion Smash, one of Bosch’s Lv. 2 Attacks.
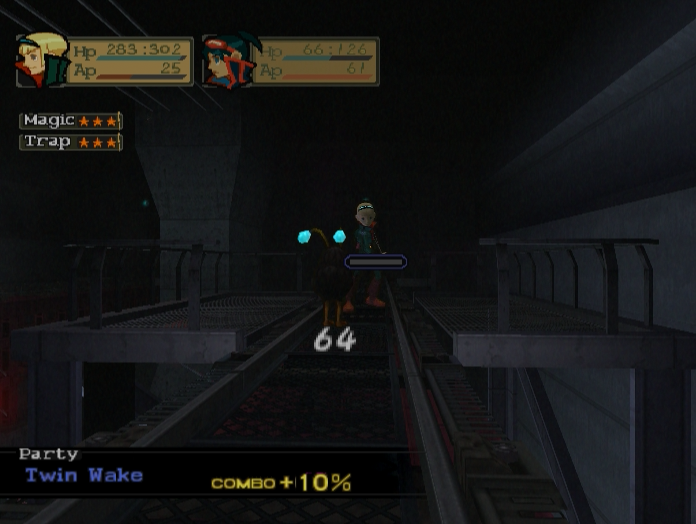
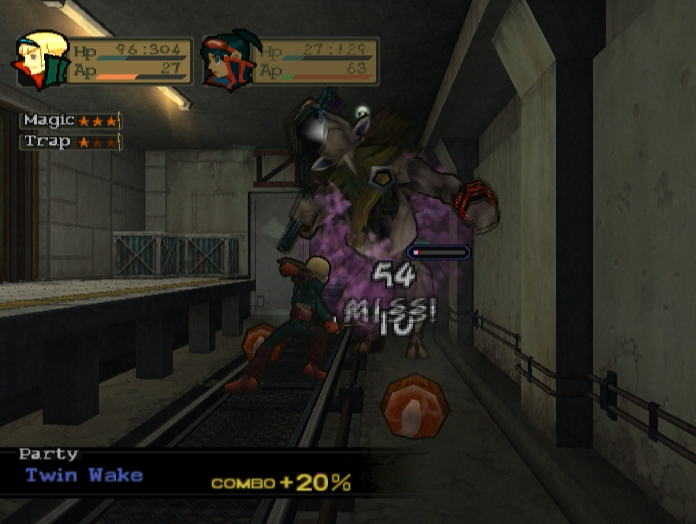
Lion Smash is a single attack that lowers an enemy's defence. However, using Snakebite beforehand turns it into Twin Wake, a special combo that adds a finishing thrust for extra damage at the end.
Since Bosch doesn’t have any Lv. 3 Attacks his combo ends here. Note how Bosch’s AP bar has decreased since the battle began. Attacking and moving around in battle costs AP, and when the bar completely empties that character’s turn is effectively over. Bosch still has 35 AP remaining, so he can still act.
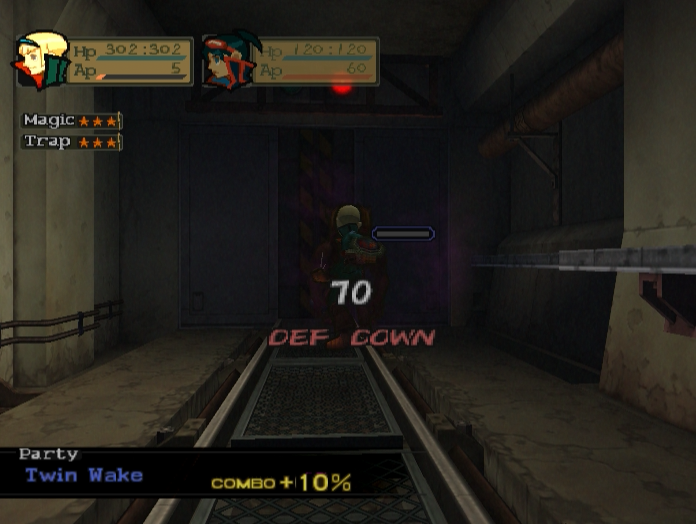
Chaining attacks together like this is the key to winning battles, particularly since every new attack in the chain adds a 10% damage boost to the attacks that follow, up to a maximum of +80%.

The party gains direct experience from winning, along with a very small amount of Party XP. How well you fight has some bearing on how much experience you get. Getting EX Turns, killing enemies quickly and / or dispatching multiple foes at once will grant more experience.
Defeated enemies also drop items or money, which you have to pick up after the battle.
We’ve seen what Bosch is capable of, now it’s time to have a look at Ryu.
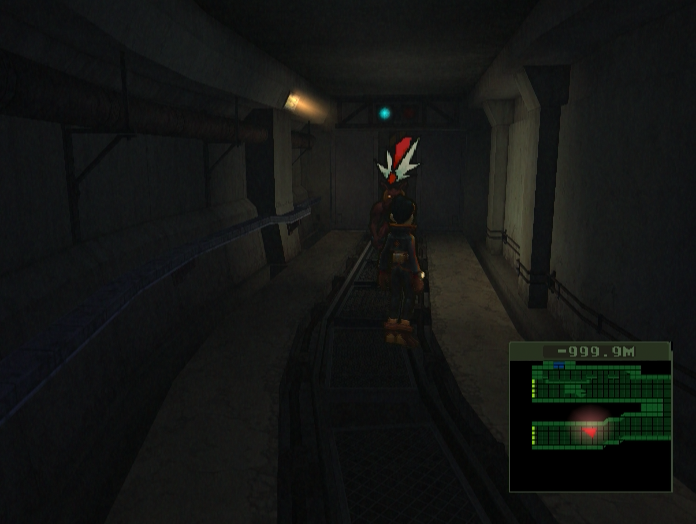
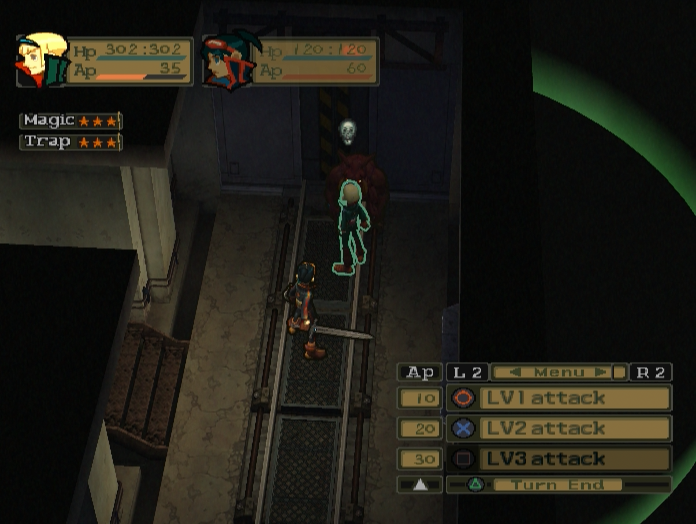
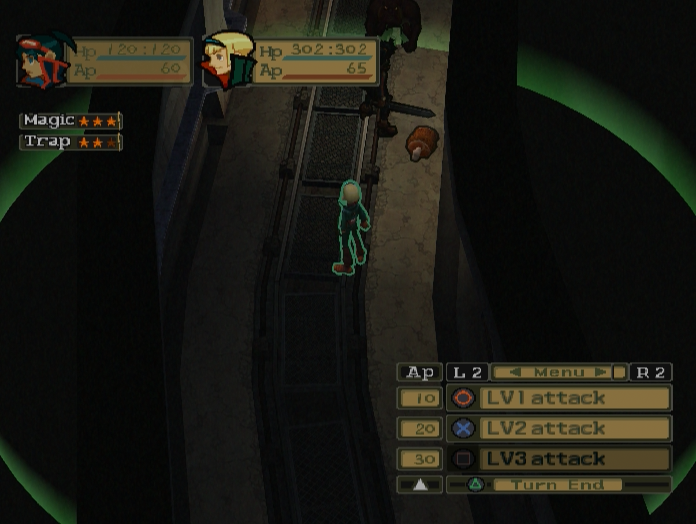
The Duke at the end of the hall spots us before we can close with it. If it manages to charge us it might get an EX Turn, and we don’t want that.
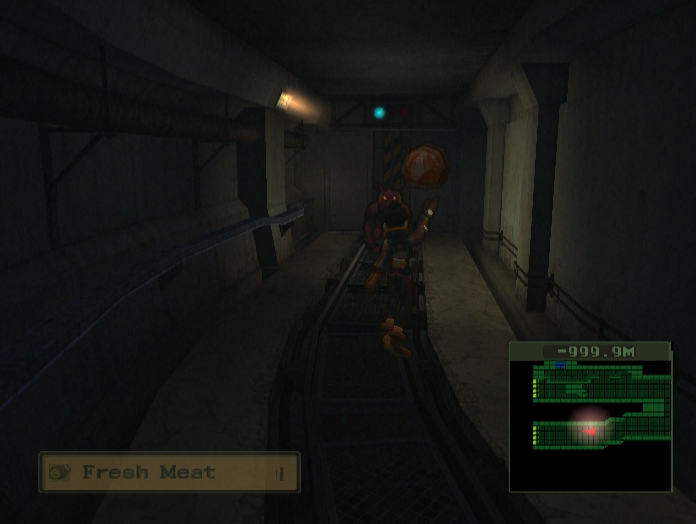
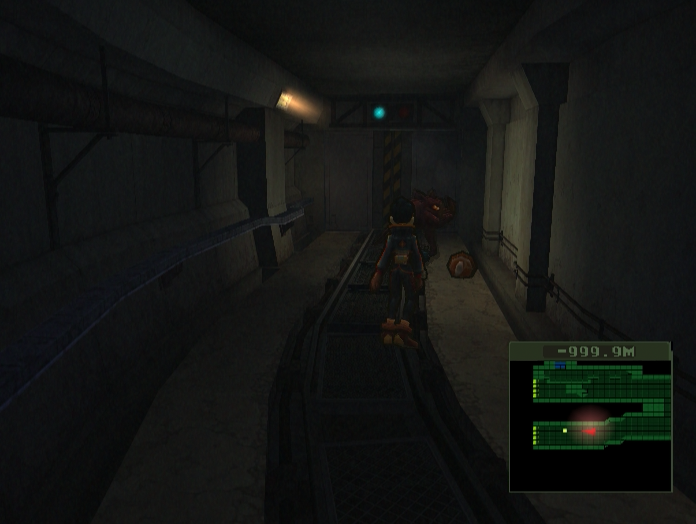
One solution is to use bait. Pressing the ‘Square’ button causes Ryu to throw whichever trap item he has equipped, which in this case is a hunk of Fresh Meat. The Duke immediately forgets about us and lunges for the meat, giving us a chance to attack.
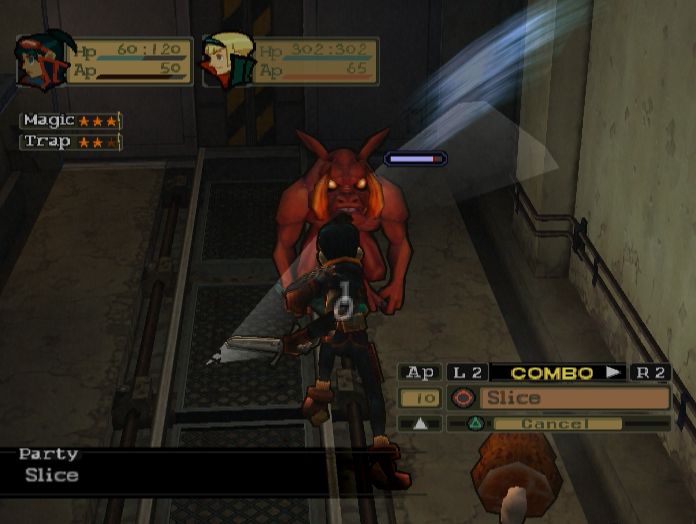
We enter the battle screen and two things become clear. The first is that the bait we threw down hasn’t vanished and has in fact been transported into combat with us. All placeable items act like this, and this allows the player to set up some fairly intricate traps later in the game.
The second is that, while Ryu’s sword slash has better range than Bosch’s kick, it also inflicts greater knockback, to the point where it’s knocked the Duke out of range of our attacks.
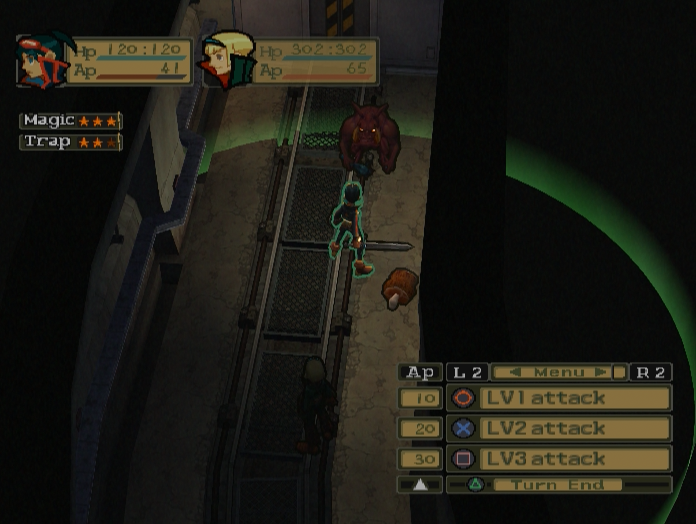
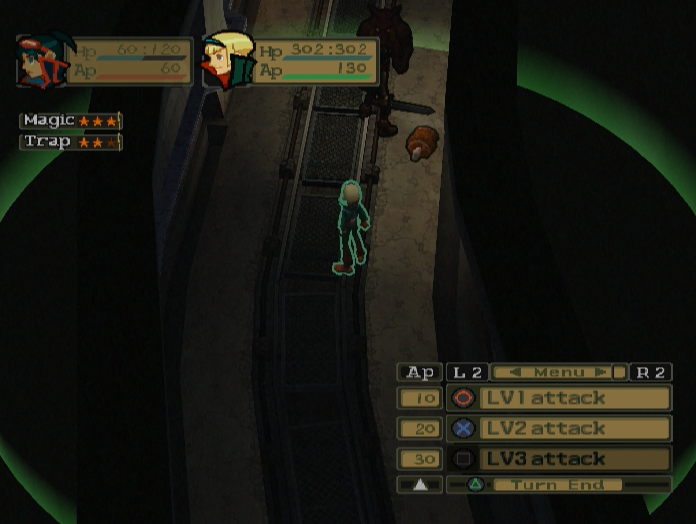
We expend 19 AP in order to move into range. The green circle represents Ryu’s maximum movement potential.
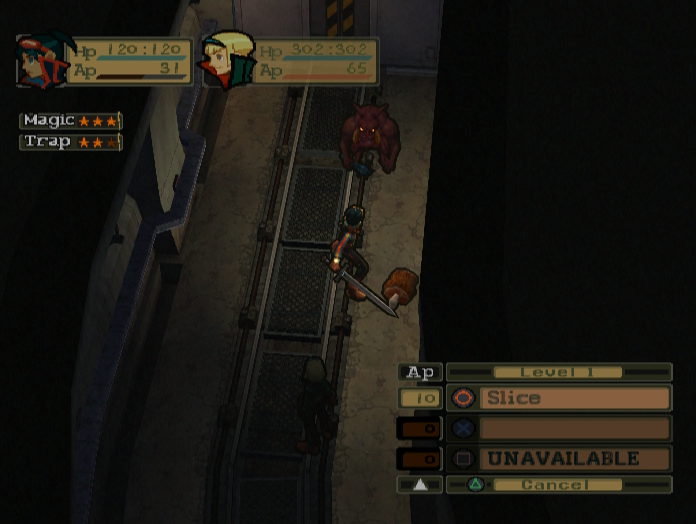
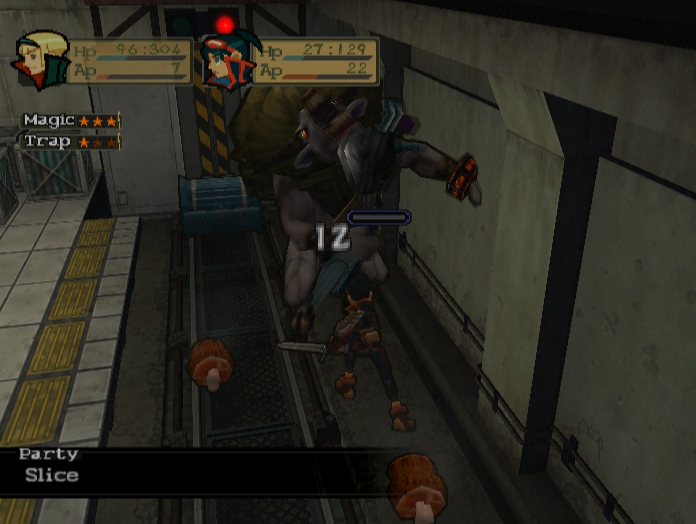
Ryu only has one Lv. 1 Attack, Slice, which is an absolutely mundane attack without any bonuses, penalties or status effects.
It’s…not particularly impressive.
Ryu’s single Lv. 2 Attack, Vert Slash, is more impressive, trading a -20% in accuracy for 130% base power.
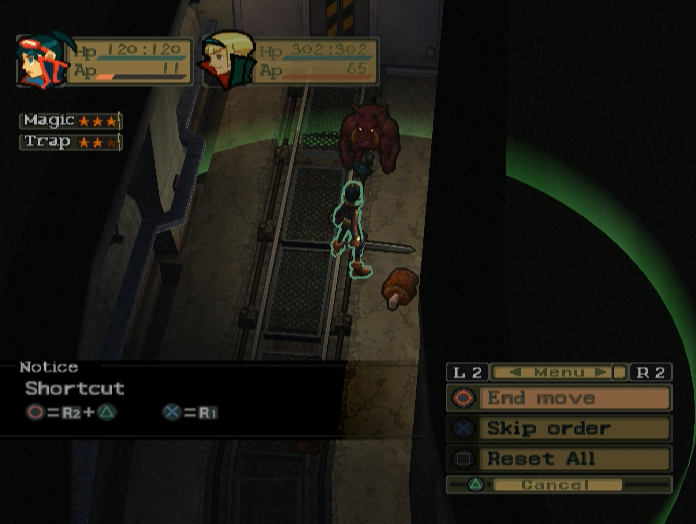
Unfortunately, while Ryu does have a Lv. 3 Attack, he doesn’t have the 30 AP required to use it. I manually end his turn by Pressing R2 and choosing ‘End Move’ from the menu.
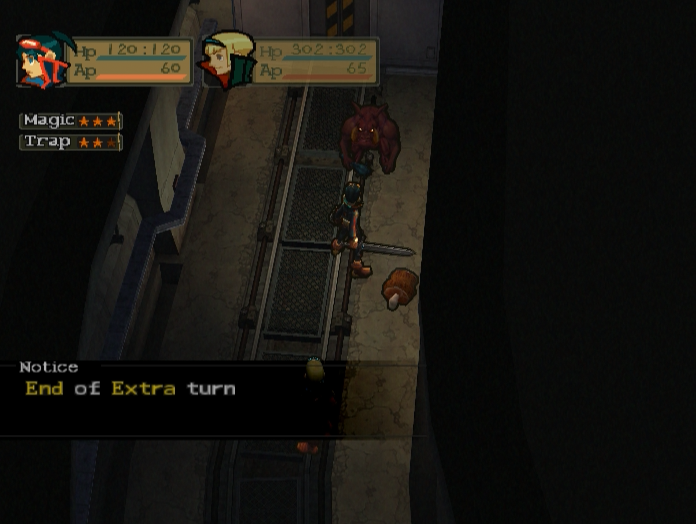
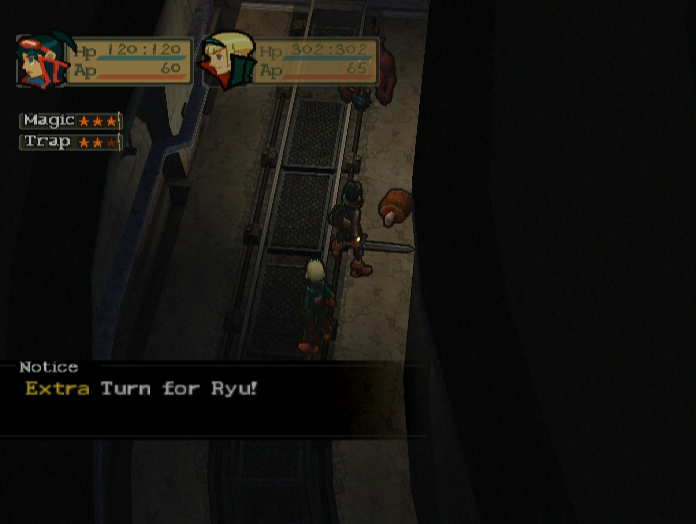
The EX Turn ends and the normal battle order reasserts itself. I could easily finish off the Duke with Bosch and move on, but I really want to show off Ryu’s Lv. 3 Attack, so I have Bosch pass his turn.
Unfortunately, the Duke turns out to be faster than Ryu, so he gets his turn next.
Ouch. Ogre Slice is a risky skill - it has -50% accuracy, but if it lands it has a 75% chance of being a critical hit. If you’re not lucky it can take off half of Ryu’s HP, as demonstrated here.
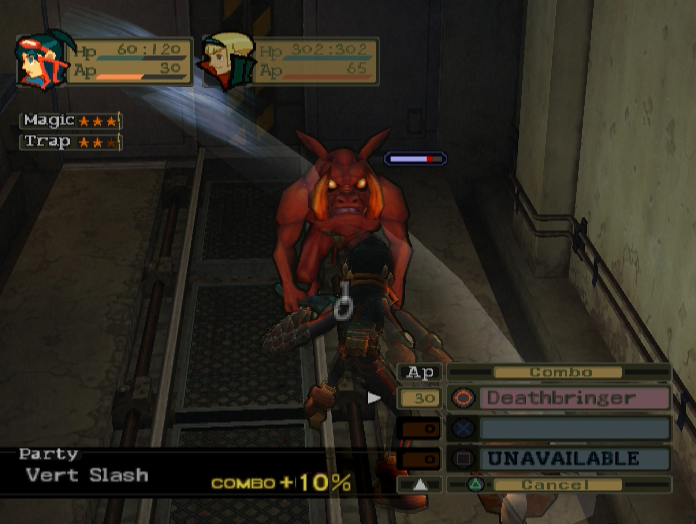
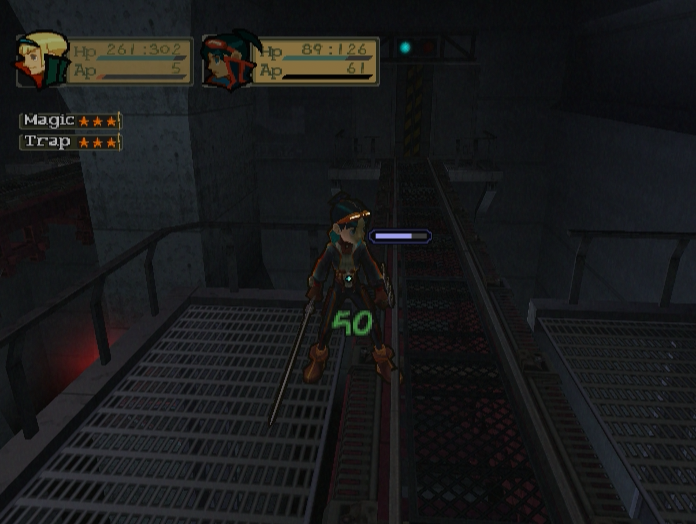
With enough AP stored up we can perform Deathbringer at the end of our combo. Deathbringer has a base attack power of 125% and, if it connects, will always score a critical hit. It’s a powerful skill, but Ryu isn’t too strong just yet so it only deals middling damage.
It falls to Bosch to finish the Duke off. Eagle-eyed viewers will notice that Bosch’s AP bar has turned green, and that he appears to have twice as many AP as he did last turn. This is because unused AP carries over into the next turn. This is very useful when you need to deal lots of damage very quickly, but right now it’s just a nice bonus.
Here are Bosch’s other two skills, Thrust and Fang. Fang is similar to Thrust in that it ignores defence, but has a beefier attack power of 40%.
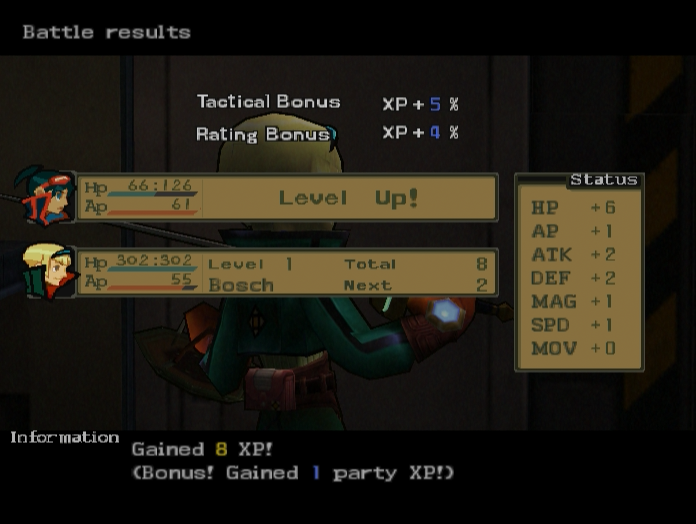
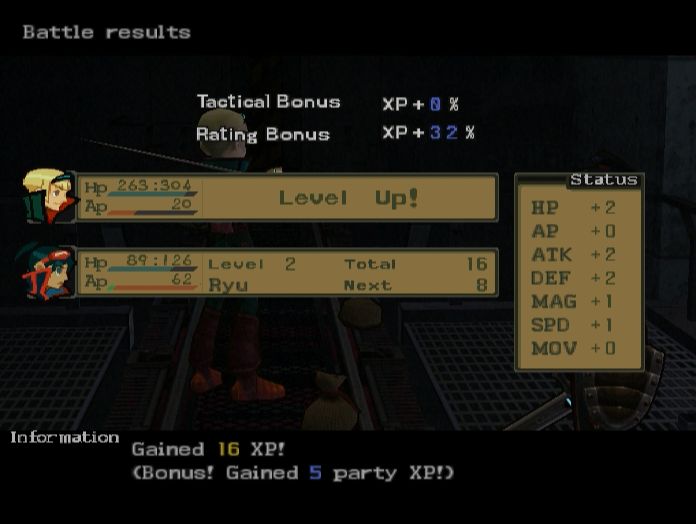
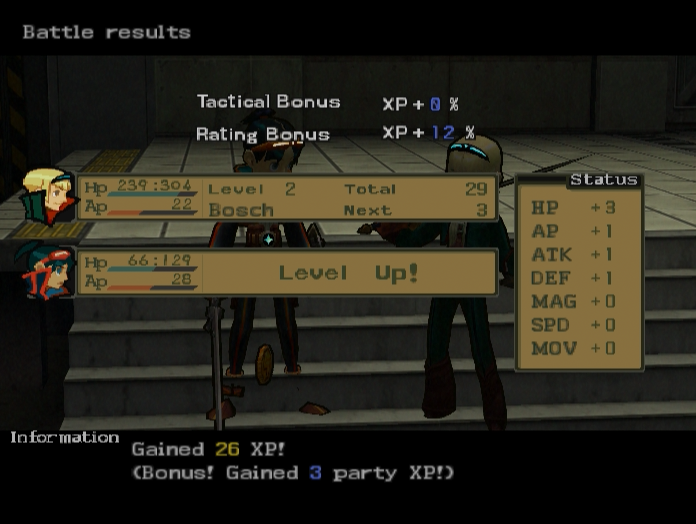
The battle ends, and Ryu gains enough experience to level up! Even so, he's still much weaker than Bosch.
With the battle over we’re free to pick up the Fresh Meat again. Enemies will eat bait items if you don’t interrupt their feeding, so attacking them quickly and then picking the bait up again afterwards is a good way to save some money.
Ryu isn’t that great in combat yet, so I’m putting Bosch back in the lead for now.
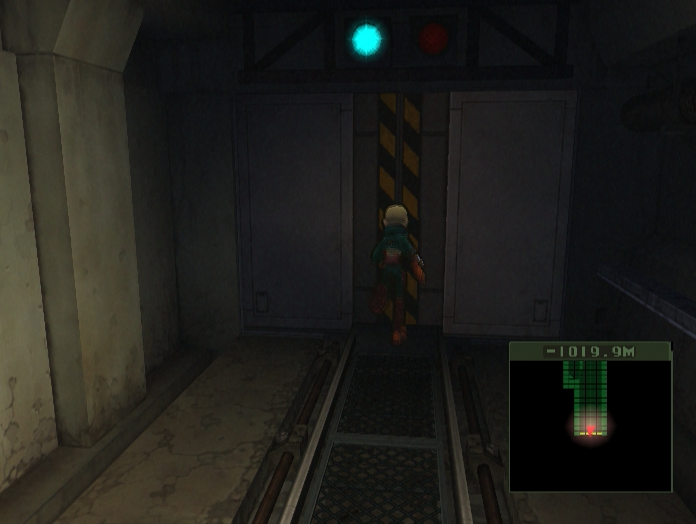
Moving through the door brings up a hint screen about enemies showing up on the map and using AP in battle.
These strange little critters are called Nuggets.
Nuggets aren’t too tough. They have less HP than Dukes and only attack for around 15 - 30 damage.
Bosch can kill one in a single combo and still have AP to spare.
I notice Ryu’s HP is getting a bit low, so use a Heal Kit on him. Items cost no AP to use, which is great since as I mentioned previously items are pretty much the only way to recover HP in this game.
Bosch levels up at the end of the battle, although his gains aren’t as impressive as Ryu’s. Not that it really matters considering how powerful he is already.
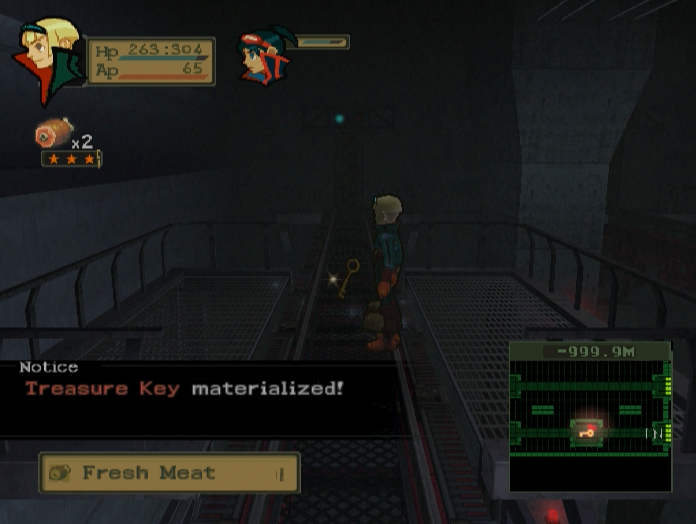
A mysterious item called a ‘Treasure Key’ materialises after the battle. I’d explain what it does, but the game is about to do that for me.
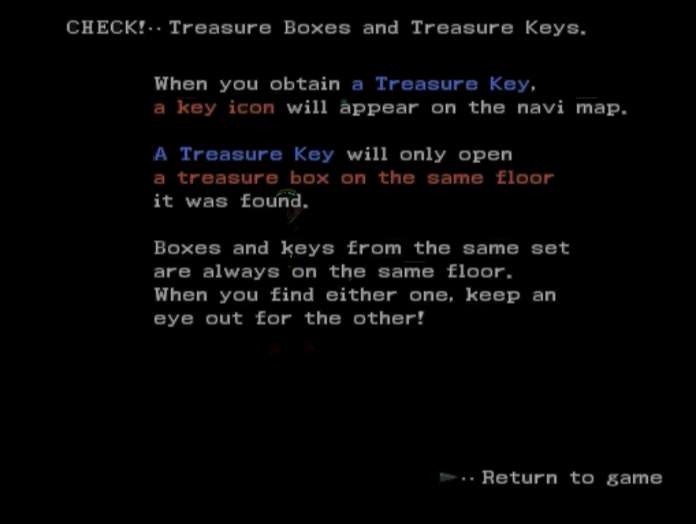
Keep an eye out for a treasure chest, got it.
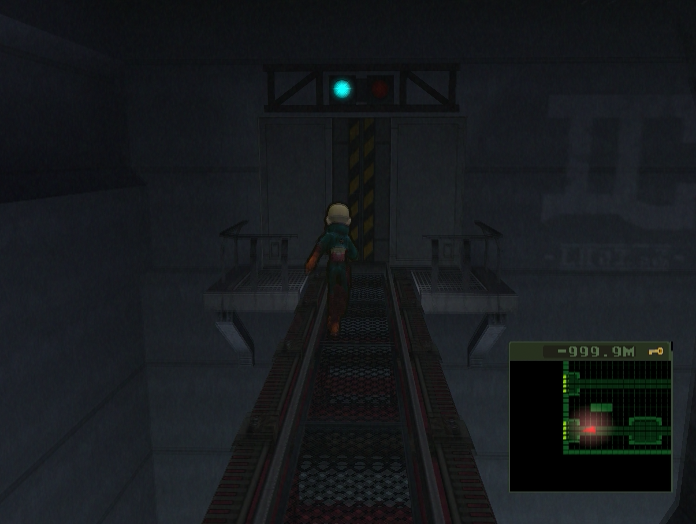
Well, that didn’t take long!
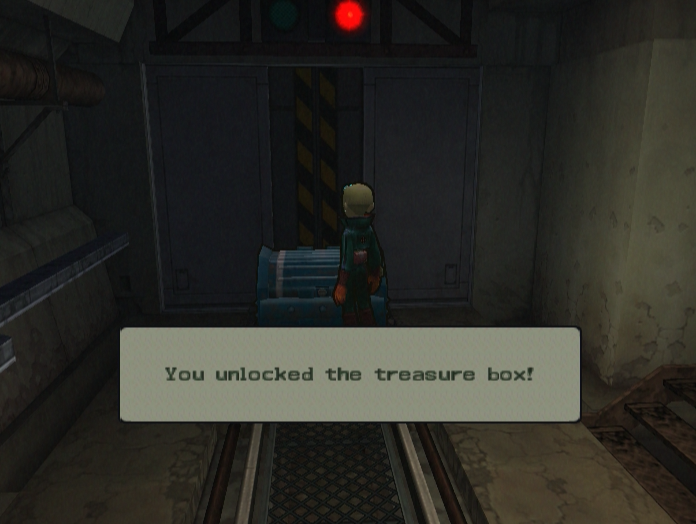
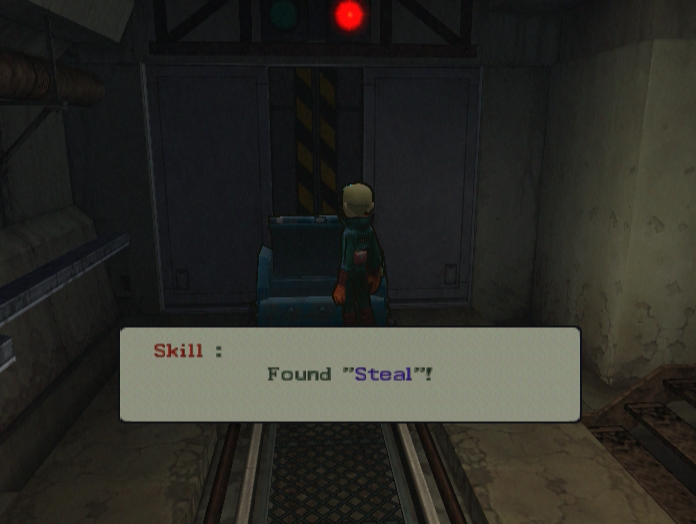
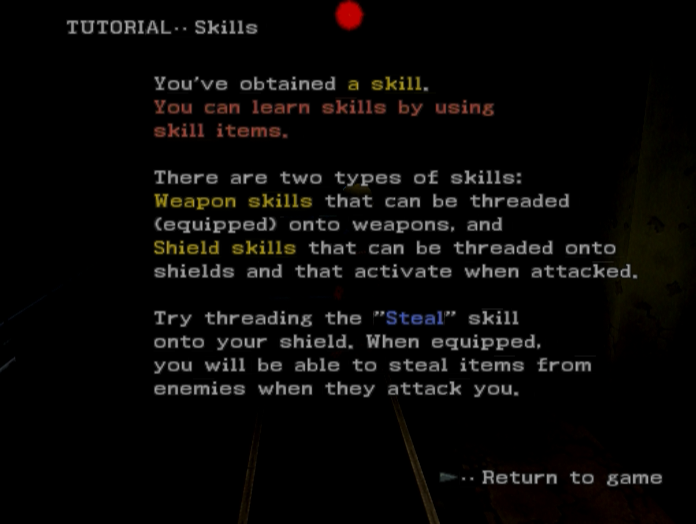
The chest contains very first new skill. As the hint screen says, using this item will allow us to equip the Steal skill onto our shields.
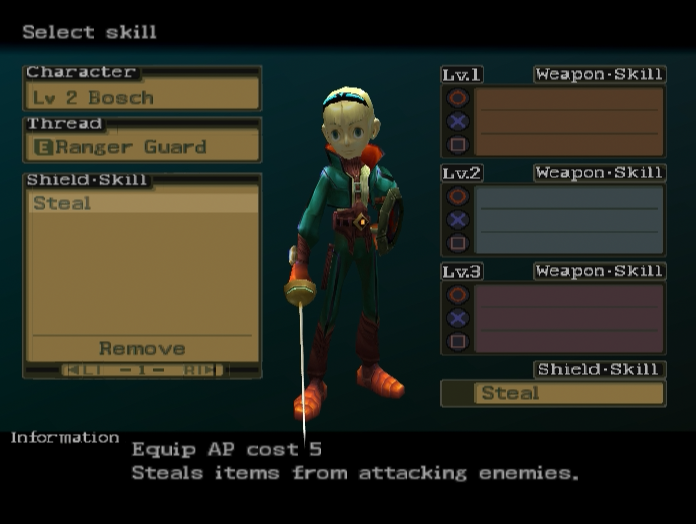
Steal is an awesome skill, even if equipping it does lower our precious maximum AP by 5. As the text indicates, Steal is a passive skill that activates whenever a character is attacked and may result in them stealing an enemy's held item.
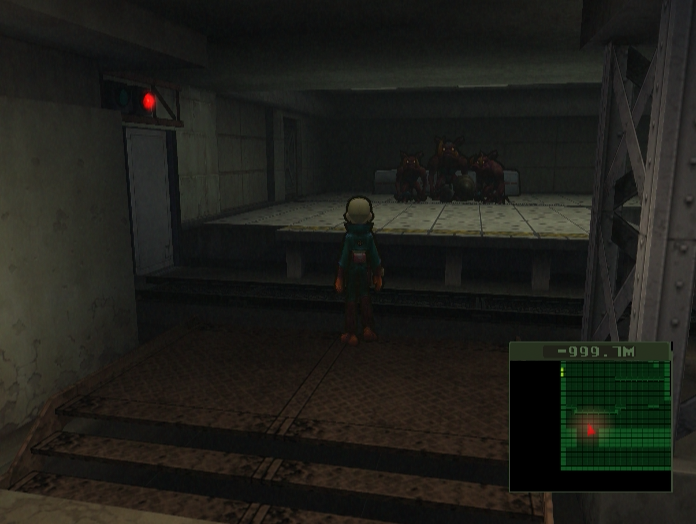
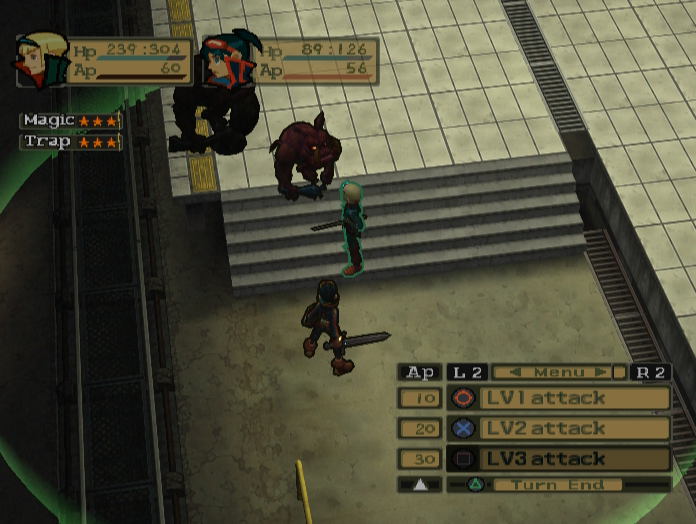
We encounter two Dukes and a more powerful Duke Leader up ahead, although one of the Dukes is slightly too far away to be brought into the battle screen.
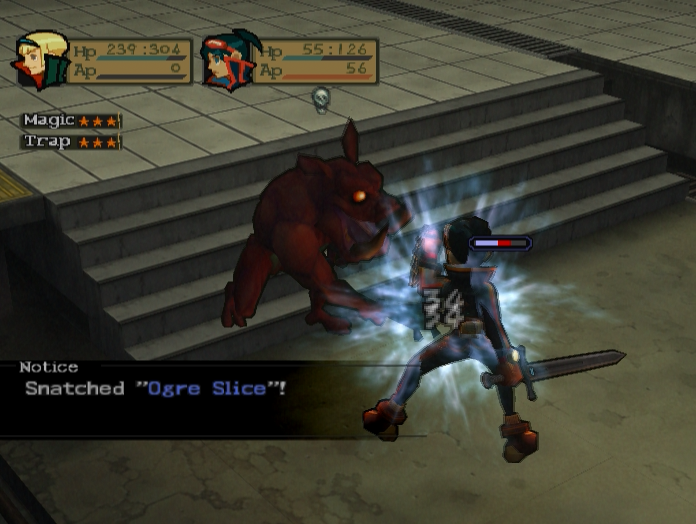
Here we see the main utility of the Steal skill - it doesn’t just let you pilfer random consumables, but Skill Items as well. It’s a shame that you have to be attacked in order for it to activate, but hey, Ryu can now learn Ogre Slice.
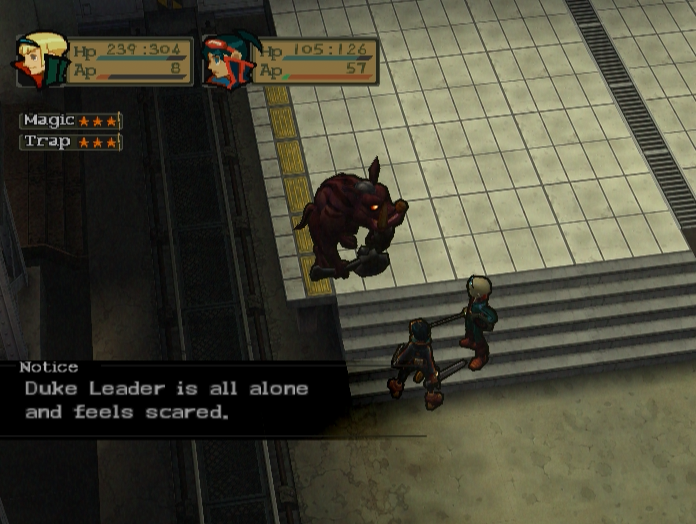
Duke Leaders are tough, but cowardly. Once all the other enemies die they’ll get scared and run away.
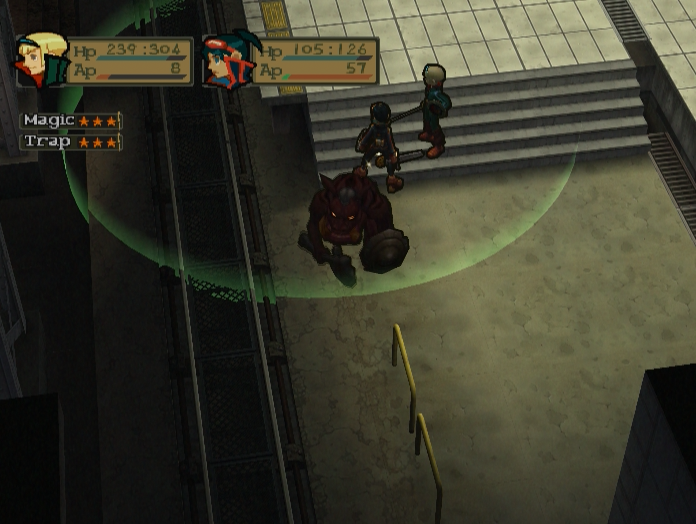
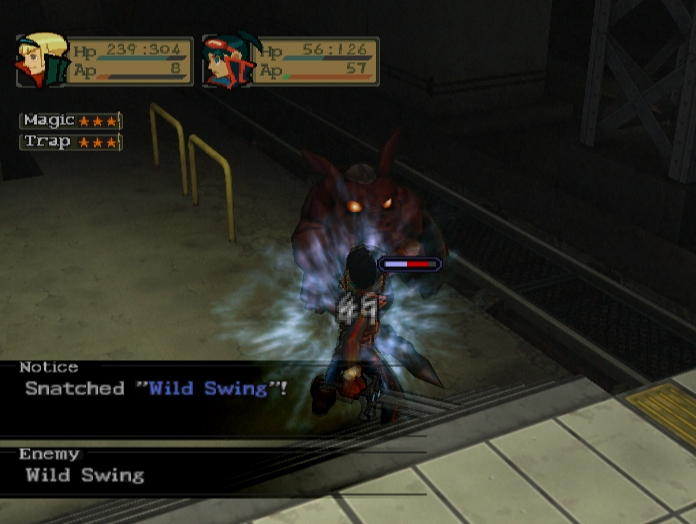
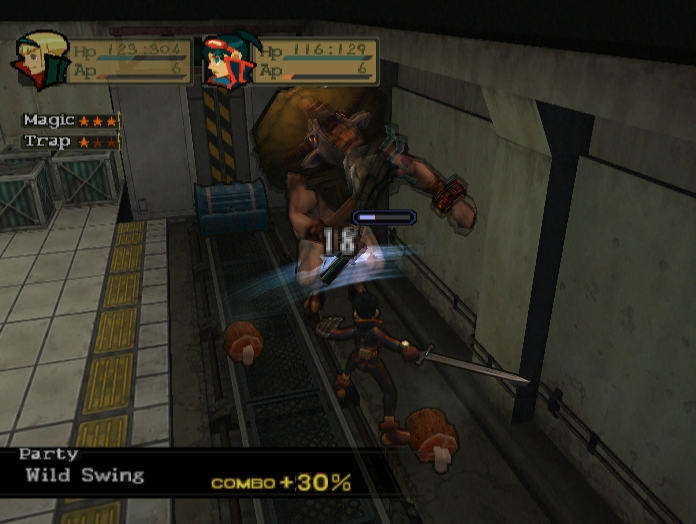
Of course, they’ll still attack if there’s anyone near them. It’s not all bad though, since this earns us the Wild Swing skill.
Ryu levels up again after the battle.
The sole remaining Duke goes down without much of a fight and leaves behind our first unidentified item. We know from the icon that it’s some kind of armour, but that’s about it.
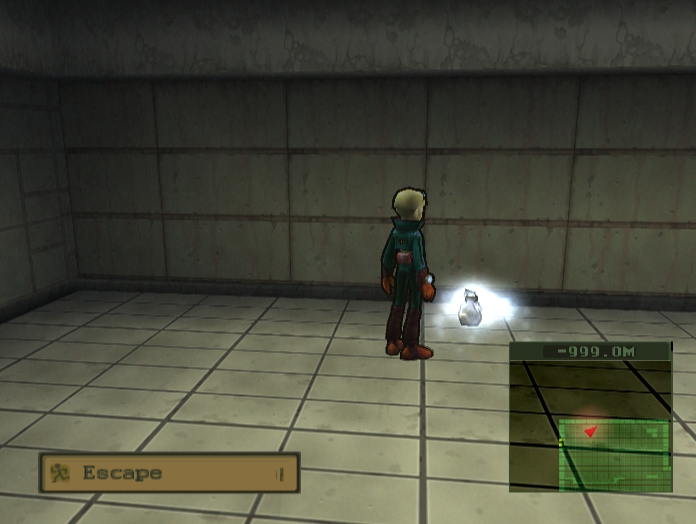
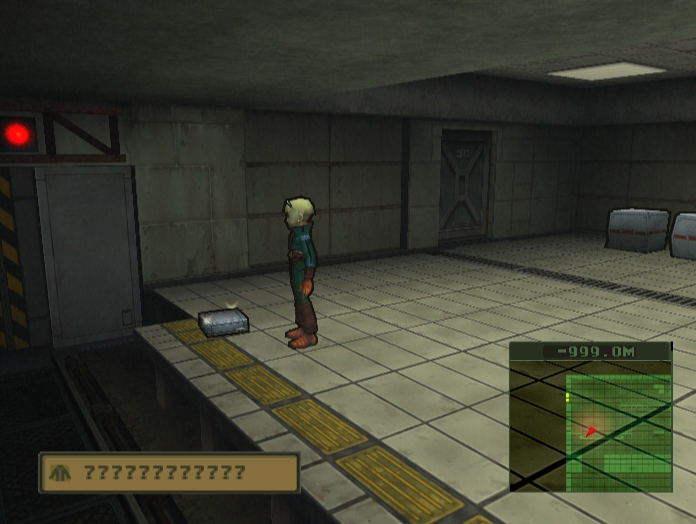
The crates to the north contain mostly money, but one contains a handy Escape item. As the name implies, this lets you flee from any non-mandatory battle with no fuss.
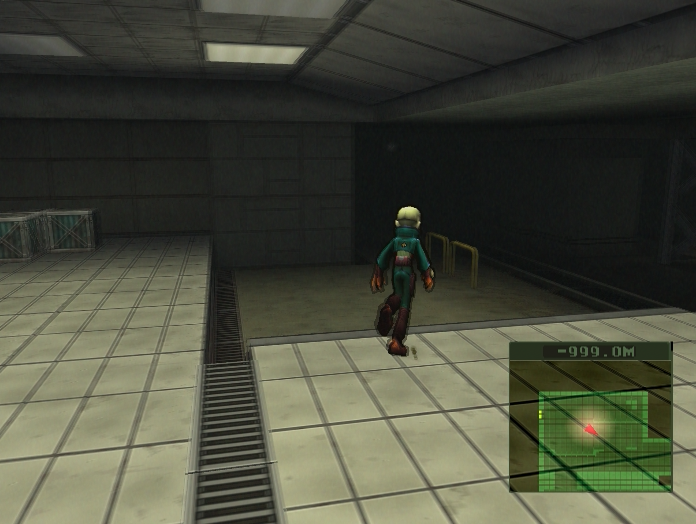
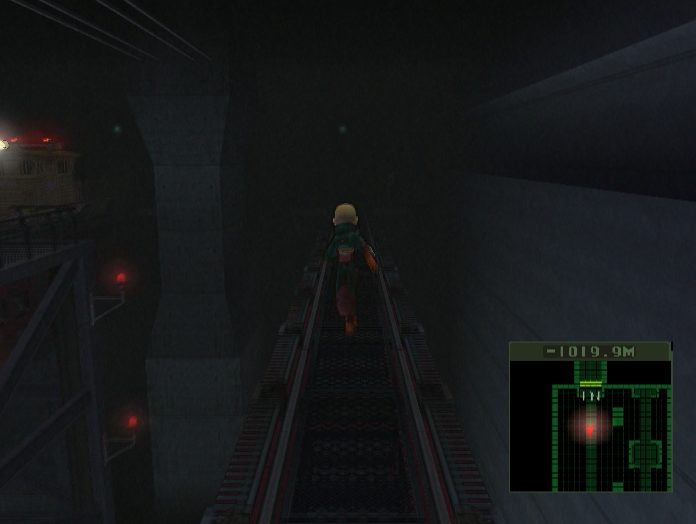
Before we move on there’s a little side area we can visit.
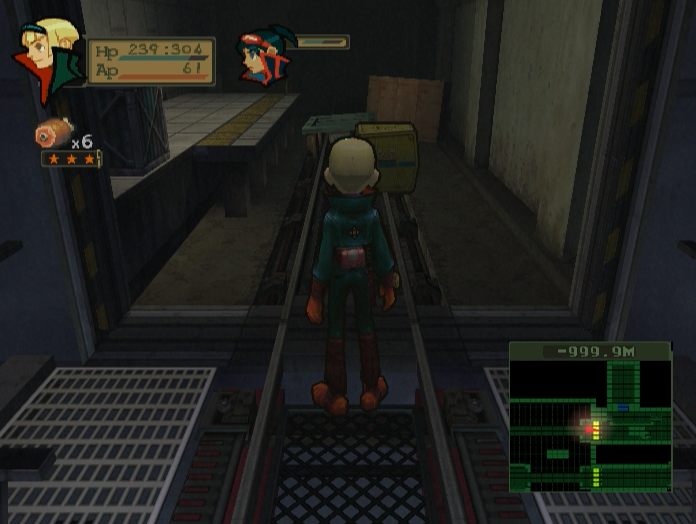
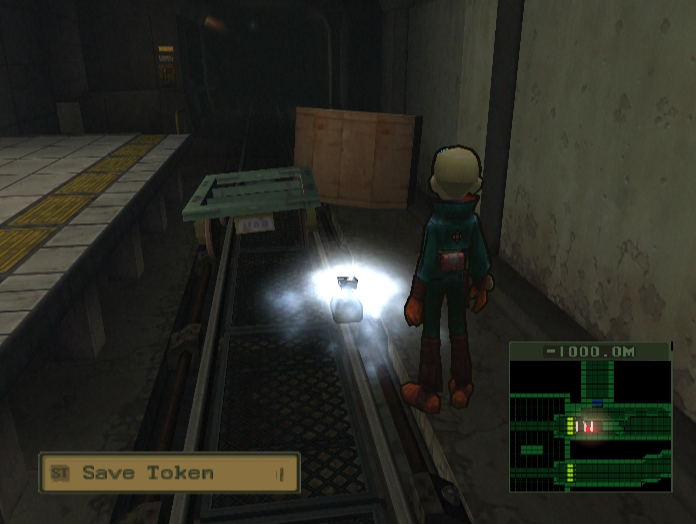
Over the bridge and through this door is a gold box containing a Save Token.
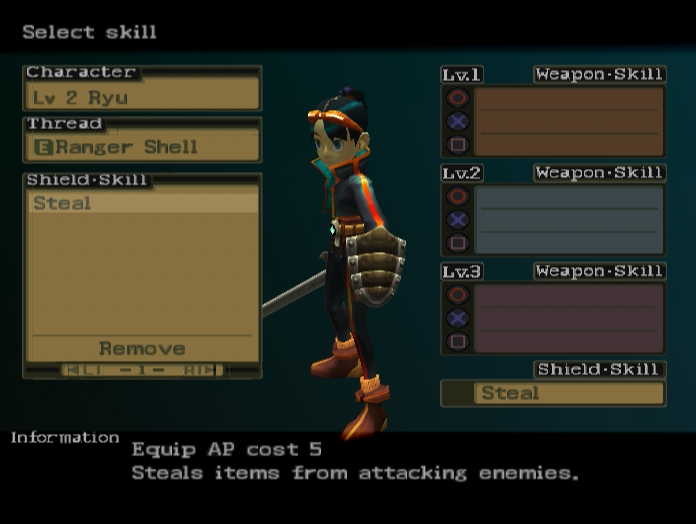
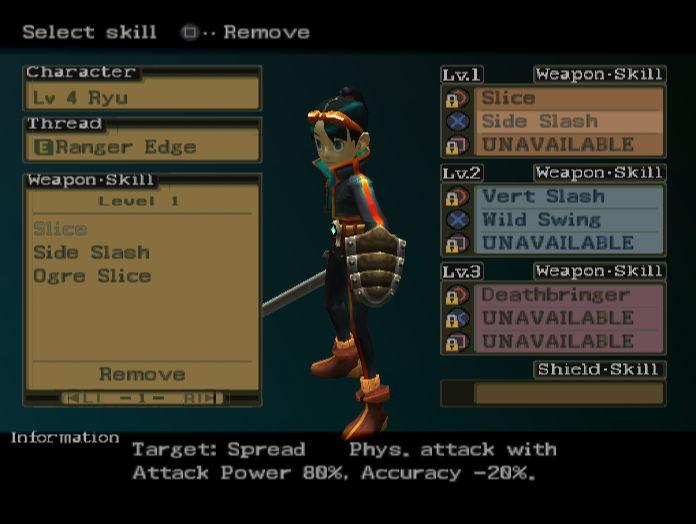
Before we head through the door to the next area it’s probably a good idea to equip those skills we picked up.
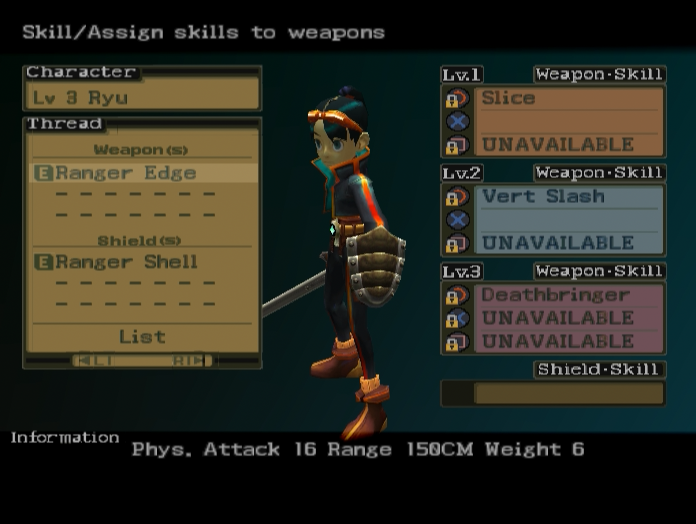
Equipping skills is fairly simple. Our current sword, Ranger’s Edge, has two free slots we can thread skills into, one for Lv. 1 Attacks and another for Lv. 2 Attacks. The three skills that are already threaded to the weapon are its default skills and cannot be removed, as symbolised by the padlock icons. Slots marked ‘UNAVAILABLE’ can never have skills threaded to them. Some weapons have more free skill slots than others, and some may have different default skills attached.

Neither Ogre Slice nor Wild Swing are particularly good skills. Both rely a bit too much on luck, but they’re all we’ve got right now so we might as well equip them.
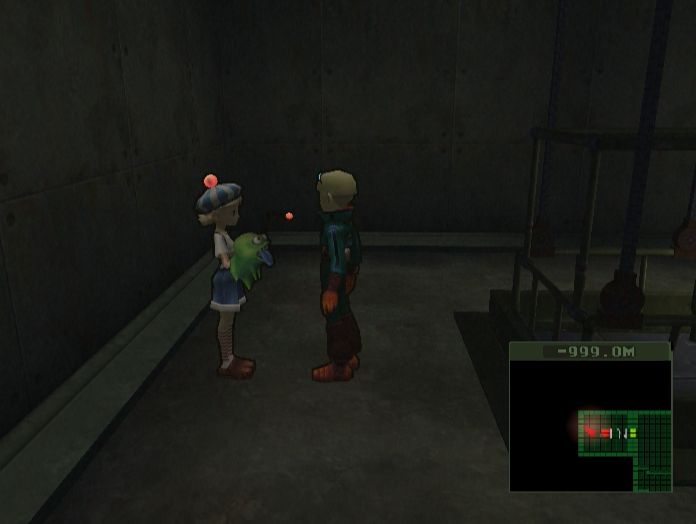
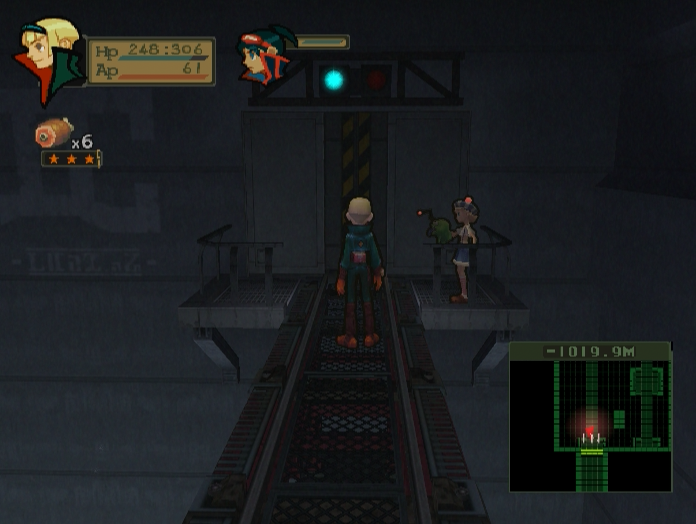
The next room contains a lift to the next floor, as well as this nameless ventriloquist / tutorial girl.
 : Hi there! Pleased to meet you!
For the most part her advice is stuff we already know. ‘Combat tips’ is just a reminder about EX Turns and attacking in the field, while ‘I can’t win’ is about distracting enemies with bait. ‘Giving up?’ is new, however.
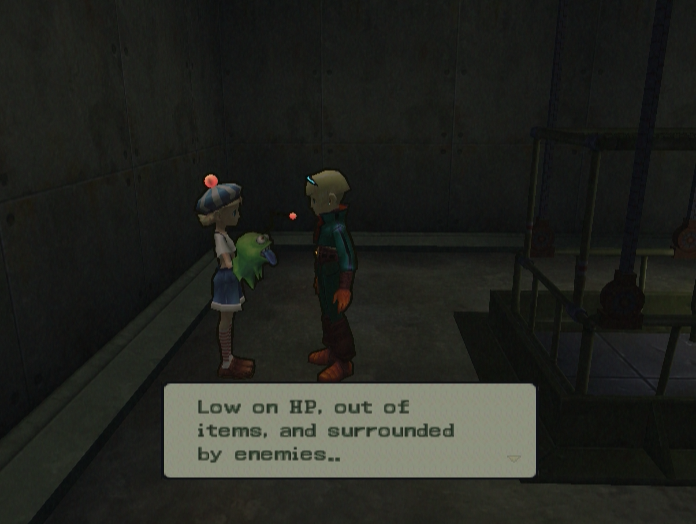 : When you feel like there’s no way out, don’t hesitate to open the menu and select ‘Give Up’. The game will start over from the beginning, but your equipment, skills and Party XP will carry over.
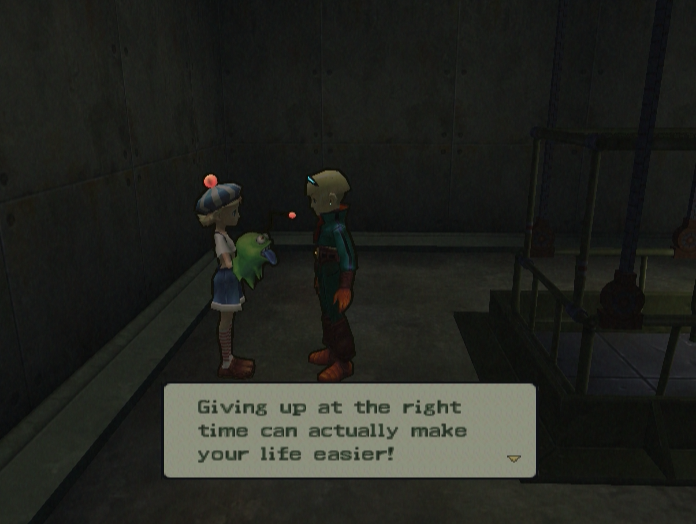
What Trilo is describing here is one facet of the Scenario Overlay System, Dragon Quarter’s primary gimmick.
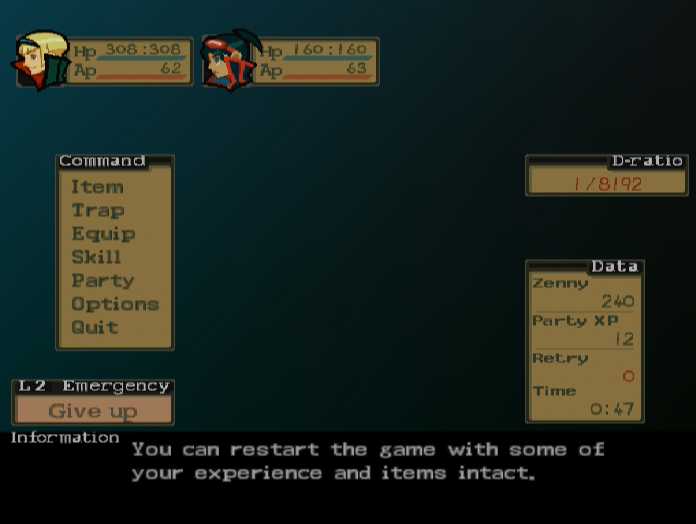
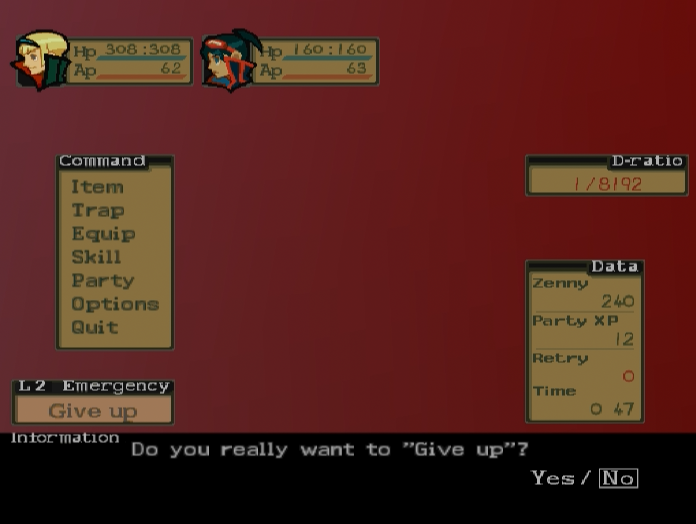
Opening the menu and pressing L2 allows you to access the ‘Give Up’ option. The game asks you if you really want to continue, and the screen turns red just so you know how serious it is.
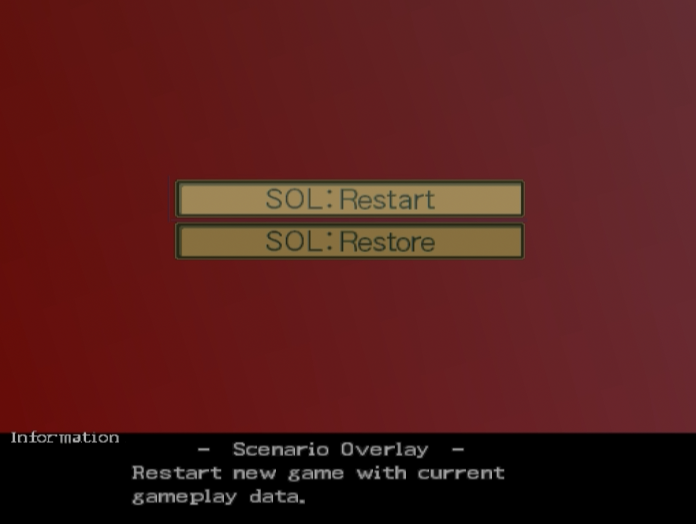
Confirming grants the player two options, SOL: Restart and SOL: Restore.
SOL: Restart is the more serious of the two options. Picking this option will prompt the player to create a new save, then kick them back to the main menu. Loading said save will start the player right back at the beginning of the game. SOL: Restore by contrast only sends you back to your last save point.
In both cases the things you can take back with you are:
-Party XP
-Money (Unless you have less than 300 Zenny, in which case the game will raise it to that amount)
-Anything Ryu or other characters have equipped.
-Any skills Ryu or other characters have learned.
-The contents of the Item and Weapon Lockers.
-The game timer.
Things you don’t get to keep are:
-Regular character experience and stat changes. In other words, any levels you gained normally will be reset. In the case of SOL: Restart, you’re going right the way back down to Level 1.
-Inventory Items, including Key Items. Anything not stored in the Item or Weapon Lockers is wiped from existence and replaced with the defaults, which are 5 Heal Kits, 1 Tonic and either 1 or 9 Save Tokens depending on whether you’re playing the NTSC or PAL version of the game.
In mechanical terms the SOL System is essentially a save-scumming mechanic. Clever use of it can yield some very nice rewards such as item duplication and Party XP loops. Given how the game is designed it’s clear these are intentional features rather than exploits. There’s a bit more to the system than that, but we won’t be exploring its true potential for some time.
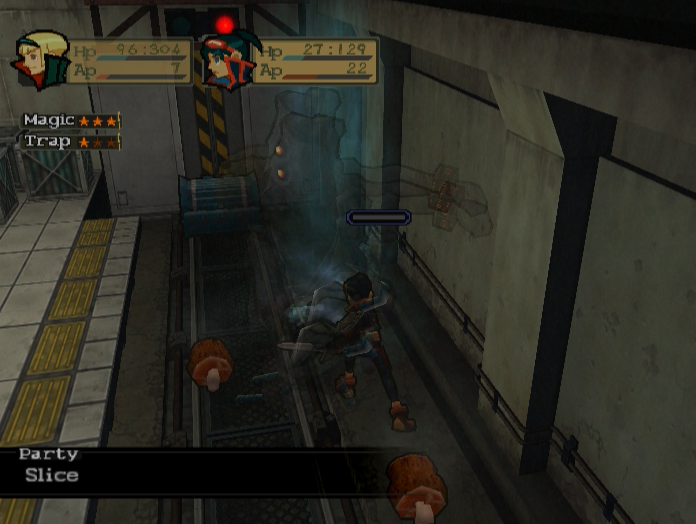
Taking the elevator down we come to an area with several dead Dukes. Ominous!
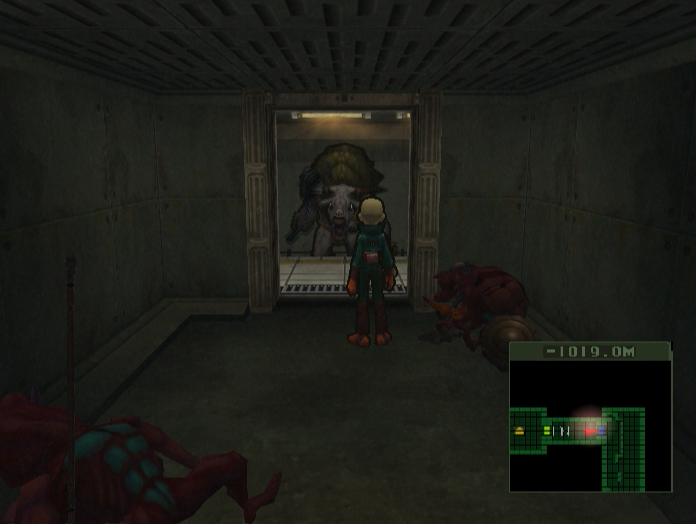
Yeesh, guess we know what killed them! Luckily it’s under a raised lip so it can’t get to us yet.
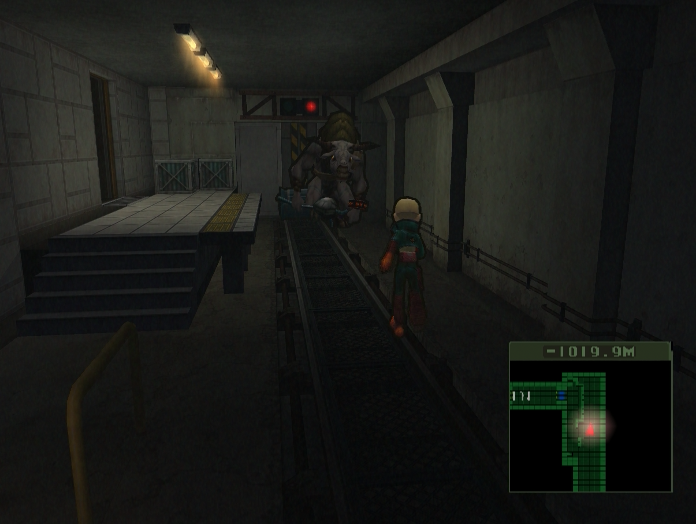
This big beastie is a Death Cow. It’s one of two possible enemies that can spawn here, the other being the far less threatening Goo Element. It’s a very tough and strong enemy and we’d be perfectly justified in running from it, but…it has the Treasure Key for this floor.
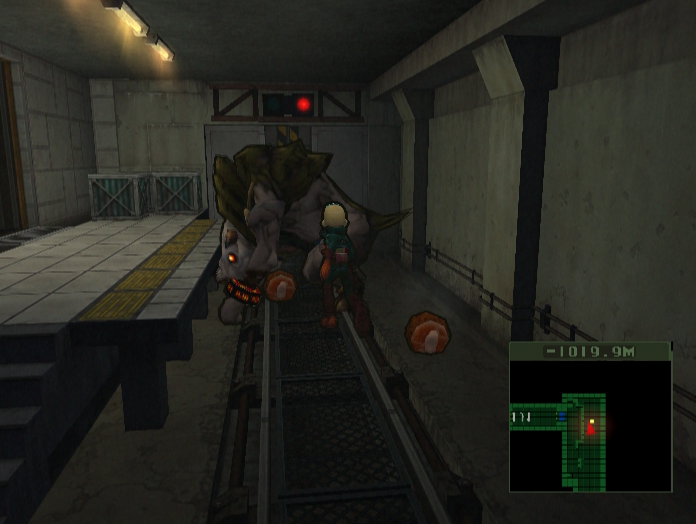
The best way to fight it is to use bait to get a first strike.
As its size indicates, the Death Cow has plenty of HP. Even Bosch has trouble putting more than a dent in it.
It also has a pretty hefty attack stat, along with the ability to push party members around the field.

A good strategy is to poison it and let Bosch soak up its attacks with his huge HP pool.
Ryu can join in, but it’s a good idea to wait until the Death Cow is nearly dead first. It's still not a hundred percent safe though because...
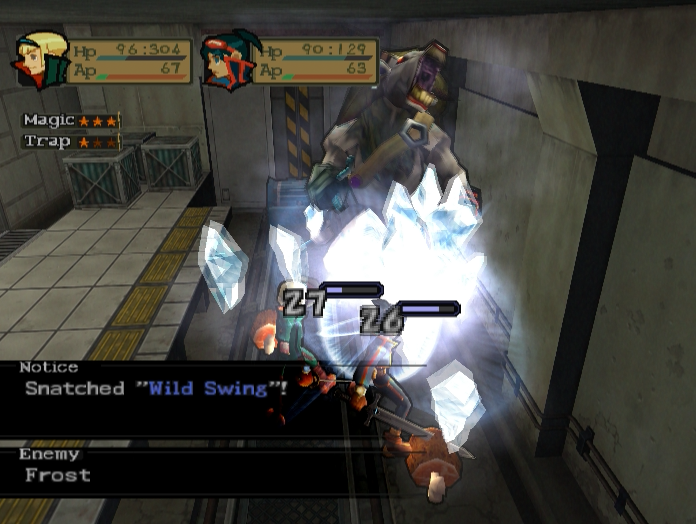
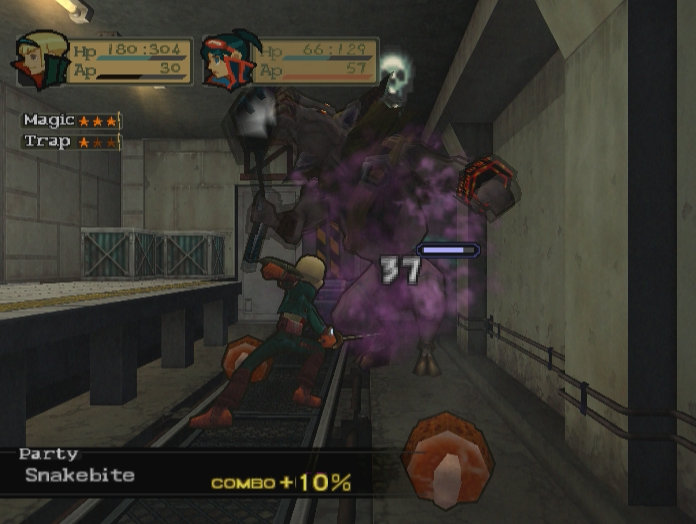
…the Death Cow is also a spellcaster and will break out an area-of-effect Frost spell once its health gets low. You’ll notice that Steal also activated and we snagged another copy of Wild Swing. We already have the skill, but we can sell the Skill Item for a small amount of money.
It’s a tough battle, but the Death Cow isn’t invincible and eventually keels over dead, allowing us to grab the Treasure Key and unlock the chest behind it.
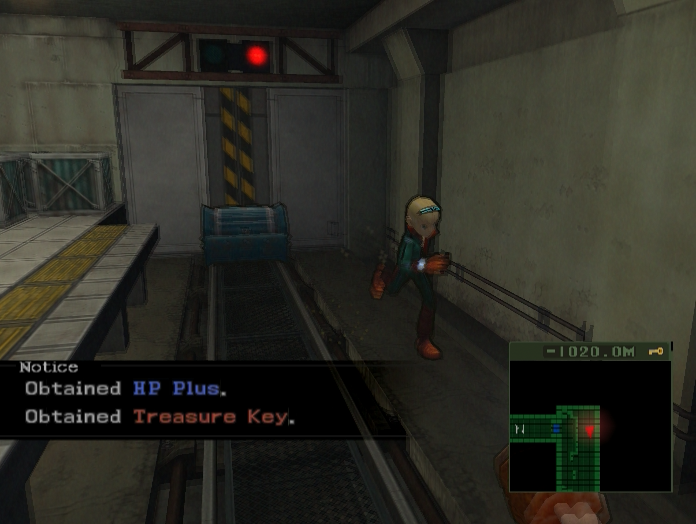
We also receive a HP Plus for our troubles. As the name suggests, this item increases a character’s maximum HP by a small amount.
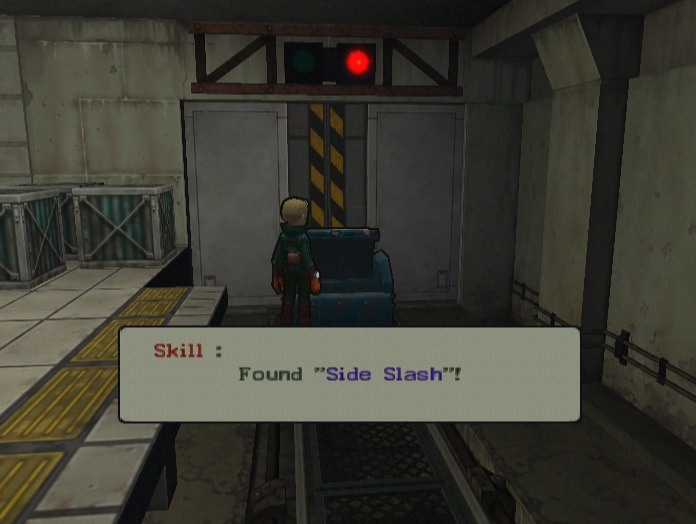
The chest contains Side Slash, a reasonably useful skill despite its accuracy rating of -20%. Its main utility comes from the fact that it targets a cluster of foes rather than a single enemy.
At the end of the next walkway we find Trilo waiting for us. How did she manage to get ahead of us? Is she secretly a ninja? She doesn’t have much to say this time, just tips on how to equip new skills.
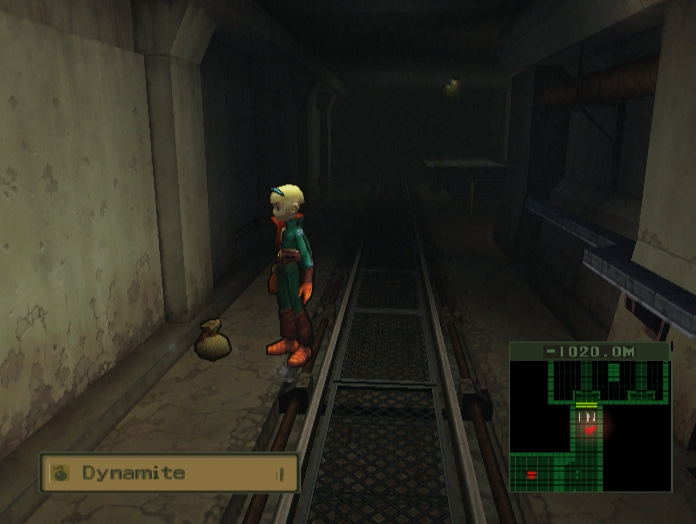
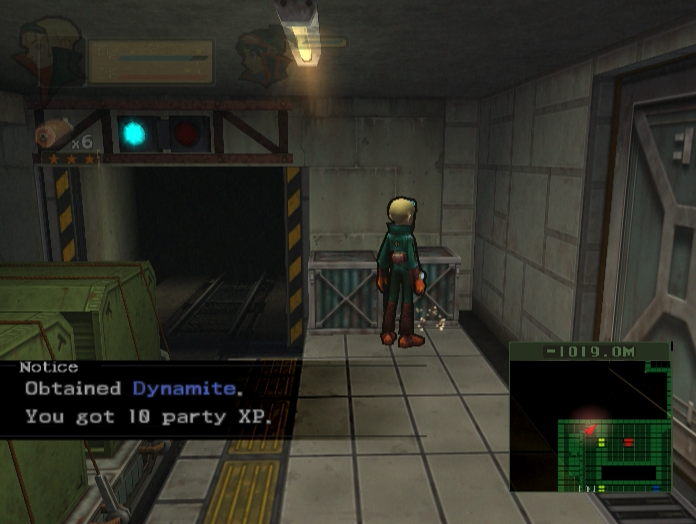
In the next hallway we find the first offensive trap item in the game, a stick of Dynamite. Like Fresh Meat these can be thrown and will explode on contact with an enemy, dealing fire damage.
The boxes at the end contain a Heal Kit and some money.
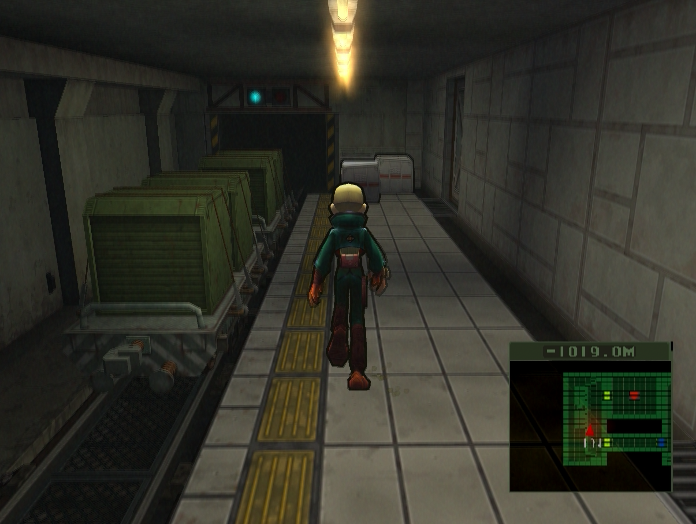
The boxes here contain a small amount of Party XP and some more Dynamite.

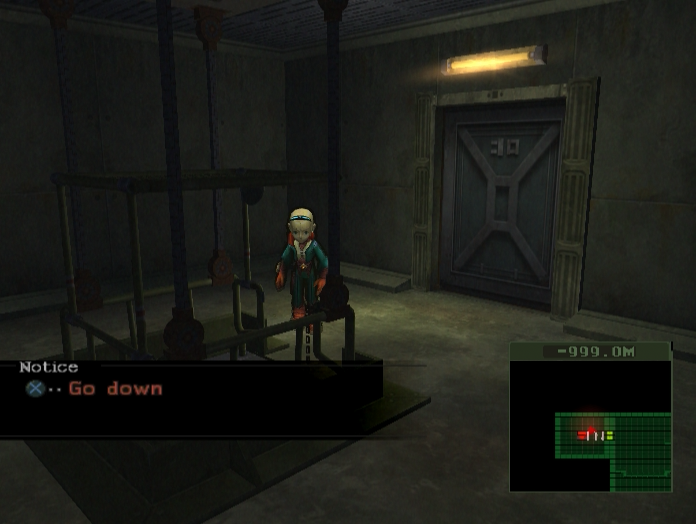
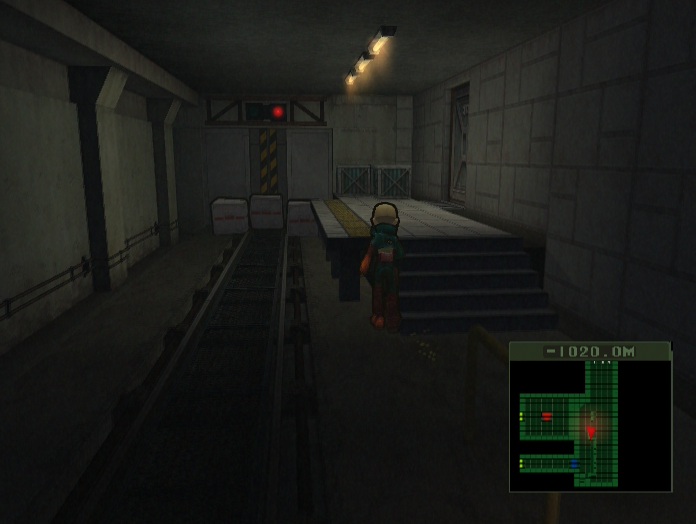
The next room contains an elevator down to the next level, which seems like a good place to end the update. See you guys next time.
--
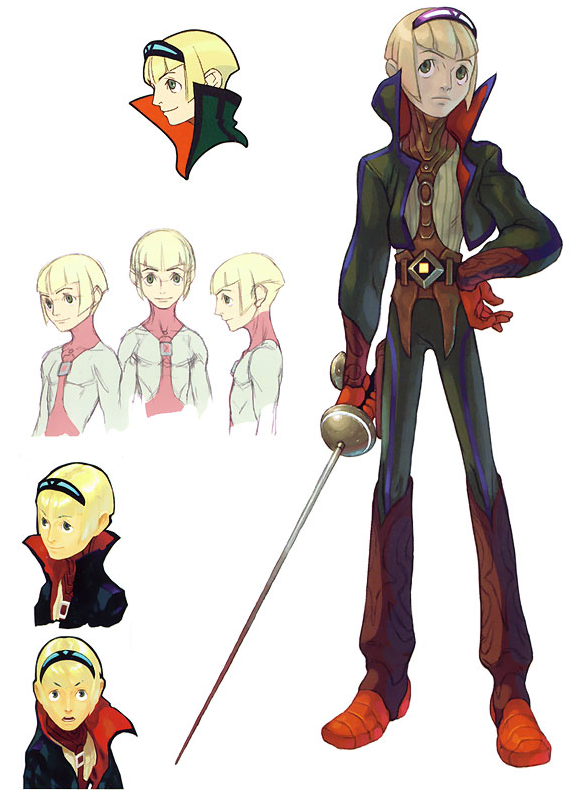
Bonus Art: Bosch