Part 13: Chapter XII: Betrayment
Chapter XII: BetraymentCondition: No abilities that cost more than 4 AP
It's been a while since we checked on our Masters, so let's do that before we go on.
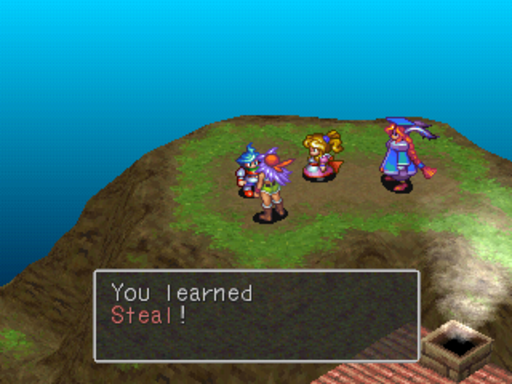
D'lonzo also has Intimidate, but since we learned it from the Dolphin, she won't re-teach it. But the important thing is we got Steal. It's identical to Rei's Pilfer ability from way back when, only it doesn't deal damage.

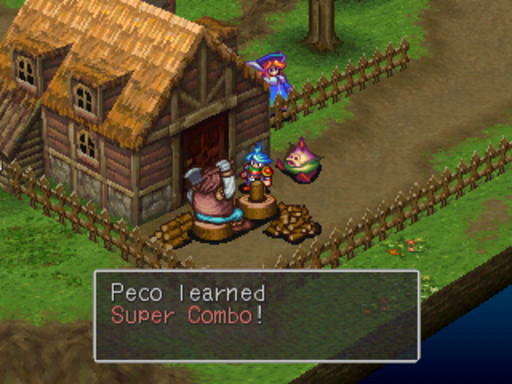
Focus is the physical version of Meditate. Super Combo is the winner of what Bunyan teaches, though. When it's used, the game gives you buttons to press, and the more you press in the given amount of time, the more damage you can do. Pretty fucking awesome.
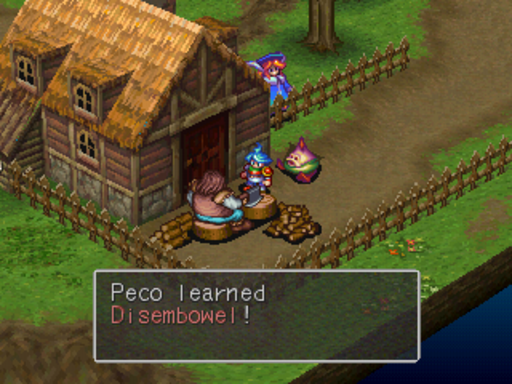
Disembowel is underwhelming for a final move. It has a chance to reduce a target to 1 HP in exchange for reducing your max HP until you rest at an Inn (like when you're KO'd at the end of battle).
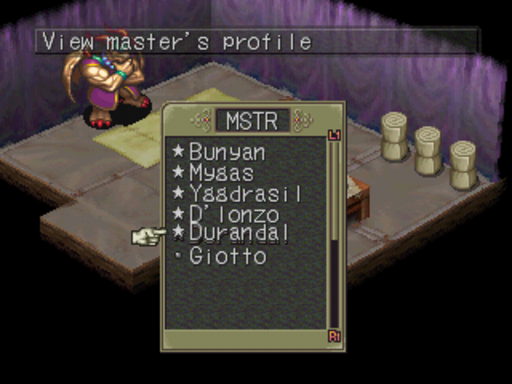
As you can see, of the Masters I give a shit about, we've learned all they have to teach us, so let's find some more.

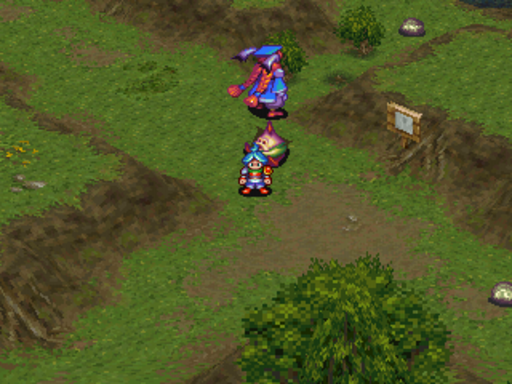
This forest is north of the Plant.
There's a little streambed at the middle. Bring Peco and have him headbutt a rock in and...
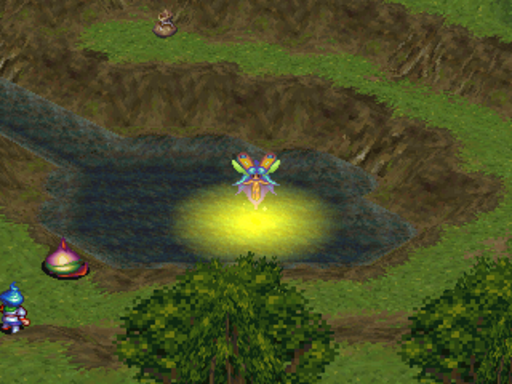
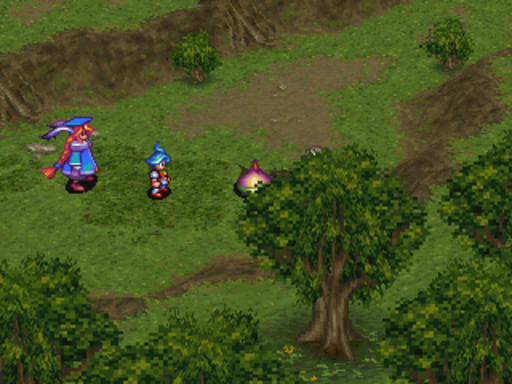
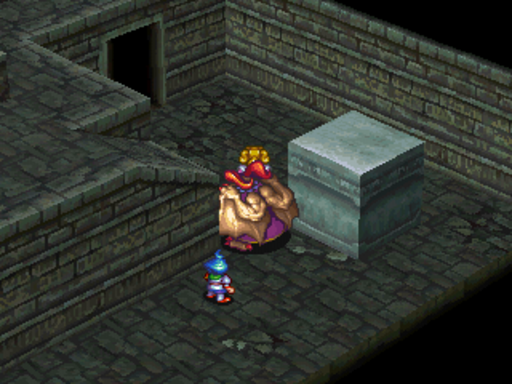
A faerie comes out. She won't appear until you've beaten the Dolphin, which is why I didn't come here earlier.
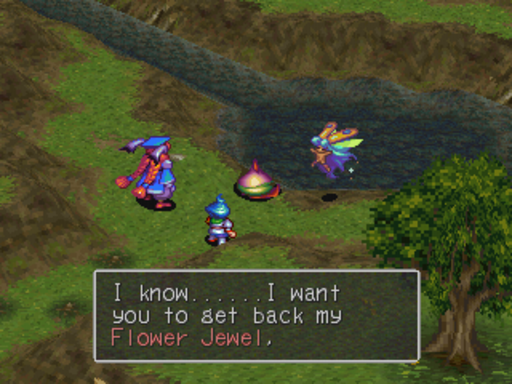
She yells and gets mad at you for throwing rocks, and makes you go get her Flower Jewel, which was stolen by a crow. Now, where have we seen a crow...?
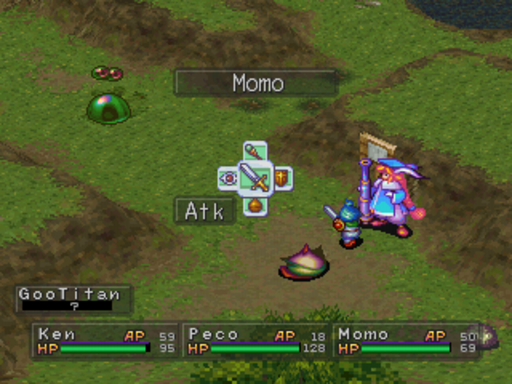
Goo Titans are a rare encounter here. They're incredibly powerful. Their Burn spell can do 40+ damage, and they also have Timed Blow. Timed Blow does you current HP - 1 damage in exchange for lowering your HP to 1. They give 220 experience to the whole party though, so they might be worth it.

And by kicking that semi-hidden rock, you can examine the hole for a Hawk's Ring, which ups the party's chance of getting the Initiative in battle. Handy, if you have the accessory slot to spare.
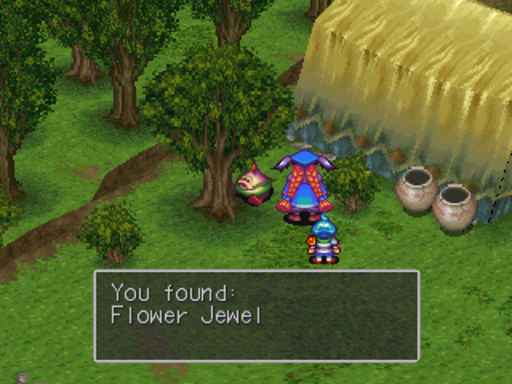
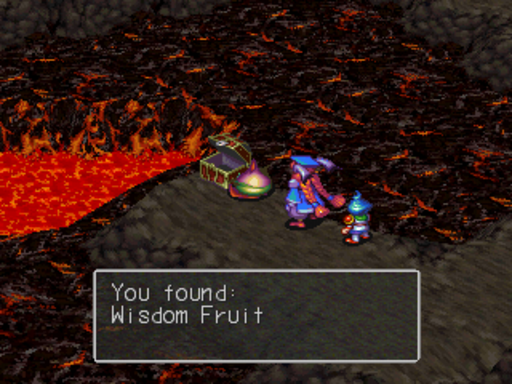
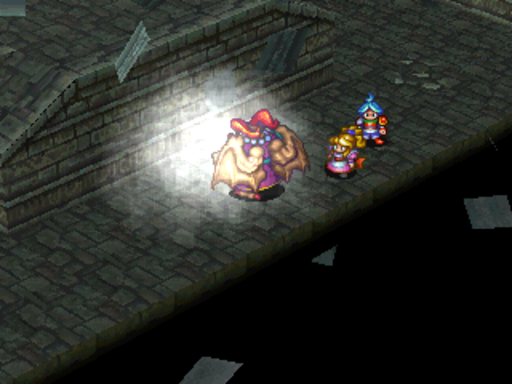
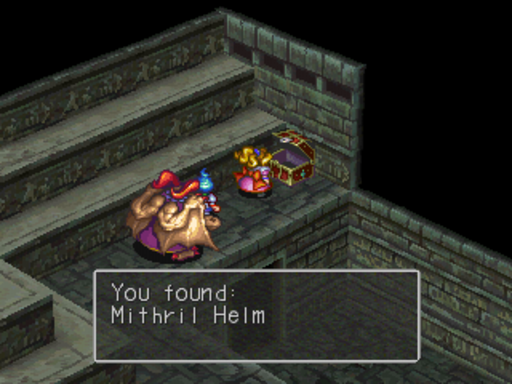
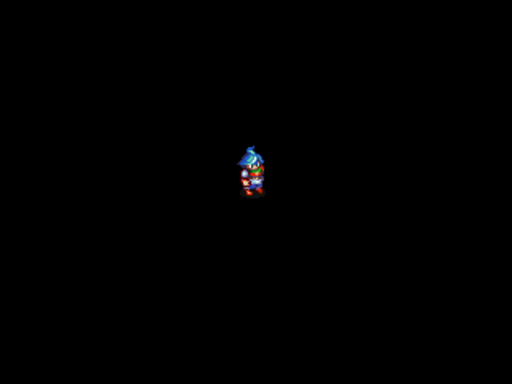
Remember that tent near Genmel where we found the Wisdom Fruit? If you look back at that update, you'll see a bird perched on the tree. Have Peco headbutt it, and the bird will fly off, leaving the Flower Jewel. Bring it back to Meryleep, and she'll become a Master.
Meryleep
Agility+2
HP-1
Power-1
Defense-1
Dodge+10
Fahl in Genmel also offers up his services, but you need to win 30 fights in a row without resting. Easy, but time consuming. Just go back to any earlygame area.
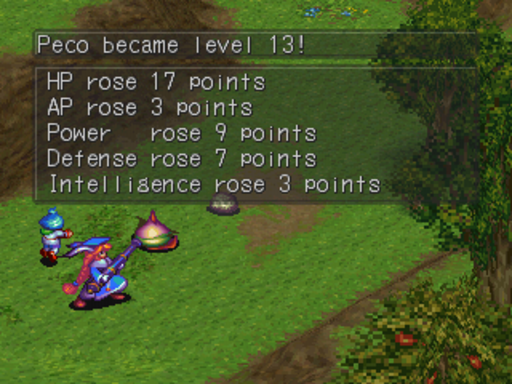
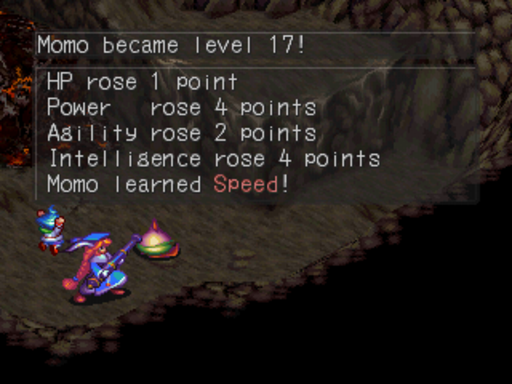
This happened while I did that. Yes, 17 HP in one level.
Fahl
- HP+4
- Power+1
- Defense+3
- Agility-3
- Intelligence-3
Dodge -5
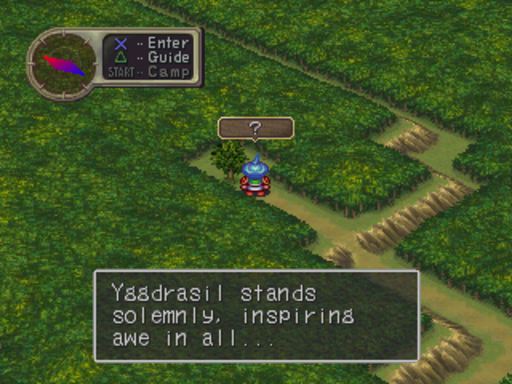
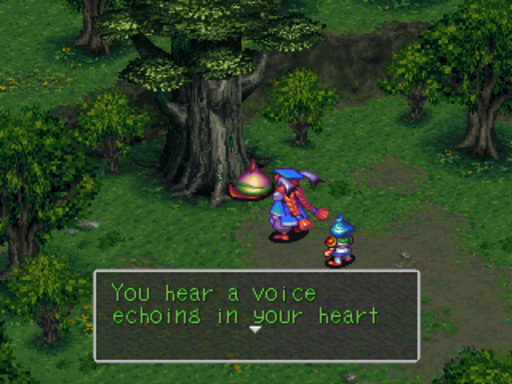
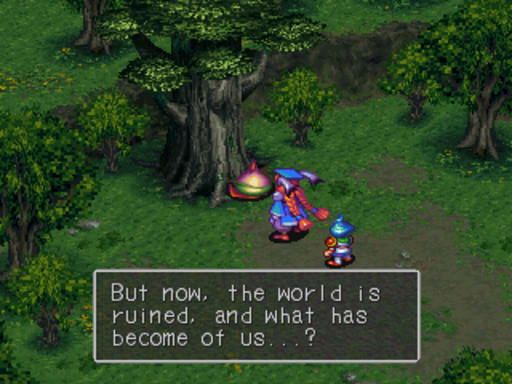
There's a few Yggdrasil trees scattered around the world you can talk to, in addition to the one whose a Master. You need Peco to talk to them. What does he mean, the world is in ruin? It seems to be fine.

Make sure you load up on these before the next dungeon.
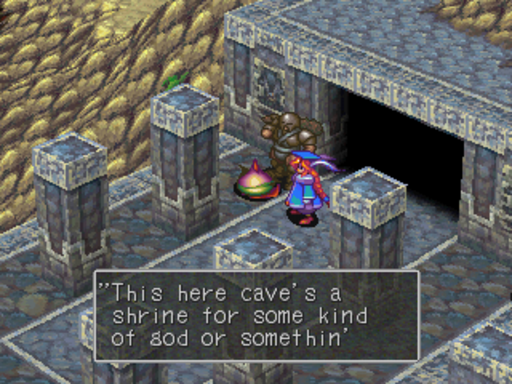
Back in Rhapala, after talking to Beyd, he'll direct you to Sinkar, the Guildmaster.
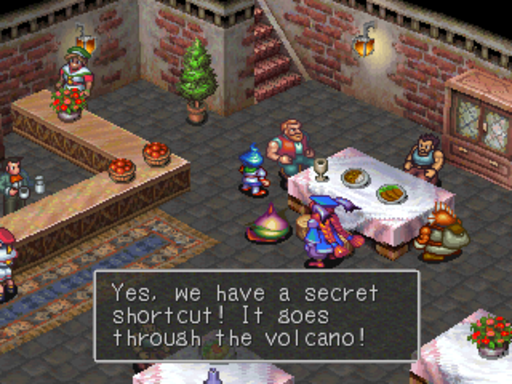
Yes. For some reason, they decided to build a tunnel through a volcano before they built a road around it. That doesn't seem like the best idea.
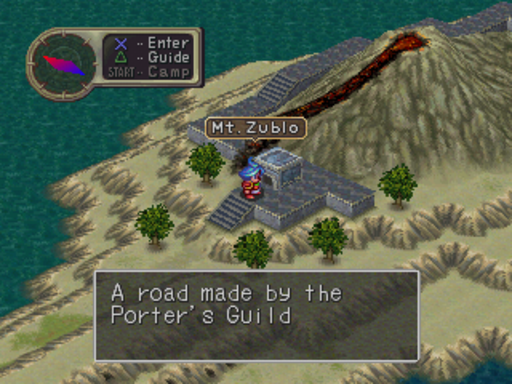
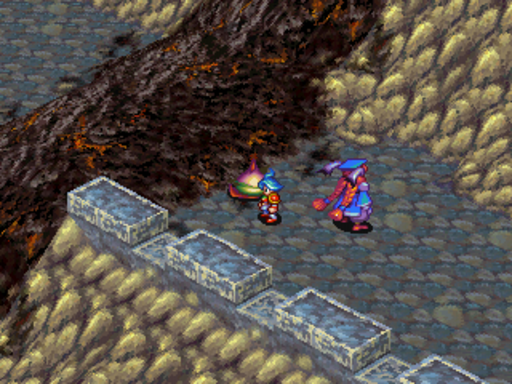
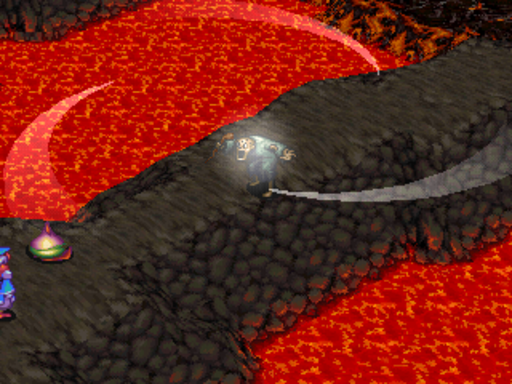
This is Mount Zublo, our next dungeon. Off to the right we find...
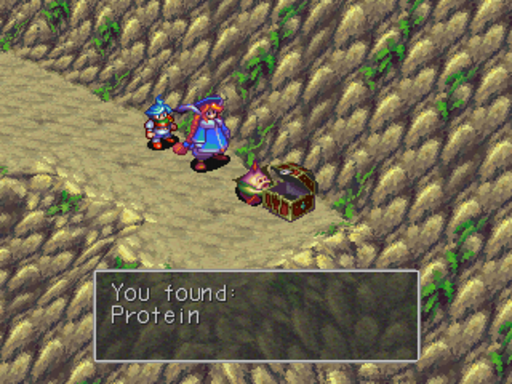
Protein, the defense boosting item. You can steal them from an enemy in this dungeon.
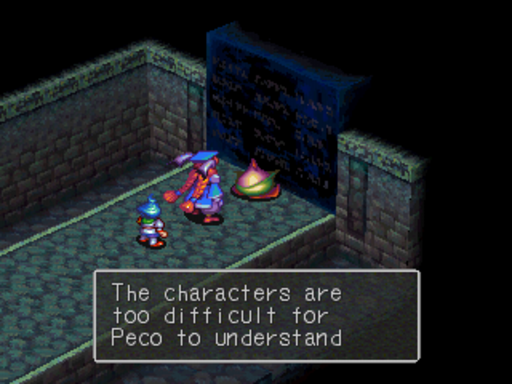
You get this message when anyone besides Ken examines the tablet, but we can't do anything with it yet.
The left takes us to the main road. Let's see how bad it is.
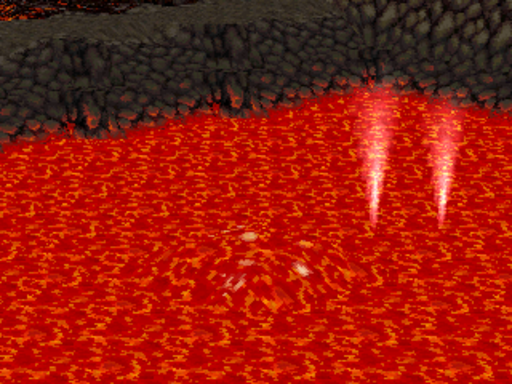
You're kidding me, right? About 10 feet of cooling magma? It has to be safe to walk on now, right?
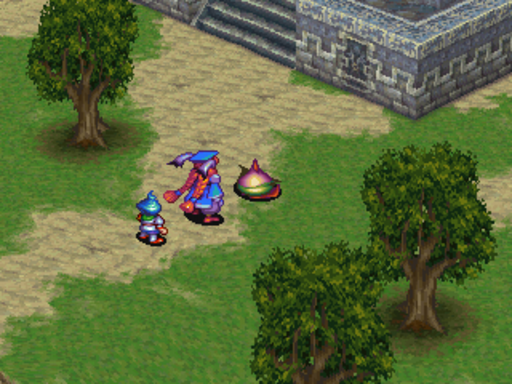
Whatever, let's do this thing.
Oh and this probably goes without saying, but get innoculated against Flame before going in.
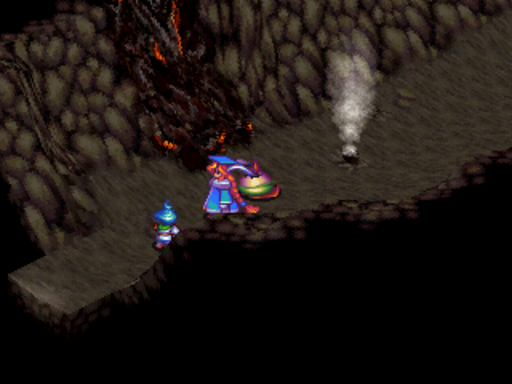
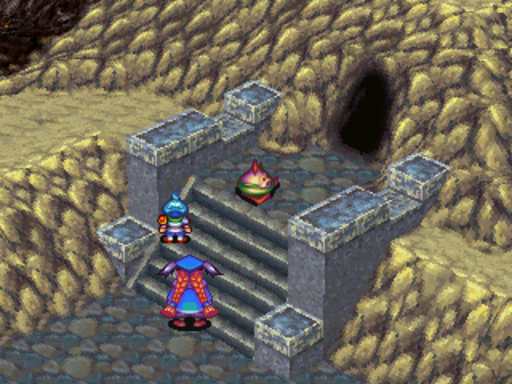
Fortunately, it's a short dungeon. Those steam vents damage you, so watch out. Also, you can walk on the cooling magma, but it will damage you.
And in this room, we find a very helpful item for the dungeon.
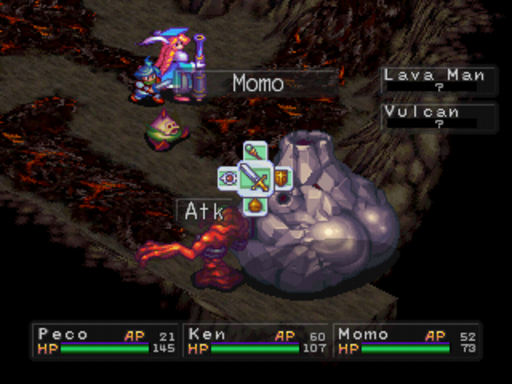
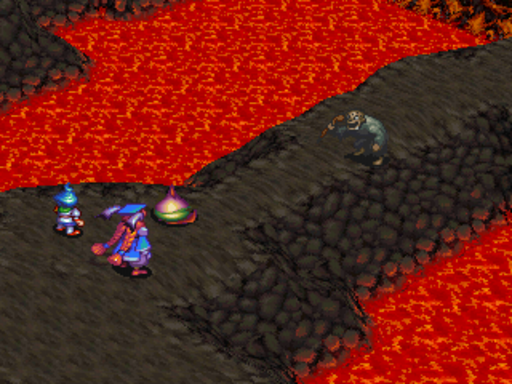
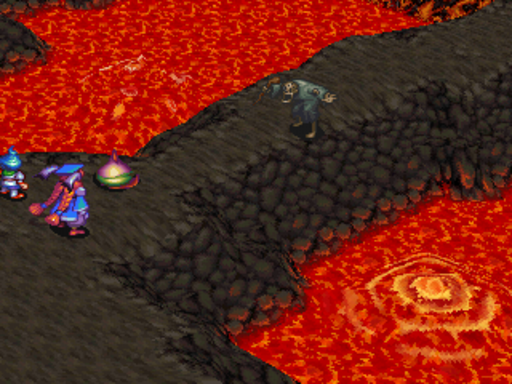
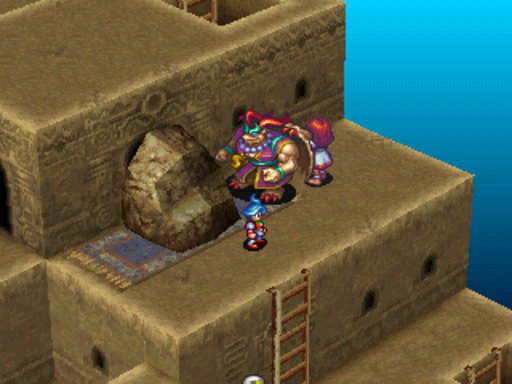
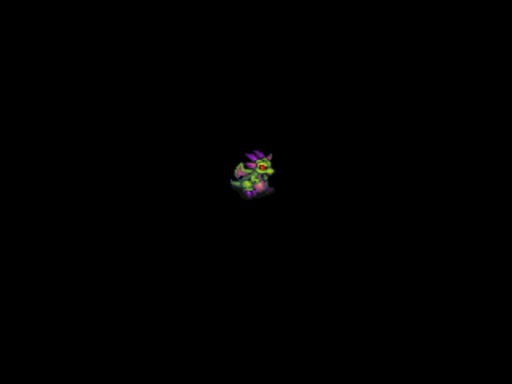
But first, new enemies. Lava Men are identical to Tar Men, except they don't freeze after being hit with ice, but they're still weak to that element. They're key to an experience exploit later one, if you choose to do it.
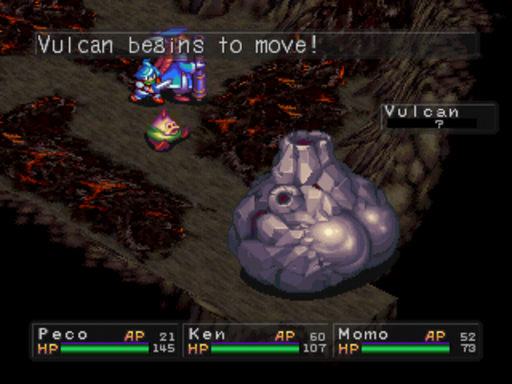
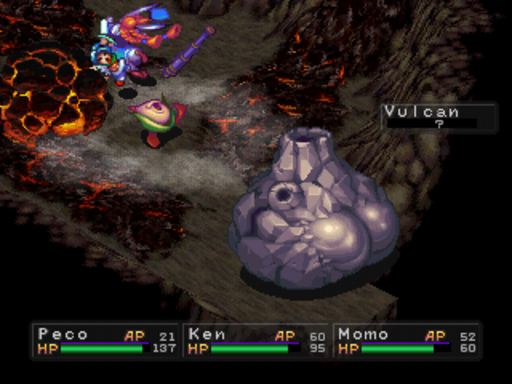
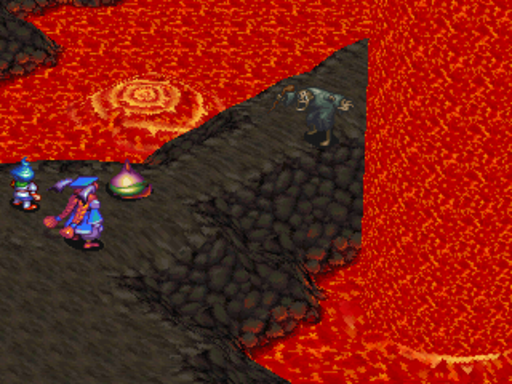
And that rock with an ass is a Vulcan. Vulcans always start battle in a dormant state, and can only be woken up by a flame elemental attack. They're why we got the Molotovs. If they're killed while dormant, they give a fraction of their normal experience. But when awake, they give 300 experience (!), teach a great Skill for Momo or Nina, and have a 1/32 chance of dropping an awesome armor.
Throw a Molotov or cast a flame elemental spell, and you'll get this message.
This is Lavaburst, a multitarget, flame elemental Skill. Great for Momo.
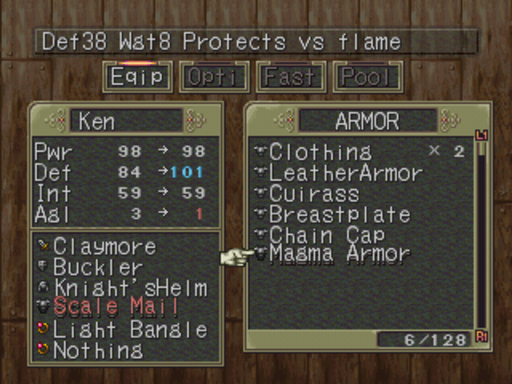
THIS is their drop. It's fucking awesome. It absorbs any fire elemental attack as HP. Sadly, it can only be used by Garr and Ken, the former of which doesn't really need it anyway, since he has a slight flame resistance anyway. however, it gives you a -1 to frost resistance.
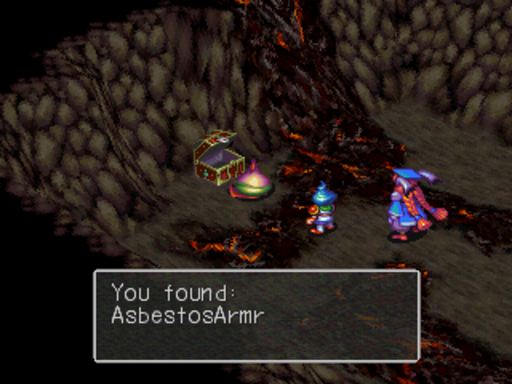
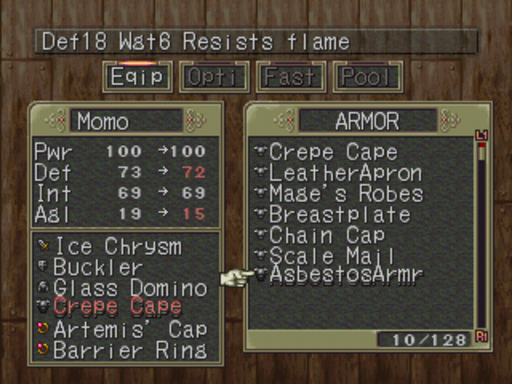
This is the treasure in the room. Combined with a Flame Inoculation, Momo is now immune to fire.
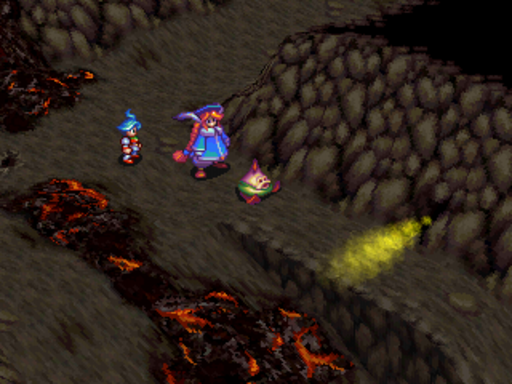
This yellow gas confuses whoever it hits, reversing the directional control for a bit.
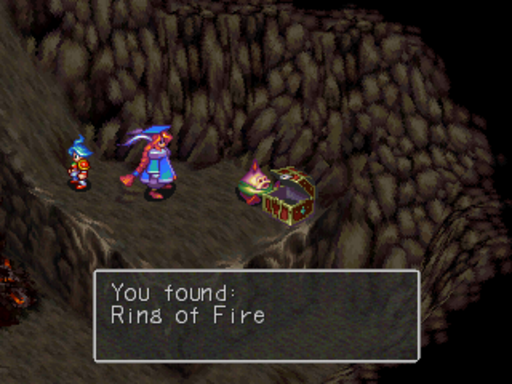
And this is the prize. The Ring of Fire makes you absorb fire damage as HP. Putting this on Peco now means the party is now invincible to the main element of the dungeon. Go team!
And Momo learning to make drugs is just the icing on the cake,
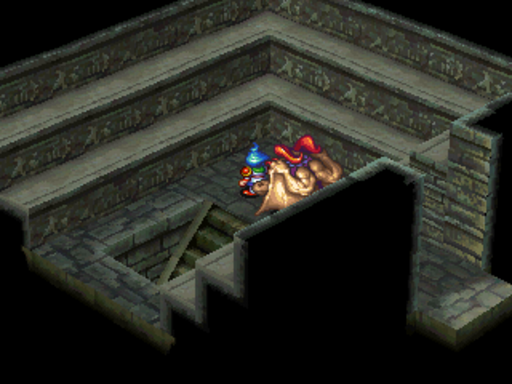
And here's Peco climbing a ladder.
There's our next Dragon Gene, and it's a doozy. Sadly, it costs 16 AP to use, so we won't be seeing it this time around.
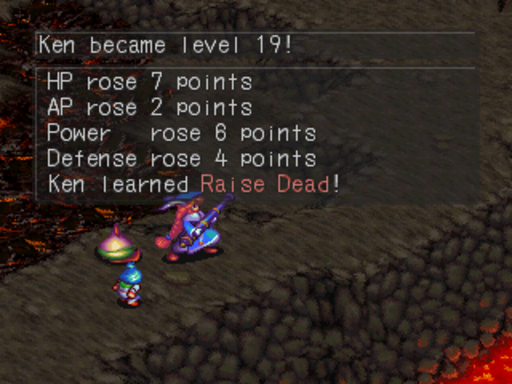
On the way around to get it, Ken turns into Jesus. Raise Dead has a chance to wake someone from unconsciousness.
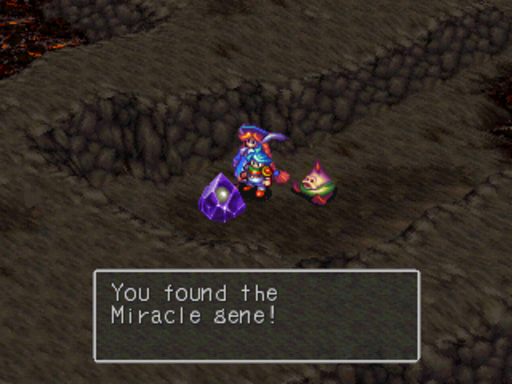
We make out way across the magma. This is the Miracle Gene, and it's fucking awesome. It turns you into something that looks nothing like a Dragon.
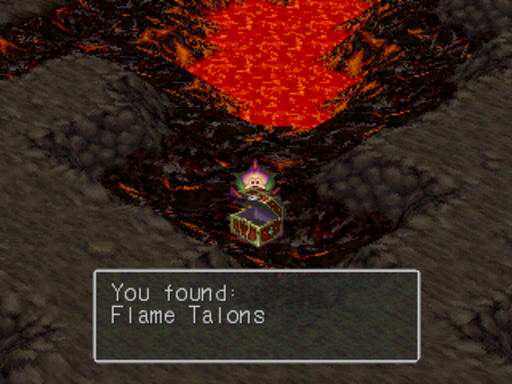
And these are a stronger weapon for Peco, but they're flame elemental, so we leave it off for now.
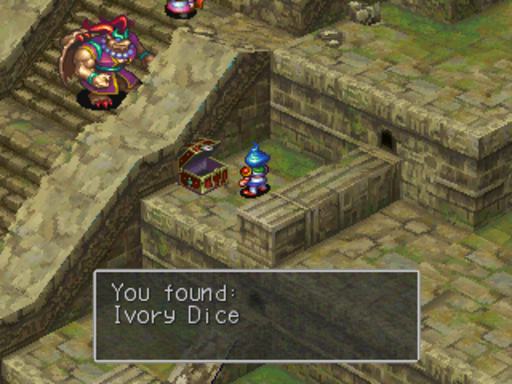
And this is the last treasure before the boss. Like I said, short dungeon.

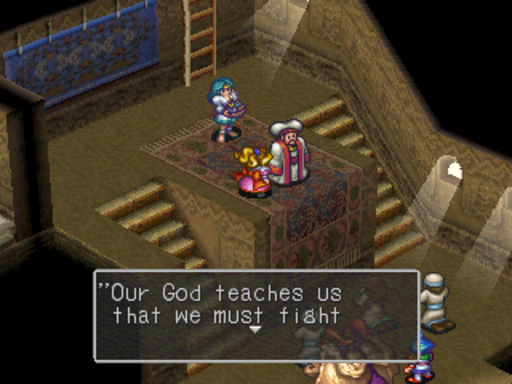
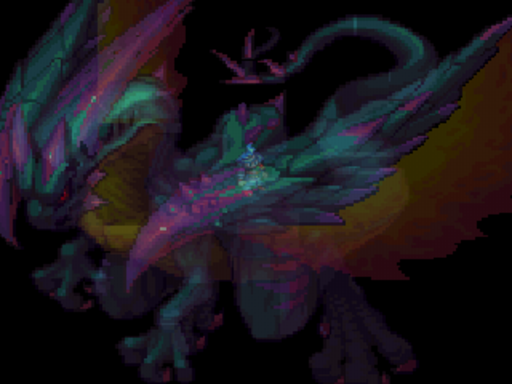
Old man: Hee hee hee. So you've followed me this far, have you...?
 : What do you mean? We're just going to the place called Angel Tower...
Old man: Hee hee...I know... I owe it to all who sleep in the tower... I can't let it end here like this, hee hee. Ah! I can hear them! The angry voices of the dead...They call out to me... Ha ha ha ha... You can't get me!! I'll avenge them all!! Hee hee hee...Ha ha ha! Heed me, Scyllaaaaa! Heed me, Charybdisss!
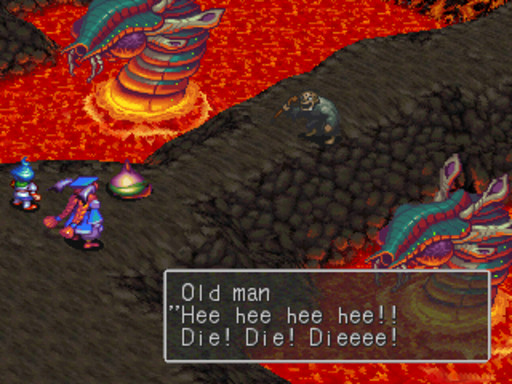
Ahhhhhhhhhhhh fuck! But the music for this fight is one of my favorites, so give it a listen.
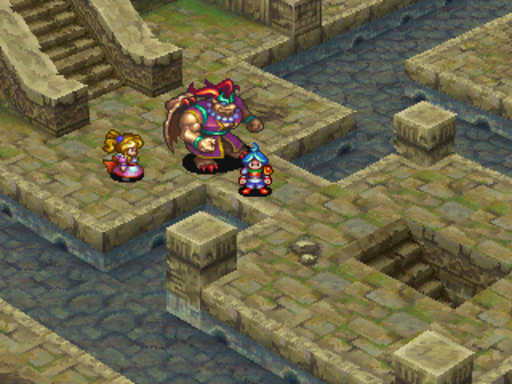
Gisshan, Scylla, and Charybdis serve as the guardian for the end of the first half of the game. And if you're not prepared they can and will wreck your shit. But if you come prepared, you can get through this without using a single healing spell or item.

I start the battle with Speed and now...
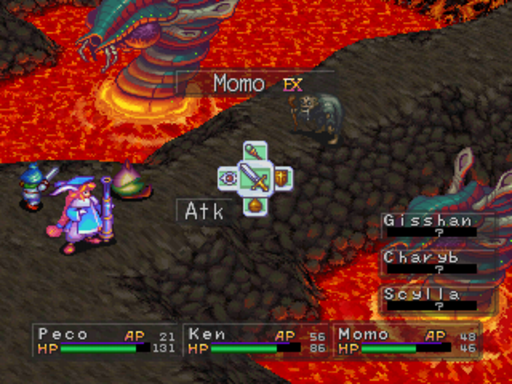
The fight is pretty much over. Already. With Ice Chrysm, Momo can knock out about 100 HP to the wyrms, as can Peco. Ken is actually the weak link in this battle, go figure.
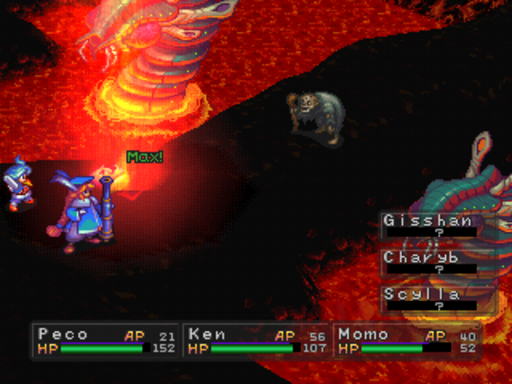
This is Wall of Fire, a Skill we can learn, but we don't do it in this battle. It's incredibly rare for being so mediocre, though.
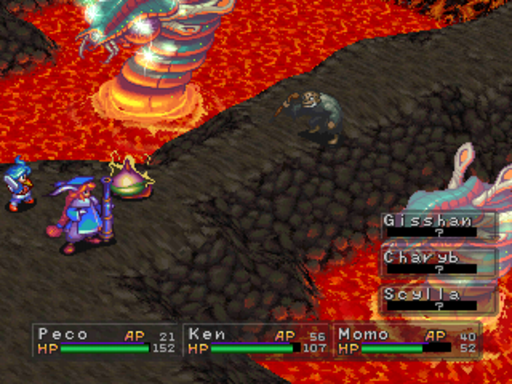
This is the big annoyance in this fight. Gisshan likes to use Vitalize, restoring 60 HP to all three of them.
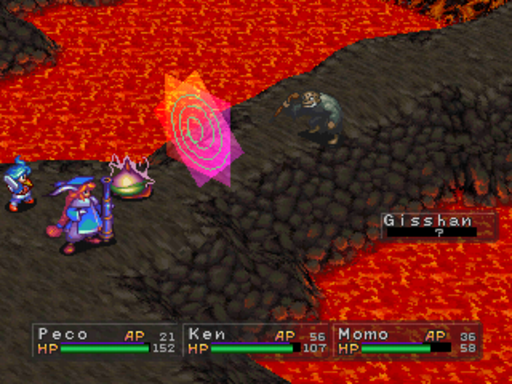
And this is Confuse, which has a chance of confusing a party member. It didn't take. Gisshan also has access to Sleep, and I swear I've seen him do a physical attack before, but it's INCREDIBLY rare.
No really. I didn't heal once during this entire fight. I completely neutered them. The wyrm's physical attacks barely phased Peco.
And for some reason, the perspective is changed in the last room. There's a hidden Life Shard in here, so make sure you nab it before heading out.
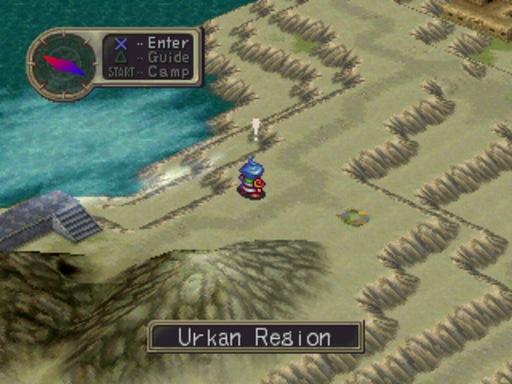
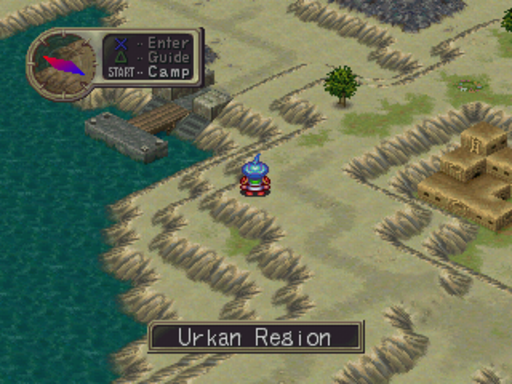
This is the Urkan Region, the last region we'll see for a long time. It's home to Urkan Tapa, Junk Town, and Angel Tower.
Oh and that fucking boat? IT'S NOT EVEN AT THE MACHINE GUILD!
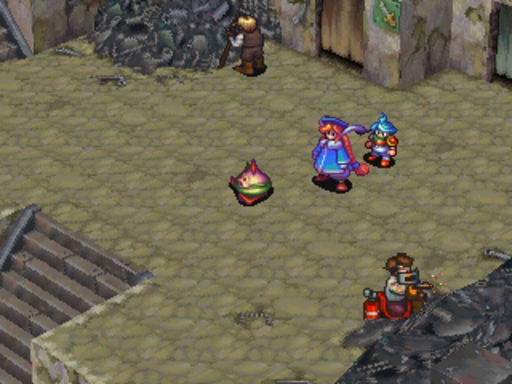
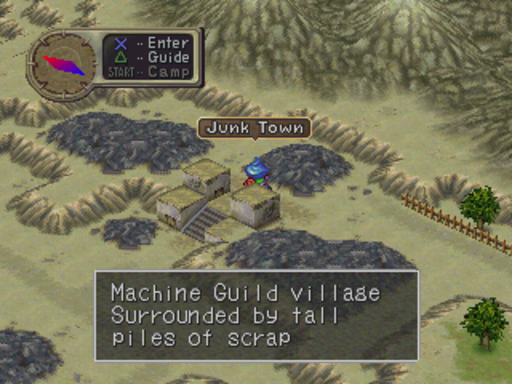
This is Junk Town. We can come here, but there's nothing to do until later, except shop.
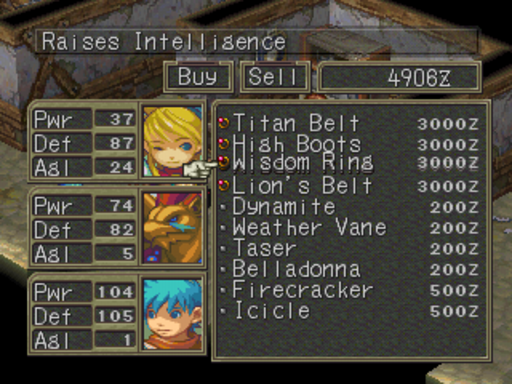
And shop we do. I nab 2 of these for Nina to turn her into a murder machine.
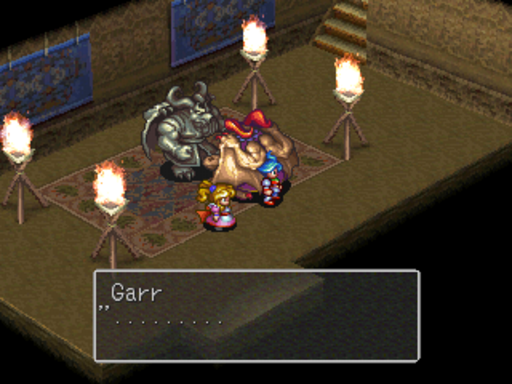
Nina's mentions that Garr has stopped talking, giving her a bad feeling.
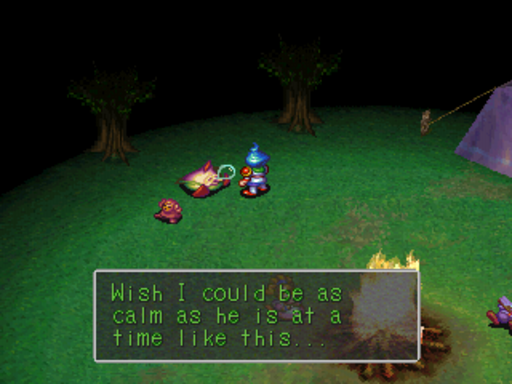
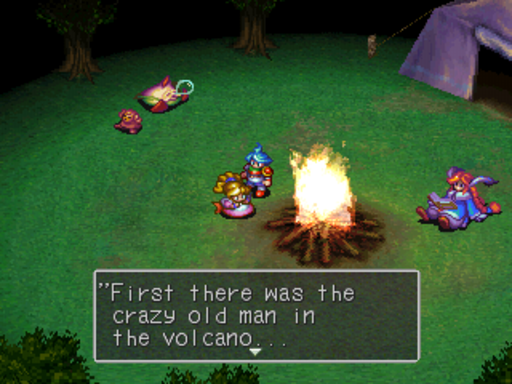
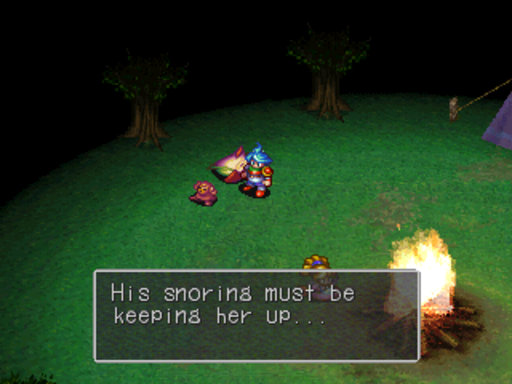
In camp, Peco generally serves as a way to give voice to Ken's thoughts. It's usually Peco's normal gibberish followed by Ken's thoughts in green, it's pretty cool.
D'awww Honey

Yeah, things are getting serious.
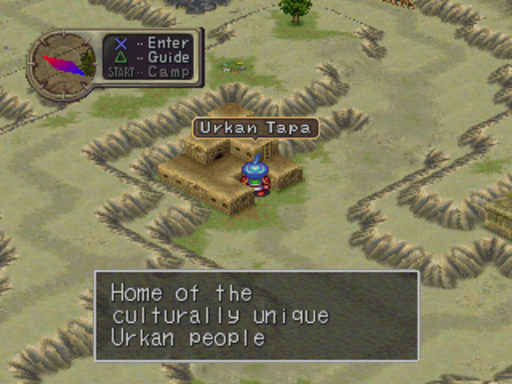
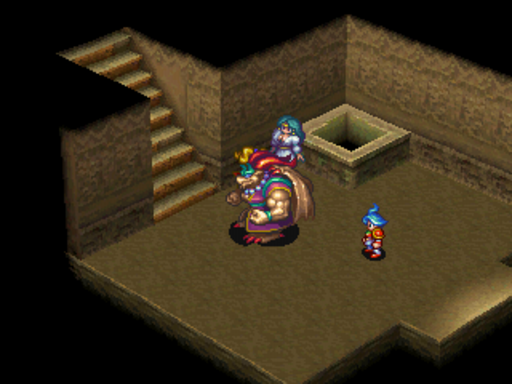
Inside Urkan Tapa, we meet Hondara, our next Master. To learn from him, we need to have learned Backhand from Durandal. Here's what he changes:
- AP+1
- Intelligence+1
- Power-2
Holy+1, Death+2
For now, we put Garr under him to work on the mage thing.
Garr's out of battle action is that he can movie heavy stuff. If anyone asks for a strong guy, they mean Garr.
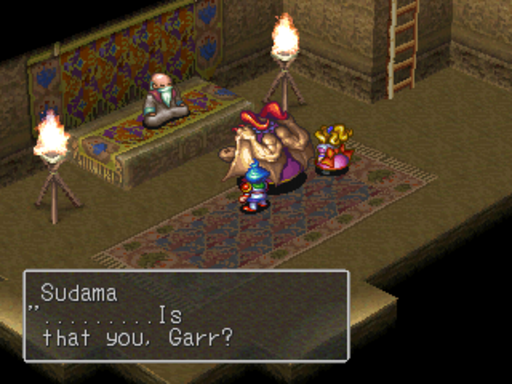
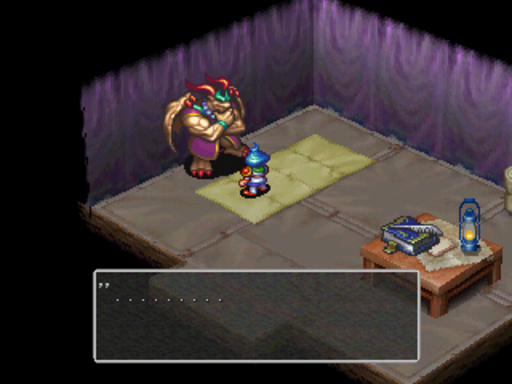
Sudama: .........Is that you, Garr? Welcome back... So, have you made up your mind to join your comrades?
 : Something like that, I guess...
Sudama: So it's true, then... There is no more evil in the world I guess your intuition was wrong... So this means the time has come for you to enter your long sleep, then, Guardian Garr. Very well... Go to the Tower... I'll tell the watchmen you are coming. Farewell...Garr
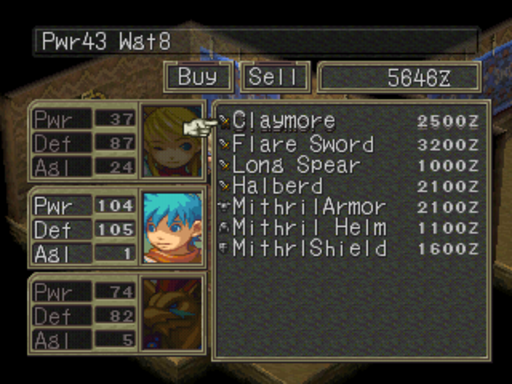
There's some great equipment here if you wanna get it. The Magma Armor is stronger though.
This is the Inn...somehow.
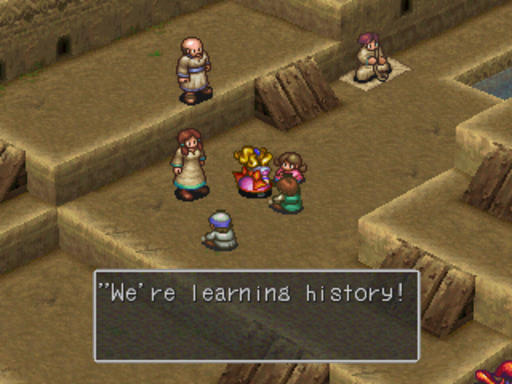
These kids are learning about an ancient evil the Urkans defeated long ago.
And this is the only mention we'll ever get of Gisshan. I have my own theories, but there's really no proof for any of them. I think he's an ancient Brood warrior.
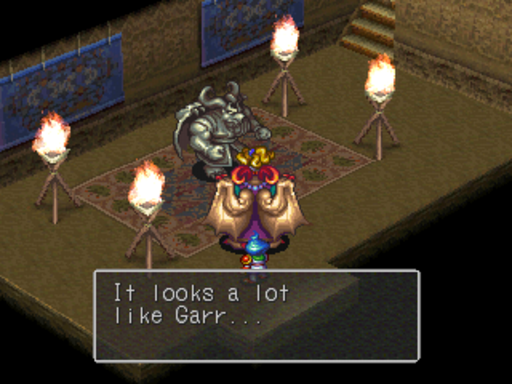
There's also a statue of Garr here.
And when leaving the village, we're forced into a camp scene.
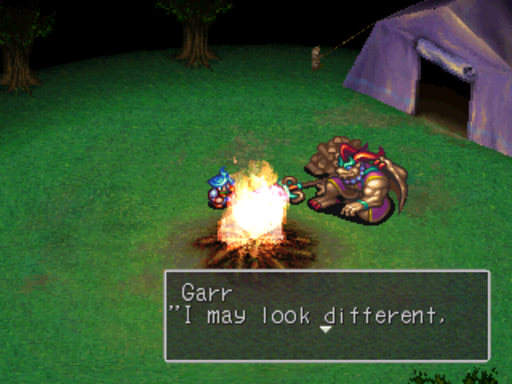
: I may look different, But I'm one of them... I too am an Urkan A Guardian is what people like me... What Urkan warriors are called... We protect our people from evil and harm.Nina pokes her head out
 : Ken, Garr... Are you still up?: About what I told you... That you might die... Oh, never mind... You'll understand once we get there...
This is something that seems inconsistent to me. Going from the people here, Garr is some kind of holy warrior and a great guy as a result. But earlier, it's implied that he was working with Balio and Sunder for years to rig the Contest of Champions, not exactly something a holy warrior would do. I guess it's not out of the question, it just bugs me.
We're supposed to go to Angel Tower, but Garr is behind, so let's work him up a bit.

These are the Cerberus enemies. They're only notable feature is that they can cast Howling, which confuses the party.
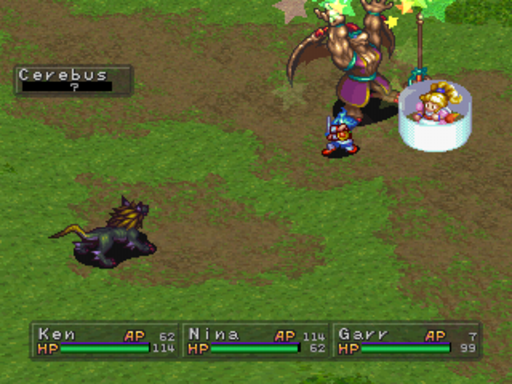
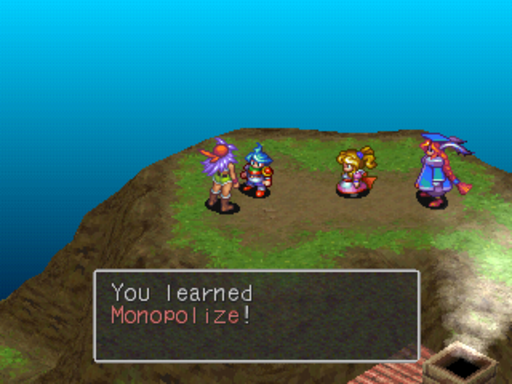
Garr uses Monopolize, to absorb all the experience. Handy for leveling up people who are behind.

By the way, right now Nina can do 150 damage with Magic Ball WITHOUT using Meditation. Go Wisdom Rings!
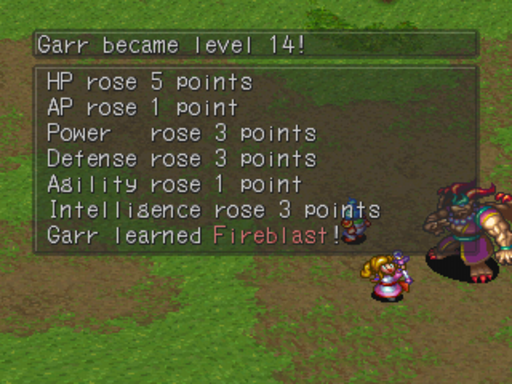
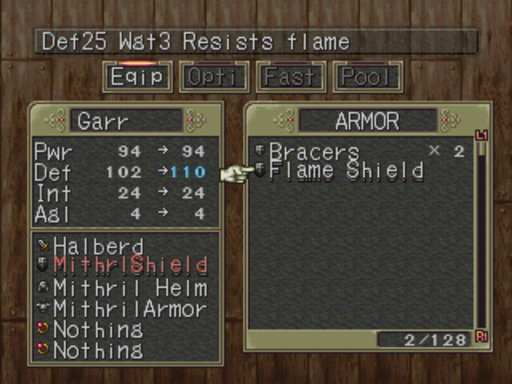
These are the only highlights. Fireblast is a weak fire spell against all enemies. The Flame Shield is an item I had no idea existed until this LP. It's basically the Asbestos Armor as a shield. And less cancerous.
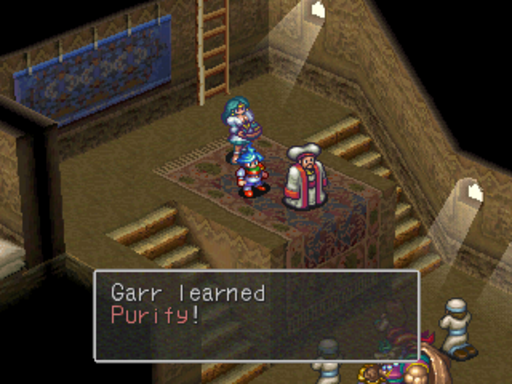

Fun fact: Purify is the one ability in the whole game that can be possessed by 4 party members at once. Kyrie is an instant death spell against any undead enemy with obscene accuracy. I've only seen it not work once. Garr will learn it naturally later, but it never hurts to get it early.
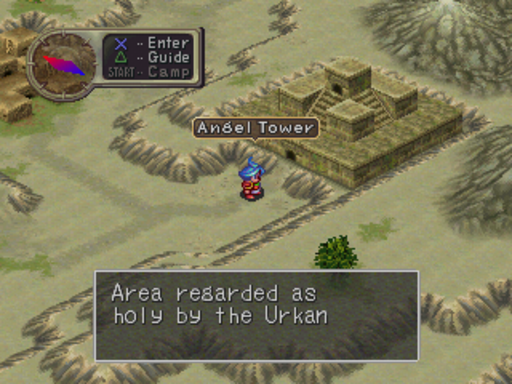
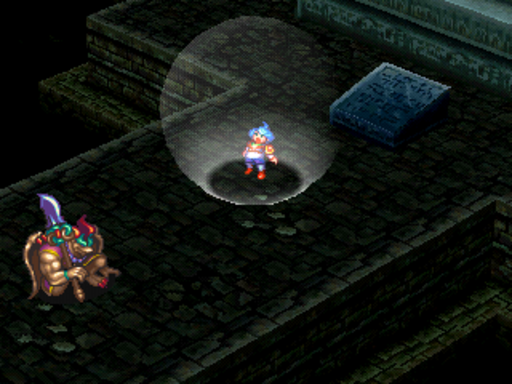
And here it is. Angel Tower.
It's not in great shape.
And here we have a naked lady. It's ok. Run to the bathroom or something. I'll wait.
While you pervs were in the bathroom, I entered the tower. It's right around here I remembered I had to bring Momo for a secret, so I quickly switch Nina out.
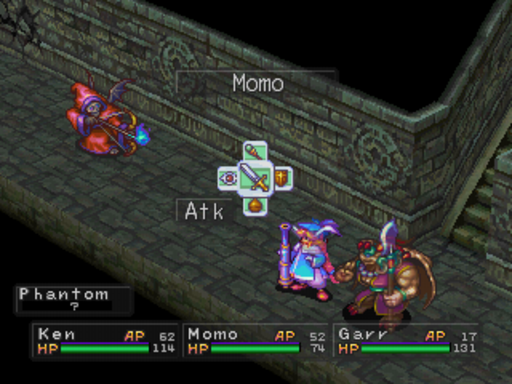
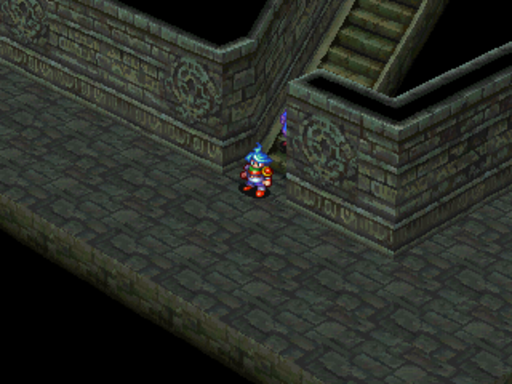
Phantoms are the only new enemy here. In addition to a high Lucky Strike rate, they also have access to the Death spell. Be careful.
Up the hallway, we find a cracked wall that Momo can blast through.
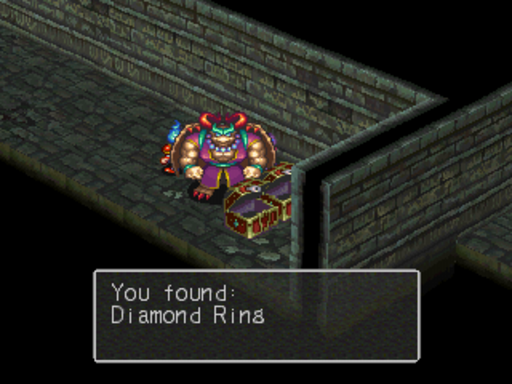
It leads to some Moon Tears and a Diamond Ring, which ups death resistance. And now I go back out and switch Nina back in.
This place is incredibly short. But these boxes can be moved by Garr to get stuff.
But if you press them against walls, they explode.
But position it so you can walk over it and you find this. Saves some money I guess, but it won't make or break you.
That door leads to a Soul Gem, but the stairs take us to the only puzzle in this place.
You want Garr to move these boxes to go across the platforms. It's simple.

Easy peasy. There's a glitch you can do here that helps you bypass the puzzle, involving being in the right formation, getting into battle in the exact right spot, and having Momo as your third, but I've never been able to do it.
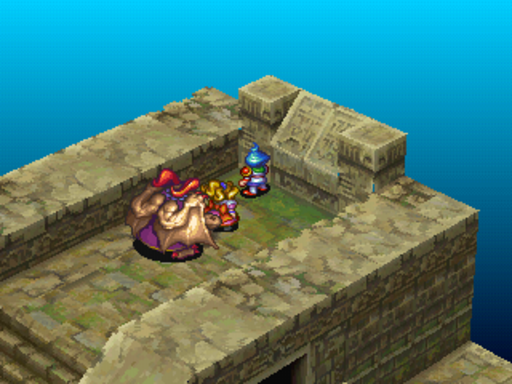
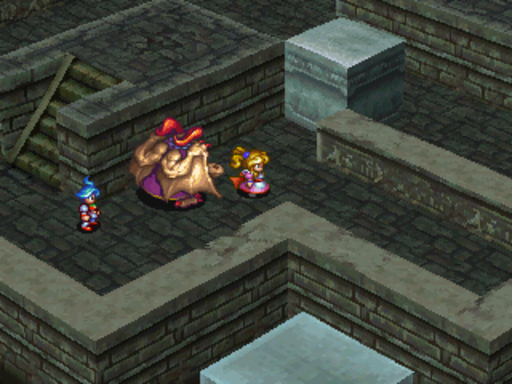
And here's our ultimate destination.
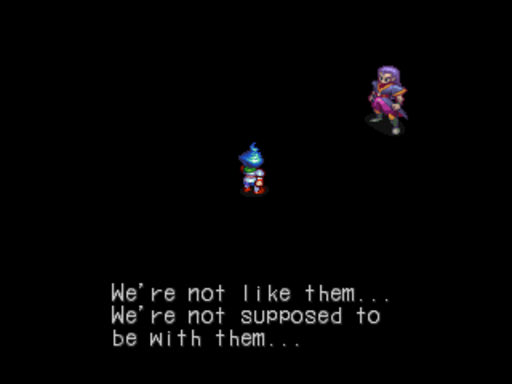
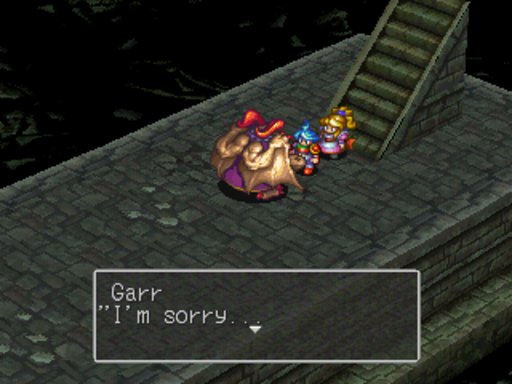 : I'm sorry... Please allow Ken and I to go on ahead alone.
Nina, confused, goes back,.
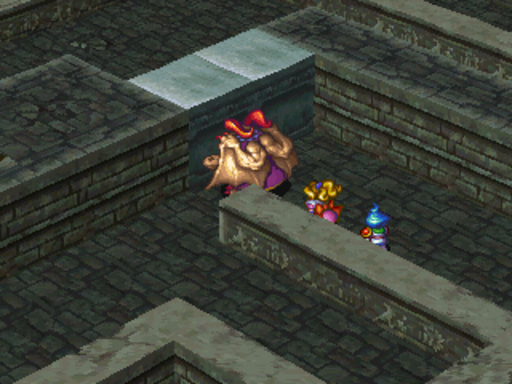
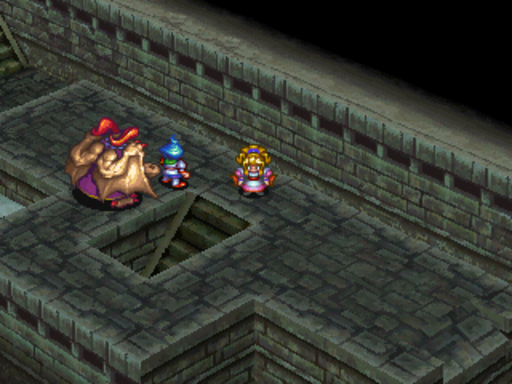
Further down, we come across the base of that structure we saw last floor, with some plaques around it.
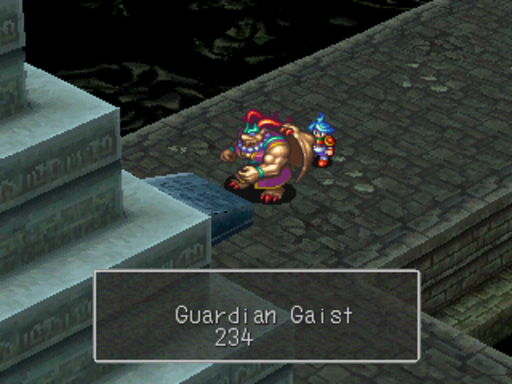
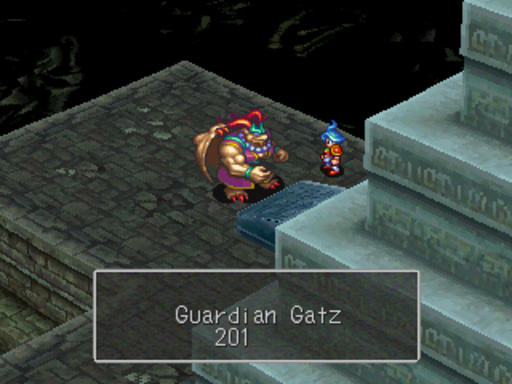
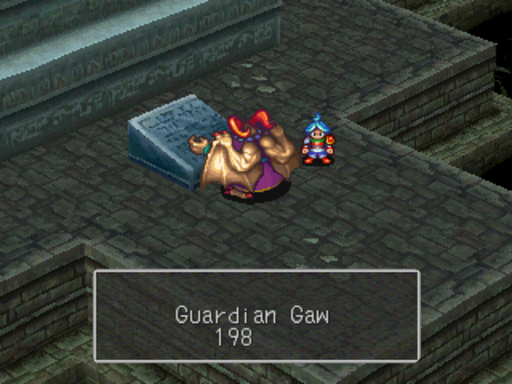
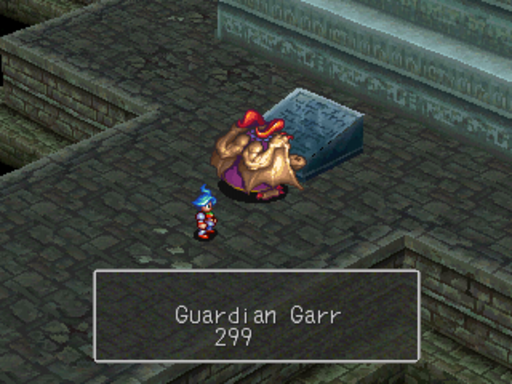 : Recorded on these stone tablets are the names of us Guardians... otherwise known as Dragon-Slayers!
W-what?!
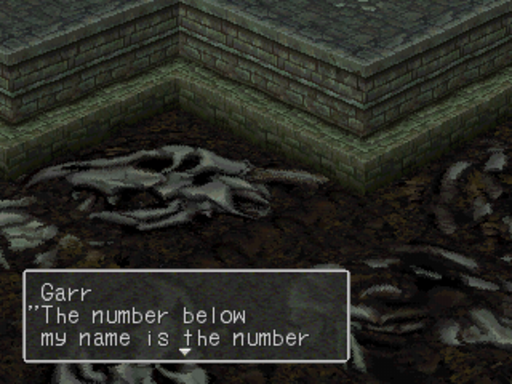 : The number below my name is the number of dragons I killed in the war...
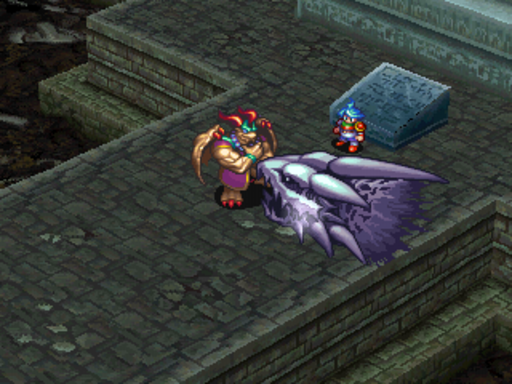
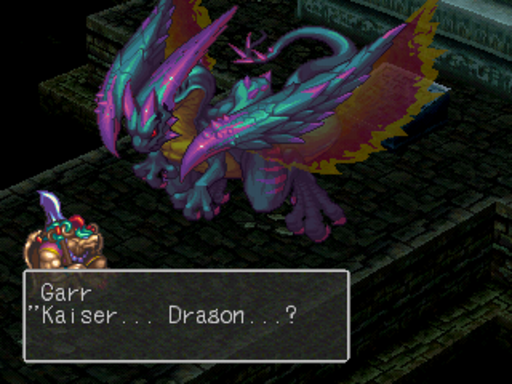
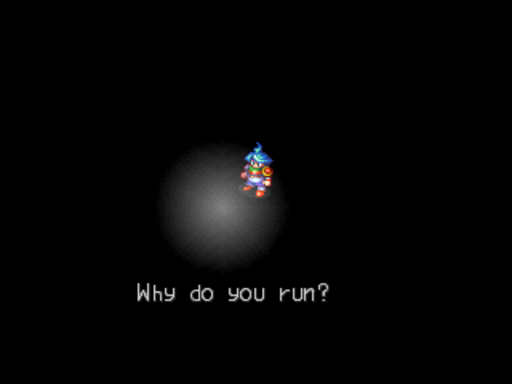
Some kind of phantasm appears to Garr.
: ...Ken, let me tell you what happened to your people. What happened to the Brood... Nearly 400 years ago, The savage and malevolent Brood attempted to conquer the world, igniting a fierce war... The Brood were strong and awesome... We, the people of Urkan, beseeched our God for protection from their great evil. Our God bestowed upon us Guardians. Her holy might in order to fight the Brood... After a mighty struggle, the last of the Brood were defeated and their bones laid here...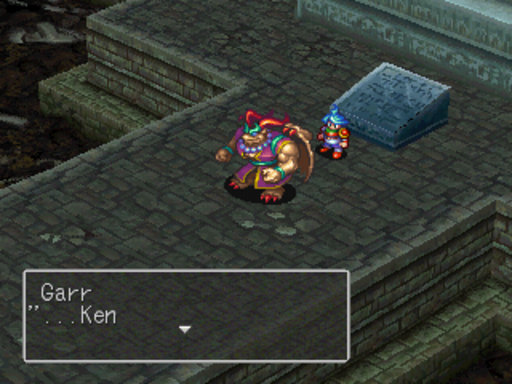 : Ken... You are the last of the Brood Once you are dealt with... my purpose shall be complete... Prepare yourself, Ken!
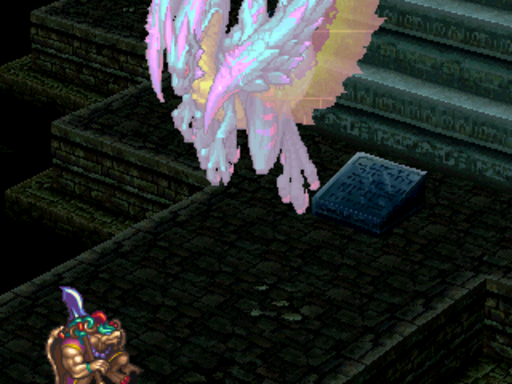
And the final fight of the first half of the game begins. Against...Garr...

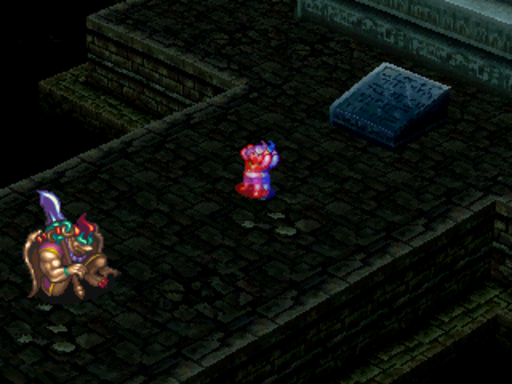
Fortunately, he's easy. He's only got 360 HP. I don't even transform. However, he ignores defense, so if you feel the need to prepare, take off all your armor to go first. He'll only be able to do ~20 damage, and the Ring of Fire lets you get healed from his spells. It's pretty easy. That's Fireblast, by the way.
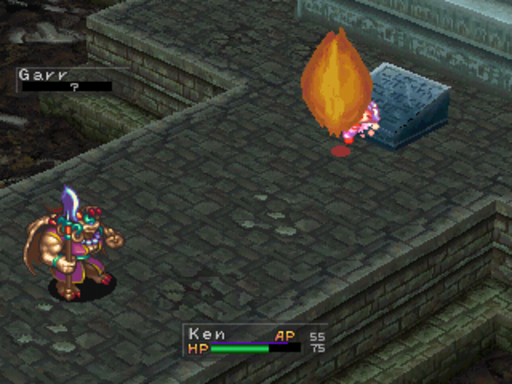
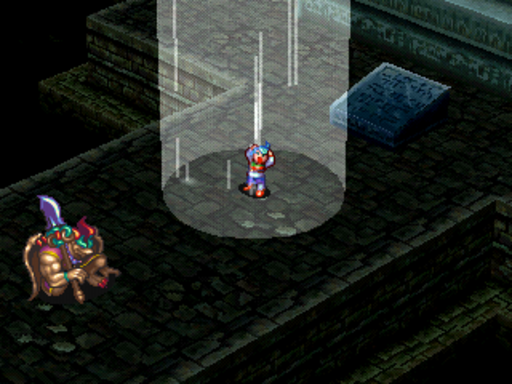
And that's Pyrokinesis.
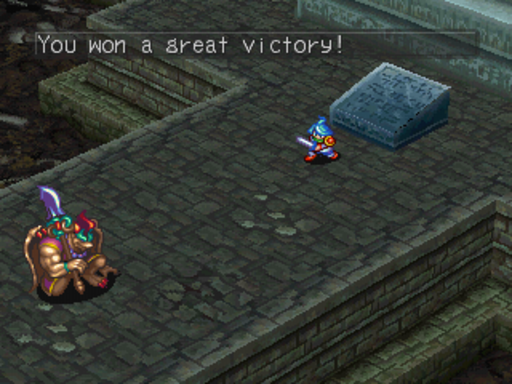

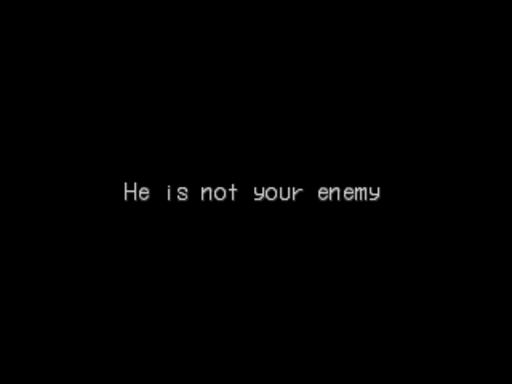
We won...but why did we have to fight? Garr is our friend, right...?
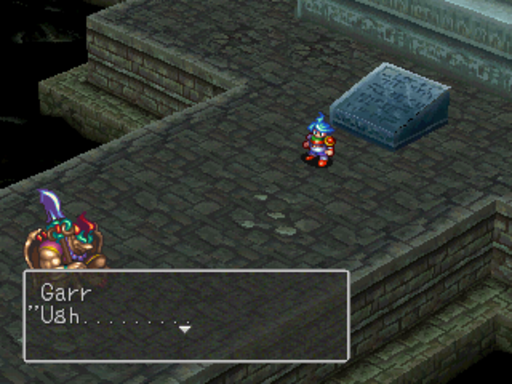 : Ugh......... Just as I suspected... We were no match for the true power of the Brood...But why...? What...? Why don't you finish me off...?
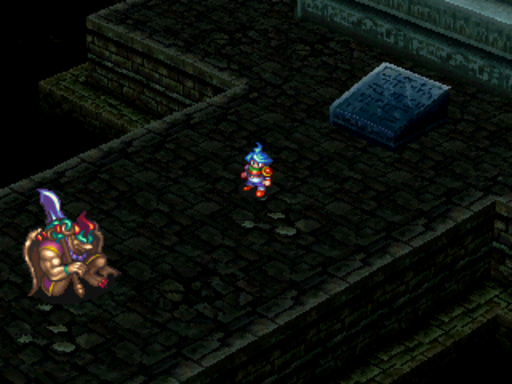

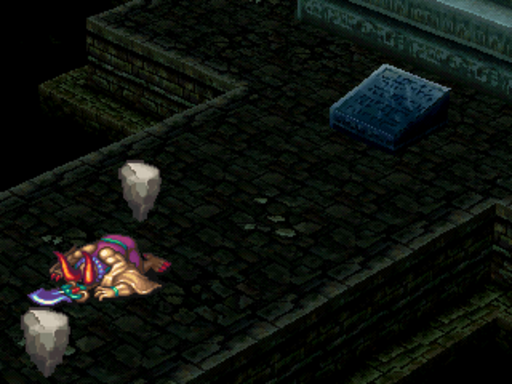
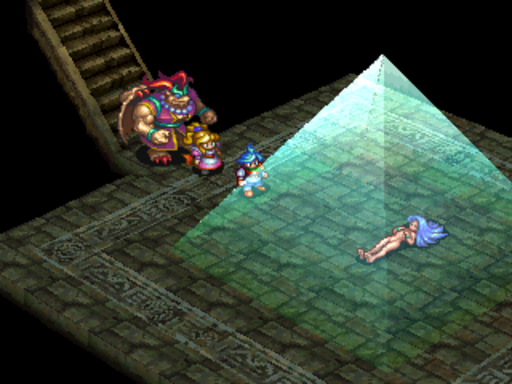
And Ken disappears as the tower starts to collapse on Garr.
Ken is lost somewhere. All during this scene, you hear him crying. He couldn't take having to fight a friend.
So he escapes the only way he knows how...