Part 19: Chapter XVII: A WHOLE NEW WOOOOOOOOOOOOOOOOORLD! A World That's Kinda Barren and Depressing
Chapter XVII: A WHOLE NEW WOOOOOOOOOOOOOOOOORLD! A World That's Kinda Barren and DepressingWelcome back! Last time we followed through with Momo's
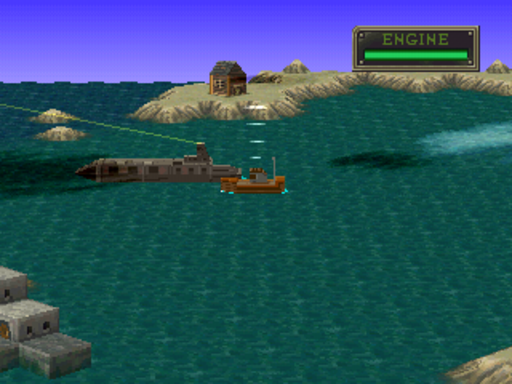
 idea and ram our little tugboat into the back of a big fat cargo ship. Let's explore!
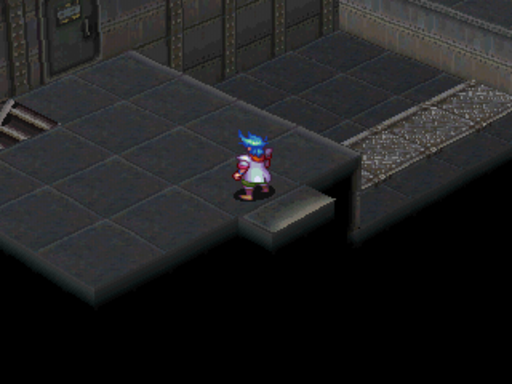
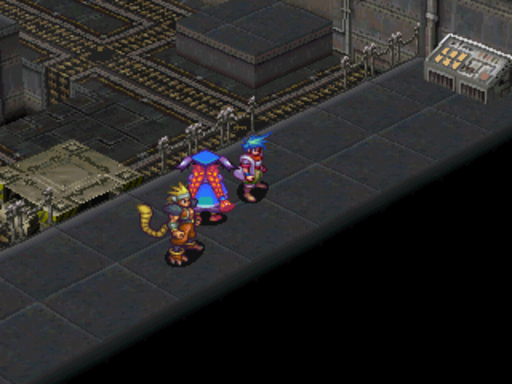
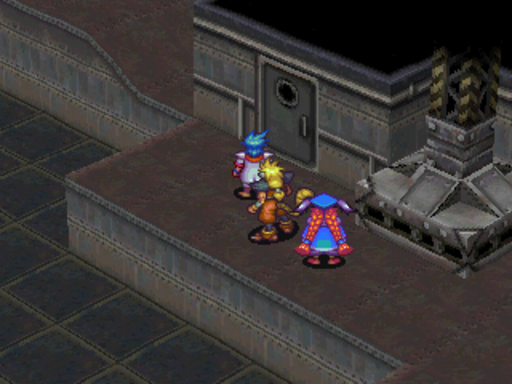
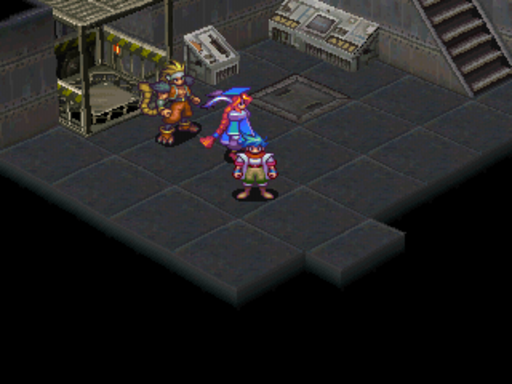
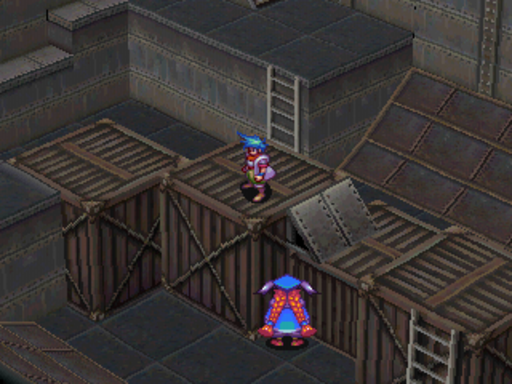
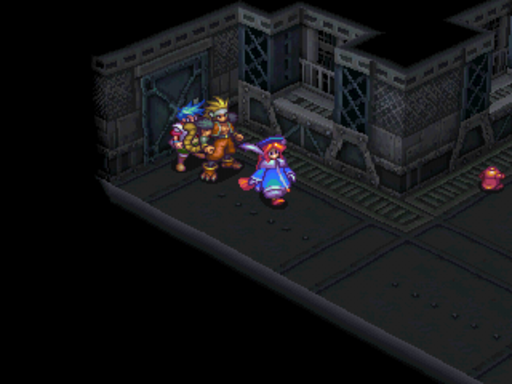
This is the interior of the Black Ship, our new dungeon. It's a nifty place. The music is pretty catchy too

These are King Toads, pallet swaps of the Ice Toads from Momo's Tower back in the day. These guys are actually less dangerous, preferring to cast Influence on you and have the Hoppers do their work for them.
Also, note the new formation I'm using. The Chain Formation gives the entire party the same agility as the point character, at the cost of halving the entire parties defense. Incredibly useful, especially when combined with the Shield spell, but keep and eye on your health. With Rei leading it and a strong enough offense backing it up, random battles really aren't an issue.
Those stairs are where we need to go first, so let's do that.
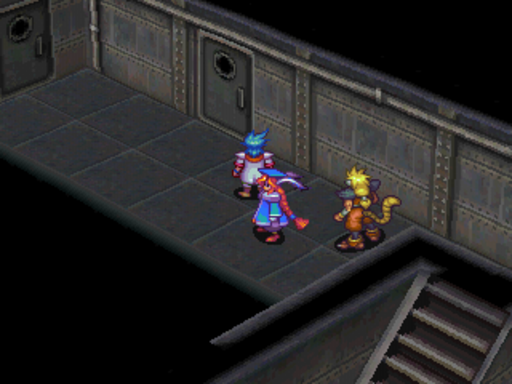
That door we were outside of leads here. This means nothing to us until the next room, however.
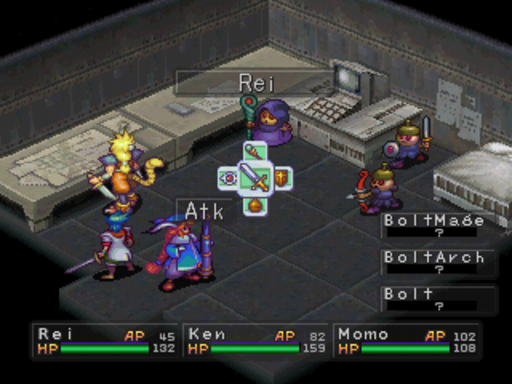
Here's the Bolt family in action. Momo and Rei can OHKO these things with magic. There's one more that I don't encounter, and it's the rarest enemy in the game, the Bolt Lord. See that Bolt Mage? Give it a white robe and that's a Bolt Lord. When left alone, they panic and cast Heal on the party, and have a high chance of escaping no matter what. They also rarely drop Robes of Wind. I don't know why, since there's a free one in the last mini dungeon and only Nina can use it, but there ya go.
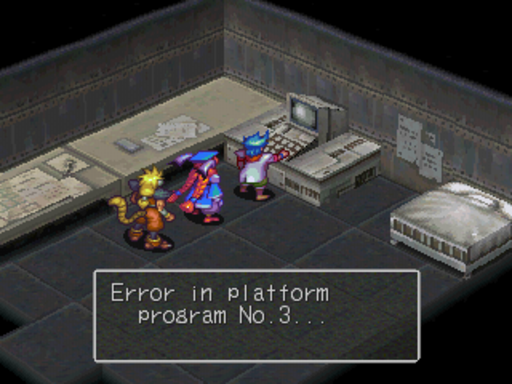
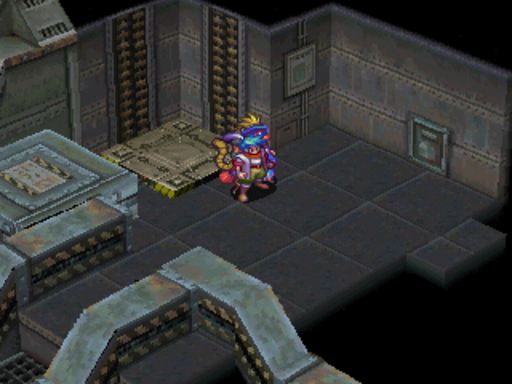
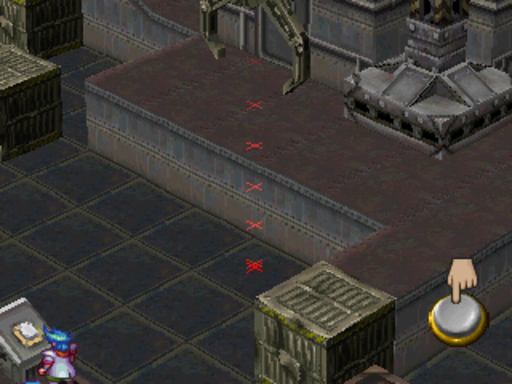
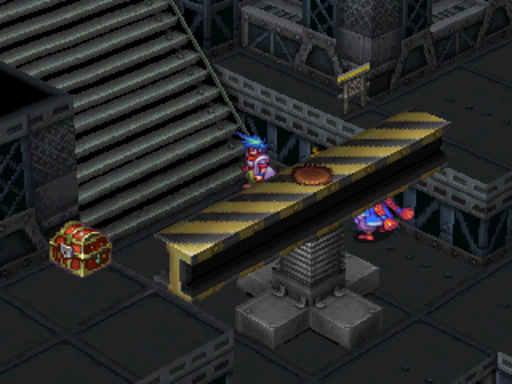
That console lets you choose a platform program. Once you do, walk onto the platform and it'll follow the program. There's a couple things we need to do here.

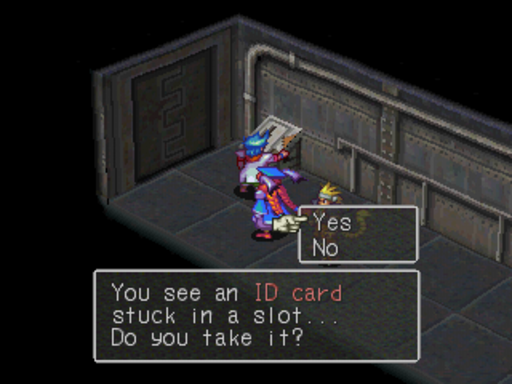
Getting across brings us here, and nets us an ID Card.
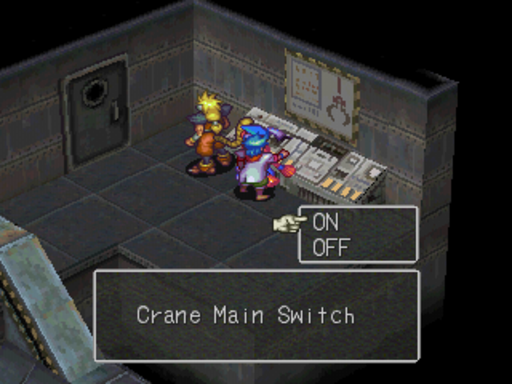
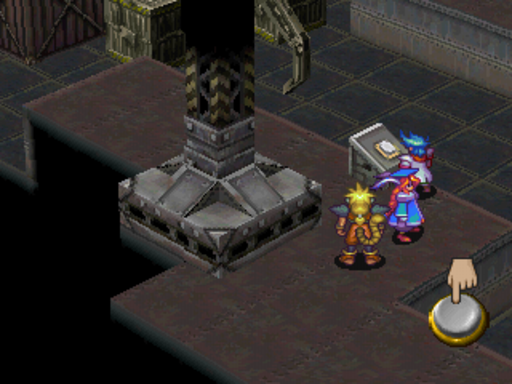
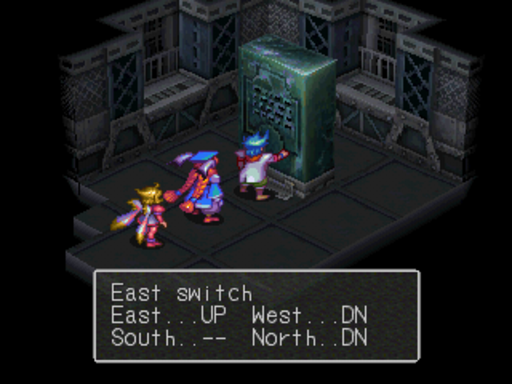
A couple of the programs take you down a level. We need to turn the crane switch on to progress.
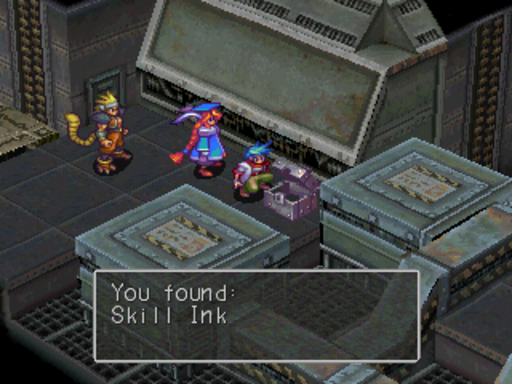
Another Skill Ink is always handy, as I'm switching Monopolize around until the end of the game.
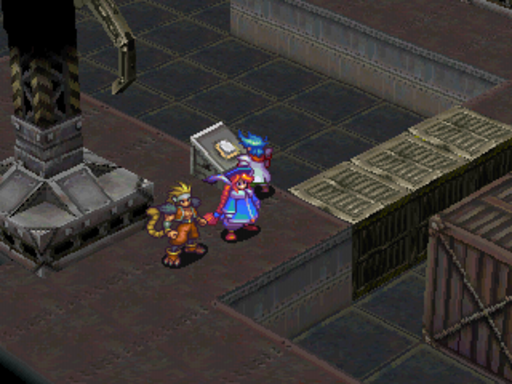
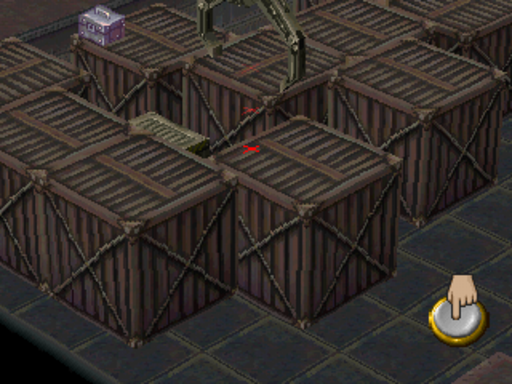
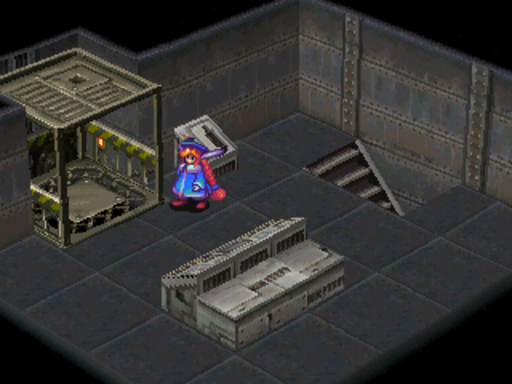
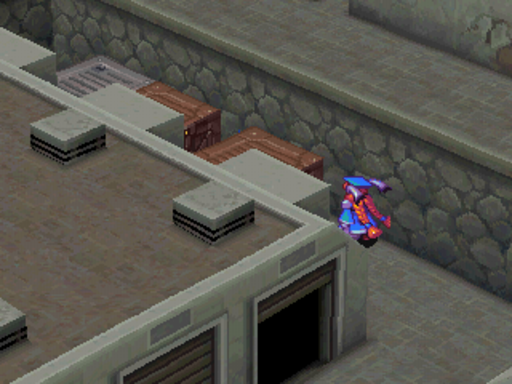
Back in the first room, we take the door, which dumps us here. In this room, we use the crane to move crates to build a bridge. It operates exactly like those crane games you see at Target.
The only difference is that the game gives you an aiming device. Hold X to go right and once you stop, press X to go up. Once the + sign is in the middle of the crate, let go and the game takes care of the rest. Also, mute the game and play some music of your own because the crane noise is the single most annoying sound I've heard in a videogame.
We only need 3 crates to make the bridge, but there's 4 crates in the room. What happens when we get it?
The fourth is waaaaaaaaay up here.
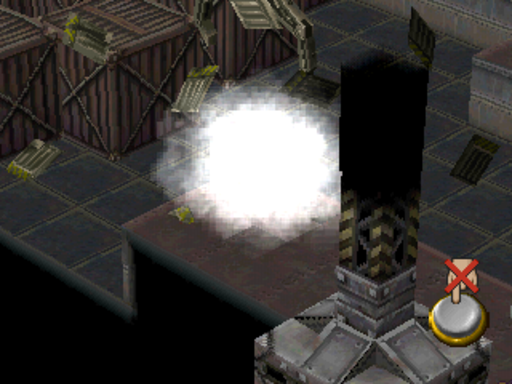
The crane drops it here, causing it to explode, leaving behind a treasure chest.
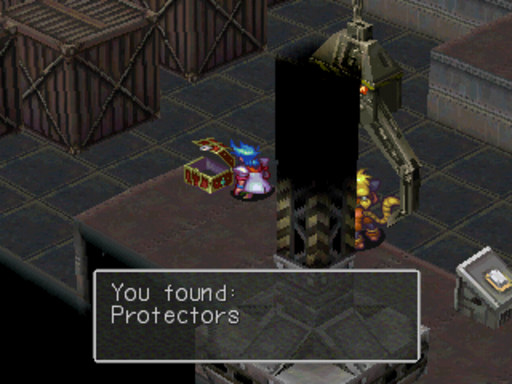
Protectors are a pretty damn awesome shield anyone can use. It has low defense, but adds 2 to your status defense. Handy!
Now, if you leave and come back, the entire puzzle resets, so let's see what the other crates have.

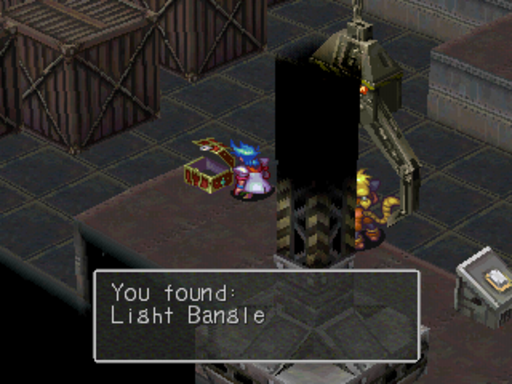

The Ascension is a pretty great weapon for Ken that's holy elemental. It's outclassed by the Demonsbane I got from C-Bo though. However, it's entirely unique, you can't get another one anywhere (short of the Copy Shop in C-Bo), so it's a must have for collectors. Our second Light Bangle is kind of a hint. Equip someone with the Protectors and Light Bangle, and they're completely immune to any and all statuses. Oddly enough, the Wisdom Fruit is the least useful of the lot.
Heading across the newly-formed bridge and heading up and around the boxes leads us to...
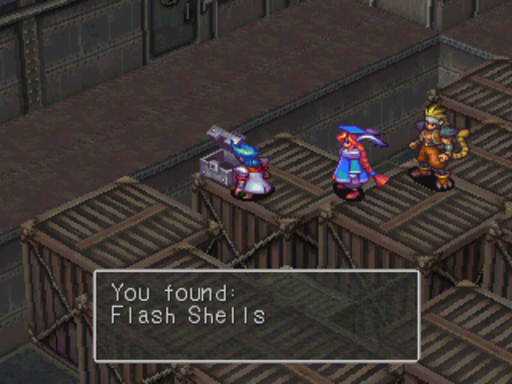
The Flash Shells, a weapon for Momo that blinds whatever it hits.

And heading down from the bridge brings us back to the first room, on the other side of the gap. Hitting the switch raises that metal bridge, meaning we don't need to worry about the crane anymore, and we can get back to our boat anytime.
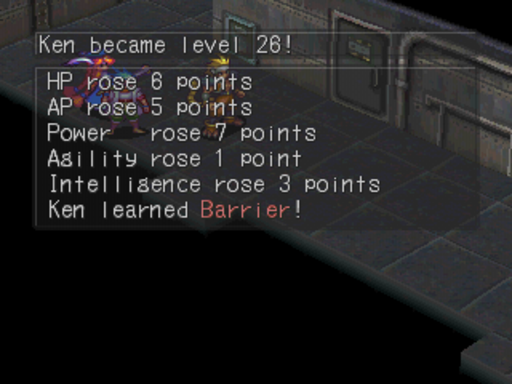
On the way up, Ken learns Barrier. That's right. The main character who is in every battle until the end of the game learns the single most broken defensive spell in the entire game.
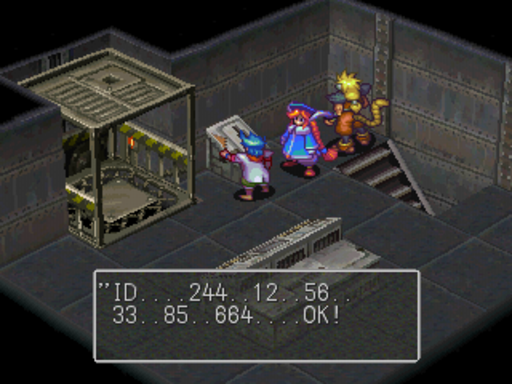
We need to ID Card to examine the console and activate the elevator.
Which dumps us off here. Those stairs lead to...
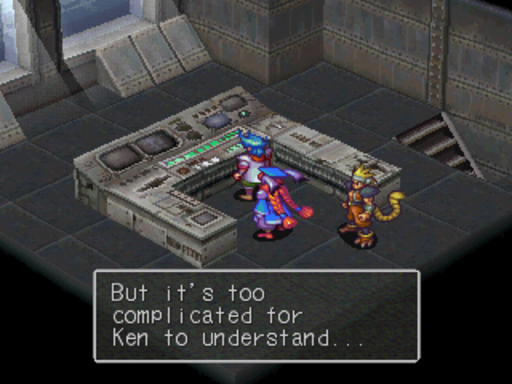
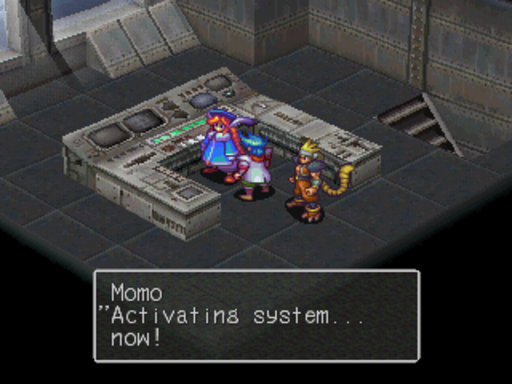
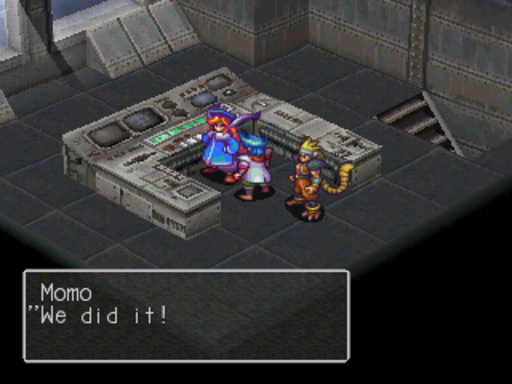
The Bridge! Once again, we need Momo to progress here, so have her examine it.
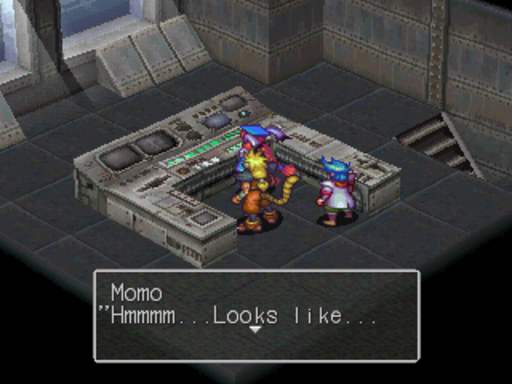
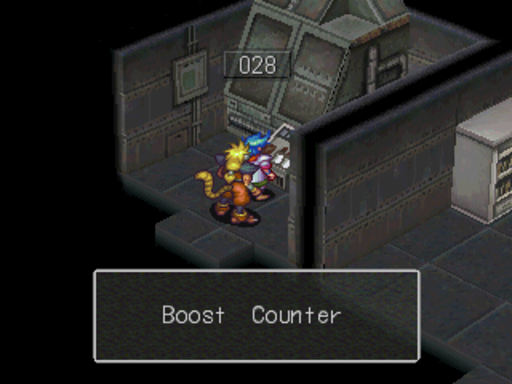
 : Hmmmm...Looks like... This is used to set the ship's heading If we restart this, it'll do just what Kukuys said... It looks like it's set up to go back across the Sea. But to get this to work... We need to figure out what the Boost Counter is...
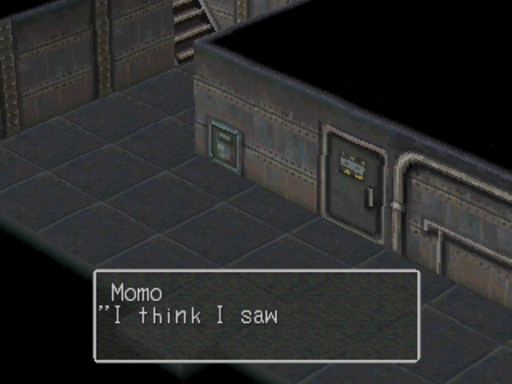
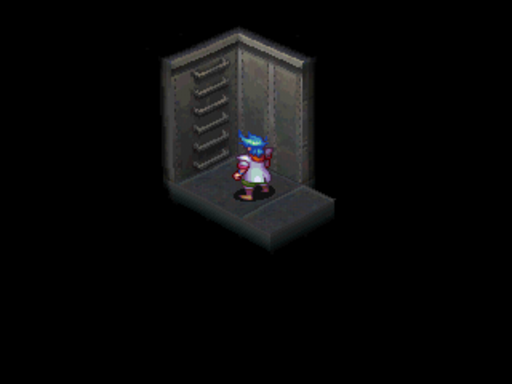
Fortunately, the game shows you the door the Boost Counter is behind, just take the elevator down a floor.
: I think I saw something like that on the deck below...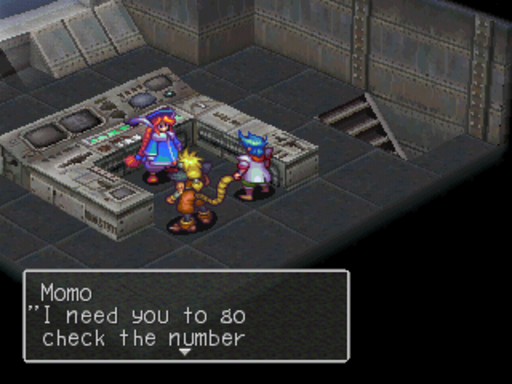 : I need you to go check the number on the Boost Counter and come back and tell me, OK? I'll get the boost started here. I need you to run down to the monitor room and tell me when the counter reaches 100, all right? I think you know this, but... The counter'll be running while you're going to and coming back from the monitor room... Don't wait for it to hit 100--you need to be back here in time to tell me--so you need to time it just right ...OK?
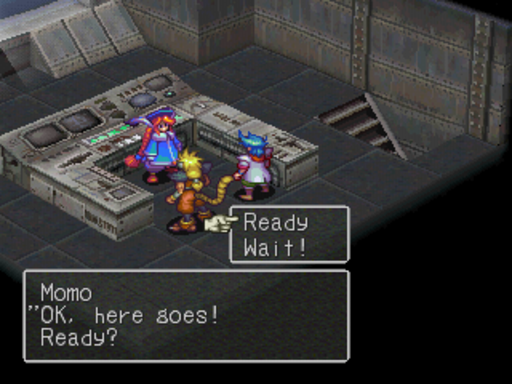
And we start another minigame. And, fortunately, there are no encounters between the bridge and the Boost Counter for this portion.
Typically, it takes around 30 counts to get to the counter from the Bridge and vice versa. Once you examine the console, a beeping starts each time the counter goes up, so you can go back immediately and just keep counting the beeps. Just avert your eyes when examining the elevator if you're like me, because the numbers on there tend to make me lose count.
If you did it right, the ship will start back up. If you do it wrong, the world stops spinning leaving half the world in darkness for all eternity, so make sure you do it right.
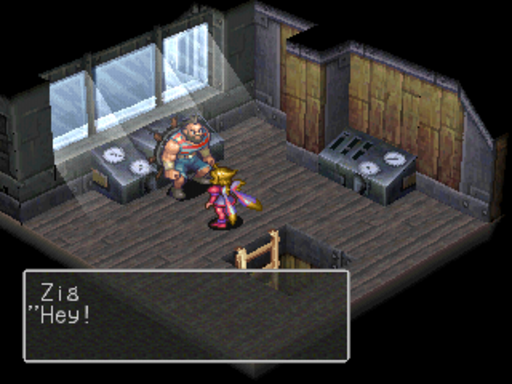
Zig: Hey! It looks like the Black Ship's starting to move!
 : Time for us to go... Thanks for everything, Zig...
Zig: Sure! Be careful, eh? I'm gonna take this boat back to the Machine Guild
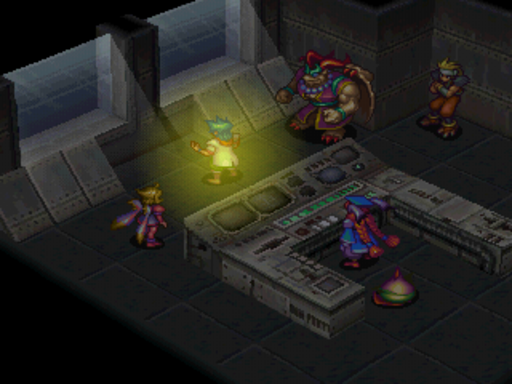
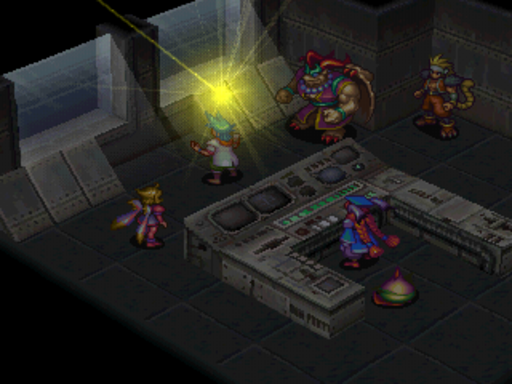
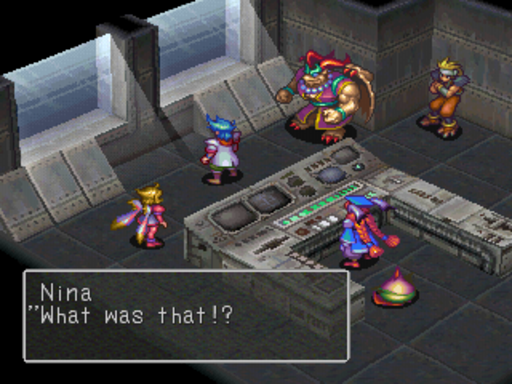
Once everyone is on the Bridge, Ken's prana activates, pointing the same way the ship is going.
: What was that!? : The road to God... To the God that I... that Ken must meet. It looks like this ship intends to take us there...: Well... I don't know about any 'road to God', but... This ship's underway, and we can't stop her now... Since we don't know how long it's going to take... We might as well sit back and relax...
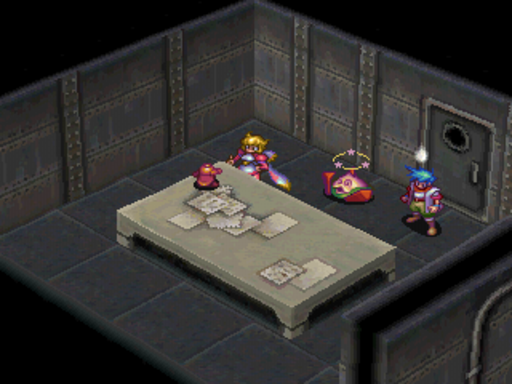
And the party does just that. We get treated to a montage of the party chillaxin' set to some music

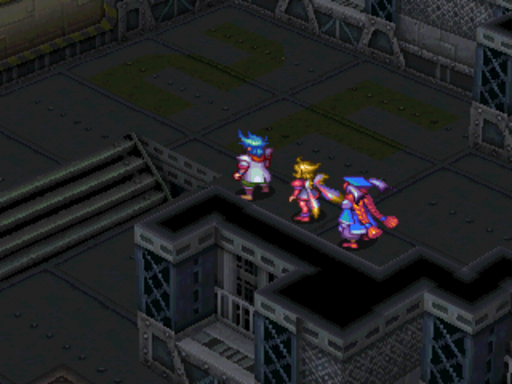
The dudes just chillin'.
 : I should have brought a deck of cards...
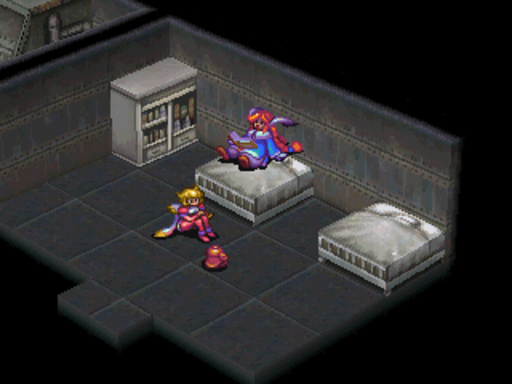
The ladies just hanging out.
: I can't believe I left my Uno deck at the castle!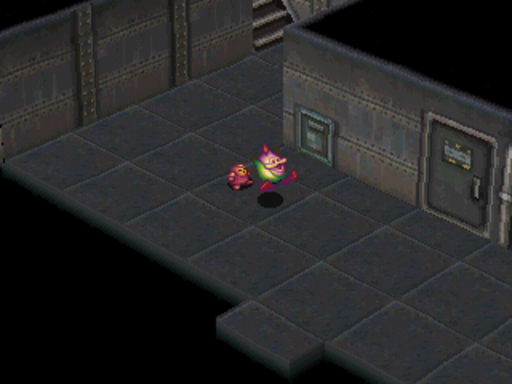
Honey and Peco being awesome as always.
Momo spends her time exploring the ship.
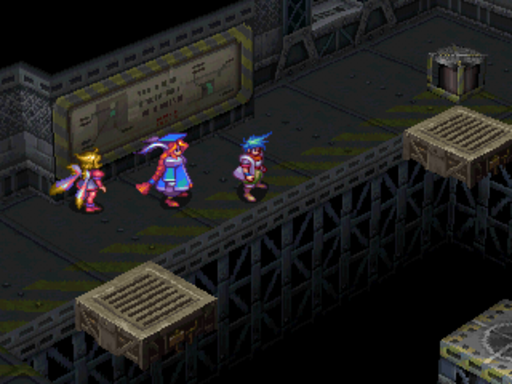
The guys hanging out in manly silence. Because real men don't talk, you see.
Honey and Peco's game of tag doesn't end well for our favorite onion

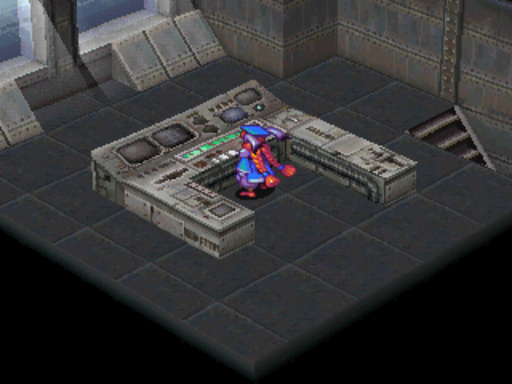
And Momo looking around the Bridge.
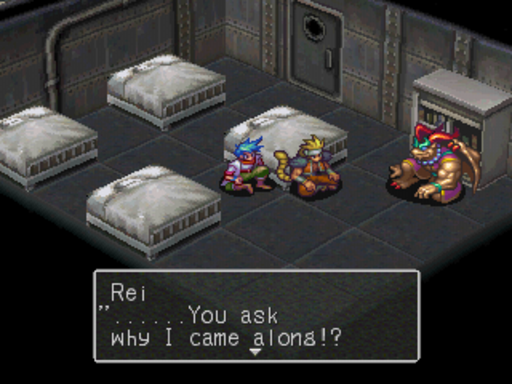
 : ......You ask why I came along!? This is a fine time to ask, now that we can't go back! It's like Mikba said... Even if my power and the Brood's aren't quite the same level, they're like one and the same, yeah? So, if we go meet God or whoever... I can find out why such power exists!
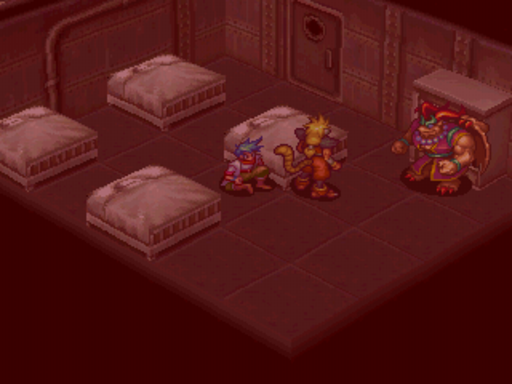
All of a sudden, an alarm goes off.
: Sounds like something happened... Let's go check it out...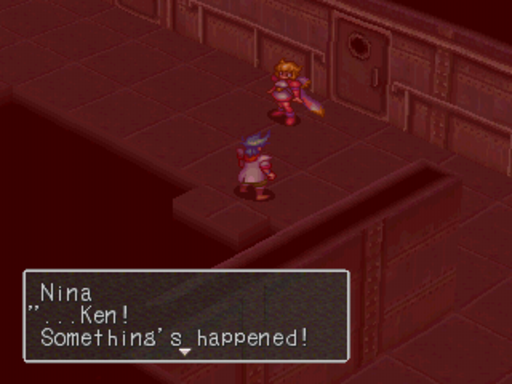 : ...Ken! Something's happened! We'd better get to the bridge and talk to Momo!
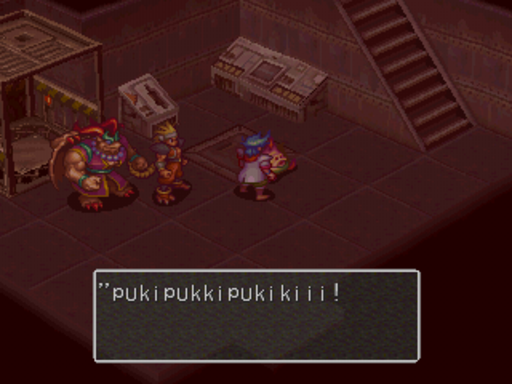
And Peco is FREAKING THE FUCK OUT
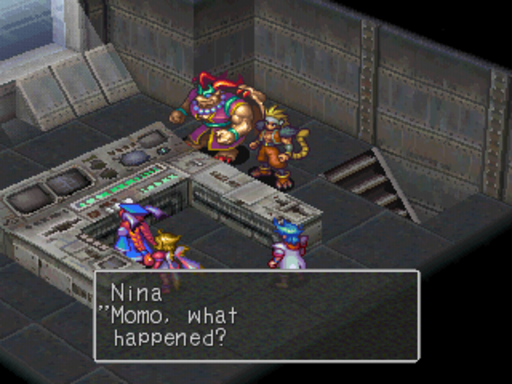
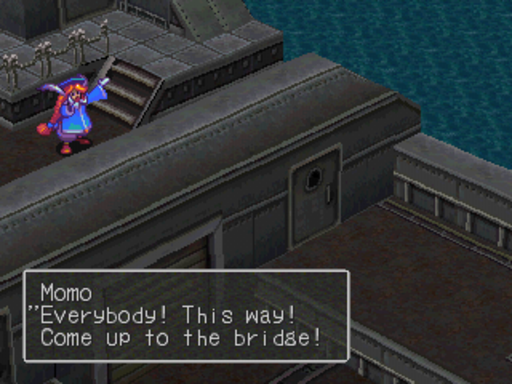
Fortunately, Momo turns off the alarm once we reach the Bridge.
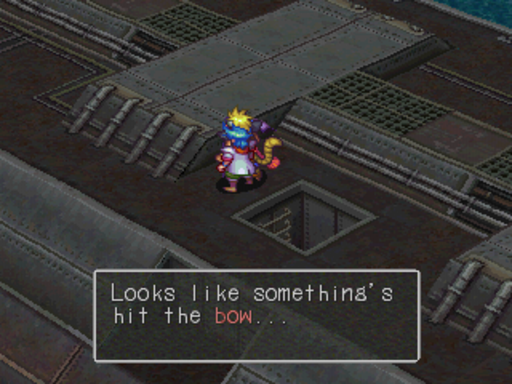
: Momo, what happened?: It looks like there's something wrong with the ship: Yeah, and it's probably 'cause of something you did...: Nooo! Look at this... There's a problem on the upper deck... Near the front of the ship...Maybe we hit something?: We should probably check it out... How can we get there, Momo?: Let's see...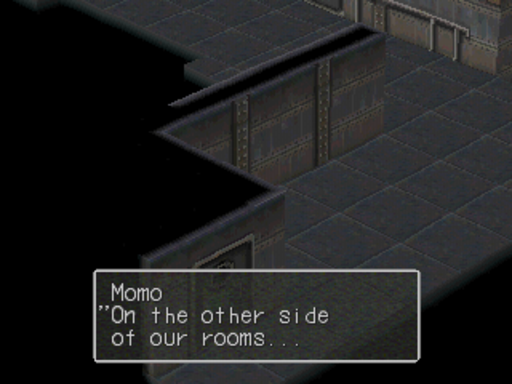 : On the other side of our rooms... it looks like there's a hall that runs to the prow of the ship. I opened the door in the hall for you...: So...Who's going to go?
I choose Momo and Rei, because I don't know why those two kids can't work it out, and there totally won't be a boss fight or anything so they can work on their issues.
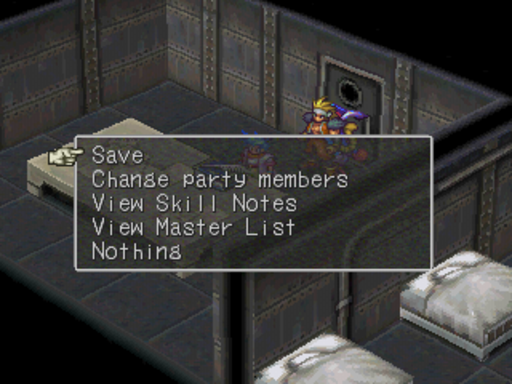
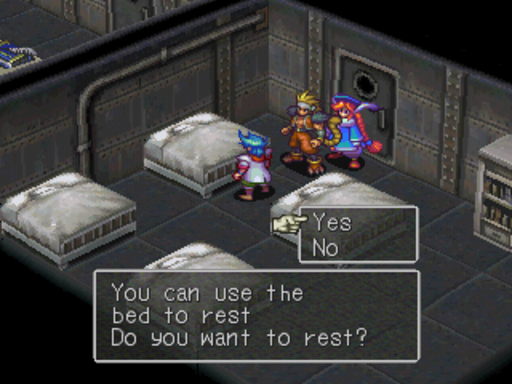
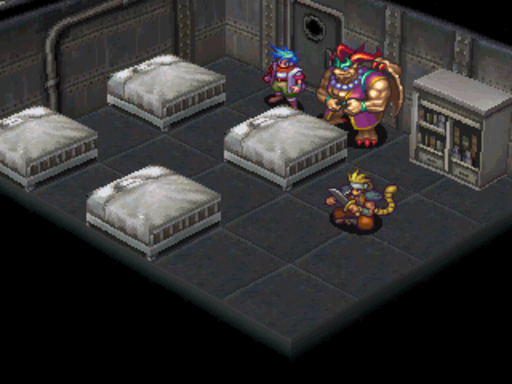
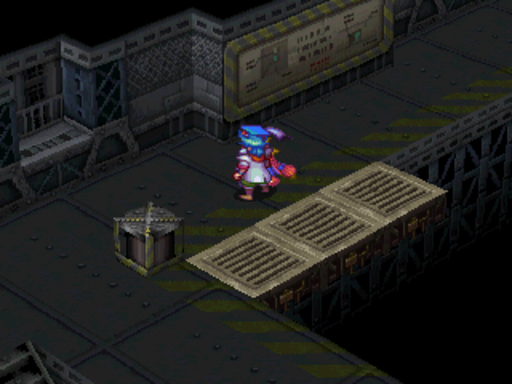
Fortunately, our rooms (across from the Boost Counter) offer all the amenities of our tent, but with the addition that it counts as a bed. Still no shops though.

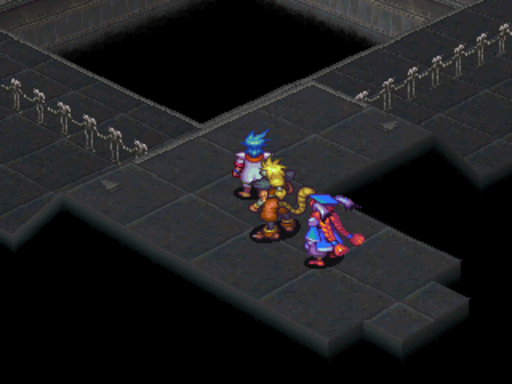
This is the next part of the Black Ship, it'll take us to the front of the ship.
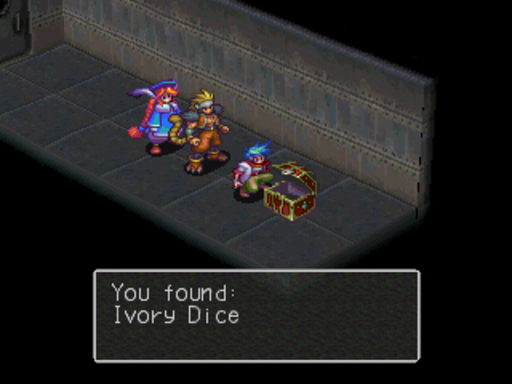
Ivory Dice are always a welcome sight to see.
Watch out for these guys, they like to cast Death.
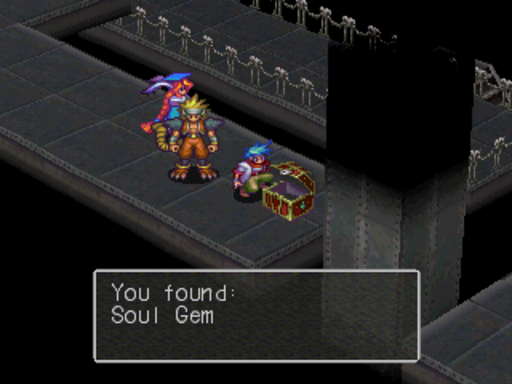
And we find another Soul Gem. I don't know if I pointed this out, but Soul Gems are now buyable in C-Bo, 3000 Zenny each. 2400 with Coupons. Really, you'd have a hard time getting a Game Over if you're playing normally and develop the village (and no I don't use a single one throughout the whole playthrough).
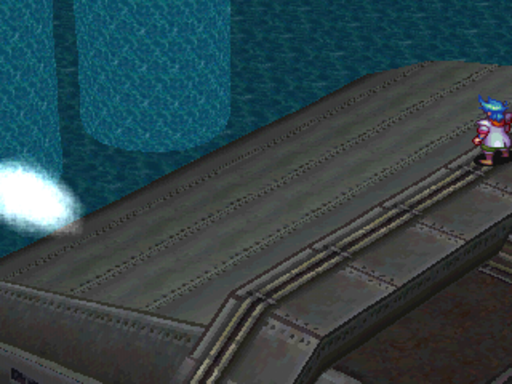
This takes us to the ladder that goes to our destination.
See?

Oh is that all?
...Oh
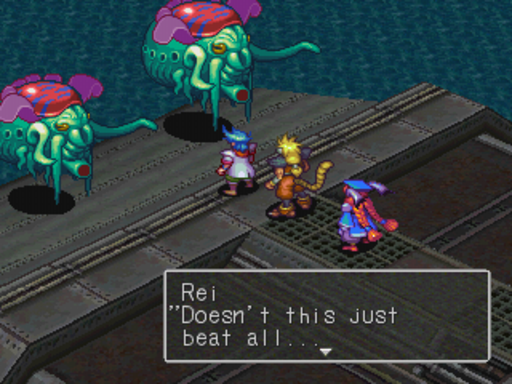 : Doesn't this just beat all... You mean we've gotta fight up here? We can't even stand up straight!
I totally had you guys fooled. You thought there wasn't gonna be a boss fight didn't you? Don't deny it. I did a good job hiding it.
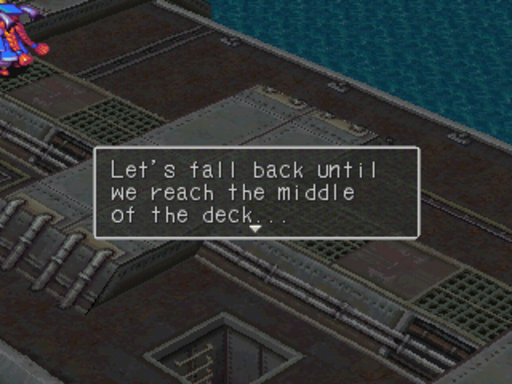
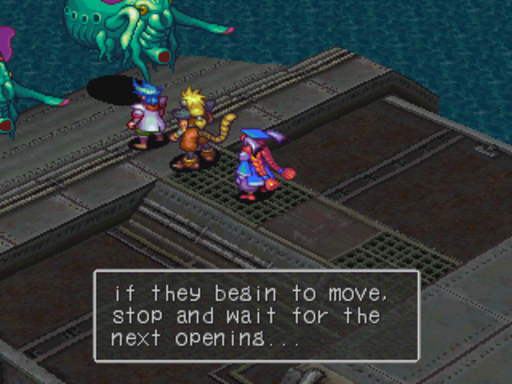
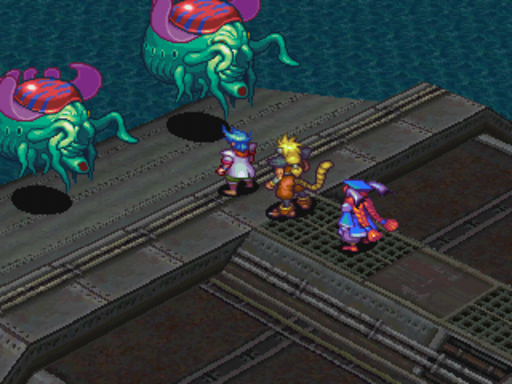
And now starts a minigame that's pretty weird. This is the first time I've actually ever gotten it right. Basically, you need to move back towards the middle of the ship by pressing right. I can't figure out the exact mechanics, but if you keep mashing right you should be fine. It's not bad if you don't make it, it's just a bonus if you do.
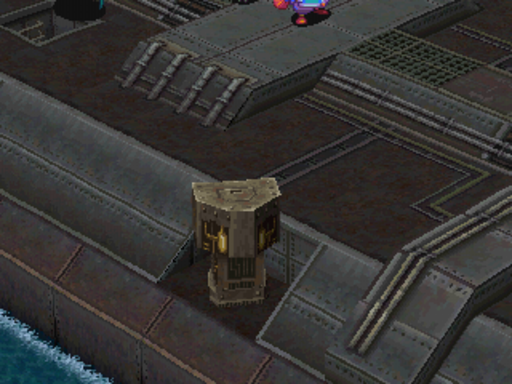
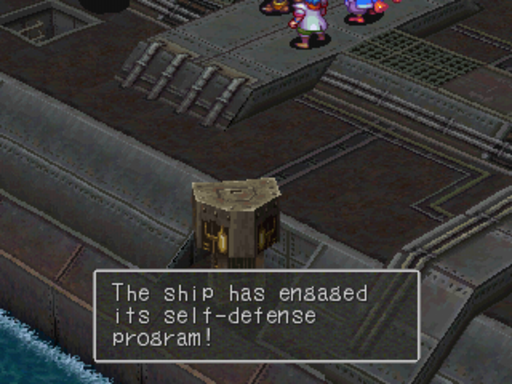
If you make it, the turrets will activate and on occasion use one of the bosses turns to do a little damage to them. Handy, but not life or death.
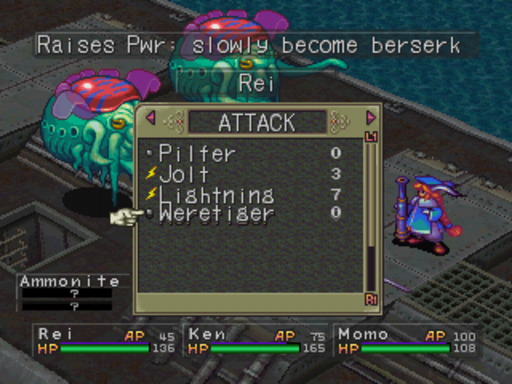
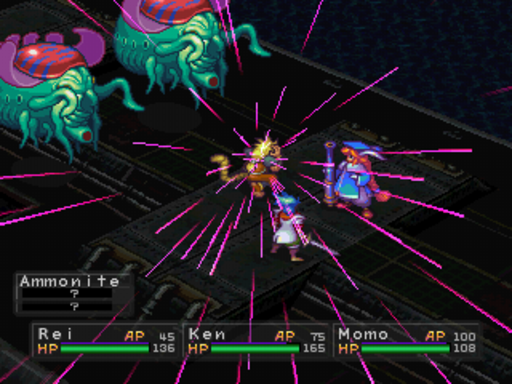
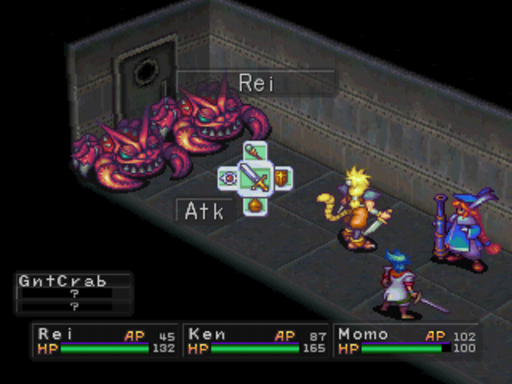
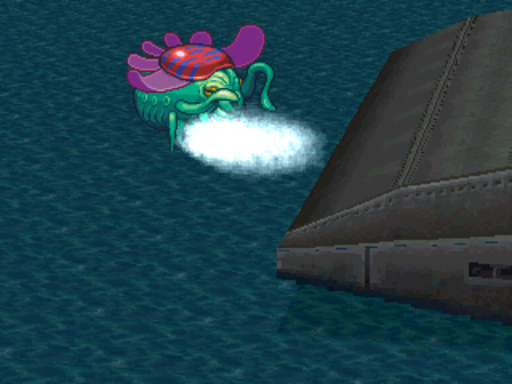
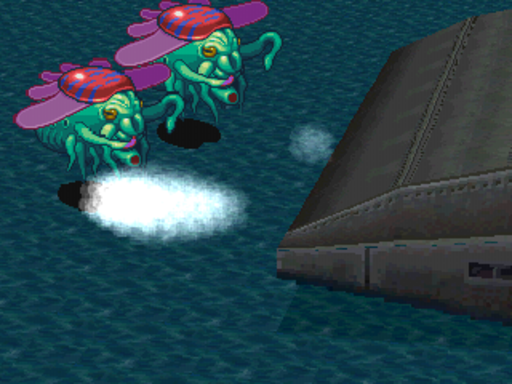
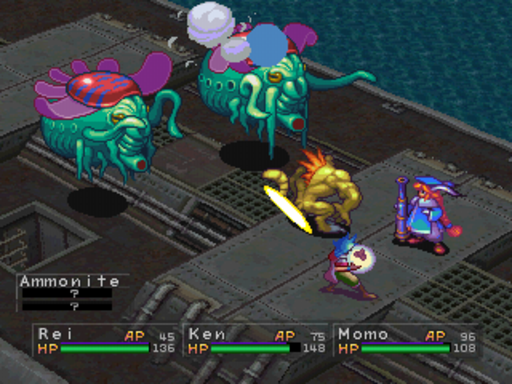
The fight against the Ammonites is intimidating for two reasons. They have a good offense, both physically and magically, and there's two of them. Weretiger will be taking care of these guys, no Influence this time.
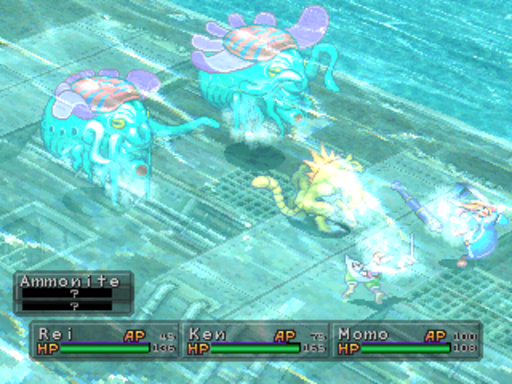
They also cast Tsunami, if you didn't learn it from the Dolphin.
Also, if you make it to the middle of the ship, on occasion the turret will fire, taking one of the bosses turn. Datawise, it's stored as a ability the Ammonites can use. You can see that because they do their attack animation right before it happens.
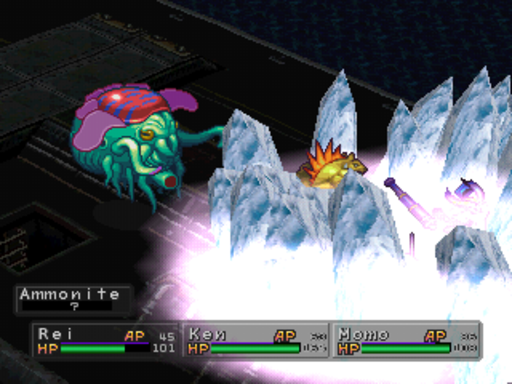
They also cast Blizzard and Iceblast. They're almost harmless if you've copied your Ring of Ice in C-Bo and given one to your party members. Seriously, Weretiger was more of a threat to my party than the Ammonites were (he got Ken and later Momo). They only have 2000 HP each, and Weretiger was doing about 500 per attack.
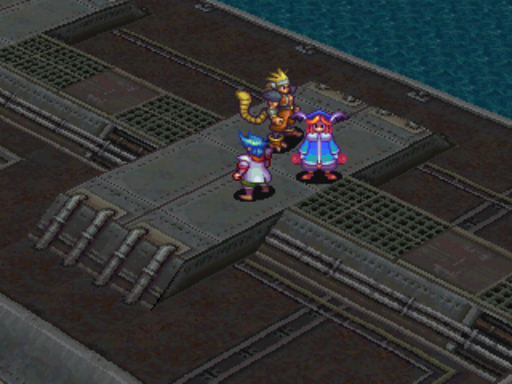
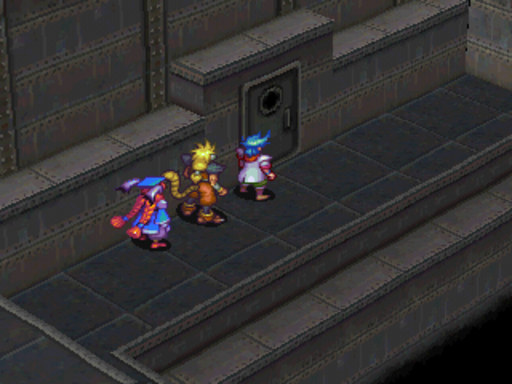
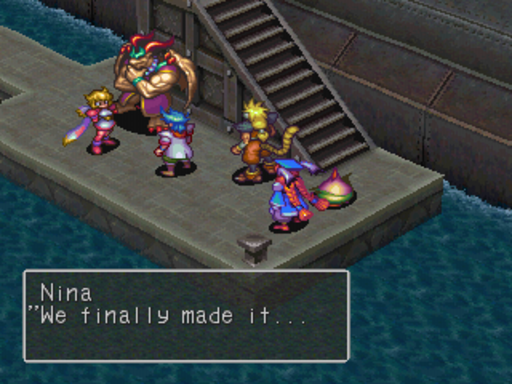 : We finally made it...: Doesn't look too much different from our side, does it?: Who knows...? Maybe there's monsters here the size of the Black Ship?: At any rate...We're in a new world now... We'd all best keep on our toes...
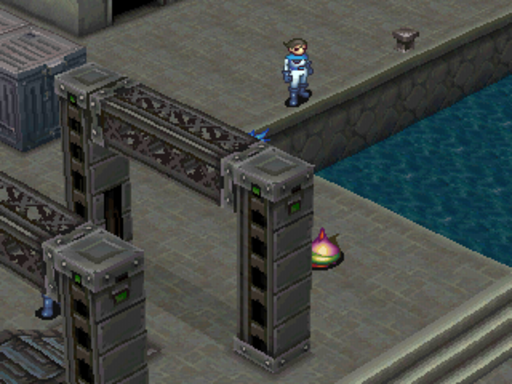
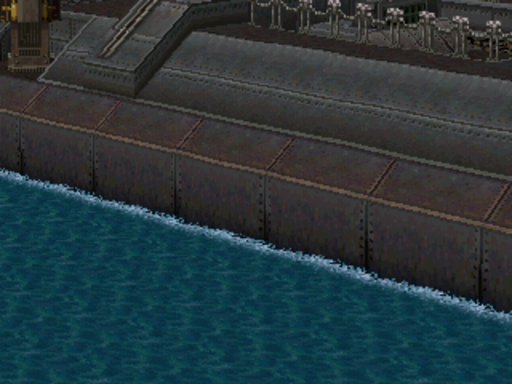
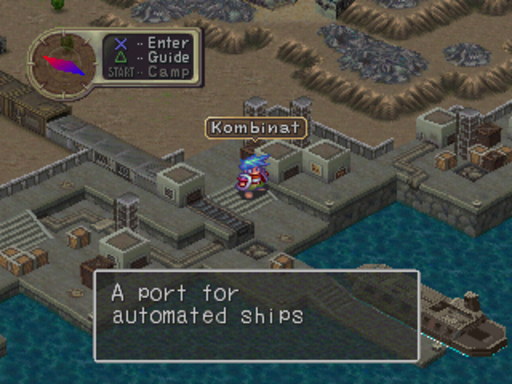
We now find ourselves in Kombinat.
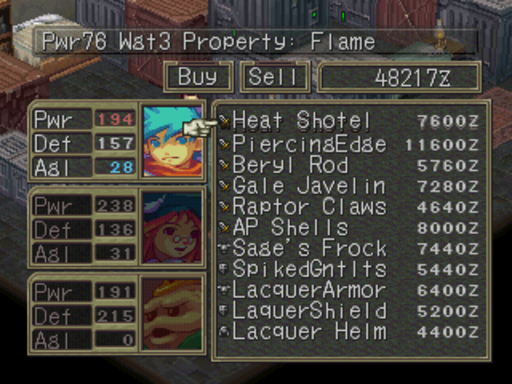
If you hadn't been abusing C-Bo, the weapons here are a definite step up. The Piercing Edge for Rei, Spiked Gauntlets, the Sage's Frock, and (I think, it's been a couple weeks) the Raptor's Claws were all I bought here.
There's a hidden machine soldier in this ally.
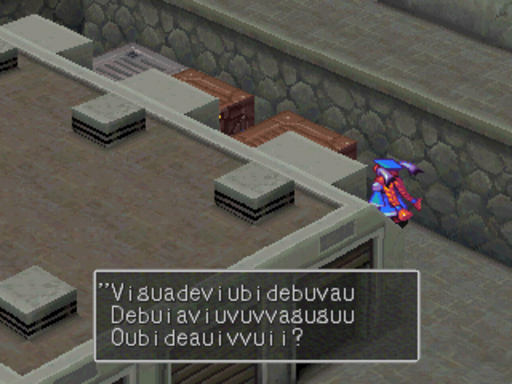
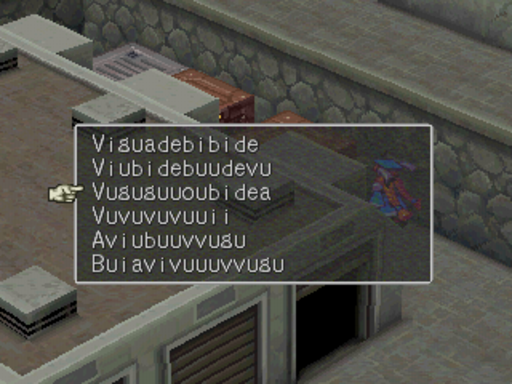
Choose the one I have selected to get...
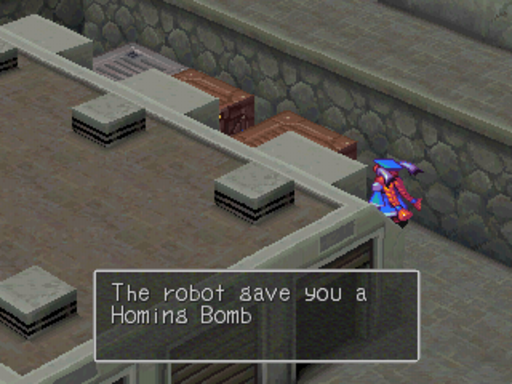
This. A (relatively) weak weapon for Momo that ups her accuracy to 100.
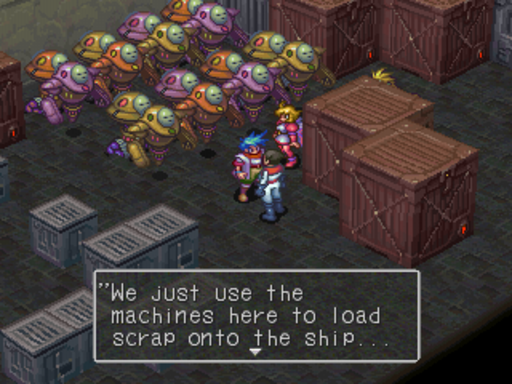
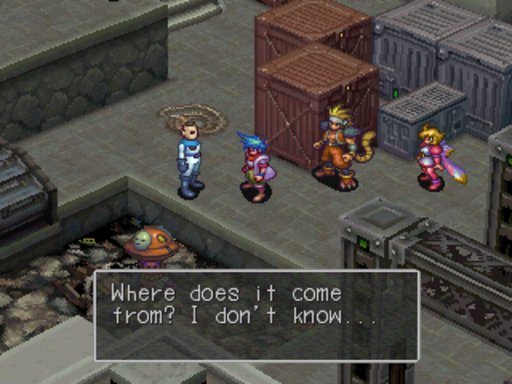
Talking to the NPCs here reveals one thing. They load up the Black Ship with machines they find and send it over to our world, where they get dropped and salvaged by the Machine Guild. But they don't know why or where the machines come from.
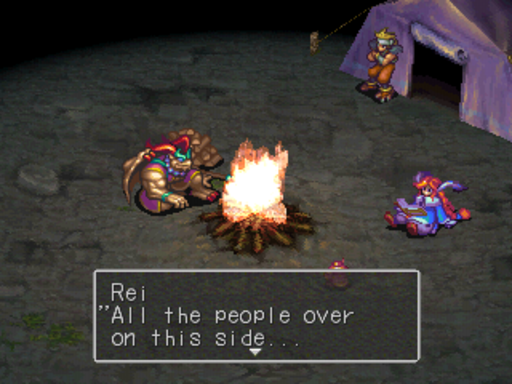
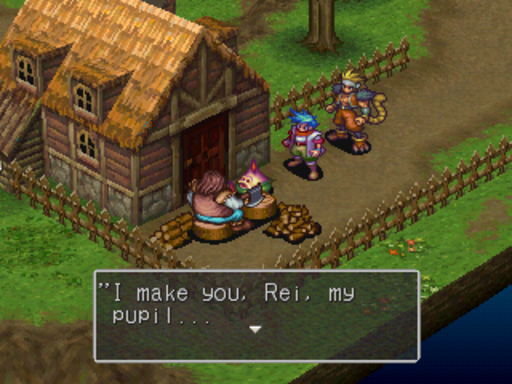
And leaving town triggers one of my favorite scenes.
: All the people over on this side... They're like zombies or something...no spunk in 'em at all.: They're like machines.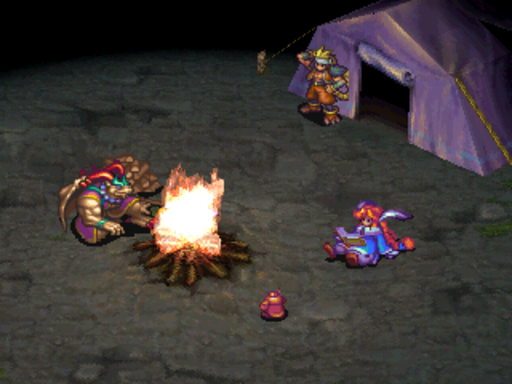 : Doesn't this just beat all... Who knows what'll happen next, huh?
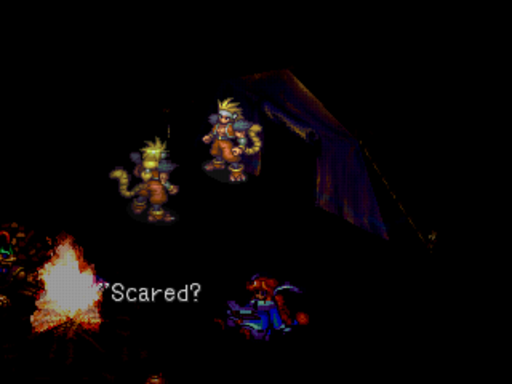
Rei then talks to his inner self for a second.
: Who, me? Ha! I'm here 'cause I want to be! I could've just stayed on the other side, you know... I was happy just being a highwayman, yeah? OK, so... maybe I'm a little nervous... Who'd ever think we'd go off somewhere where no one has gone before, looking for... for God!! Sheesh! And what's up with this Brood stuff, anyway?Rei finally admits to himself that he's a little worried about what he's gonna find. His own power scares him, he's somewhere new and barren, and he's starting to feel overwhelmed by everything, now that it's all becoming real. They've made a big step forward, and for someone whose as stuck in the past as he's been, that's completely terrifying to him.
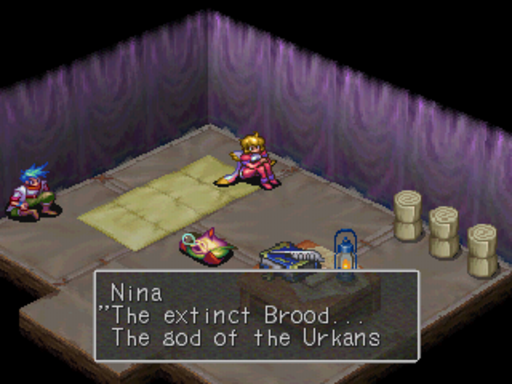 : This is so unbelievable... We're the first people from our side to be over here, aren't we? The extinct Brood... The god of the Urkans. We're searching for an answer to a mystery that could change the world... If I'd stayed in Wyndia... I would never have experienced any of this...
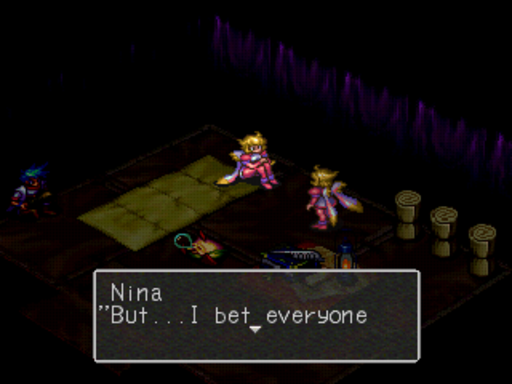 : But...I bet everyone back home at the castle, especially my mother... they must all be worried about me...
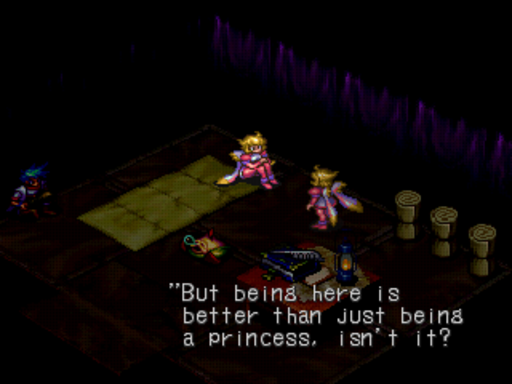 : Maybe... I'm just being selfish
What's most important for you is what you want for yourself!
Nina's inner dialogue is different. She doesn't regret what she's done, she's not afraid of what the party is going to find, but she does have some doubts about how she's gotten to where she is now. She's worried about her mother, despite their differences. And once again, she can't bring herself to decide if she's Nina, Princess of Wyndia or Nina, friend of Ken and company. Duty or passion. She knows she'll always wonder what would have happened down the road she didn't take.
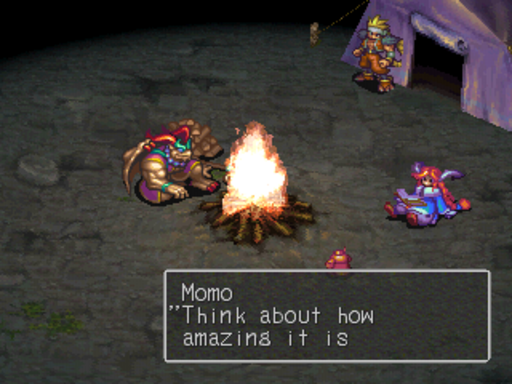 : Think about how amazing it is that we may be able to figure out where all the machines we use come from...: Mmmmm...
Bwahaha! Garr doesn't give a shit about machines.
Every engineer dreams about solving the mystery of the machines!
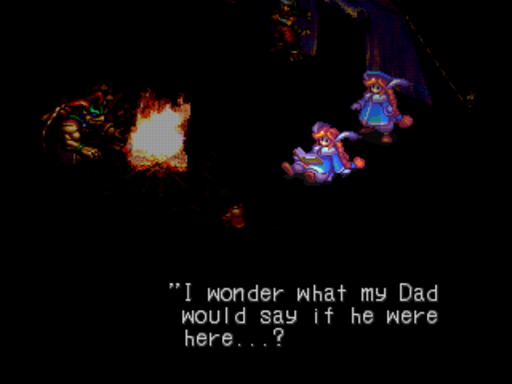
: And I'm going to do my best to see that it's me who finally solves the puzzle!!Momo once again proving that what you see with her is what you get. Not once has she claimed to be interested in the Brood. She's still all about the machines. She tags along because their goals seem to more or less coincide, and she genuinely seems to enjoy their company. In a world where tons of RPG characters have their own hidden agendas, Momo's a breath of fresh air. She's completely straight up about everything.
 : We don't have much to go on... But I'm sure that the power Deis gave us will show us the way again... Tomorrow's another big day, eh Ken?
And the party rests.
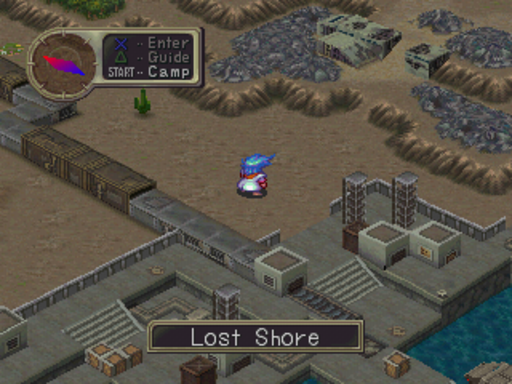
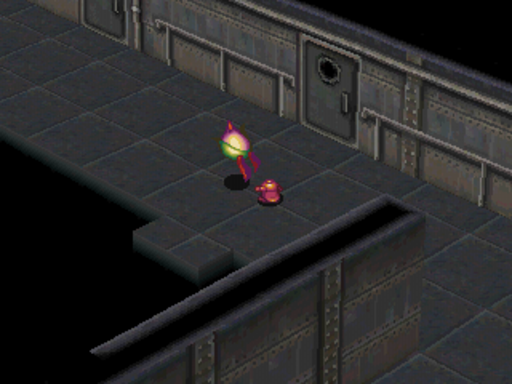
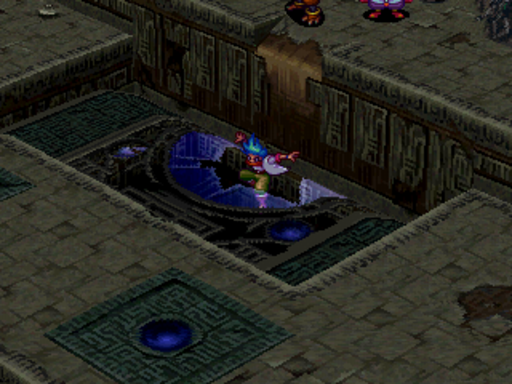
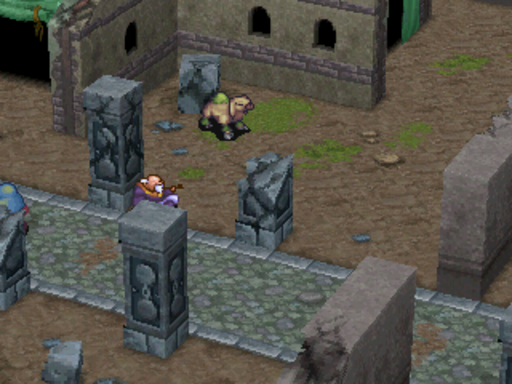
This is the Lost Shore. As you can see, it's a pretty dead place.
Yeah, we're definitely not getting any answers in this town.
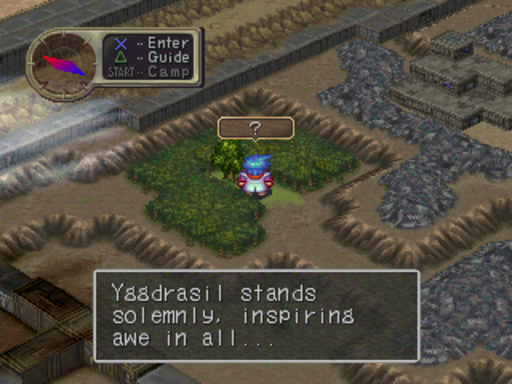
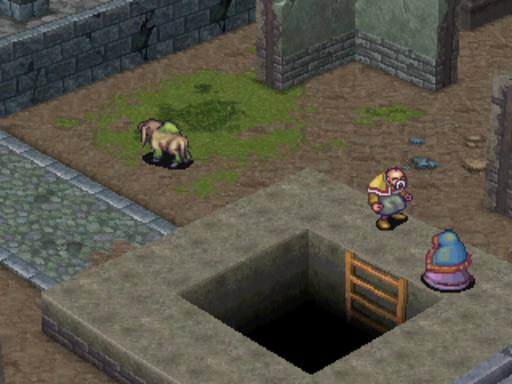
What's an Yggdrasil Tree doing here?
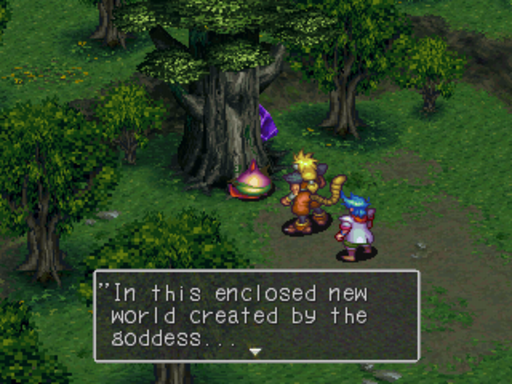
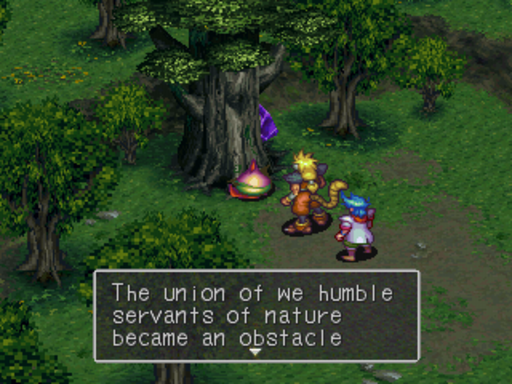
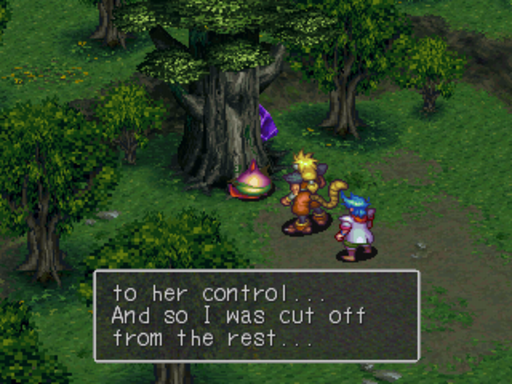
I've actually got a theory that this is the Yggdrasil Tree that was cut down in the Yraall Region (where Mygas is found), but I have no backup for that. For all we know, this tree was cut off from the others before the game even began. And this is the first time the game mentions that it might actually be a goddess (also notice it's not even capitalized like God has been).
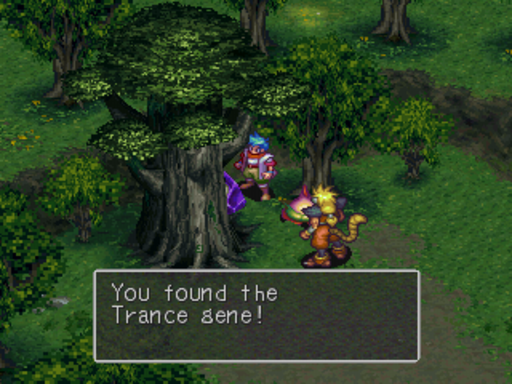
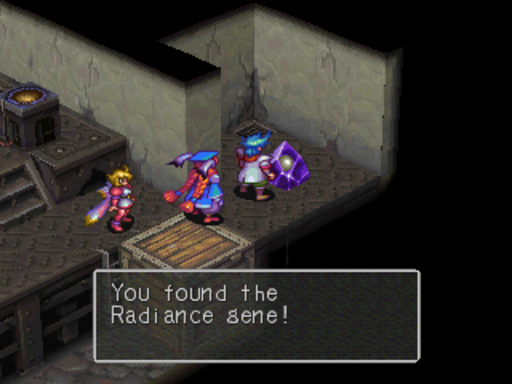
And we also find the Trance Gene here, vital for several special transformations. 3 left!
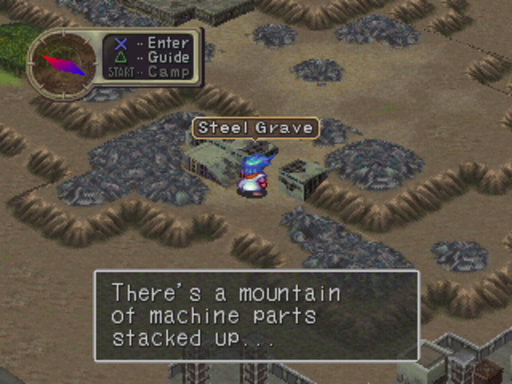

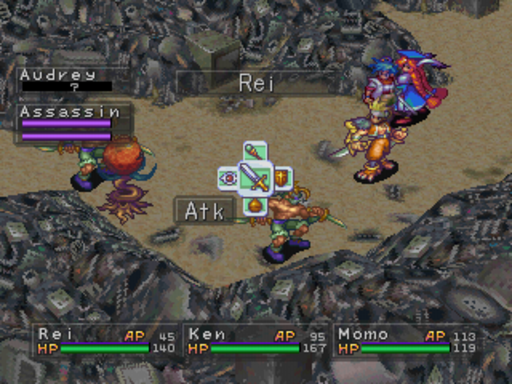
And this is the Steel Grave, another "road" dungeon. Nothing too exciting here, but a couple good treasures and some new enemies. The Assassins are the real worry here. Exceedingly fast, they like to use Disembowel to lower a characters HP to 1 then follow up with Target, a learnable Skill that does weak physical damage, but will always hit. Be careful with these guys.
The Audrey (a reference to Little Shop of Horrors which is just awesome on Capcom's part, and doubly awesome because I played Audrey II in college) is nothing to worry about, but they do use Pollen to blind your party.
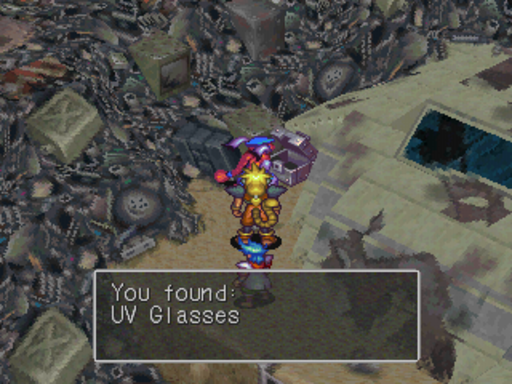
The UV Glasses are another unique item, they can be used by anyone. I put them on Momo because it just seems to fit that way.
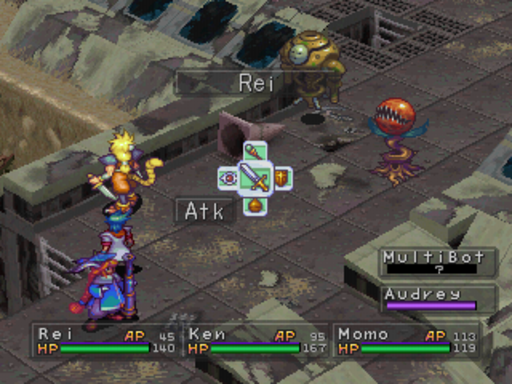
Multibots are unique. Depending on what element you hit them with determines what they attack you with. They attack with whatevery you attack them with.
Momo can blow this door open because she's a badass.
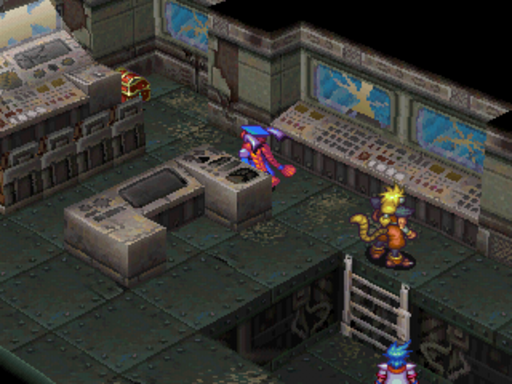
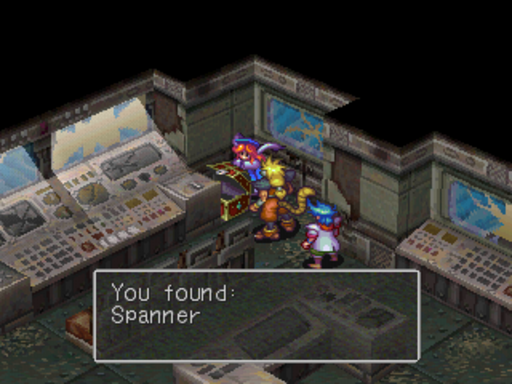
For some reason, this room reminds me of the control room from 1999 AD in Chrono Trigger. Also, another fishing rod that I'm not gonna use.
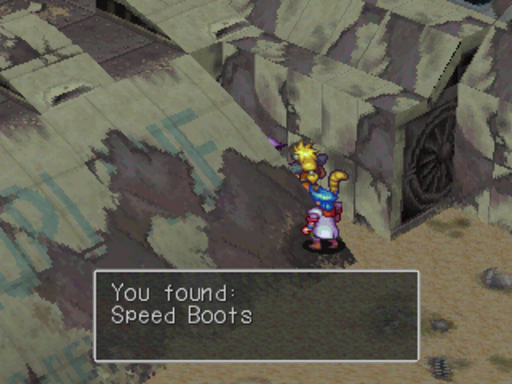
The Speed Boots are the real prize here. They up your agility by 10. Just make your way north-ish to get out after this.
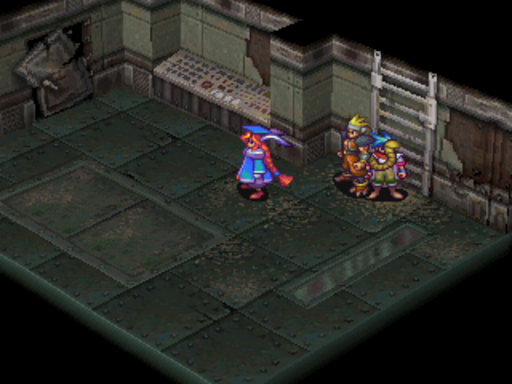
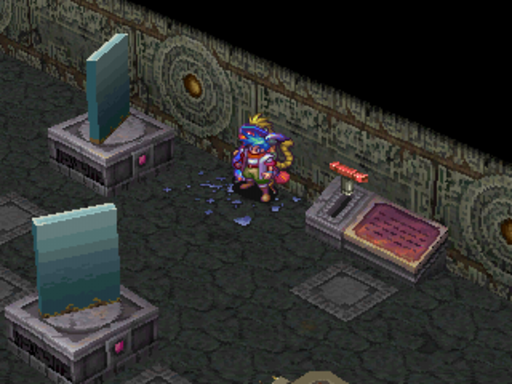
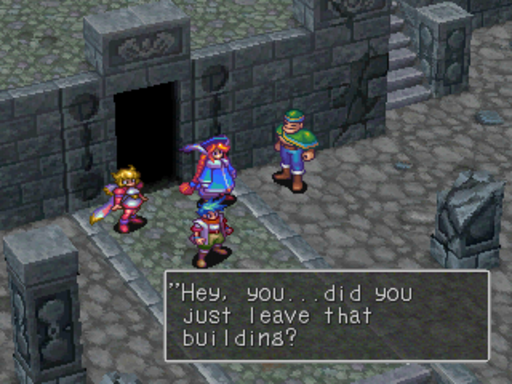
Walk in, and we're treated to a scene
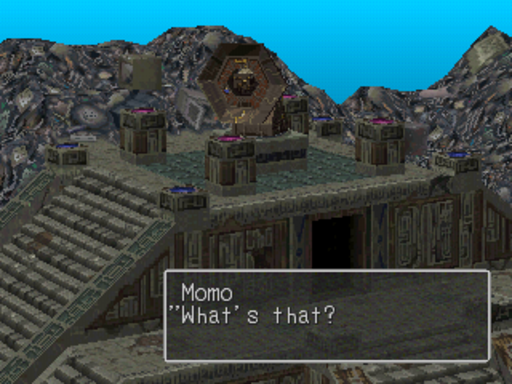 : Maybe if we take a closer look, we can figure it out...?
These are Toxic Men, and they're kinda weird. There are a few different types, all with different stats, including HP. However, they're ALWAYS poisoned. Nothing too dangerous though.
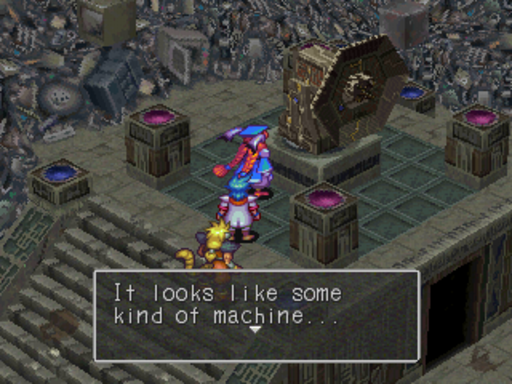
The party thinks it has something to do with whatever is in the room below.
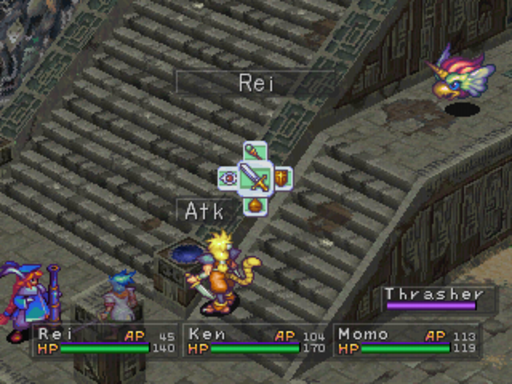
Ladies, gentlemen, and hermaphrodites, feast your eyes on the one and only random enemy that has absolutely no pallet swaps anywhere. Marvel at it's glory. They're not really a threat, just watch out for Timed Blow which does (Current HP - 1) damage.
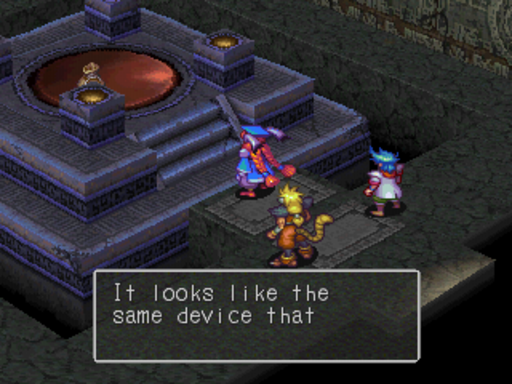
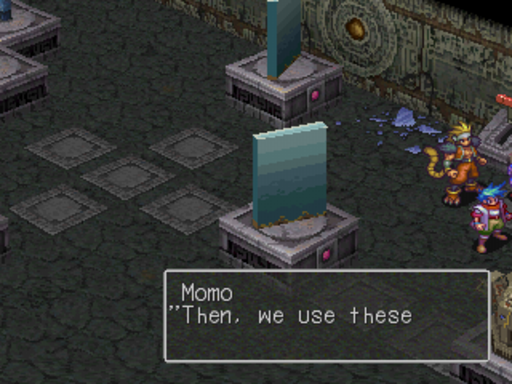
 : So, if we use this, it looks like we can go anywhere we want
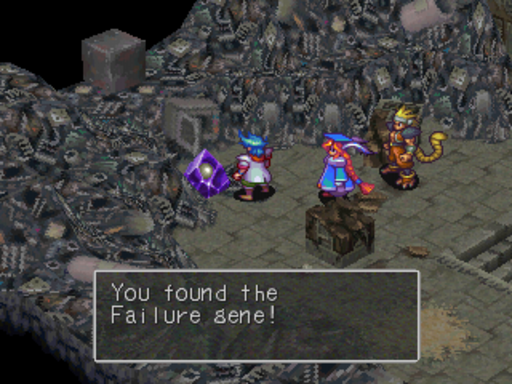
The Failure Gene is exactly what you think. When combined with any other Gene (save one), it'll always turn you into a Whelp with absolutely not stat changes. It costs 1 AP, so if you REALLY wanna be a dragon every battle, it's handy for that, but otherwise it's garbage.
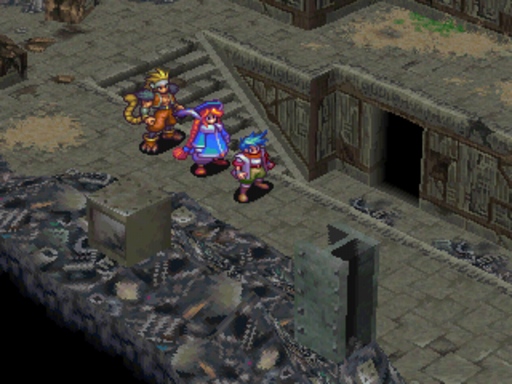
From there, just follow the upper path.
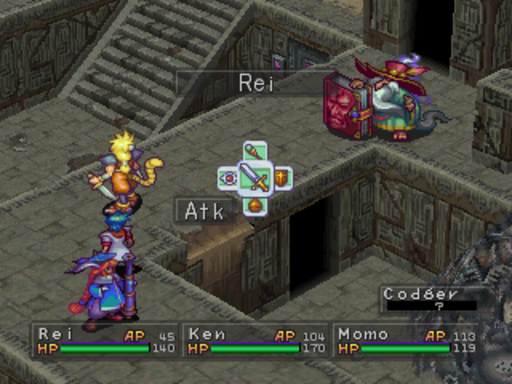
Mygas apparently wants more money and will kill us to get it. Codgers cast Magic Shuffle, which is Recall renamed. It casts a random spell.
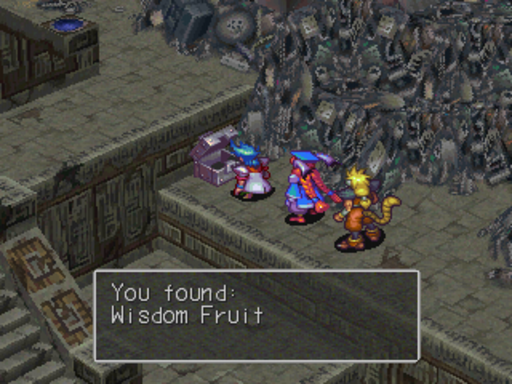
Follow the straightforward path to get another Wisdom Fruit.
And then jump through glass because that's smart.
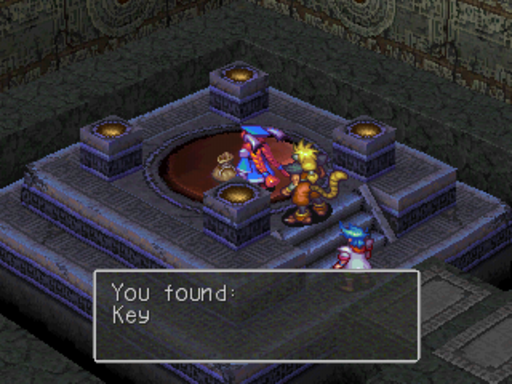
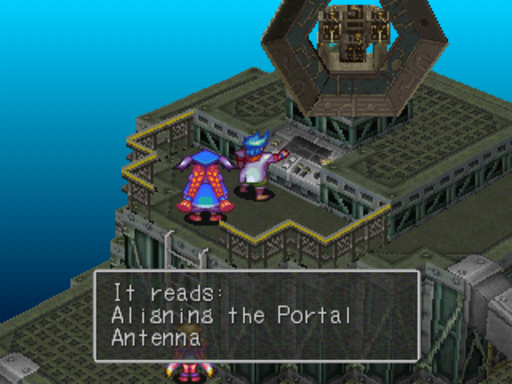
 : Hmmm....uh-huh... Activating Portal Drive...? Hmmm...hmmmm... Activation Key ...
And we insert the key we found.
Momo explains this puzzle to us. We need to align the reflectors so that when we shoot the laser it hits the fuse. Maybe it's just me, but wouldn't it have made more sense for whoever built the Portal Drives to have the laser built next to the fuse?
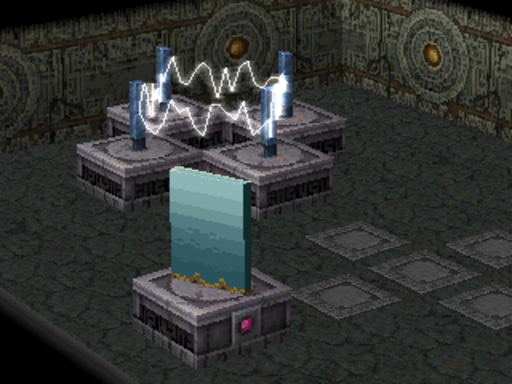
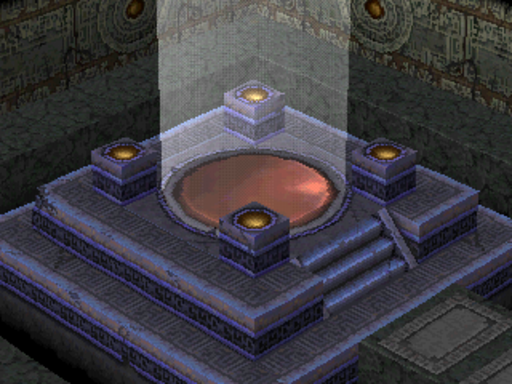
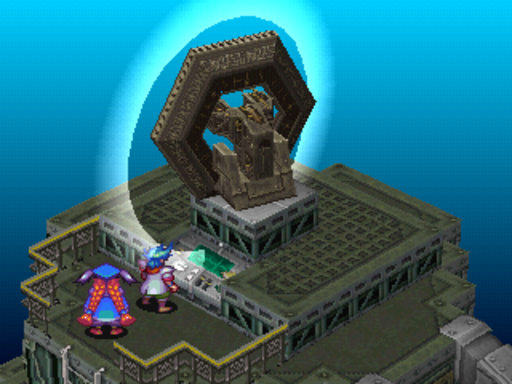
Anyway it's easy and we activate it.
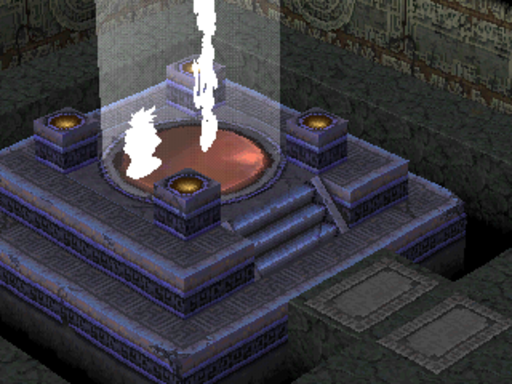
And let's see where it takes us!
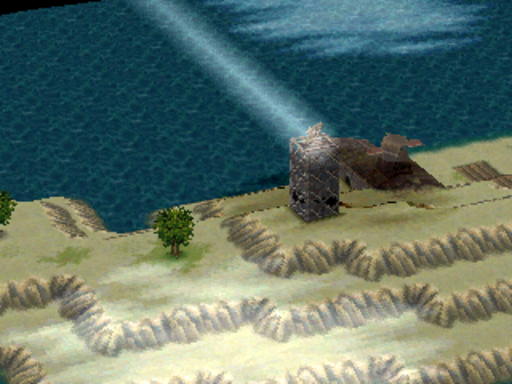
...WHAT.
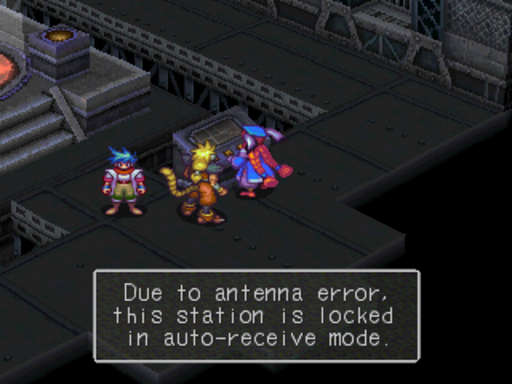
It brings us here, and we can't go back because of an antenna error.
And leaving the room triggers another of Honey's ADD attacks.

 : Just as I thought! The Machine Guildsmen were surprised to see me... They wanted to know how we got in.: Doesn't this just beat all? After all that trouble to get across the outer sea, we end up right back where we started! We'll never find God at this rate!: Hmmm... Yes, it looks like we're back to square one... What should we do now?: Amazing! With that portal machine, we traveled all the way back here in the blink of an eye! Maybe the world's not as big as we think it is?: That's it! Portals are relics from ancient times-- from God's time! Think about it--the world must be pretty small to God! God... Or the people who made the machines, rather... must have used these portals to travel around the world!: In other words... You're saying that God and the machines are connected somehow?: Well... I don't know for sure but...: Hmmm... Perhaps the machines are a gift... from God?: Yeah, yeah, that's it. You took the words right out of my mouth! So maybe by using the portals... We could travel right to wherever God is! First, let's check out the portal where we just arrived! Come on!
So yeah. Momo makes a connection between God and the machines, and ultimately solves one mystery. So now, our goal is to get this shit fixed.
But first, while we're here, Masters!
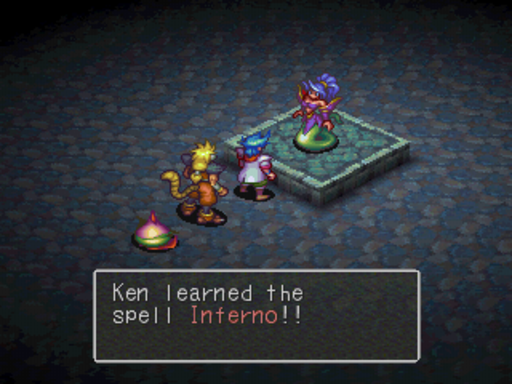
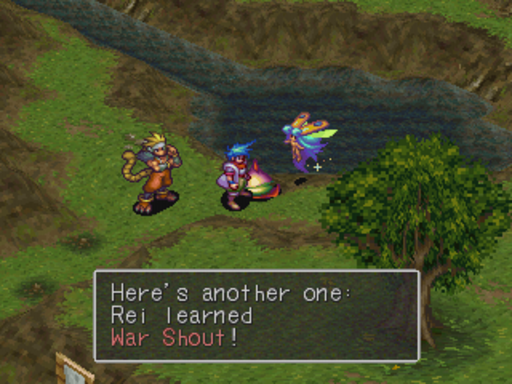
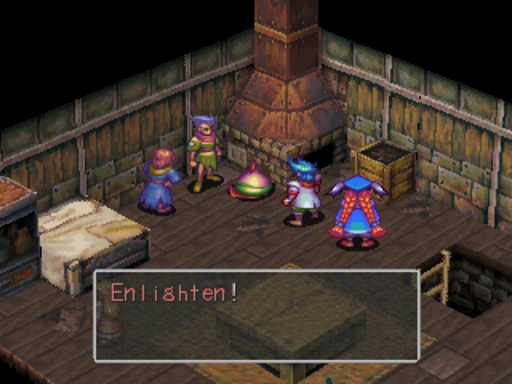
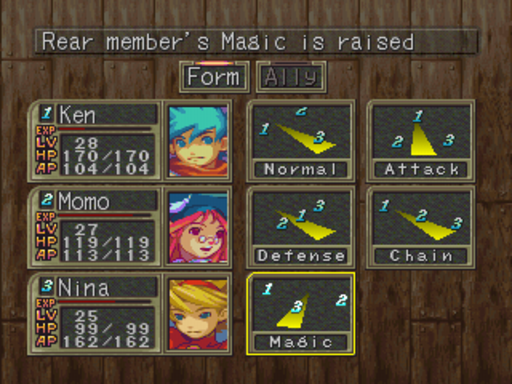
Inferno is the ultimate fire spell, War Shout raises the attack of everyone in the party, Enlighten in a permanent Meditation (but can be cancelled by Sanctuary, I believe), and the Magic Formation (from Lee) raises the intelligence of the person in back and lowers the intelligence of the two in front. If you're using Nina, or an offensive mage Momo, it's pretty great, especially in boss battles. And Enlighten seems to scale magic damage more than Might does for physical damage.
And with that, Nina is good to go through the end. She's got everything she needs. She learns a few more spells, but Mind Sword is her main single target offense now.
Also I put Rei under Bunyan. Bunyan does not penalize agility, but does increase power, which really helps Rei. I'd do D'lonzo, who raises power AND agility, but his agility is fine as is.
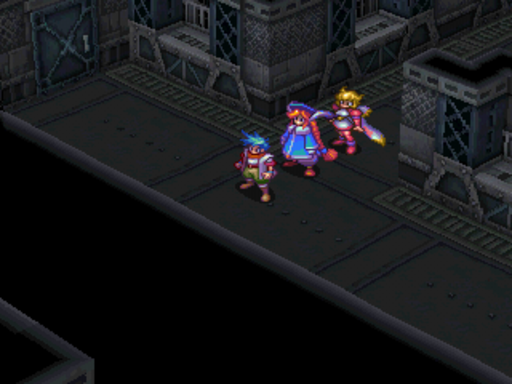
Anyway, let's get started on fixing this place up.
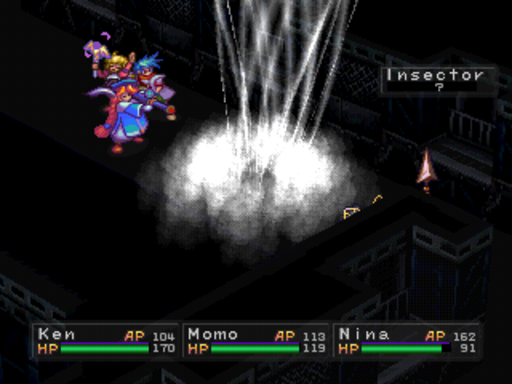
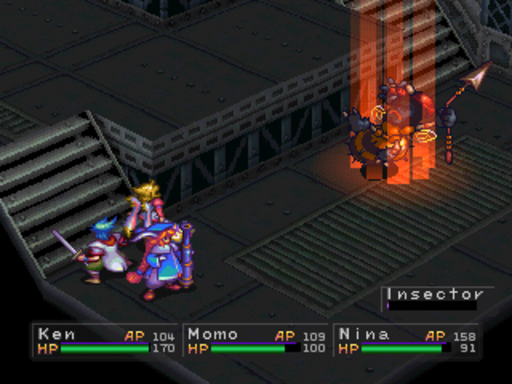
I'll get a better picture of Insectors later (pallet swaps of Fly Men though), but they use Tornado. Tornado lowers the HP of a random target, ally or enemy, to 1. It can be learned too.
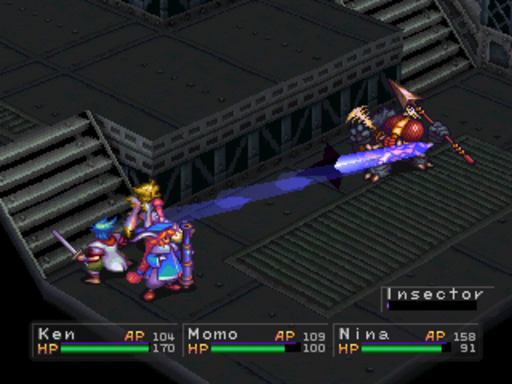
And here's Mind Sword in action.
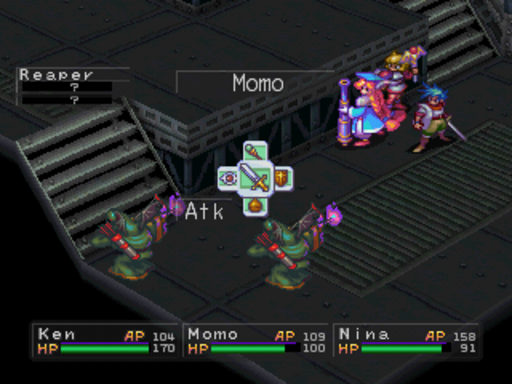
These guys are Reapers. Like the Phantoms in Angel Tower, they have a high Lucky Strike rate.
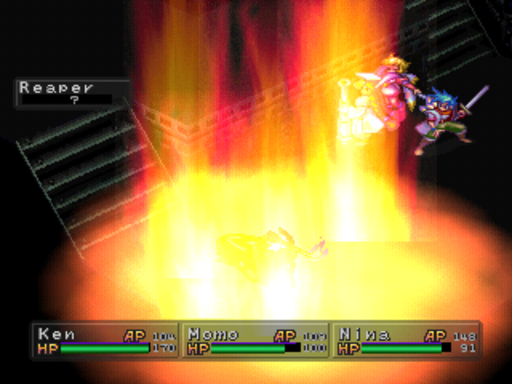
And here's Inferno in action.

Dragonflys are nothing special, they just use Snap.
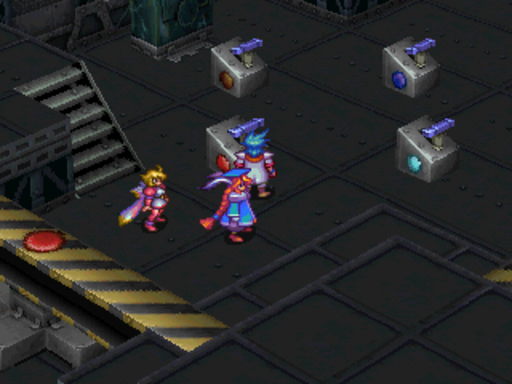
And this is our first puzzle. Each switch can be hit once, and some switches affect more than on beam. The goal is to hit them in the right order to raise the right beams so we can head north up the stairs.
There are a few of these slabs around, examining them shows what position the named switch needs to be in.
By examining this one above the switches, you can reset the switches.
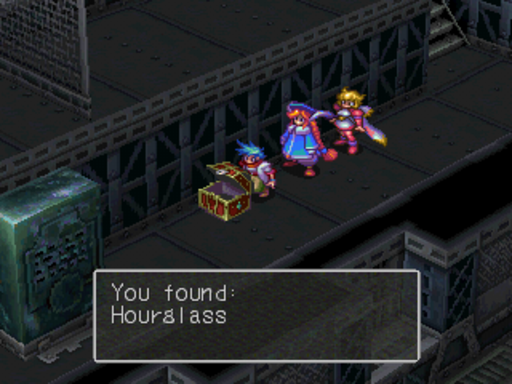
Hey another Hourglass! And hey, the Reapers drop another item I had no idea existed!
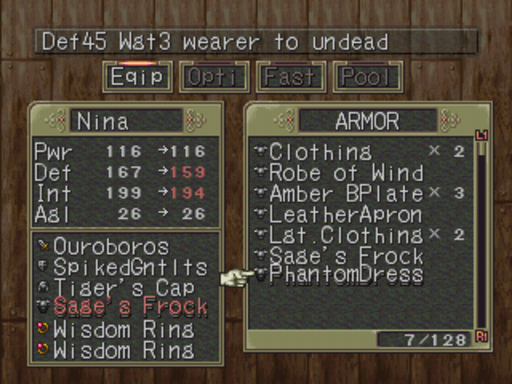
The Phantom Dress ups your Status, Death, and Psionic resistance to 7, but makes healing spells hurt the wearer. HOWEVER, they can still be healed via elemental rings. The right set-up with this can make Nina almost invincible, but I don't use it.
Anyway, back in the switch room, hit the blue, light green, and brown switches in that order, and head up the northern stairs. There's a chest if we do it another way, but it's a rod for Nina and we already have her ultimate weapon.
No puzzles on 2F, just find your way up.
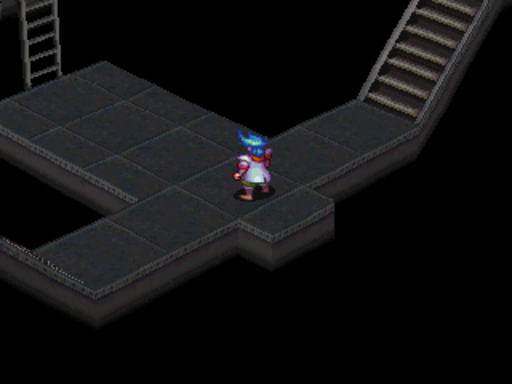
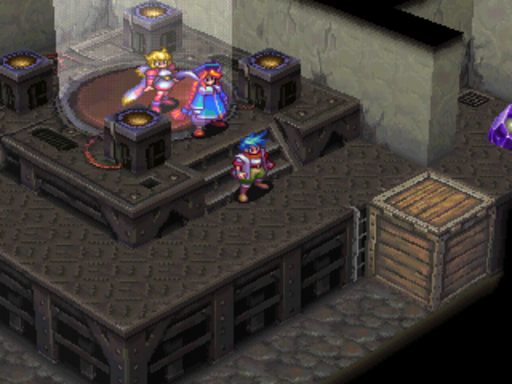
This is a classic puzzle. There's 3 platforms we can ride, and our goal is the center platform, which unlocks the door leading ahead.
It's easy to get them lined up like this. Now all you need to do is ride on of the left two around...
And it'll end here. Ride it to the middle.

From here, it's pretty straighforward, and the Barbarossa is the only noteworthy treasure. In addition to giving Ken an asschin and a moustache, it's electric elemental and pretty strong anyways. It's incredibly heavy though. It can be bought in Junk Town back when Ken was a kid as well. However, it's still outclassed by our Demonsbane.
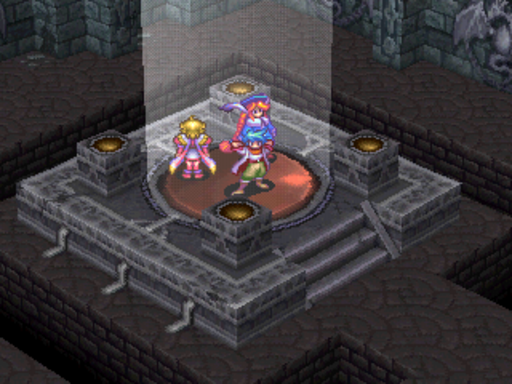
Anyway, we reach the antenna. It's been misaligned somehow, so let's fix that. Examining the console lets us do that. Turning the antenna certain directions changes the noise you hear, either static of a high pitched humming. We're aiming for the humming with just a little bit of static.
This will happen when you get it right. And it's fixed! Go team!
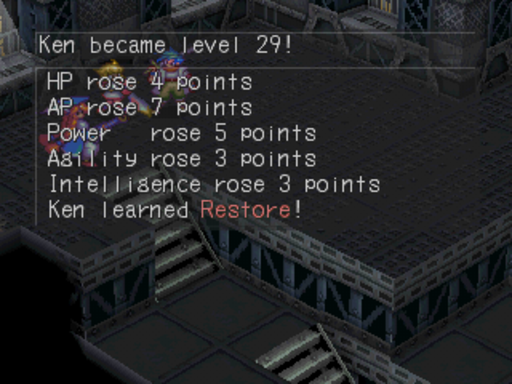
On the way back down to the Portal Drive, Ken learns Restore, the highest level single target healing spell learned via leveling.
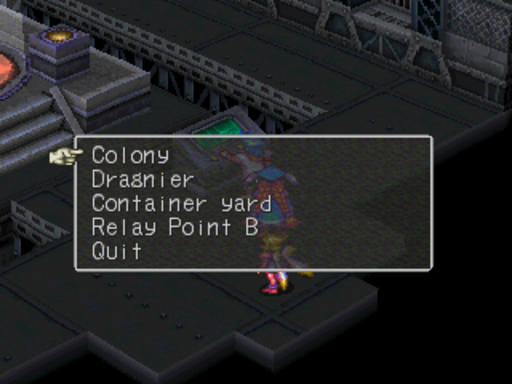
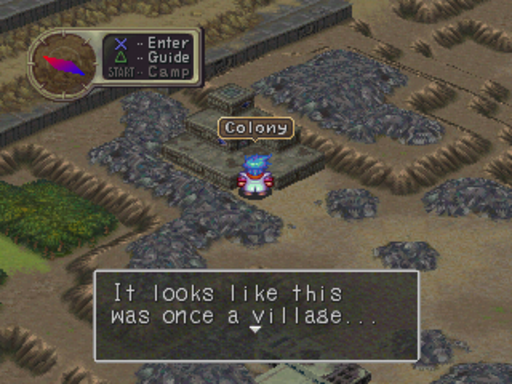
And now we have some new destinations open to us. We know what Relay Point B and the Colony are, so let's try the Container Yard
And it contains our second to last Gene! Let's try Dragnier.
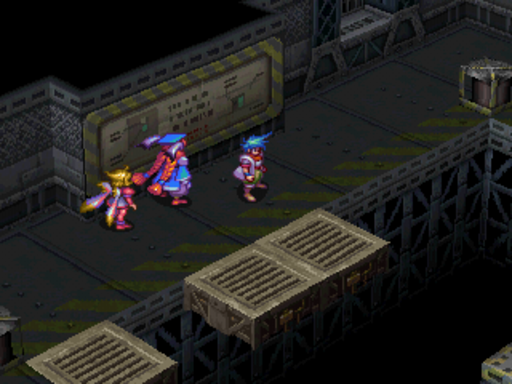
And that's where we'll end for today. What's waiting for us here?
Next time: Momo shows us exactly WHY you never piss someone off who owns a bazooka