Part 17: I find it hard to tell you, I find it hard to take (Dungeon)
Update VII: I find it hard to tell you, I find it hard to take (Dungeon Portion)Song Title Reference: Mad World by Tears for Fears
Time to make some plot progress. I think everyone’s had their fill of Bonding Updates for a while.
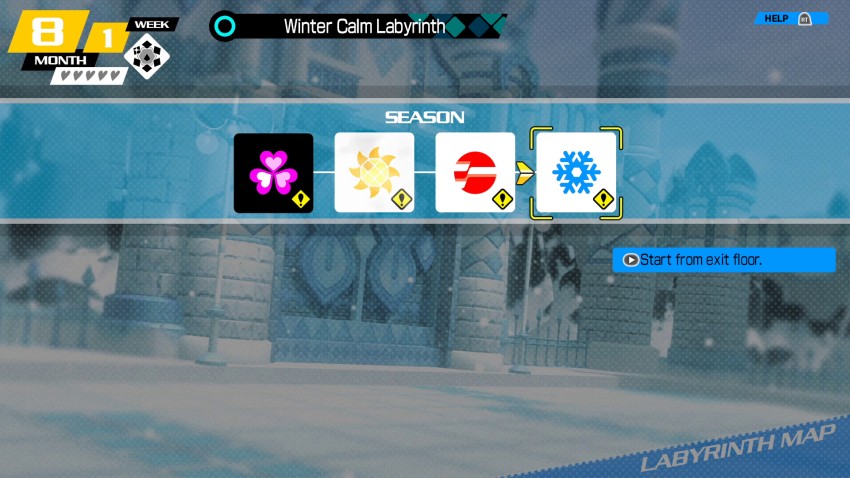
Tis the season, so we’re heading to the Winter Labyrinth.
Ah, nice and crisp. That’ll put some hair on Itsuki’s chest. I know I’m feeling right at home.
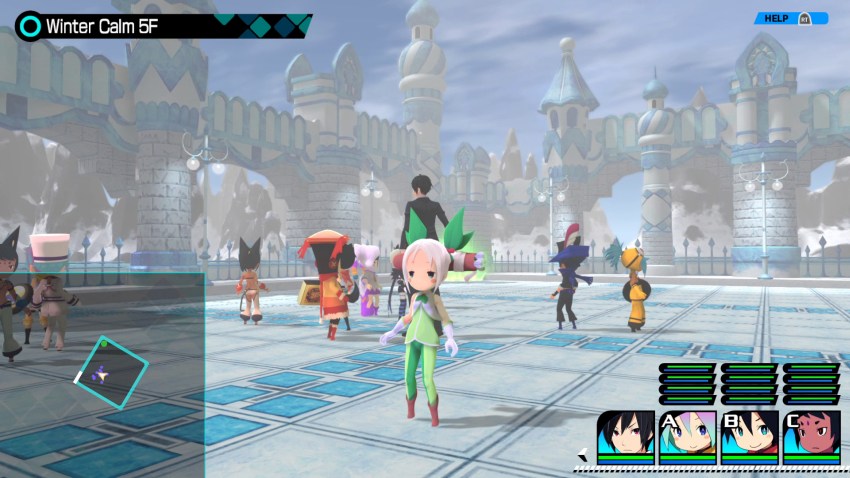
Floors 1-5 of the Winter Labyrinth are largely the same as the Spring Labyrinth that we previously explored. The enemies are mostly Bootes or Bootes variants, so you can run around and snag a little bit of EXP as you explore. There are a few of the Apu (bird enemies) roaming the later floors though, so keep an eye out for them as they put up more of a fight.
Other than that, there’s not really anything of note. Section 1 of each Dungeon seems to be fairly standardized, but you’re required to work your way through them anyway (at least for the first time). So I’ll cut out the garbage and just take us right to the first boss.
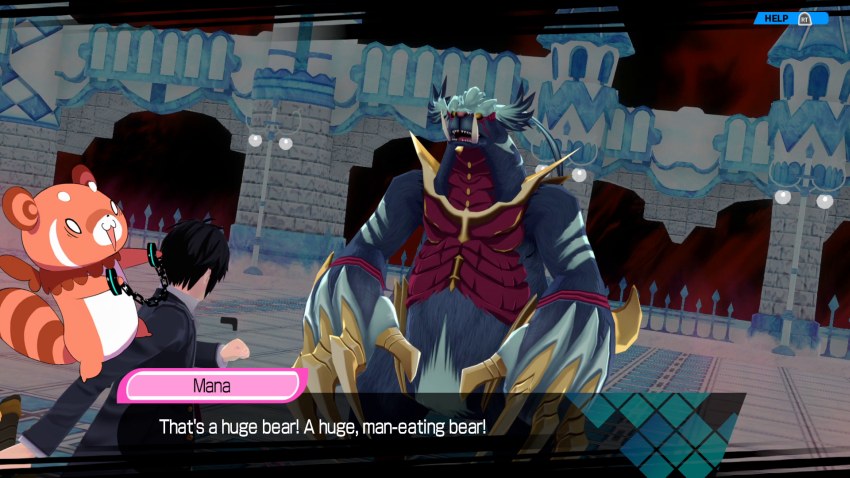
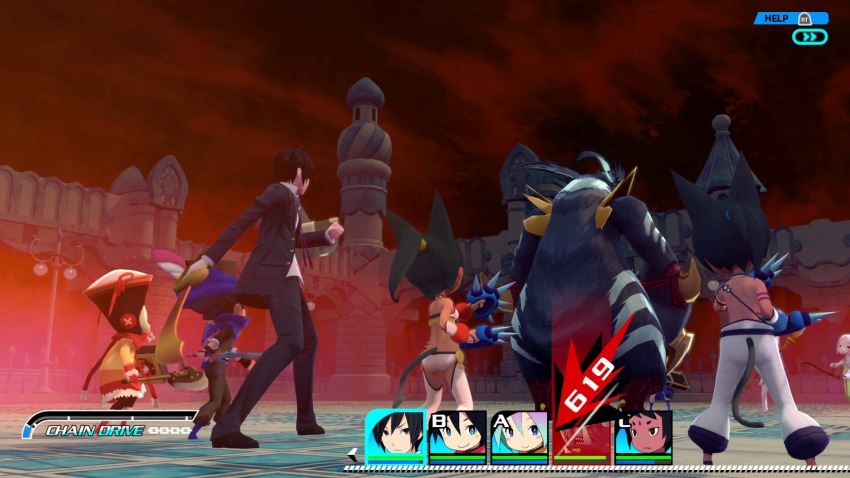
 Move to the back, Mana.
 It’s much fiercer than the bears on the surface! Itsuki! Watch out for its burly arms! Let’s go, everyone!
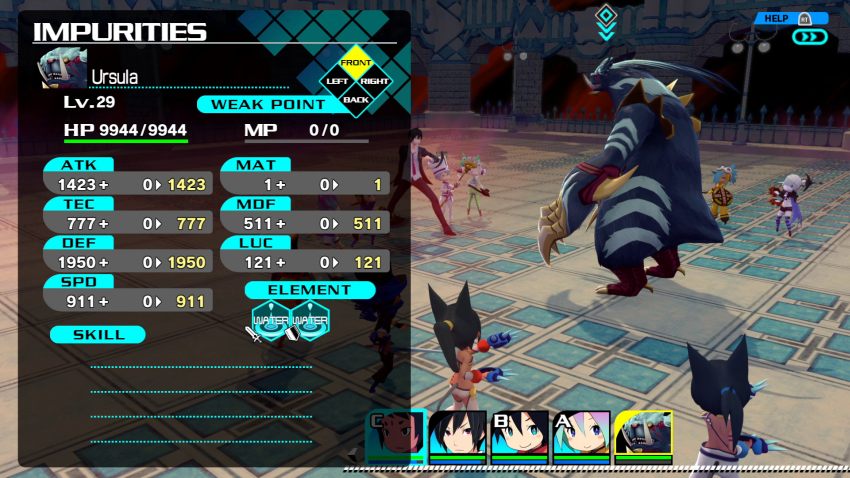
As usual, the Floor 6 boss is really just a preview of enemy types to come. The Ursula type enemies have absolutely no magic, but they make up for that with their solid physical stats. Their standard physical attack is also able to strike 2 zones instead of one. Not especially fast, but built like brick shithouses.
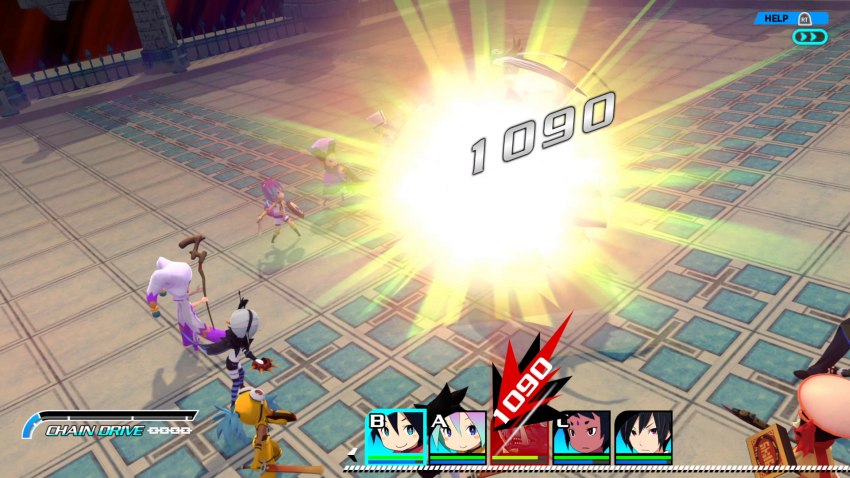
Magic Attacks are the way to go, although I am currently lacking in that department. Team Psycho Knight is the only team that has any form of attack magic, but the recent changes made to the team have shifted it more heavily towards physical.
The other option for dealing with Ursula types is to Chain them. Both Team Couscous and Team Psycho Knight have skills that can aid this. Team Couscous has Blitz Blow, which gives a small increase to the CG, while Team Psycho Knight picked up a skill called Grief Chain that grants a huge increase to the CG. Chaining will slow the enemy down and allow you to get a bunch of easy hits in, or take the opportunity to heal up. Whichever you’d prefer.
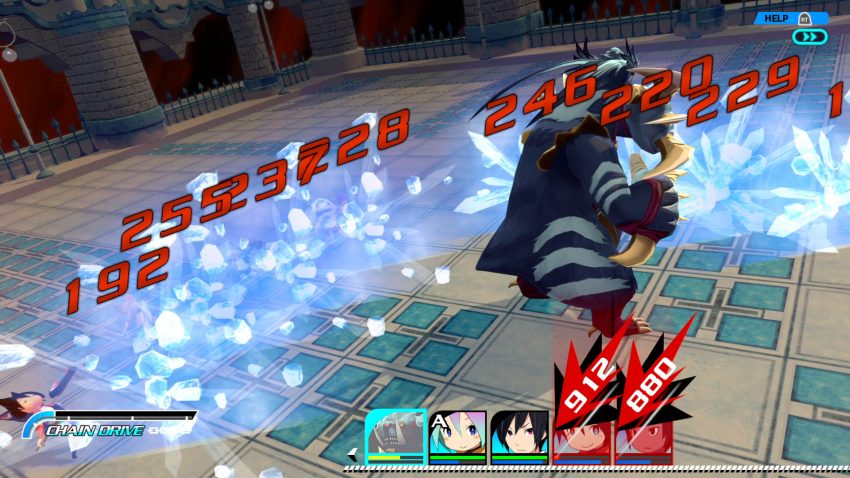
Just be careful about HP. Those of you who followed the CII LP will recall how brutally effective it can be for the enemy to just spam its basic attack (when it is able to strike more than 1 zone at a time). Basic physical attacks have a shorter cooldown than skills or magic, so Ursula can take repeated swings at you while you more than likely slow yourself down by throwing out big attacks with high turn delay.
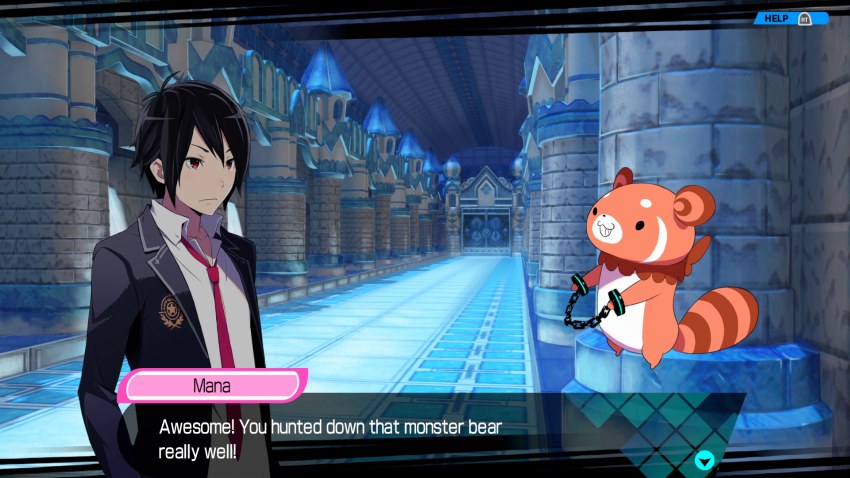 Yeah. The bears out in the forest suddenly don’t seem so threatening anymore. Itsuki! Up ahead is the Hoarfrost Labyrinth. The enemies are even stronger there, so don’t let your guard down. I’ll keep that in mind. We should really head back, though. The Star Children are worn out.
Like I said, the dungeons are cookie cutter outside of the Star Sign sections. Outside of Mana mentioning the name of the dungeon, the dialogue is meant to work regardless of which one you enter or how many other dungeons have been completed.
Anyway, there’s no scenes or anything upon returning to the world map, so back in we go.

Floors 6-10 are the same thing as Spring. Lower-tier Ursula are scattered throughout, along with mid-tier Bootes. Unless you have strong magic-based teams, then fighting the bears is probably more trouble than its worth.
No new traps or enemy types in this section. We do start picking up some sweet loot, though.
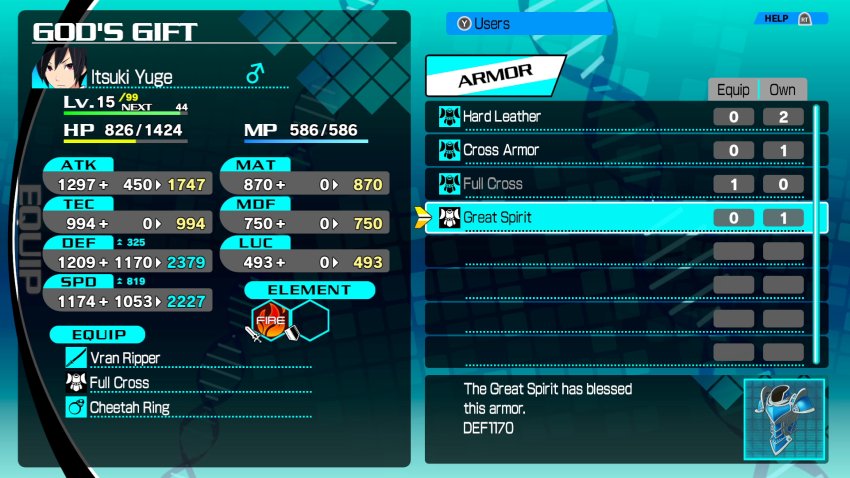
Itsuki picked up Full Cross armour and then about a minute later picked up this one. Great Spirit gives a huge boost to DEF, but more importantly it absolutely cranks Itsuki’s SPD.
The other good things that happened in this section of dungeon are Ratoslov and D’Angelo picking up new skills. Ratoslov of Team A(wful) hits Level 20 and snags Recovery, which heals status ailments (this will be very important later in the dungeon). Meanwhile…
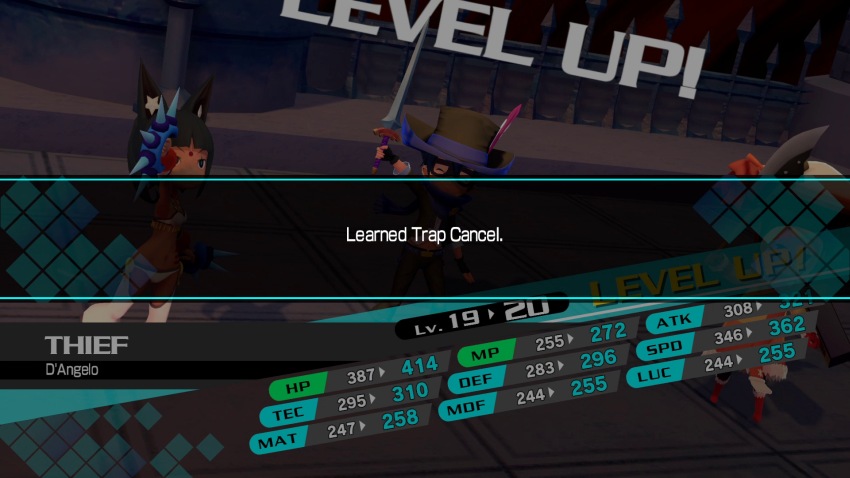
D’Angelo of Team Couscous also hits Level 20 and picks up his special skill: Trap Cancel. Trap Cancel is an Auto skill which blocks traps from Treasure Chests. That means no more exploding treasure chests for us (at least until the next Team Vote happens and I wind up with no thieves. Just watch. That’s what will happen).
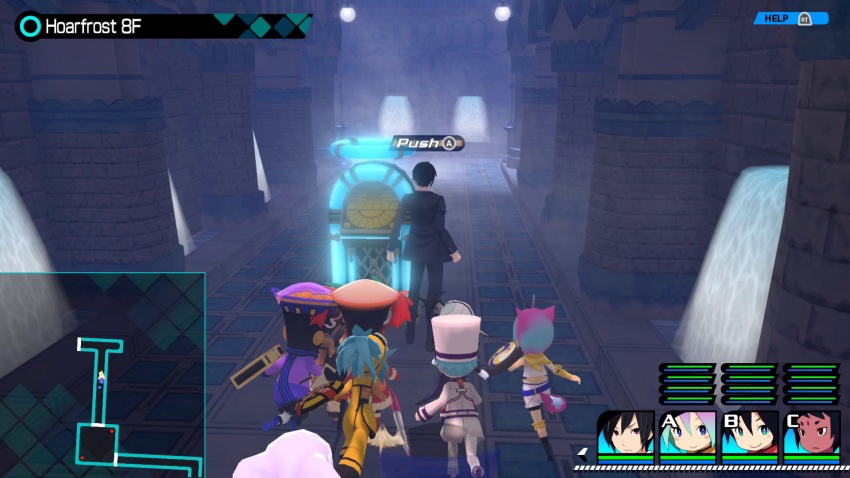
Something I haven’t had the chance to point out yet are these Jukebox looking things. They appear in connecting hallways and act as pop-up shops. You can buy all the same items and equipment as you can from the shop in Granvania. These were mostly worthless in CII because you could steamroll everything in your path without burning too much HP or MP. CP has a slightly higher difficulty curve, though. You can always escape from the labyrinth, stock up, then jump back in at the floor you left off on, but there are times when you’d rather keep pushing forward to try and find the next floor gate. These shops can be a welcome sight if you ran out of status items, or need Potions/Mana Stones in order to top everyone off, or if some of your Star Children were accidentally sent out without proper equipment (Note: There is no particular reason why I mention that last one. None at all).
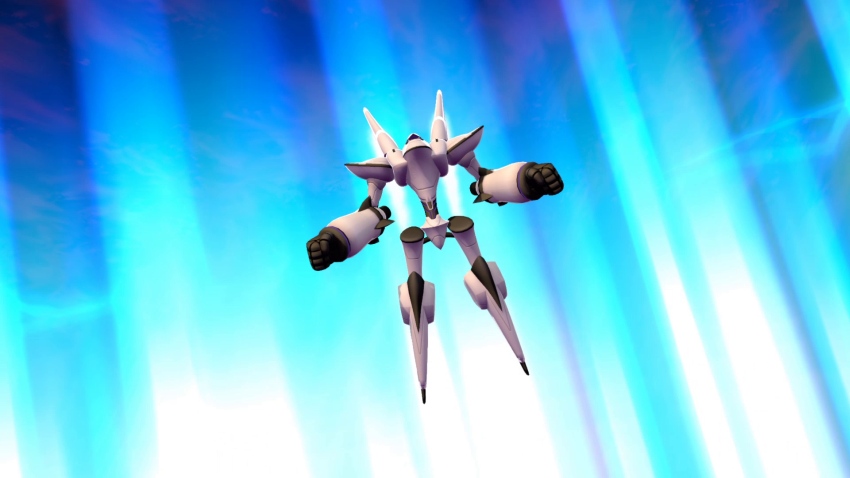
I also fiddle around with MECUNITE a bit in this part of the dungeon. In the process, Team Psycho Knight shows off a form we haven’t seen.
The Fist type MECUNITE has a Rocket Punch attack as its special. As far as I’m aware, the different MECUNITE types are just cosmetic (the weapons anyway. Stats and element actually do make a difference), so the attack you see above is no different than the laser cannon thing that our first MECUNITE team pulled. Looks cool, though.
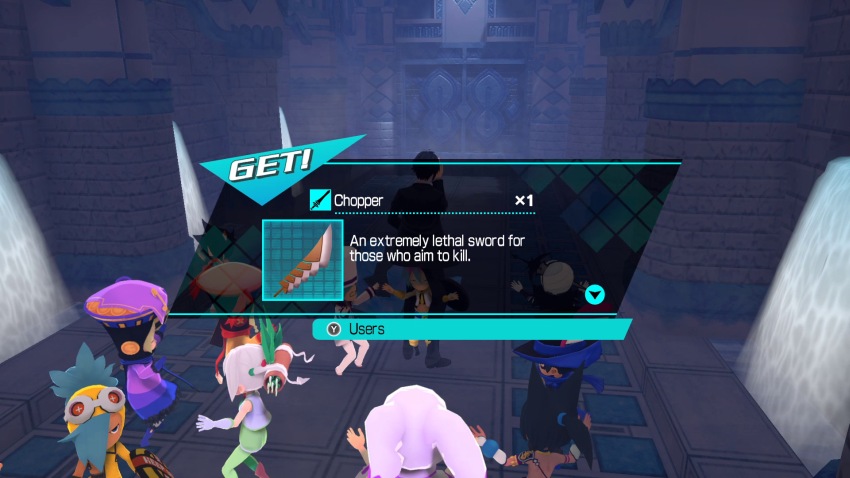
We also pick up a ton of swords in this dungeon, not just this section. This was the first new sword to be found. Chopper is a Star Child weapon for sword users. I slap this one on Cmdr. K, but everyone else quickly finds one of their own to equip. Chopper will also be replaced by another new sword fairly soon.
The downside to this lucky break is that we only find new swords in this dungeon. Other than new armour for Itsuki, I don’t pick up any new weapons for any of the non-sword wielding Star Children. I’m not sure if there are simply none in this dungeon’s drop table, or if it was purely a matter of RNG.
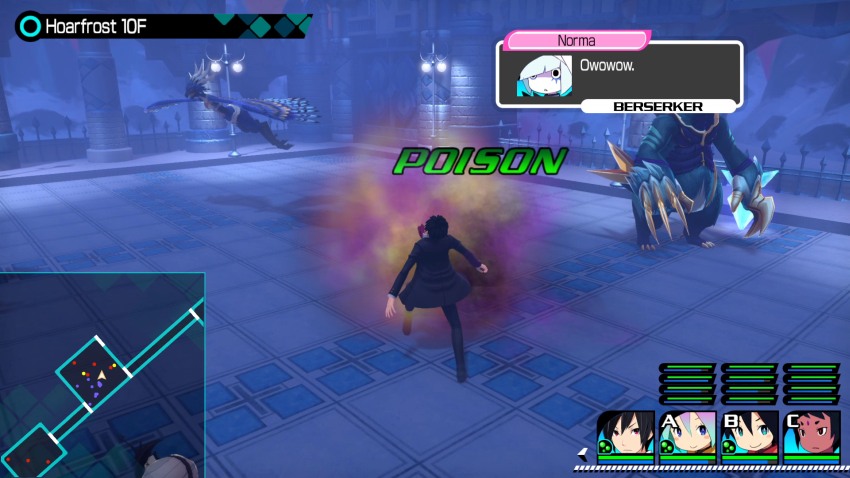
Here’s the new trap type. Poison tiles. Once again, there is no indication of a trap being here. You just get unlucky and walk over them from time to time. These traps can cause Poison to one or more of your teams. In this case, Itsuki and Teams A(wful) and Psycho Knight get hit. Thankfully, Ratoslov of Team A(wful) recently picked up a skill that can fix this for us. Just so we’re clear, I do have a small stock of cure items for every status. Unfortunately, this Poison Trap is pretty common, so I wind up burning through all of them fast. The Recovery skill is much more useful, as I can just throw a cheap Mana Stone on the Star Child that used it to replenish the MP they used.
Oh, also Wind element Fornax start appearing (Fornax are the floating spine monsters). That’s a thing that happens.
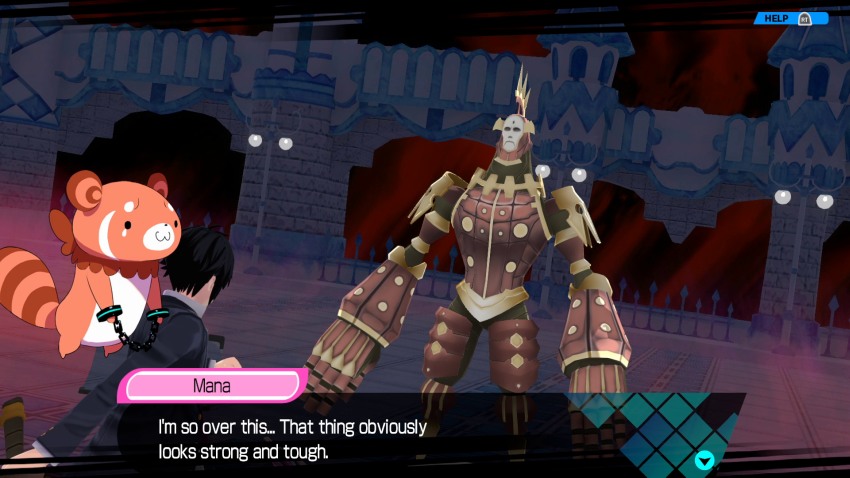
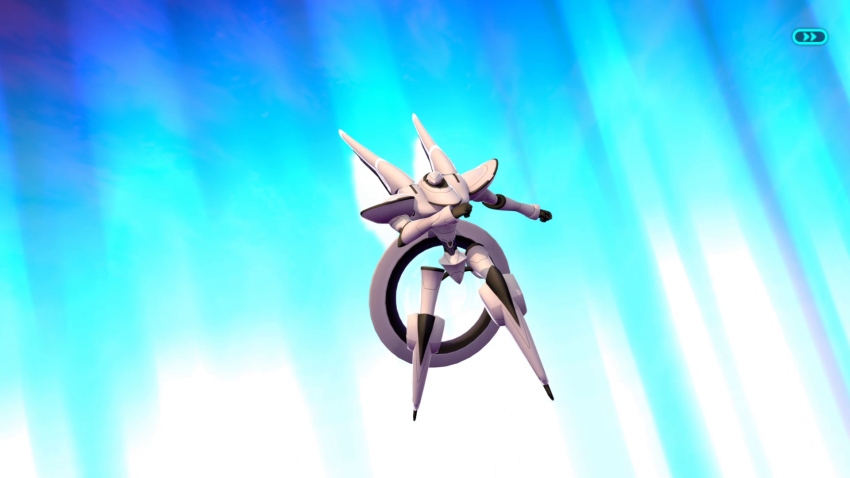
Floor 11’s gatekeeper is this weird looking dude. Everything else stays still, but his hands keep rotating back and forth at the wrist.
Don’t worry about it, Mana. I’m sure it has a weakness. Everything does. I guess so… Even I have imperfections. So that thing should have a weakness too! Maybe it’s worried about its weight!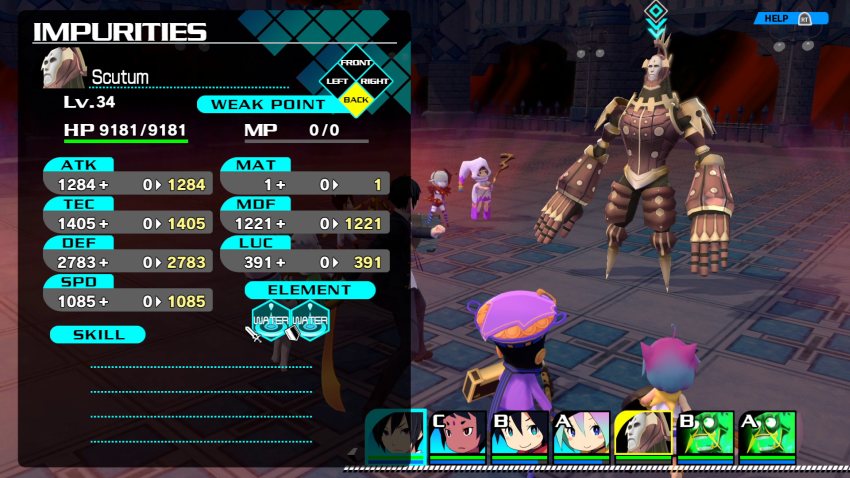
Looks more like he skipped some exercises at the gym. Gotta work on those shoulders bro. Don’t forget the rotator cuffs, that’s what will fuck you over when you try and ego press on the bench. Biceps could use some work too. How did you even manage to get forearms like that with no bicep action?
Right. I’m dragging it out too much, sorry.
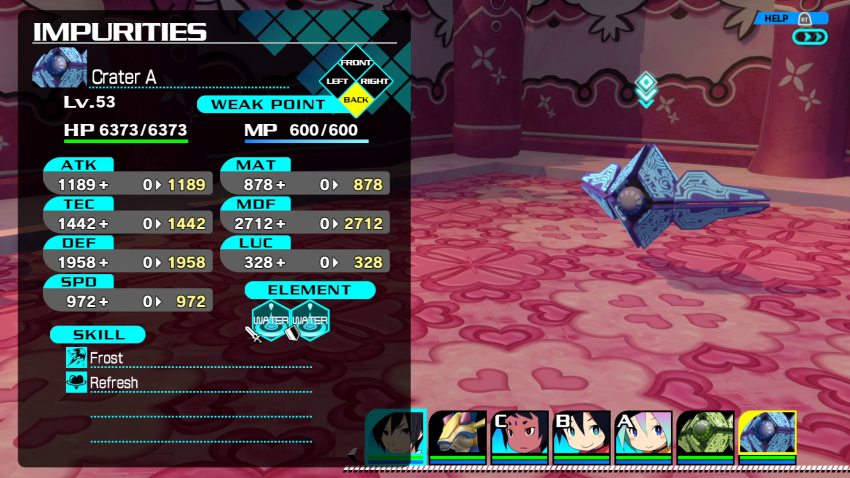
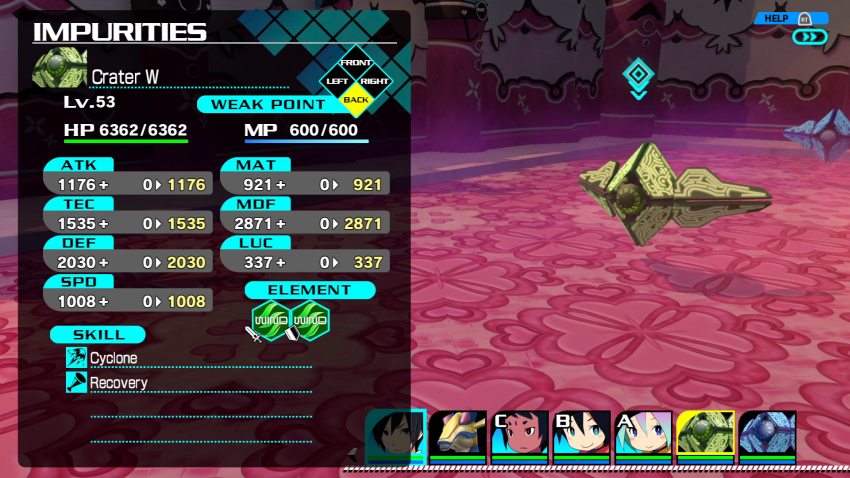
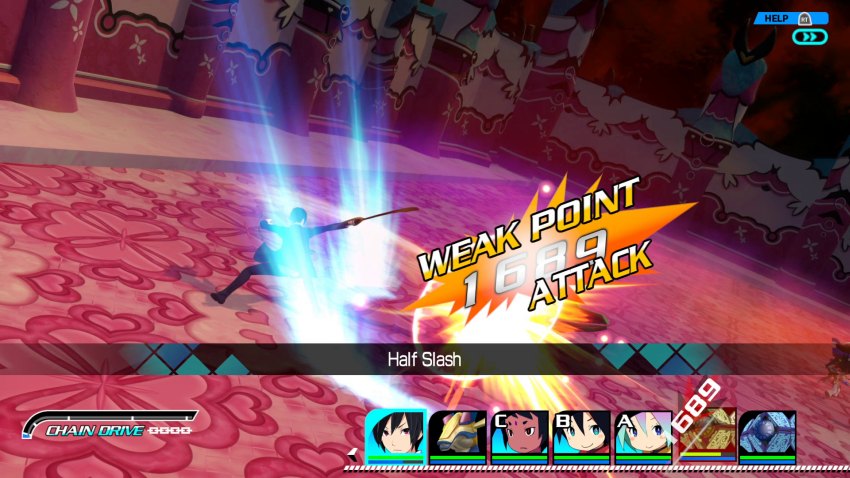
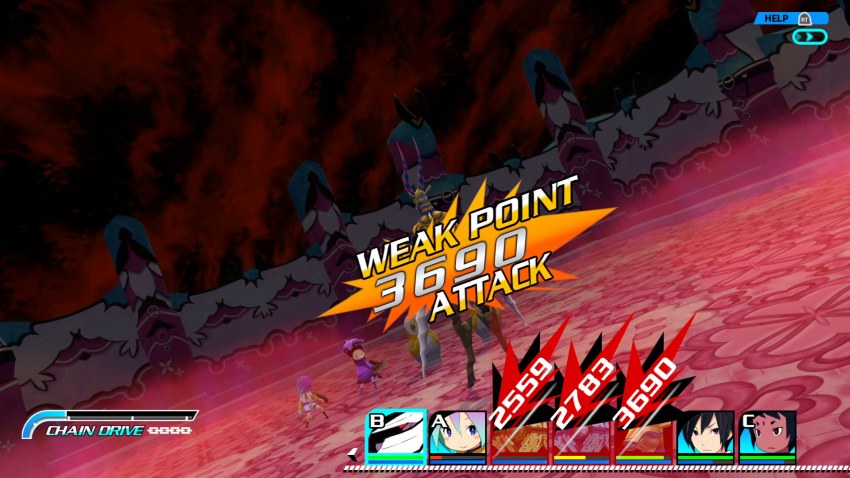
Anyway, like Ursula, Scutum here loves his physical attacks and not much else. This particular one is accompanied by two Wind Fornax-type enemies. The best way to go about this is to immediately split up everyone and deal with the side enemies. Because Scutum has no magical abilities, leaving him without a target will force him to chase after someone. As long as you keep an eye on his battlefield position and move your teams out of the way whenever he tries to attack you from behind, he’s mostly harmless. You should be able to safely deal with the two support enemies before turning your attention on him. By the time that happens, you will likely have built up a decent amount of the Chain Gauge. This will let you take quick advantage of it against Scutum and get in some solid hits while he’s chained.
In other words, this is still basically the same as the Ursula fight, even with the extra enemies in play.
 From here, you can go to the Capricorn, Aquarius, and Pisces Labyrinths. The Impurities will be stronger than before. How about returning to the surface so you can regroup? I see a dimensional rift over there.
~Stardust Lab. Entrance~
Hm… Speaking of the Winter Labyrinth…Yeah, we’re introducing another seasonal event. Seems like there’s one for every season.
I heard from Mahiru that on Sora, you celebrate a thing called Christmas. As far as I can tell, it’s similar to our Star Conception Festival. 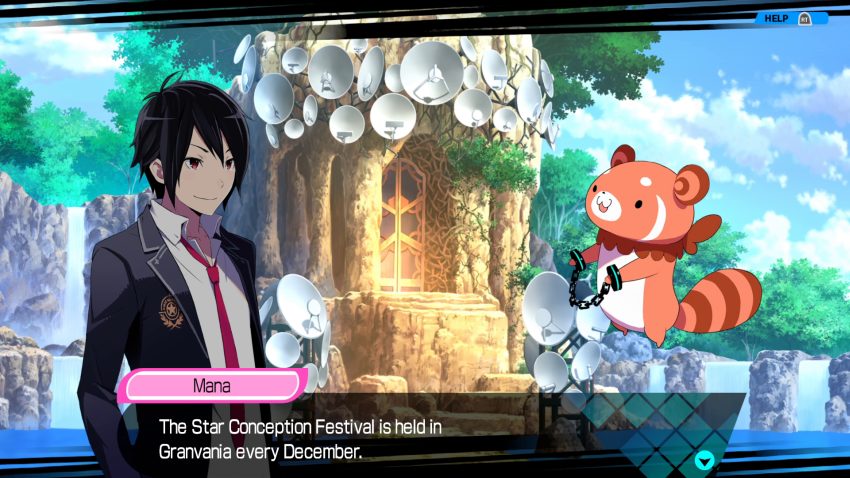 It’s a ceremony celebrating the birth of the Star God.
Star God has a birthday?
On that day, the people of Granvania gather around a big tree to decorate it. They even bring their own food and presents to exchange with each other. I heard Christmas does something similar. Pretty much. Christmas means different things to different people, though. Me and Mahiru don’t celebrate the birth of a god or anything, but we do decorate a Christmas tree and give gifts. There are so many similarities between Sora and Granvania… Even our 12-month cycle is the same. Is that a coincidence? I think not!Alright, betting is open. Who thinks that this is actually just a coincidence and who thinks the game is going to pull some crap later where Granvania has some secret access to earth that lets them swipe cultural and technological advances.
Hey, I’ve got an idea. How about you join us for the Star Conception Festival? Naturally, I know you wanna hurry up with your mission so you can return home. But there are so many trials and tribulations ahead of you. 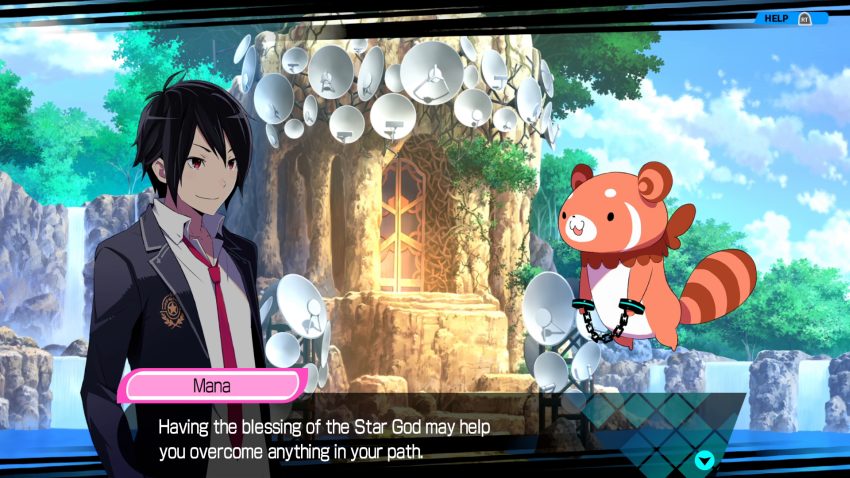 Just consider how much our worlds have in common. Maybe celebrating the Star Conception Festival will give you some sorta divine protection.
HA! That requires Star God to get off his ass and do stuff. This Star God seems like more of a hands off kind of guy.
The Star Maidens will get the hots for you if you celebrate with them. You don’t have to sell me on it, you know. I don’t mind taking part. Awesome! People have been said to become couples on the night of the Star Conception Festival. Why not take that opportunity to make your moves on the Star Maidens? Couples that spend the night of the Star Conception Festival together get all riled up.Spoiler-Alert: Itsuki will be spending Starmas alone. It’s highly unlikely that he’s going to have a high enough Bond Level by the time Starmas rolls around. We’ve got a summer event coming up soon and he’s going it alone for that, too.
Anyway, I’m excited you’ll be celebrating with us, Itsuki! Let’s report this to the king right away!Is this really something that we need to report to Shang? It’s still August for god’s sake.
~Palace Throne Room~
*sigh* Fucking Christmas, man… People start getting ready for it earlier every year.
 I heard from Mana.
 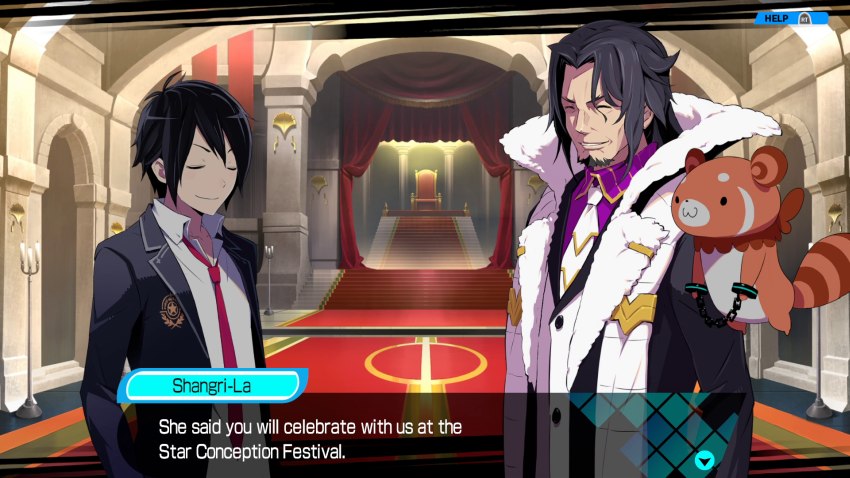 Narcisstes, I trust you will arrange for Itsuki to participate with no issues.
 Of course, Your Majesty.
Was this part of their contract or something? Like, Shang didn’t feel like he was getting enough screen time, so he demanded that they slap random scenes in to give him an excuse to show up?
I will prepare the Great Star Tree so Itsuki and the Star Maidens can celebrate happily.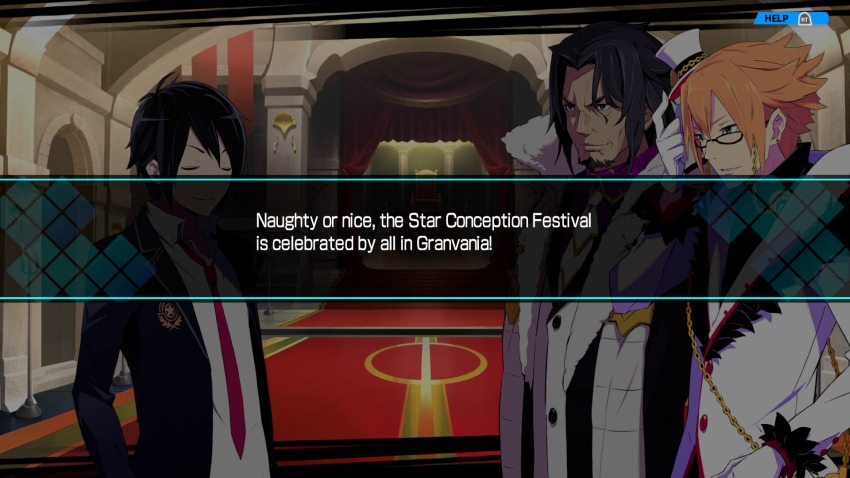
And you can all look forward to that! Four months from now when it’s actually December!
Itsuki, you better get with a Star Maiden by the Star Conception Festival.We’ll get right on that. First, we’re going to worry about slotting in that second Star Offering.
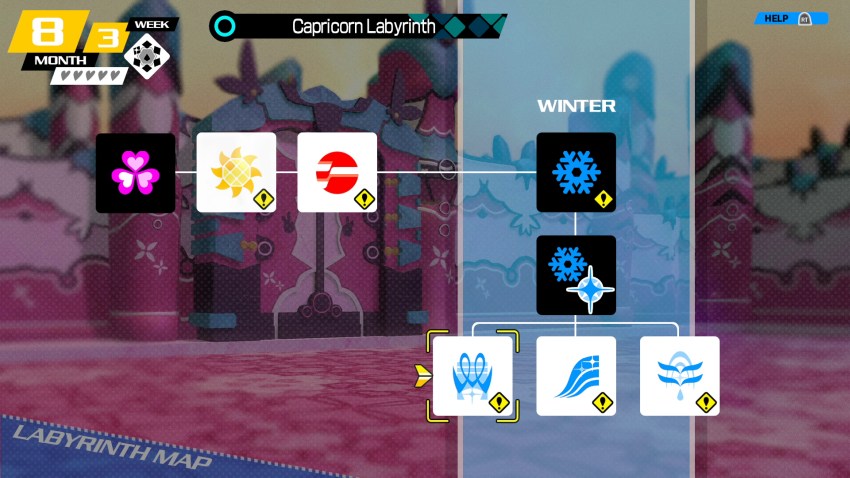
We’ve got some choice in where we go this time, since it’s not a tutorial. The winter months are Capricorn, Pisces, and Aquarius. It was January 1st when I recorded this, so I figured we may as well go for the Capricorn labyrinth. It’s as good a reasoning as any.
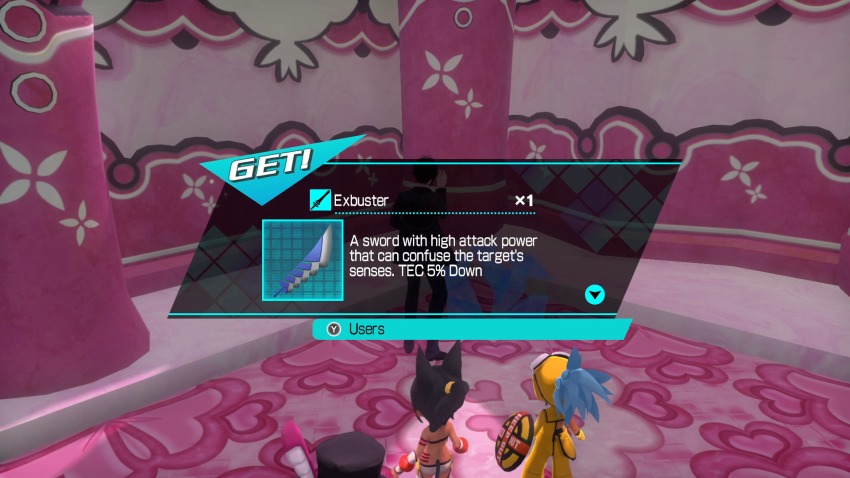
Right away, we get upgraded swords for the Star Children. Exbuster is the next tier of the Chopper weapon type (each weapon has a ‘+’ variant with slightly better stats, as well. Exbuster is better than Chopper+).
Exbuster won’t be seeing much use, because there’s yet another sword upgrade coming within the next few floors.
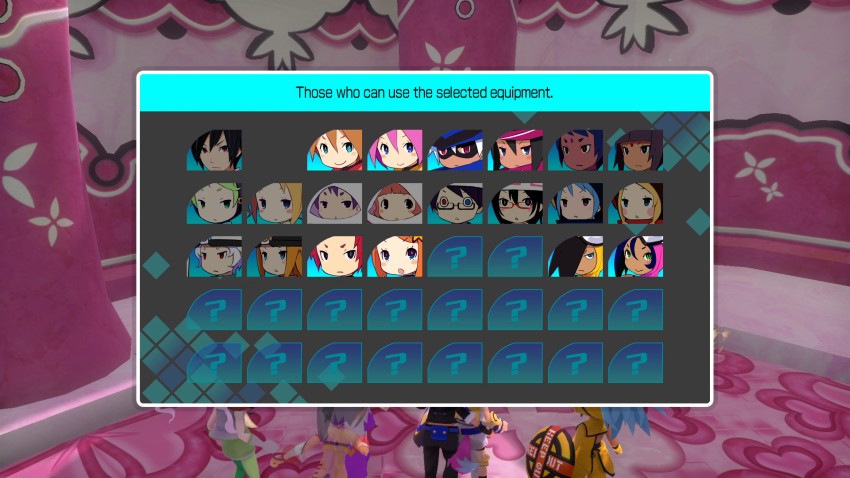
I think I may have forgotten to mention it, although I’m sure the tutorial cards did at some point. If you hit Y/Triangle/whatever the corresponding key is, the game will show you which Star Children (or Itsuki) is able to use the equipment you just picked up. As far as I know, you can only see this screen when you pick up the equipment.
Monsters in the Capricorn labyrinth (which is very… colour coded for Farun) now include low tier Scutum type enemies. The bears are also still here, so this labyrinth is sort of a pain in the ass for Physical teams (of which I currently have 3… awesome).
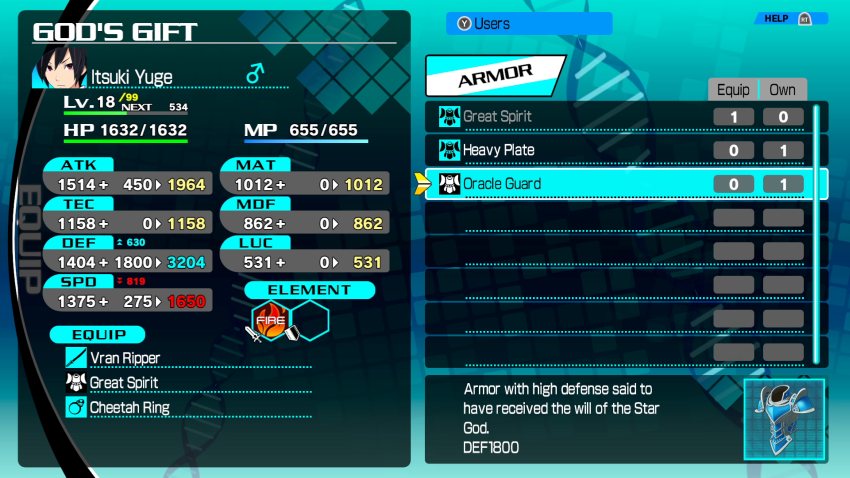
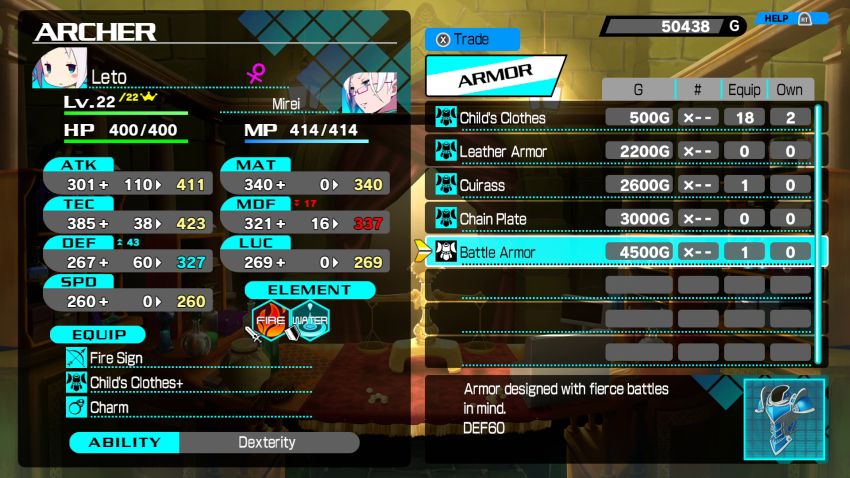
Itsuki gets another armor upgrade, but this one has a trade-off of no SPD buff in exchange for much higher DEF. I’d prefer to keep the SPD buff, honestly. SPD is pretty crucial in these games and 800 is nothing to sneeze at right now.
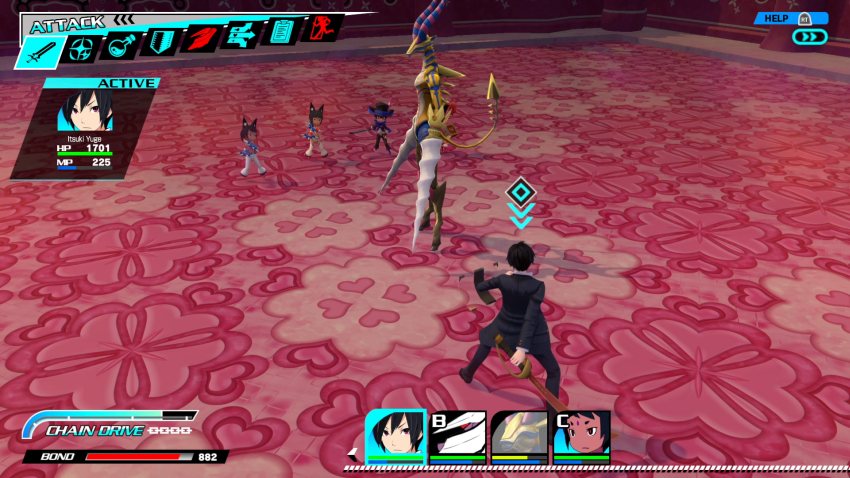
Also fun to learn: Traps only stop the player from moving when they trigger. So on top of having all teams and Itsuki inflicted with Poison, this Ursula type enemy is able to catch up and snag an advantage.
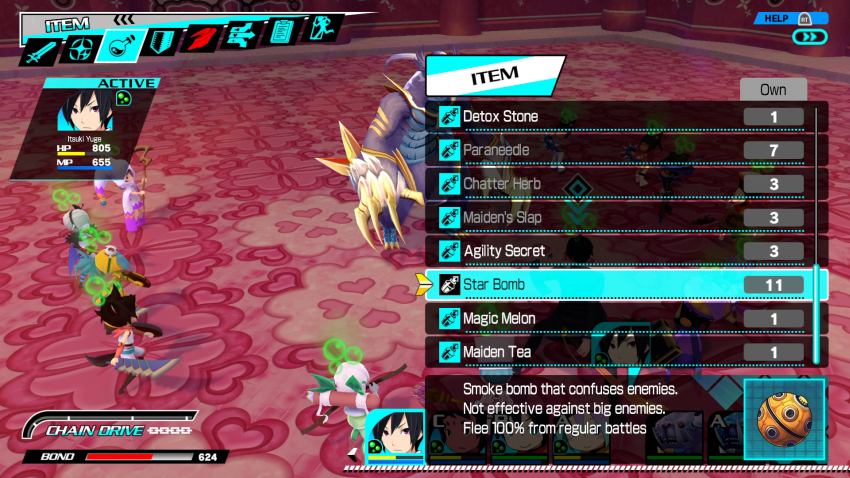
Kiss my ass, Conception Plus. Friendly tip: Make sure you always have Star Bombs. No, not the comedy band. Star Bombs are sold in the shop and allow for 100% escape rate from regular battles. It says in the description that it doesn’t allow escape from big enemies (bosses), but it should also be noted that it won’t let you escape from Chest Monsters either (monsters sometimes jump out of Treasure Chests and lock you into a battle. The Thief skill Trap Cancel doesn’t stop these for some reason).
By the way, Poison is no joke in this game. The HP you see in the screenshot above is like 4 steps away from the Poison trap that inflicted the status. If you don’t have a way to heal it and Itsuki gets hit, just leave the dungeon because you are straight fucked. The Star Children can always be allowed to faint and then you can revive them (which will clear Poison), but if Itsuki goes down then you are kicked back to Granvania with a chunk of your wallet missing. Just to really drive it home: If Itsuki’s HP was full in this screenshot, Poison would have him dead before reaching the door at the end of the hall to the right.
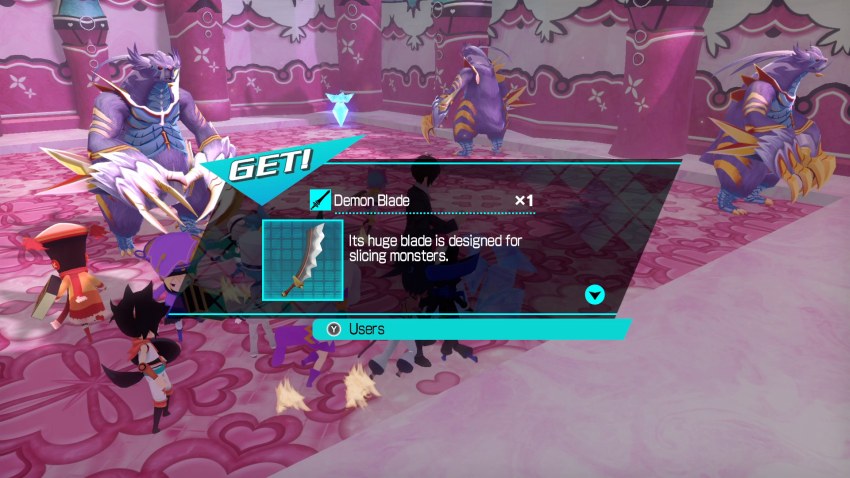
Here’s the other new sword upgrade for the Star Children.
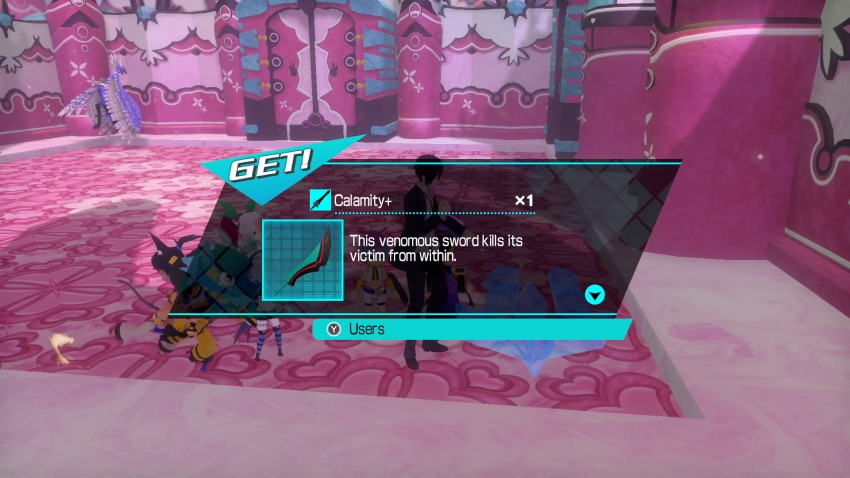
And here’s another one. Sword swingers are having a damn field day in the winter dungeon. That’s 4 sword tier upgrades in this one dungeon (Chopper, Exbuster, Demon Blade, Calamity), 3 of which were just in the Capricorn section. Good lord. Every SC with a sword has seen their ATK jump from 350-500 to 900-1100.
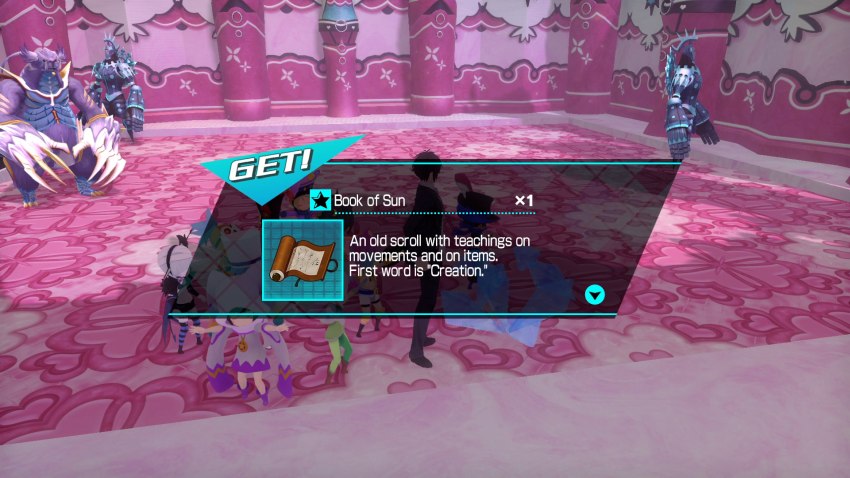
I also pick up… whatever the hell this thing is. It has a star icon, which I’ve never seen before. I can’t use it from battle or the dungeon menu. I’m going to assume that it’s an item to create a new Star Child class, but it didn’t open any new ones when I went back to Granvania (for… reasons. Reasons that will be apparent soon). Hell if I know. Maybe we need more of them to unlock a new class.
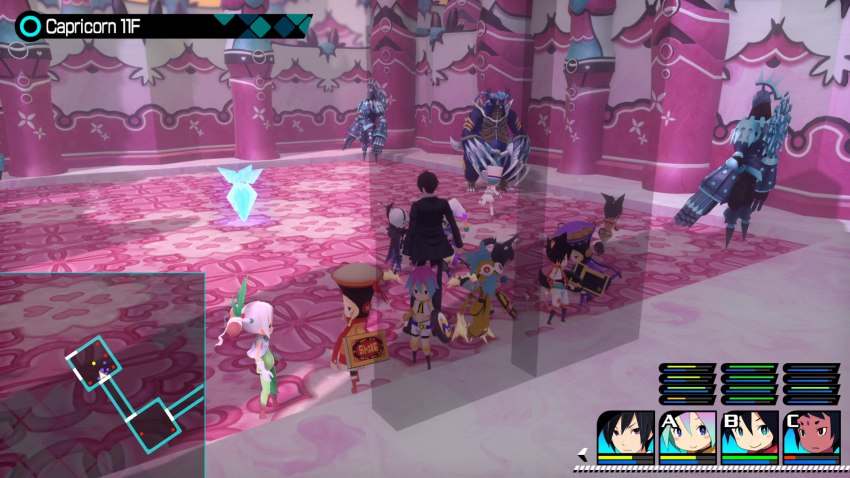
In the item bag it goes, I guess. It’s boss time!
Oh… That’s a bit of a problem…
So, yeah. This boss has a charge attack that can one-shot Itsuki at near full HP while he’s defending. The other Star Children were also sort of getting ripped apart.
Upon doing a little post ass-kicking review, I notice that I apparently somehow neglected to upgrade everyone’s armour. That may have had something to do with things (as well as the fact that we’re currently underleveled and also Itsuki got one-shot which is instant failure that I couldn’t possibly forsee). So I blow roughly 50k on upgrading everyone’s armour and some of the non-sword weapons.
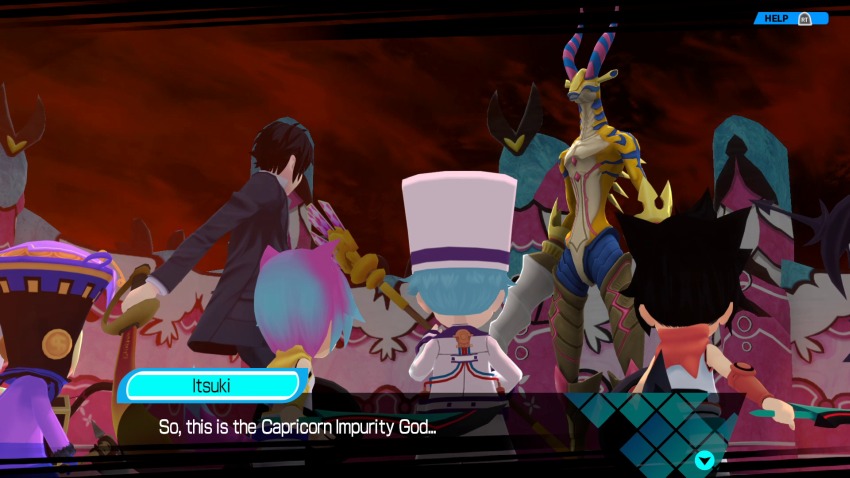
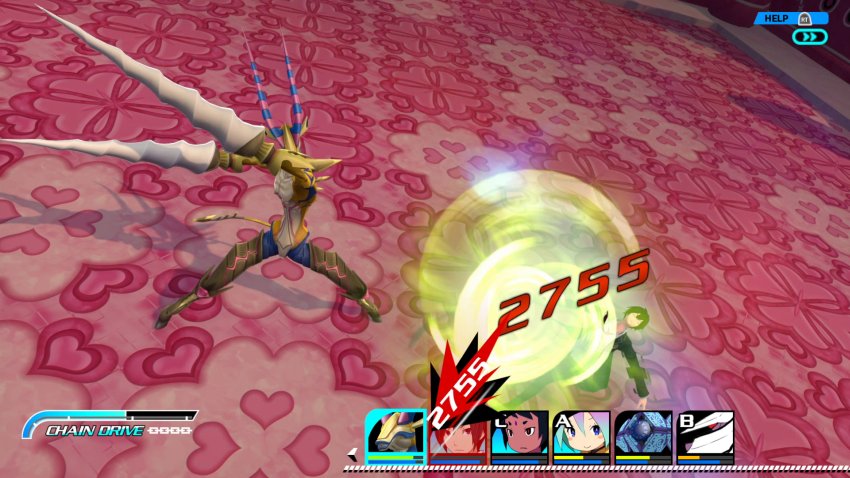
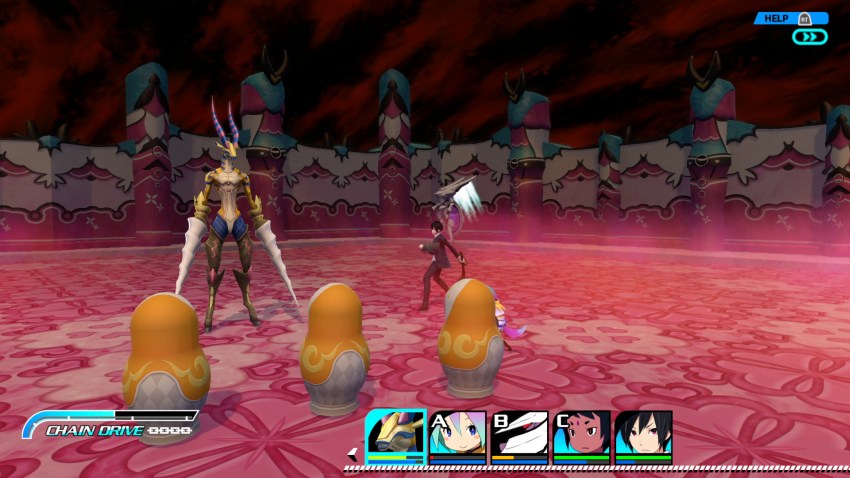
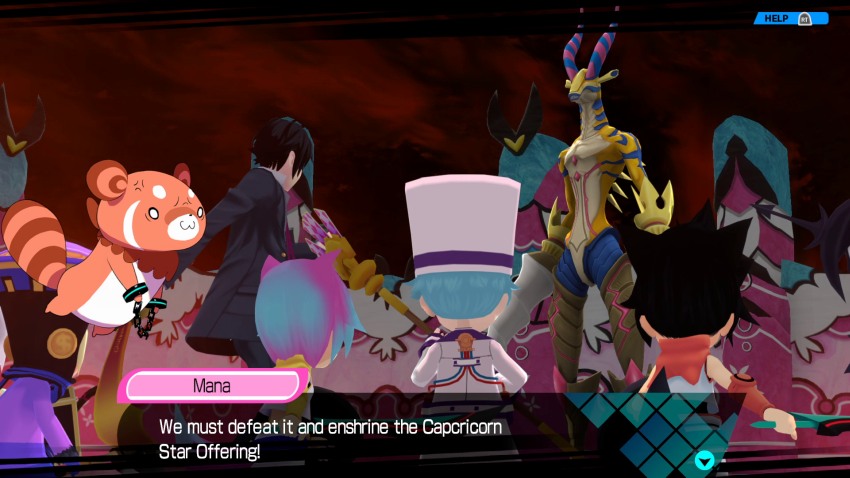 Don’t worry. I won’t let it destroy the offering that Farun made for us. Let’s do this! This is Malefici of Capricorn. It’s a Wind element Impurity God. It’s regular defense is high, but it’s weak to Fire!
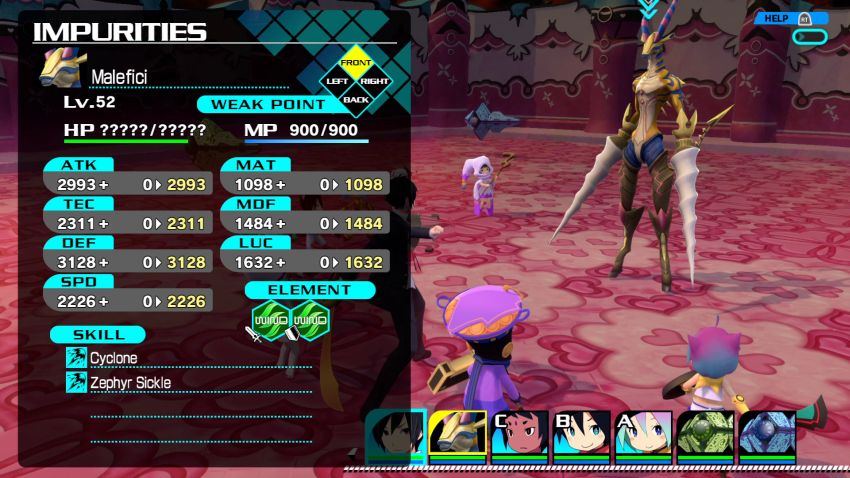
Round 2, here we go. Different strategy in mind this time as well. Well, not different exactly, but better. By better I mean literally the exact same thing I did for the Pseudothei fight.
As Mana mentioned, Fire would be super helpful here. Unfortunately the thread aren’t magic kind of people. They’re more the “hit things really hard” kind of people. That is not going to help in this fight because Malefici is no slouch in DEF, despite how thin and not strong it looks. But whatever, I brought this on myself by allowing the thread to choose the Star Children (and also RNG to decide the one team I did have control over).
In addition, Malefici is rocking two helpers. They don’t have the Heal spells that Pseudothei’s helpers had, but they do take a more active role in beating you senseless. One of them is also Water element, specifically meant to counter your attempts at bringing Fire element teams into the battle. I have to say, the enemy synergy is a lot better in this game than CII.
During the first attempt, I kept Itsuki in the middle against Malefici because I figured he would be the best tank as long as he defended (he has better DEF and HP than the Star Children teams). However, the threat of that charge attack means I have to leave the boss once more in Team A(wful)’s hands. Team Psycho Knight and Team Couscous split up to help whittle away at the Bits with Itsuki.
The Bits are thankfully not super strong in terms of HP/DEF. However, because of the raw offence that Malefici has, as well as the fact that we are underleveled for this fight and incapable of changing that (Almost every Star Child is capped out right now at Levels 20-22), this fight needs to be ended as quickly as possible.
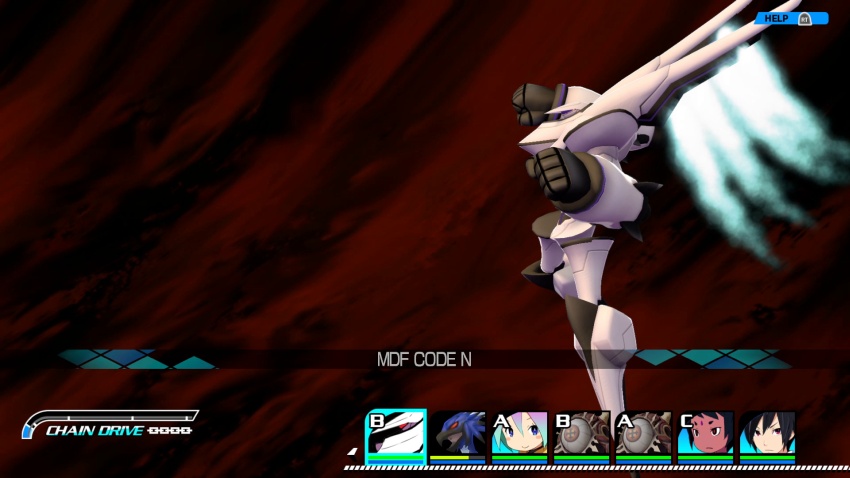
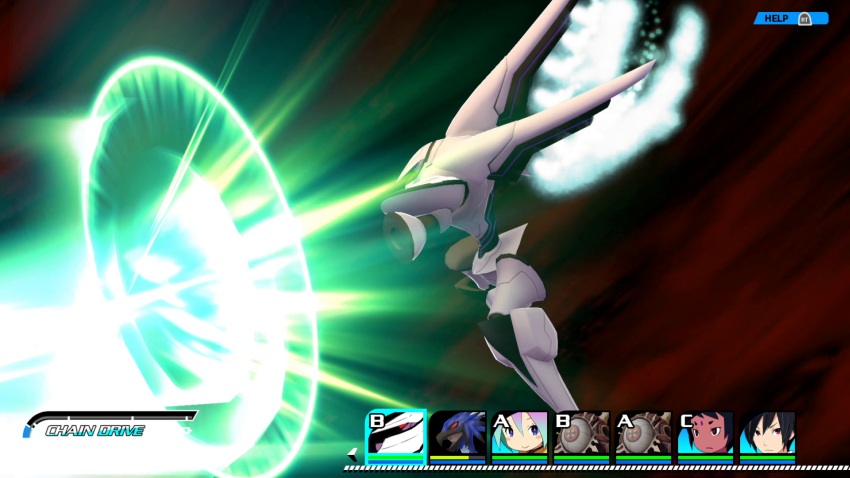
I have Team PK MECUNITE so they can spam their MAT CODE N skill, which hits every enemy on the field. They transform into a Void type, which isn’t ideal, but I don’t have time to be picky.
It still does an acceptable job. Team A(wful) ends up attracting the attention of the Water Bit, but Malefici decides to switch to magic attacks, which allows Team A(wful) to somehow survive the double teaming.
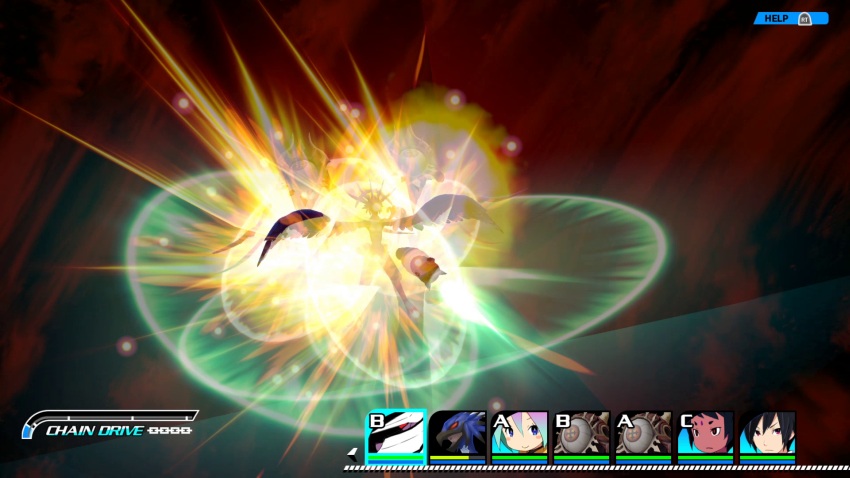
The Wind Bit is almost dead, so Team Couscous rushes to Team A(wful)’s aid and takes a chunk out of the Water Bit’s HP. Team PK’s next turn then comes around just in time to fire another MAT CODE N and wipe out both Bits at the same time. Solid teamwork, guys.
With both Bits out of the way, Team A(wful) is able to heal themselves just in time to survive another hit from Malefici. I send a fully healed Itsuki over to try and draw aggro, but Malefici isn’t having any of that and takes a second swing at Team A(wful), who manage to survive through what can only be the sheer willpower of Cmdr. K (there’s no way that they should have survived 2 physical hits from Malefici considering that he shaves off about 70% of their HP each time).
Unfortunately, Malefici is dead set on seeing Team A(wful) fall. Despite Team Couscous joining the fight, Malefici ignores both them and Itsuki and gives another two shots to Team A(wful) to finally knock the whole team out.
Itsuki uses a full revive on them to get them back up, which leaves me in a much better position than Attempt 1. At this point, everyone is fully healed, the Bits are dead, and the concentrated assault on Malefici has begun.
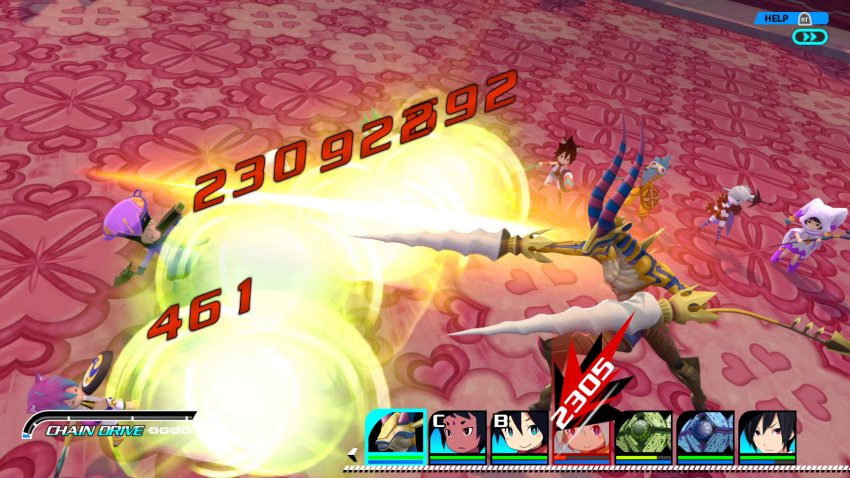
Team Psycho Knight uses their last MECUNITE turn to swing at Malefici for roughly 3000 damage. Malefici then immediately counters with an attack of his own, but because MECUNITE wears off at the start of a turn, not the end, Team PK is given a saving throw that keeps them standing (if MECUNITE's HP is reduced to 0, the form breaks and leaves all the Star Children on that team with 1HP each).
After that, nothing much else of note happens. Malefici stays focused on Team PK and manages to take them out, but Itsuki immediately revives them as Team A(wful) builds the Chain Gauge.
Once Malefici is chained, the battle is over. Everyone dumps on him with their best skills and Itsuki deals the killing blow just before Malefici can break free.
We get 1400 EXP, which is great for Itsuki but mostly a waste for the Star Children as 10 out of the 12 have already hit their Level Cap. We also get 3 Heavenly Fruit, which I believe are permanent stat increasing items. Those are going exclusively on Itsuki.
Well done, Itsuki! Now you can enshrine the Capricorn Star Offering!*Itsuki rolls up and pops that sucker in. The sealing cutscene is identical to Aries, so I won’t bother screenshotting it a second time*
With this, the number of Impurities in the Capricorn Labyrinth will decrease. Come on, Itsuki. Let’s go back to the surface.Actually, I have a feeling that these cutscenes will always be identical, except for Mana swapping in whatever Sign we are currently handling. I may just skip these in the future, unless something unique happens.