Part 3: "(I'm still the only one who can read his expressions though)"
Chapter 03: "(I'm still the only one who can read his expressions though)"(The Hamlet, Randolf 2, Nana 2)

Welcome back!
I'd recommend most of the music in general, but The Hamlet's music is both very different and very atmospheric. Give it a try if you don't usually click the links.
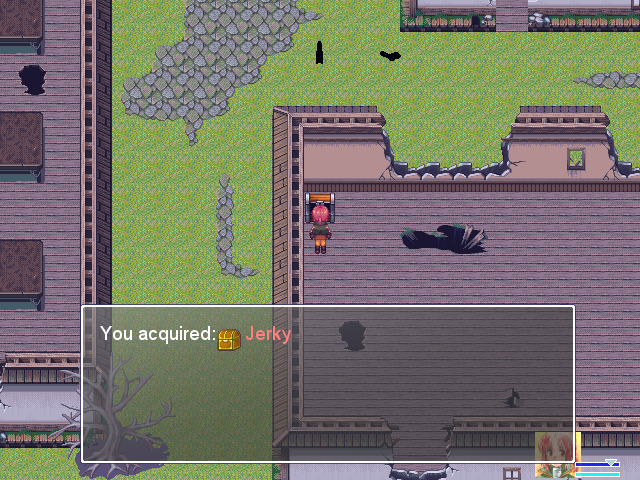
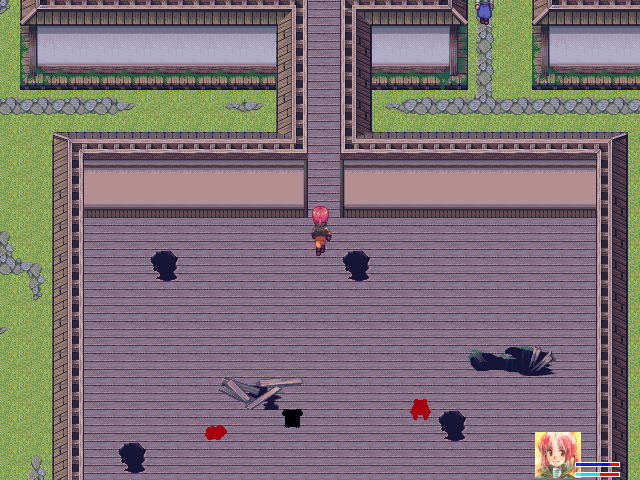
The Hamlet's first treasure chest bodes well for the area. The conspicuously empty barrel also has 15 gold.
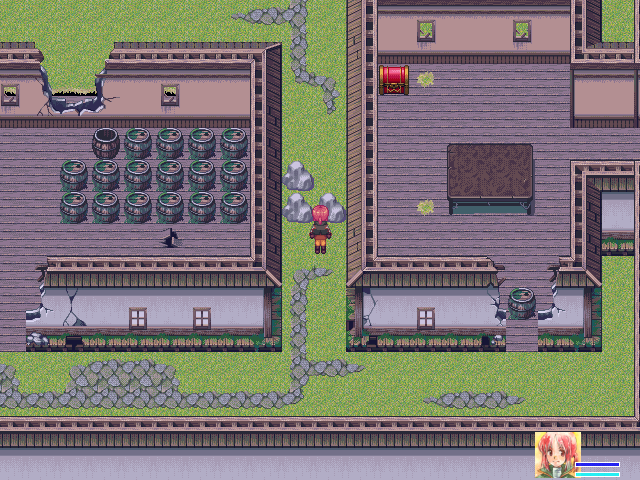
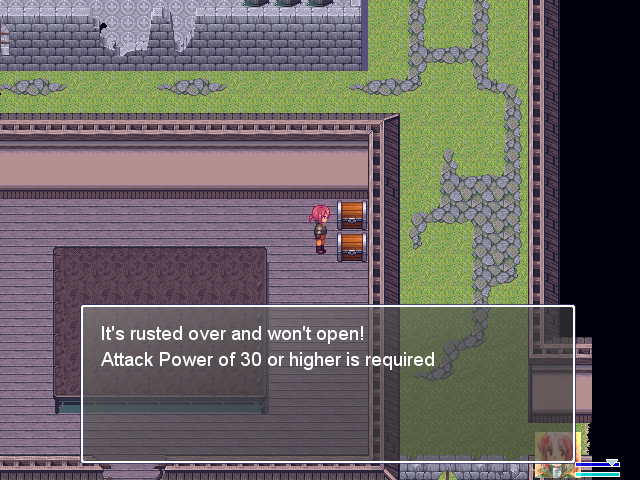
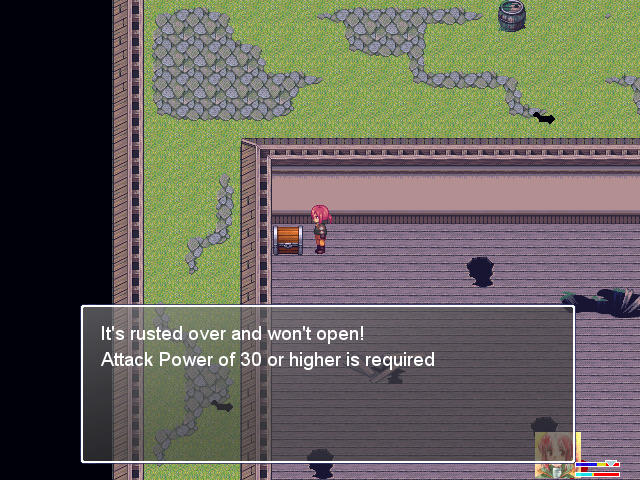
To the right of that house is this one. The barrel, when inspected, says "cannot be moved from this side," but there's an entrance from the right edge of the screen. And if the Castle's red chest is any indication, that chest has something very good! Getting there will be our first priority.
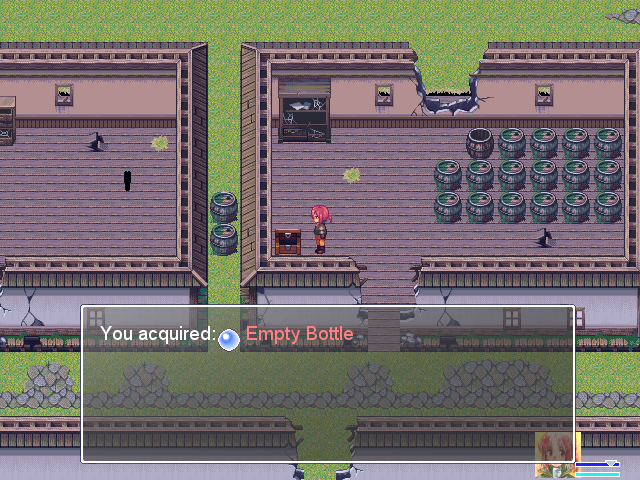
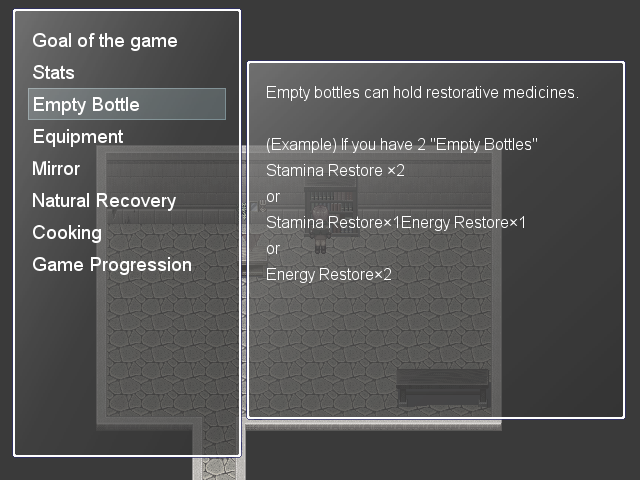
First, though, I head back and fill up the Empty Bottle. I pick up another Energy Restore; Camil almost has enough SP to use four Fire Waves in one fight with an Energy Restore equipped, so if all else fails there's the option to go nuclear, and Energy Restores do heal some HP.
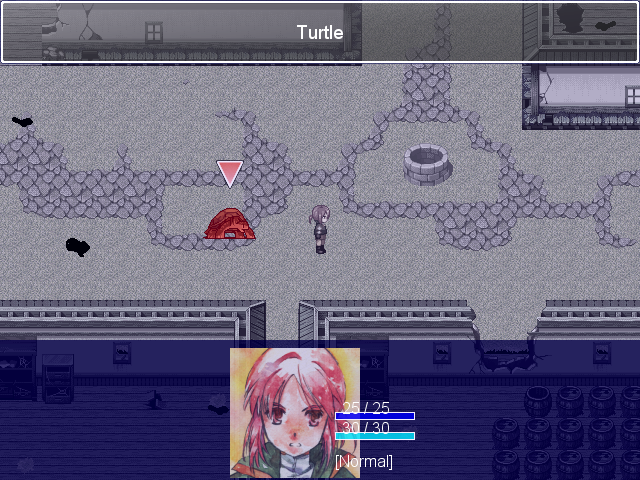
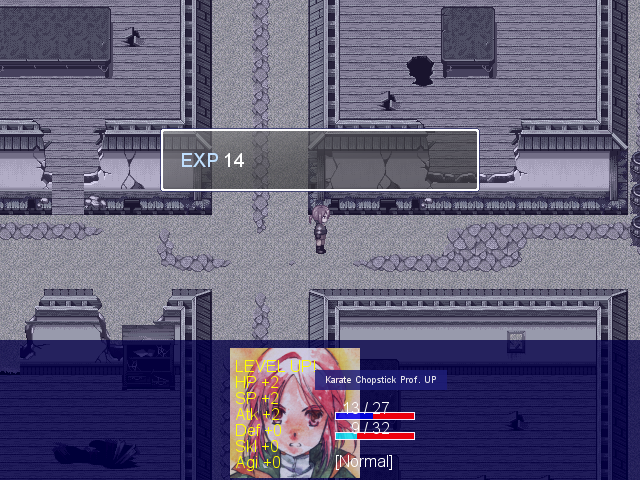
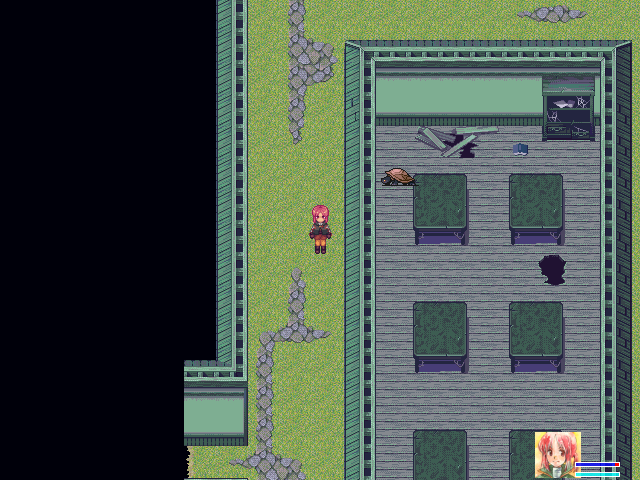
The red frogs are actually Turtles. As you might expect, they're ridiculously tough, requiring two attacks and two Fire Waves to take down. In return, they do about 4-6 damage. They give 14 experience, though, so it's a bit more worth it than the Ferocious Rats.
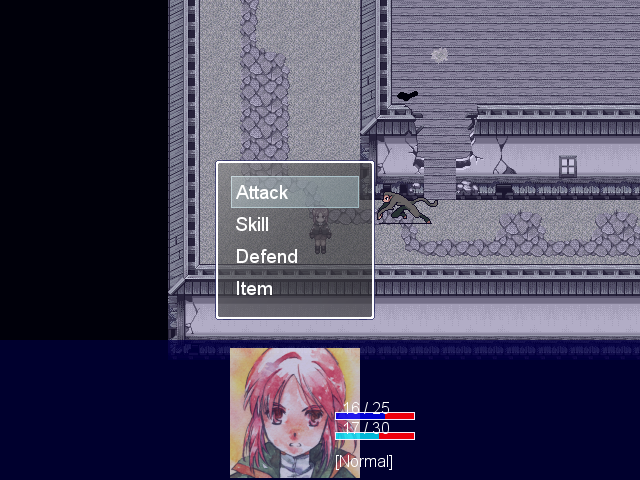
The squirrel-like things are Monkeys. They hit twice, doing about 1-3 damage per hit; this makes a high defense very important against them. One Fire Wave, one or two attacks. Their AI becomes aggressive when you're engaged in a fight with something else, and they're generally in groups on the map.
Their drop is the Monkey Tail, which gives +2 Attack and +3 Critical. It's a straight upgrade to the Glass Fragment, freeing those up for their real use.

Finally, the black frogs are other, smaller turtles. One Fire Wave, two attacks. Their drop is Turtle Blood, which gives 7 HP and 1 Defense. That helps a lot with the monkeys, especially when leveled up--and since it increases your HP so much, you get easier access to Fire Wave. I replace my Glass Fragment with it, then realize I still need to level it up to get those chests. By the time I don't, the Turtle Blood will be outdone by other, newer items. Oh well.
I've mentioned it before, but I'll say it again: you don't really try to clear random enemies in this game. Of the enemies in the Castle, I fought maybe a fourth of them, and most of them were enemies I had no choice but to fight. Items are your main source of strength, and enemies do provide drops and item level-ups, but enemies are generally strong enough that you won't make any actual progress if you try to fight everything.
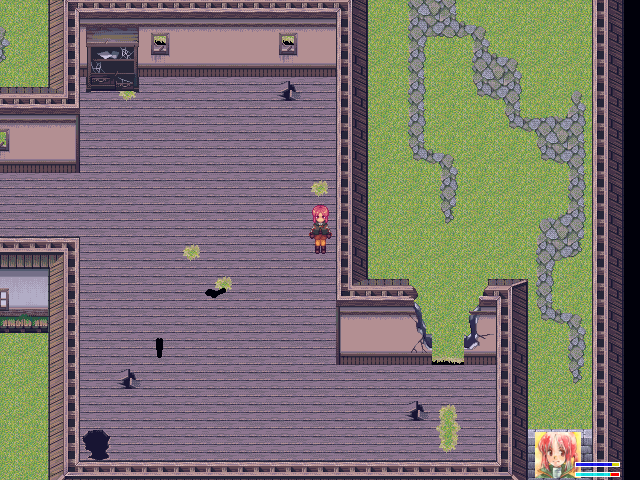
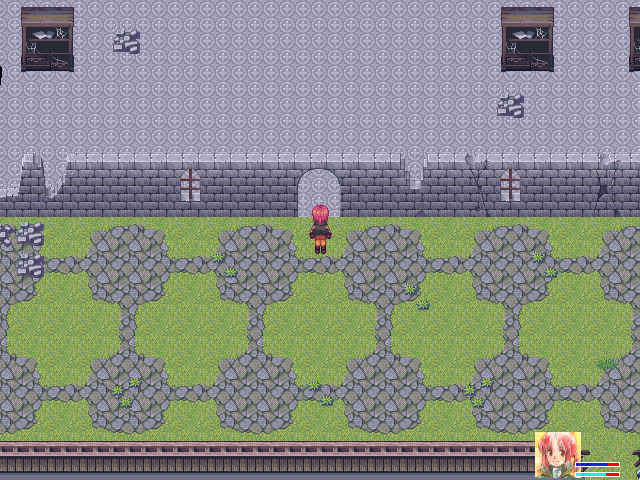
There's an exit to the north.
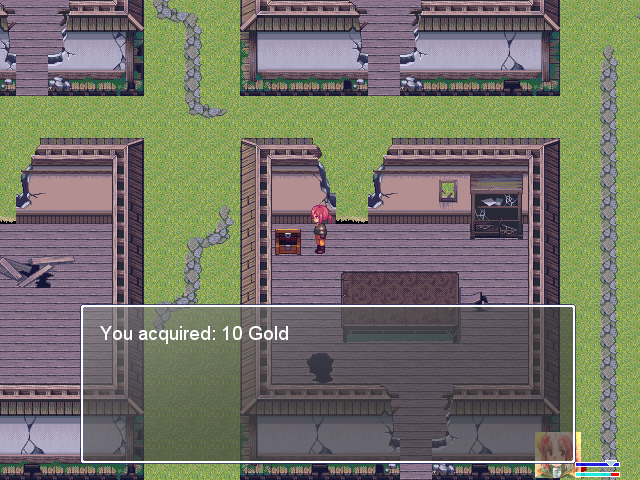
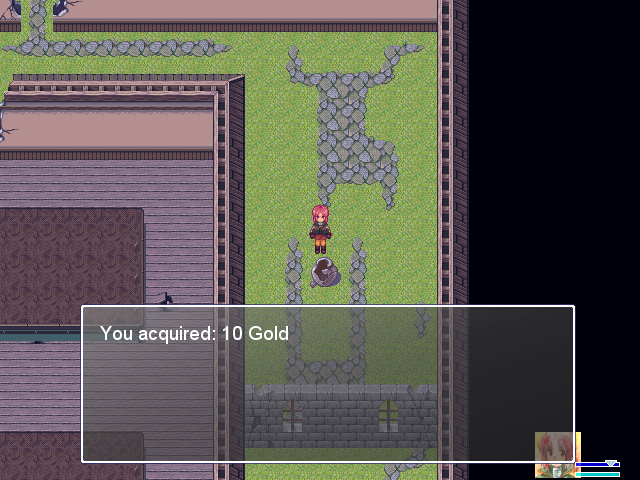
Heading to the right and then straight up through two ruined houses leads to 10 Gold. It also nearly guarantees you have to fight a big Turtle, since they also have aggressive AI.
It pays off, though.
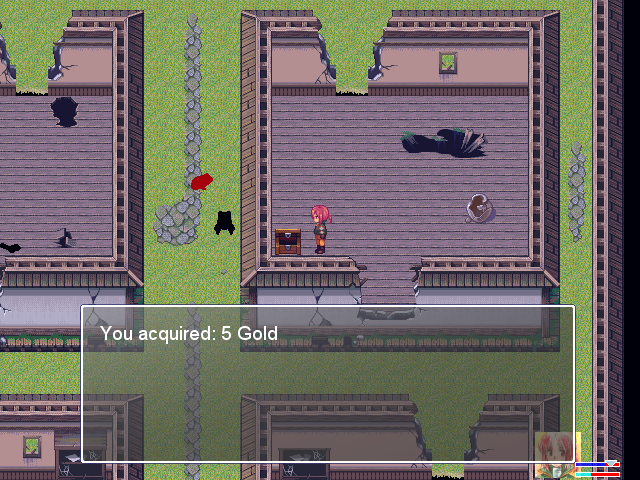
A house at the upper right corner has 5 gold.
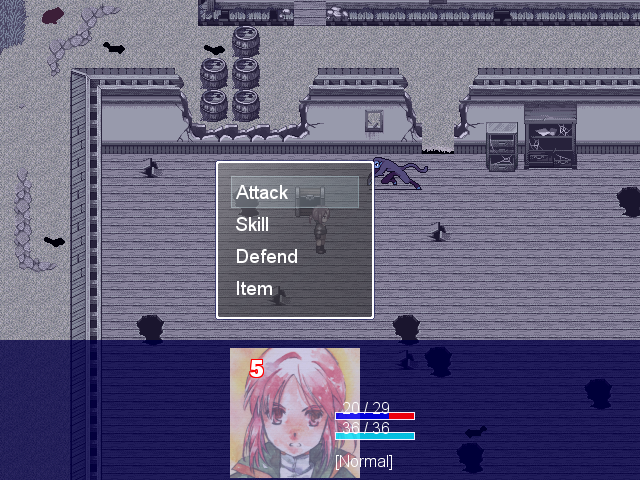
Then I get a little too clever with enemy AI and end up fighting both a Monkey and a big Turtle at the same time. I use the Energy Restore but still end up low on both HP and SP by the end.
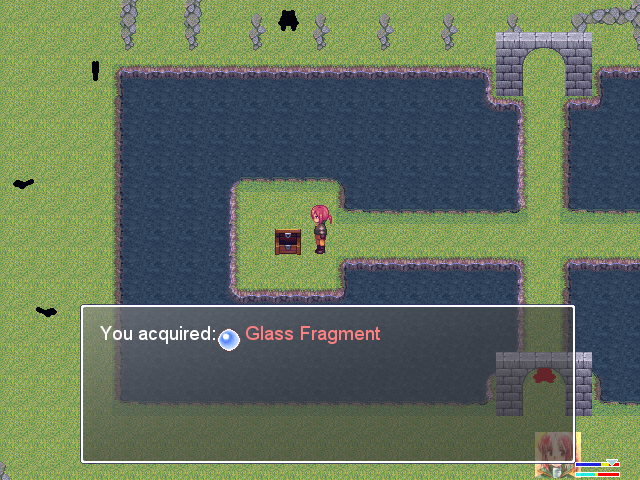
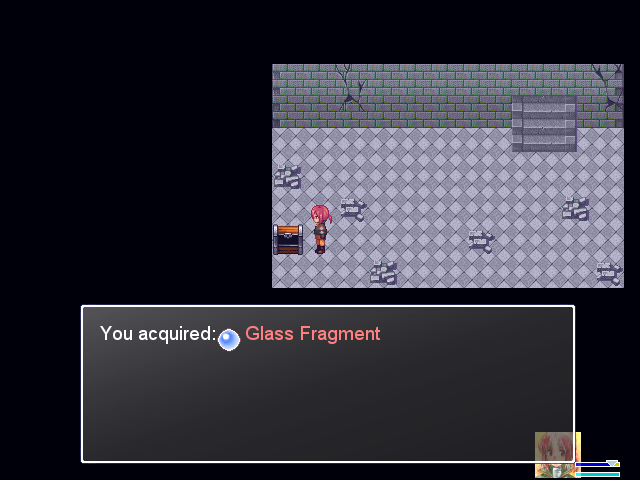
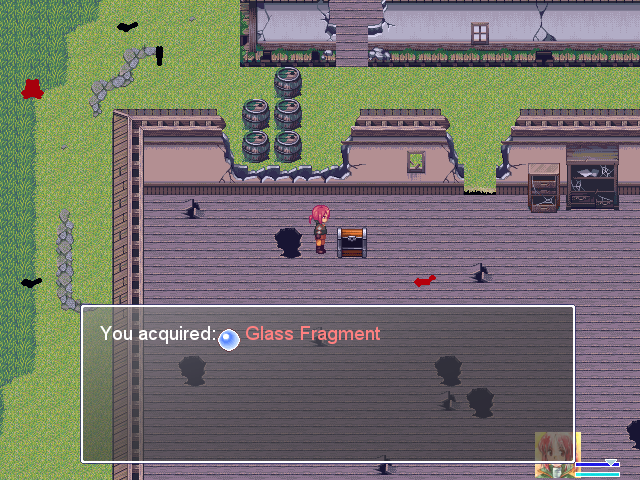
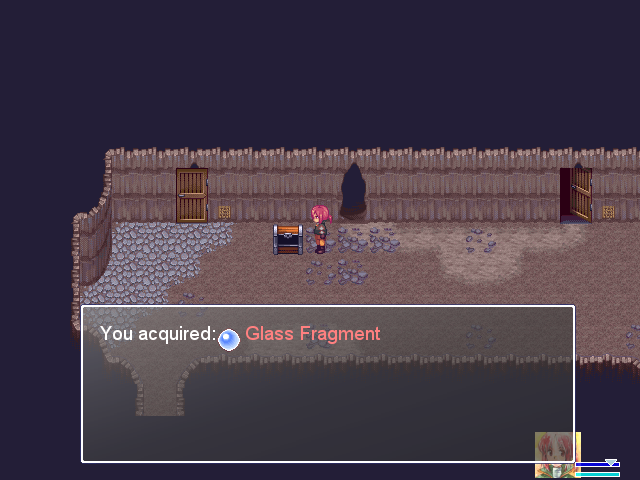
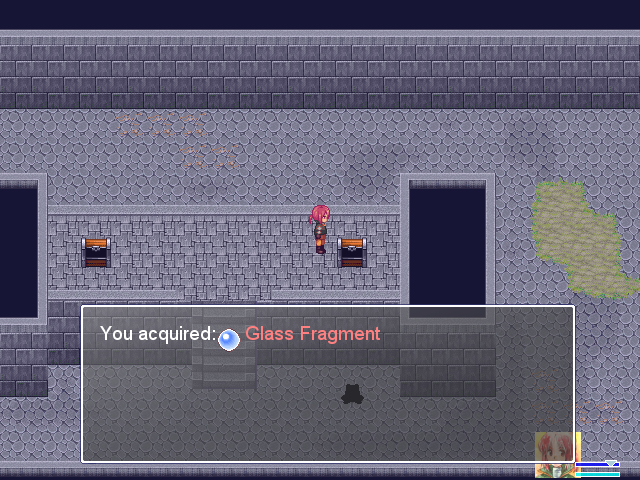
Glass Fragment #5. It's probably time to go back and exchange three for a Bottle, but I want to keep some Fragments available to open chests.
Time to head back and heal.
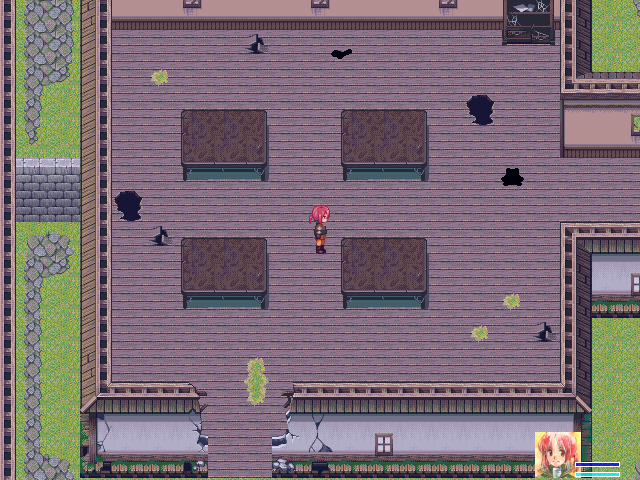
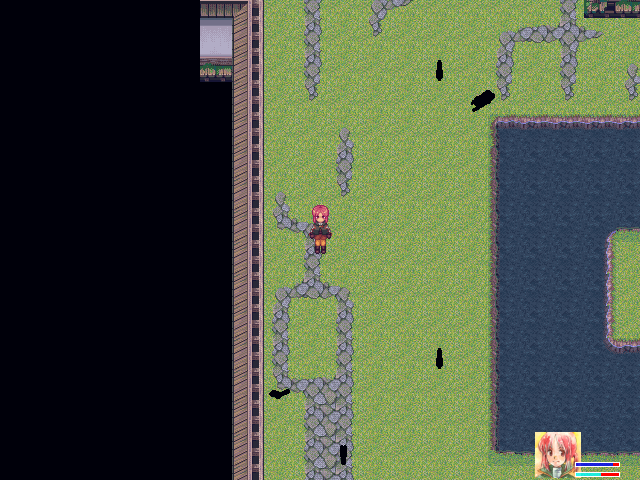
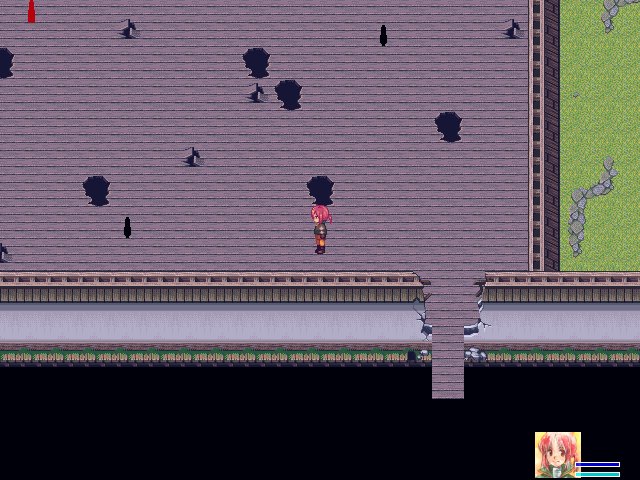
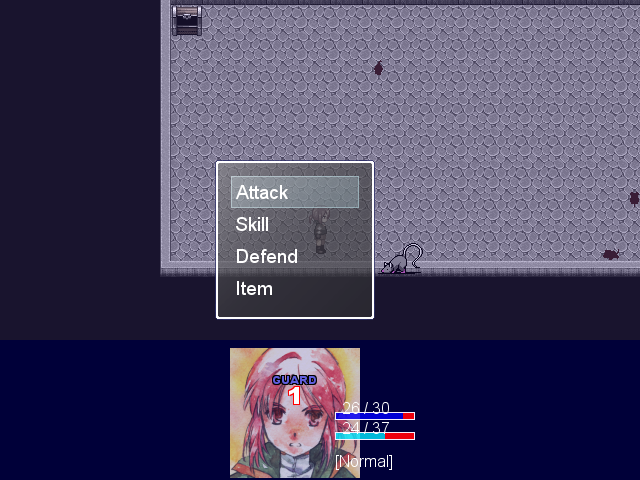
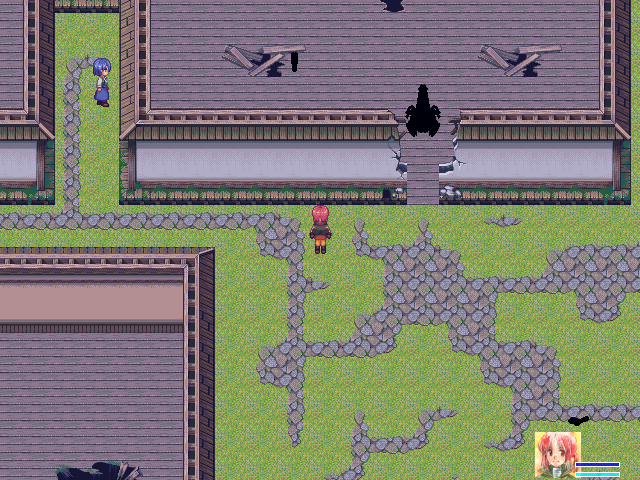
To give you a better idea of the fight range: if Camil walks at the very top of the or bottom area between the house and the wall here, and the enemy is at the opposite wall, then you won't fight. If you're any closer at all, it's a fight. If you play this game, you will live and die by your control of that range.
On the way back, I survive a two-monkey fight with 1 HP. They have four attacks between them, so random variance could have Game Over'd me right then and there. You do not have a lot of room for error if you do stupid things in this game--it's generally fair, but it has high expectations of you.
The Glass Fragment leveled up again, so between that and the level just now, Camil can generally kill a Monkey or Turtle in three attacks. If she takes two rounds of attacks from either type, it's probably within the heal-it-off yellow HP range. And since that doesn't require you to use SP, it's a net benefit!
The increase in strength just takes big Turtles down to "one attack and two Fire Waves," though, so we're not some invincible shitkicker now. Enemy groups will still ruin us.
Back to where we were. There's a right and an upward exit, but right should lead us closer to that red chest.
Remember what I said about multiple enemies? I slip past on the bottom and only fight one.
There's a big Turtle patrolling this central area, so going for either treasure chest nearly guarantees that you have to fight it. You can lure it sufficiently far away if you're very careful, but succeeding just isn't very likely when you have to loop all the way back around.
On the plus side, 6 Glass Fragments!
One room south. If I've counted correctly, there should be an exit in the lower left that'll lead to the treasure chest we want.
This should be it! And there's a set of stairs up there to explore as well--it's probably not another shortcut back, considering how close this is to the Castle's shortcut, but you never know.
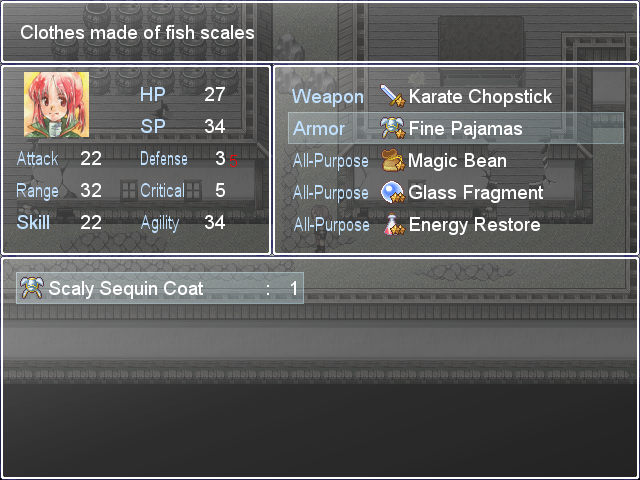
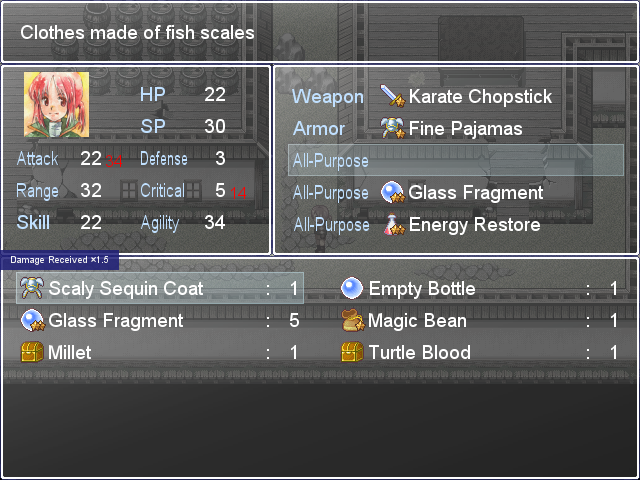
The Scaly Sequin Coat is good armor; I'll level up the Fine Pajamas first, though, since those have a good set of All-Purpose boosts. Unfortunately, the coat's All-Purpose slot version is nearly useless. Sure, about +18 attack and +15 critical (when fully leveled) are good, but "1.5x damage taken" is unjustifiable.
(The first time I played this game, I didn't buy the Fine Pajamas until much later. My first run through The Hamlet was basically a terrified dash for this chest--2-3 defense makes a pretty big difference in how much damage enemies do when one common type does multiple hits.)
You can shove the barrel blocking the southern door out of the way (so hard it flies into a wall and vanishes), opening a shortcut back to the very start.
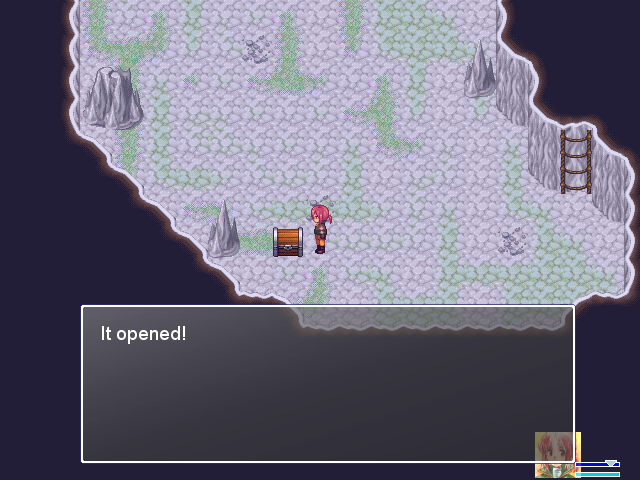
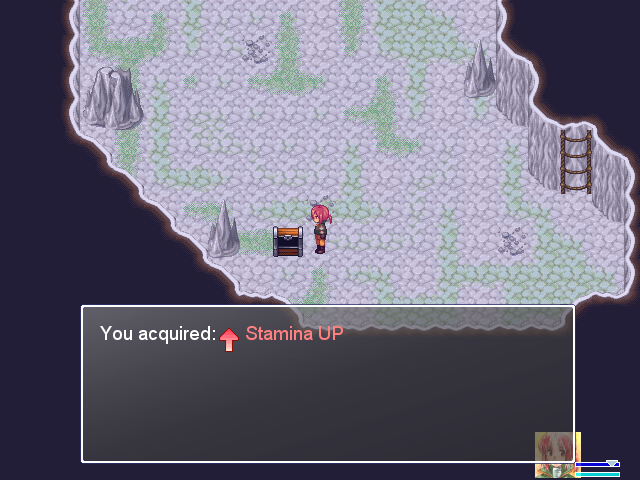
I also open the rusted chest in the Nest's shortcut basement, finding a Stamina Up. +8 HP when equipped, but more importantly, it gives +3 max HP when used. And it also gives the Exhilaration status. I have no idea what that does, though, since it goes away as soon as you use a Spring.
The Bookshelf is kind of bad about giving timely tips.
Back to The Hamlet!
The stairs from earlier just lead to this chest.
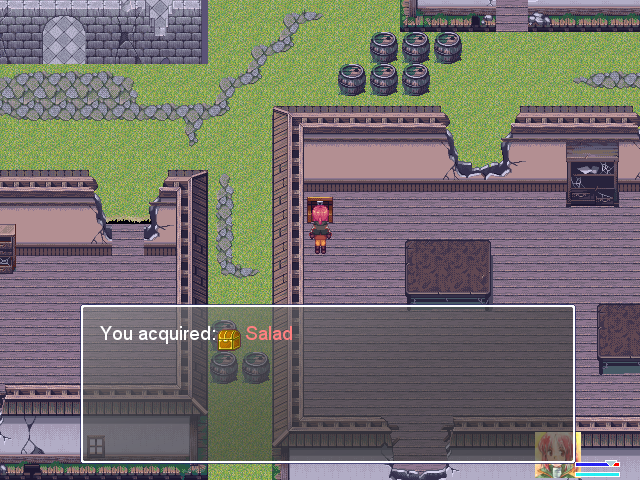
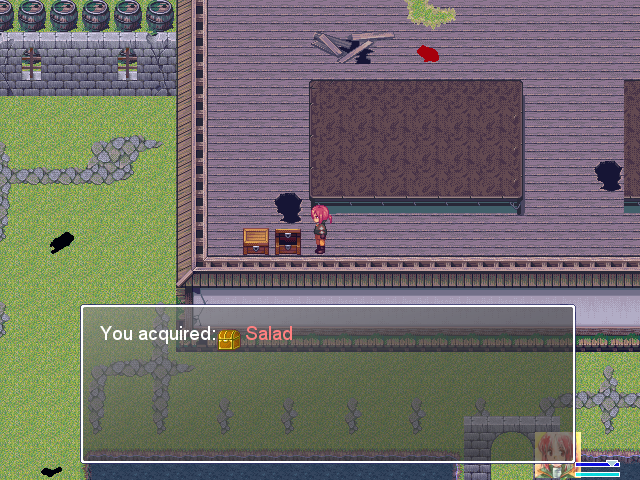
Back up the stairs. If you wind around the room, you can access this house from the bottom-right.

The Salad is a ridiculously good equippable for this point in the game. HP, SP and Defense are THE three stats Camil wants most right now.
Off to the right exit.
You can fight enemies through walls, by the way, as strange as that may seem. This has no effect on combat whatsoever.
Upwards and onwards. In the pot room, the right unbroken pot has 5 gold and the left one has 10. All of the others are empty. (I checked.)
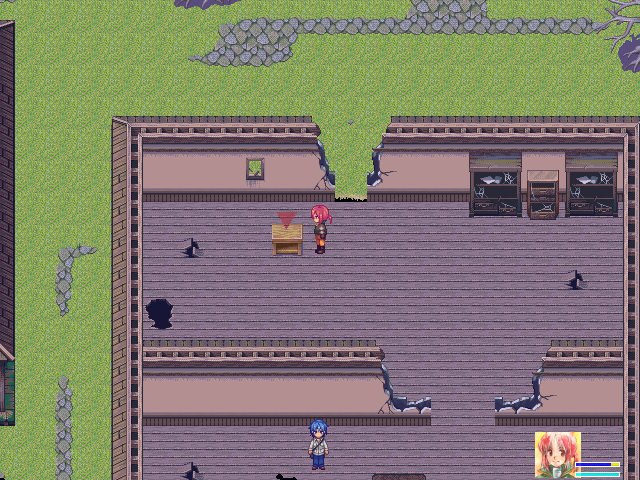
Right of the pot room is another save point, and Randolf's there as well. Why don't the Monkeys attack him? They're basically right at his heels.
I hope we're not killing his pets or something...
(Yeah, enemies just ignoring NPCs is an annoying pattern. It'll get particularly ridiculous in a moment.)
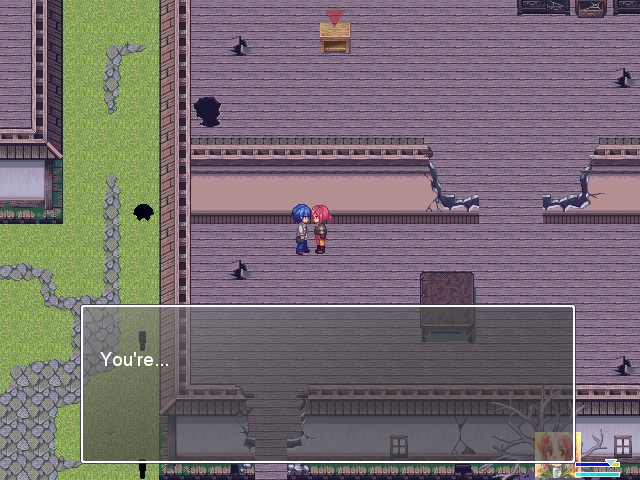
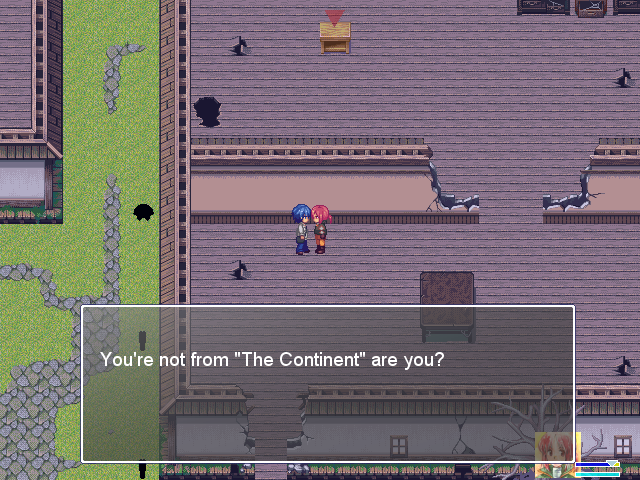
For reference, since you might forget before this comes up: the story takes place on The Island, and everyone here was originally a resident of The Continent... except Camil, it seems.
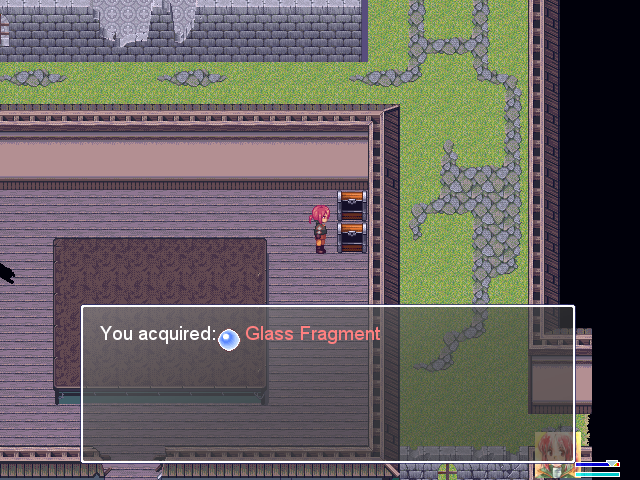
Another Glass Fragment for the pile.
At the bottom right, you can wind your way around to this treasure chest. It's only +5 HP, though--no Salad, that's for sure.
(Demon King Chronicle: Vegetarian Propaganda?)
The top right exit leads to this area. It's hard to show this in screenshots, but... Do you see that red squirrel-shaped sprite? That's another type of monkey. Normal monkeys go aggressive when you get into fights. Red monkeys race around the area at about 3x normal move speed during the pre-fight period, and they're much stronger as well.
Usual red enemy rules apply, though. They stay defeated until you leave.
At six fragments again. I should head back and make another Empty Bottle... I won't, though.
The blue monkeys (which are the red map monkeys, because that's not confusing at all) also hit twice, but they do 4-5 damage a pop. Never, ever fight two at once.
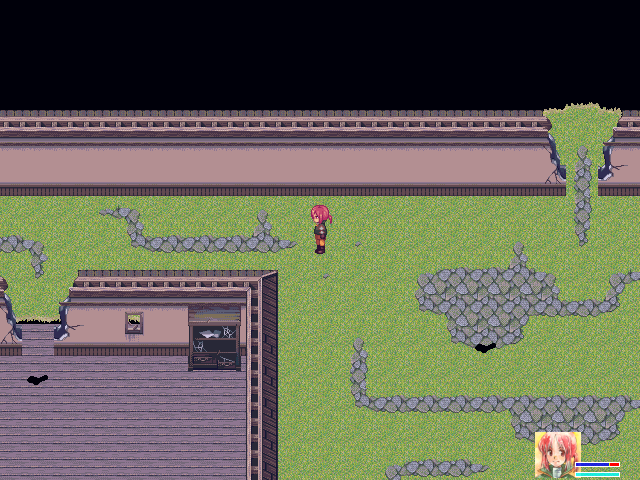
Take the top exit and you get here. Let's go in the house!
Never mind!
Stepping inside the house means you hear a squeak about once every half-second. Every time you hear a squeak, another one of those rats spawns, up to about 10 rats. The rats in that house are incredibly fast in battle and on the map and do a lot of damage.
The first time I played this game, I was convinced that if I did this JUST RIGHT, I could get to the stairs at the upper right. I was right! ...except that you need to move down to actually use the stairs, which lets a rat catch you every single time.
And then, well.
[2013/07/29 23:59] Defeated at The Hamlet by Killer Rat.
[2013/07/29 23:57] Defeated at The Hamlet by Killer Rat.
[2013/07/29 23:56] Defeated at The Hamlet by Killer Rat.
[2013/07/29 23:54] Defeated at The Hamlet by Killer Rat.
[2013/07/29 21:08] Defeated at The Hamlet by Killer Rat.
Death Rat House is going to stay there for a while, so it can be nice and therapeutic when I burn it to the ground and murder all of its furry little inhabitants.

Except Mask Guy. He may live.
Apparently the death rats are totally cool with him. TEACH US YOUR SECRETS, STRANGE MASK MAN

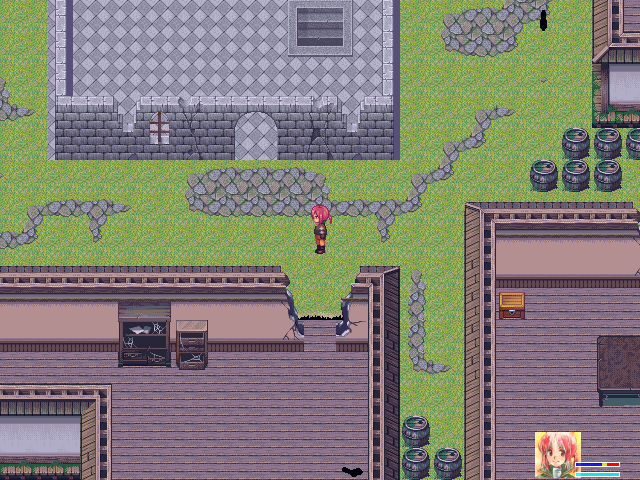
Remember what I said about enemies attacking through walls? If you go for those barrel treasures without despawning Death Rat House, you'll die. Don't.
The one at the top has 10 Gold. There's no way through the barrels to get to the lower one, though.
Off through the left exit. There's a Monkey and a red/blue (purple?) Monkey there, so lure one and then kill the other.
It contains The Hamlet's main save point. (The one before was just a mercy for the poor fools who don't know about Death Rat House.) There's also a staircase back to The Nest.
Most shortcut tunnels connect multiple areas like this, so the shortcut system is a lot more robust than you might initially suspect.
Laylaria mentions that Randolf is in his room; that replaces the mention of Nana from last time, but the rest of the conversation is the same.
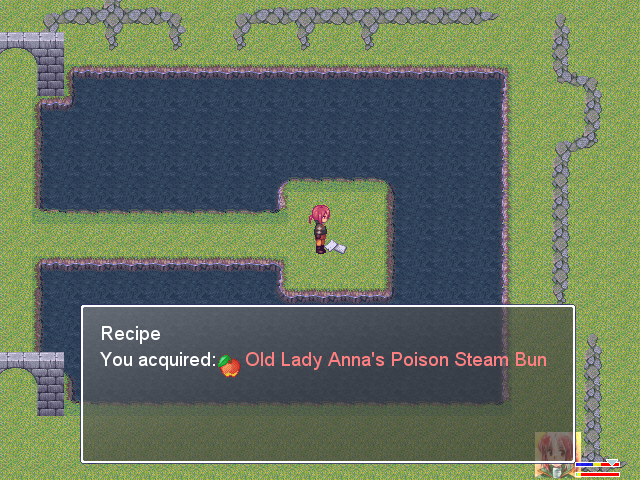
The Mole's room has this just outside. You get Glass Fragments here every so often as you progress through the game.

He's also dug a little further in.
 What. I'm busy right now. If you want something I dug up... just take it, alright?
Already did!
Back in Randolf's room. You can read the first two parts as much as you like, but trying to read the third will result in him coming in and blocking you again. (It's the same way the first time, just with the second and third parts instead.) So let's read part 2!

x month x day
He used to be such a careless boy, but now he's grown quite fearless. I wonder what changed him... Maybe his new interest in sword fighting? It's rare to see a thief swinging a sword around. The kid's still shy and afraid of strangers, so he always hides behind me when someone visits.
x month x day
I parted ways with Aeritz. Though he was scared at first, even my kid warmed up to Aeritz. He even looked a little sad when he left. (I'm still the only one who can read his expressions though) By the way, I received a book from Aeritz. He said it should be right up my alley. At least I'll have a new story to read to the kid. I'll read it to him later.
P.S.
I just wrote about a book, but upon inspection it's actually not even a full book. There's only three chapters to it. I think he just pawned some of his crap off on me...
("careless" at the top probably meant "apathetic," by the way. Translation is a little sketchy sometimes and I'm doing exact transcriptions.)

Where is your character portrait, seriously?
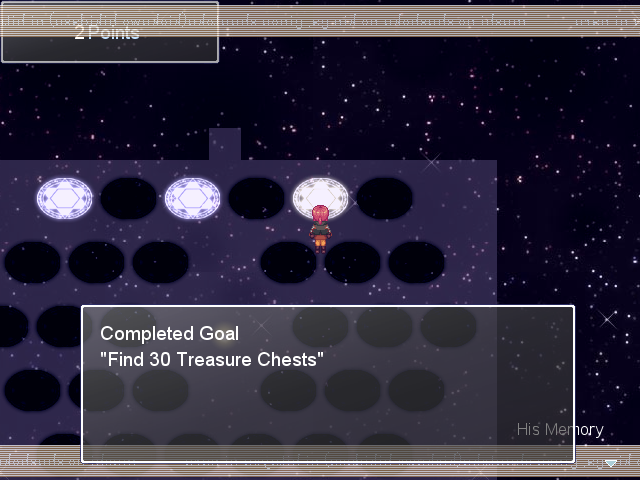
Died to a red monkey and two normal monkeys right after coming out of the shortcut. This time, I decide to head back to His Memory to pick up a boost first.
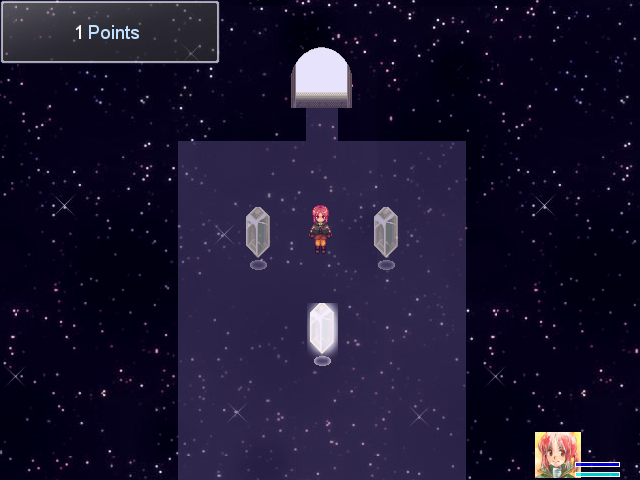
Of the first three crystals, the options are +4 HP, +6 SP, or +3% Critical rate. I go with +Critical, since that boost should matter most in the long run. This also unlocks the next area of His Memory.

The crystals here take 100 gold. All crystals take one Memory point, though, so you should generally reserve the points for later rooms instead of clearing out earlier ones. On the left is an Agility Up for Camil and two red crystals that increase the max limit on HP regeneration and SP regeneration after battles. Those two are incredibly useful and should be your priority, ESPECIALLY the SP one.
The right crystals are currently unusable.
This is just south of the shortcut.
The other chest has 5 Gold. There's also a pot with 5 gold in a house to the bottom-right. The exit's through the south.
The next area.
The house has another Salad. Two Salads makes you pretty invincible against single enemies at this point, especially with the Scaly Sequin Coat.
(The outfit descriptions are only going to get weirder from here.)
The other one has 10 gold. It's a dead end from there.

On the way out, I also get the drop from the big Turtle.
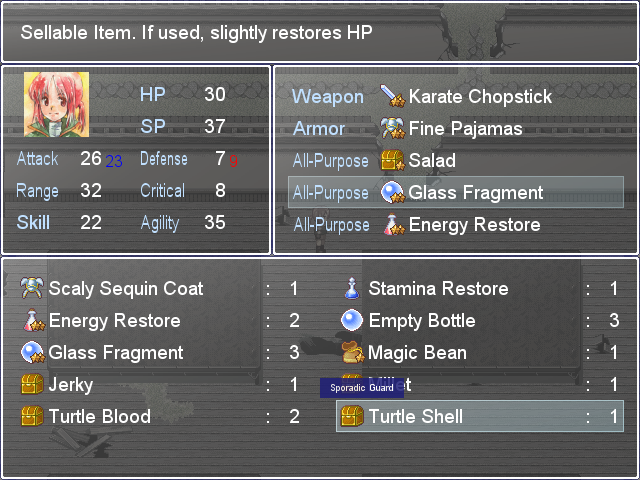
Sporadic Guard is one of the better abilities. It works a lot like the Extra Attack+1 from the Karate Chopstick--there's a chance of reduced damage, a full 50%, every time you're hit. It's incredibly useful. It's the same as the defend command, so the two can't work together.
More importantly, levelling up Camil and her items has brought her up to 26 attack with one Glass Fragment, and the Glass Fragments give 3 apiece. That's enough to open up the rusted chests so far!
...well, that's a little underwhelming.
Back in the Castle, there was also a room of Ferocious Rats that I didn't bother with before. It's fairly easy now, since Camil kills them in three hits and they only do 3 damage.
(I still fight them one-on-one. Good habits.)
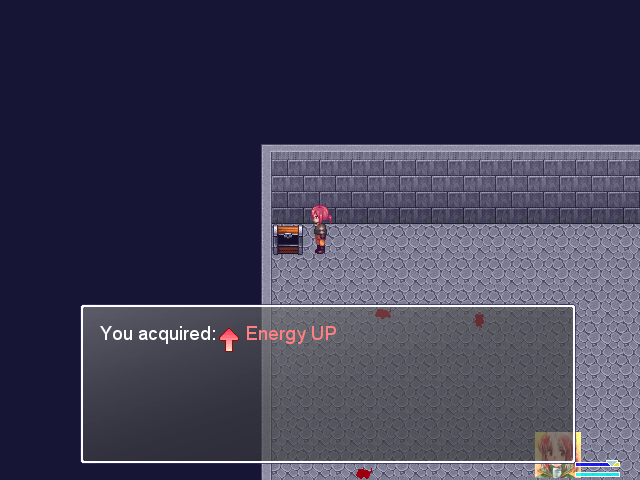
The Energy UP gives +2 max SP when used and +6 max SP when equipped. I don't use it yet.
Sporadic Guard in action. It activates pretty often, about 25%, and damage rounds down. Even so, you only have three slots; you don't keep a Sporadic Guard item on as often as you'd think.
Back to the Castle shortcut. Two screens north into the Hamlet gets you here.
Between all of the big Turtles and this chest requirement, it's best not to come here too early. The chest is just another Glass Fragment.
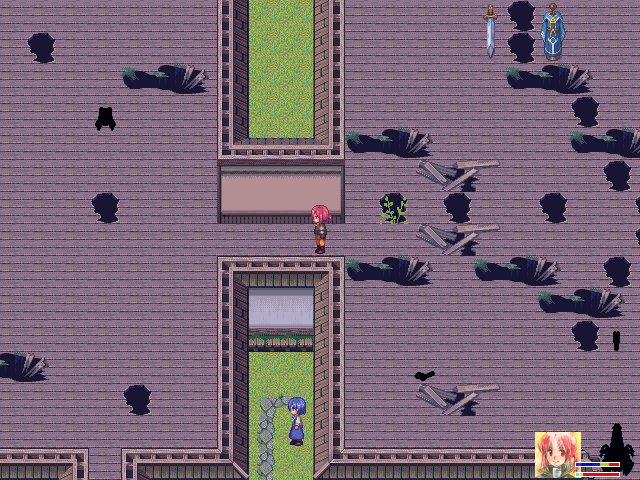
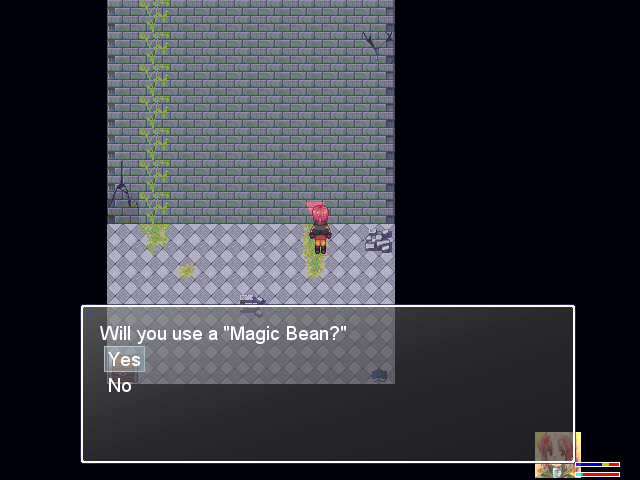
You can go down the hole with the vines. Nana's visible here, but we can't get to her at the moment.
If you didn't use the Magic Bean on the first available spot, this is a better choice. It takes a little time to grow, but the reward is very, very good.
The chest is a Glass Fragment.
A very ill-tempered person normally, he is renowned as a soldier who has a strict sense of duty. He was originally taken in and owes his current position to Zelphie, who does not discriminate soldiers by their upbringing or ancestry. He is well trusted by his men.
If you head back to the area with the four-way crossroads, there's an exit to the right.
The hole leads to another little room with 10 gold in a chest.

The Demon King's Castle makes for a pretty great PSA: "There are hidden walls and holes, these are the way they are hidden, this is how to open them." There's never really a dirty trick with this game's hidden chests.
There's a Glass Fragment in a chest, and:
One of Zelphie's right hand men, he is well known for his leadership and skill and commanding men into battle. He originally met Zelphie as an enemy general on opposing sides of the battlefield, but was recruited by Zelphie afterwards.
The south exit connects to the area just above the pot room and the pre-Death Rat House save point.
The Fine Pajamas reach max level around this point, so I swap them for the Scaly Sequin Coat and replace the Energy Restore witxh them. +4 Defense, +6 Crit, +8 Agility! Pretty good. 16 Defense is way more than you need at this point; even red Monkeys only do about 1-2 damage per hit now.
5 Empty Bottles in total now. I go with 5 Stamina Restores and 2 Energy Restores; I don't have an Energy Restore equipped any longer, so they're a much worse deal.
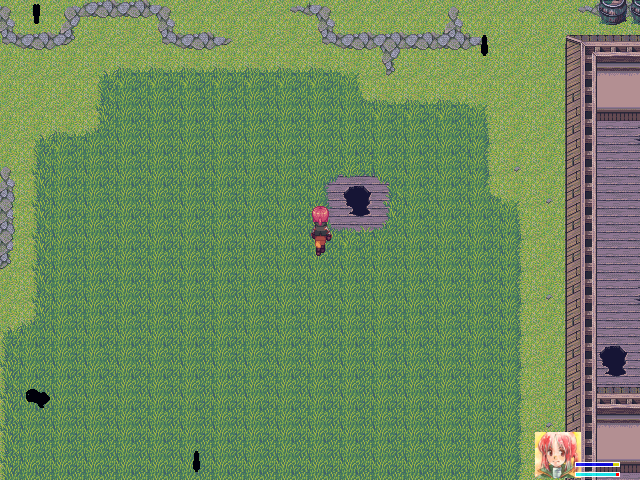
The right side of the house where we planted the Magic Bean is accessable from the left exit of the Hamlet's shortcut.
That Scorpion thing is a boss, and it will murder you. It will still murder you in about two or three dungeons, but you'll have a fighting chance then. The armor behind it is very good caster gear.
+1 Glass Fragment.
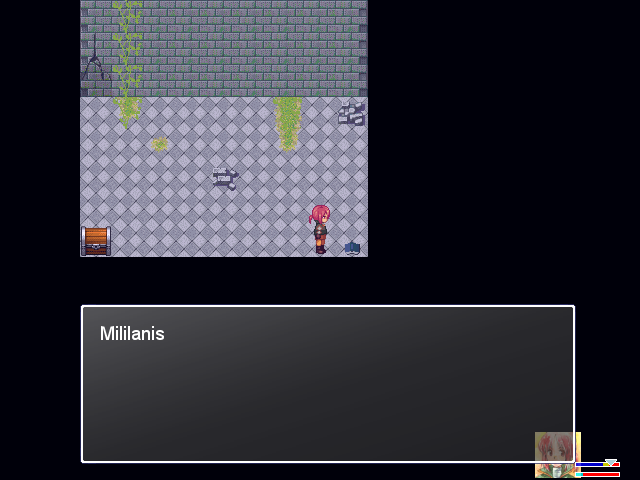
If you talk to her again:
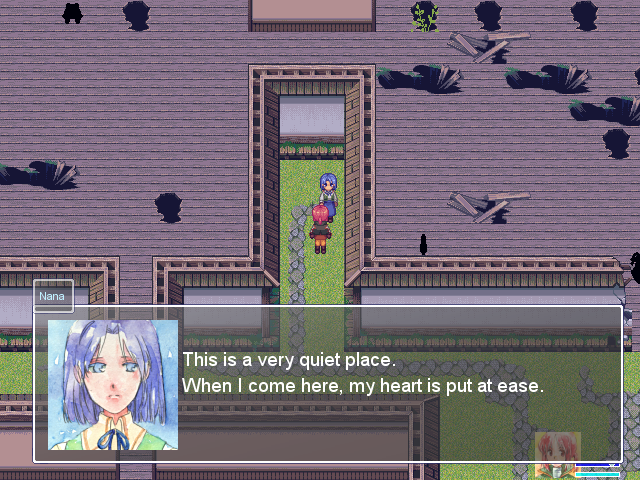
 It really is quiet here... I wonder where all the people went.
Back in The Nest:
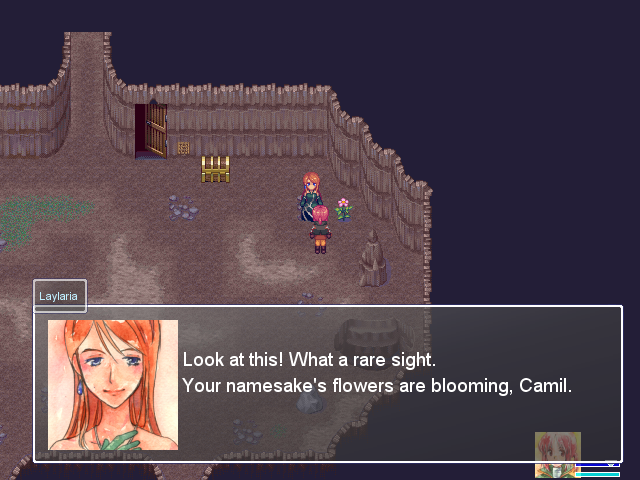
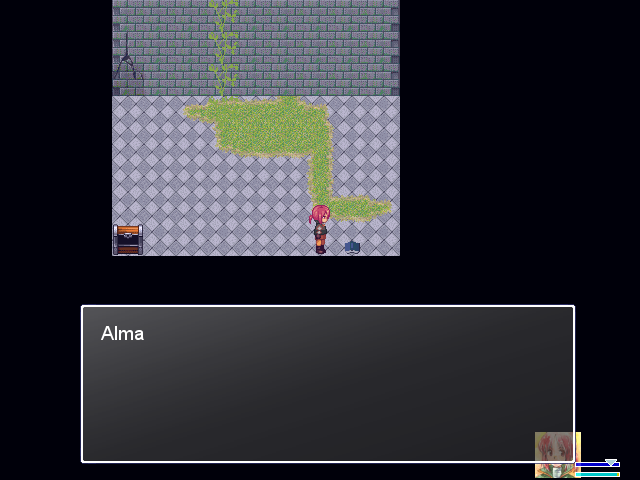
 I wonder how many years it's been since I've seen flowers like this.
Camellia flowers are indeed about that shade, so that's probably what she means.
And then she mentions that Nana's in her room.
The bookshelf's updated again:
And we have another achievement:
I sell items to get the 100 gold for HP Regeneration Up, but the increase in cost with each crystal purchased means I can't get SP Regeneration Up yet.
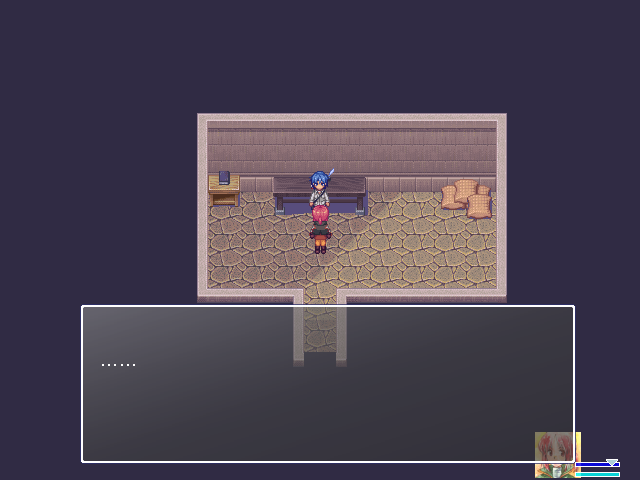
Nana has more dialogue, and Nana's Story 2 is available now.
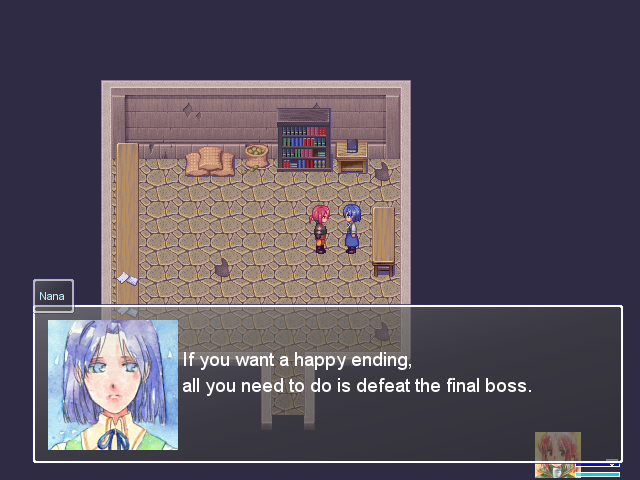 Don't you think it'd be great if it really worked like that?
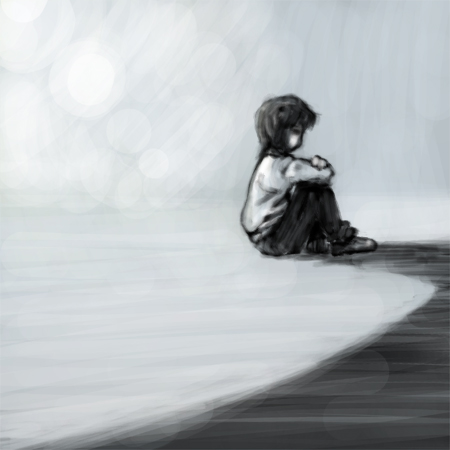
When the girl waved, the boy responded with a smile. The girl took out the "Demon King Chronicle." It was the tale of an adventurer climbing to the top of a very tall tower.
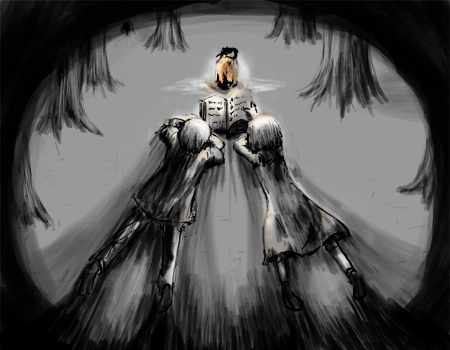
They really loved this story, and always read it together. Many monsters stood in the way of the adventurer, but he pressed on, paying no heed to danger. And when he finally reached the top, the adventurer prayed to the spirit of a beautiful woman, telling her his greatest desire.
..... Well then, what should we play today?
The girl remembered her grandfather. Her strict but kind grandfather who she loves so dearly. Even now, her grandfather was battling with his illness. That's when both of them decided they would climb the tower. They would both become the hero Sera, and tell their wish to the spirit at the top of the tower. The two of them headed to the tower standing over the girl's house.

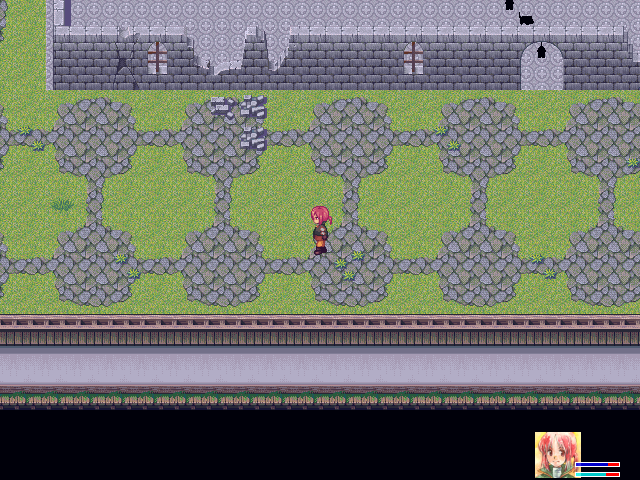
Finally, the northern exit just above The Hamlet's shortcut area leads to a tunnel.

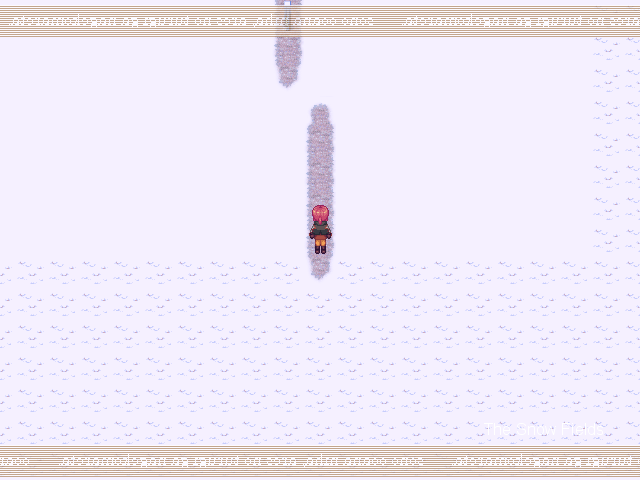
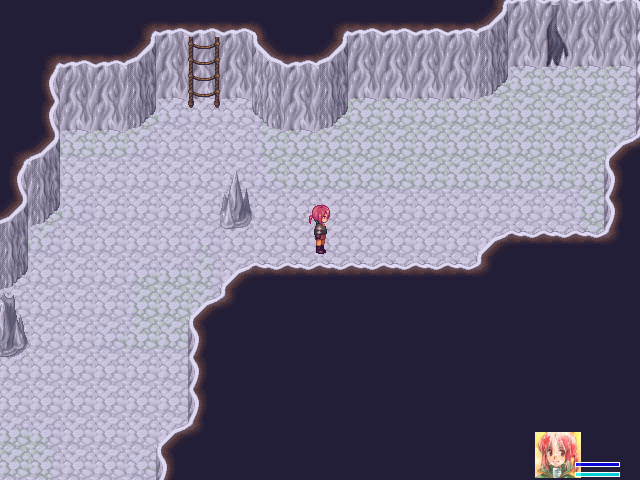
This is The Snow Fields, the third dungeon. We'll get to that next time!