Part 5: "Finally, the boy stopped moving."
Chapter 05: "Finally, the boy stopped moving."(The Snow Field, Aaron Aaron 1, Nana 3]
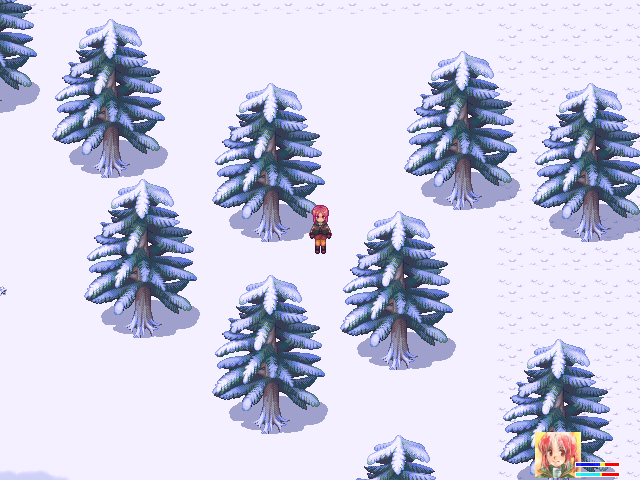
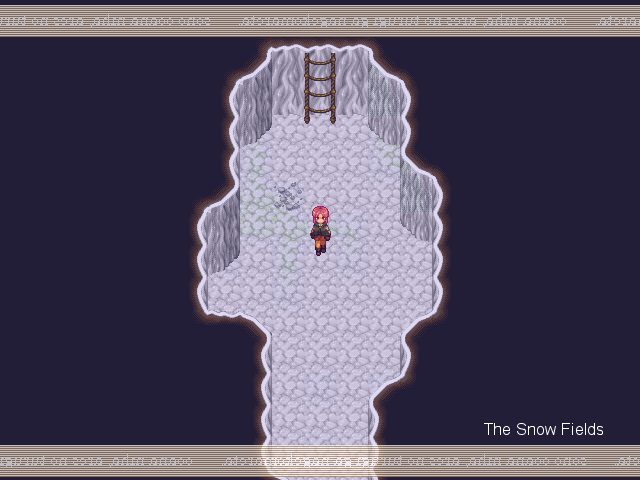
Welcome back! This time, I'm out of distractions--I've got to do The Snow Fields. It's going to be a long one.
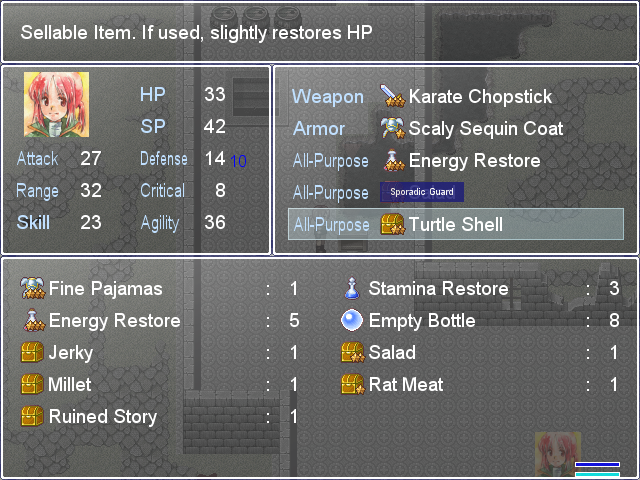
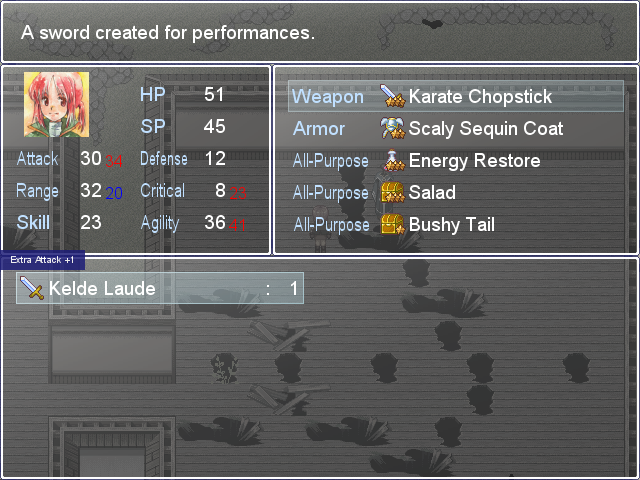
The first step is considering my equipment. There's only one item available for my weapon slot anyway, and the Scaly Sequin Coat is strictly better than the Fine Pajamas, so that's settled. I'm not grinding 350 or 700 for the better weapon or armor, either. There's no real point in trying to gear for attack at this point; I'm doing pretty low damage. Fire Wave or bust.
If I'd thought of it, I probably would have switched the Turtle Shell for the Bushy Tail. Yes, Sporadic Guard is fantastically useful... But +12 max HP does a lot of things in this situation. One, it's another way to make it harder to die, obviously. There's no multi-hitting enemies here, so they're roughly equal in terms of their durability boost. Three, it makes the HP threshold to use Fire Wave easier to meet. And four, in a related matter, it increases the odds that I'll start battles below 90%--sometimes being able to go all-out instead of defending first turn really makes a difference.
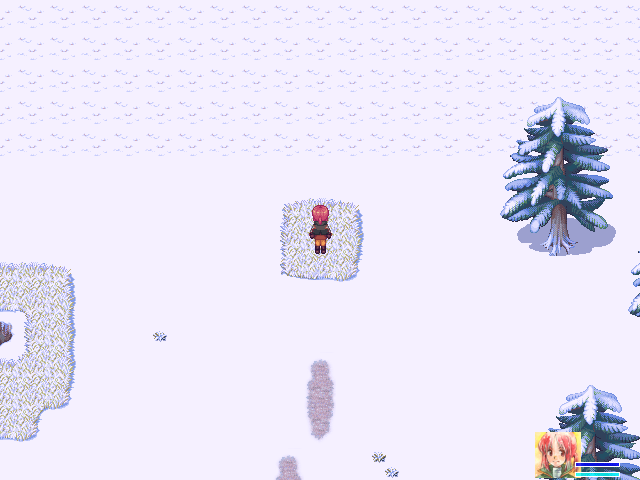
I go and check on the Magic Bean planted in the third update, and get a level up on the way--+3 HP/+2 SP/+3 Attack.
No such luck. No excuse to procrastinate any longer. It's do-and-die time.
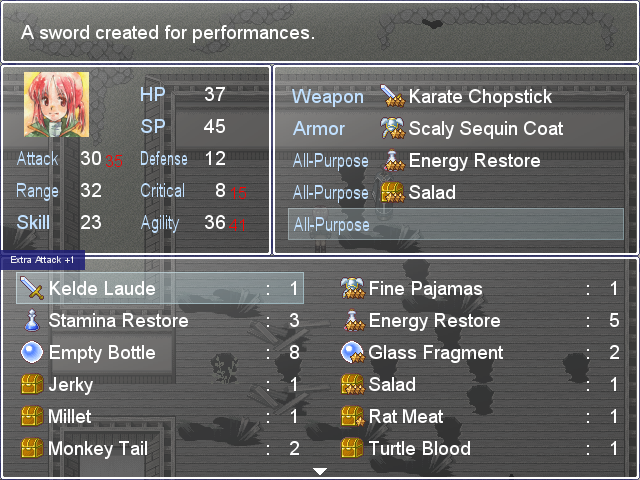
The first fight, the one I mentioned usually being all-but-mandatory, gives me a Bushy Tail, so I replace the Turtle Shell. Then I run back and save.

I could grind on the first screen, yes, but there's not really a point. It's not going to make me much stronger. While the red/green/Christmas Mutts have an amazing drop*, it's not relevant to the problems I'm facing at the moment. I'm pushing onward.
(*The Nails item gives +2 HP and +5 Attack, but more importantly, it grants the Fast Attack property, which is either a guarantee that the user goes first a bonus big enough that they nearly always do. It's a whole-game sort of property, and it's the only All-Purpose with an attack boost that high so far.)
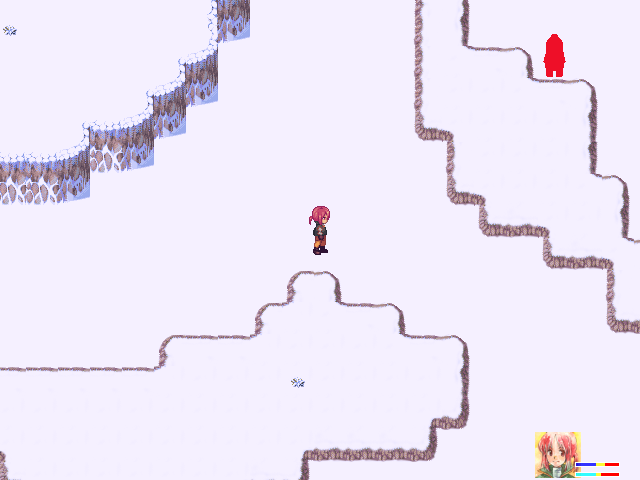
That said, this area isn't TOO big. Most of the real tension, the first time around, is not knowing how much longer you have to go. That makes it scary.
In the process, I discover the first screen can very narrowly be done without a fight. Huh. Figure that.
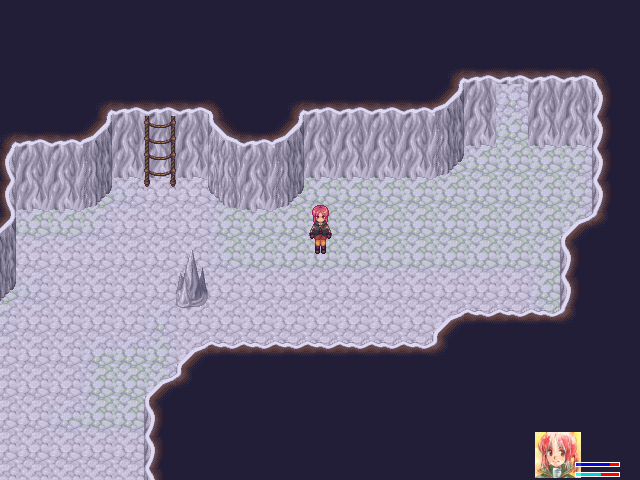
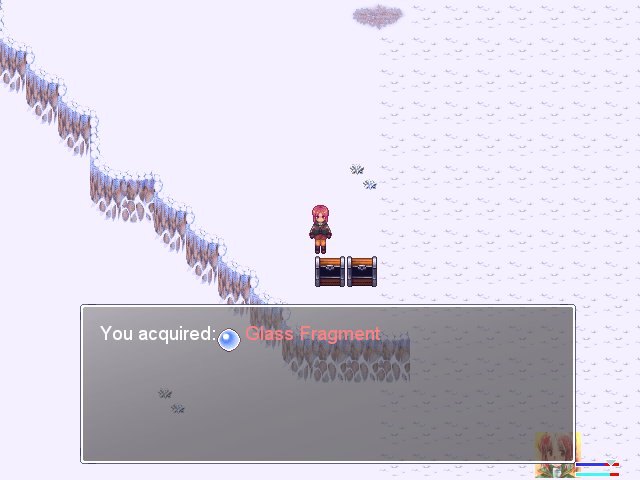
Then I misremember. The second screen has no exit onward from the top branch--there's no reason not to go down past the ledge if you've already got the Glass Fragment from the top. I press onward until I lose resources, though, since I'll still learn from my death.
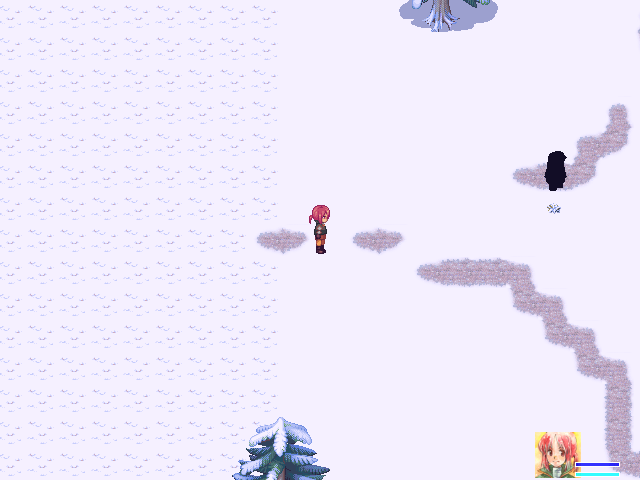
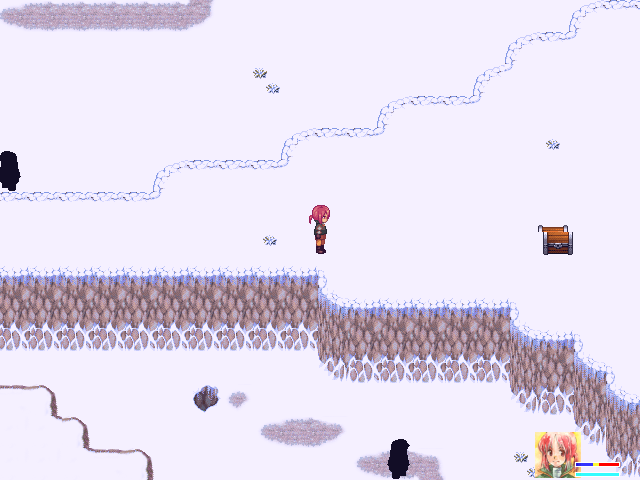
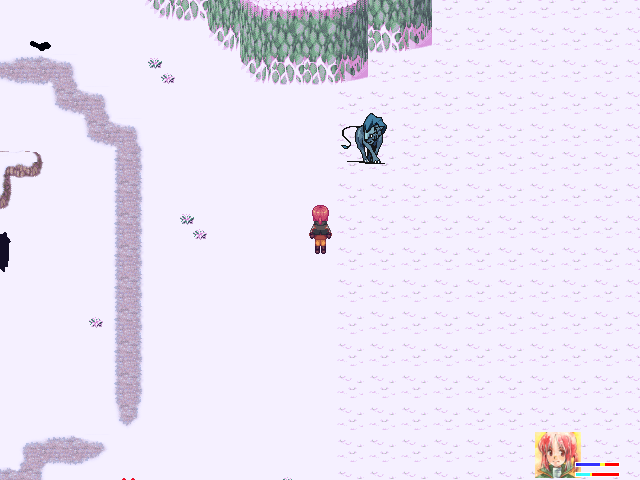
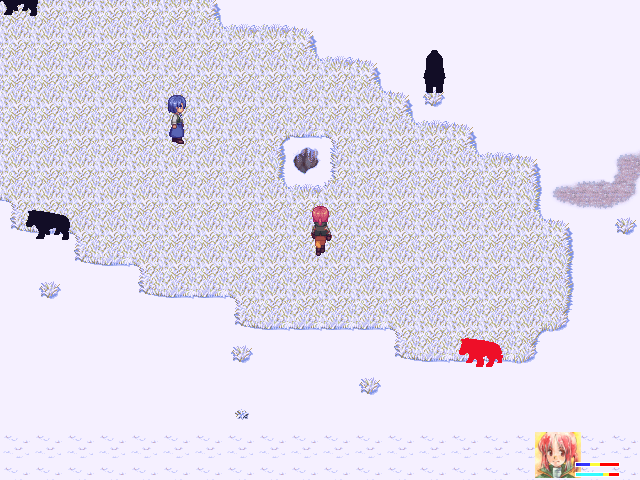
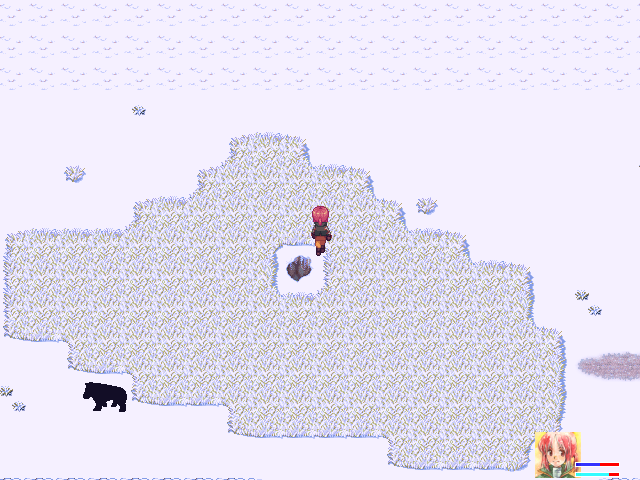
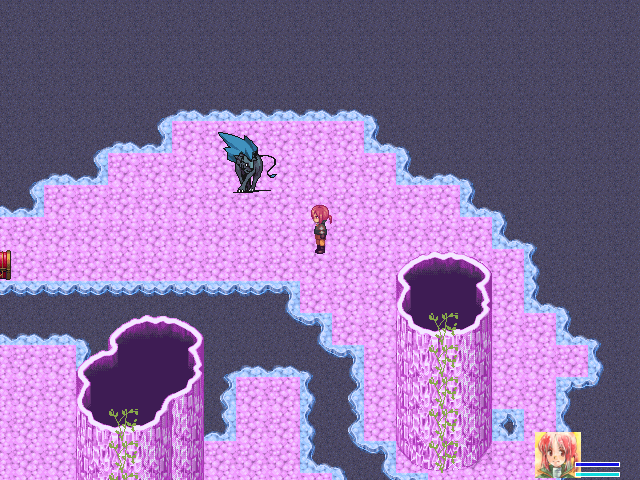
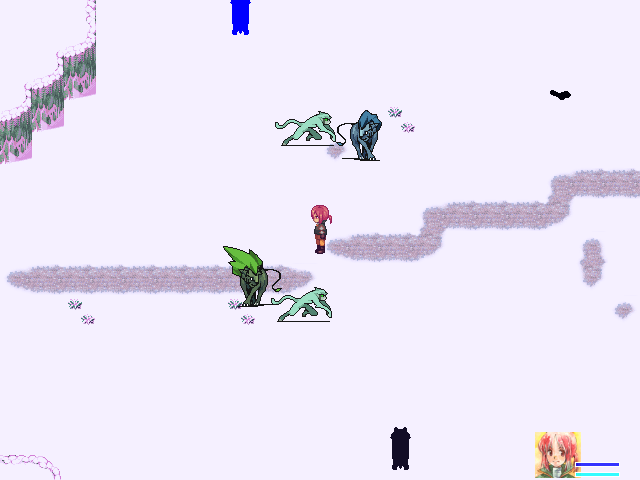
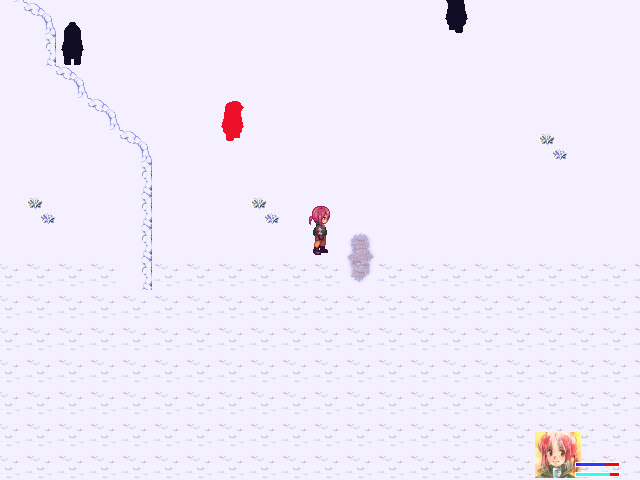
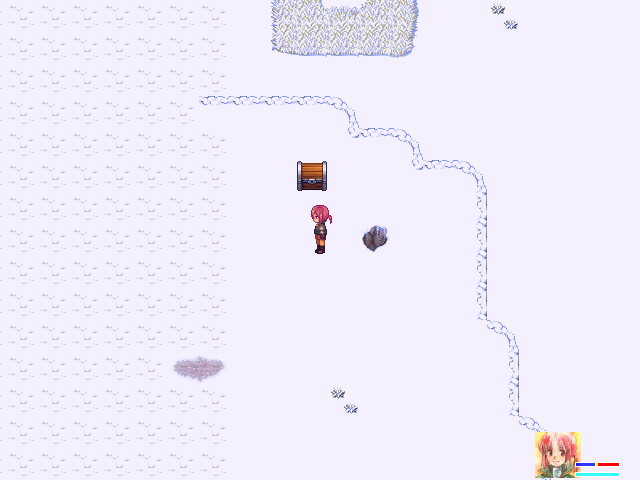
Screenshot taken immediately after entering the third screen. Yes, that dog did spawn basically right on top of my encounter radius.
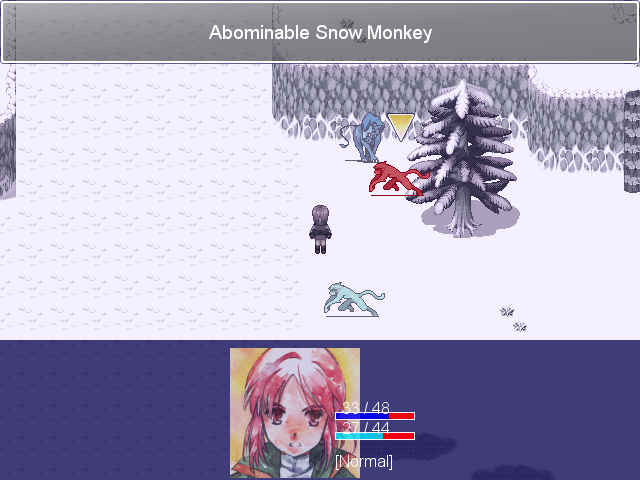
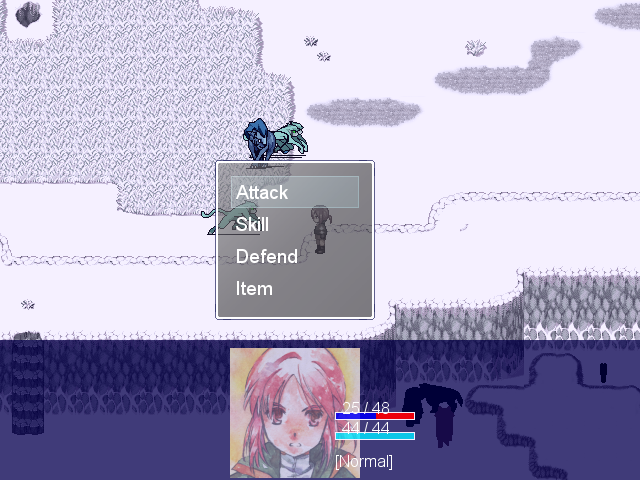
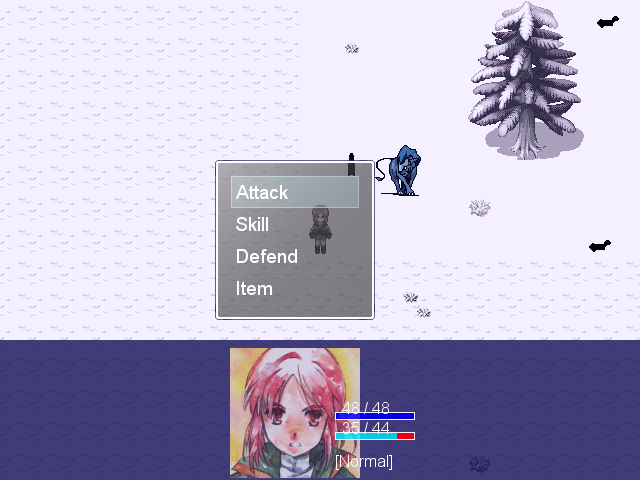
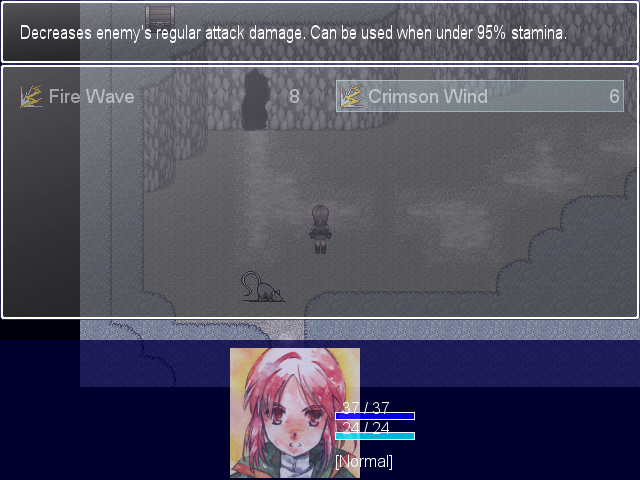
Encounter talk time!
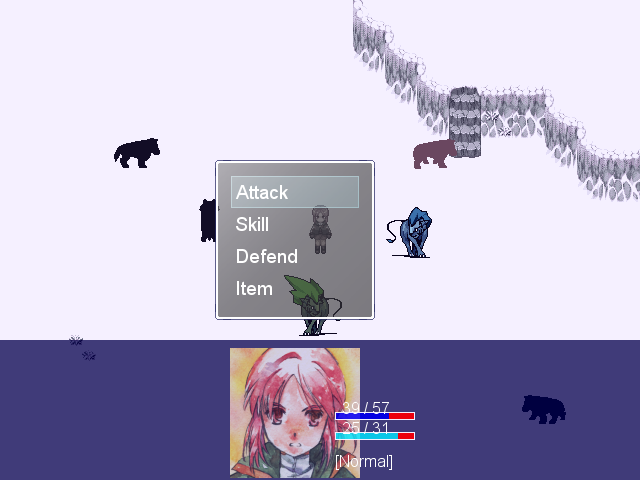
At this point, one Fire Wave that hits directly will take out an ASM, or one indirect and one attack. If I hit the higher one, it'll hit all three. If I hit the Mutt or the lower one, it'll only hit the closer two. A Mutt takes two direct Fire Waves or one indirect, one direct and one attack. I have one (1) Stamina Restore and four (4) Energy Restores. What is the optimal course of action?
Hell if I know, but I Fire Wave the top, kill the bottom, and then Fire Wave + attack to kill the Mutt. I survive with 2 HP and use an Energy Restore. Combined with regen, that only puts me at about 24 HP, but Fire Wave access is too important.
Dammit, game, I am trying to make this a touching turnaround story and you are not helping with this narrative
Remember how I said enemies can attack through walls? That's about 5 ASMs. And they're sometimes faster than Camil. Splash damage is not based on closeness, it's a binary main target/non-main target.
Okay, let's try that again. With less falling-for-traps this time.
Up through the trees up right weave through two Mutts down right barely avoid a third hug the bottom swing up avoid the encounter by the skin of my teeth and FREE! Two successes on the first screen in a row! Go me.

Okay, there's a Mutt directly in the way on the second screen. I engage him and move down to the lower-left corner, timing out the encounter clock. From inspection, it looks like the SP regen has moved from 3 to 6--a pretty substantial improvement, but losing 10 SP per battle (even in the best-case scenario) still hurts.
I escape the second screen with no further fights.
That Mutt spawn is a dirty trick, but I have no idea how I managed to avoid that ASM. That's right inside of the encounter radius--maybe it changes in size during the timer? Or it's a circle instead of a rectangle. Not sure.
Edit: It is indeed. Thank you, HenryEx.
It works out, though.
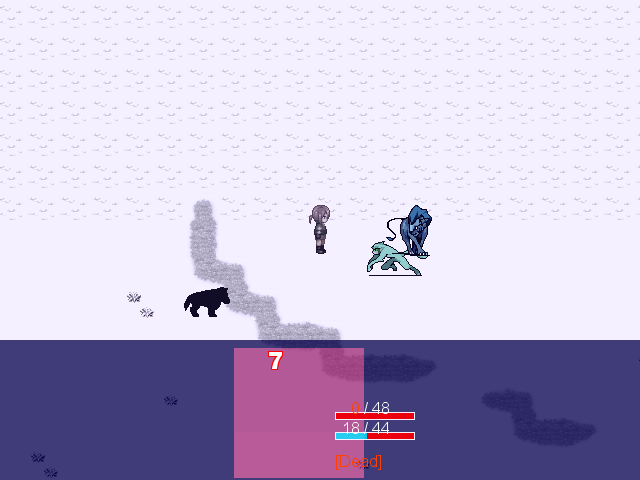
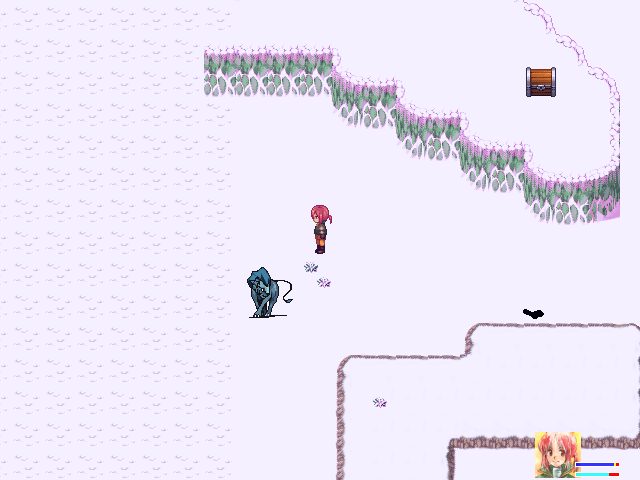
I forget to account for aggressive red dogs and end up in a fight early...

...to the great disadvantage of these three. I might have died here if I couldn't Fire Wave first turn. As is, I hit the Mutt with two Fire Waves and wiped them by the skin of my teeth.
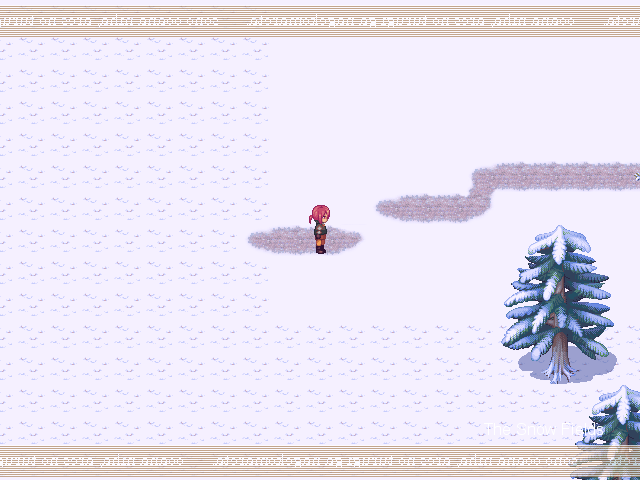
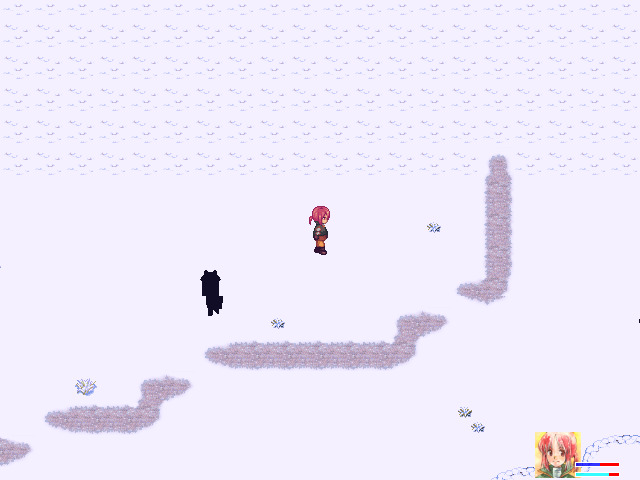
I'm going to be running along the edge of most screens here. Anything to decrease the number of encounters. The Snow Fields is basically survival horror in the "oh god I cannot afford to shoot all these zombies" sense.
I end up burning both a Stamina and an Energy Restore just before the second fight here. A single Christmas Mutt can take up to four Fire Waves, and they do enough damage to take about two Stamina Restores to recover from.
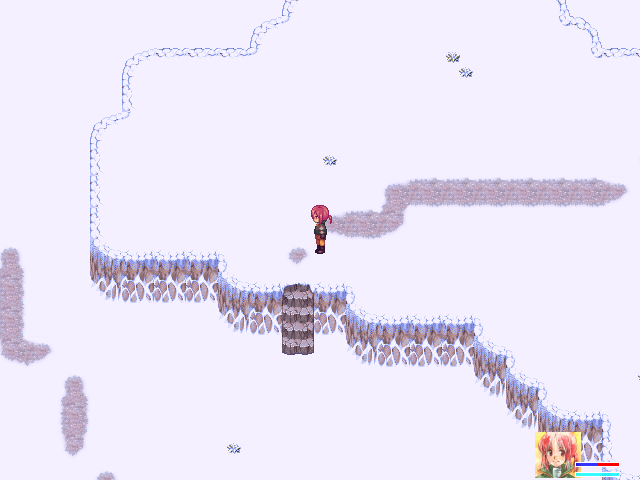
Ideally, though, I'll go right down the hole the moment this fight's over. Here's hoping.
The fight goes pretty wrong--the ASM is just far enough away that I can't hit both with Fire Wave, and the Mutt survives two Fire Waves with 1 HP. Would've died if I didn't heal up.
Whew. Okay, time to move on.

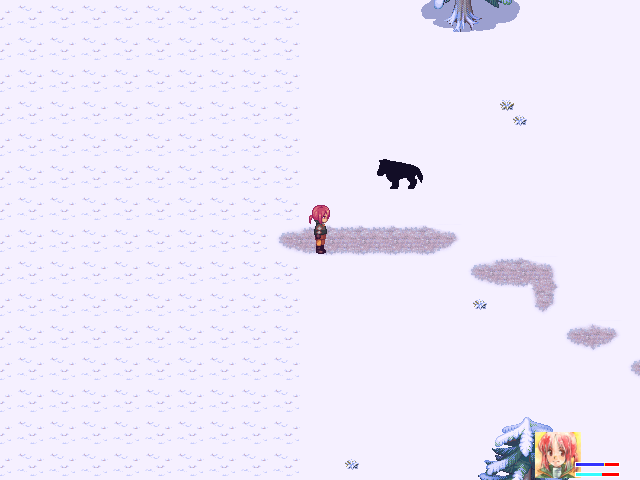
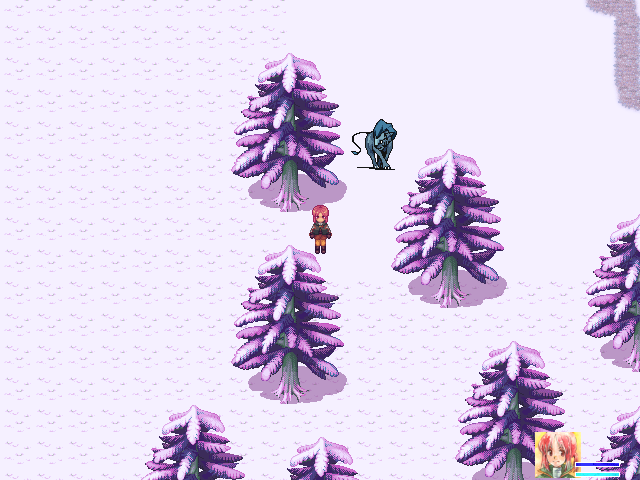
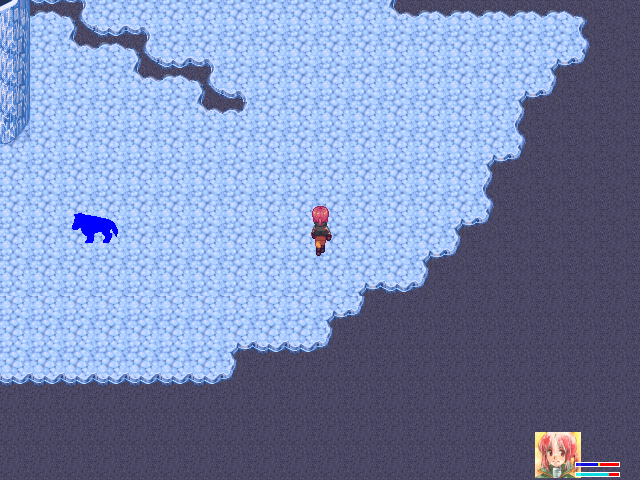
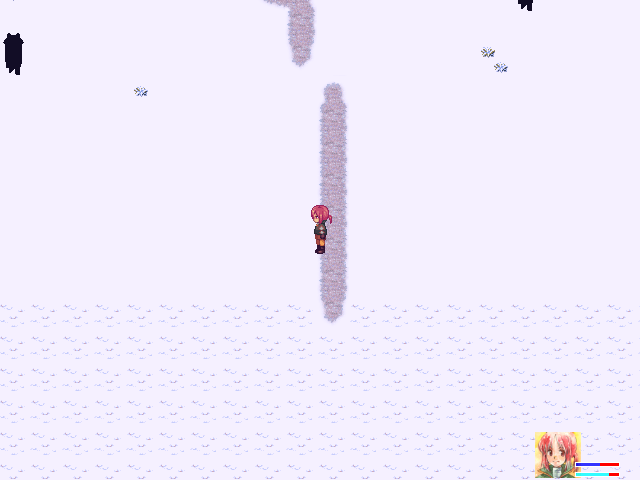
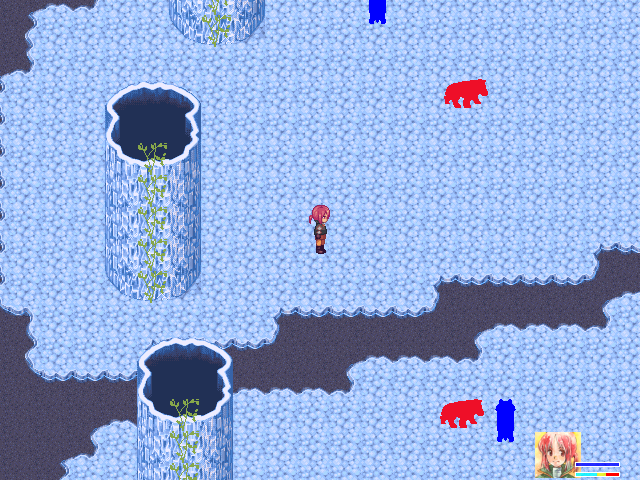
The blue dogs are the same as the blue dogs up topside, they just move slower.
ffffffffffffffffffffffffffffffffffffffffffffff
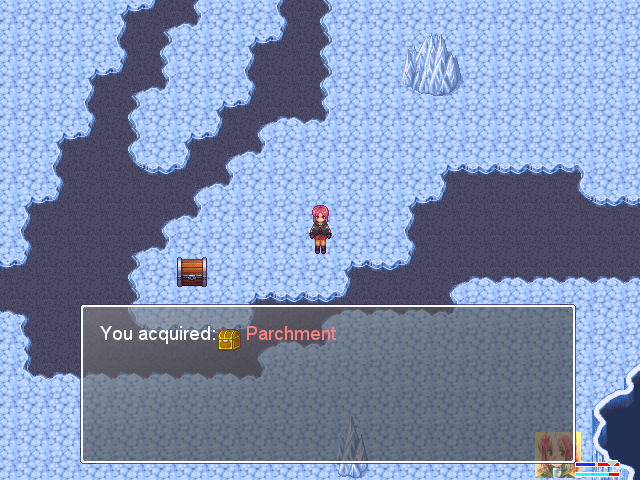
Not what I was looking for, game!
(The Parchment is kind of awful--+5 HP, +2 Skill, +1 Crit. Most non-Armor/Weapon items that spread bonuses do too many things to be useful.)
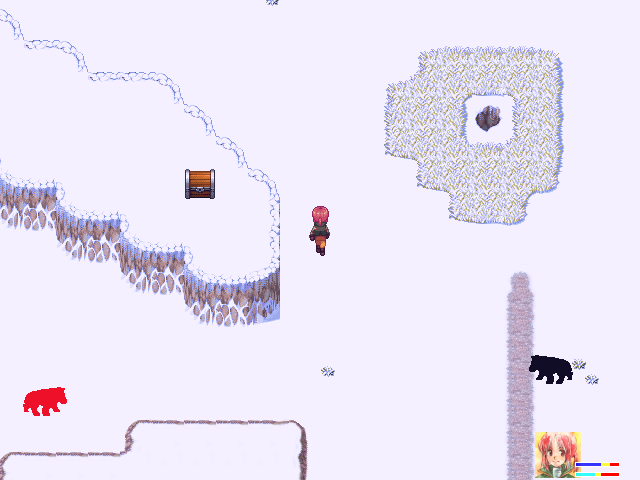
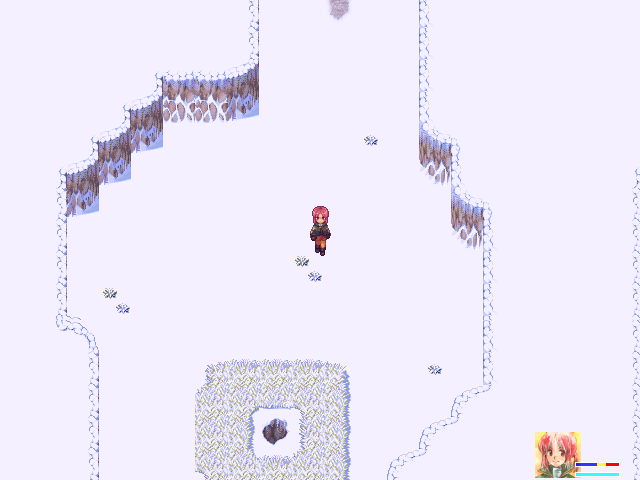
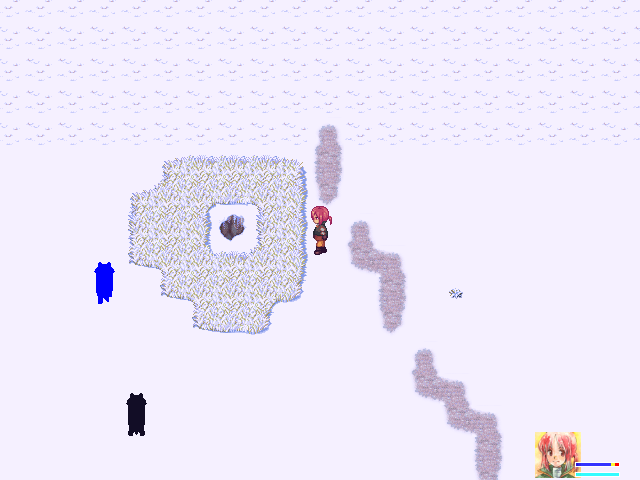
The other chest is a Magic Bean, so I'm not completely pissed, but this is pretty bad. I've checked the upper left, I've checked both the bottom and right edges, I've checked the hole I could see... The only other option, really, is to head for the center of the area. The center surrounded by enemies.
Oh. That's a lot closer than the Magic Bean. Um. Oops? Tunnel vision, I guess.
I want to keep the Bean, but it might be easier to just press onward at this point. Drop into the hole, pop up to talk to Nana, head on again... Or just eliminate the risk and come back for her later.
I do the second one. It'd be really embarrassing to come up next to a bunch of enemy spawn points and die.
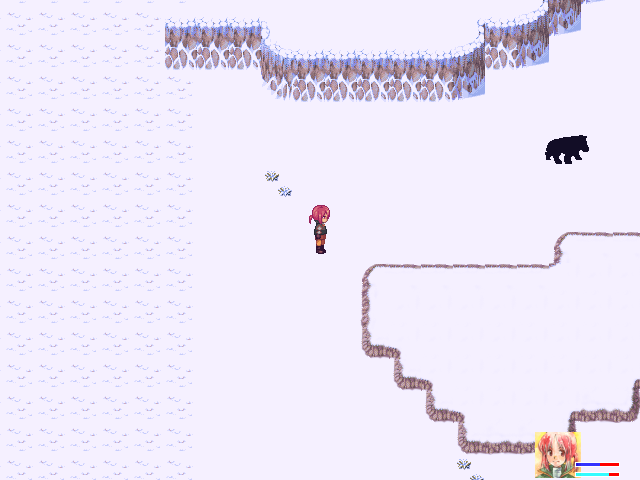
These enemies move very, very slowly and aren't aggressive at all. It's nice to just be able to go around.
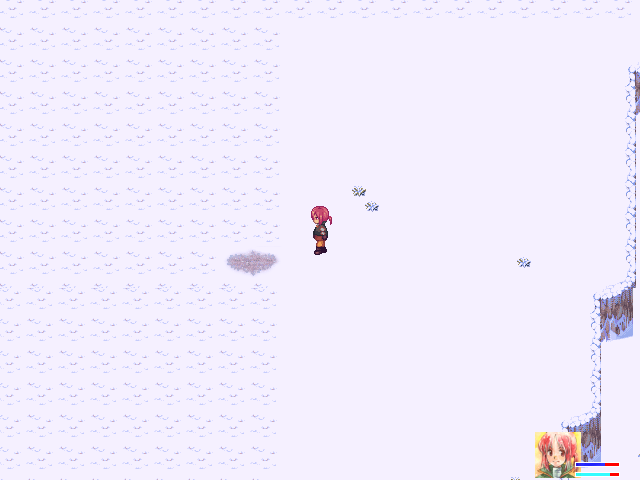
An area that's actually easy to dodge through! Be still, my heart.
I spend too long dicking around near the start and have to exit to reset a Christmas Mutt. That's a good thing to remember--sometimes it's best just to leave and start the screen over.
I pass along the bottom-left edge. There's two Mutts in the way, but it's possible to keep ASMs out of the fight and this route pens the Christmas Mutt against that wall. The resource loss isn't TOO bad that way.
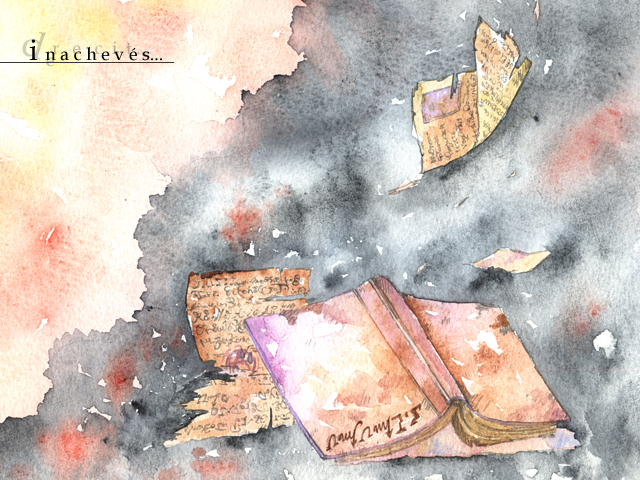
But then I screw up and inachevés. I would have survived if that ASM didn't go faster than me on the last turn.
On the plus side, I know the route now. This shouldn't be too bad.
Then I screw up on the first screen and reset, because it's definitely a death or at least a great waste of time. Two steps forward, one step back.
Second time on the first screen goes well. Second screen involves two Mutt encounters, the second of which involves three ASMs. I survive only because I go faster than all three on the second turn.
Talked to Nana on the third screen before running for the hole like a desperate man.
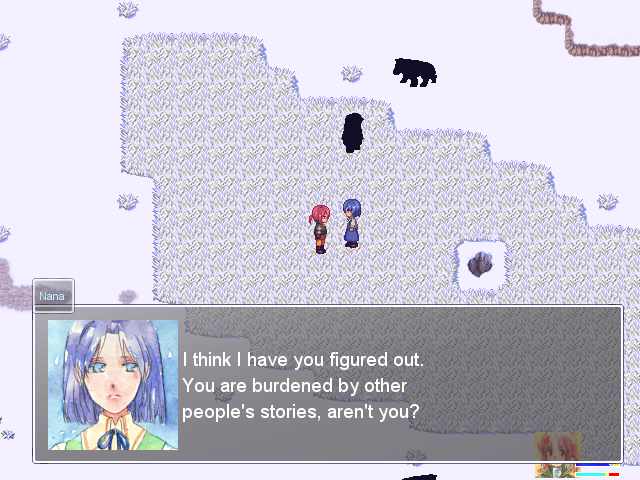
 Just like Randolf and Hiku Kumo. As for your story, I hope that it leads to a happy ending.
If you talk to her again:
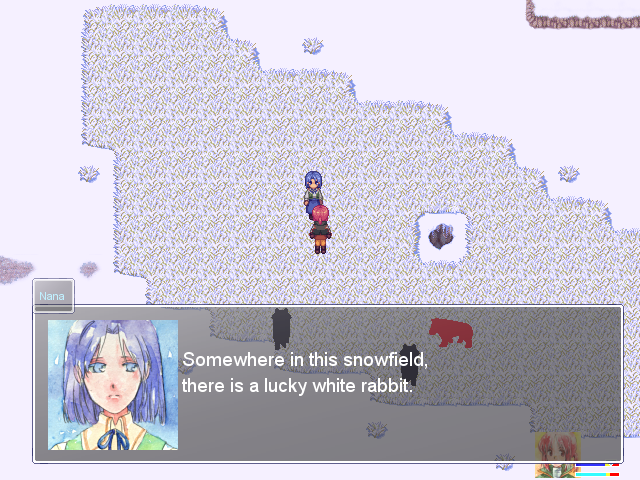 If you find it, you will find happiness. I truly believe you will find happiness.
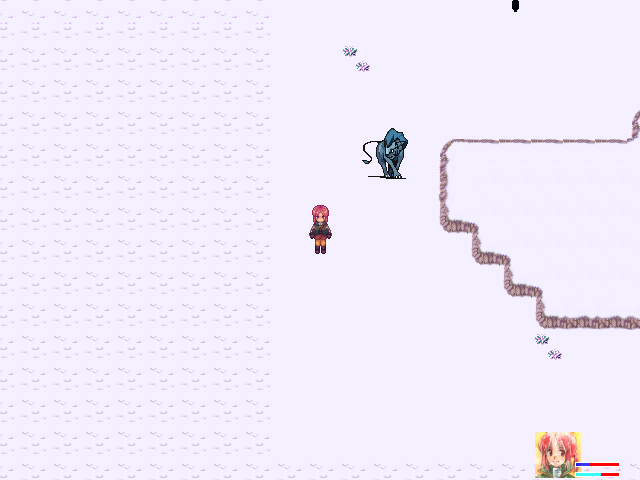
Sixth screen (same as the one I just died on), no healing items used yet. I'm in good shape.
The seventh screen is basically the same strategy as the sixth--immediately left and then up then right, engaging only one at a time. This time, though...

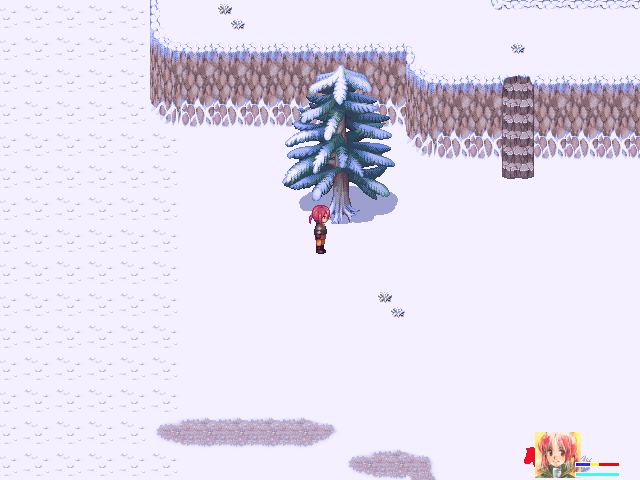
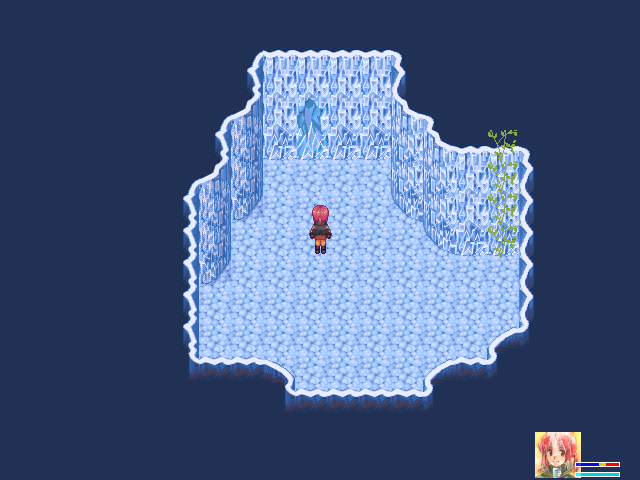
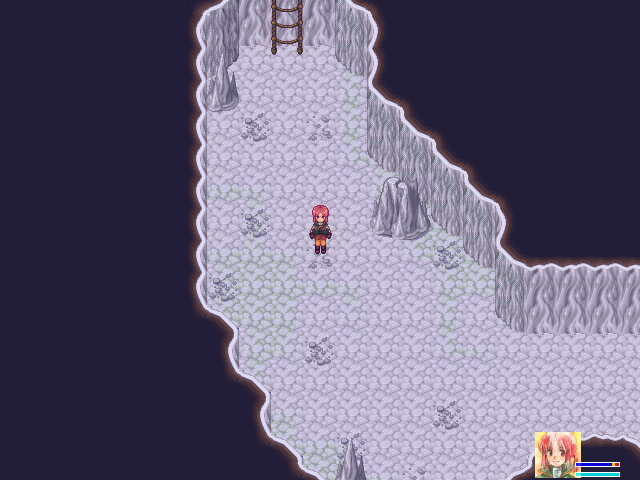
The really difficult part of The Snow Fields is over--the hole here is a shortcut connection, and the areas after the save point are much less packed.
This is the Hamlet's shortcut area, so you have access to a healing spring from this point. I head back for the items I skipped; the Magic Bean in particular is important.
Then I screw up, misculate, and wipe. Um. Oops. Yeah, it happens.
And then a manageable Christmas fight turns into a basically unavoidable one Christmas/3 ASM fight. I really hate the Abominable Snow Monkey mechanic...
You get the picture. It's kind of a catastrophe. I succeed after about four deaths.
In the meantime, I head back to The Nest. There's people to talk to.
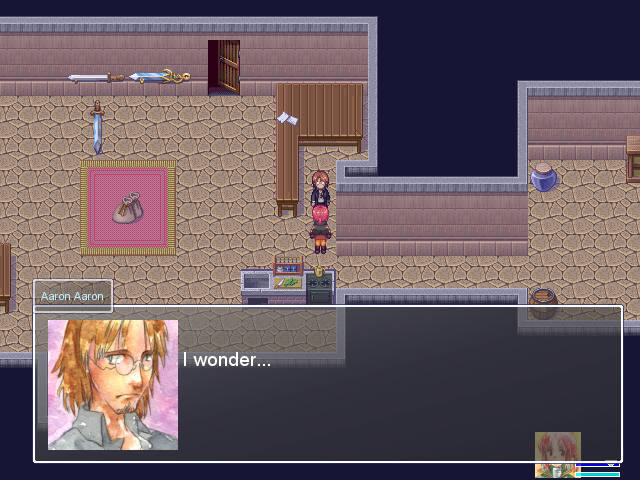
Aaron Aaron's had this to say since last time, but I didn't get around to it.
 what did she actually want to accomplish?
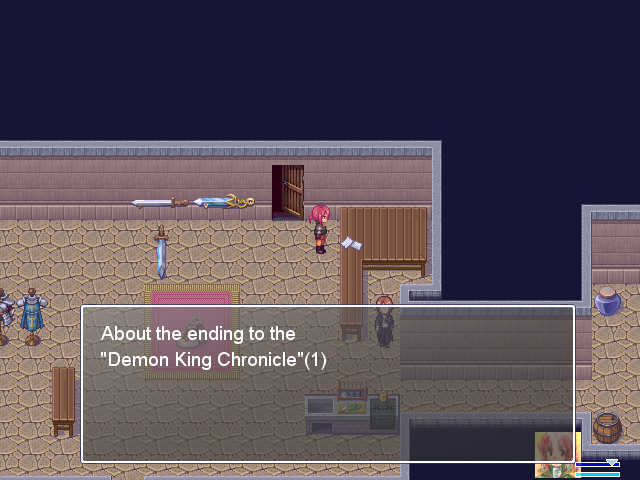
In the story, each chapter takes place from the point of view of a different hero, but the story remains unfinished due to the author's death. A story without an ending is spurred on by the imagination of the reader, and each person will craft an ending that fits their interests. Imagining an ending to a story is, in itself, one part of enjoying a story. That's all well and good. However, I can't help but wonder. What sort of ending did the author, Harold Diester, have in mind? I have a hypothesis regarding the ending. It's something I've surmised after hearing about an incident on a certain island.
(Continued)
Yes, that's where it ends. Usually the story segments are more elegant about their cliffhangers.
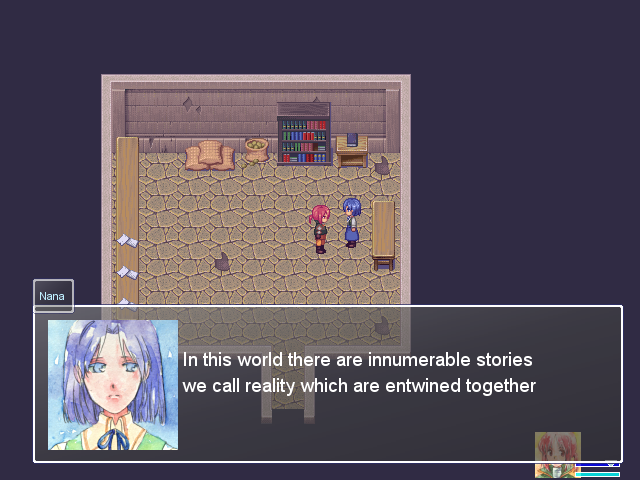 in intricate patterns, affecting each other in countless ways. One story's happy ending brings another's tragedy. It's not unheard of.
This next part starts with no music.
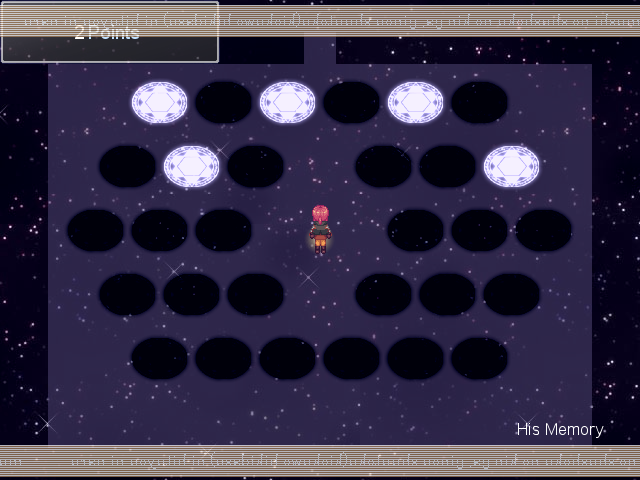
The two walked on while reminiscing about their past.
The next image starts out unclear and wavers in and out until the next image below.
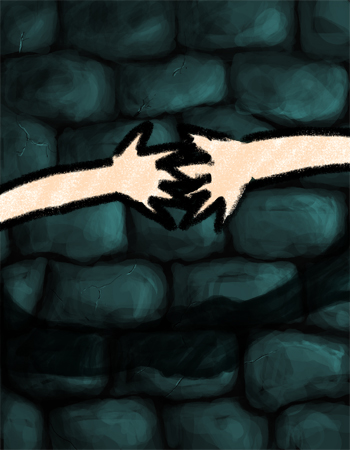
Playing in the sandbox, catching bugs, playing with birds, looking for treasure that had washed up on the beach. All of these were important memories. The girl talked about her beloved grandfather. When she spoke of her grandfather's illness, the boy looked very sad. She also talked about her brother who would soon be born. Hearing this, the boy was very happy for her.
The girl turned to face the boy. The boy turned to face the girl. Their eyes met, they nodded in unison, and they took the last step together...
(sound of impact)

Suddenly, the boy was blown backwards, and tumbled down the stairs. In front of the girl stood a demon. The demon stepped past the girl, and stood in front of the moaning boy. (footstep sounds)
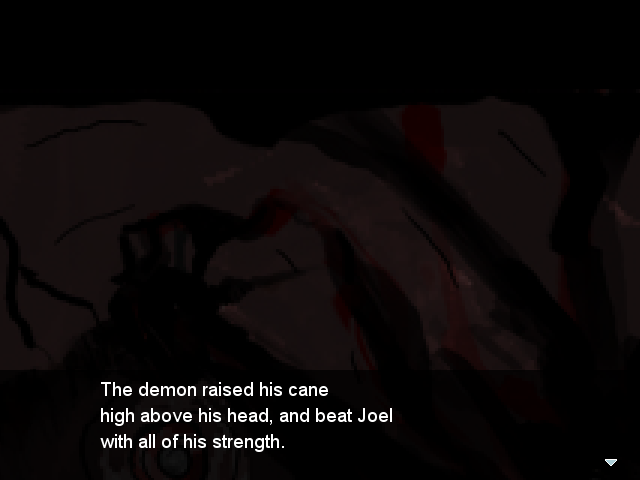
An image is panned from bottom right to upper left.
(sound of impact, another red flash)

"Stop! Stop!" The girl cried out.
(two more hits)
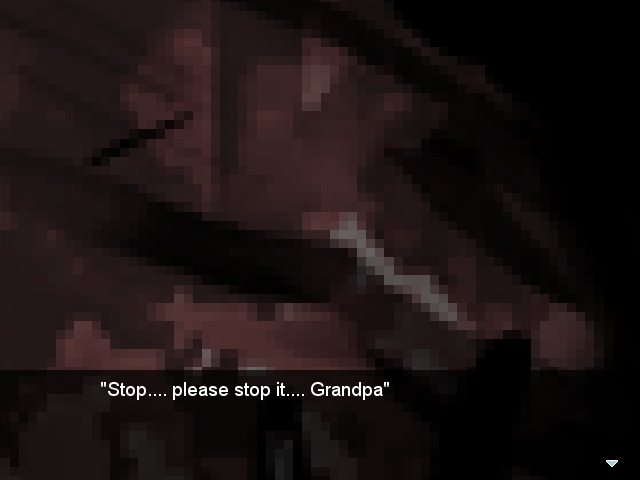
"Stop! Please stop!" The girl continued to cry out.
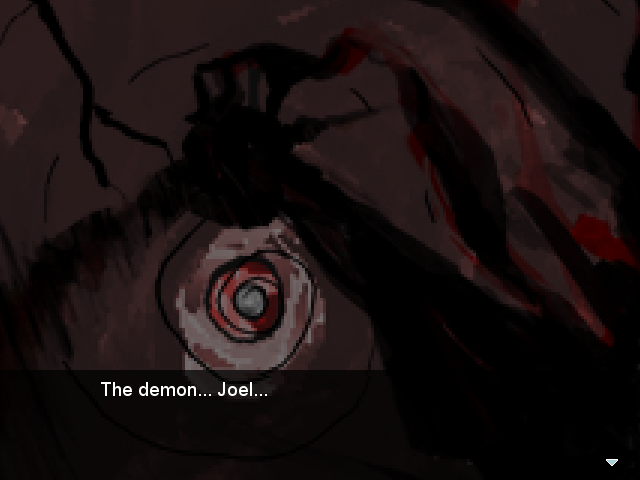
The pan is from top-right to bottom-left, this time. A little higher on the image.
Another hit.
The demon continued beating Joel...
Another hit.
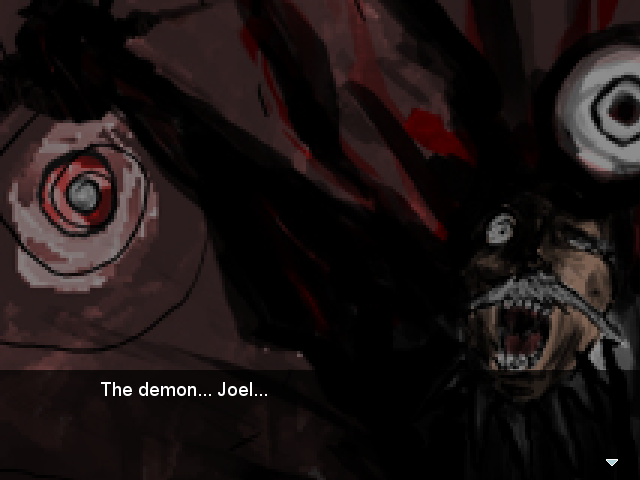
The demon appeared in the visage of the girl's grandfather.

You never to get see the image that's panned over directly, only glimpses at the edges. But, well, it's this, courtesy of the game's files:
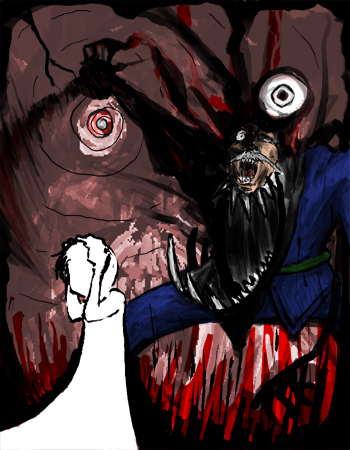
Yeah.
Two more achievements. It's very noticeable you get new achievements--new ones pop in a second or two later than the ones you already have. The ones in this case are "Survive 150 battles" and "Use 100 skills."
But it's 400 gold for Shout or Slap on the back and 500 for Flame Fang, so it's not really worth it to buy anything else yet. Maybe just before The Dragon Mountain.
In other news:
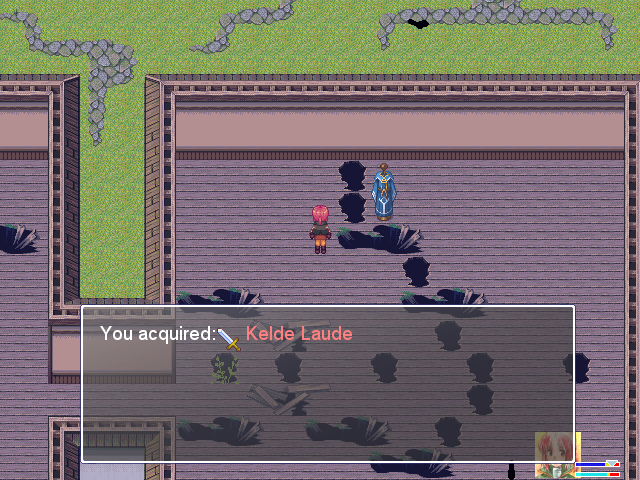

Sure, that Range is kind of awful, but those stats! Even if she just uses Fire Wave, that Agility is the difference between ASMs often going first and only sometimes going first. And the Kelde Laude only gets better. It's always worth saving that first Magic Bean for it, if you know it's there--this weapon gets used for a long, long time, either in the weapon or accessory slots.
Camil is already doing about as much as a Fire Wave with a single target attack, and that's before the chance of an extra swing or critical kicks in. Before I was showing you the authentic experience. Now I'm just going to kill things, because fuck The Snow Fields, seriously.
And just north-east of the save point is a hidden hole, one of the most important ones.
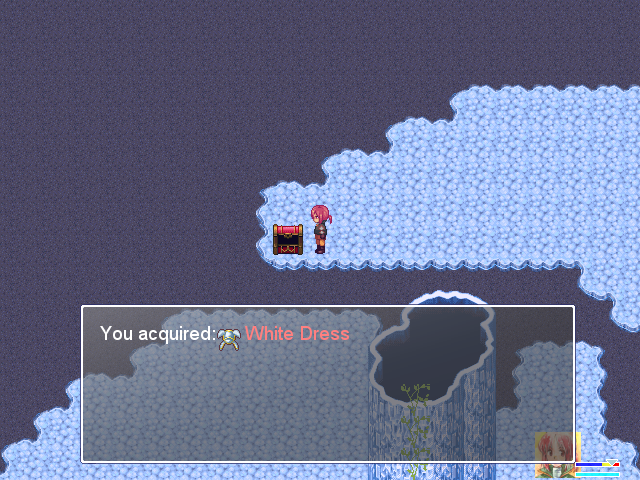
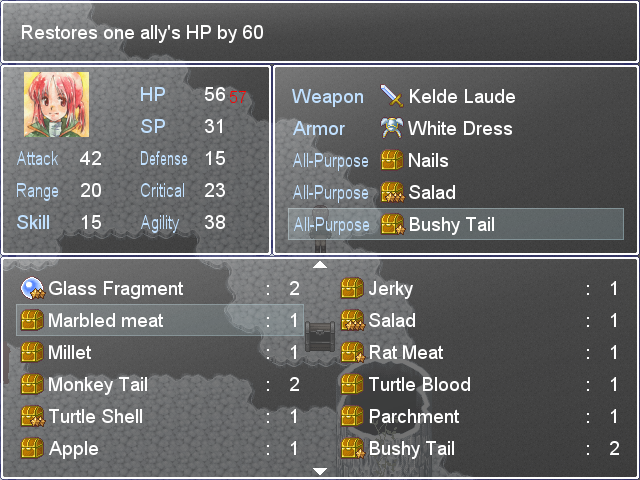
The White Dress. The White Dress is amazing.
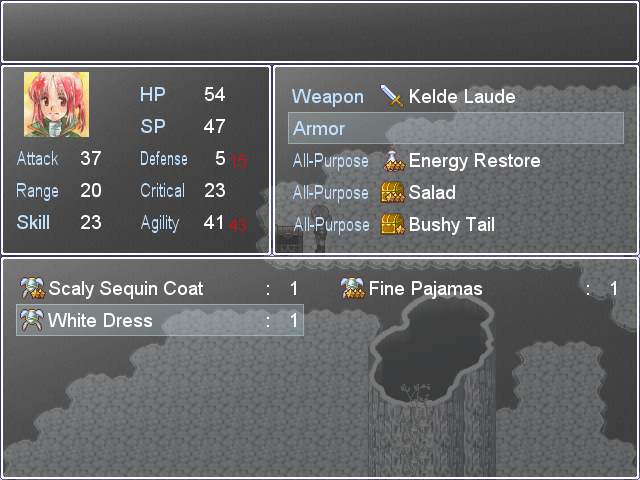
Very good armor! Maxed, the Scaly Sequin Coat is only 8 defense and has no other bonuses, and the Agility is very useful for ASM encounters. The All-Purpose version is even better.
It's so beautiful.
If it wasn't for the fact that armors can't level up in the all-purpose slots, it'd be ages before I used anything else in that slot.
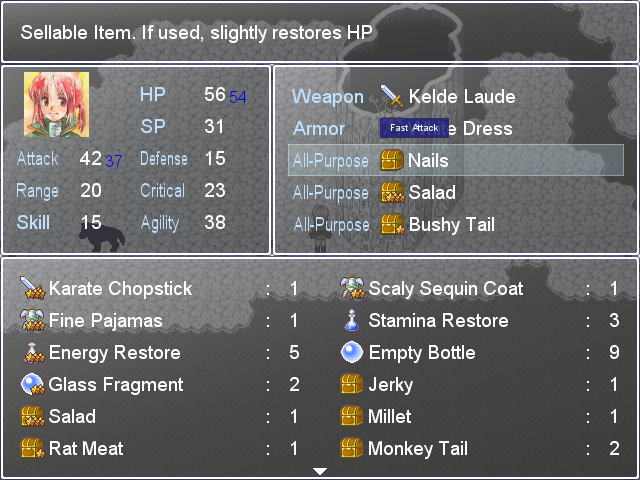
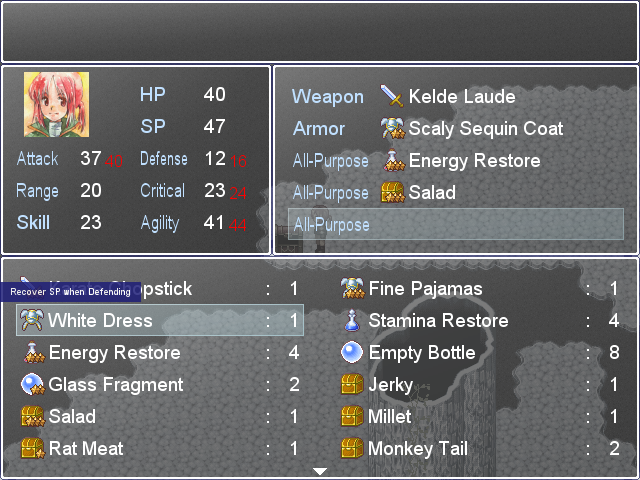
Then I reset until I get a Nails from a Christmas mutt and replace the Energy Restore I had equipped with it.
Why yes, I am feeling a little vengeful today. Why do you ask?
This would have been a wipe before. I win this time.
Okay, with 1 HP, but the point remains.

SURPRISE SANTA
Christmas Mutts were previously a type of encounter that could require multiple Stamina Restores, even alone. Now they take half my HP bar off before dying.
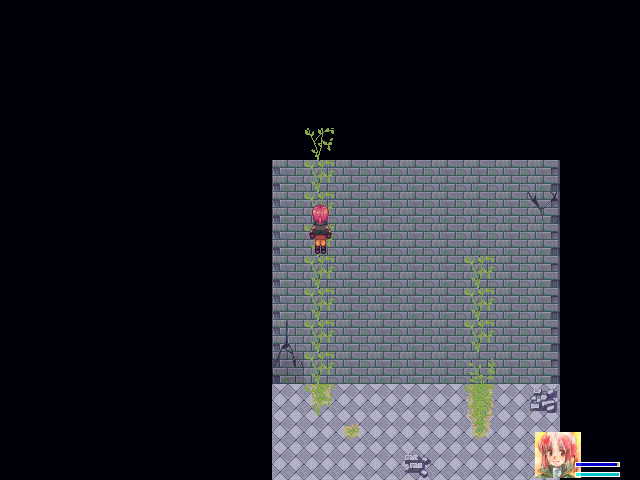
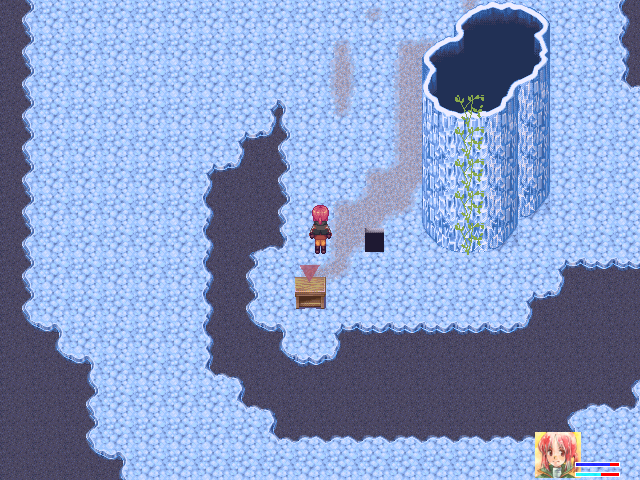
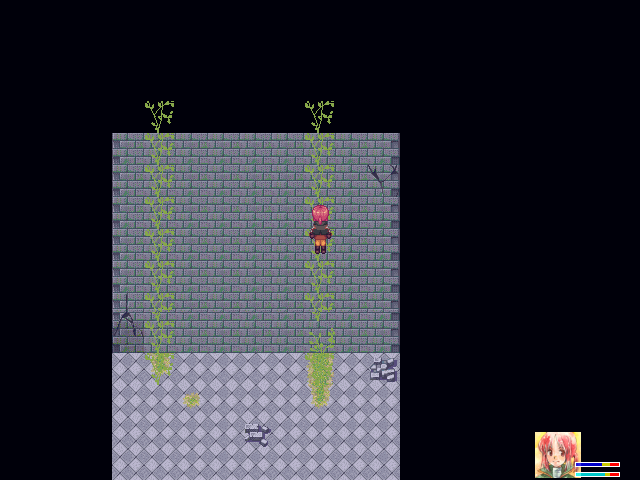
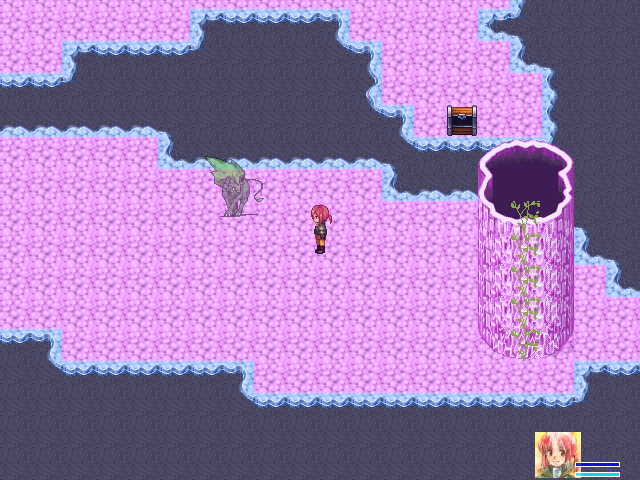
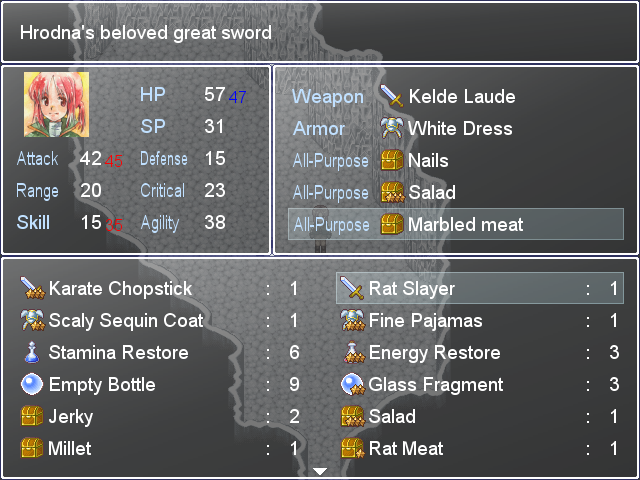
The Marbled Meat in the chest is basically a Bushy Tail+, having a base HP boost of 15 instead of 12. Up the other vine.
The other chest had 25 gold. There's nothing else available; it's a high ledge.
There's an exit at the bottom left.

Wait, why more Jerky? Jerky isn't useful... Cooking, probably.
Running south, running into Mutts, still not really scared.
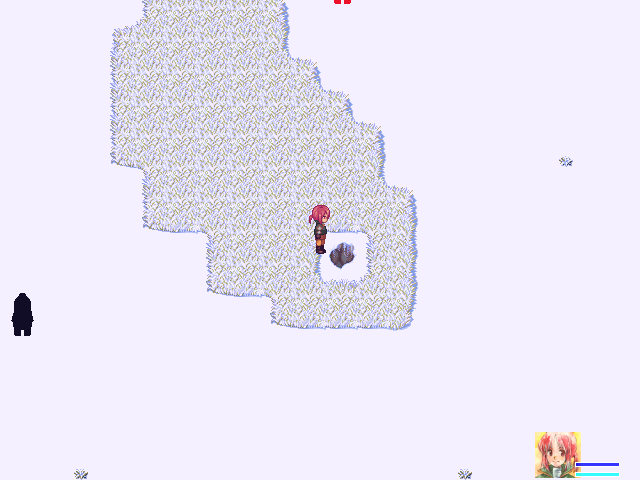
Wait what
Seriously, this is completely new. I missed this the first time around.
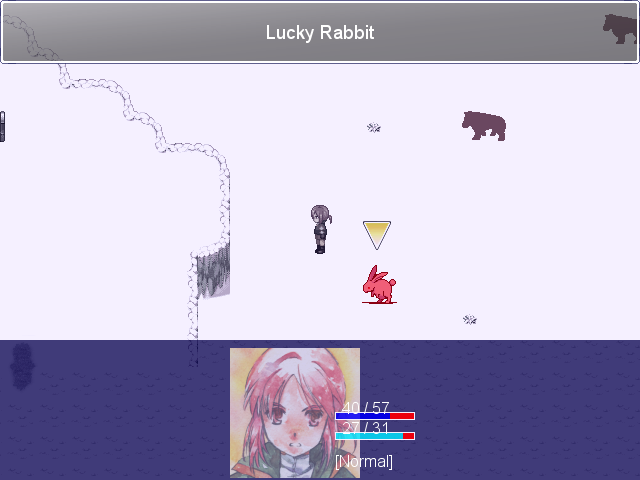
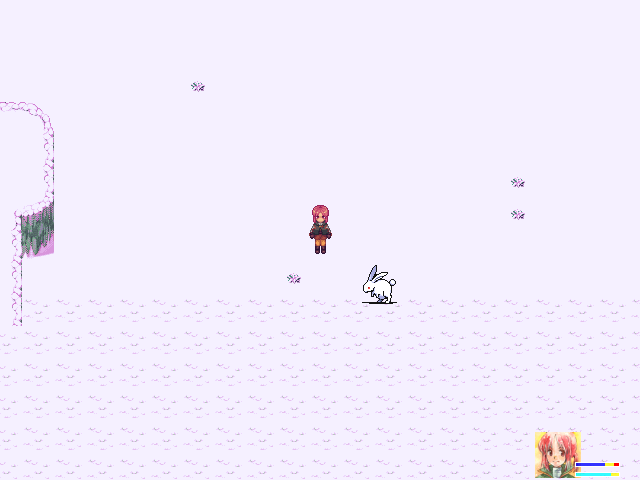
If you see the Lucky Rabbit on the road...

then kill him
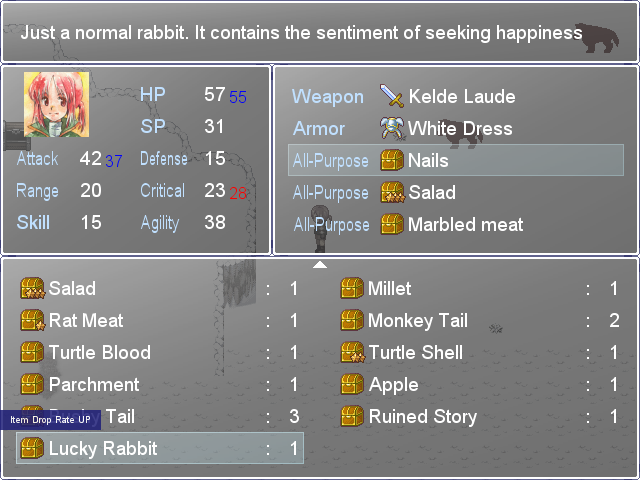
That's very useful! The only other Drop Rate Up item I know of comes much later. Remember, power levels are based largely off of items and item levels--anything that increases the acquisition rate of either makes you much more powerful more quickly. (Though only at the start of a new area, in the case of drop rate.)
The Lucky Rabbit is also the first item that levels up in a special way--it increases in power by 100% of its original bonus each time, not 20%. So, maxed, it will give a flat +20% bonus to critical rate, in addition to its drop rate bonus. Those two qualities make it endgame gear, and I'm very happy to have found it by chance.
Edit:
HenryEx posted:
The snow bunny is, by the way, not a black shadow like all other mobs. It's white, and thus damn near invisible. It's no wonder you could walk past it without ever finding it. It's also a one-time encounter and always drops the Lucky Rabbit, guaranteed.
I push my luck a bit--there's an exit in the middle-left that leads to an elevated ledge with 25 Gold. Then I run back and heal and save because losing this item would be a tragedy.
While there's an exit in the lower left, this hole just south of the shortcut area leads to a route that joins up with it.
(15 Gold)
And it exits here in the area just before I found the Lucky Rabbit. The exit's south.
Obvious fake wall works as you'd expect.
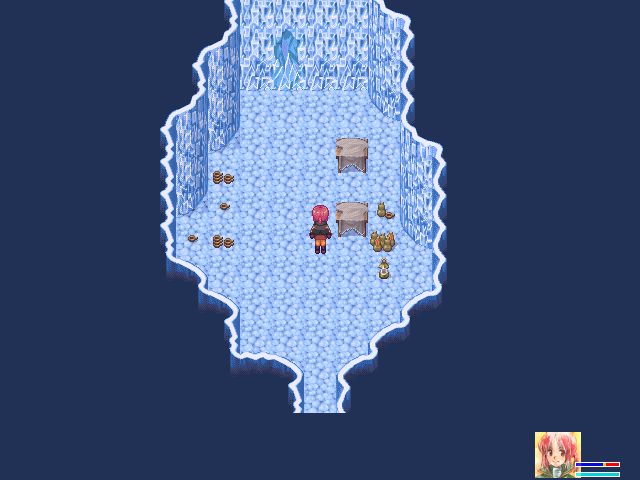
None of the cups or tables can be interacted with, especially not the bottles and such--they're floor texture, so you walk right through. Through the next fake wall!
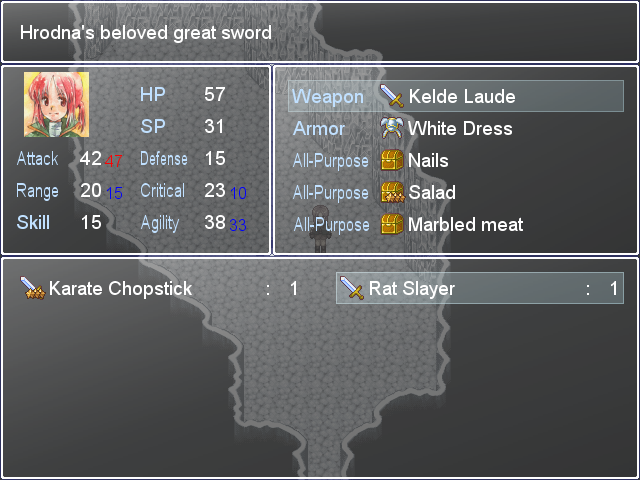
Your reward for not being completely oblivious is a weapon that's completely inferior to the Kelde Laude! Or so it seems.
Actually, it's a... mage weapon...? Sure, whatever. +3 attack/+20 skill/+5 HP is a pretty good set of stat boosts, even if it doesn't have a skill. Sadly, it does not allow us to survive Death Rat House. Death Rat House scoffs at the efforts of mortal men.
Edit: As Valkama pointed out in the thread, "Hrodna" is Flodnar; it wasn't localized consistently with the rest of the names. He came up in Update 04.
Almost enough to buy the first weapon from Aaron Aaron's shop, too!
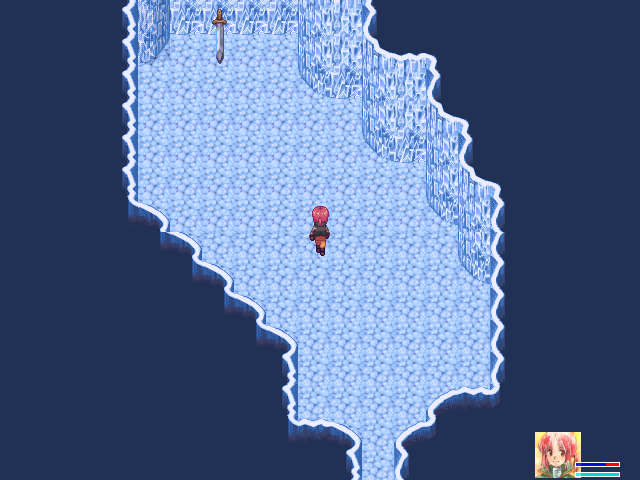
Finally, if you follow the road back from the Rat Slayer's burrow...
It's another shortcut hole! This one's a little special.
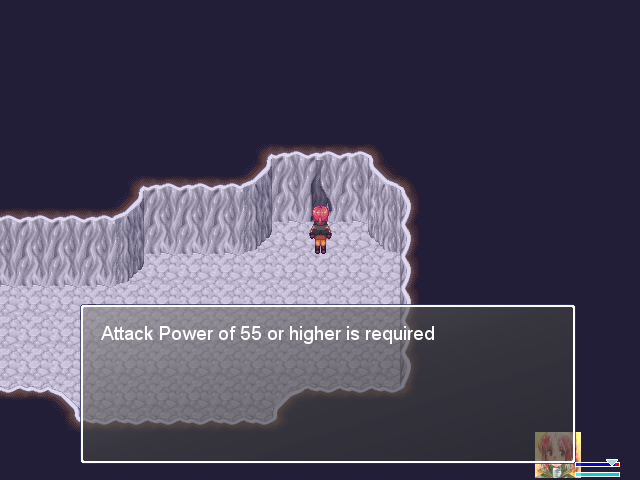
While I badmouthed the Scaly Sequin Coat's All-Purpose version...

It certainly makes attack checks much easier to pass. That's the only thing I really use it for.
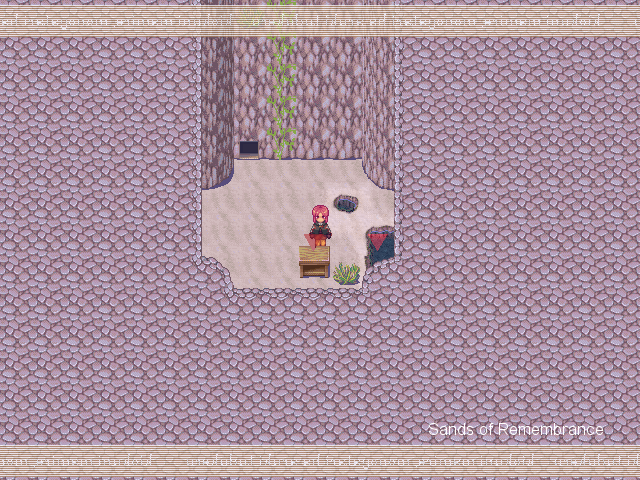
(No music here.)
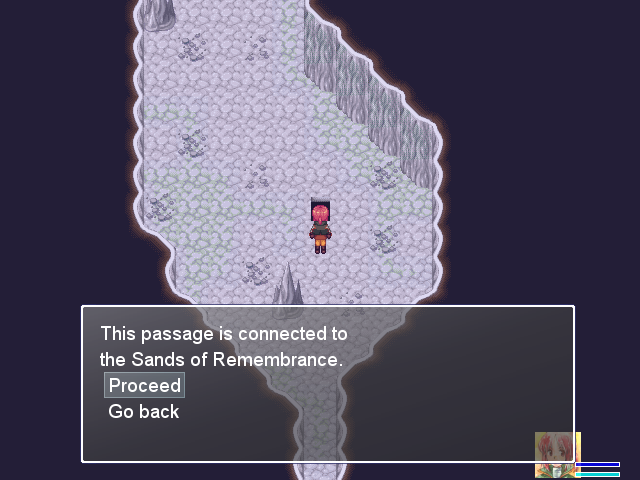
The Sands of Remembrance is the next major area after The Snow Fields and The Dragon Mountain. It's really, really not time to go there yet... But it's worth remembering.
(The Seashore is the major area after that, by the way. The "go where you like in any order!" stuff is pretty much bunk.)
And yeah, this area can definitely be missed if you're not thorough about looking around, and there isn't really anywhere else to head to at this point in the game. It can be a problem.
There's a Glass Fragment north of the entrance to The Sands, and as you'd expect, the tunnel also connects back to The Nest.
The Fire Emperor's Sword is 350 gold in the shop, and is the first of the three shop-only weapons. It isn't terrible--it's basically pointless as a weapon slot item, but +5 attack and +4 defense is pretty good for All-Purpose at this point and the skill is good--except that you need to wield it as a weapon to level it up. It's a warrior item, and using it requires you to completely neuter that character's ability as a warrior for about a dungeon or so. It's not a bad thing to equip on Camil if she'll be playing mage for a dungeon, like she did in The Snow Fields, or if you grind for it early, but otherwise it's only worth it for the skill.
(I didn't actually buy it.)
With that, The Snow Fields is done and there's nothing left to do but return to The Dragon Mountain. Camil's a hell of a lot stronger now, and some of this new gear can go to Randolf. But that's for next time!
Edit: Courtesy of HenryEx, a map of The Snow Fields.
Annihilation Record:
New entries:
Annihilation count:13
[2014/03/16 12:27] Defeated at The Snow Fields by Abominable Snow Monkey.
[2014/03/16 11:31] Defeated at The Snow Fields by Abominable Snow Monkey.
[2014/03/16 11:27] Defeated at The Snow Fields by Abominable Snow Monkey.
[2014/03/16 10:53] Defeated at The Snow Fields by Abominable Snow Monkey.
[2014/03/16 10:27] Defeated at The Snow Fields by Mutt.
Battle Record:
2014/03/16/ 13:22:21
Demon King Chronicle
■Battle results
Playtime:03:46:36
Save count:65
Steps taken:21688
Battle count:186
Max damage:20
Max damage taken:22
Items:20 Types 41 Items
■Treasure Chests
The Nest: 2/8
Demon King's Castle: 13/26
The Hamlet: 25/31
The Snow Fields: 12/20
Unmapped area: 3/10
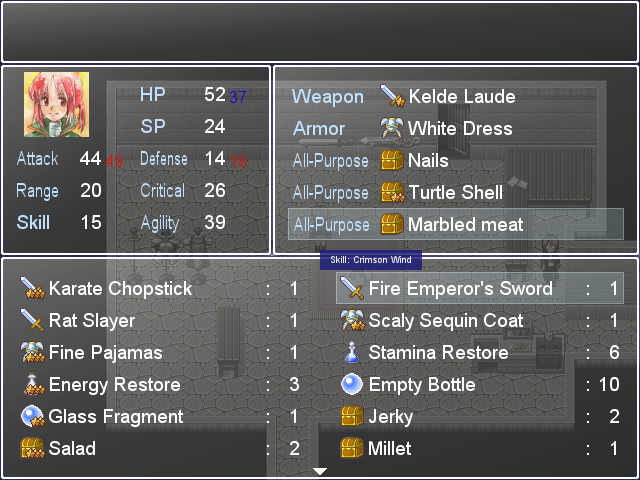
■Camil(9)
HP:52
SP:24
Attack:44
Defense:14
Range:20
Critical:26
Skill:15
Agility:39
・Kelde Laude(1)
・White Dress(0)
・Nails(0)
・Turtle Shell(2)
・Marbled meat(0)
■Top 10 defeats
Monkey(51)
Rat(49)
Mutt(29)
Turtle(25)
Abominable Snow Monkey(23)
Turtle(20)
Ferocious Rat(11)
Mutt(9)
Frog(8)
Monkey(7)
Glossary:
No new entries.