Part 8: "How about I become the hero! Right here. Right now."
Chapter 08: "How about I become the hero! Right here. Right now."(The Demon King's Castle 2, Hiku Kumo 3&4)
Welcome back!
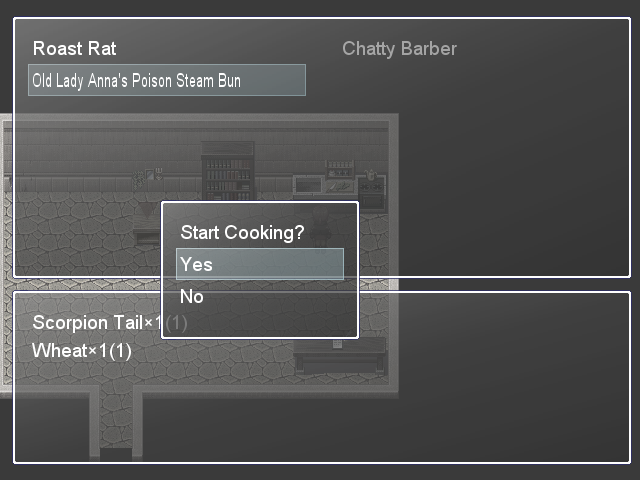
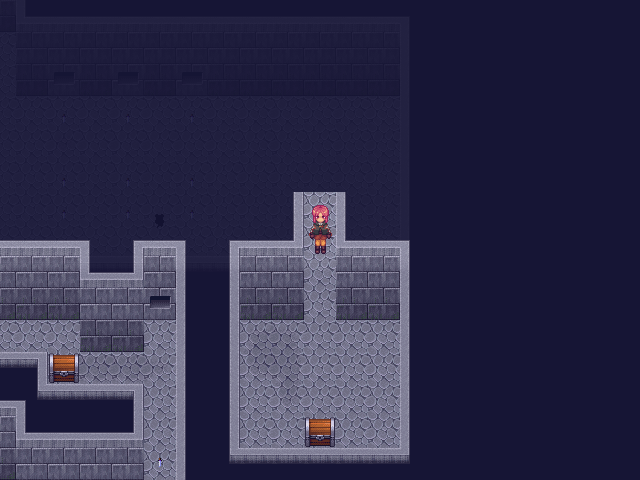
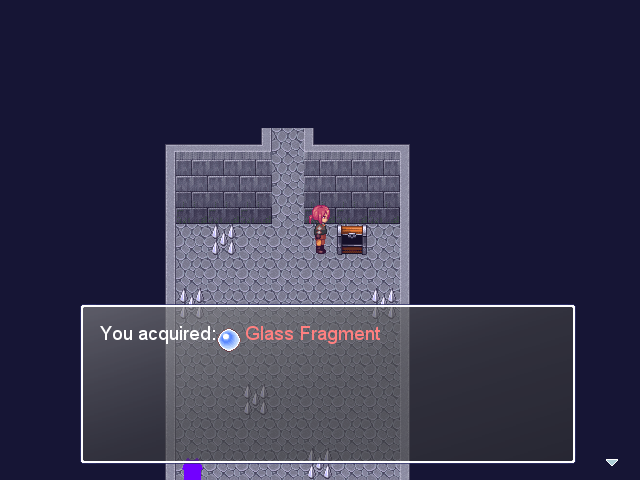
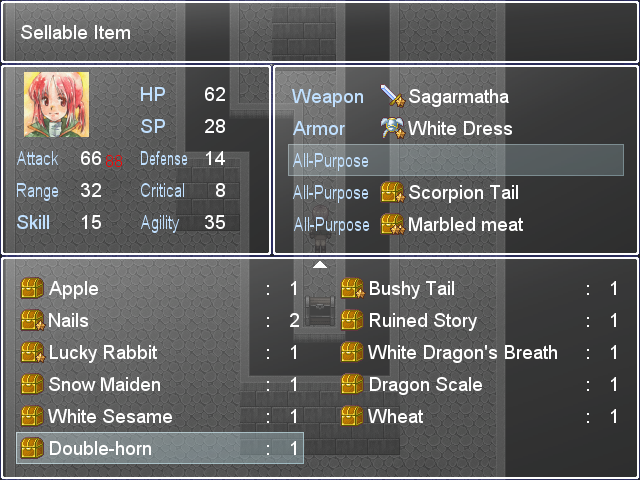
These two chests, accessable by the Magic Bean spot just outside The Nest, have an Attack Up and this item, which we need for one of our recipes:
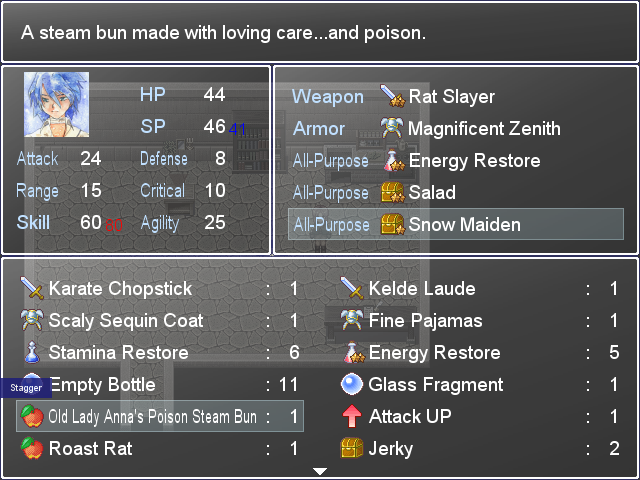
The "Stagger" there means "Prevents Stagger"--it's the same type of ability as the Apple or the Jerky's "Poison." When Stagger immunity matters, it really matters--Stagger forces you to Defend and you still get the halved damage, so it isn't as devastating, but losing turns always hurts. More immediately, it continues Randolf's transformation into some kind of horrifying magical death cannon, which is exactly how I'll build him from now until the end.
Magic Beans take about twenty to thirty minutes per stage, and there's about there stages; between last update and this one, I spent around twenty minutes total idling around to finish growing this one.

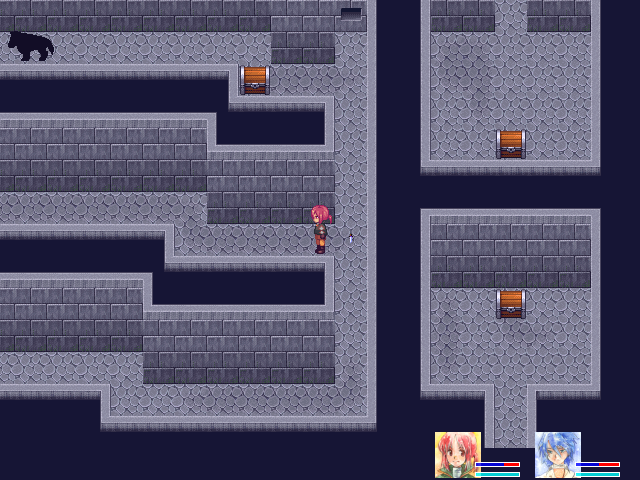
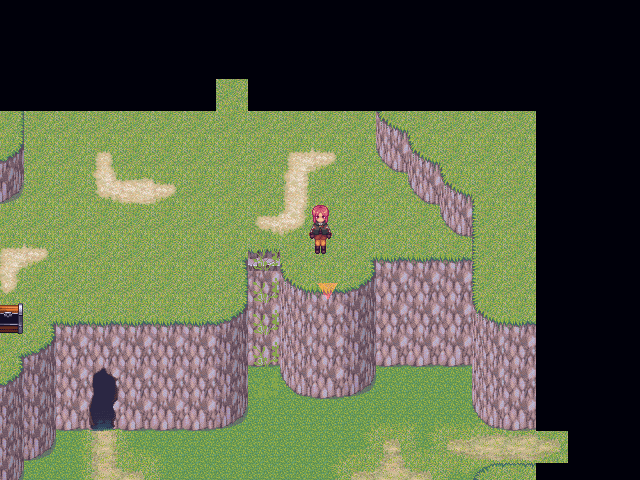
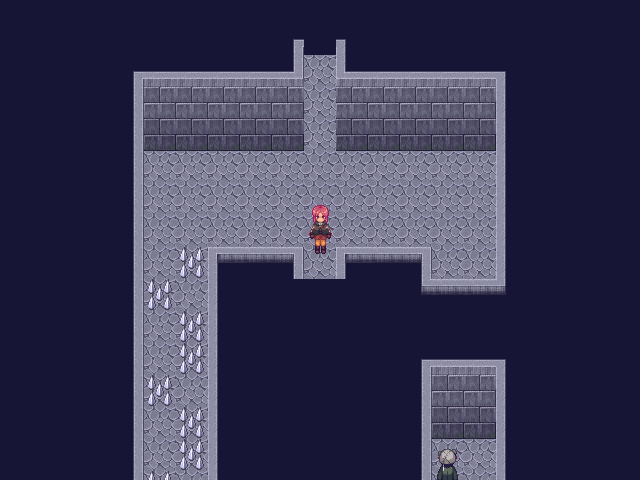
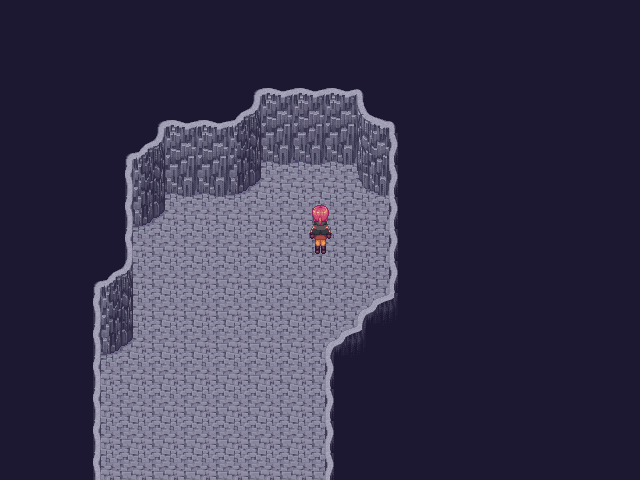
North of the chests is this plateau, containing a higher inaccessable plateau with two treasure chests and what's probably a recipe.
It also contains...


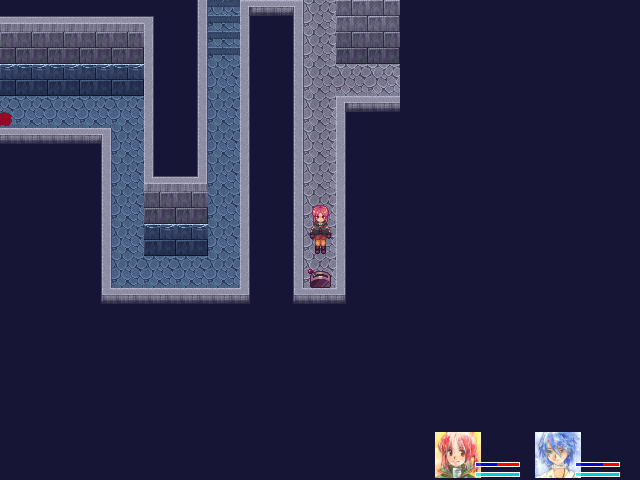
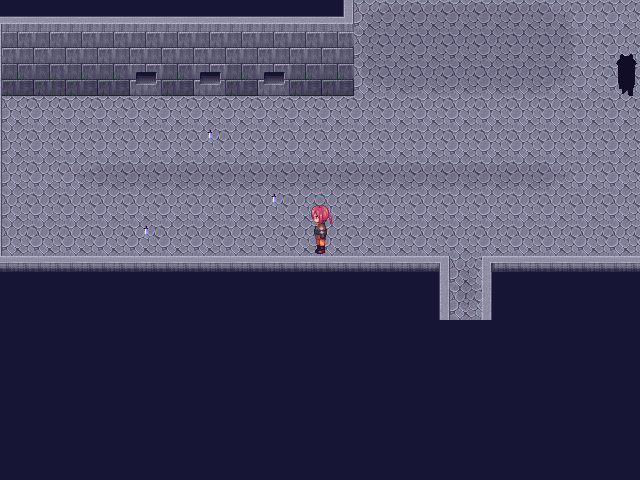
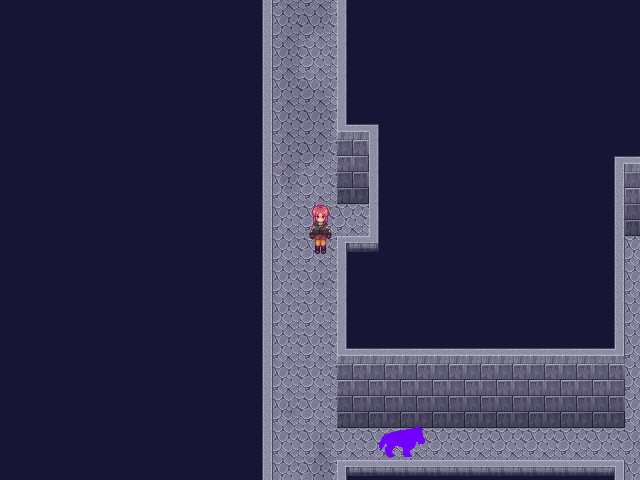
...the second entrance to the Demon King's Castle.
Kumo's to the right, on the ledge where we saw him when we first came in.
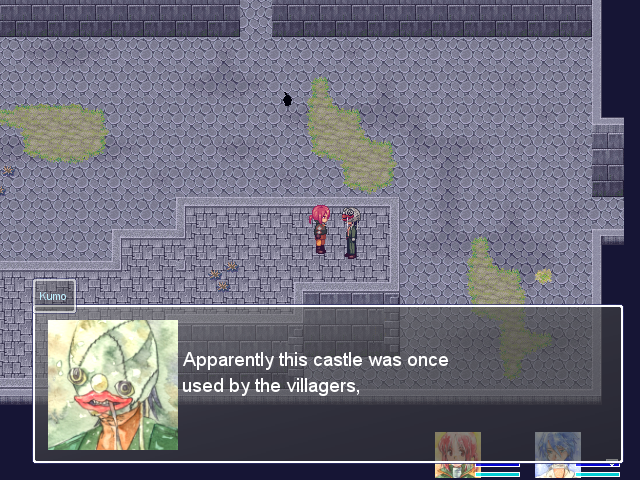
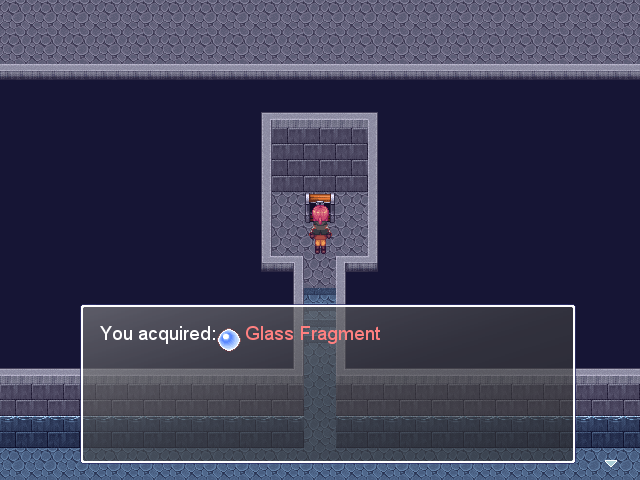
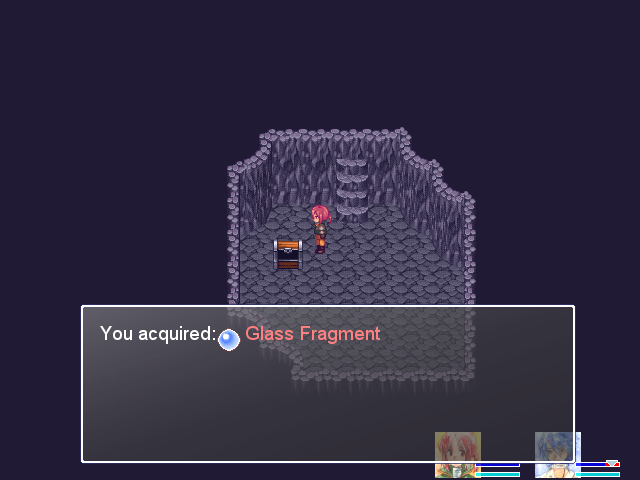
 but as you can see, now it's just abandoned ruins.
One more Glass Fragment. And again:
The Demon King's Castle? Yeah, some people call it that.Two questions for every answer, as always.
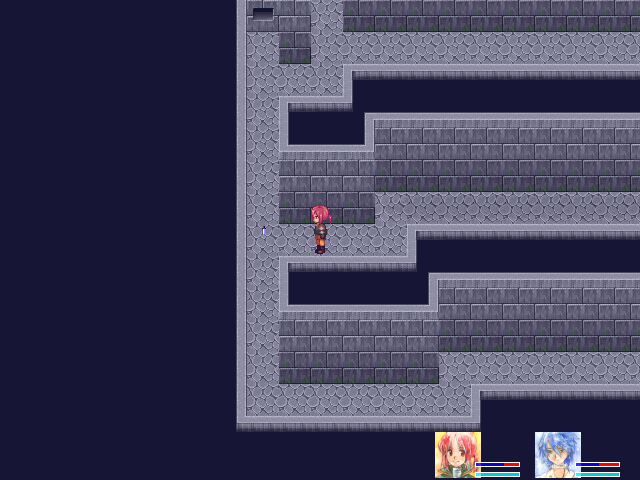
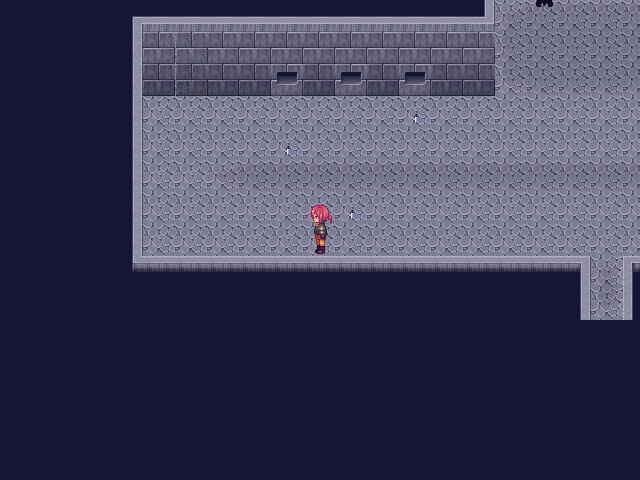
Two screens to the left this time.
It kind of sucks not knowing for sure what enemies are before you run into them. This is a rat, but it could also be a Killer Rat, and I really have no way of knowing until I bite the bullet.
Mind, if you're scared of dying a few times to figure things out, then this isn't your game.
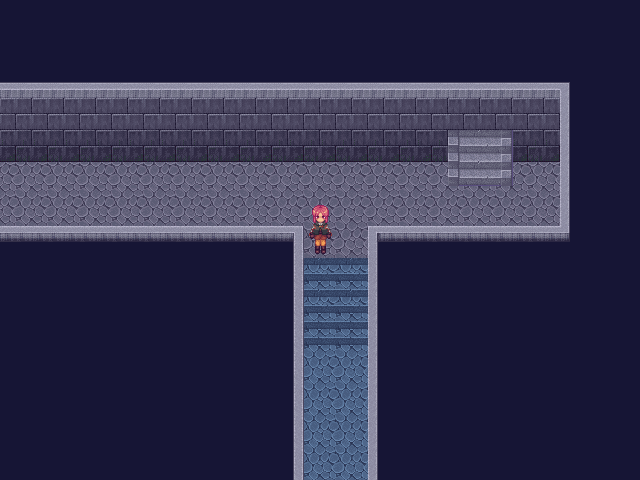
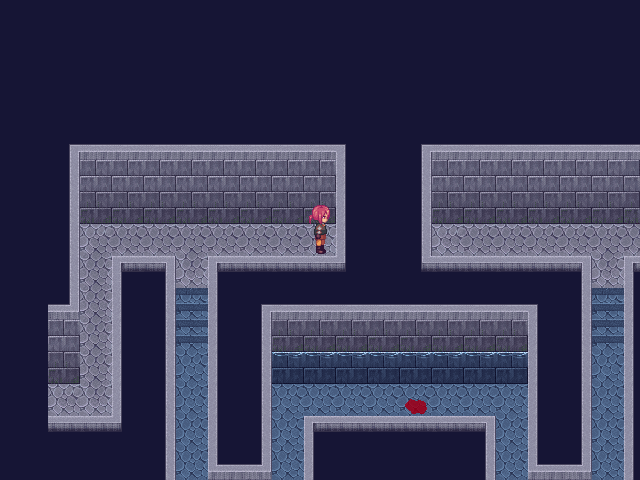
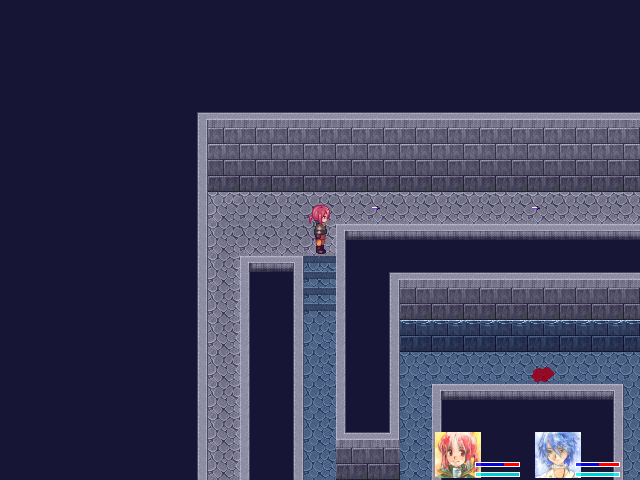
The next room has a normal hallway with a parallel, underwater hallway. This first one is just to acquaint you with the concept.
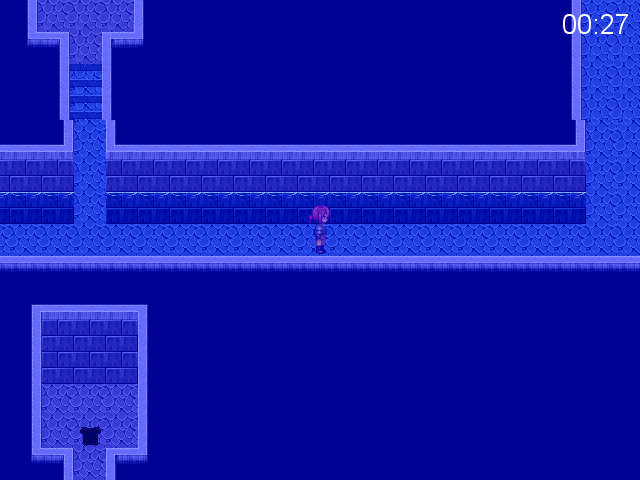
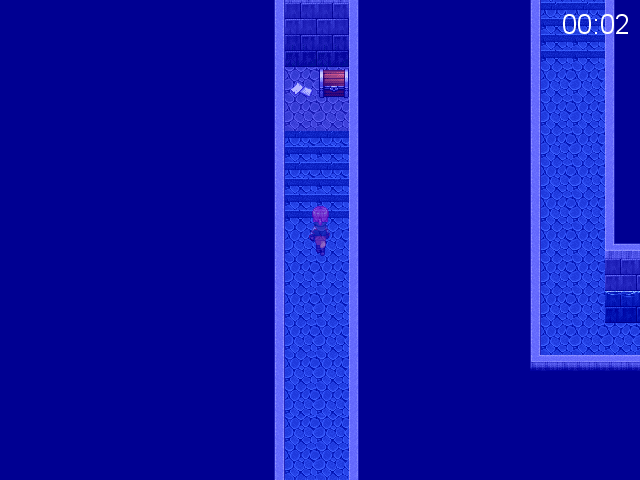
When you step underwater, you have 30 seconds to get to dry land before you drown and die. Fights count against this timer. Completing this short, natural tutorial gets you a Glass Fragment, courtesy of a mid-way chest.
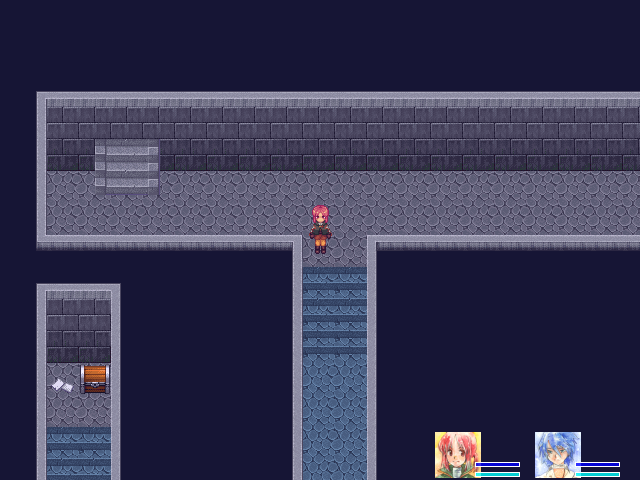
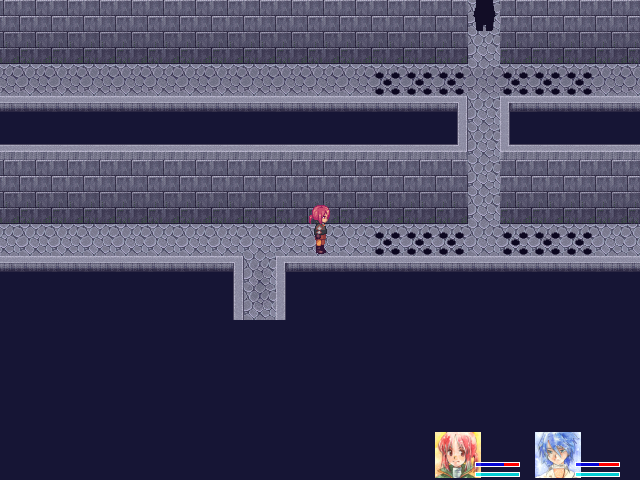
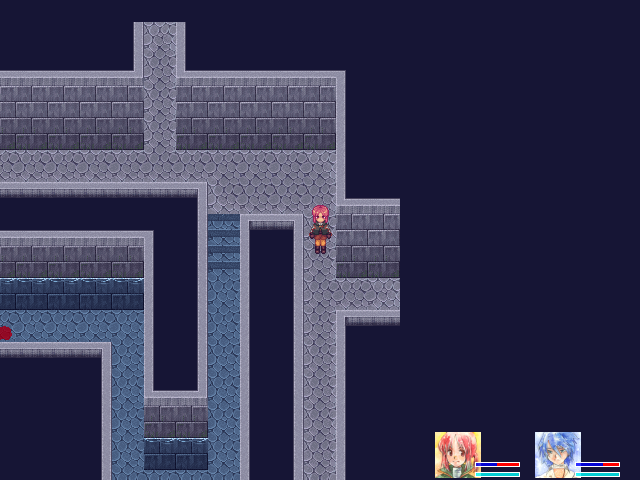
At the end of the hallway is a much longer section.

In the middle of it is this fellow. If you fight then you will die. Don't. It's completely stationary, which really should be the first warning flag.
You'll want to come back eventually, though, because he drops a good item for a melee character. But not now.
You don't have much time to spare.
The other prize is a Glass Fragment.
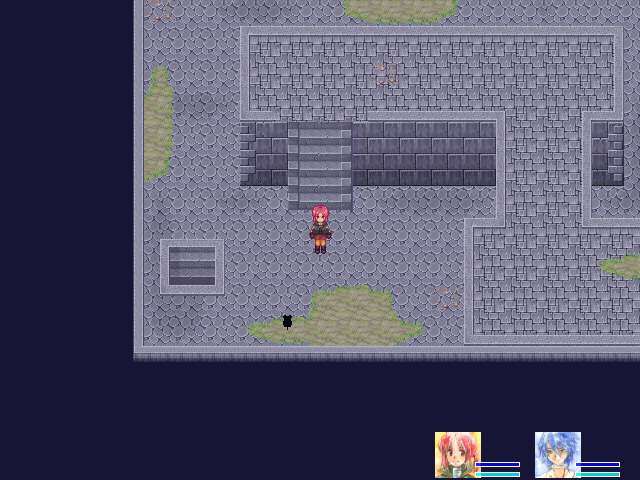
Up the stairs, through an empty room...
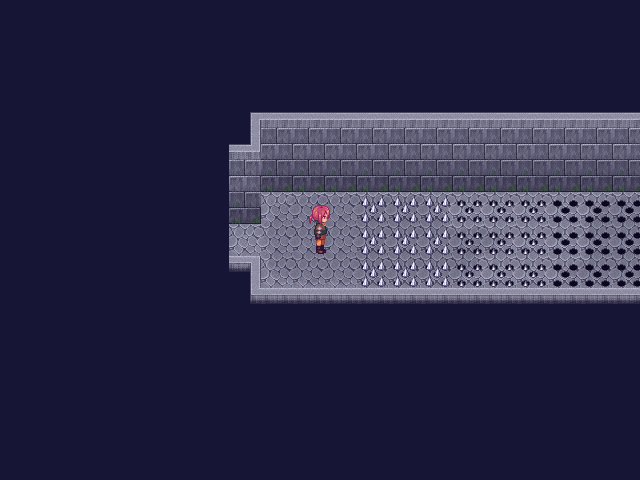
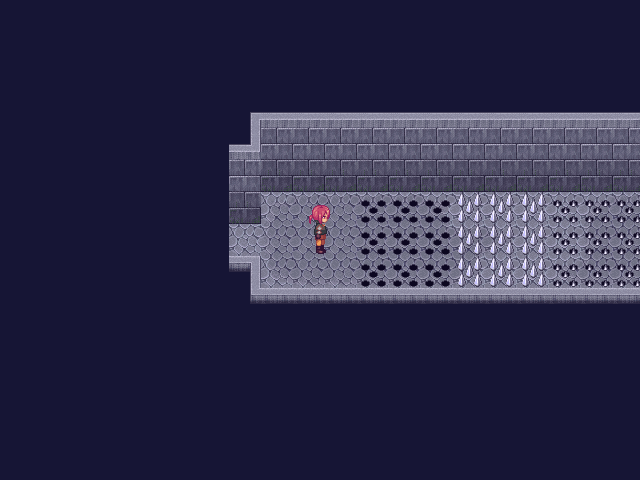
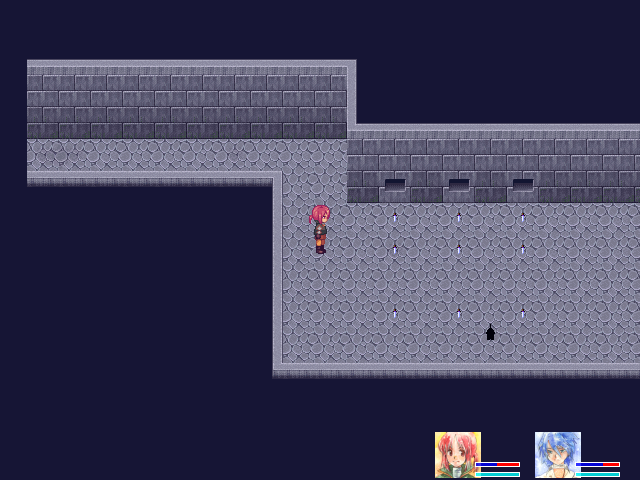
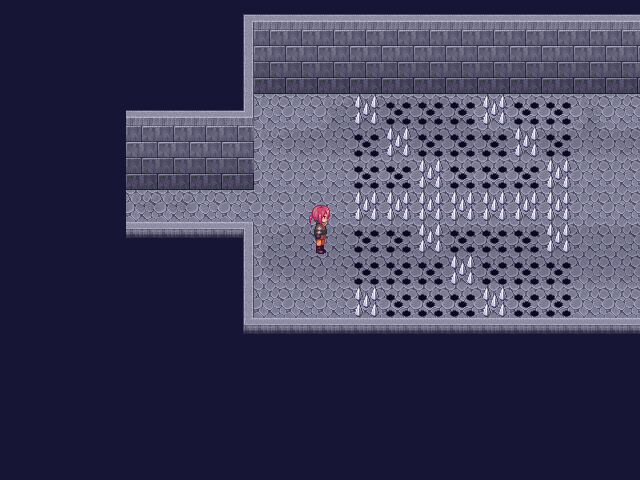
Welcome to the first gimmick of the second half of the Demon King's Castle. These spike traps pop up in waves, starting from left and moving right in a wave. The first screenshot shows the three states, and I believe you're fine so long as the spikes aren't in the first state shown--if they're about to pop up, you're still fine.
The spikes are always timed in groups of three; if there's five in a row, it's a group of three and a group of two, for instance Failing the timing test results in a loss of 10 HP, except that the traps can and often do hit multiple times in a row.
The right exit from the room contains a sucker trap. It's red but IIRC it's the same enemy as the one from the underwater area. We are not suckers, so we do not fall for it. Instead, we go up.
I lose 20 HP in the process. I am out of practice when it comes to walking against the flow of the spike traps.
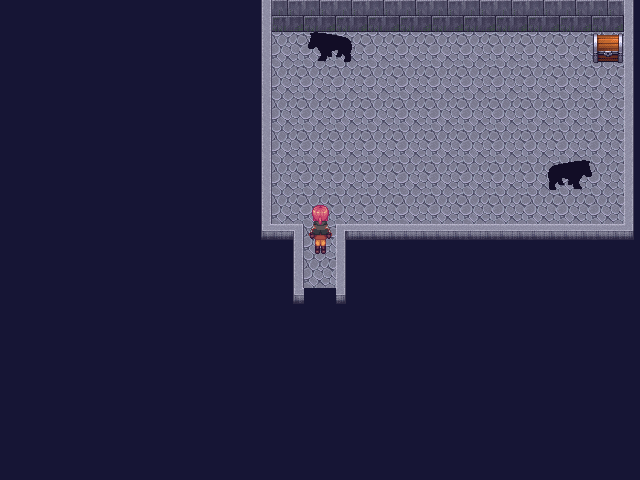
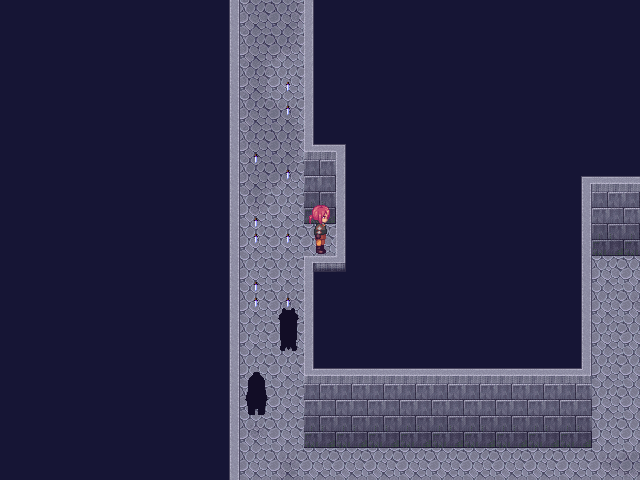
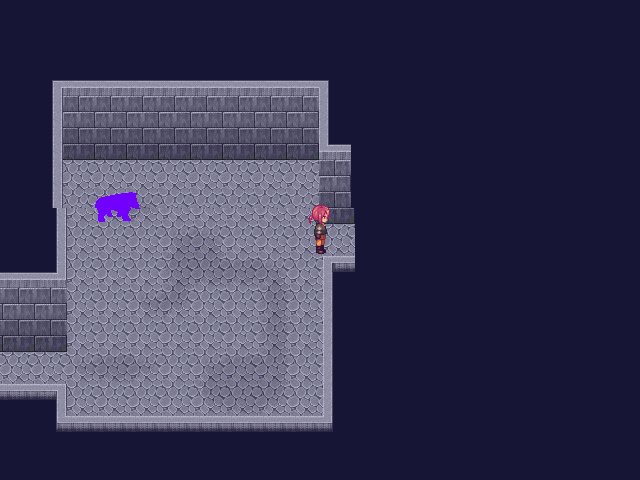
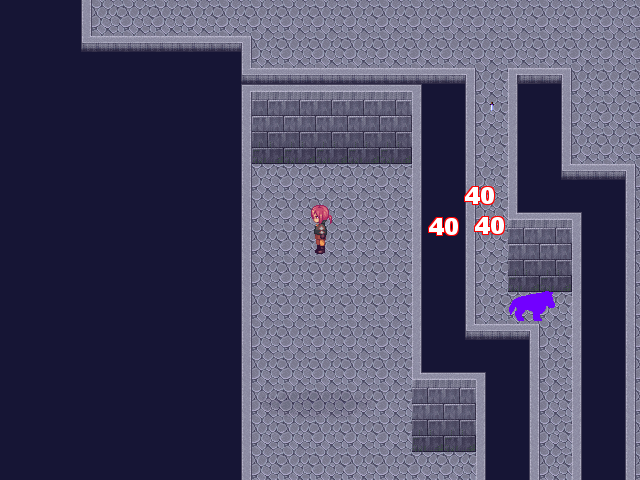
We can fight and win against the black four-legged enemies. We still shouldn't unless we have to--this is not somewhere I am supposed to be.
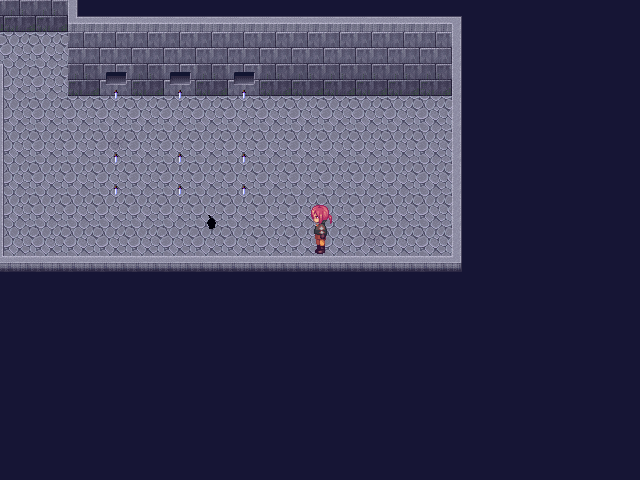
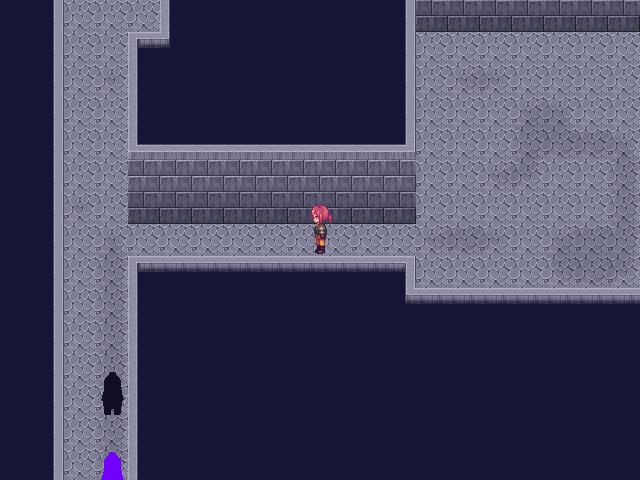
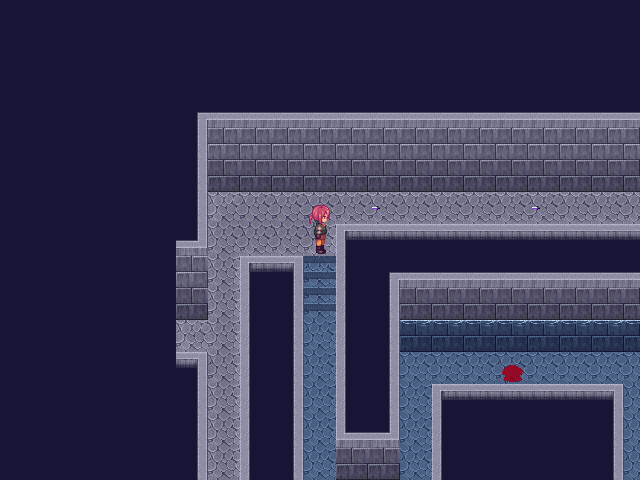
The right side contains a timing puzzle for a Glass Fragment. I move toward the left, avoid the central patroller, and head the left side.
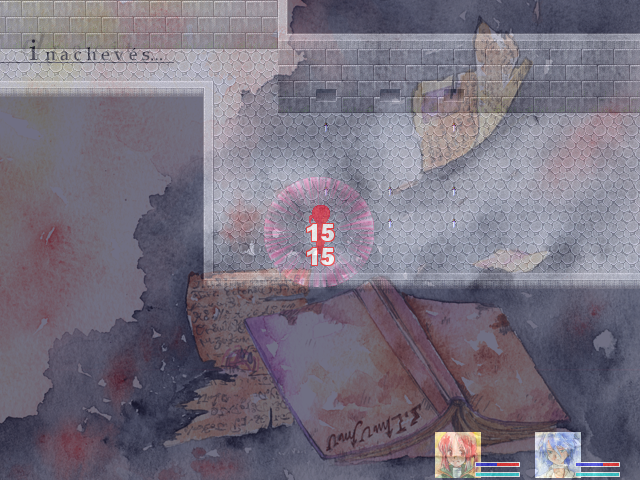
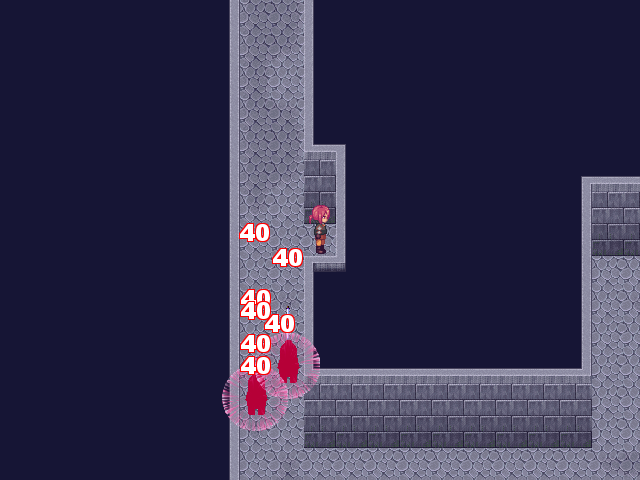
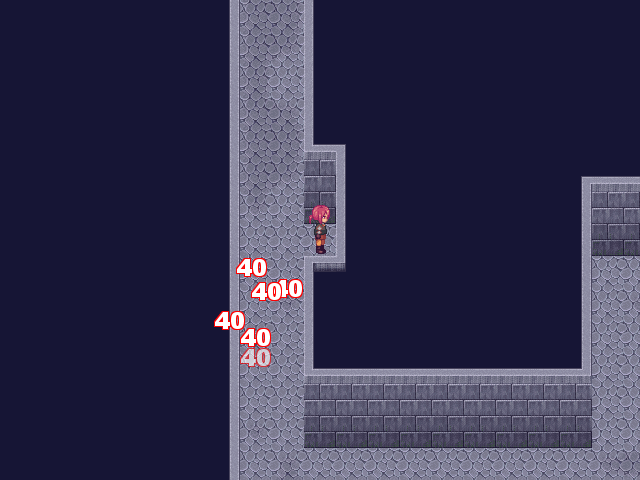
Another timing puzzle, this time for progress. The daggers do 15 HP here--that's easily survivable, but best practices are best practices.
Variation of the earlier sucker trap. Hey, the top's trapped, so let's go through the bottom!
Don't do it. There's four knives, so you'll have to heal each character once or twice. The alternative is dying.
The switch turns off the knife trap. For good, even, so long as you don't switch it back.
Edit: As Valkama pointed out in the thread, it also turns in the trap on the next room.
I mess up my timing, take one too many hits, and get knifemurdered. Oops.
(So much for the show of ultimate confidence
 That is a really embarrassing way to pass 26 deaths, considering, even before the switch thing.)
I switch the Lucky Rabbit for the White Dragon's Breath the second time around, giving Camil 14 more HP--73. That lets her tank four knives without dying.
If you didn't pay attention a few rooms earlier, you're liable to get to the end and be very annoyed. "There's nothing here! I got knifemurdered for nothing!"
If you did pay attention, then you'll realize that this is just above the room with the patrolling four-legged things and the two timing puzzles.
Or you can just walk into walls mashing "c" like a spaz, I guess. That works too.
That's the reward for going through the first sucker trap room. To add insult to considerable injury, I'm pretty sure it's just a Glass Fragment, just like the one I opened.
I abuse the rat outside to regen a bit before Camil knifetanks the sequence again; I'm low on restoratives and I forgot to switch my potions over.
Then I damn well run all the way back and save, because I exhausted my potions and I'm not an idiot.
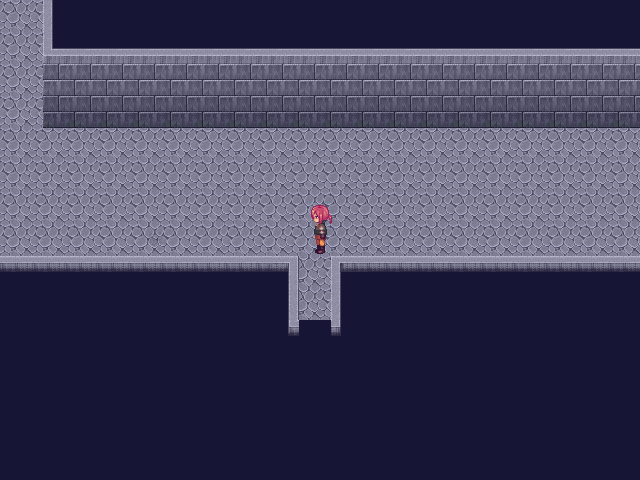
Neat little thing: if you return from the screen just above the Nest's entrance, there's an arrow there. Walk up to it...
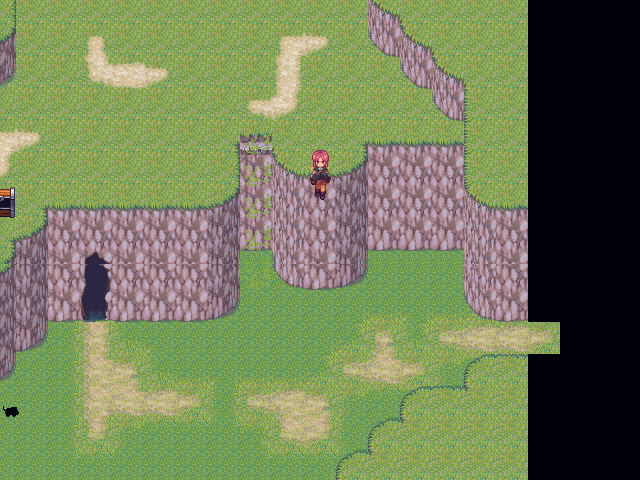
...and Camil jumps off the cliff and lands at the bottom.
It only shows up once every time you enter this screen from the top one, though, oddly enough. You'd think it'd be easier to just have the arrow there every time, rather than having it set to trigger. It's not exactly a surprise you could get up there, with the chests... I think too much about irrelevant details in video games.
Anyway, this exists because the area at the top of the cliff is linked to a one-way shortcut; they didn't want you getting trapped and having to fight through the Castle to get to a way back.
Potion loadout is 6 Stamina + 7 Energy + 1 Energy on Randolf. I want to be able to use Light Axe with relative impunity, but I don't want to die.
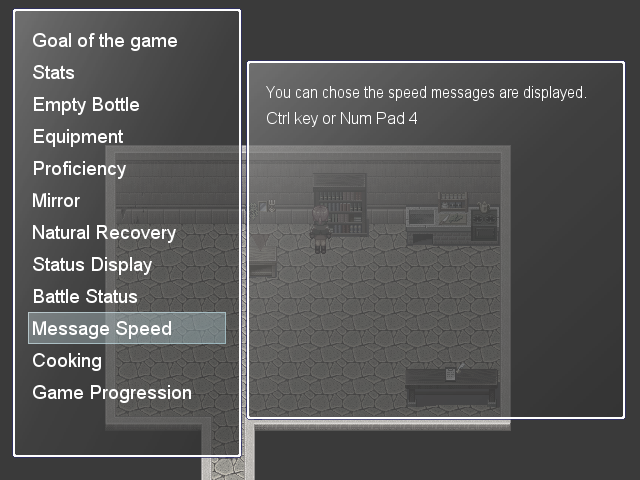
Bookshelf is even less useful than usual. There's not a lot of text in this game, and you don't want to speed through it anyway.
Back in the castle, this is the non-knifemurder room, just past the switched-off knife trap. It's more timing-based than usual, and the fake wall is more subtle than usual. It's still rather obvious by deduction, though, even if you can't see it.
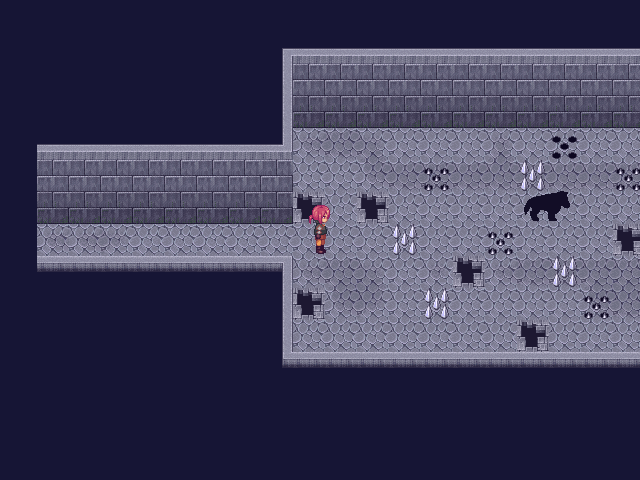
This area basically mandates a fight, so let's talk about the Aspen Bison.
Aspen Bison are tough sonsofbitches, as you'd expect, but we've minmaxed this.
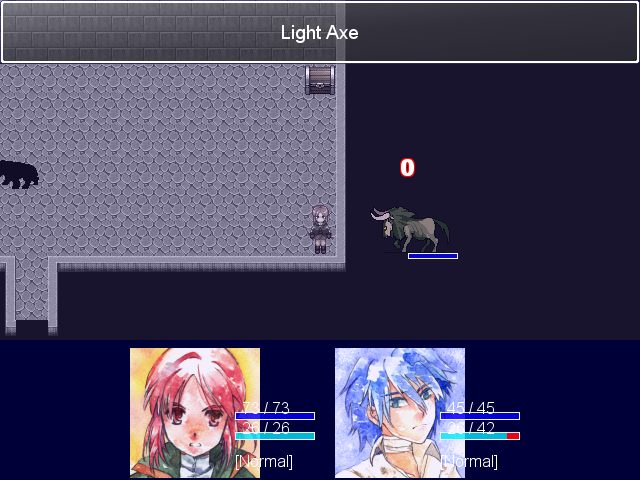
That's Camil's damage, thankfully, not Randolf's. Light Axe instead does roughly 40% of their HP. Randolf's entire 40 SP supply will take one out, if barely, and they'll kill Camil in three hits and Randolf in two.
That calls for a bit of creative change-up. Camil goes Marbled Meat/White Dragon Breath/Turtle Shell, aiming to turn that 3 hits into 6. She'll be healing whenever Randolf takes the hit and otherwise defending. Randolf stays in his Maximum Murder Mode, because he's the only one actually doing damage.
This is how sequence breaking in this game usually works. I'm fairly sure that Skill doesn't ever grow with level, so a Camil 10 levels lower than she "should" be has about 30 less attack, while a Randolf 10 levels lower has just as much Skill. Additionally, Lightning and Light Axe are among a selection of skills that ignore part of enemy defense--30%, in this case. Physicals never have that property. That means that physicals only really work on things you're supposed to fight (though Shout gives you a little room there).
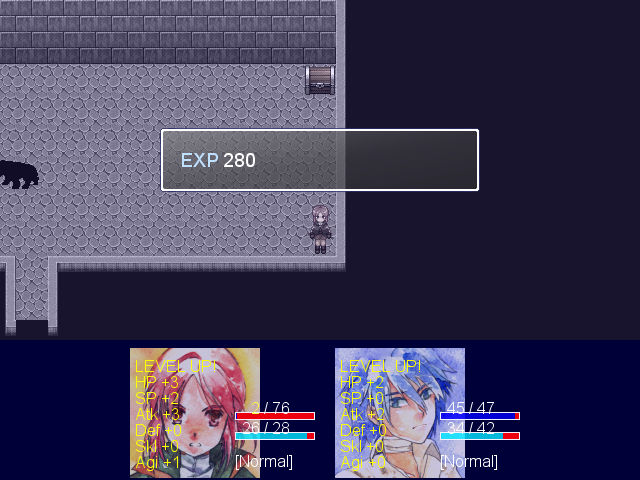
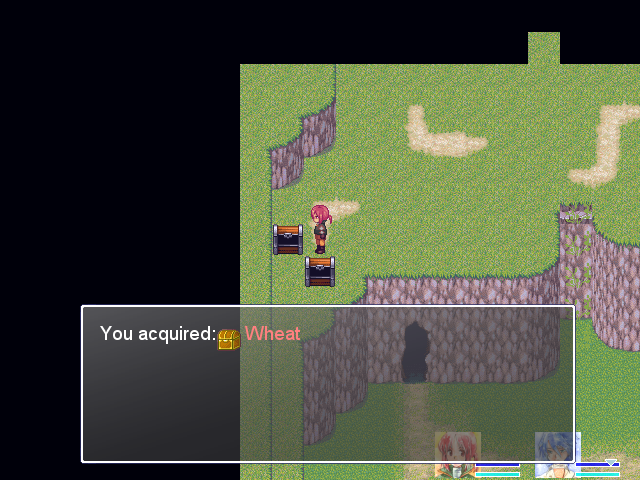
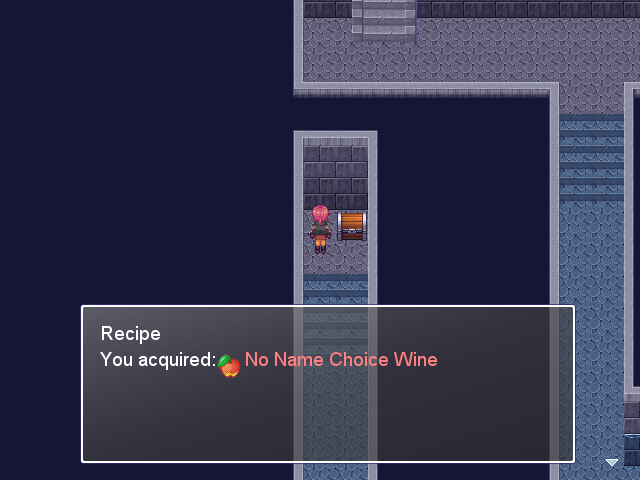
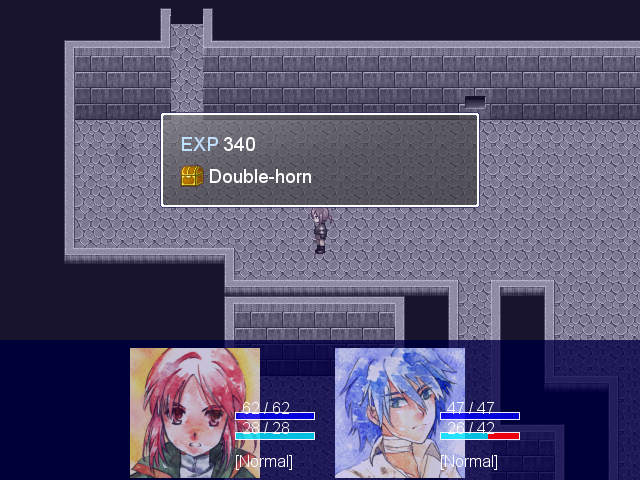
The reward is a lot of experience! The chest has another Wheat.
Wheat is an okay item in its own right--+7 Attack, +7 HP. It's only used in this recipe, but there's only so much Wheat.
I trace our steps and move to the right exit this time.
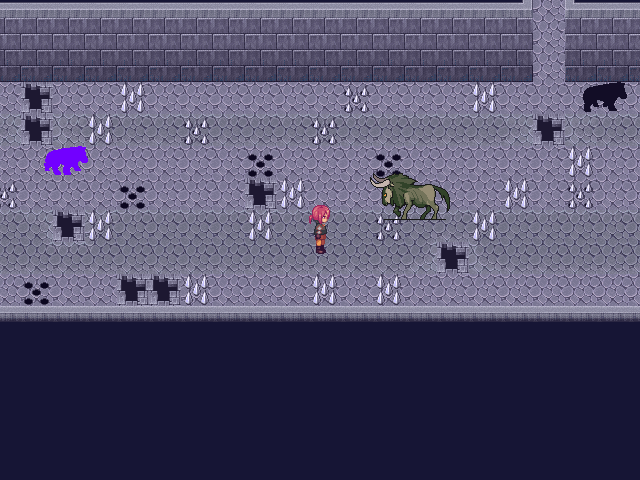
Purple Bison would require just about my entire stock of potions. They will be avoided at all costs. I take the bottom-right exit.
What an incredibly obvious trap... Hmm. No point in overthinking it; I haven't done anything I'd be really sad to lose. Hit the plates, book it for the end.
oh god oh god don't start a fight whew okay I'm alive
...
I cannot express how good that feels after all the stress of walking around things that can murder you with a thought. That's the real reward, right there.
Only one way to go. There's an exit to the right here.
So, naturally, I decide to walk up and see if I can trigger the traps again. The solution is always murder! Except this time, alas.
And so I am undone by my own hubris! Tragic.
Not actually that bad, though.
Straightforward timing puzzle.
Basically the same as the last time this showed up, knife trap deactivating switch and all, except there's no right-wall exit.
Similarly, this is the same basic idea as the knife trap hallway... Except the purple Bison doesn't die to the daggers.
I don't fuck with it. I can come back for the chest. Exit is upwards.
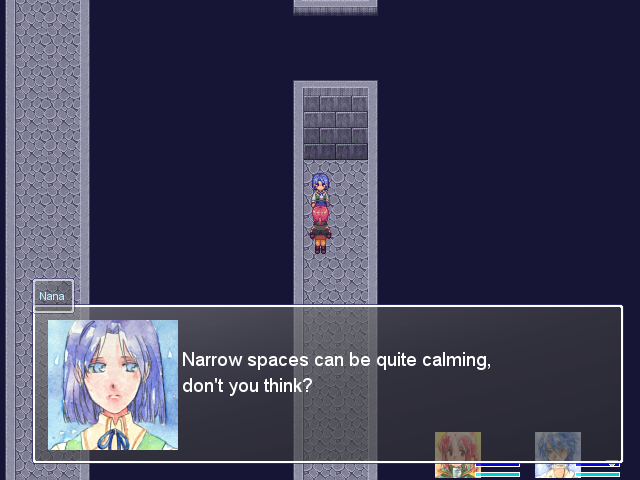
And if you talk to her again...
 ......
One more Glass Fragment... Except not yet.
The eagle-eyed may have noticed that there was only one story left in her line-up, but this isn't actually the last place Nana appears. Generously enough, all three characters appear more times than you need to find them in to open up the dungeons they unlock, because not everyone is going to sequence break to this area at this point.
I wasn't sure if unlocking a dungeon made characters stop wandering, but apparently it doesn't! So this was a pointless bit of caution, really. (I went back for it at the end of the next update.)
You can lose Glass Fragments, and therefore bottles, permanently this way. I've lost one Bottle from Randolf, since he appears once in a segment of The Snow Fields that I forgot about and twice in or past The Seashore. Sadly, he will not just hand the fragments over to you. Similarly, Nana appears twice past the Seashore, and I also complete her dungeon before finding those locations.
It's no big deal, though. I can get by without two bottles. I'll show that text off in a bonus update at some point.
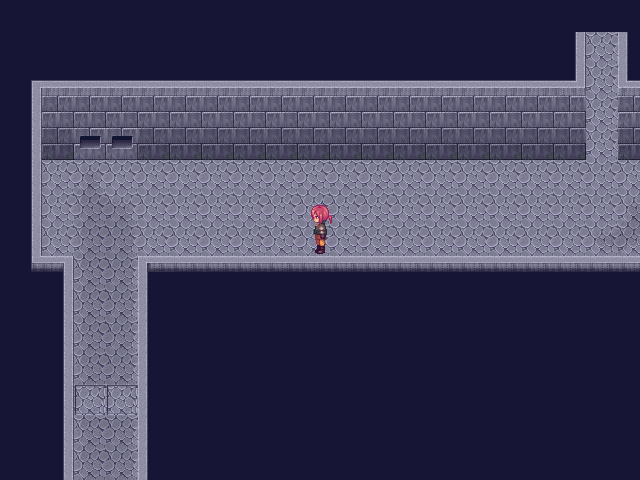
A brief detour for a Glass Fragment, then we move over here and go down some stairs.
Through some particularly devious hidden walls,
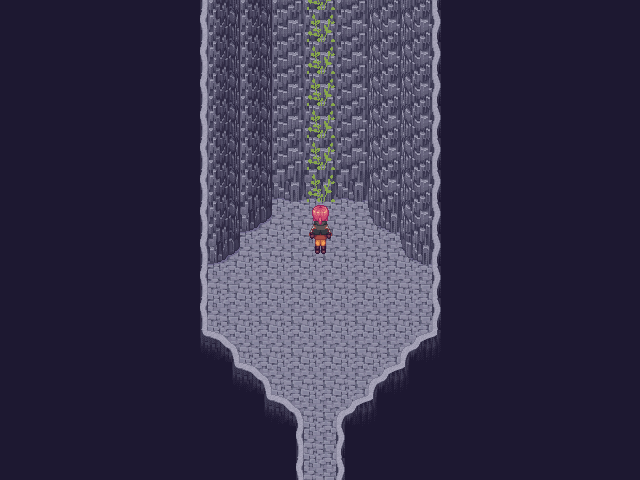
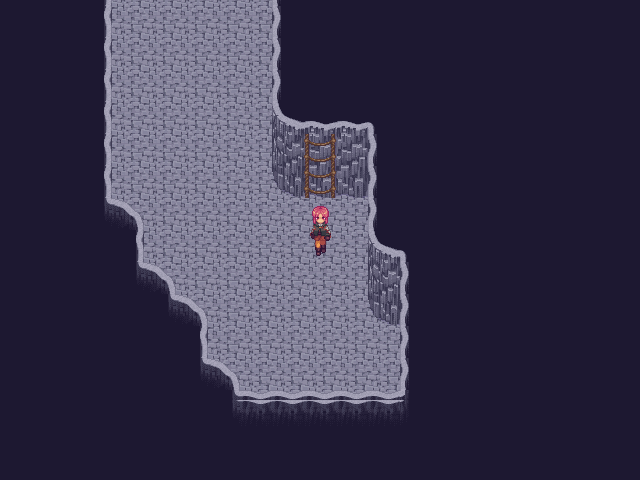
up this vine, and...

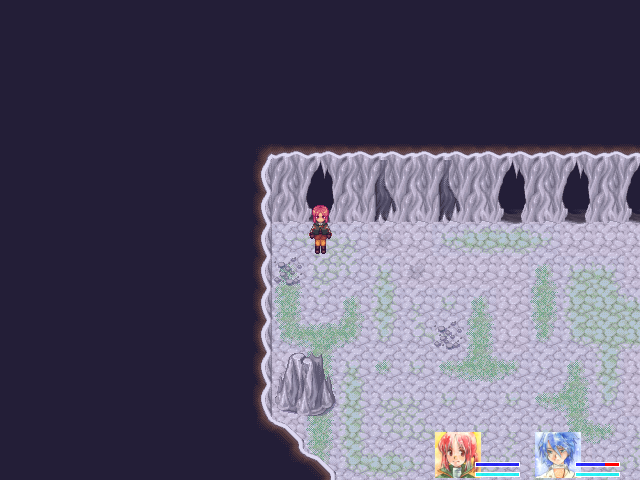
(Listen to that. I'm a complete sucker for piano, really, but I like this one.)
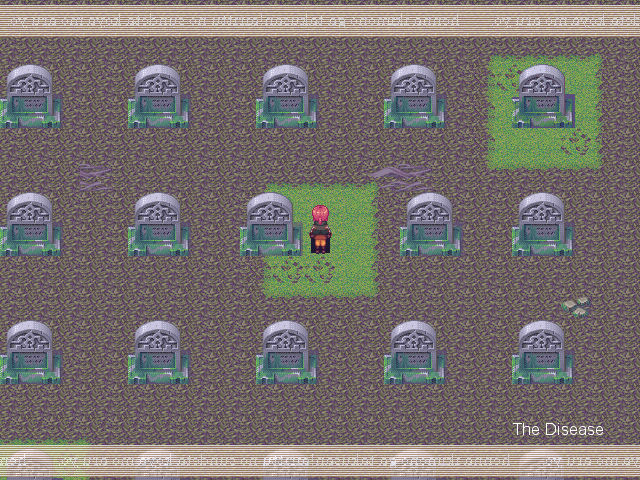
Welcome to The Disease! It's the game's single most lushly vibrant area, and it'd be beautiful if it wasn't for that name making it so strangely unsettling. I joked before about the mysterious epidemic of the past possibly being plant-related, but if you want to make a serious theory out of that, this area is probably the best evidence.
Let's talk about area order. After the Sands is this detour to the Demon King's Castle, then the second major dungeon, then the Seashore's areas, then the third major dungeon. The Disease is an optional area that you can (should) do after that.
We are way, way out of our comfort zone here. We have no business trying to do anything here until we are much, much stronger.
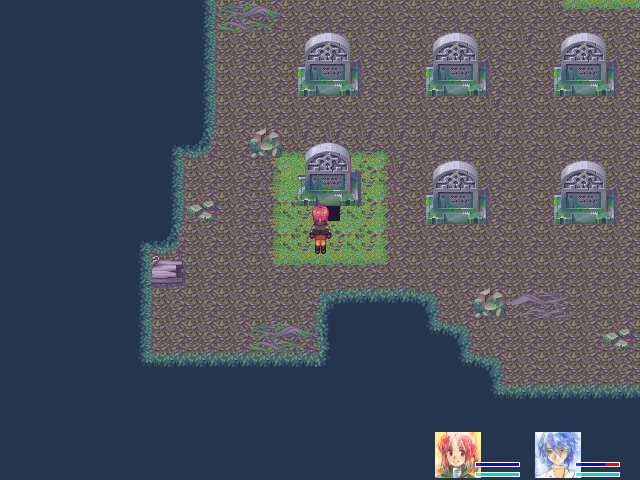
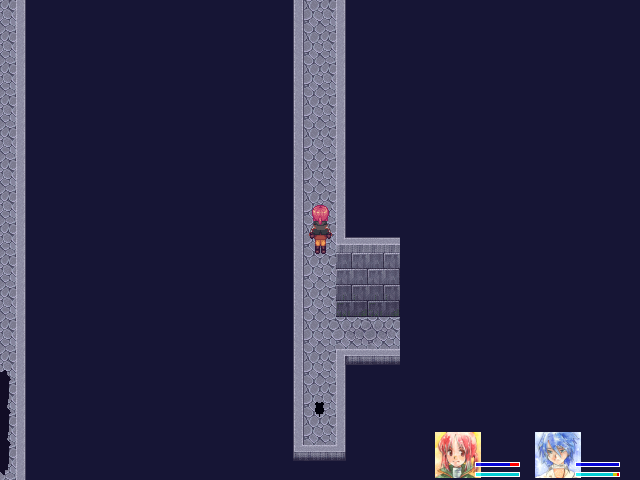
That said, we can still grab a Glass Fragment, courtesy of a very obvious moveable gravestone:
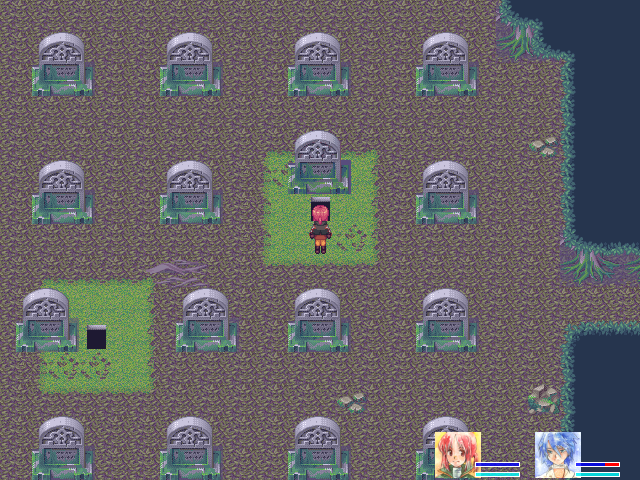
The other one contains the shortcut back to The Nest.
Yeah, just in case you didn't believe me on the whole "way dangerous" thing.
If you wander to the right, you'll have this impression reinforced:
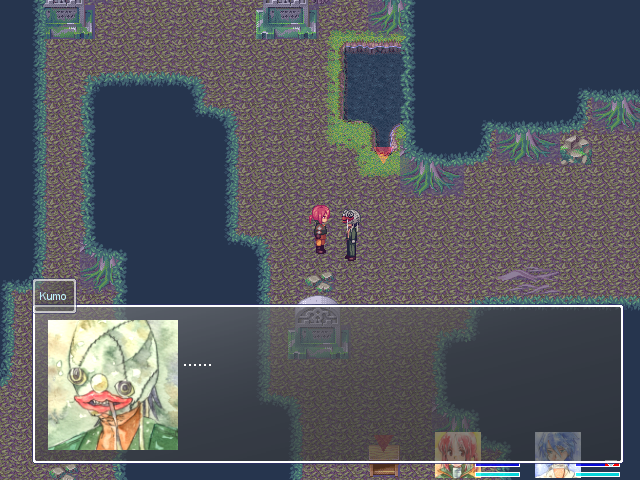
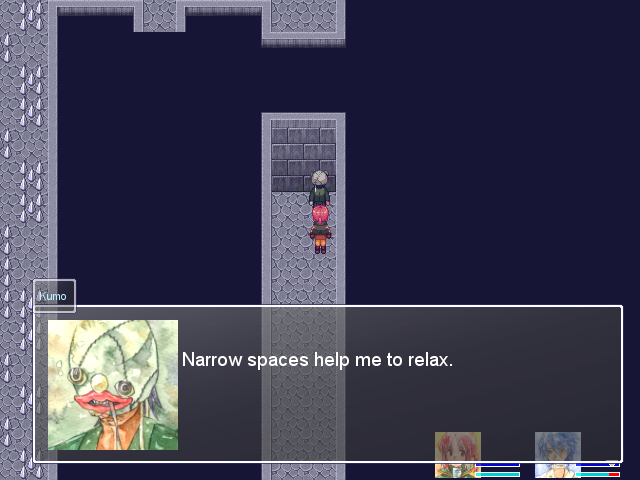
One Glass Fragment. Talking to him again:
There's no longer a need for you to come here. There should be a path that connects to The Nest."Seriously, get out."
The Disease is strictly optional--Kumo here is the only necessary thing in the area, and as pointed out earlier, Kumo appears in more places than he has stories.
Now, I promptly ignore my own advice and fuck around a bit. There's a very specific enemy here that's harmless... Unless you engage something else, at which point they become horrifying hellbeasts. They will kill you the first time you come here. Without other enemy types, however, they're 100 free experience. If you know what you're doing, this is a pretty good place to grind levels early on.
More importantly, I wanted to see if I could get a Stained Wing at this point. I wouldn't use it--exploits are a thin line and I consider this to be past it--but it'd be fun knowing I had a +8 HP/+8 Attack/+20 Skill/+10 Defense/+2 Critical/+5 Agility item just sitting in the wings.
It's a very rare drop, though; I killed about ten of them with the Lucky Rabbit on before I reset and moved on. The developers know you'll be killing just about every one in the area when you pass through, so their drop rate is adjusted accordingly.
I take The Disease's entrance back to the Demon King Castle. There's a Stamina Up in another unused tunnel. I'm not using stat ups immediately--remember the statuses they give? I figure that I may as well try to take those statuses into a boss fight at some point.
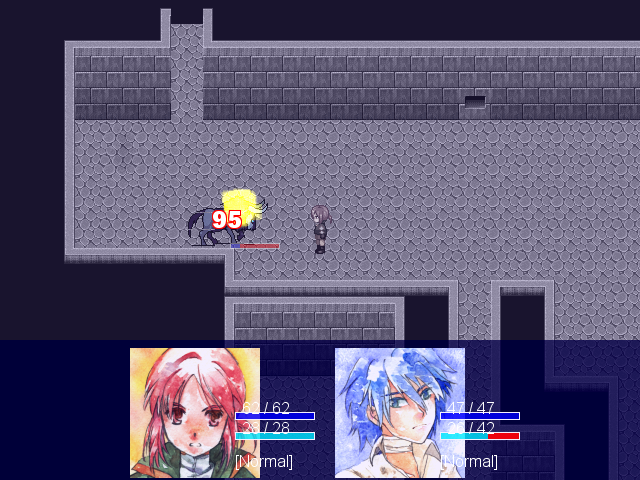
I was a little excessively cautious--the purple one in this hallway goes down in one Lightning Axe after all the knives have weakened it.
In the process, I get massively, ridiculously lucky. Yes, I did have the Lucky Rabbit on, but... This is a big deal.
+22 Attack. It's beautiful, isn't it?
(Camil still does 0 damage to the Bison with it on.
Low level physicals are a sad thing.)The treasure chest itself has Guava, which adds +10 SP--really nothing special, strictly worse than the White Sesame's +12 or the Energy Restore's combination of +SP/skill/agility.
To the left is Kumo, who we saw earlier when I was getting that Glass Fragment.
One Glass Fragment. Again:
I can't let that happen though. I guess that's just my nature.There's a fake wall down and to the right, opposite the bottom entrance; you can use it to cut through and reach the opposite hallway. There's still a purple Bison in there, though, so it's pretty useless.
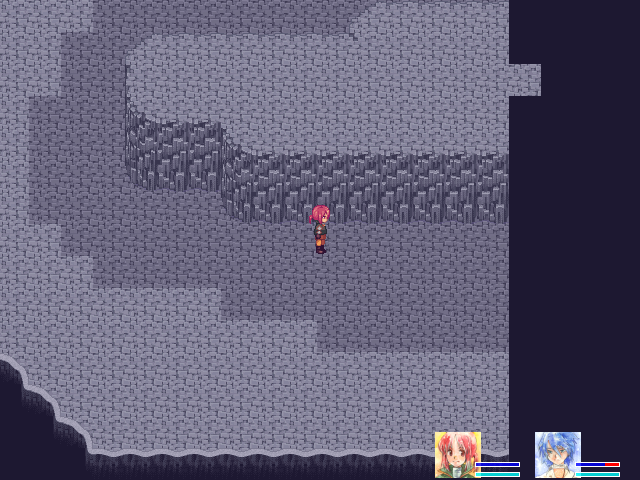
To the left of the stairs to The Disease is a little hallway with a Bison in it. To the left of that...
That's a normal rat. Why's it there?
Well, the other end has about four Bison, positioned to get to the other entrance right as you do. No, you're not supposed to fight your way through by brute force. You can, but it's not intended.
We're missing a special equipment ability that will make this all make sense. I should have gotten the recipe for it back in The Snow Fields, but I missed it--I'll go back for it later, when I'm doing area clean-up.
In the process... Randolf levels up. And, uh.
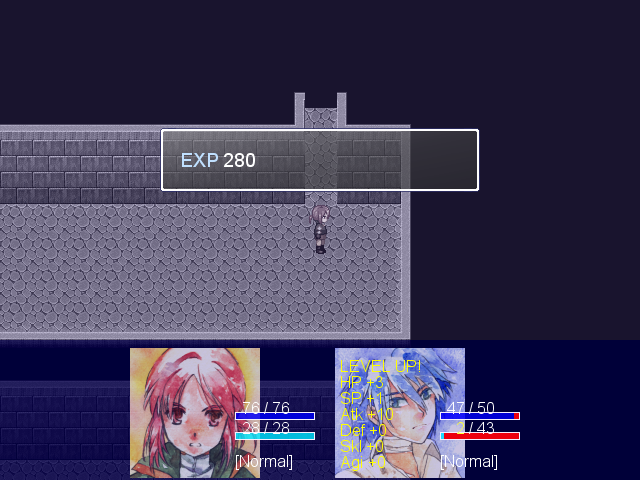
No, that's not a typo or a glitch. Randolf really did just get +10 Attack on a level-up.
Randolf makes up for his crappy first few levels. Camil's still kicking his ass in Attack right now, though, so this isn't going to revolutionize the way we're using him or something.
Back to The Nest. There's one path in The Demon King's Castle that I never explored, since I went down the pressure plate hallway first, and the respawning enemies effectively make that a point of no return. But I need to return there later anyway, so I'll get it then. For now, we have two stories to read.
(Both this track and the one that starts the second story are good, especially in context. Listen to them.)

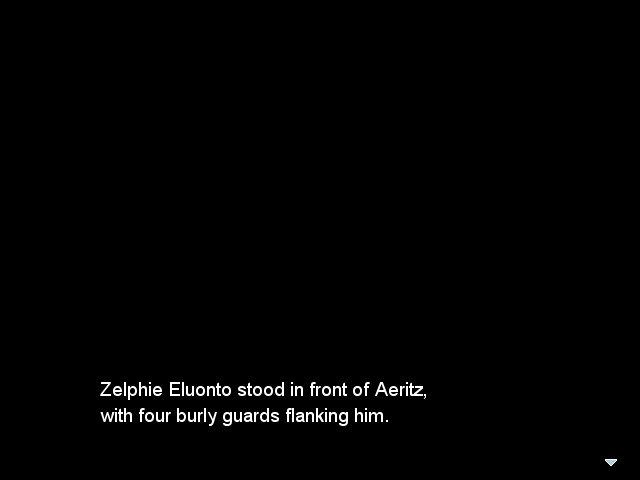
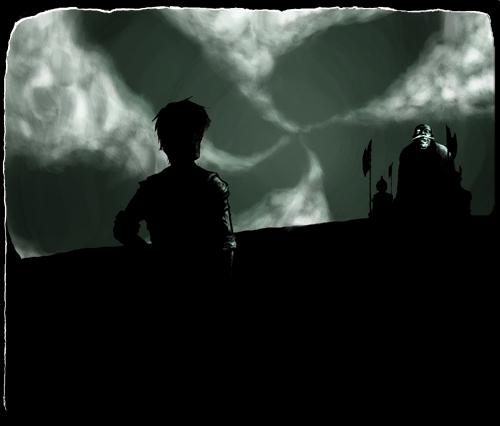
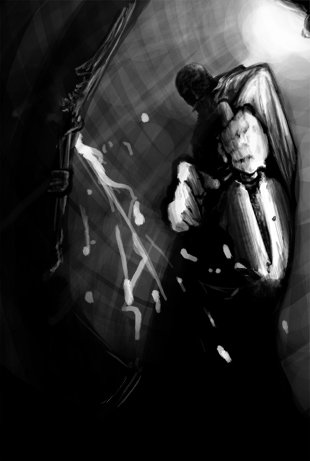
"Long time no see." Aeritz raised one hand in greeting. The old man's reply was...
Silence. No reaction. I can't read his expression. It's the first time I've seen the real Zelphie Eluonto. The man known as the Virtuous King 20 years ago. I couldn't sense any arrogance from that face covered in wrinkles. He was less like a madman, and more like a man already half dead.
The sword at his hip was the infamous Starcaller. The eerie silence blanketed the scene. <crickets>
Zelphie muttered something. His quiet voice did not reach my ears.
"No, it didn't work out" I could easily hear Aeritz's huge voice, completely out of place in these surroundings.
"So how about this?" Aeritz shifted his center of gravity ever so slightly forward. "How about I become the hero! Right here. Right now."
Aeritz put a hand on the sword at his side.
And the second:

The 4 escorts stepped forward and formed a wall in front of the old man. As if in concert, Aeritz took a step backward while drawing his sword. His sword was already halfway out of its scabbard.
(The volume drops sharply here--it's almost too quiet to hear now.)
The moment when he finishes drawing his sword. That moment exactly. That is my signal to strike
I had a small tool in my hands. It was a collection of hand-held explosives. A special bomb. I call it a bomb, but it has no killing power. It only makes a very loud noise. It may not cause any damage but the sound it makes is more than a human can handle.
That's the core element of this plan. I detonate the bomb, causing a momentary flash of white. That is our opportunity to strike. Aeritz... With that sword of his... He will slay Zelphie Eluonto.
(music volume jumps to normal again)
Drawing his sword, little by little, Aeritz began to retreat,
Not yet... Not yet... The timing isn't right yet. Draw them a bit closer. Not yet... Not yet... Aeritz's sword hasn't cleared the scabbard yet. Not quite yet.
The escort steps forward, shifting his center of gravity. Aeritz's sword still isn't out of its scabbard yet...
Not yet... Not quite yet... Not yet... Not quite yet...
Not drawn yet... Not just yet... Not drawn yet...
It's drawn! My chance is...
--------------Now!
(the music cuts to silence. then, a red flash and the sound of a sword)
A quick gust of wind.
Aeritz didn't make a move either.
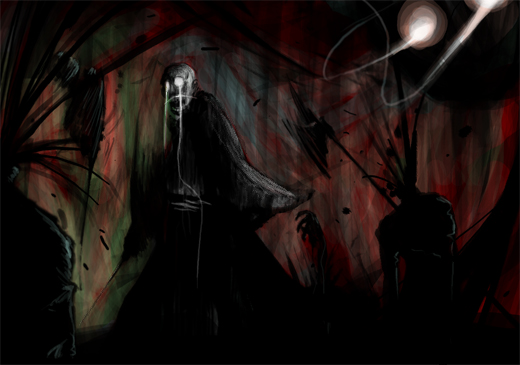
(For the three lines just above, the game repeatedly pans over the below image:)
(Unlike the pans in Nana 3, you get a clear image of what you're looking at. Then it goes black again.)
Then the four bodies suddenly tumbled over. When did he draw his sword... Zelphie Eluonto holds his sword in his right hand.
"Well then."
Zelphie Eluonto. The man treated as a hero for the last 40 years.
He slowly advances, sword in hand.
"Try me if you dare."
In front of him stands Aeritz, completely dumbfounded with shock.
Starcaller had drunk the blood of 4 people. Its blade glowed a fiery crimson in the moonlight.
I'll save the next story for later. There's only so many stories to tell, after all; no reason to gorge ourselves.
Next time: The Sands of Remembrance, part 2. Let's see what the area's like when you take it more seriously.
Battle Record:
2014/03/23/ 02:33:18
Demon King Chronicle
■Battle results
Playtime:06:16:30
Save count:89
Steps taken:32781
Battle count:261
Max damage:107
Max damage taken:43
Items:30 Types 72 Items
■Treasure Chests
The Nest: 3/8
Demon King's Castle: 21/26
The Hamlet: 26/31
The Snow Fields: 12/20
The Dragon Mountain: 6/6
Sands of Remembrance: 3/26
The Disease: 1/20
Unmapped area: 5/10
■Camil(11)
HP:76
SP:28
Attack:61
Defense:16
Range:32
Critical:8
Skill:15
Agility:35
・Sagarmatha(2)
・White Dress(1)
・White Dragon's Breath(0)
・Turtle Shell(2)
・Marbled meat(2)
■Randolf(10)
HP:50
SP:43
Attack:36
Defense:9
Range:15
Critical:11
Skill:85
Agility:25
・Rat Slayer(2)
・Magnificent Zenith(1)
・Energy Restore(2)
・Salad(2)
・Old Lady Anna's Poison Steam Bun(0)
■Top 10 defeats
Rat(128)
Monkey(54)
Mutt(29)
Turtle(26)
Abominable Snow Monkey(23)
Turtle(20)
White Dragon Wisp(15)
Scorpion(12)
Ferocious Rat(11)
Mutt(9)
Annihilation Record:
Annihilation count:27
[2014/03/23 00:16]Defeated at Demon King's Castle.
(Current winner: Cake Attack [26])
Glossary:
New entry. (Pretty sure it's unlocked by reaching The Disease.)
■Natives
People who migrated some time ago
from the continent. This way of addressing
them is not politically correct as their
culture is just as advanced. They are known
as people who love peace and stories.
(Or, uh, they were known, probably, unless Randolf meant that Camil is a native. Everyone else we've met is recently from The Continent.)