Part 19: "Stories never really end... even if the books like to pretend they do. Stories always go on."
Chapter 18: "Stories never really end... even if the books like to pretend they do. Stories always go on."(The Expensive Stone, the Great Rat, Fantasy, Cave Chronicle 1)
Welcome back!
After clearing the game, nothing is really unlocked or changed; you just pick your last pre-boss save and go. Sadly, this means the Dragon Slayer is the Rat Slayer and Will is back to his portraitless low-stat self.
For future reference: considering that
a) the White Will Stone was in Kumo's room,
b) using the White Will Stone unlocks the Aeritz entry in the Glossary,
c) Camil represents Ares, Randolf represents Flodnar, and Will becomes Ritzea in the final battle,
d) Aeritz is very likely the one who told Kumo that "There is no Healing Magic. There is no Star Fall Magic..." quote (and Will gets all four of the impossibilities listed there),
and e) his portrait and cut-in are "iriz" in the game files (and he's pretty clearly not Ares),
...I feel pretty comfortable suggesting that our mysterious blank-named friend Will is Aeritz, or at least some kind of time-freeze image of him left behind. So now I'm just going to call him Aeritz.
If real-world Aeritz comes up outside of the context of Sir Not-Appearing-In-This-Portrait, I'll point out which Aeritz I'm talking about.
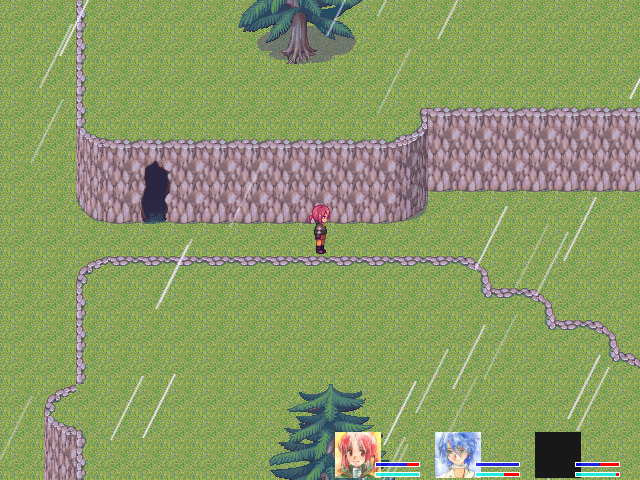
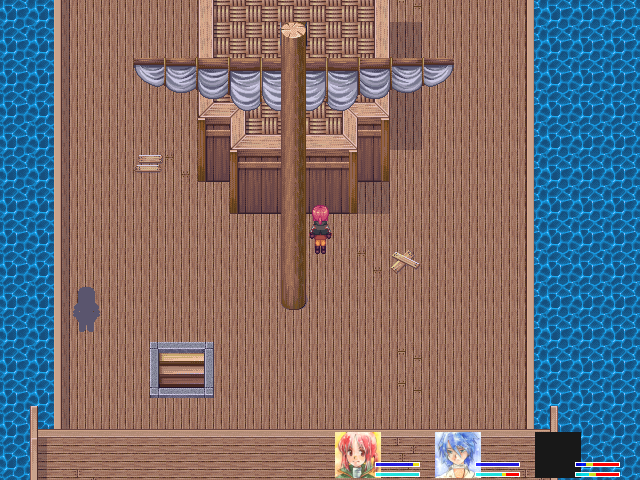
Now that I'm not balancing on the knife's edge between two different people winning the kill count contest, I'm ready to challenge this damned thing again. This is one of my least-favorite challenges.
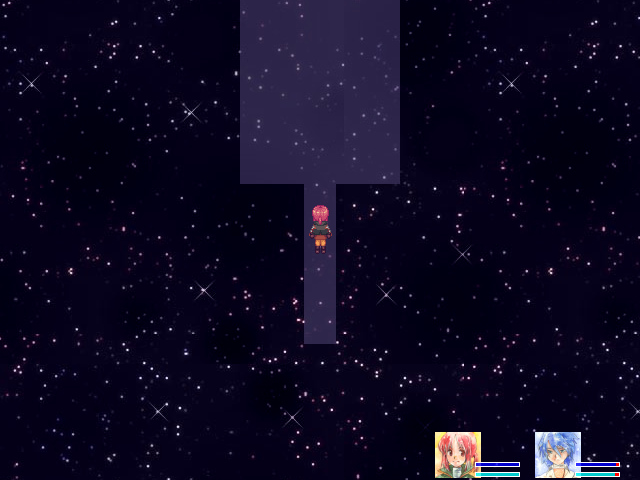
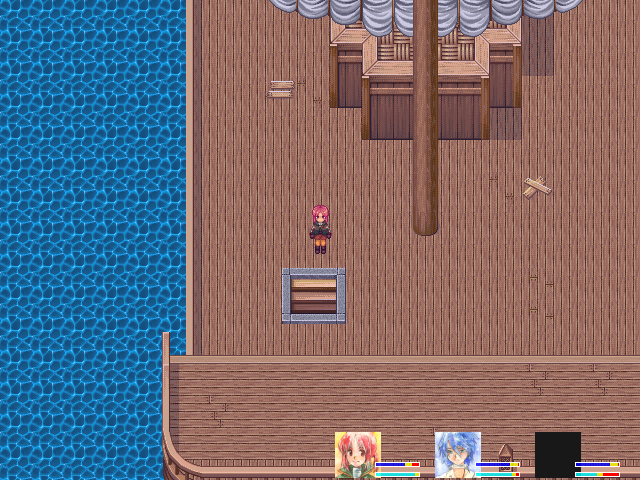
Like I said last time, a couple of updates ago: equip the Twin Tail, grab all three enemies at once, and then kill them in one go. You'll barely make it at best; at worst you'll drown right next to the entrance to the next area. The enemies are harmless, the only real threat is drowning.
Which will probably happen at least once, even with the Twin Tail. This bit is a bastard.

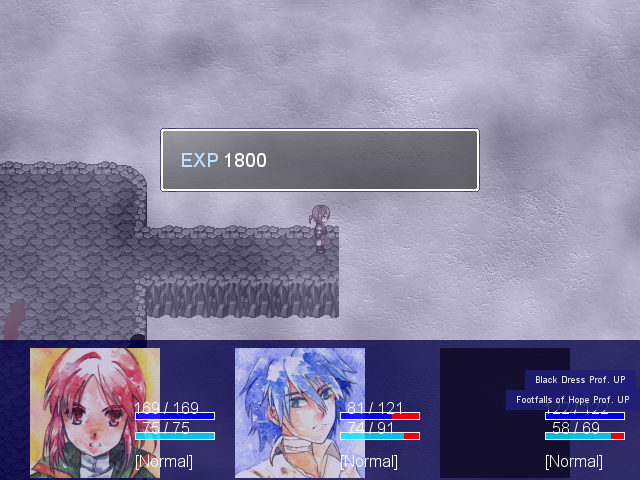
The Footfalls of Hope is a pretty damn good item... Under very specific certain conditions.
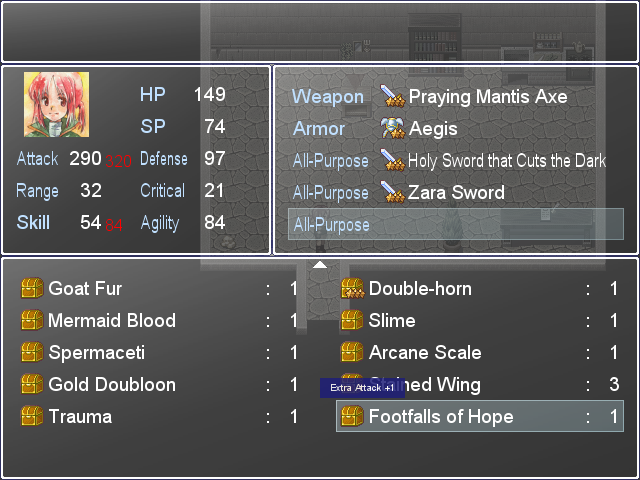
The Footfalls of Hope makes a good fallback item for Mage Camil or Mage Aeritz, for use when you've cleared out the majority of the enemies first round and don't want to use Inferno or Star Fall Magic on the survivors. The problem is that it doesn't give any +Agility and a pure Fighter doesn't really care about the Skill. It'll probably see use on Aeritz, who is desperate to get some actual Skill (outside of when The Final Battle As Planned activates, anyway), and in easier areas it's decent on Camil.
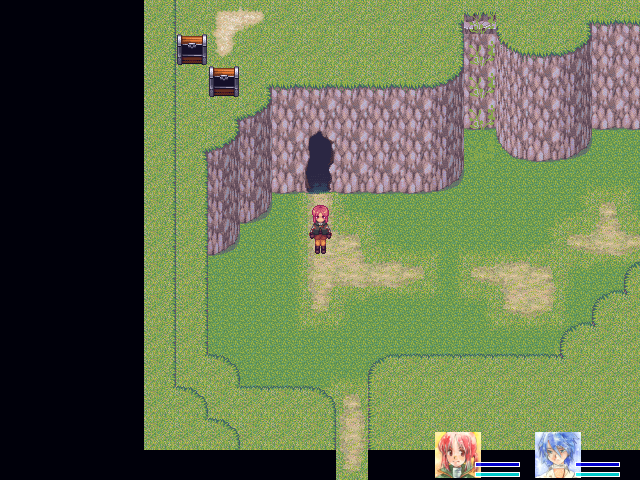
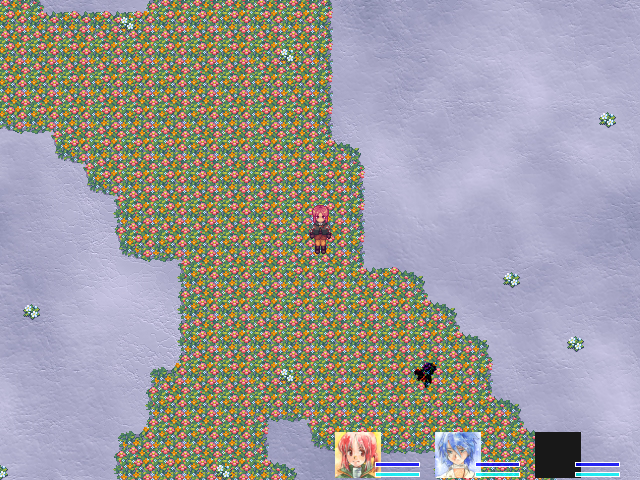
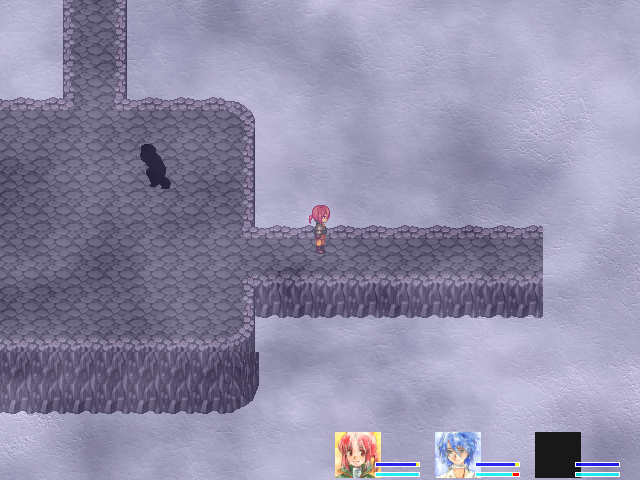
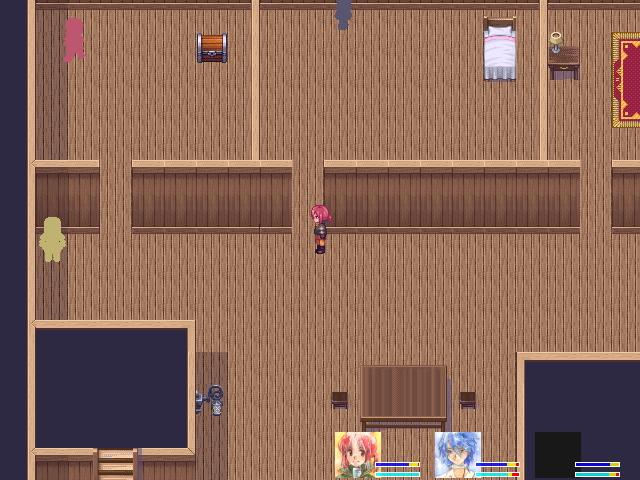
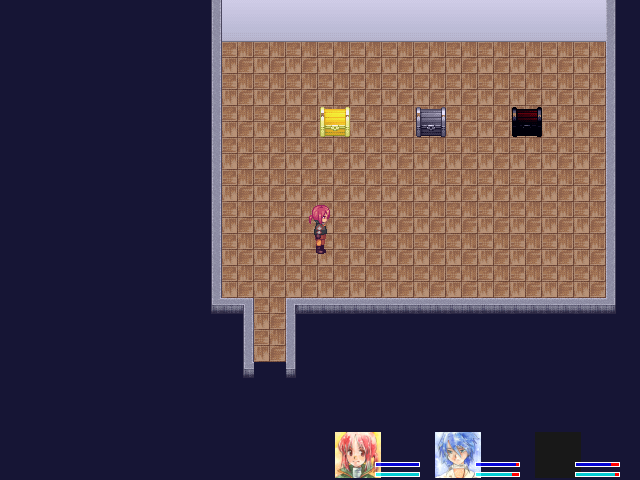
I rearrange my items and then decide to do a bit of grinding. I've still got to master the Aegis and Delusion Cocoon, after all!
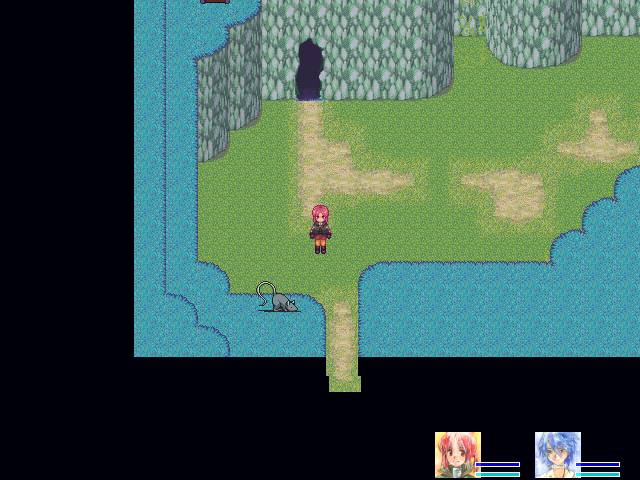
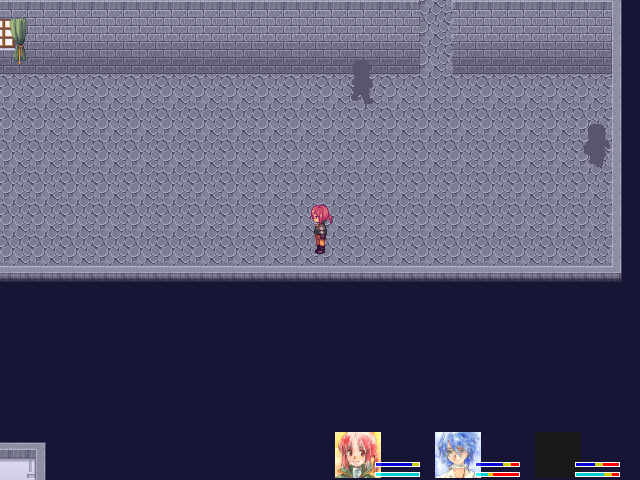
This rat looks perfectly harmless. I kill it about twenty times.
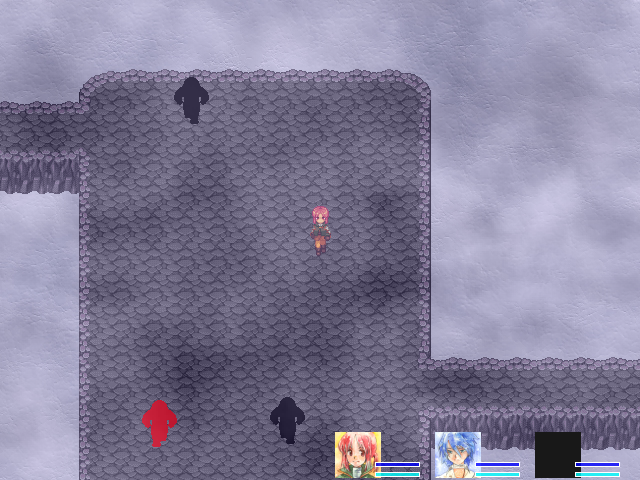
Eventually, you may notice the rat is replaced with a Killer Rat. This is your warning. If you're not near or at endgame, do not continue fighting here.
Seriously. Not kidding.
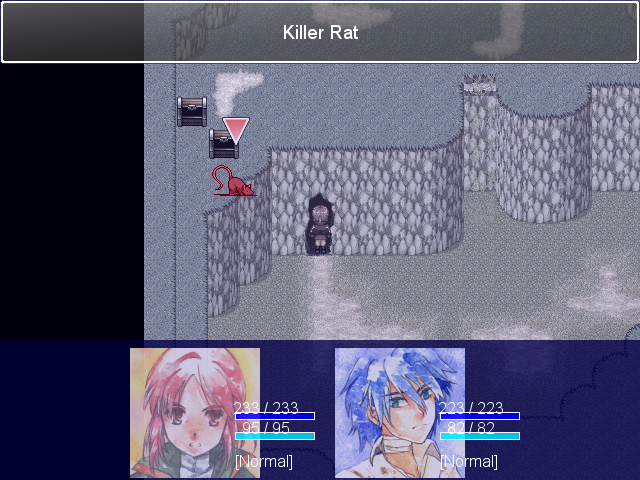
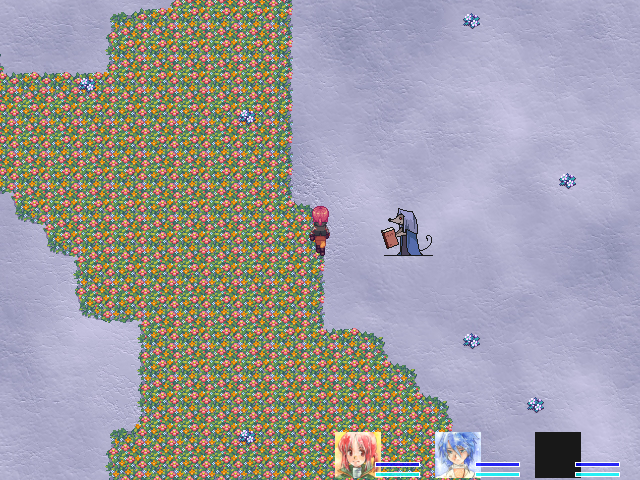
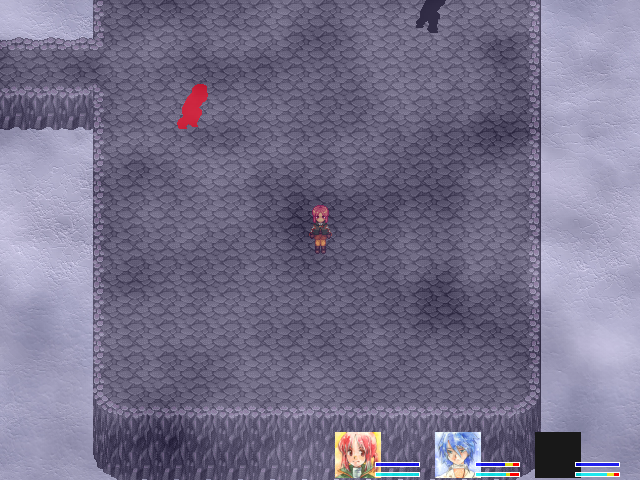
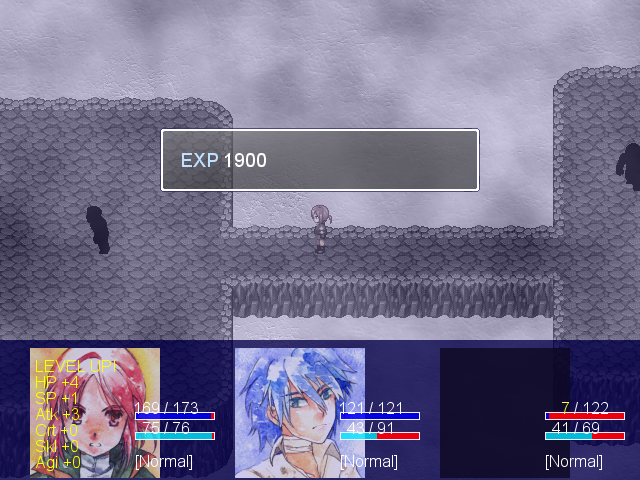
After five killer rats...
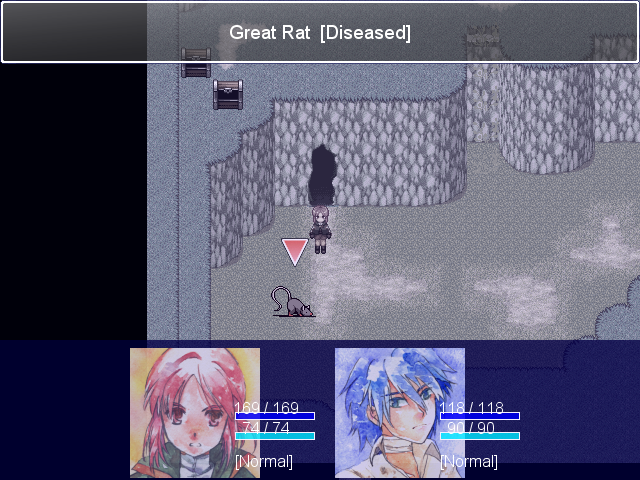
Do I need to remind you of the significance of a rat on this island showing up with the status "Diseased"? It's a damn good thing Camil and Randolf have story-immunity (possibly in both senses of the phrase?
 ) to the plague.
(Although considering that Camil can apparently cure congenital heart disease, I'm guessing The Disease isn't too much tougher.)
To my knowledge, the "Diseased" status has no mechanical effect. It's just there for story reasons.
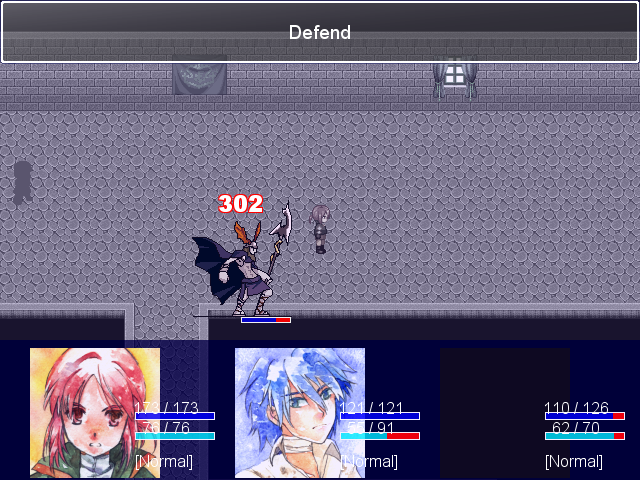
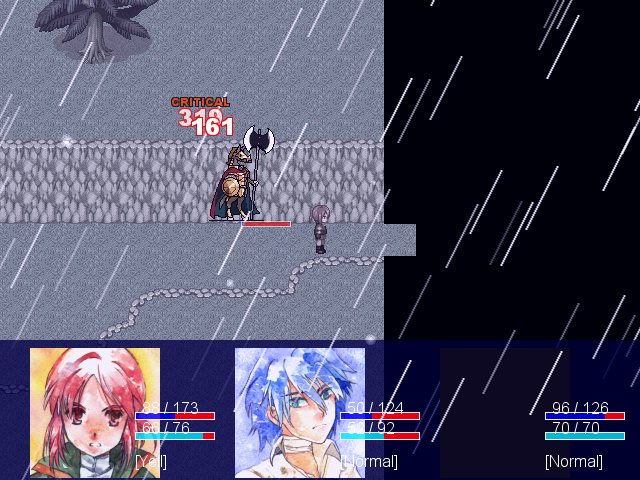
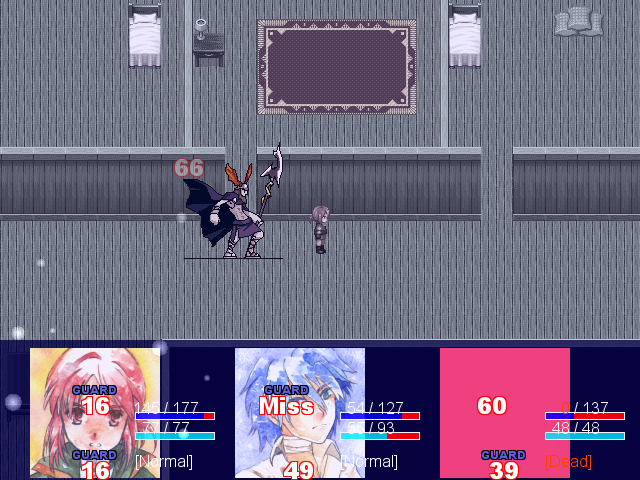
This is after three criticals + one hit from Camil + two Light Axes.
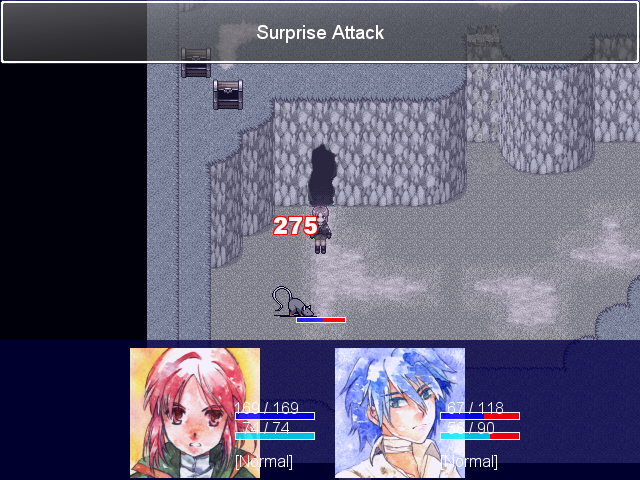
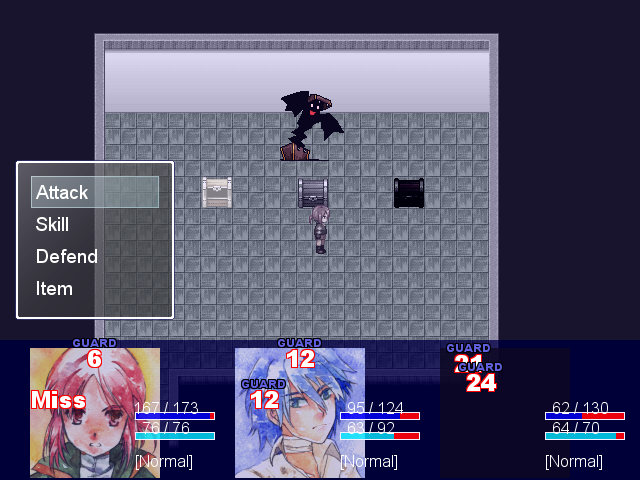
The Great Rat is pretty tough and does about half-life with normal attacks to either character here, and they both have Sporadic Guard. It attacks like a suped-up Killer Rat, with about five different hits, so high defense makes a big difference.
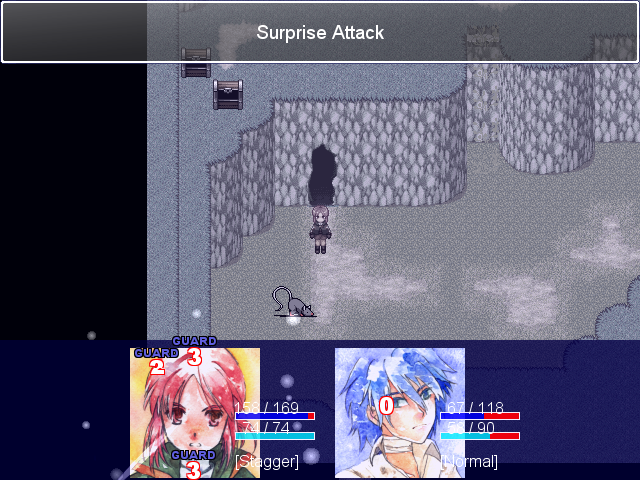
Comparatively, Surprise Attack's damage isn't very dangerous--it hits both characters a lot of times, but it doesn't do as much per hit as its normal attack. It does, however, hit so many damn times that its Stagger effect is near-certain to hit both characters. The Great Rat can and will stunlock you to death if you walk in unprepared; the Black Ladybug is just about the only anti-Stagger gear you'll usually wear without forewarning, and the Great Rat is pretty fast too. Camil goes first largely because the game doesn't really expect +90 Agility here.
Just think: you can trigger this fight basically as early as you want, provided you can get through five Killer Rats first. This is a pretty mean secret.
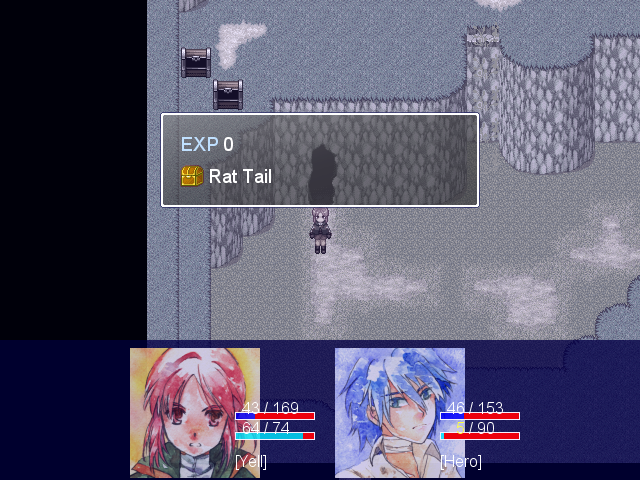
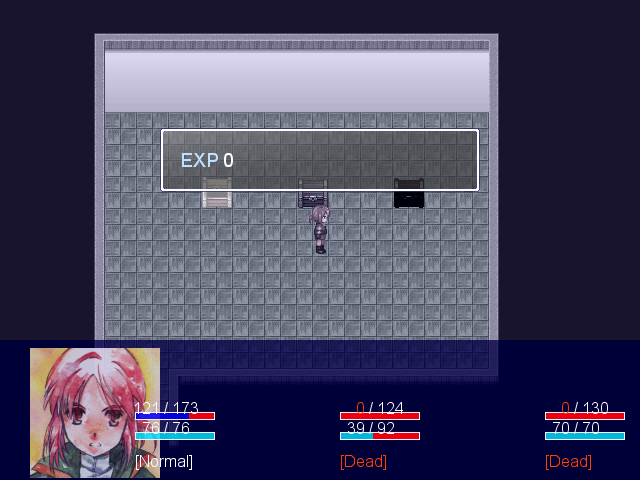
When you win, you're rewarded with the tail of a rat that was carrying a plague recently responsible for killing a huge swath of the population, both on The Continent and on The Island.
Um. Where's the nearest hazardous waste disposal site...?
It's a crappy item (+15 Agility, no other effects), but it's used in the recipe you get from the Chimney. So yeah, the Decorative Plant is the only furniture item Aaron Aaron sells whose real reward doesn't require you to face probable horrible death.
At this point, Aaron Aaron is so far into negative karma that he's likely to reincarnate as a Great Rat.
After defeating the Great Rat, rats no longer spawn here. So we didn't accidentally permanently transform the harmless rodent outside our apartment building into a horrifying plague-ridden hellbeast, at least... But this also means that the Rat Tail is a one-time item.
Back to The Imagination. Aeritz gets the Footfalls of Hope; the +30 Skill is very nice for him, and I like having him reasonably competent physically.
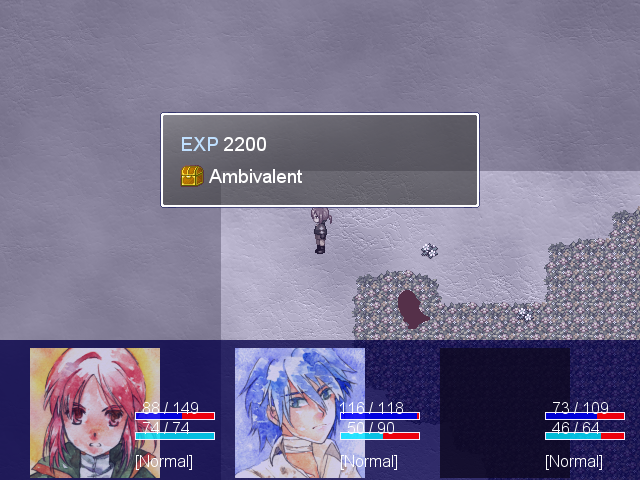
I hunt everything on the last screen, since I'm taking down the fairy I avoided last time. They're all red enemies, so it helps to clear the area out before you fight it.
(The Ambivalent item gives +28 HP and +8 SP. It's awful.)
Sometimes this goes better than other times. I was using the Book of Manslaying on Randolf here, and that almost got me killed.
Anyway. They get cleared out, I run back to heal, I engage.
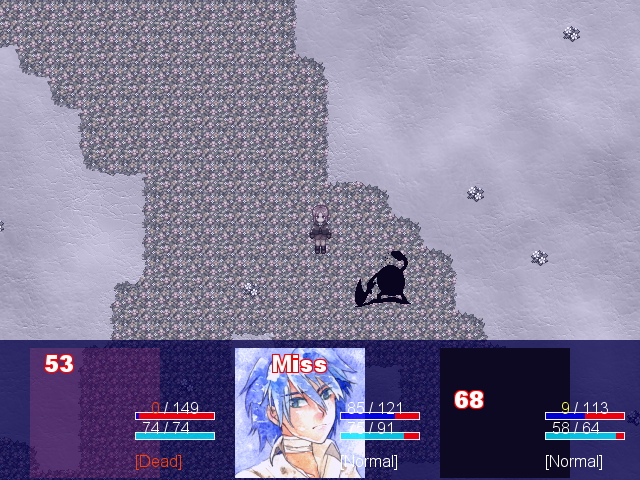
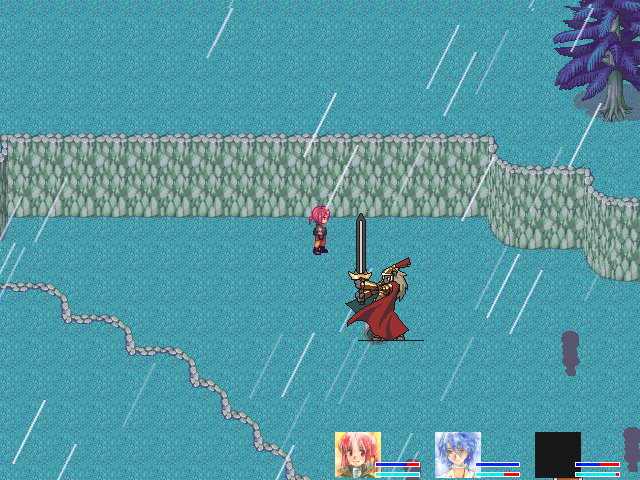
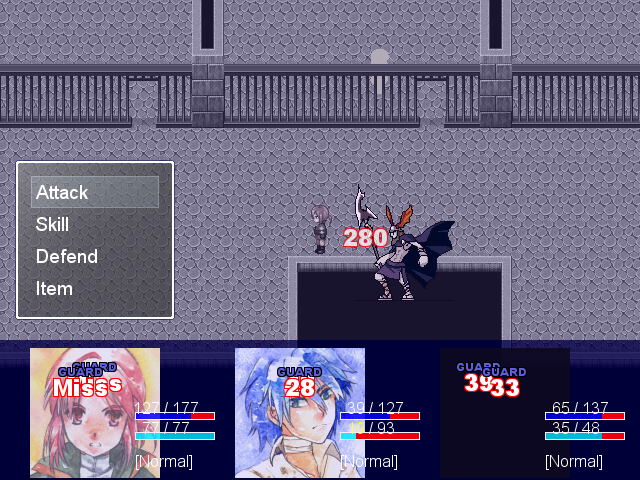
Fantasy has one gimmick:
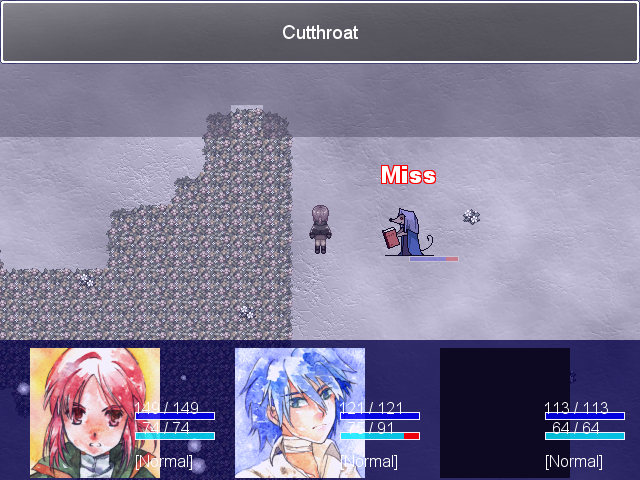
Every attack it uses is instant death. It has Cutthroat and an attack that wasn't properly localized, so it appears as a blank. It's Cutthroat, aimed randomly at two different characters. These attacks kill roughly every other use (if they aren't evaded).
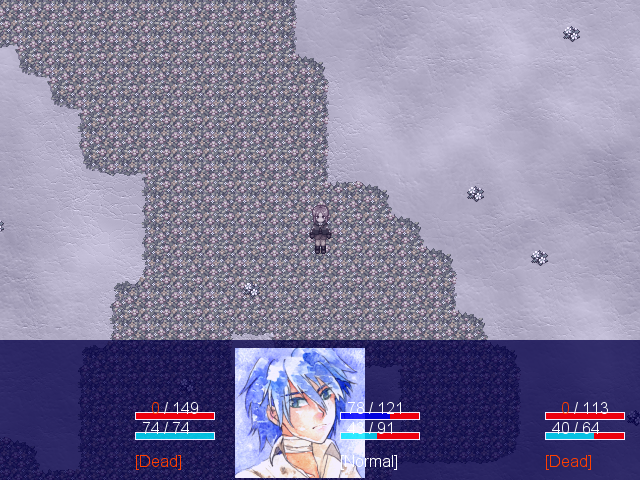
If you can get past that gimmick, it's not too dangerous... Alone. Running into it at the same time as other things means that the 25% HP on revival will get that person killed again, and you'll get stuck in a revival loop until you die.
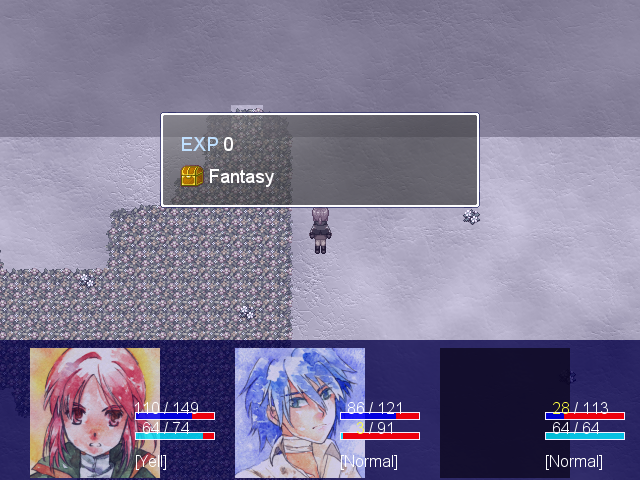
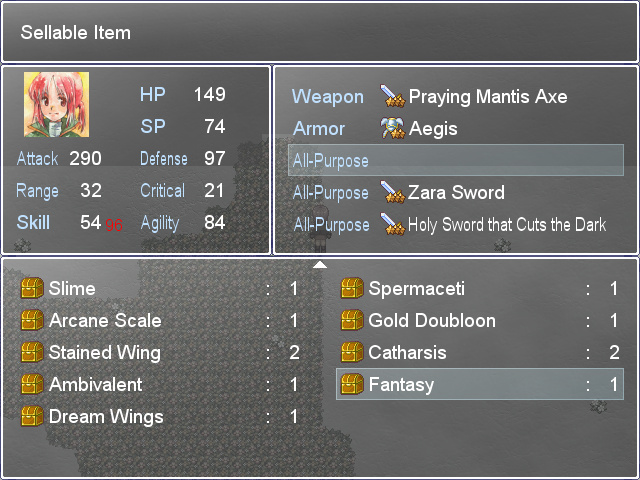
The reward isn't really worth it; the Zenith Tear gives +50 Skill and an ability and it's still questionably useful, so +42 Skill isn't really cutting it here.
I run back to The Disease. At some point I sold my Parts item and I want to get one back.
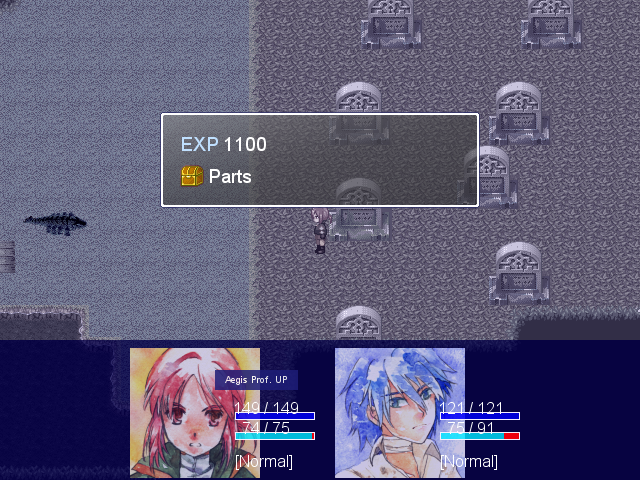
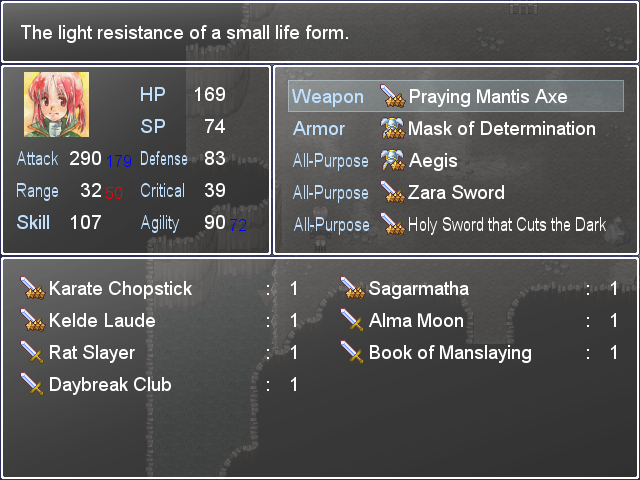
It took longer than I planned, but hey, Camil's mastered the Aegis!

This might just be Camil's final set-up, period. There's stronger weapons, there's one that gives Extra Attack+2 as a weapon or All-Purpose, and there's more defensive armors, but any change means sacrificing the careful mix of +Agility and +Critical and abilities I've got here. Camil is really damn tough like this, and she's got enough Skill to make good use of Inferno. This is good enough.
(Also, assuming the Aegis is a shield, then she's wearing a mask and wielding two swords, an axe, and a shield. Actual armor would interfere with the sweet cloak look she's got going.)
I duck into The Imagination to set up my party. We're dropping into The Nest's Cave Chronicle entrance. 160 HP should be enough, but I spread out one Slimy Goop to Randolf and two to Aeritz, just in case. Plus, when I take them off, it won't take the HP damage out of my current HP: if I'm at 160 HP after the hole and I change my gear so my max HP is 160, I'm now at full health.
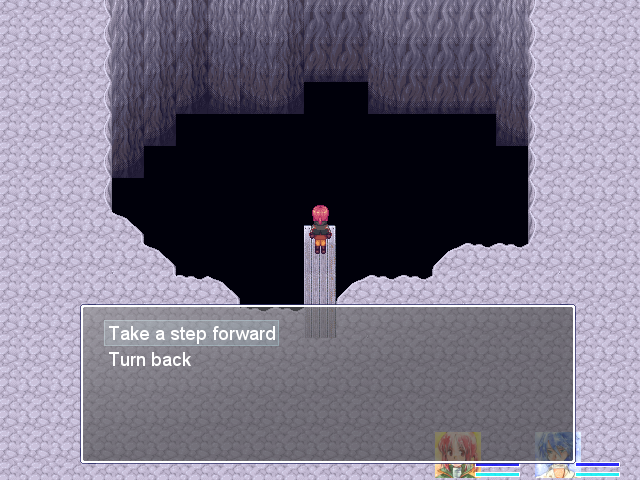
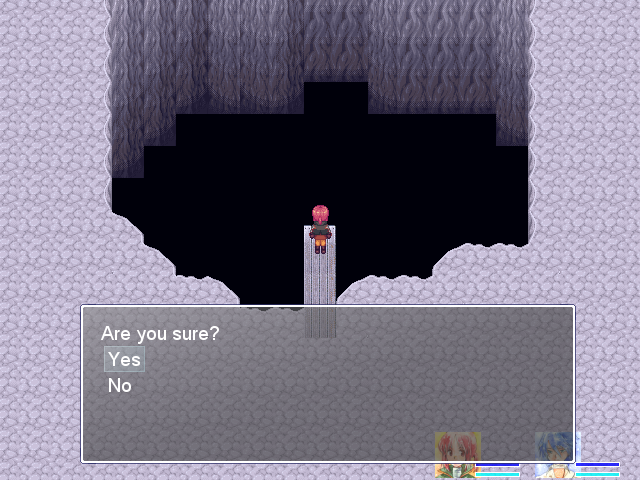
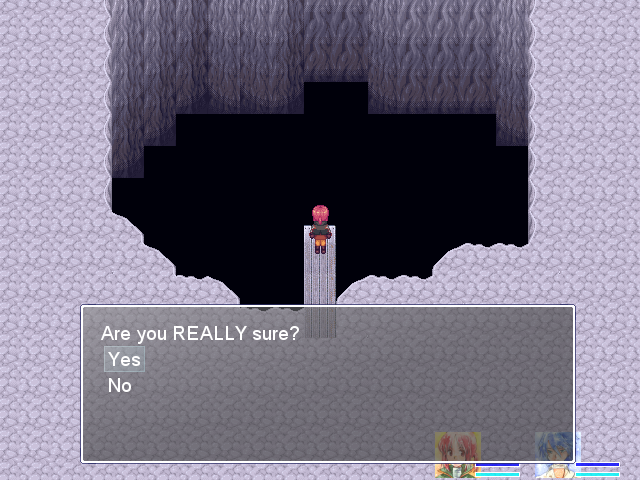
Here we go.
(For the full experience, listen to this music for about four hours straight. It's fairly good, but... It doesn't vary enough, even with periodic battles, which is a problem when it's the music for the longest, hardest dungeon.)


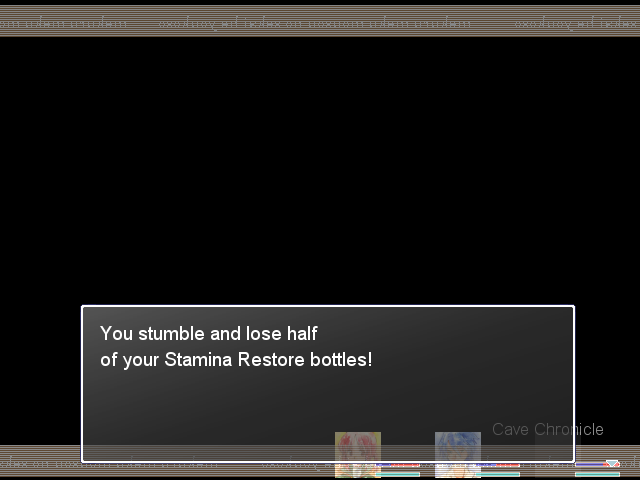
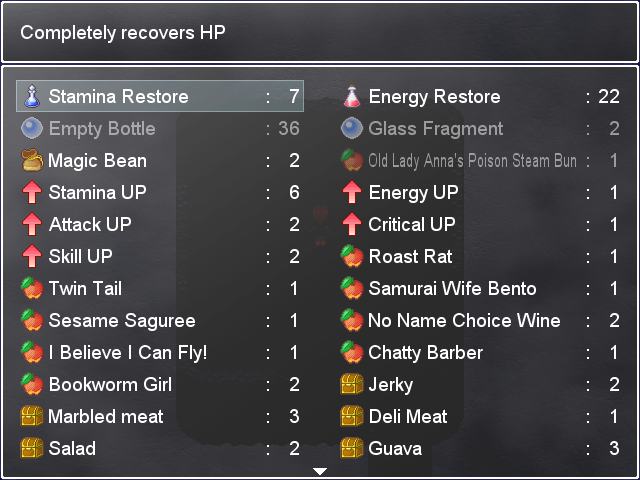
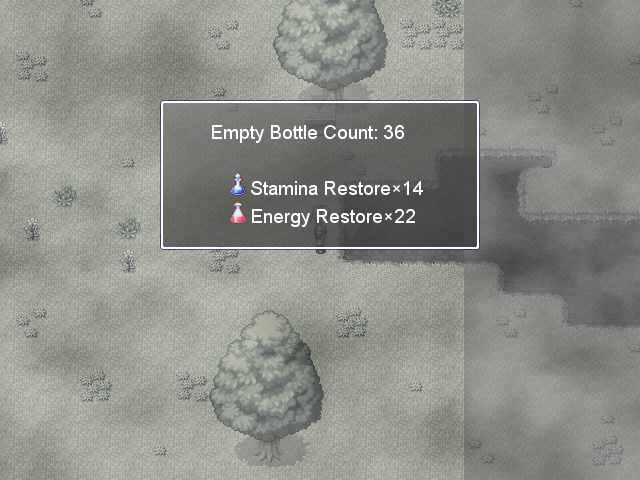
Not too bad. The loss of Stamina Bottles is problematic, but we'll deal.
(I'm pretty sure that trying to get cute and only bring in Energy Bottles means that the game will break some of those instead, but I'll have to see.)
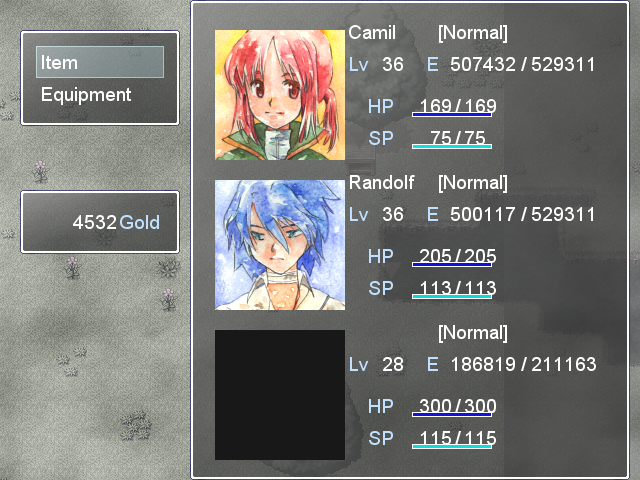
Camil's set up as you saw earlier. She'll be the anchor of the team, dealing high damage, taking low damage, and requiring no SP. If there's groups, she has Inferno and the SP and stats to use it.
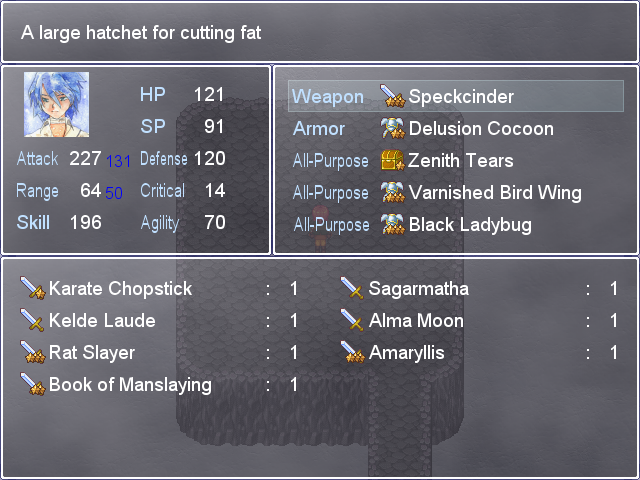
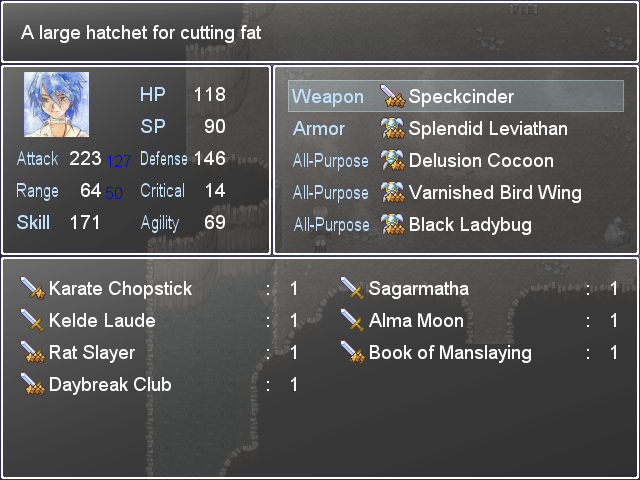
Randolf is Randolf is Randolf. Once the Delusion Cocoon is finished levelling, he'll replace the Zenith Tears and become much tougher. He has a lot of SP, he deals damage most consistently, and he'll be able to get a decent amount back by defending.
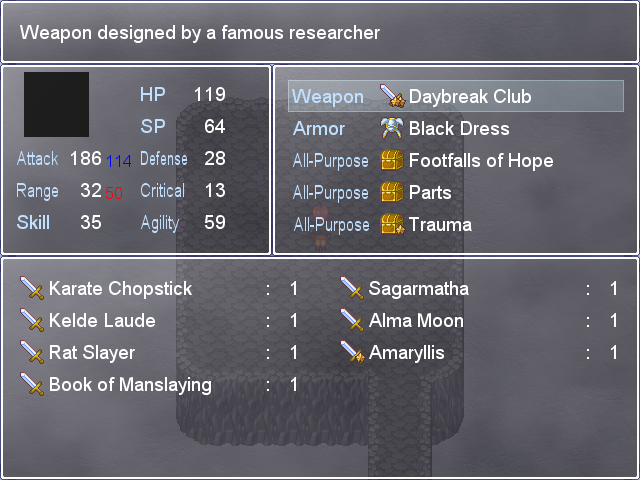
Aeritz is the weak link, so I'm not doing anything too fancy with him. He'll be focusing on using Healing Magic to stretch out my healing while Camil and Randolf do the real damage. Most of the time, he'll be defending.
Once I get more money, he'll get the weapon in The Imagination and the Three-Legged Frog and become much, much more useful. Until then, I'll be careful with him. Thankfully, the start of Cave Chronicle is fairly gentle with you.
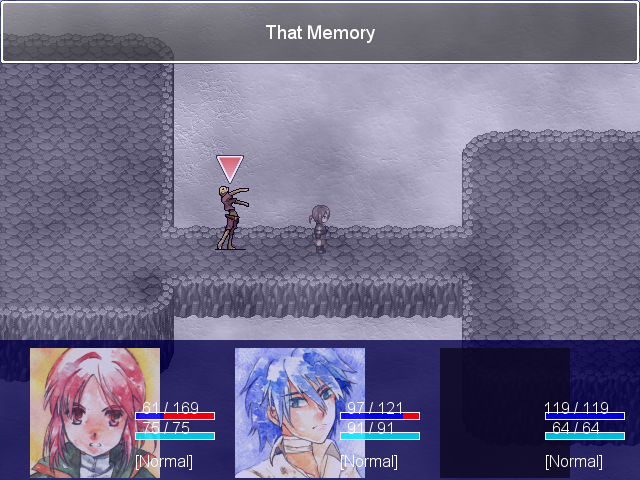
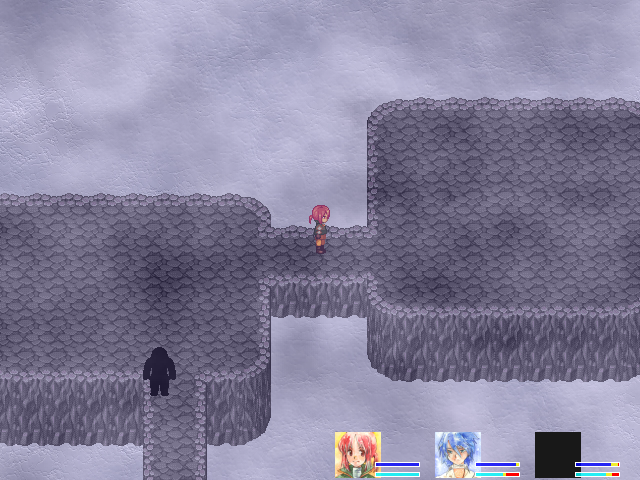
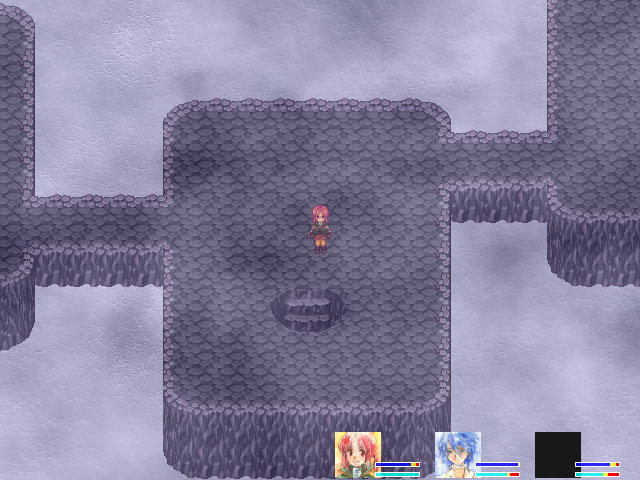
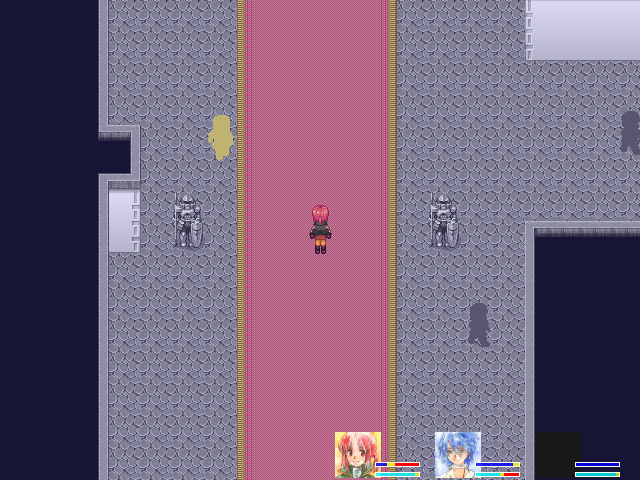
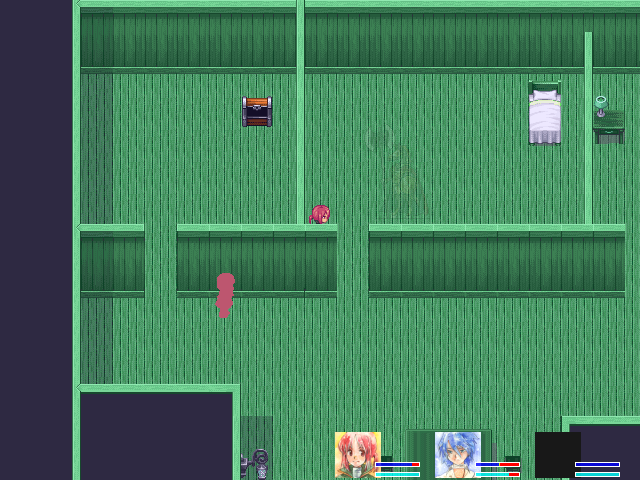
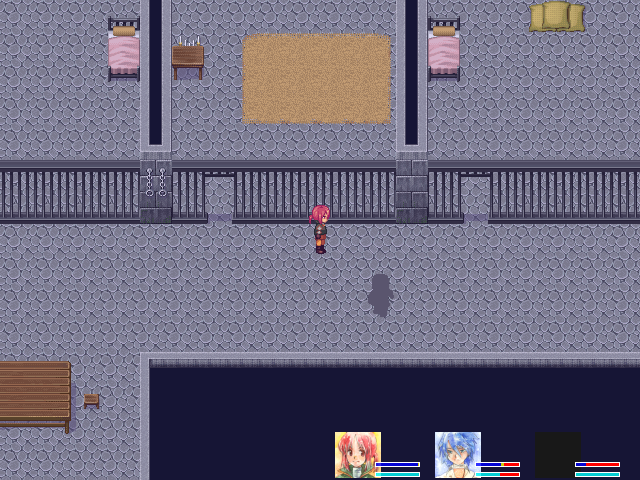
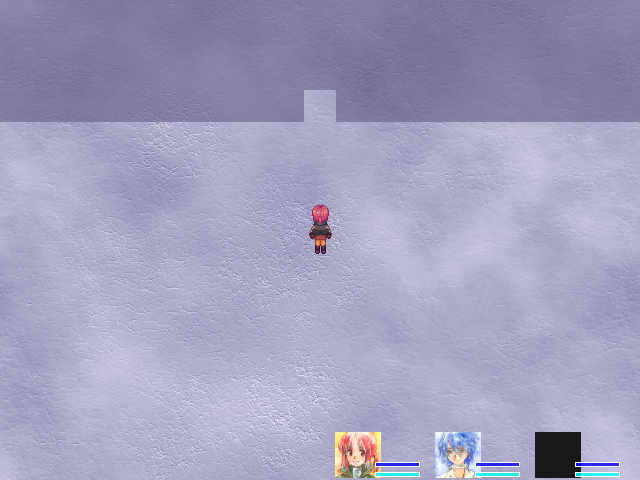
This is very reminiscent of the last, half-formed area of The Imagination, isn't it?
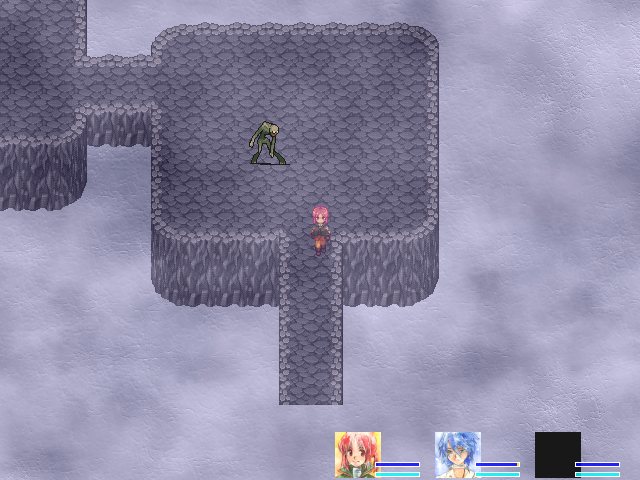
That Memory enemies wander, mostly. Some patrol. They're not too durable and they do very little damage (they did 10 damage to a defending Aeritz, and look at that defense score), but they give good experience and their drop, Muddy, gives +45 HP. In practical terms, that's pretty close to the best you can get.
Mostly you use them to heal up after other, more dangerous enemies, because they don't require SP to kill. It's good to have an enemy for that.
(I love that an enemy called That Memory is a zombie. A memory that you want to go away, but that you can't kill for good... That's really appropriate imagery. Good job as always, writers.)
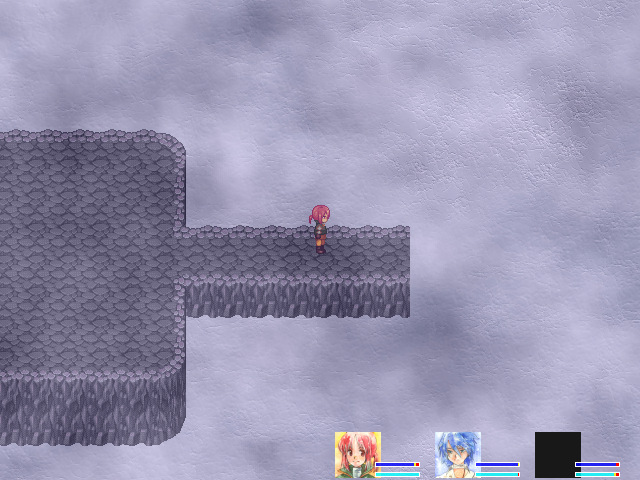
Between the extra HP items, the pathetic enemy and Healing Magic, everyone's about back up to full now.
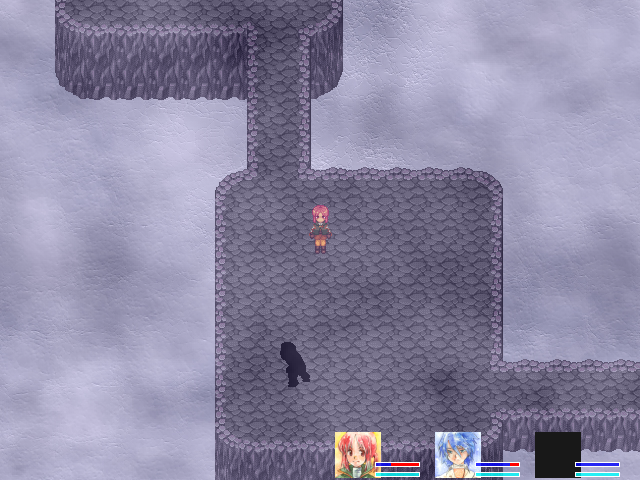
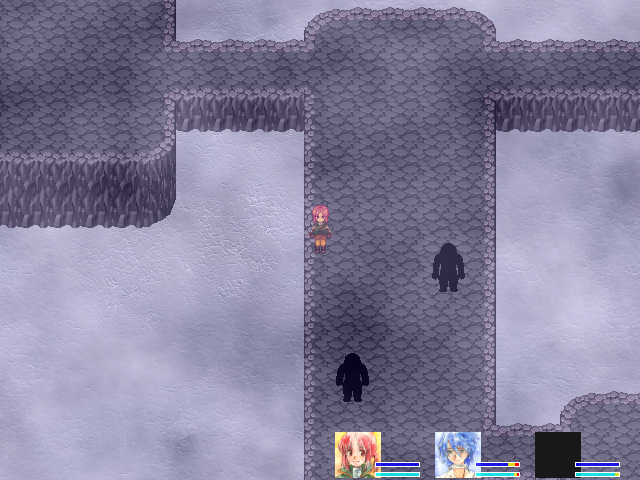
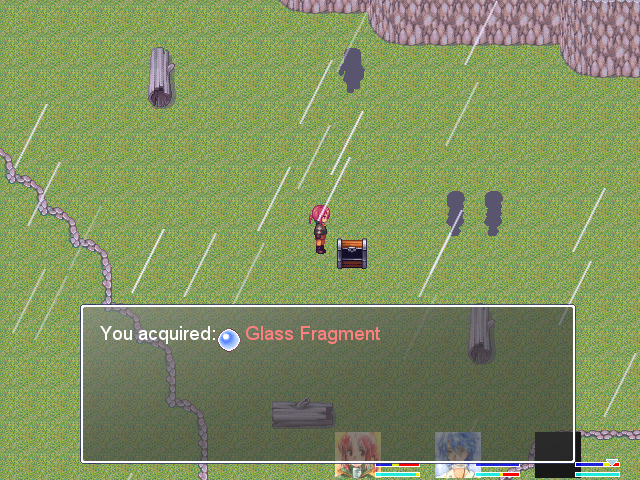
The red enemy of the area, the Ancient Nightmare, wanders slowly but is aggressive. As you see, the current area makes them tricky to dodge.
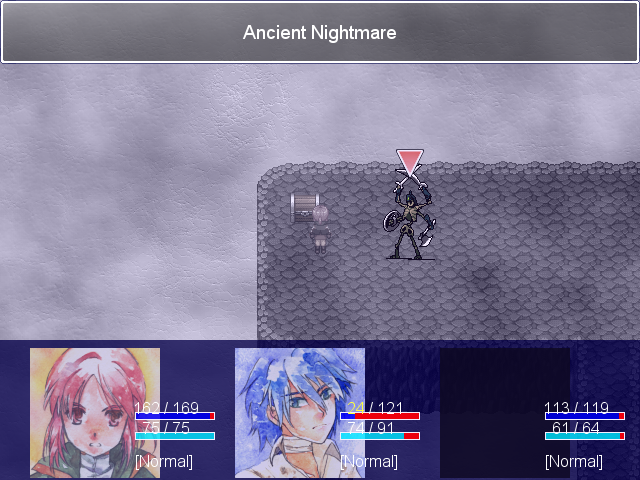
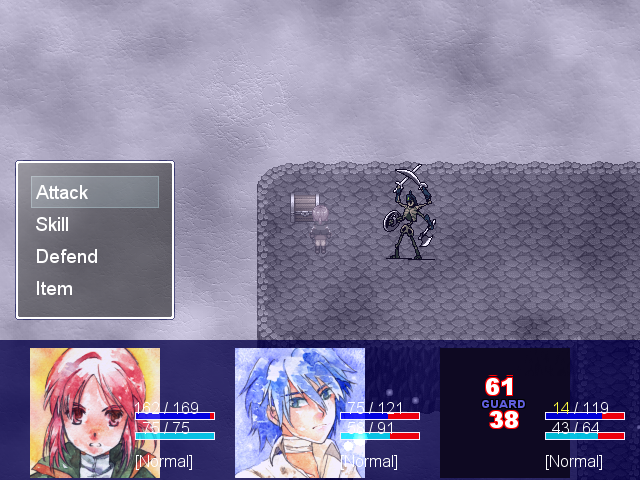
They hit pretty hard, too! But that's all they really do.
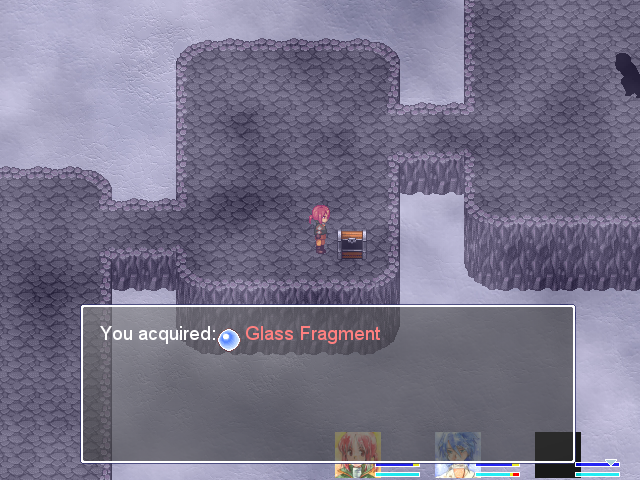
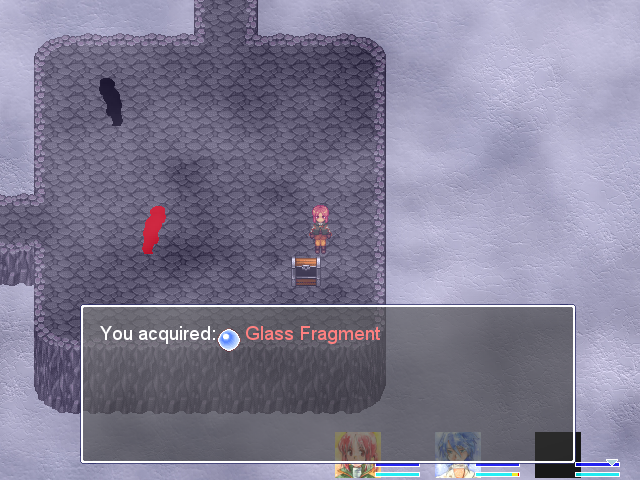
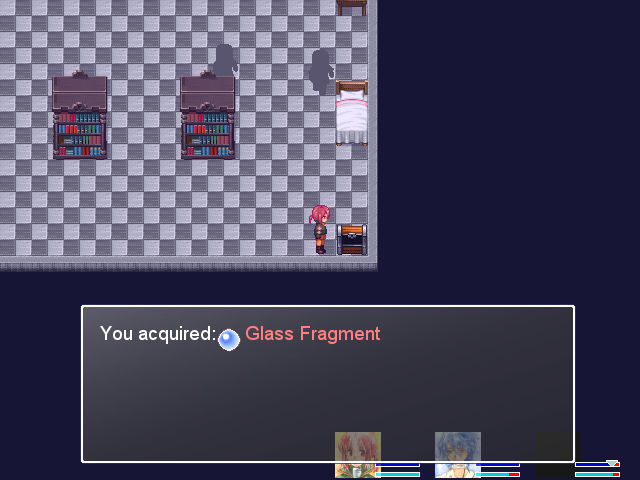
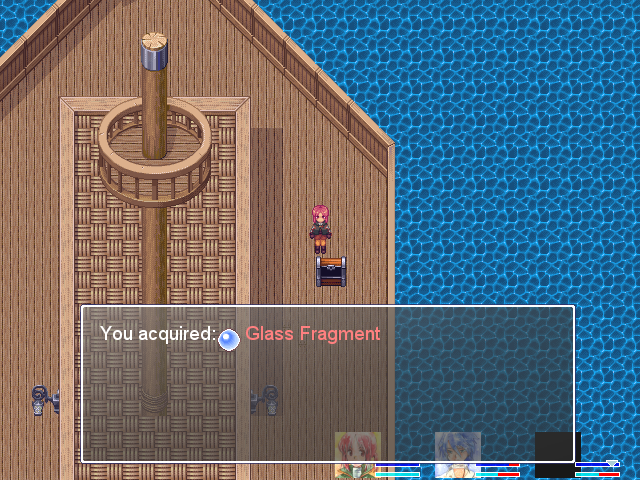
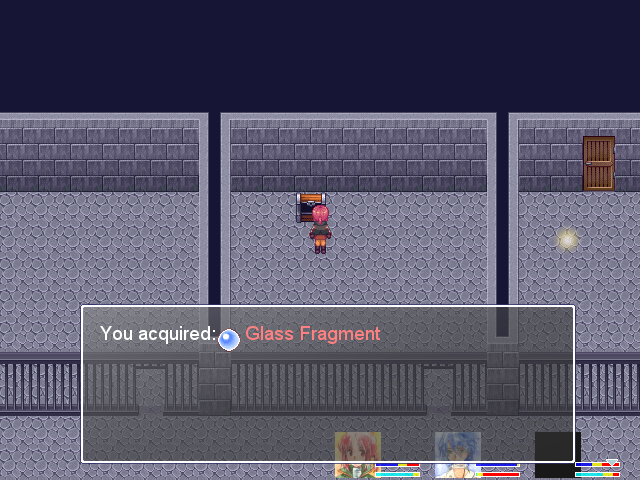
The chest is a Glass Fragment. I ran past a That Memory to kill the Nightmare, so I run back and kill him to trigger regen.
This is a screenlength right of that chest just now. Down is progress, right is treasure.
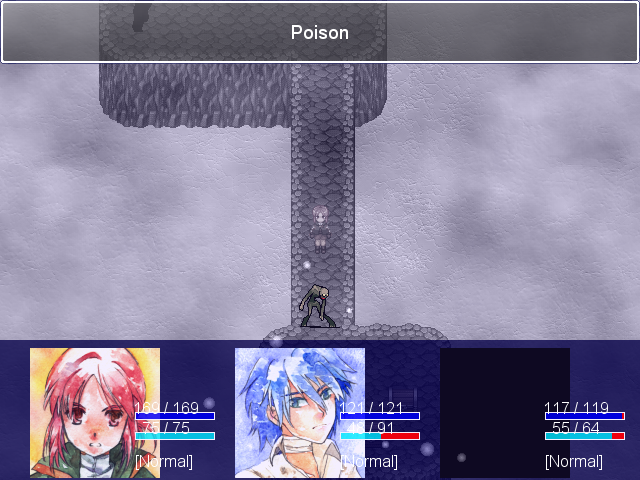
Staff of Sadness enemies don't look any different from That Memory on the map, because they really aren't different. Still weak, still not very durable, still Poison, do slightly more damage and give slightly more experience. They move in small motions periodically instead of the more constant movement of That Memory, though, so they're fairly easy to tell apart in motion.
You can probably guess what the other one is by now.
(It's a Glass Fragment.)
Backtrack, downward and onward.

There's really no particular reason to deal with the actually dangerous one if I don't have to. Chest is a Glass Fragment.
So is this one!
Right is progress, upward is treasure.
This next area is made up of three vertical areas with an Ancient Nightmare, a That Memory and a Staff of Sadness. Avoid the Nightmares when possible, kill the Memories when you need to heal, move onward.

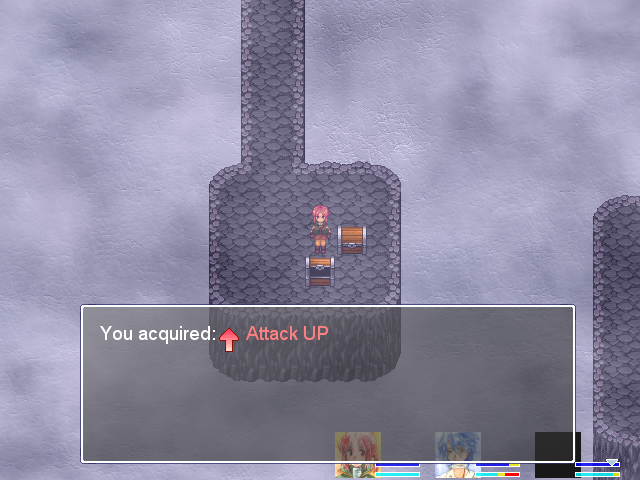
Upper-right leads to a Stamina Up chest.
The path here is looping around--after going left here, we'll be one set of exits away from the last up-or-right branch.
Time for the second area. Still no potions used, and I'm roughly close to full resources. Still doing good.
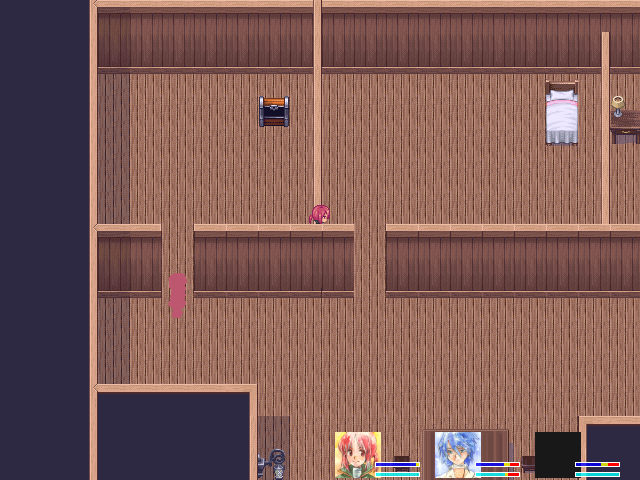
Much like The Imagination, the look's changed but the music's the same.

The Gray Knights aren't dangerous. Not too tough, don't hit too hard--only about 80 to Aeritz if he isn't defending--and only last about two combat rounds, one less than the That Memory enemies. Their drop, the Shield, is notable, giving +20 HP, +40 Defense. That's an impressive amount for an All-Purpose item.
The chest is, as always, a Glass Fragment. I go up and continue down the hallway, which ducks down into another room.
I am really tempted to chest the total number of chests against the total number of Glass Fragment chests. The result is probably depressing. I mean, they're great, just... You need a bit more variation. In Cave Chronicle, in particular, they feel like, "Well, we need a treasure here" treasures. They're practically 3D Mario 1Ups.
The red Knights are more dangerous, naturally. They're slow and very aggressive. They can last about three all-out rounds with the party and have everyone's favorite skill, Blank (or !), and can do about two-thirds everyone's HP with it. They're still not terribly threatening compared to the enemies of The Imagination's later areas, but you do have fewer potions to spare healing up.
Before moving onward, I kill a few Knights to heal up after the red. Then I go back and attack the yellow I passed earlier. Randolf masters the Delusion Cocoon on the way.
I'll use the Splendid Leviathan for 153 Defense against anything that's really dangerous, but it can't hurt to level up the Dirty Clothes here; Randolf's new Sporadic Guard already makes him a lot tougher.
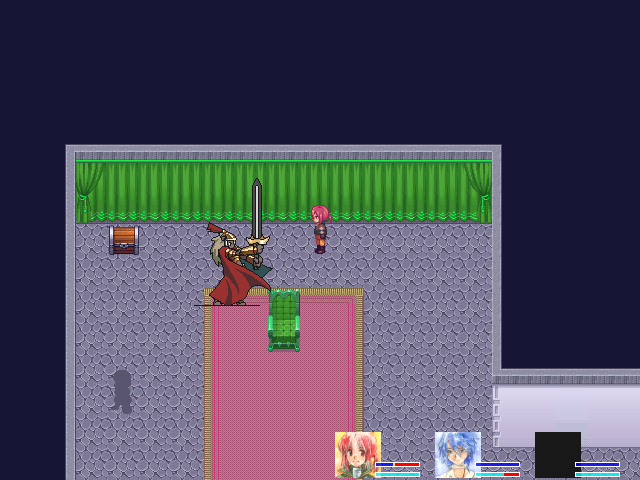
The Yellow knights definitely look the coolest. Basically just a better grey Knight, though. Sometimes they Stagger with their Charge attack; this is more annoying than dangerous. (Unless you're fighting multiple enemies, which is entirely your fault at this point.)
The Yellow Knights get aggressive here. They charge straight for you, but you can move out of the way.
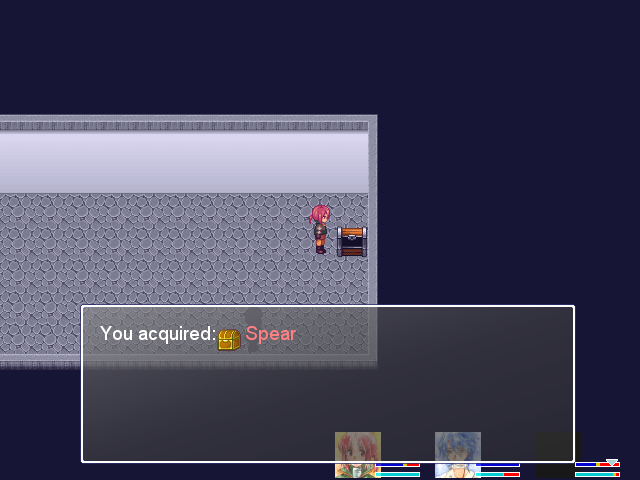
The Spear gives +30 Attack and the 2 Hit Combo spell. 2 Hit Combo is not good enough to merit equipping it.
Sometimes the engagement color alterations get very festive.

I took one step between these locations. It's a really abrupt transition--very dream-like.
An example of the aggressive Yellow Knights; there's no other line to move to, so it's hard not to fight this one here.
Morning sun rises,
all empires some day fall.
Glass Fragment again.
Camil is using Shout very frequently here. Randolf is nice, but she's undoubtedly my most useful character right now.
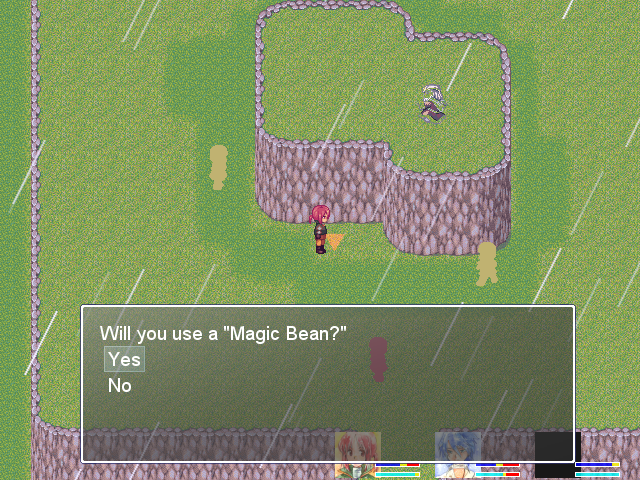
Up on that ledge is one of the final armors, the Cordelia. In terms of raw numbers, it's the strongest defensively, but it doesn't have much in the way of other stat boosts. I'm not a big fan, but the better armors are even better in the All-Purpose slots and I'm not exactly starved for Magic Beans.
I kill most everything on this screen; I wanted to try to get the Red Knight item, because it's very good. No such luck.
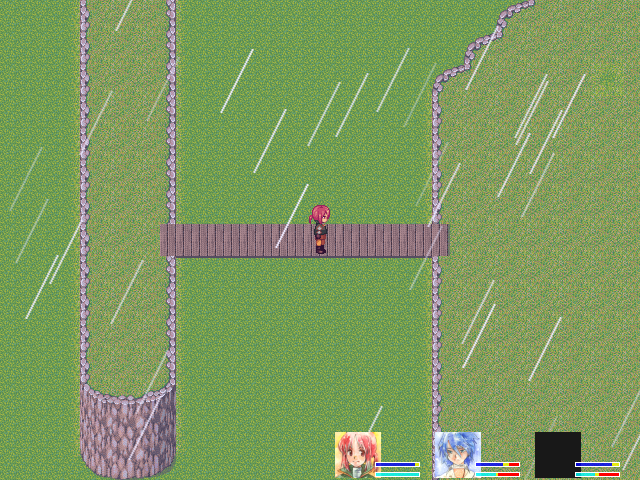
Another abrupt transition. I like them.
Between the initial enemies and the way things keep changing abruptly, it seems that Cave Chronicle is based on dreams instead of stories. The concepts aren't very far apart.
I have 11 Glass Fragments at this point.
The Red Knights still stubbornly refuse to surrender their delicious prizes.
It's a good thing the grey Knights are easy. Still haven't used any Restores.

Annoyingly enough, the abrupt transitions do count as area changes. So I ended up fighting this yellow knight twice when I didn't mean to, because I wandered too far right while regenerating HP/SP and hit one. Yellows don't have a respawn timer like reds do.
At this point, I realized I forgot a treasure chest and wandered back.
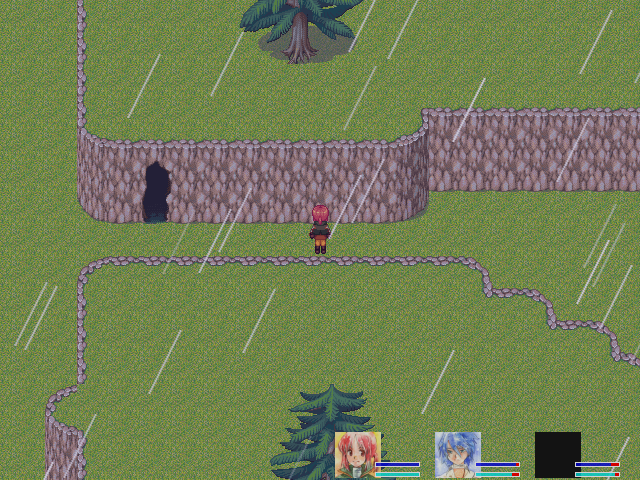
Remember that first abrupt screen transition, from the castle to the green area?
That cave in the wall is a hint. Examine the corresponding castle wall and it breaks.
Both of the nicer-looking chests are trapped.
The less said about this the better. Three Energy Restores and one Stamina Restore used here.
The third has a Portrait.
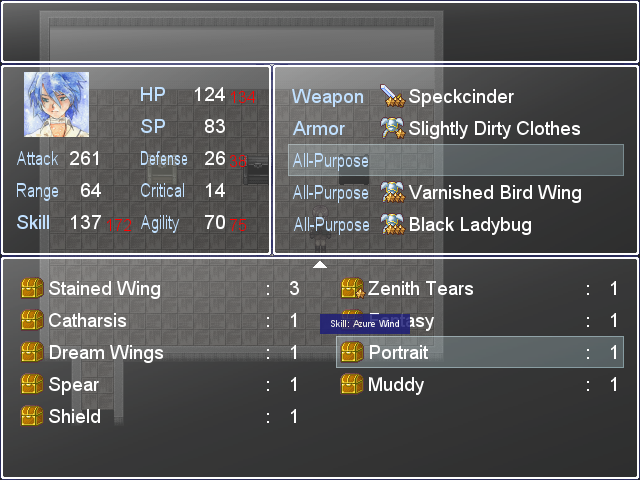
It's not bad (+35 Skill, +10 HP, +12 Defense, +5 Agility, and Azure Wind). It's one of the best +Skill items and definitely the best one for Azure Wind.
I end up using another Stamina Restore on the way back; Aeritz doesn't activate his Sporadic Guard against a generic knight and ends up eating it.
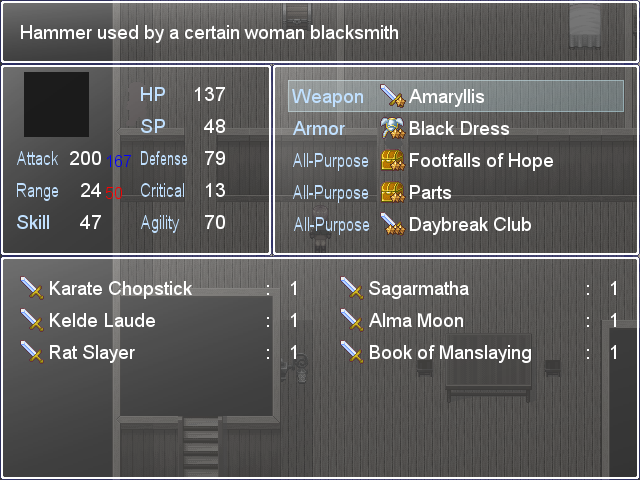
Aeritz has mastered the Daybreak Club. The item the red Knights drop is better, but I haven't gotten one yet; this'll do until then.
Weird fact: both you and enemies can just walk through the intersections of these walls. The intersections after, too. Maybe there's a door we can't see.
Same trick as the castle transition trick: you can see this on the table after moving through to the next area.
Dammit Aeritz stop dying. I have to resurrect him two battles in a row.
The "walk through walls" efffect goes away when you cross this boundary, sadly.
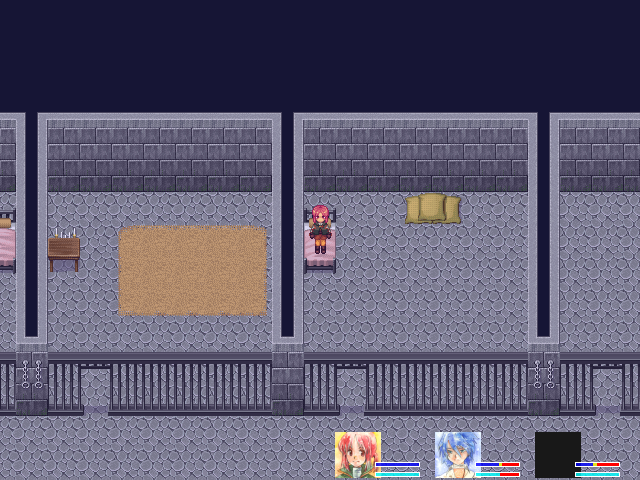
This is why you make it so you can't walk on beds. It looks goofy.

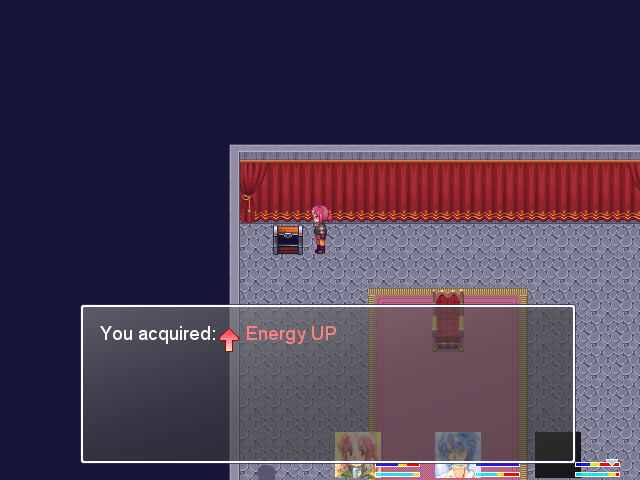
Stamina Up. I should actually use the stat boosters I've got at some point, huh?
Still no item.
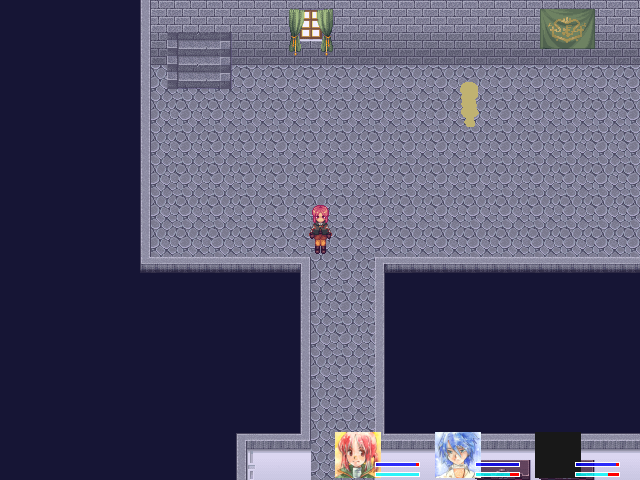
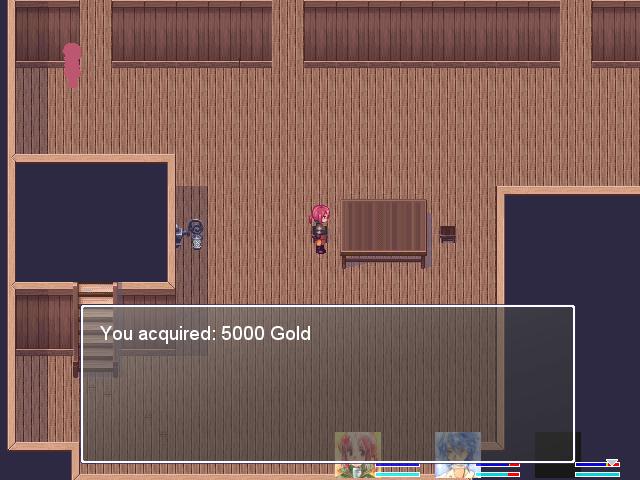
The light and the desk to the right here are special.
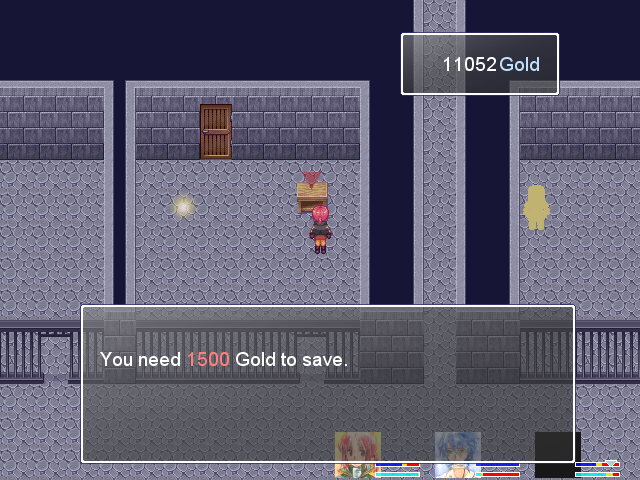
The desk lets you save for 1500 gold, the light lets you return for 3000.
The desk is reasonable, the light is a rip-off. Never use it.

If you use it, it returns you to here. I saved, though, so I reload.
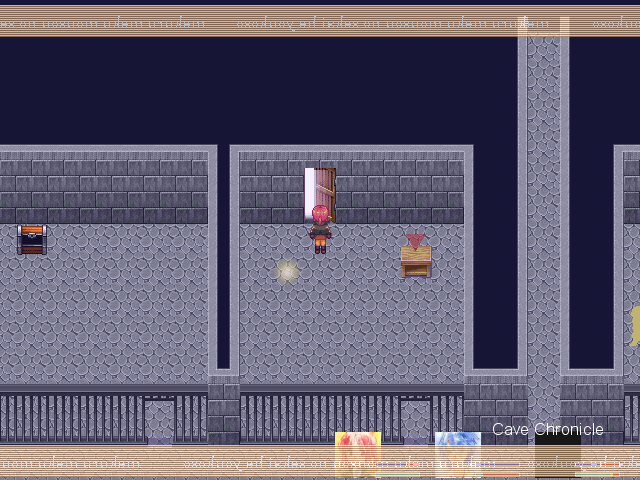
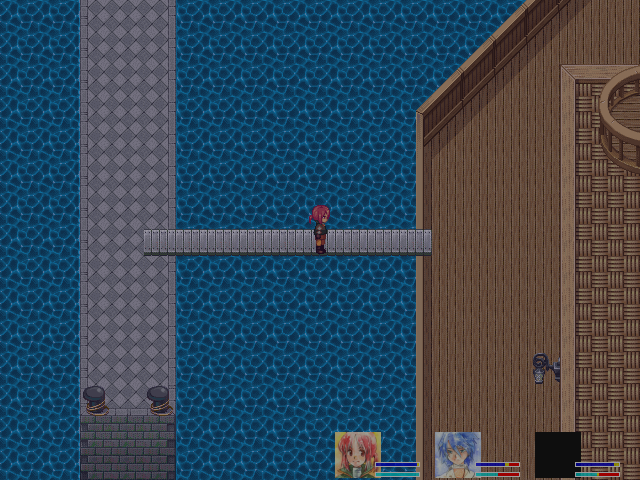
The door is one-way.

This area is very long; there's probably about a minute of walking here.

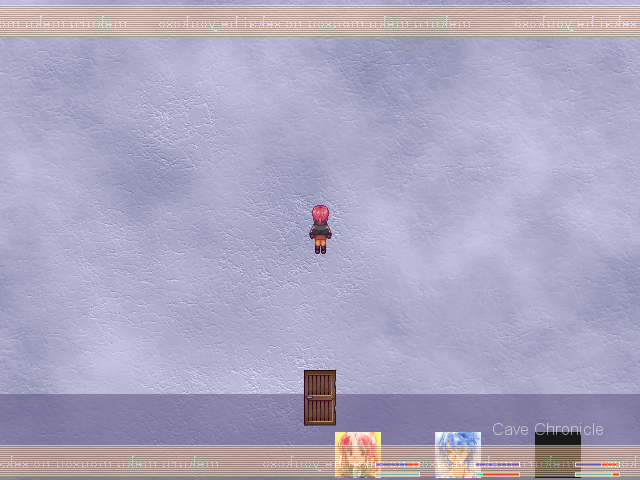
At the end is this light, which lets you return. (For free, I might add. This is why the 3000 gold one is such a rip-off.)
And this door.

This save desk and this healing spring should make you worry. A lot.
I know what's past here, so I turn around. It isn't time yet.


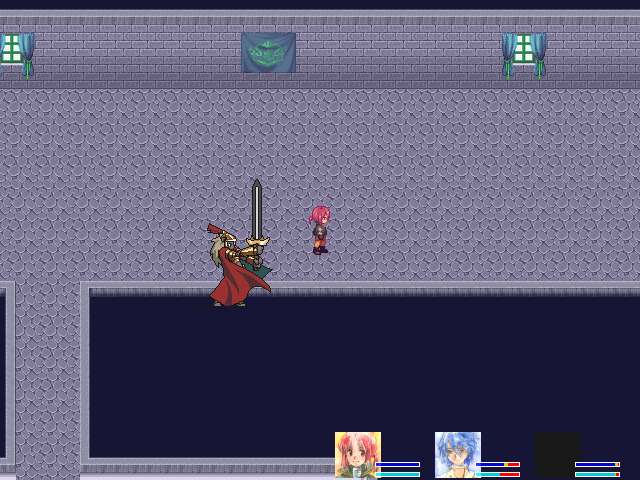
You might remember that Kumo was chucking books around Zelphie down this hole. Zelphie Eluonto, who is a hero of modern legend, who became a horrific tyrant, who possesses a magical sword of incredible power, and who is relevant to the story of very nearly every person on this island.
Said space looked like The Imagination. In other words, it was a half-formed Story about the single most story-esque character we know.
Yeah, that would be why I turned around. Zelphie with Starcaller is bad enough, but I'm pretty sure we could break his fragile old man kneecaps by now. Storybook Zelphie, on the other hand, is very definitely out of our current weight class.
Next time, I'll continue from my save in Cave Chronicle at the moneydesk. I'll see you then.
Annihilation Record:
Annihilation count: 29
No new entries.
Current winner: HenryEx (76)
Next: EagerSleeper (98)
Battle Record:
2014/04/25/ 14:35:39
Demon King Chronicle
■Battle results
Playtime:19:20:33
Save count:195
Steps taken:95425
Battle count:1136
Max damage:632
Max damage taken:605
Items:80 Types 190 Items
Turns to defeat Last Boss:53(Best Record53)
■Treasure Chests
The Nest: 8/8
Demon King's Castle: 26/26
The Hamlet: 31/31
The Snow Fields: 20/20
The Dragon Mountain: 6/6
Sands of Remembrance: 26/26
The Tower: 11/11
The Seashore: 12/12
The Mirage: 10/10
Leviathan Depths: 5/5
The Disease: 20/20
The Imagination: 31/32
Cave Chronicle: 19/46
Unmapped area: 8/10
■Camil(38)
HP:177
SP:77
Attack:296
Defense:87
Range:32
Critical:40
Skill:113
Agility:92
・Praying Mantis Axe(3)
・Mask of Determination(3)
・Aegis(3)
・Zara Sword(3)
・Holy Sword that Cuts the Dark(3)
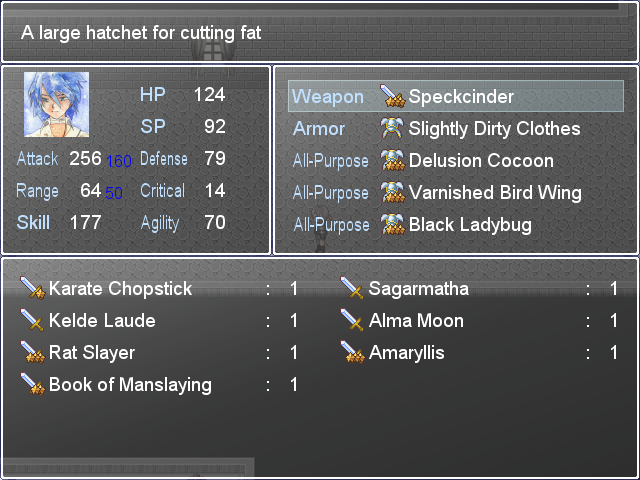
■Randolf(38)
HP:127
SP:93
Attack:265
Defense:82
Range:64
Critical:14
Skill:177
Agility:70
・Speckcinder(3)
・Slightly Dirty Clothes(1)
・Delusion Cocoon(3)
・Varnished Bird Wing(3)
・Black Ladybug(3)
■(31)
HP:137
SP:48
Attack:206
Defense:79
Range:24
Critical:13
Skill:47
Agility:70
・Amaryllis(2)
・Black Dress(2)
・Footfalls of Hope(2)
・Parts(2)
・Daybreak Club(3)
■Top 10 defeats
Rat(180)
Green Mud Man(178)
Toothy Piranha(157)
Mermaid(143)
Deformity(98)
Abominable Snow Monkey(97)
Wake-Eater(89)
Monkey(85)
Merman(84)
Mutt(80)
Glossary:
No new entries.