Part 16: Here Be Dragons
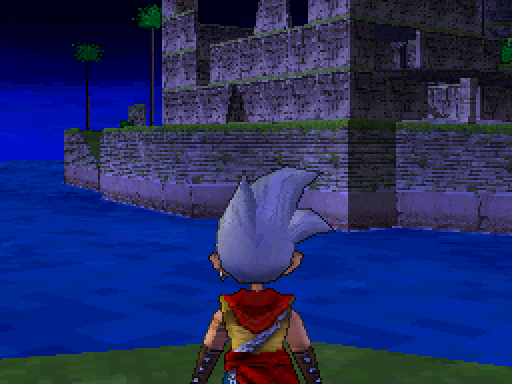
Last time, Euchre collected all ten pieces of darkonium needed to enter the Monster Scout Challenge finals, headed to Celeste Isle and discovered the entrance of the Temple of the Moon.Music: Ambiance of the Night
This time he'll be entering said temple in an attempt to find the shrine of Celeste Isle. Let's get started, shall we?
Music: Seeking Treasure
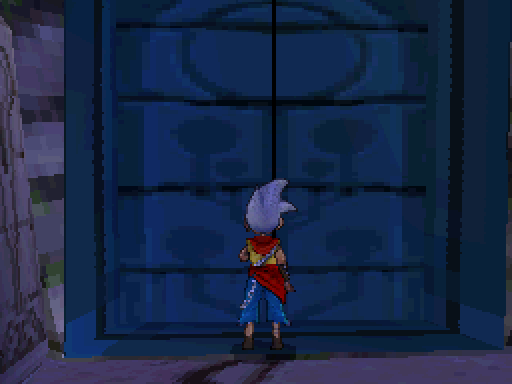
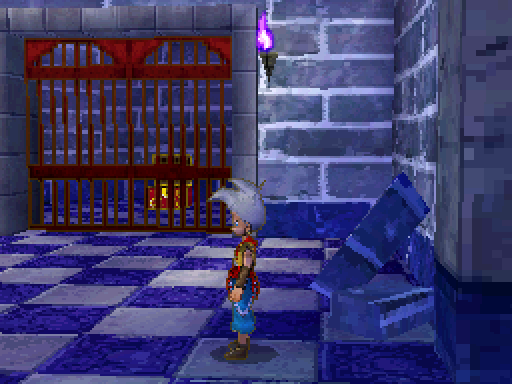
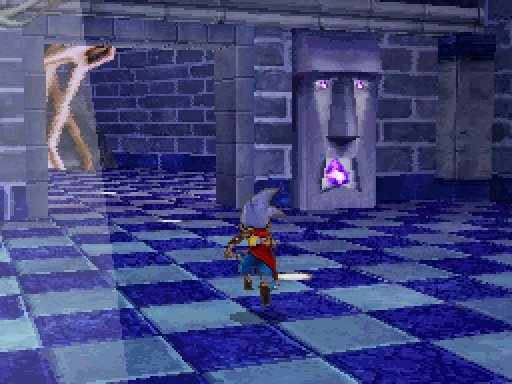
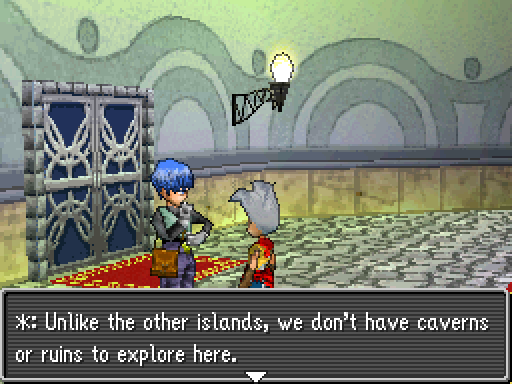
Upon going in, we're treated to a cutscene of gates closing. Unlike when Euchre entered the twin temples through the south part of Celeste Isle, though, this gate is blue.
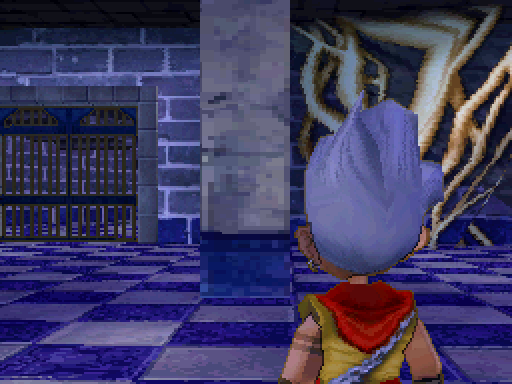
We've actually seen this gate before, although Euchre was on the other side. Now he can finally fight the monsters that can be found on this side.
Music: Monster Battle
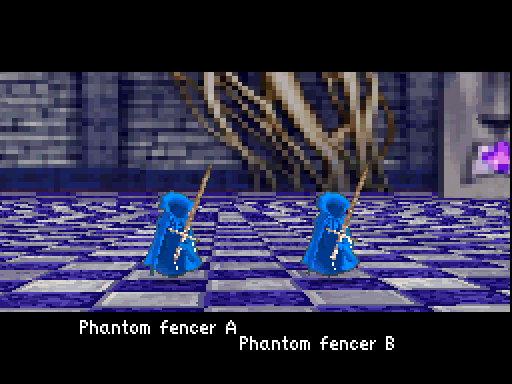
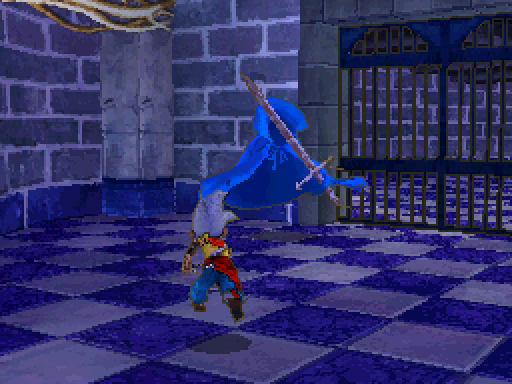
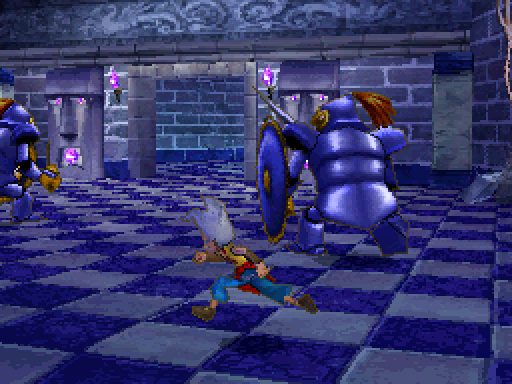
Euchre's encountered Phantom Fencers before, albeit in the Xeroph monster arena. They're not quite the same out in the wild, though.
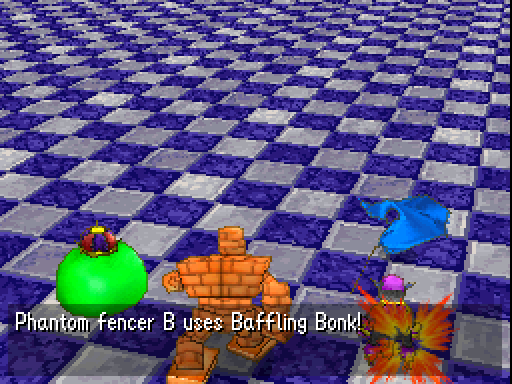
Phantom Fencers specialise in physical attacks, as their name might suggest. First off is Baffling Bonk which as usual can be pretty annoying if it inflicts confusion.
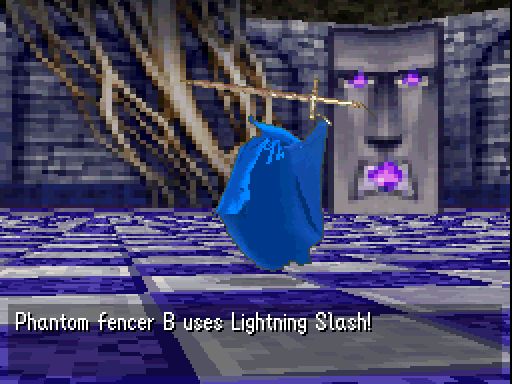
As for their more damaging abilities, they have both Lightning Slash...
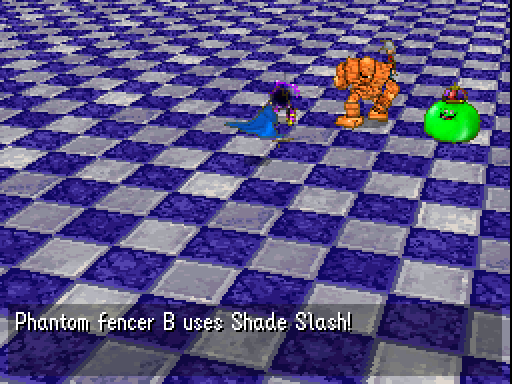
...and Shade Slash. Both have the usual 10% extra damage on top of their elemental affinity.
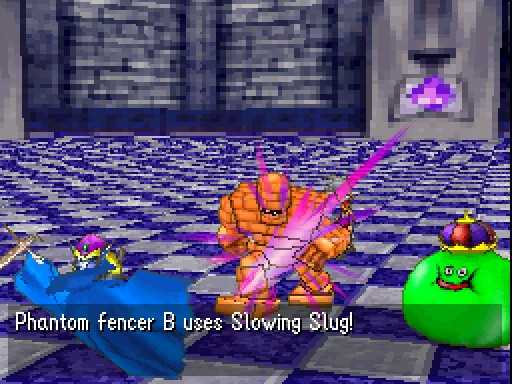
Slowing Slug can be a mild hindrance, again as usual. We've seen most of this moveset before on other monsters, so none of this is really new.
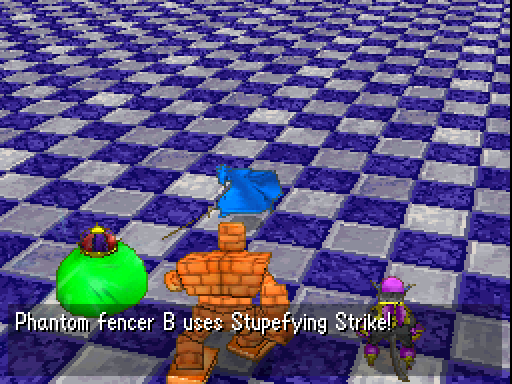
Wisdom debuffs and Stupefying Strike by extension are still terrible, though. This might as well just be a normal attack for all the good it'll do.
Music: Seeking Treasure
Phantom Fencers may well have other abilities to their names, but their moveset is really diverse enough already. Thankfully they don't tend to stick around for long due to their lowish HP and Defence.
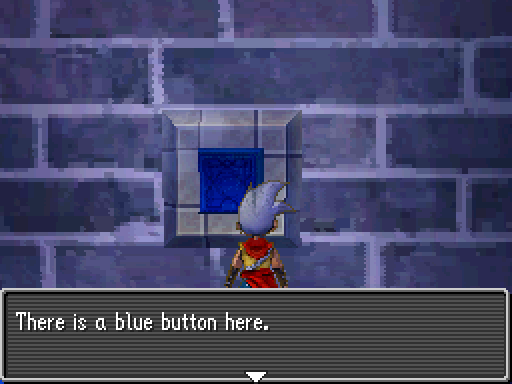
 Press the button?
Back outside of battle it turns out that the area behind the gate isn't all that big. The only thing around here besides Phantom Fencers is this large button. Since it's the only interactable object around, pressing it is the obvious thing to do.
Euchre presses the button.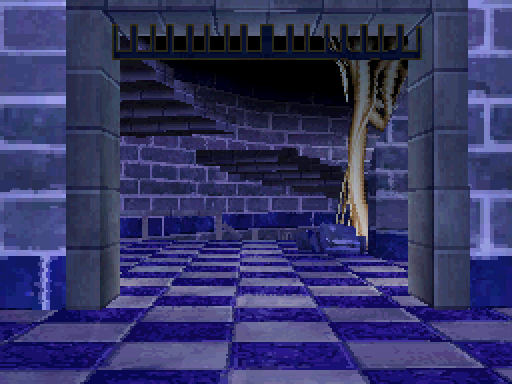
Just like the red button in the Temple of the Sun, this blue button opens all the gates matching its colour. There was a blue gate blocking Euchre's progress around here last time, so that won't be a problem any more.

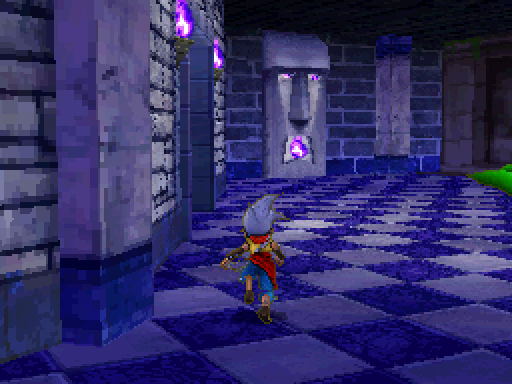
Going along the newly opened path leads Euchre back to the middle section of the first floor. Unfortunately the only staircase up to the top floor, where the other blue gate was before, is on the other side of the chasm. Euchre will have to take the long way around.
Incidentally, gates don't stay open when Euchre leaves the temples. As soon as he steps into one of the entrances, all the gates are reset to their closed positions. That's why these red gates are here even though Euchre raised them on his last visit.
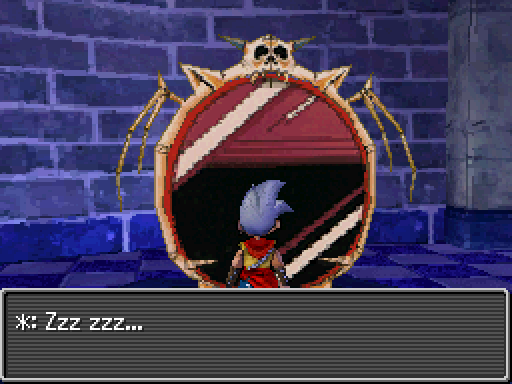
Another thing that's changed since Euchre was last here is these mirrors. As you can see, this one has a red ring around it, meaning that it's only active when he comes in through the southern Temple of the Sun entrance. Euchre will have to find a blue-ringed mirror in order to get to the Temple of the Sun.
The way to get to said mirror is to head to the north-easternmost section of the ground floor, which Euchre visited on his last trip to the temples. There used to be a blue gate blocking access to the room on the left, but it's raised now.
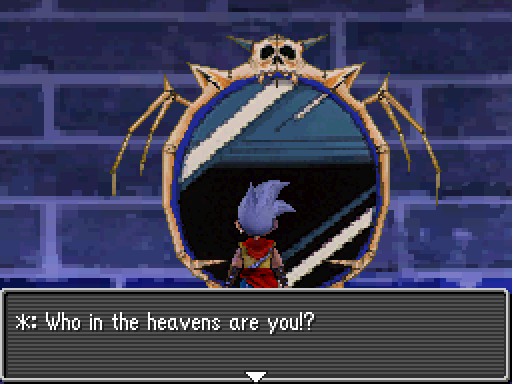
The mirror that Euchre needs is in this room, thankfully. What's it got to say?
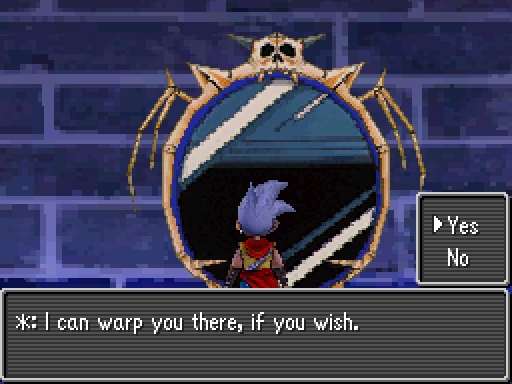
How very helpful. Euchre's already passed through the room he's transported to in the Temple of the Sun - it's the one with the pressure plate that he activated last time he was here. The way opened by said pressure plate isn't the way to progress, though - Euchre would just be blocked by a red gate - so instead he heads south.
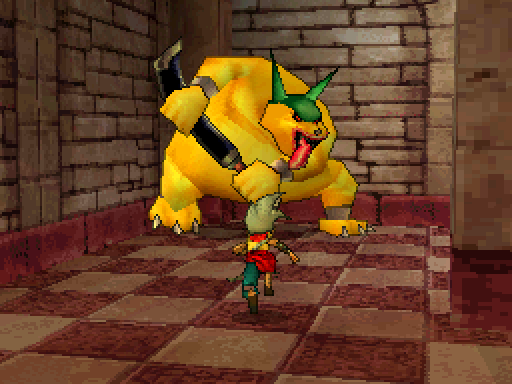
There's a monster along the path that wasn't here before, and that's because it's a bit of a rare spawn. I didn't think it was available until Euchre reached the north side of Celeste Isle originally, but that's untrue - it's entirely possible to find it on Euchre's first visit.
Music: Monster Battle
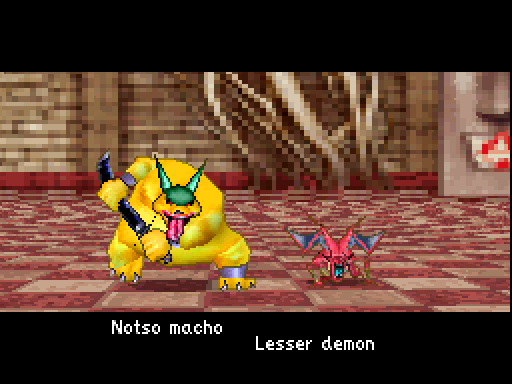
Notso Machos are fairly annoying to fight due to their large reserves of HP. They have a bit of a weird moveset which makes them somewhat dangerous, too.

Sandstorm is the usual annoyance to physical attackers. Since Euchre's planning on scouting, that means everyone.
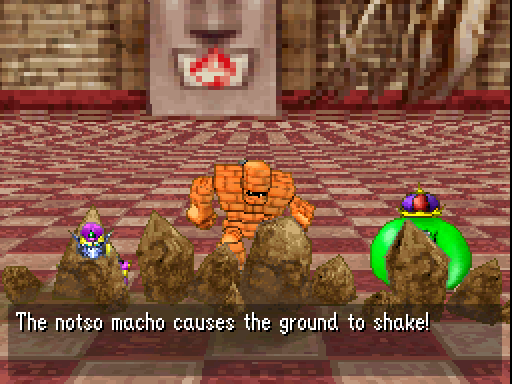
This ability, though, is much more interesting. This is Boulder Bash, the second tier of Incarnus-only Earth attacks. The only Skills that teach it are Cluboon and Cluboon II. Why wild Notso Machos get access to it is a mystery, but whatever the case it hurts quite a lot. Wildcard is healed by it, though, thanks to his elemental affinities.
Music: Seeking Treasure
Scouting this one is a bit of a pain, even with two Psycho monsters. It's mostly due to Sandstorm, though.
Having obtained all the potential monsters of the Celeste Isle temples, Euchre heads straight to his destination - the top floor of the Temple of the Moon. It's a simple task to get up here, although he has to go through the Temple of the Sun to do so. Just follow the path where the lights used to be, then go through the chamber of the Great Looking Glass on the top floor.
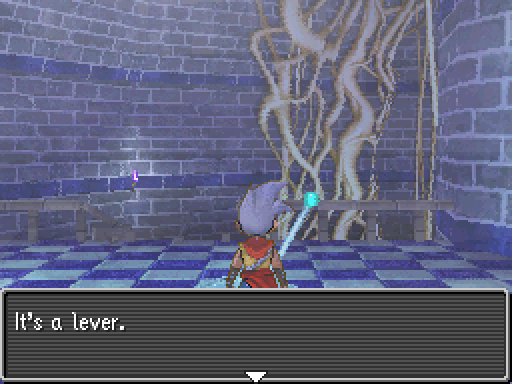
With no blue gates blocking the way Euchre can head into the other room on this floor, which contains a similar lever to the one that he pulled before. No prizes for guessing what this one does.
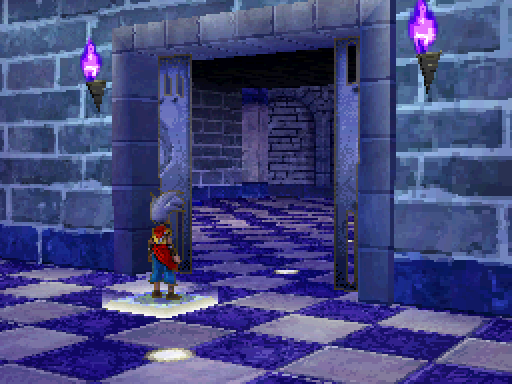
Yep, it opens a door on the ground floor. Who'd have thought?
A strange voice seems to fill the air...We even get the same disembodied voice telling Euchre where to go. I get that the temples are mirrored and everything, but this is just boring.
The path down to the tablet is pretty similar, too. Just head down the stairs and follow the only path available.
There's another pressure plate door here in an attempt to liven things up a little, and this one leads to the room with the blue-ringed mirror. From here it's a simple matter of looping around the edge of the ground floor...
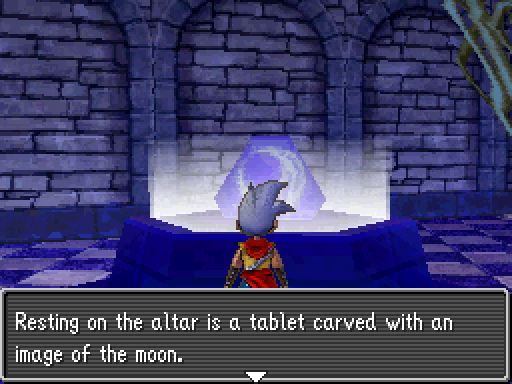
...and going through the first opening that it's possible to go through. The tablet is straight ahead after that.
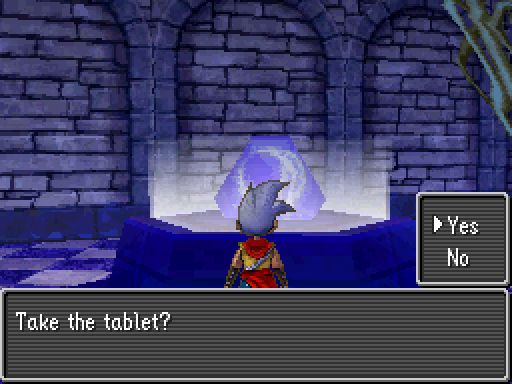
Again, there's no reason not to take the tablet, so that's just what happens.
Euchre obtains the lunar tablet! A disembodied voice speaks...Great, more backtracking! Except that's not really the case, because Euchre can just cast Evac to get back to the Great Looking Glass's chamber. It's outside, after all, so it counts as a checkpoint of sorts.
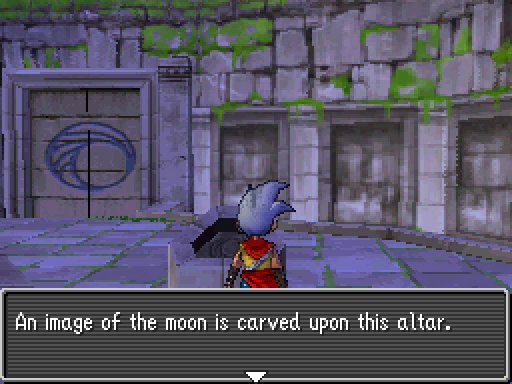 Place the lunar tablet on the altar?
There's only one option for putting the lunar tablet in this time, so that's where it goes. Simple enough.
Music: None
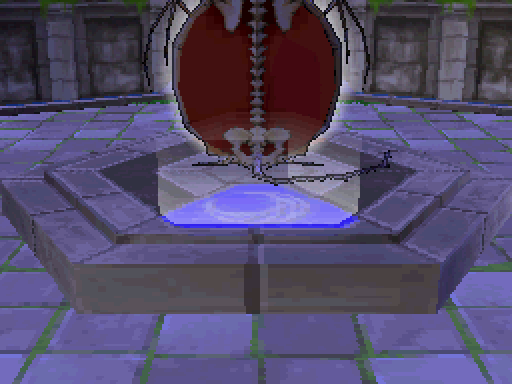
Upon putting the lunar tablet in its rightful place, the ground behind the Great Looking Glass starts shining with a symbol of the moon. Light appears to be coming out of the mirror, too, but it's a bit difficult to tell from this angle.
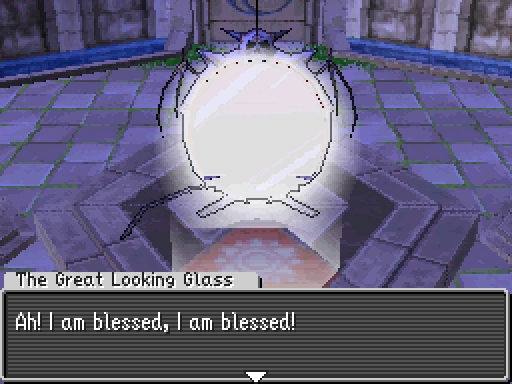
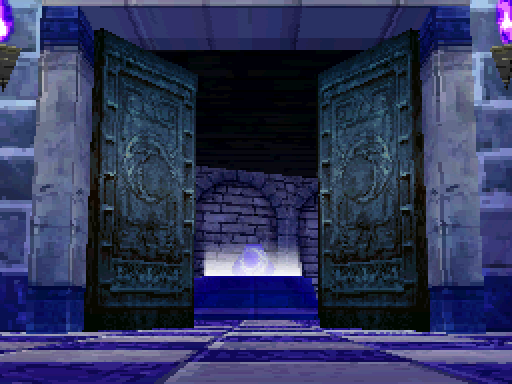
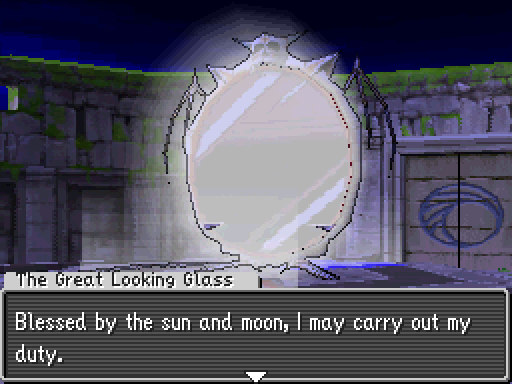
 Once more, I shine with the light of the heavens! At last, I can fulfil my duty... ...by sending the Incarnus to the Nexus. The seals fall away from the doors facing the Great Looking Glass!
This allows Euchre to go through the doors leading to each side of Celeste Isle. It's a nice shortcut for crossing the island, and it also allows for easier access to the upper floors of the two temples. Very nice!
 O mighty Incarnus, I shall transport you to the Nexus!
Also, in case it wasn't clear already, the places where Wildcard has gained new forms are called Nexuses. It's not particularly important, but it's definitely better than calling them shrines - that could mean all sorts of things, after all.
Music: Ambiance of the Night
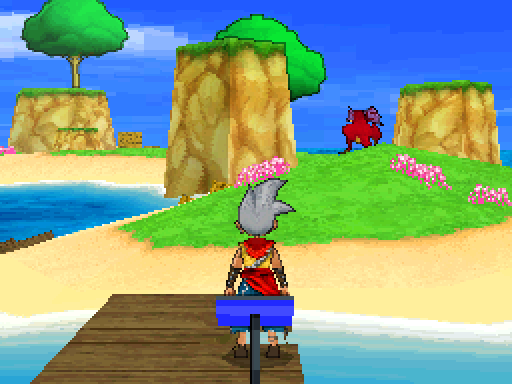
After listening to the Great Looking Glass's spiel, Euchre is teleported to the smaller island off Celeste Isle without even being asked for permission first.
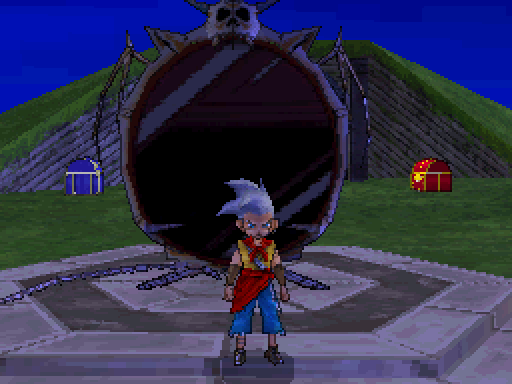
Thankfully there's a mirror just behind him that will let him return to the main part of the island if he wants, but that's not important right now.
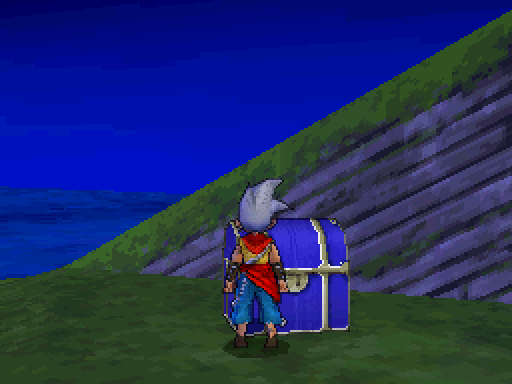
What is important is that there are treasure chests to loot. This blue chest contains exactly what you think it contains...
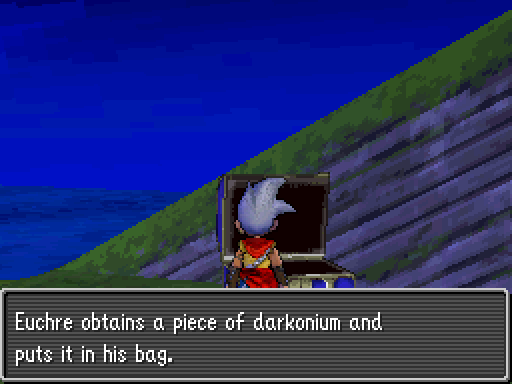
...sort of. Now that Euchre has all ten crystals that he needs, there's no longer any cutscene for collecting one. Any darkonium crystals on top of the required ten are sent to Euchre's bag where they will remain until I remember to sell them. That's all they're good for now.
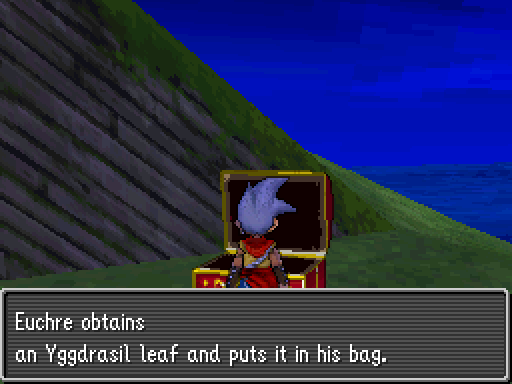
The red chest, as usual, contains an Yggdrasil Leaf. It's unlikely to see much use any time soon.
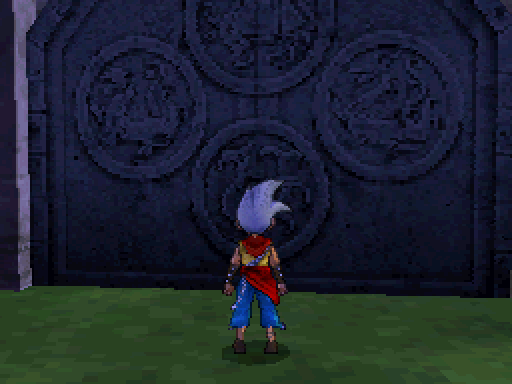
The main draw of this small island, of course, is the door here that leads into the Nexus. It's time to get Wildcard's fourth form.
Music: Sanctuary

Or it would be if this hallway wasn't here. Fun fact: Evac doesn't work in any of these hallways, or the innermost rooms themselves. I have to assume that it's because they're actually all the same rooms to save on memory, and what happens in them is determined by where they're entered from. There's another reason why I think that, but it'll have to wait a few updates.
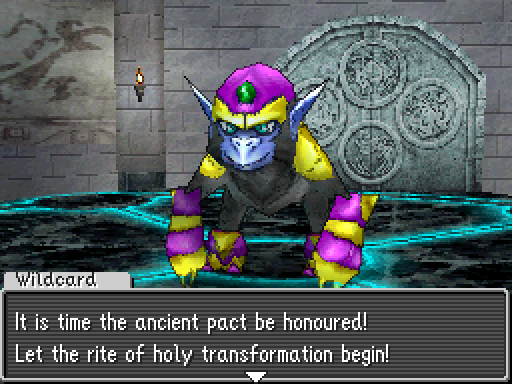
Whatever the inner workings of this game are, it's time for another boss fight! Probably, anyway. Maybe Wildcard will be able to talk this one down or something.
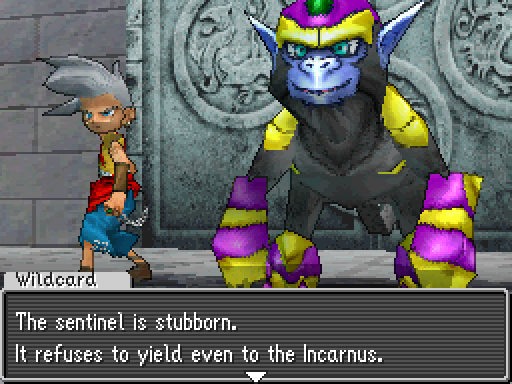
 So we have no choice. Euchre, we must exterminate the beast!
Or, apparently, he can just jump straight to murder. That's fine too.
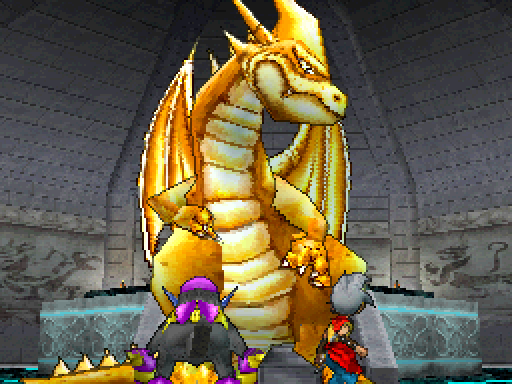
The dragon roars and attacks!
Music: Boss Battle
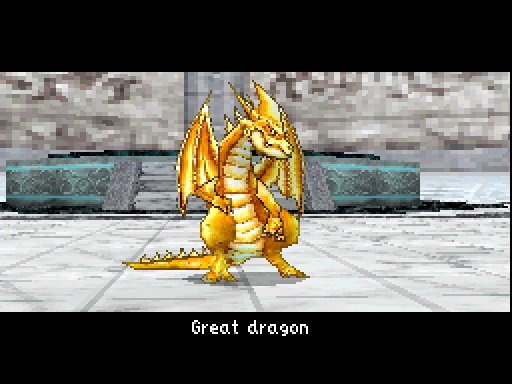
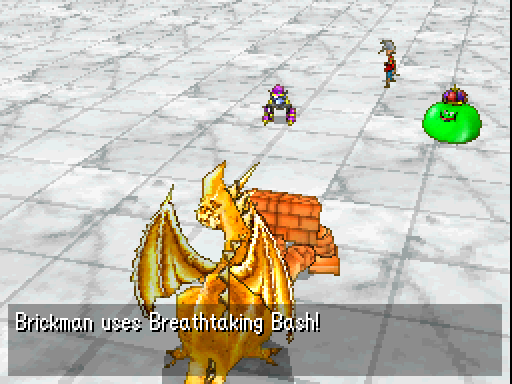
The Great Dragon is, er, a bit of a joke. After the horrors of Dr Snap's fourth battle, this is positively tame. It's even one of the synthesis components for one of Snap's monsters, the Black Dragon.
The Great Dragon's normal attack is okay, but it's not much of a problem when most of Team Euchre is almost to 200 HP.
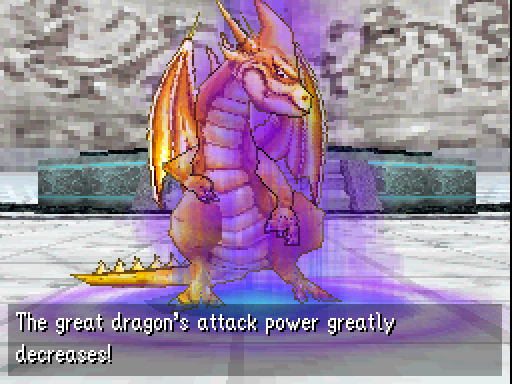
It could still be bad if I get really careless, though, so just to be safe it's getting nerfed into the ground by Weakening Wallop.
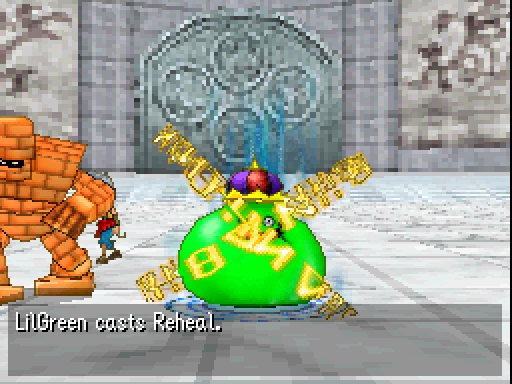
With not much healing required right now, I decide to try out Li'l Green's Reheal. This is a single-target spell which causes the target to regenerate some of their HP after every one of their actions.
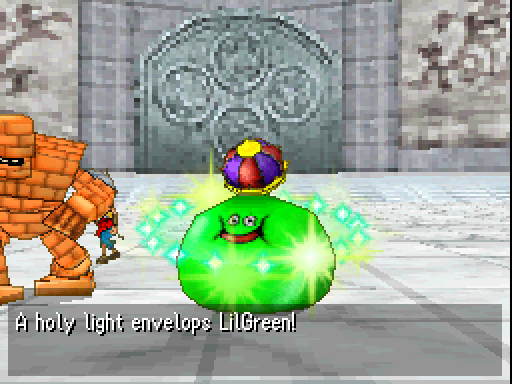
The graphical effect is quite nice, but unfortunately...
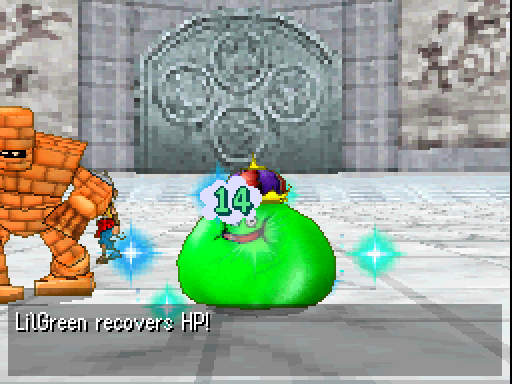
...the amount it heals for is pretty awful. Sure, 10-ish% of maximum HP seems like a decent amount, but Li'l Green could get everyone back in working order in a third of the turns it takes to set the whole party up with this.
Meanwhile, Brickman tries to inflict the Great Dragon with Gobstopper in an attempt to stop its breath attacks. I know it isn't immune - it only nullifies fire breath, ice breath and instant death - but unfortunately the ailment never lands.

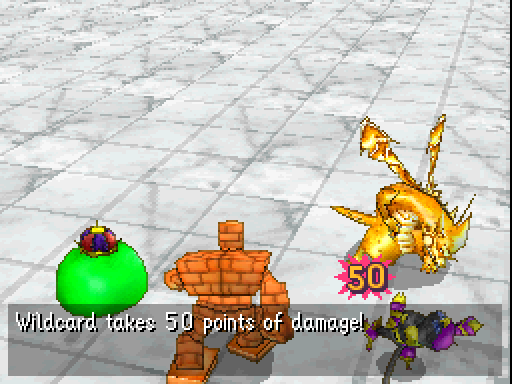
The Great Dragon manages to pull off a Cold Blizzard, the third tier ice breath attack, because of Brickman's failure. It's the main problem in this fight, since it does 70-ish damage to everyone.
Thankfully the fight doesn't last much longer.
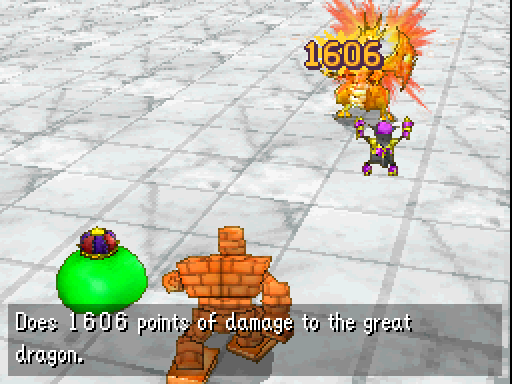
On the very next turn, after saving up 100 tension and casting Oomph on himself, Wildcard attacks and does truly ludicrous damage to the Great Dragon.
Music: None
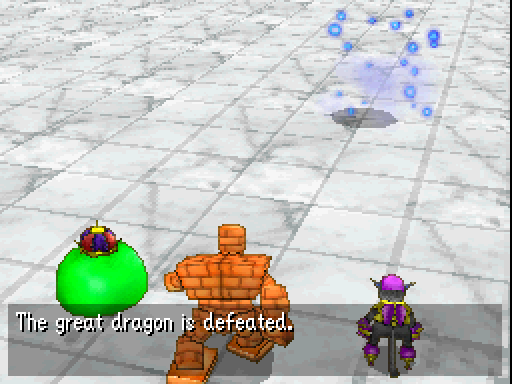
Once again, the boss is vaporised on the spot by the sheer force of the attack. That's it for the Great Dragon!
Euchre's reward for his conquest of Celeste Isle is another new ability manual. We'll see what this does after Wildcard finishes what he needs to do here.
Music: Sanctuary
With the sentinel gone, Wildcard is free to walk up to the Nexus's pedestal.
 Give me now the power...
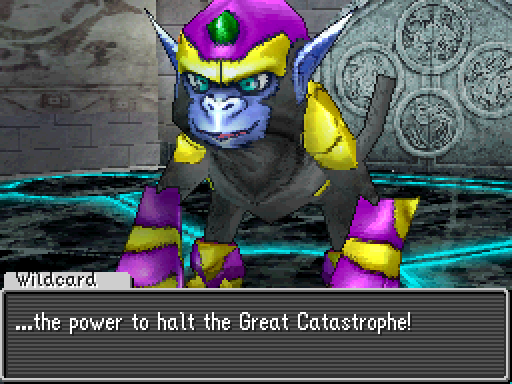
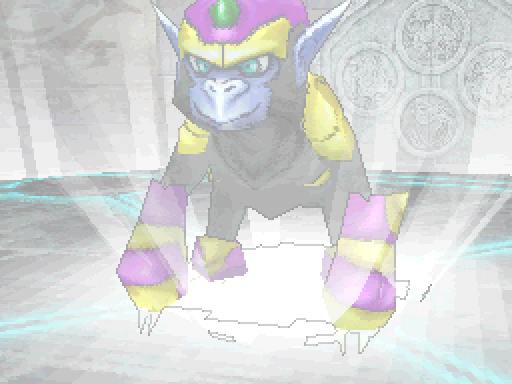
The light envelops Wildcard once more...
Music: Sanctuary (Variation)
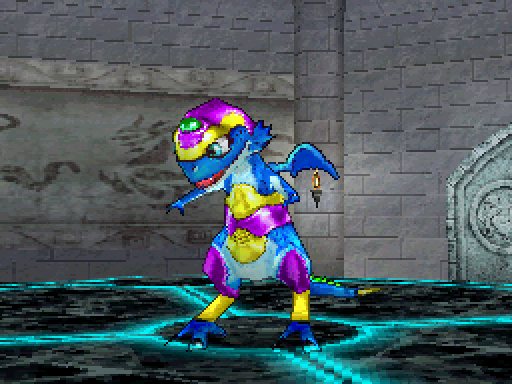
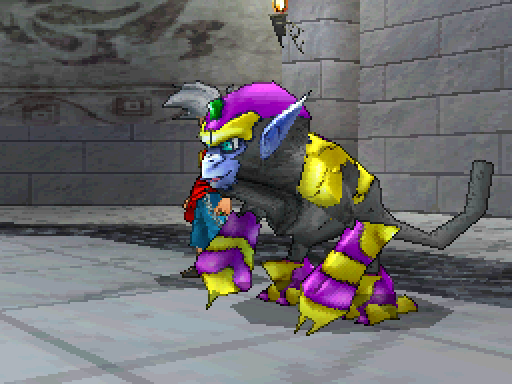
...giving him yet another new form.
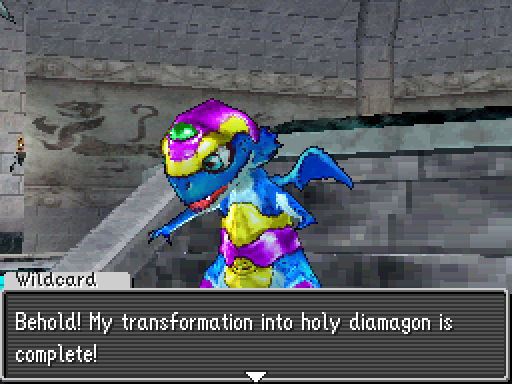
 Now nothing can stop us from collecting the darkonium you seek. But still I wonder... Why did they ask you to collect darkonium?
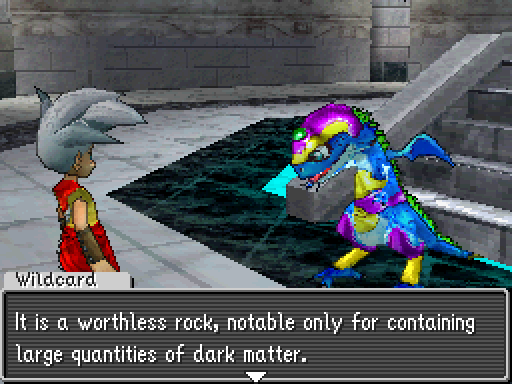 Dark matter is the monsters' lifeblood... It is the source of their strength, the very root of their being.
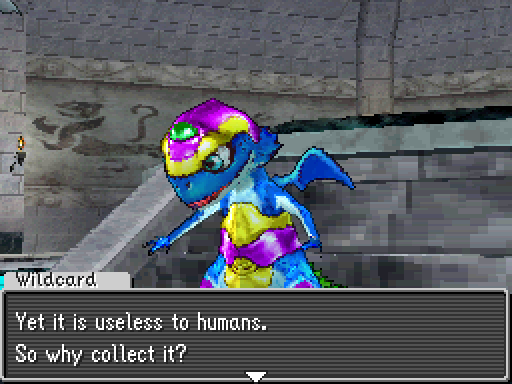
It's a reasonable assumption that Snap needs it for his monster research, but the amount he must be getting is ridiculous. And, well, it's useless other than that. What's the MSO going to do with it all?
...Ah, forgive me. We do not have time for idle speculation. Then we will go to the final shrine. Be resolute, my young friend.Wait, that wasn't the last shrine? But Wildcard's forms already cover all four suits! What could the last shrine hold for him, then?
Before we go off to find it, though, we have exciting menu action!
Music: Sanctuary
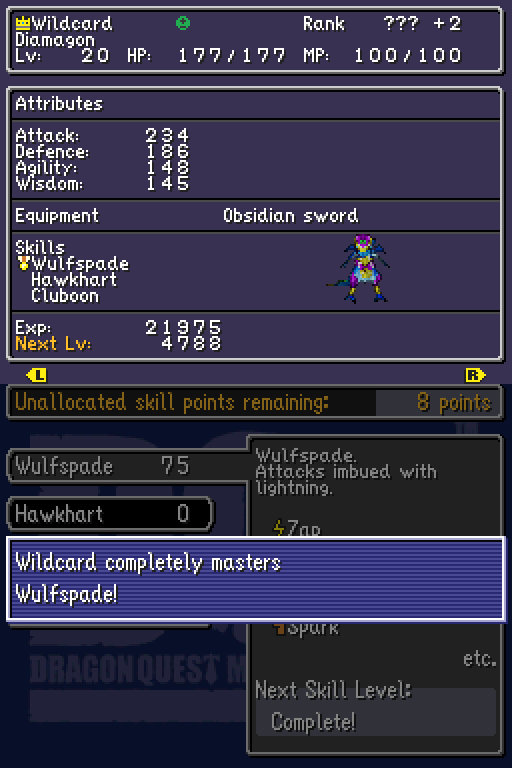
Wildcard finishes off his Wulfspade Skill at 75 skill points. When he's synthesised again Wulfspade II will be available, but that won't be happening right now.
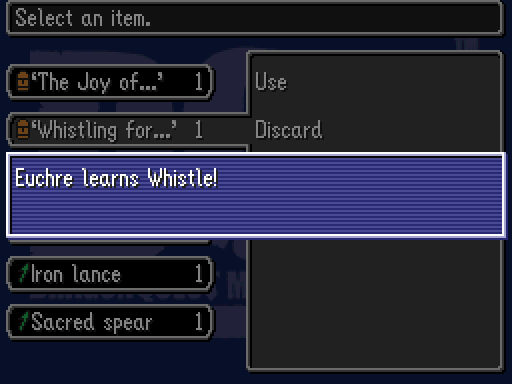
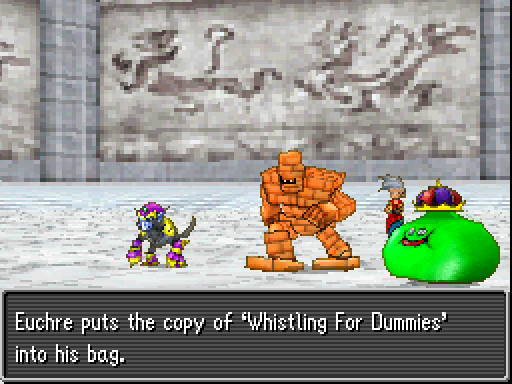
Upon using the copy of Whistling for Dummies that the Great Dragon dropped, Euchre learns Whistle. This is a very useful ability for grinding, since it immediately starts an area-appropriate encounter upon use. It's nice for saving time over running around looking for monsters to fight.
Music: Ambiance of the Night
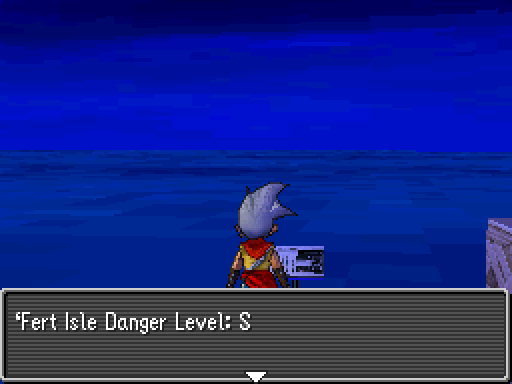
With that done, it's time to head over to the last island in Green Bays: Fert Isle.
Music: None
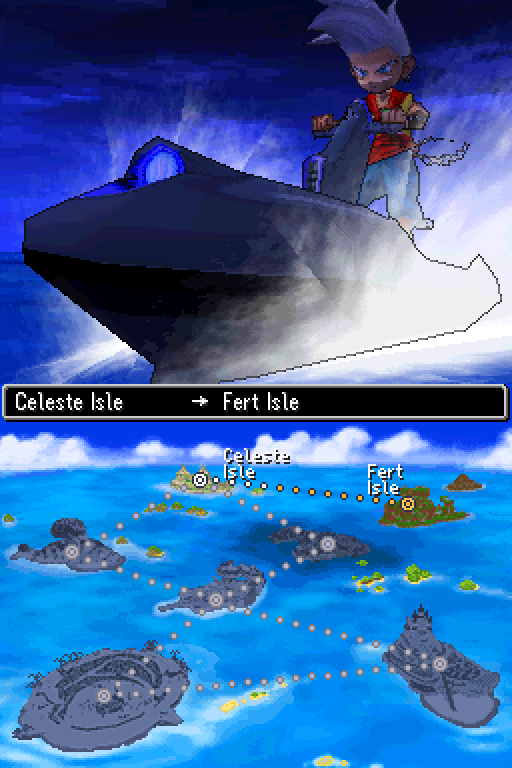
Its location shouldn't be much of a surprise. Funnily enough, CELL HQ is considered as part of Fert Isle purely based on its highlighting when travelling there. It's that spire to the northeast of the main island.
Music: Ambiance of the Night
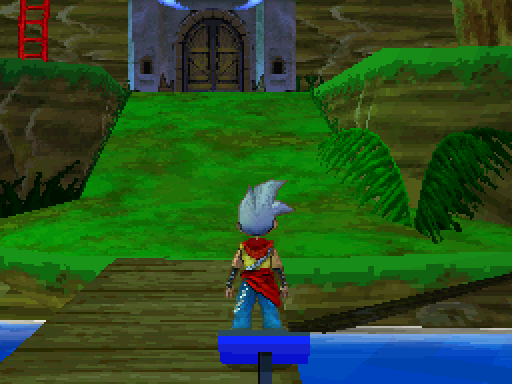
Fert Isle should be somewhat familiar - we saw it from a distance right back at the beginning of the game, after all. Before checking out the scoutpost, how about taking a look at that ladder?
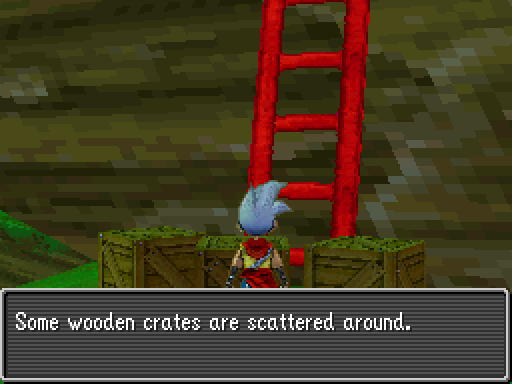
The crates are back and just as annoying as ever, blocking the way further into Fert Isle. It looks like Euchre will have to take the long way around, but not quite yet. First he has to visit the scoutpost.
Music: Scoutpost
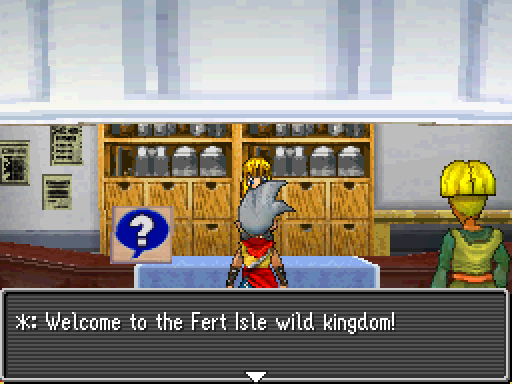
This is remarkably useless advice. The minimap isn't all that helpful most of the time, and on Fert Isle in particular the whole thing basically looks like a large green and brown smudge with a river running down the middle. There's no reason to remember the way back, either, since picking up Zoom is mandatory and it costs nothing to use.
Maybe someone else around here will have a helpful contribution.
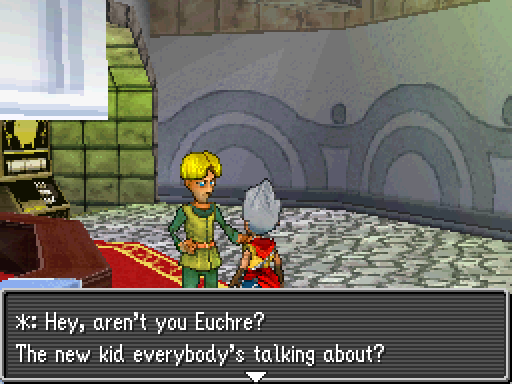
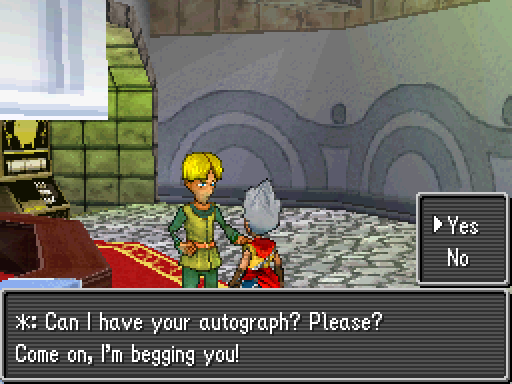
It looks like Euchre's getting famous. What harm could possibly come from signing an autograph?
Euchre signs his autograph.Although that wasn't particularly helpful, it's still nice to get some recognition. How about someone else?
If it's anything like the other Nexuses, a large, out-of-place door is a pretty good indication of its location. It looks like Euchre has his next destination.
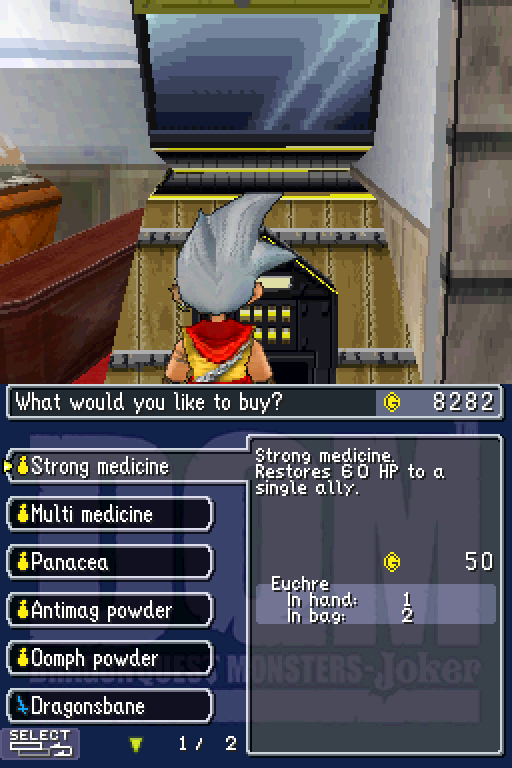
Before leaving the scoutpost, Euchre checks out the shop. The big new item here is Multi Medicine, which heals 30 HP to all of Team Euchre. It's kind of awful at this point in the game as well as fairly expensive at 600 gold coins.
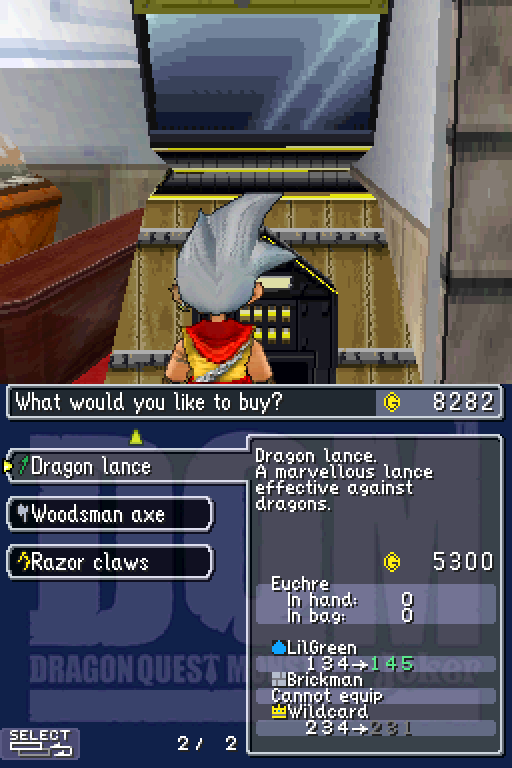
The weapons on sale here are the best available for purchase right now, but they're still not as good as what Team Euchre has already with the exception of Li'l Green. With his role as healer, though, strong weapons aren't particularly necessary.
So what's next on the agenda? Starting to explore Fert Isle, perhaps?
Music: None
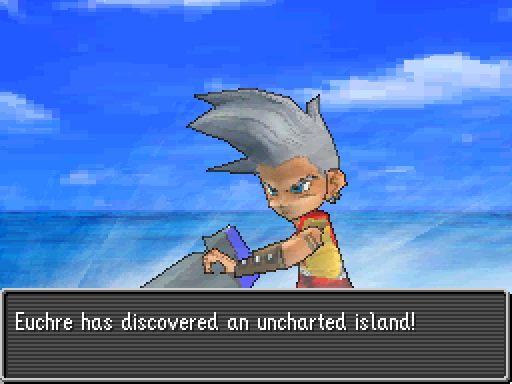
Er, no. Euchre's going to look for an uncharted island. This is the last new one, but there's one that Euchre needs to revisit to finish getting everything there.
Music: Island
This particular island is exclusively inhabited by dragons. Four of them, to be precise.
Music: Monster Battle
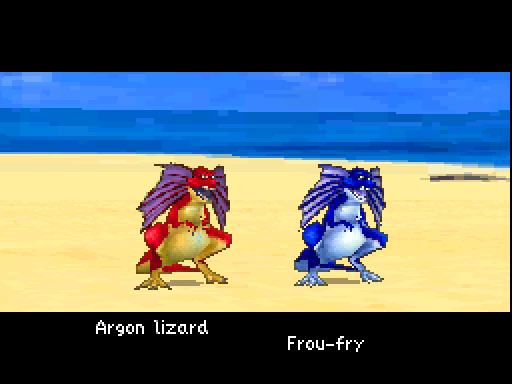
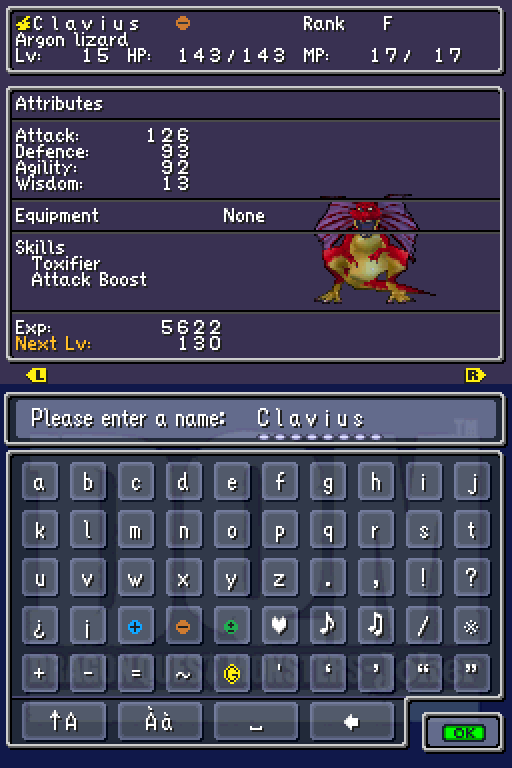
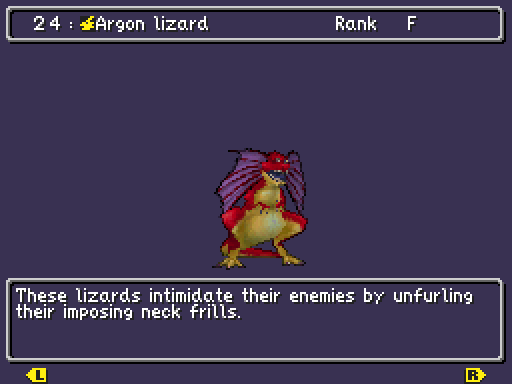
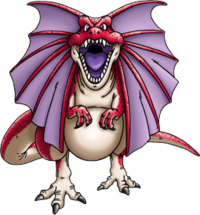
The first encounter that Euchre gets into on the island has two of them. Meet the Argon Lizard and the Frou-Fry.
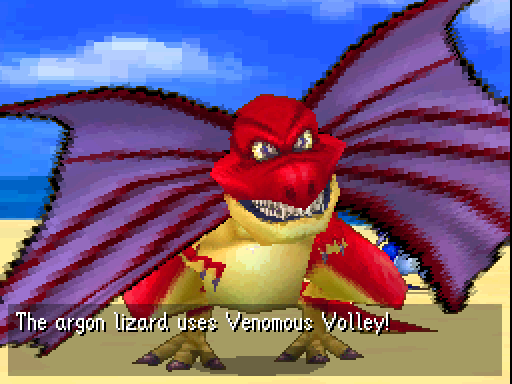
Argon Lizards are arguably the more threatening of the two, but they're still not all that good. Venomous Volley is the more dangerous of their abilities, since being inflicted with Envenomate is nastier than the alternative.
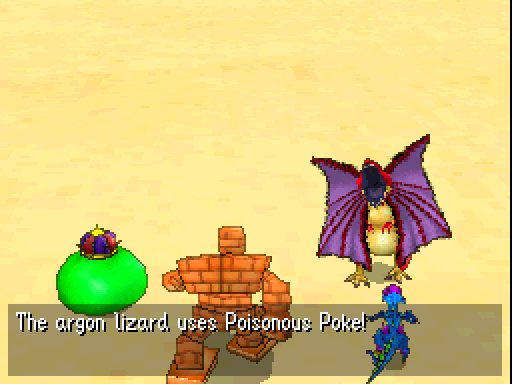
Said alternative is Poisonous Poke. Remember that Poison does half the damage of Envenomate. Why Argon Lizards have both these abilities is beyond my understanding.
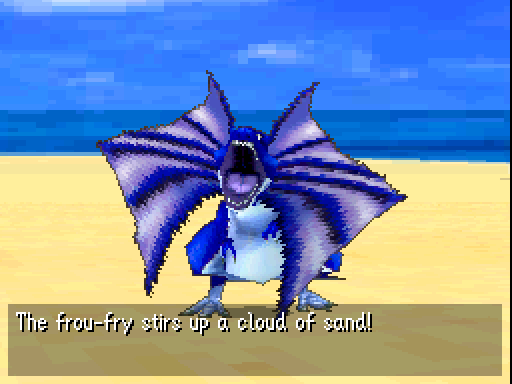
Frou-Fries, meanwhile, attempt to stall for time with Sandstorm. It's more of a mild hindrance than anything else, although it makes a good combo with Envenomate - if you can't hit anything, it's harder to end the battle and get rid of the constant damage.
I elect to pick up the Frou-Fry in this battle since, unlike Argon Lizards, they're unique to uncharted islands. If I have to leave for some reason, it'll be easier to pick an Argon Lizard up later.
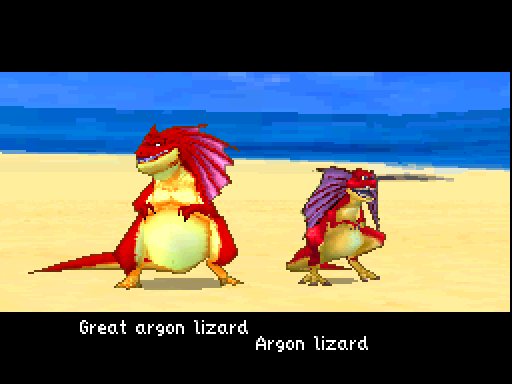
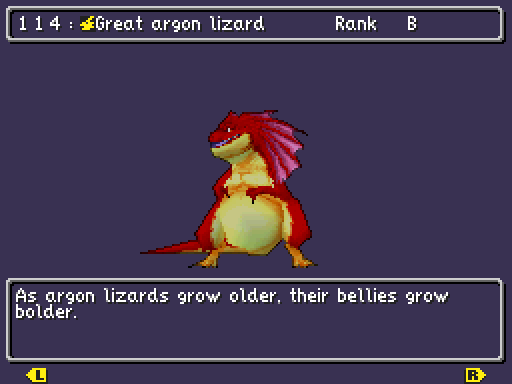
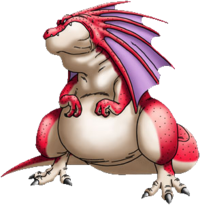
Next up is the Great Argon Lizard. These guys are considerably nastier than their smaller kin.
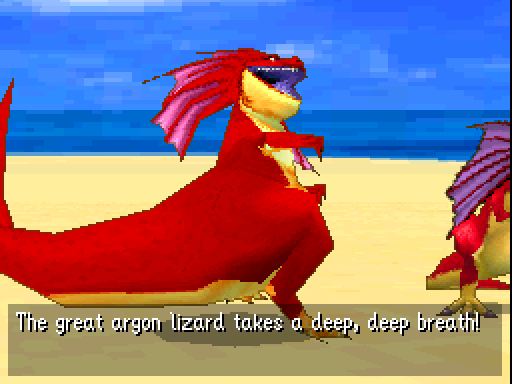
Deep Breath here is a bit of a weird ability. It increases the power of the Great Argon Lizard's next breath attack by more than double, and as far as I know there's no equivalent for the other damage types. Then again, there isn't really any other way to buff breath attack damage that I know of.
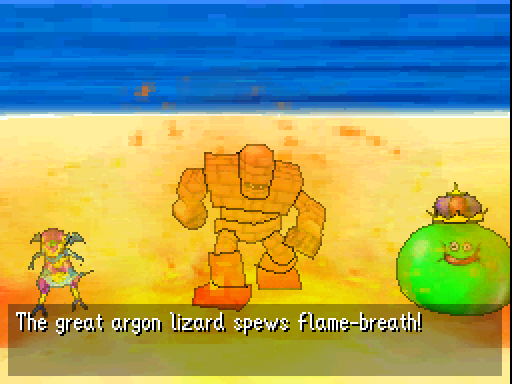
After using Deep Breath, Great Argon Lizards like to set the party on flames with their Flame Breath, the tier 2 fire breath attack. Normally this wouldn't be too bad, but with Deep Breath it hits for 50-ish damage on everyone.

Great Argon Lizards are actually pretty hard to scout - even when fully buffed up, Team Euchre can't hit 50% scout chance. Due to
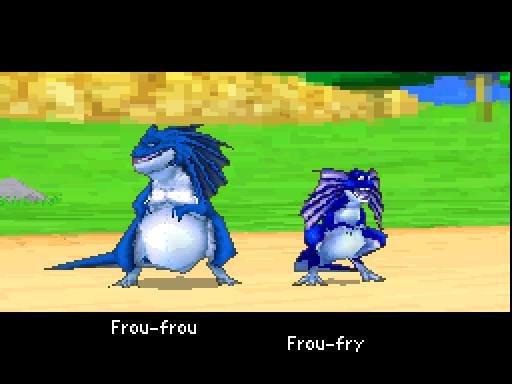
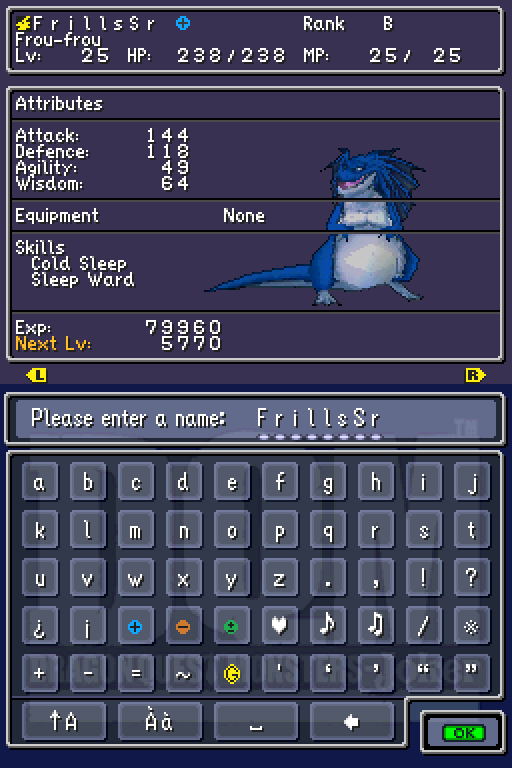
The final dragon on the island is the Frou-Frou, Frou-Fry's larger counterpart. It's roughly equal in power to the Great Argon Lizard.
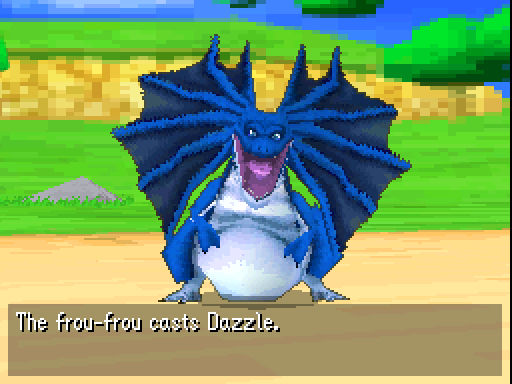
Like Frou-Fries, Frou-Frous have an ability that inflicts Dazzle. This time it's, er, Dazzle.
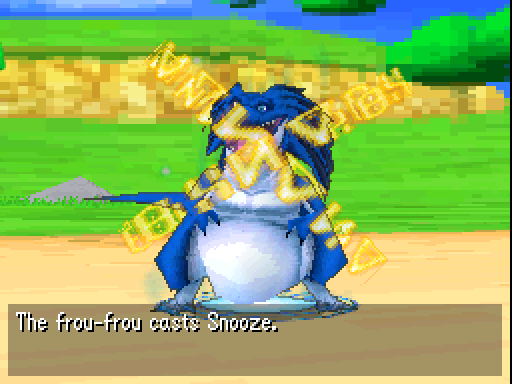
They also have Snooze! Thankfully it's single-target and doesn't hit anyone this time.
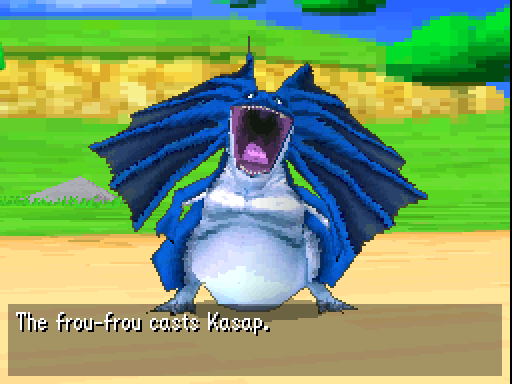
Kasap is another option that they have, which can be dangerous with their relatively high attack power. They're doing just shy of what the Great Dragon could achieve without it.
Frou-Frous are a little bit easier to scout than Great Argon Lizards, thankfully, although it still takes a lot of turns using Psych Up to get an appreciable scout chance.
Oh, and Euchre picks up a regular old Argon Lizard. Mustn't forget that.
Now that Euchre's cleared out this uncharted island, he's going back to Fert Isle...but not to explore it just yet. Next update, Euchre will be investigating those pirate attacks that have been reported recently.
Extra: The Monster Library
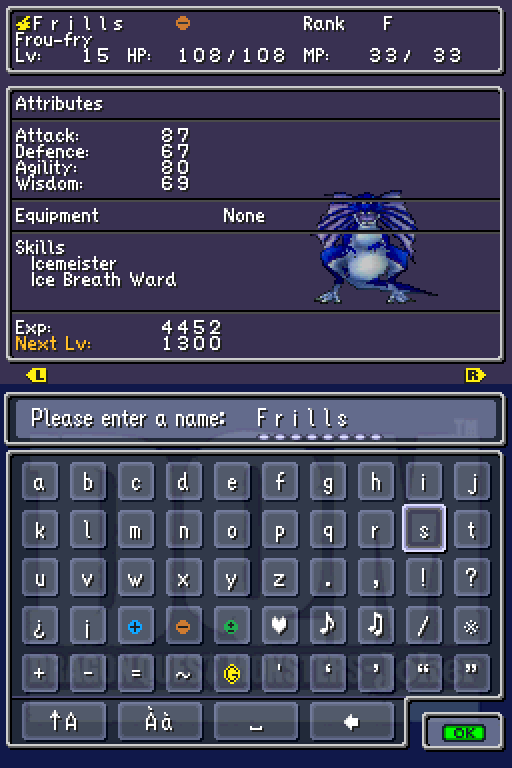
Frou-Fry
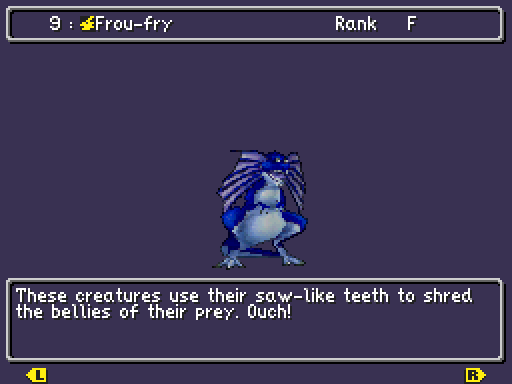

Frou-Fries have the Skills Icemeister and Ice Breath Ward when scouted and just Icemeister when synthesised. They have no Traits and are immune to Paralysis.
Icemeister was first found on Frostburns back in Part 6.
Ice Breath Ward is another Ward Skill, so it gives Ice Breath Guard passives - two, to be exact. Magic Miser and Magic Scrooge are also present, and the stat increases are 20 maximum HP, 15 Defence and 10 maximum MP. Again, this is a good Skill to patch up weaknesses if there's nothing else you want for active Skills. It's the same as for most other Ward Skills in that respect.
Argon Lizard
Argon Lizards have the Skills Toxifier and Attack Boost when scouted on a deserted island, Toxifier and Poison Ward when scouted elsewhere, and just Toxifier when synthesised. They have the Trait Escape Artist, letting their scout escape from battles more easily, and are immune to both Poison and Paralysis.
Toxifier was first seen on Dragonthorns back in Part 9.
Poison Ward is yet another Ward Skill. It grants two Poison Guard passives (which also reduce the chance of being hit by Envenomate as far as I know), as well as Steady Recovery which grants the user an innate Reheal status. The stat boosts on this Skill are +30 maximum HP and +20 maximum MP. This Skill doesn't grant Magic Scrooge, but Steady Recovery is still a nice consolation prize. Overall it's still a pretty good Skill for patching up weaknesses.
Great Argon Lizard
Great Argon Lizards have the Skills Breath and Gobstopper Ward when scouted, and just Breath when synthesised. They have no Traits and are immune to both Fire Breath and Dazzle.
Breath is a three-tiered Skill with the same skill point requirements as usual - 50 for tier 1, 75 for tier 2 and 100 for tier 3. Breath teaches the first two tiers of each offensive breath type - Fire Breath, Flame Breath, Cool Breath and Chilly Breath - as well as Blowback and Deep Breath. Breath II moves everything up a tier apart from Blowback and Deep Breath, so it gives Flame Breath, Inferno, Chilly Breath and Cold Blizzard. It also teaches Fire Breath Guard. Finally, Breath III imparts Blowback, Deep Breath and Fire Breath Guard again, but also Ice Breath Guard and the breath attacks shifted up another tier: Inferno, Scorch, Cold Blizzard and C-C-Cold Breath. Overall this is a very good offensive Skill for hitting multiple targets, and it basically gives everything needed for a monster to focus on breath attacks. Consider partnering it with Gobstopper Ward to avoid being shut down completely by that particular ailment.
Speaking of Gobstopper Ward, it grants two copies of Gobstopper Guard as well as Steady Recovery. The stat bonuses from it are 30 maximum HP and 10 Agility. It's basically the same as any other Ward Skill with Steady Recovery, so the same points stand for why you should take or leave this Skill.
Frou-Frou


Frou-Frous have the Skills Cold Sleep and Sleep Ward when scouted, and just Cold Sleep when synthesised. They have no Traits and are immune to Fire Breath, Whack and Dazzle.
Cold Sleep, as the name suggests, grants abilities related to Ice Breath and Sleep. Sadly it only really gives low-tier abilities for the latter; only Cool Breath and Chilly Breath are available. As for Sleep, there's Snooze, Sleep Sock and Kasnooze, the latter two of which are fairly good. For some reason Whack can also be obtained from this Skill, and since it's still at tier 1 it can only hit a single target. The final two abilities from Cold Sleep are Whack Guard and Sleep Guard. Overall this Skill isn't very good, with limited offensive capabilities and a lacklustre selection of ailment-inflicting abilities.
Sleep Ward is the final Ward Skill from this batch of monsters, and it grants two instances of Sleep Guard as well as Able Ambusher. It also gives 30 maximum HP and 10 Agility. Able Ambusher isn't very good, but the Skill as a whole can still be useful for getting rid of Sleep weaknesses.
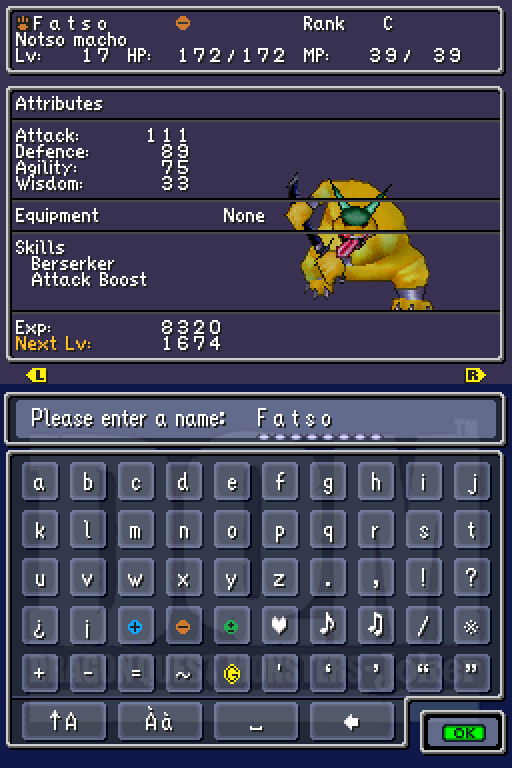
Notso Macho
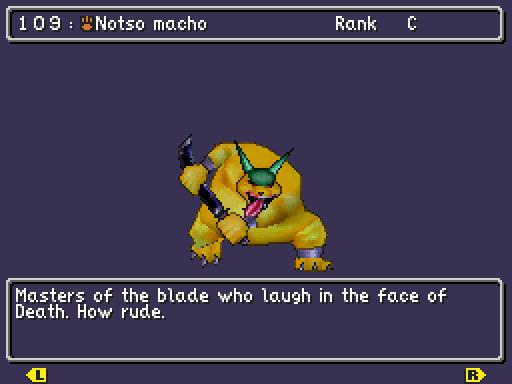

Notso Machos have the Skills Berserker and Attack Boost when scouted and just Berserker when synthesised. They have no Traits and are immune to Confusion.
Berserker was first found on Headhunters back in Part 12.
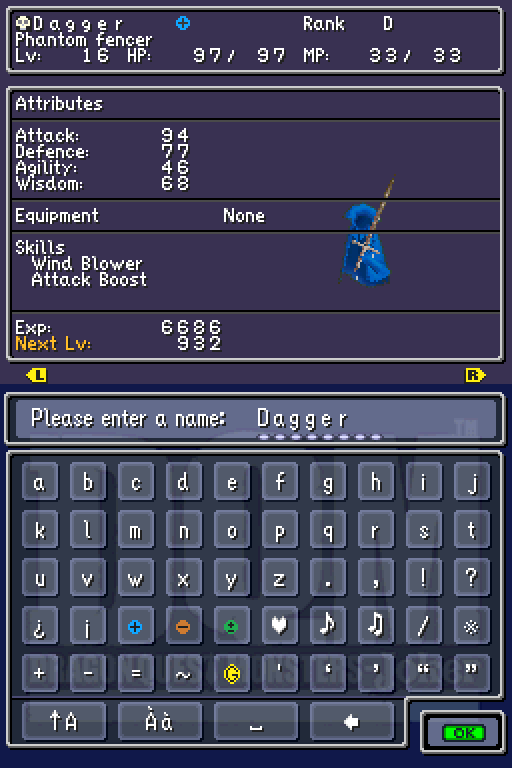
Phantom Fencer
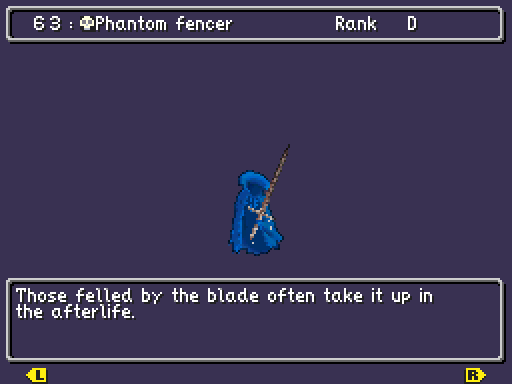
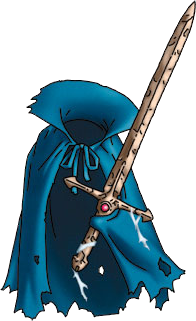
Phantom Fencers have the Skills Wind Blower and Attack Boost when scouted, and just Wind Blower when synthesised. They have the Trait Artful Dodger, are immune to both Woosh and Whack, and are weak to Zap.
Wind Blower gives access to a few Woosh-based abilities, as its name suggests. First off are Gust Slash and Gale Slash, the two Woosh-elemental slashes. They function just like every other elemental slash, so they give a 10% and 50% damage bonus respectively on top of their elemental affinity. Woosh and Swoosh also feature, although they're less useful due to stopping at tier 2, and then there's Woosh Guard. Other than these abilities, Wind Blower teaches some pertaining to Agility - Dodgy Dance, Slowing Slug and Mercurial Thrust. Overall this isn't a bad Skill by any means, but it's definitely not for mages due to the abundance of physical-based abilities here.
Diamagon
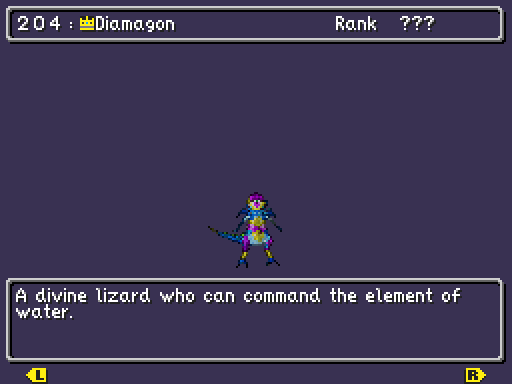

Diamagon has the Skill Diamagon (obviously) when synthesised and cannot be scouted. It has the Trait Psycho and is healed by Water, weak to Lightning and immune to Ice Breath.
The Skill Diamagon is very similar to the other Incarnus Skills in that it caps at 75 skill points and then transitions into Diamagon II. The ability composition is very similar, too. Diamagon teaches Waterspout and Geyser for its unique Water abilities, as well as Crack and Crackle for its offensive magic. Frost Slash and Water Guard also feature. As for Diamagon's utility abilities, there are Midheal and Zing, which are both very helpful for healing in a pinch.
As for Diamagon II, everything is shifted up a tier as usual. Waterspout and Geyser become Geyser and Tidal Wave, Crack and Crackle become Crackle and Kacrack, Frost Slash becomes Blizzard Slash, and while Water Guard can't be upgraded Crack Guard is added on top of it. Midheal and Zing become Fullheal and Kazing, two very good healing abilities whose usefulness should not be underestimated. Overall, Diamagon II is objectively the better Skill, and it's one of the better Incarnus Skills because of the sheer usefulness of Fullheal and Kazing in bad situations.
Extra 2: Synthesis Recipes
Frou-Fry + Frou-Fry + Frou-Fry + Great Argon Lizard = Frou-Frou (Rank B, scoutable, not available through generic synthesis)
We've already got one of these, and if you've got a Great Argon Lizard then you've probably also got a Frou-Frou. Speaking of which...
Argon Lizard + Argon Lizard + Argon Lizard + Argon Lizard = Great Argon Lizard (Rank B, scoutable, not available through generic synthesis
This one isn't quite as bad, since if you can't find an uncharted island or aren't strong enough to scout a Great Argon Lizard it's possible to make one from four Rank F monsters. It's just a shame that each of those has an extra synthesis step to get unless Fert Isle is unlocked. Still, the uncharted islands are a better source of Great Argon Lizards.
Argon Lizard + Beast Family = Frou-Fry (Rank F, scoutable, available through generic synthesis)
Not worth it in the slightest. Frou-Fries actually have a lower ID than Argon Lizards, so this is arguably a downgrade.
Skelegon + Phantom Fencer = Demonrider (Rank E, scoutable, not available through generic synthesis)
If you'll remember there was a similar recipe using a Skeleton instead of a Phantom Fencer. It was bad then, and it's bad now. Skelegons are far harder to get hold of than Demonriders.
Incarnus Family + Dragon Family = Diamagon (Rank ???, not scoutable, not available through generic synthesis)
It's another Incarnus synthesis recipe, so the reason to use it should be obvious: getting the Diamagon Skill. There is another possibility, though - different Incarnus forms have different stat growths and caps, so Diamagon may be favourable in that case.
Dessert Demon + Notso Macho = Archdemon (Rank B, not scoutable, available through generic synthesis)
This recipe is, at the moment, not available to Euchre since he hasn't gone back to Xeroph Shrine to pick up a Dessert Demon. It is, however, available through Monster Matchmaking; a Dessert Demon is offered, and a negative Rank C monster is required. Don't forget that generic synthesis is a valid option for this, though.