Part 78: Invisible Enemy

Or "Why The Moon Project hates you."
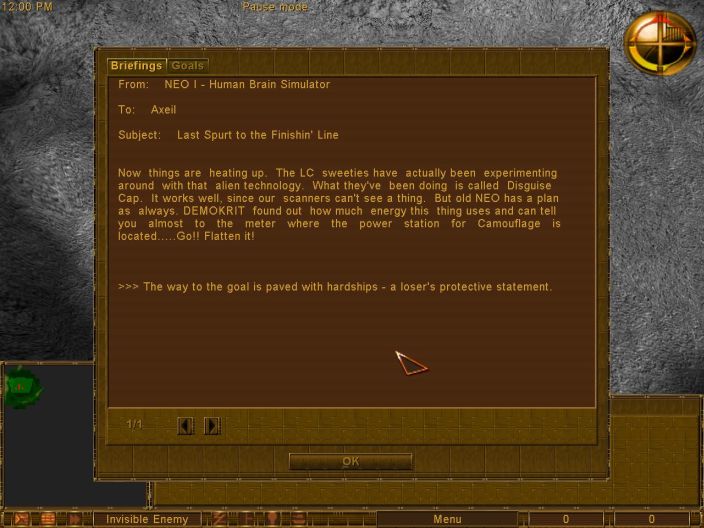
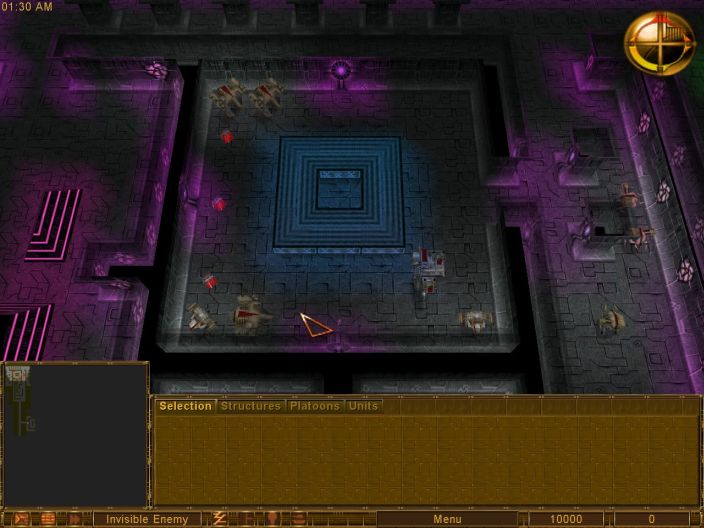
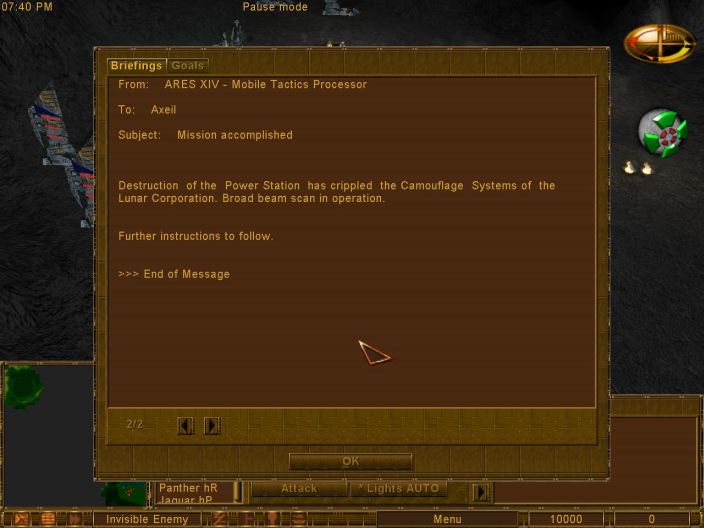
The LC have created a stealth system, much like our Shadow system. However, their system is superior in every way and we don't have radar or scanners like the ED/LC so we'll be completely blind to these units. For that reason, we need to destroy the power system for this new technology.
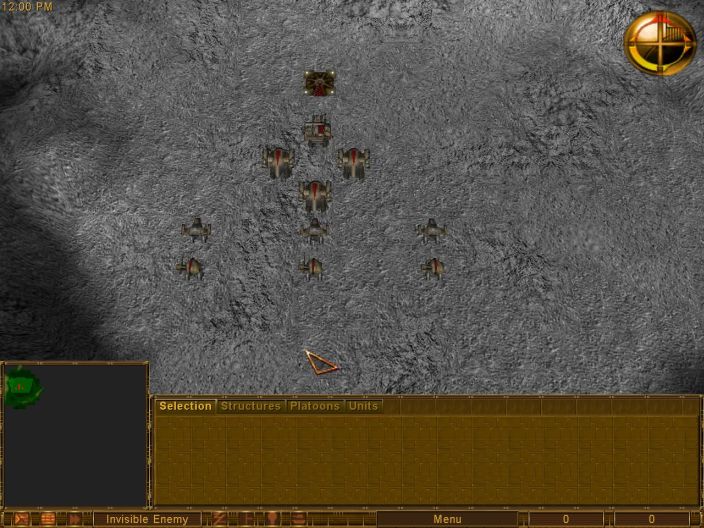
Aaand this is all we get to do it. 3 Panther hRs, 1 Jaguar hP, 3 Tiger Rs and 3 Tiger Ps and we can't build or bring in any units
 This is barely sufficient for an early game mission, much less one where you're going up against the full LC arsenal. You cannot afford to lose more than a single unit or two or you'll be unable to actually destroy the power plants.
This is why it's taken me so long to get this update done. I think the screenshots you're seeing here are a mix of the seventh and tenth attempt I made.
 Research: Bat bomber
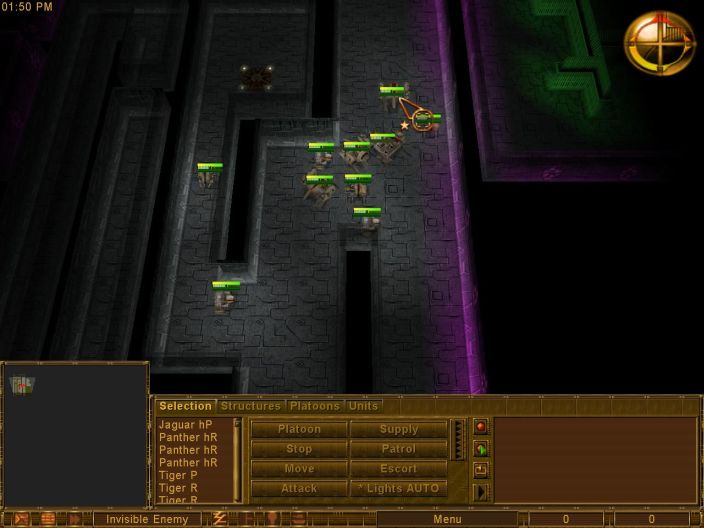
90% of this mission takes place in the tunnels. Normally this would be a good thing but take a look at our units: they're all unshielded. Unshielded units up against LC electro-cannons is a terrible idea. If we find any shields we'll absolutely have to grab them.
While scouting around we find 10,000 credits. Wow, what a useful thing for a mission where you can't build anything

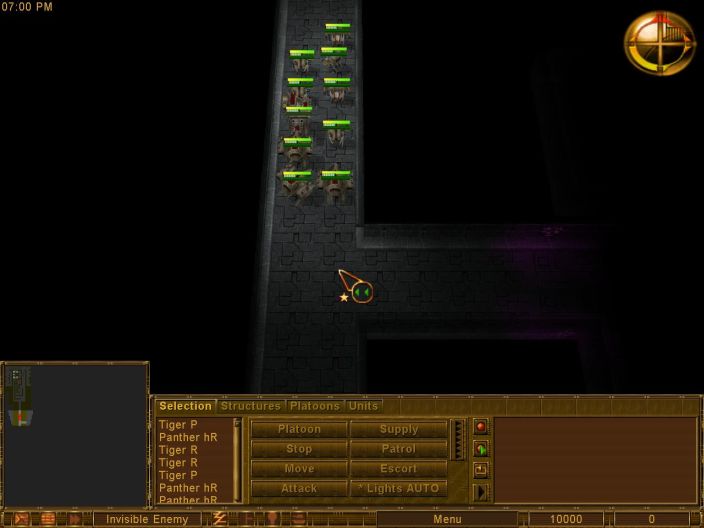
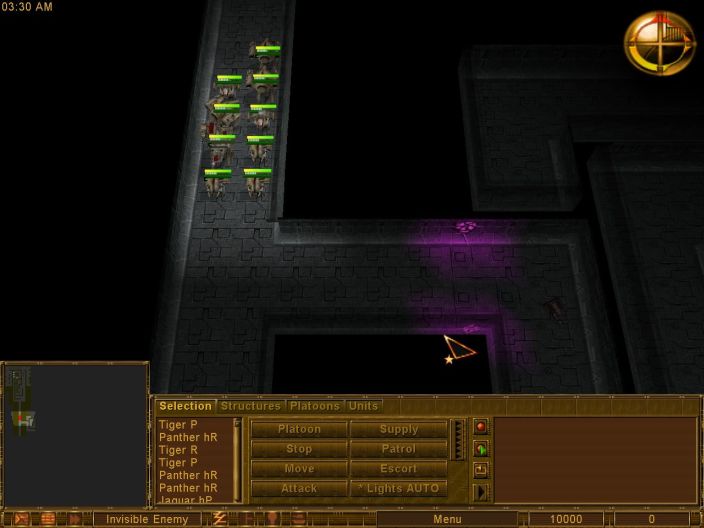
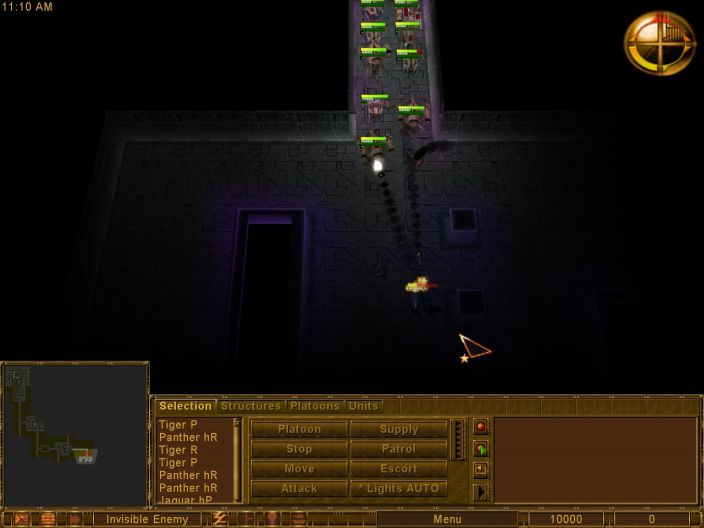
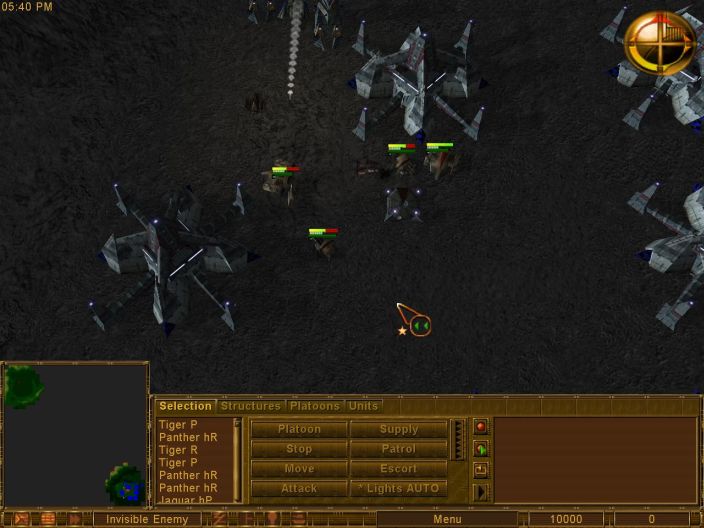
Unlike most missions, your battle formation is really, really important here. Our toughest units, the Panther hRs are up in the front. Their job will be to draw enemy fire and ensure the Jaguar and Tigers can quickly hit the enemy. If instead I put the Tigers up front they would be pulverized and we'd probably need to restart due to our lack of units.
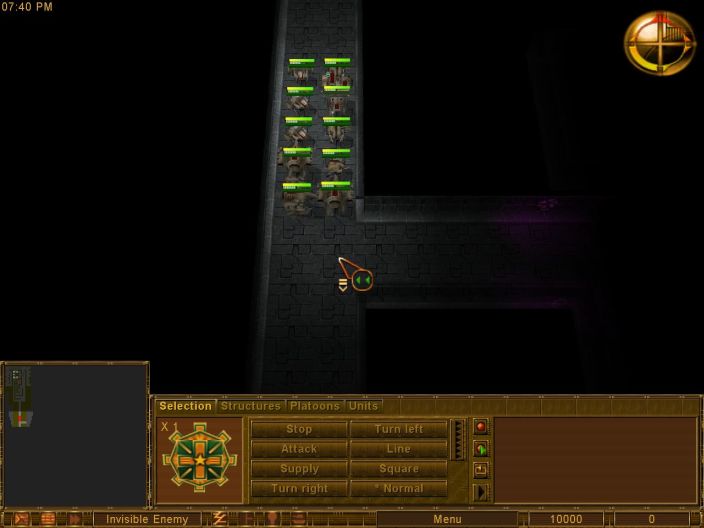
So for this reason, I make our little task force a platoon. Platoons are a neat feature that I've not shown off until now because there's usually little reason to use it. But since it's critical our units don't get separated and maintain this basic shape, it's a great tool to use. A platoon converts a group of units into a single unit. They all will move together and if you notice the "Turn Left," "Turn Right," etc commands I can move the unit very specifically and keep the right formation. Very handy in these tunnels.

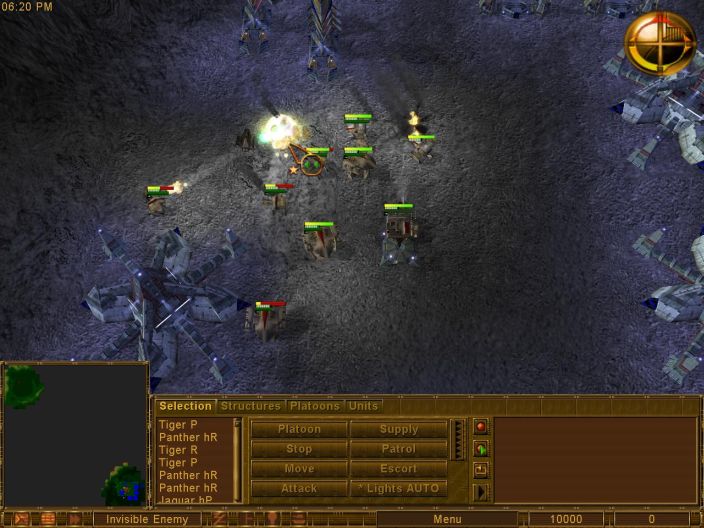
We move a few steps to the south and encounter a Moon. Notice how the platoon has enveloped the unit. I'll need to do this for almost all the enemy encounters I have to ensure I get the best damage rate.
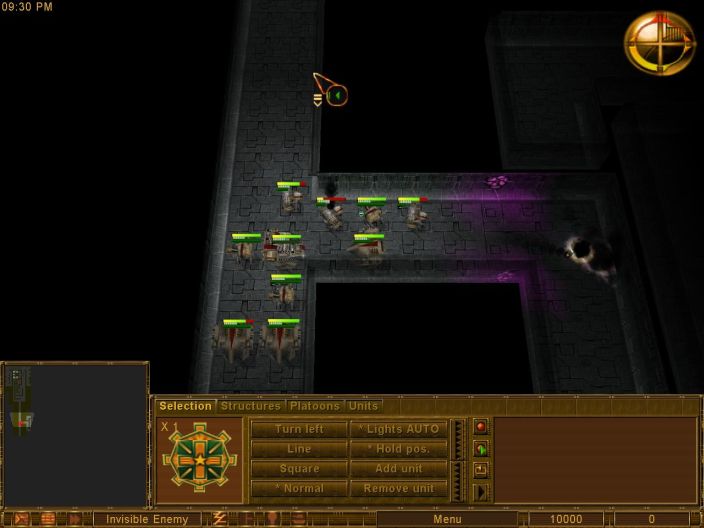
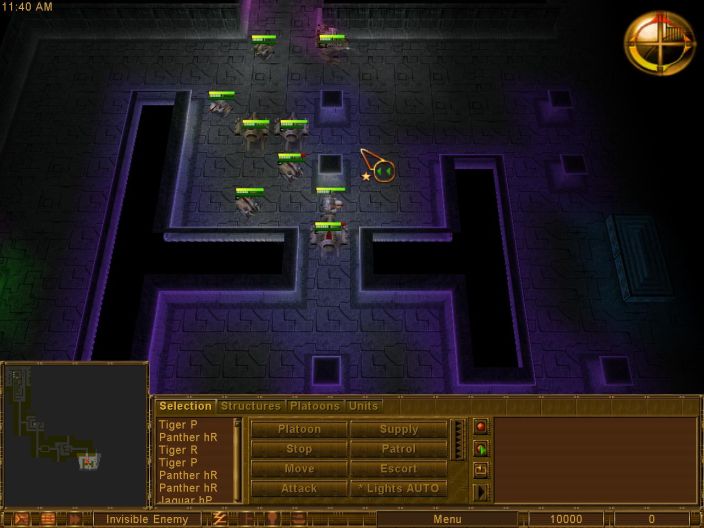
It's easier said then done though, note how we just destroyed a unit in the branch tunnel yet our platoon is horribly out of alignment. That's the one downside to using a platoon; aligning your units takes time and it can quickly fall apart in an encounter. Actually, that's kind of how battle goes in the real world, so maybe it's working as designed. Who knows.
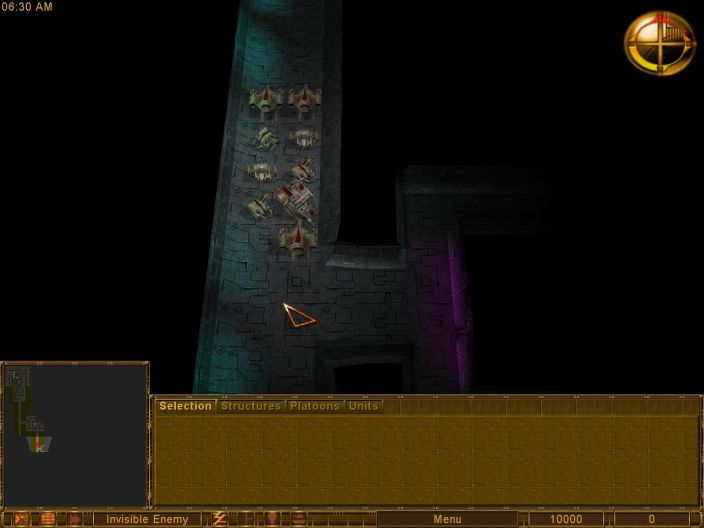
Given the damage our platoon took from that encounter, we need to find somewhere to rearm and repair. Fortunately for us there's an unguarded depot to the north of our tunnel entrance.
There we go, everyone's topped up now. You'll notice that I've disbanded the platoon though. Why? Well, since this was after many, many attempts I know that there's something coming up that is best defeated by sacrificing a weak unit to it. If I keep the platoon formation I might not be able to sacrifice the unit I want to (one of the Tigers).
Well look at that. There was supposed to be a Crusher hE waiting for us in this tunnel but it's not here. I'm not sure where it went but now I don't need to sacrifice any units!

We continue our march to the east.

There's an LC ambush waiting for us in this large room, but it only consists of some Lunar 20mm units. Not exactly very threatening to a plasma barrage.
More Lunars waiting to be destroyed. The guards have gone from Moons and Craters to Lunars. That's...the opposite of how things usually work.
Sadly, we still haven't found any shield generators. Or, rather, we haven't found any shield generators that are worth the battle. I did discover some on other runs but they were so well-guarded the losses I took outweighed the benefit of shields.
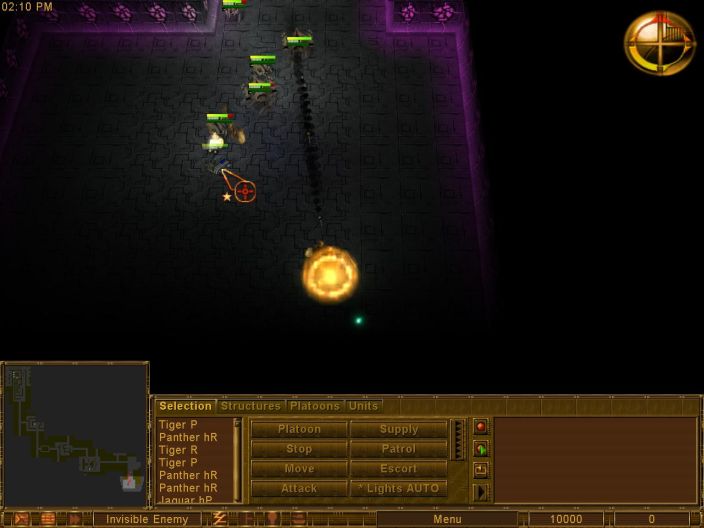
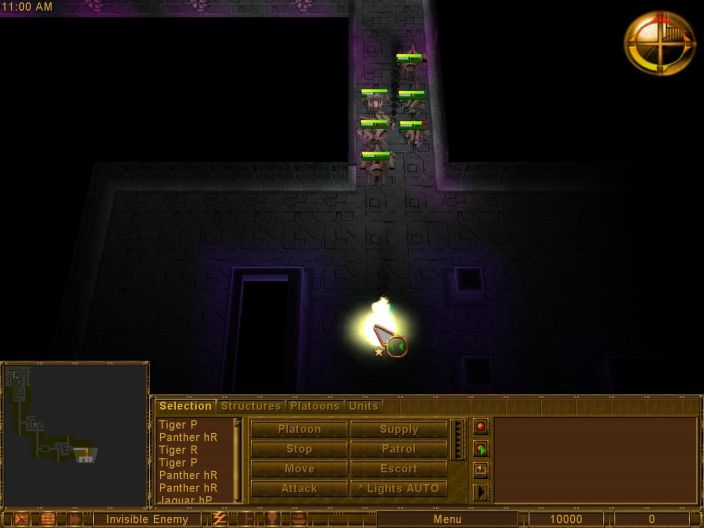
One last group of Lunars to clear out and we're at the tunnel! Hooray, everyone made it somehow.


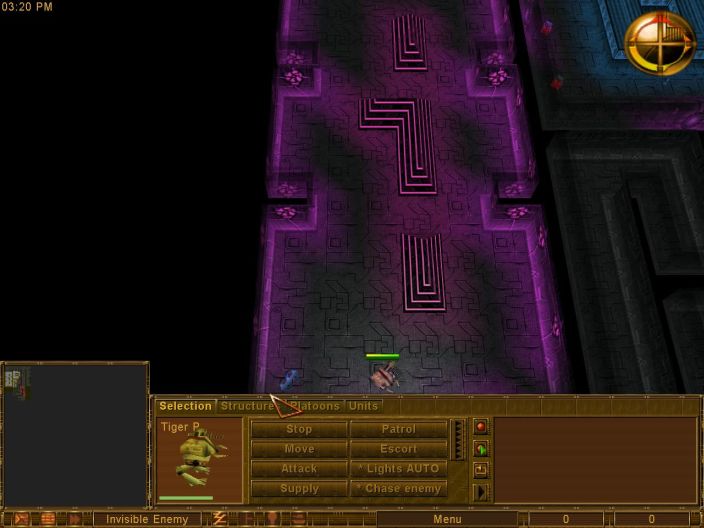
Now, we need to plan our exit of the tunnels very, very carefully. There are almost certainly LC units and defenses up there and we are starting to run low on ammo. But we only need to destroy the power plants. So long as one plasma unit survives the encounter up there we should be good.
Research: Bomb Bay 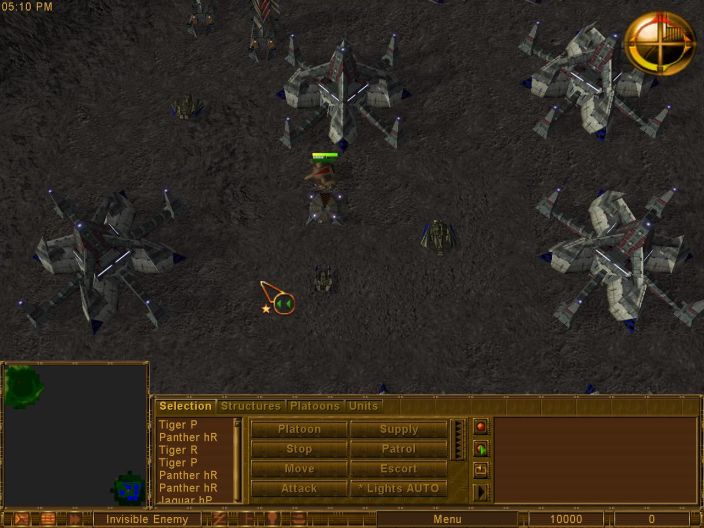
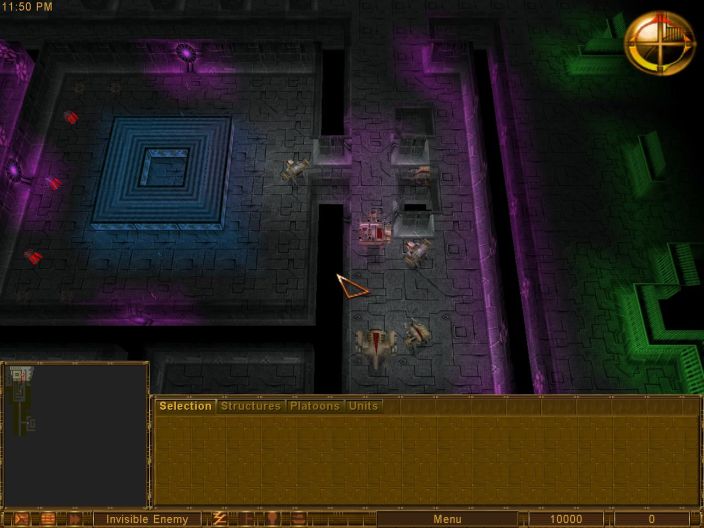
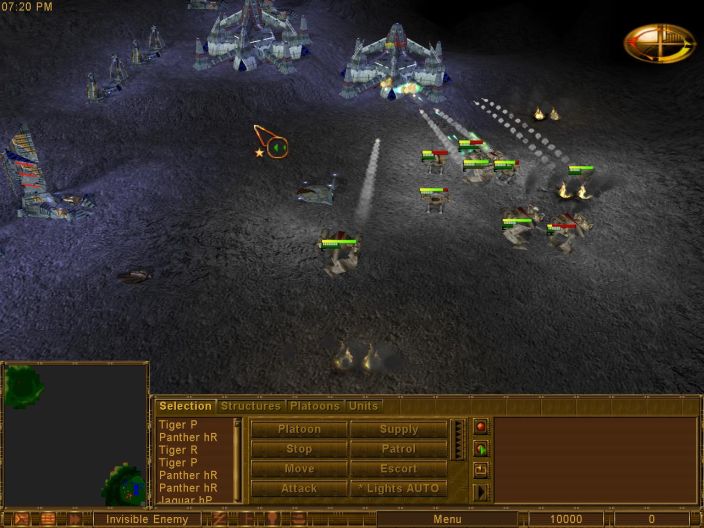
Okay. Here's what we come to the surface to. There are 3 units here: 1 Crater hR, 1 Crater hE and 1 Moon E. The Crater hR is not a threat so you can generally ignore it. The elecro-cannon units are a bit more of an issue because they can disable a unit. You really do not want that happening because if there's no one around, the LC units will all gather at the tunnel entrance and blast anything emerging into dust.
So our solution is to run around in circles while we wait for the rest of the task force to reach the surface.
This is the part that took a lot of luck to pull off. You need to make sure you get at least all your plasma up so they can take out the two electro-cannon units. Most of my failures came here when I didn't micro correctly and all my units got disabled and destroyed.
We've taken a lot of damage, but the LC electro-cannon units are dead! All we need to do now is snipe the power plants.
We destroy the Crater hR too, just for good measure. Thank god we're out of range of the base's static defenses.
With the units all dead you can kill the power in safety.
And we're done!
This is, without a doubt, the hardest mission I've shown you all so far. Simple screenshots really don't do it justice; you'd have to play it yourself. Successfully completing this mission requires almost perfect coordination and micro, unlike every other mission in the game. It's very easy to work yourself into an un-winnable situation (e.g. all your plasma units die and you run out of rocket ammo).
As I said in an earlier post, the missions start getting really tricky in the expansions. This is one of the tougher ones because you can't simply brutalize the enemy economy and turtle up if you screw up, which you might see me do in some later missions, especially in Lost Souls. The nature of this mission leaves very little room for error. If I had been in charge of designing this mission I'd at least have given you easy access to shields or removed some of the electro-cannon units.

The only unit we ended up losing was one of the Tigers that got caught by the Crater hR.

Next time we'll be going to our final quadrant: the Delta quadrant. I hope it's not as tough as this mission was
Now that my life has calmed down a bit updates should hopefully be coming more regularly. I'd like to finish up the UCS campaign this week, but we'll see what happens.