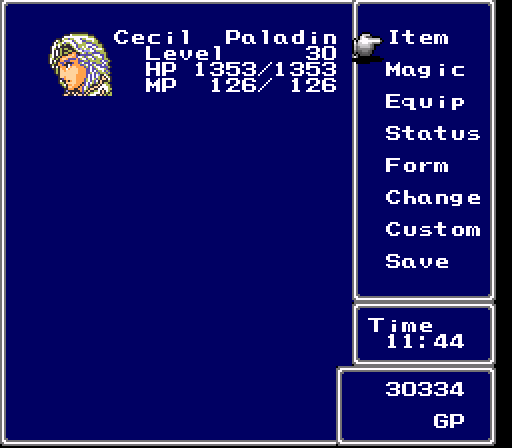
Part 15: Bonus Chapter 3 - Solo Paladin Cecil Run
Bonus Chapter 3 - Solo Paladin Cecil RunThis hack has a couple bonuses if you manage to beat the game as solo Cecil, both as a Dark Knight and as a Paladin. Today I'll be showing off the Paladin route.
I streamed this run on Twitch, so if you're interested in my inane mumbling here is the playlist (will be fully up by end of the week).
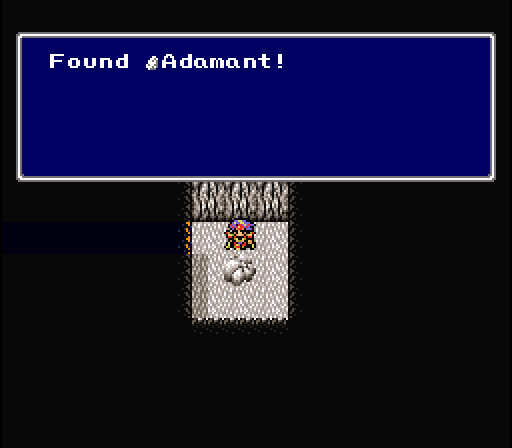
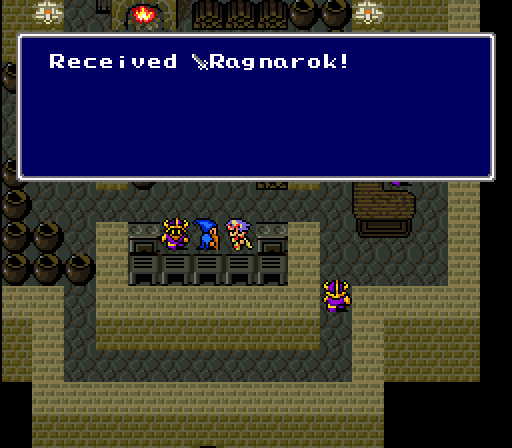
First order of business, get the Ragnarok. Honestly I didn't use it much, as Cecil really needs a shield to survive battles as a Paladin. The Aegis Shield is pretty much essential since it blocks instant death attacks.
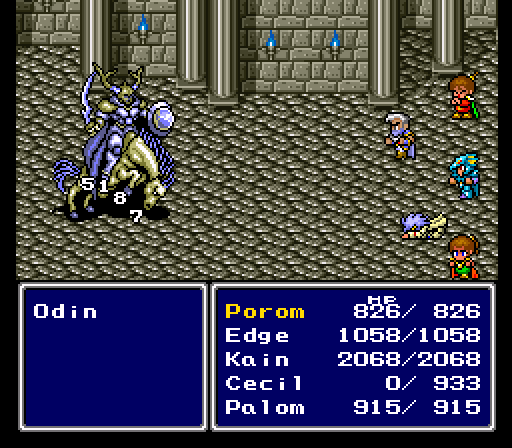
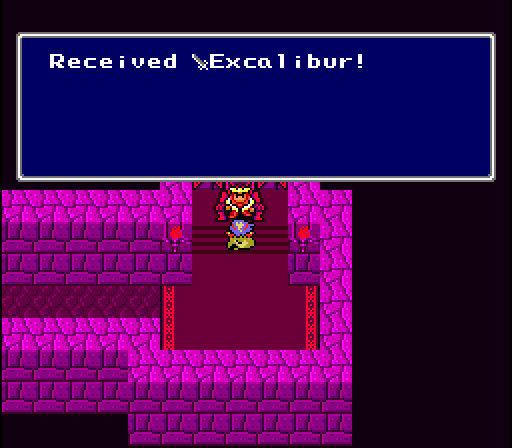
Odin goes down surprisingly quickly this time, and I nab the Excalibur, which will be my main weapon until I get the Lightbringer.
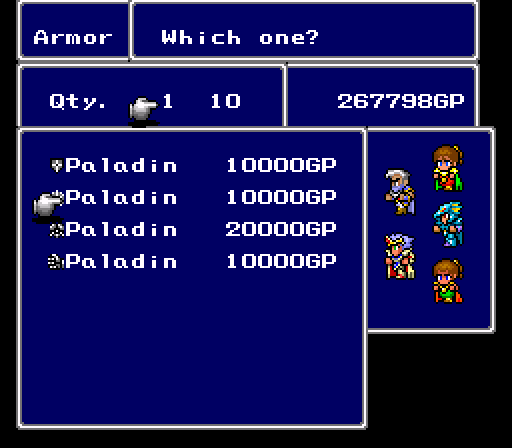
It's also handy to grab at least one piece of Paladin gear, since it resists dark attacks. This help a lot against Golbez.
After that, we get rid of our party again.
I try a few grinding places, but eventually settle upon the moon's surface. I eventually decide to try at L37.
If playing solo, the good news is you completely skip the fiends.
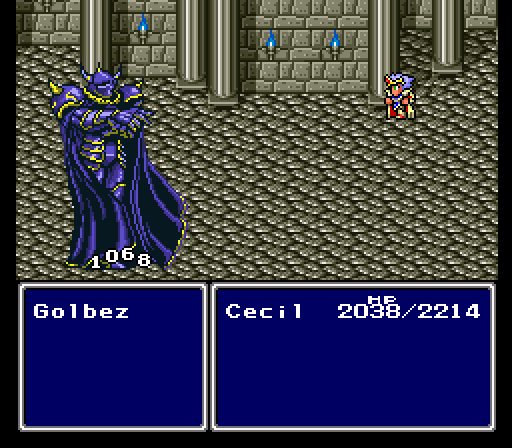
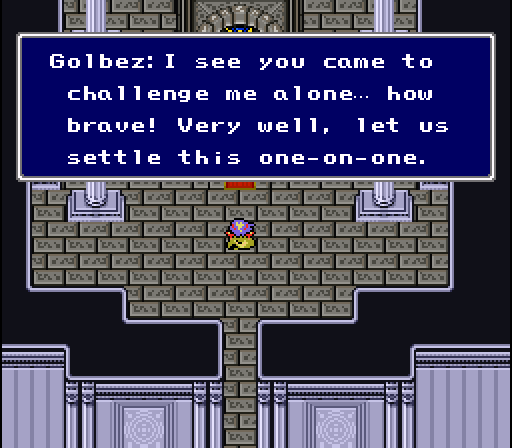
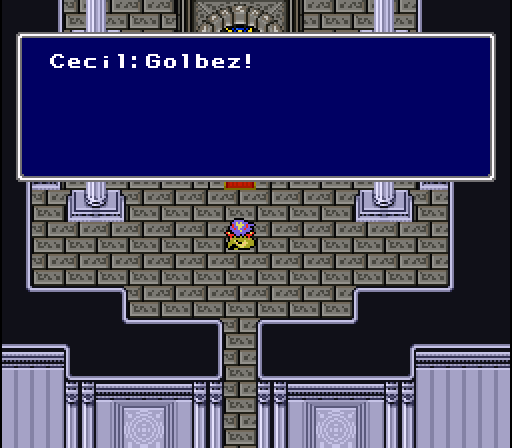
With one character, Golbez's attack pattern is simple to see. In fact, for the first half or so of the fight, he doesn't have one! Literally all he will do is counter your attacks, but never actually do anything on his own. If you do nothing, he does nothing.
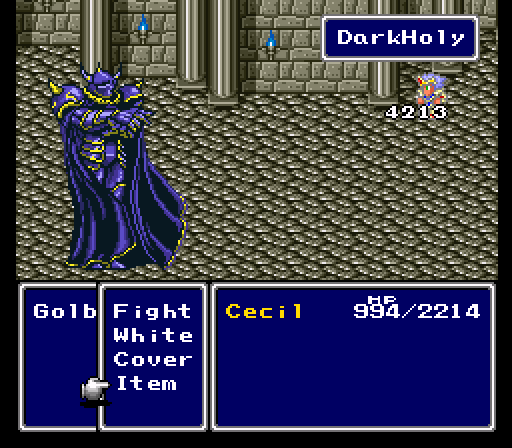
But past a certain HP threshold, he throws out DarkHoly. Ouch!
There's usually a way to overcome these challenges, and this is certainly no exception.
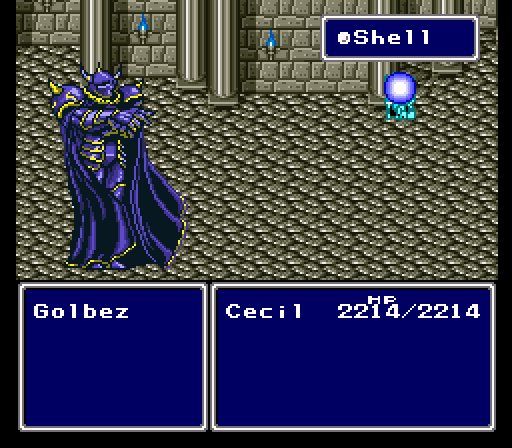
In this hack, Cecil can learn Shell. Shell (and Protect) is a lot different in FF4 than in other games. Whereas in other games Shell reduces magic damage by a set amount, usually by half or by a third, in FF4 Shell simply adds on to your Magic Defense. The problem is that this increase is very small, only adding three magic defense per casting, meaning it's essentially useless to cast in the original since there's no encounter that warrants spending that much time beefing up with Shell.
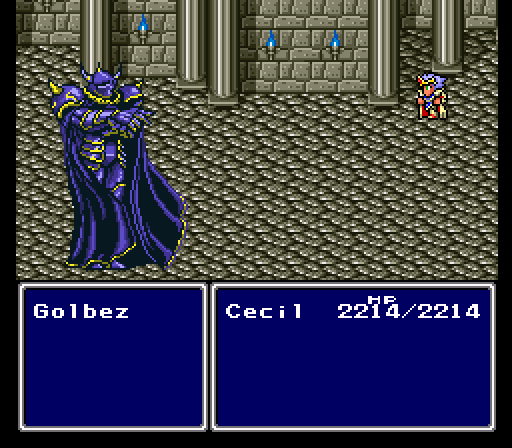
Here, Golbez will literally stand there while we spam Shell over and over.
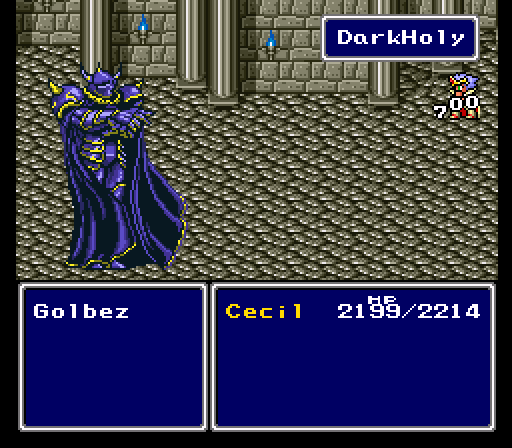
After I spam Shell until I run out of MP, Golbez becomes much more manageable. He then goes into his attack pattern of Dark Holy, Dark Wave, Bio, and Death. Aegis blocks Death, and Cecil's high magic defense make the rest irrelevant.
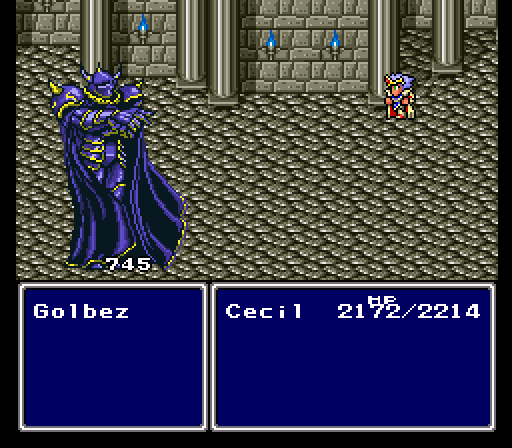
That said, Cecil wants to stay in the back row to minimize Golbez's counters, and Golbez has over 30k HP, so this is really a battle of attrition.
...This becomes a bit of a common theme for boss battles.
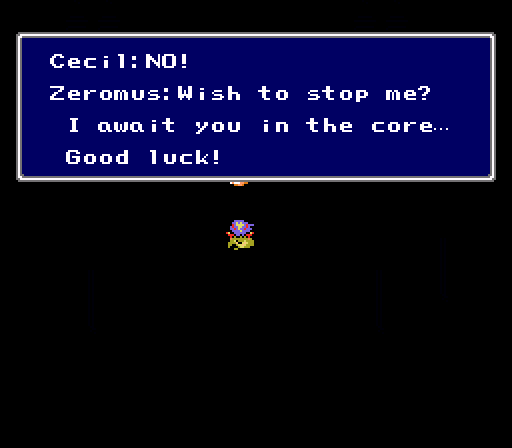
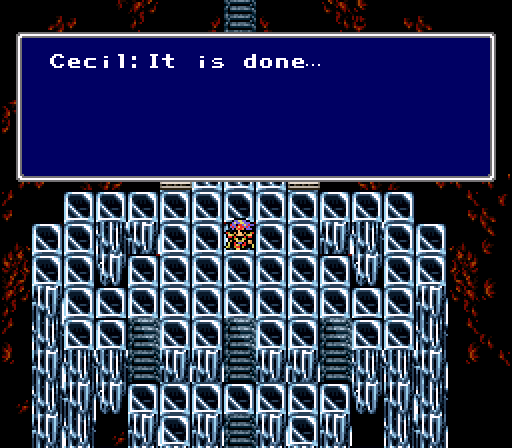
Otherwise the rest of the cutscene is unchanged and Cecil will charge into the moon's core.
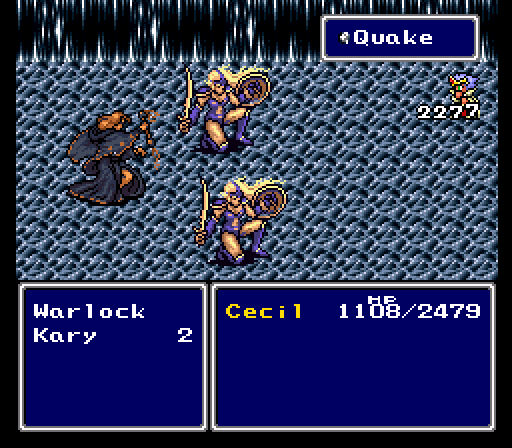
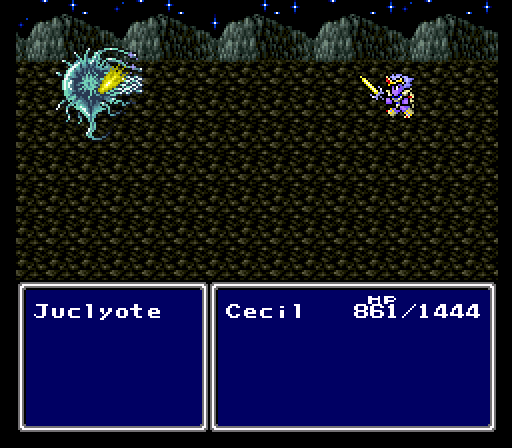
Grinding is a bit tricky here, but as long as you avoid Warlocks and their nasty spells you'll probably manage. There's enough enemies that go down easily...with patience.

Pale Dim literally only attacks with 1 damage and counters with Slow.
As you can see, I took 140 attacks before I finally killed it. Welcome to solo runs!
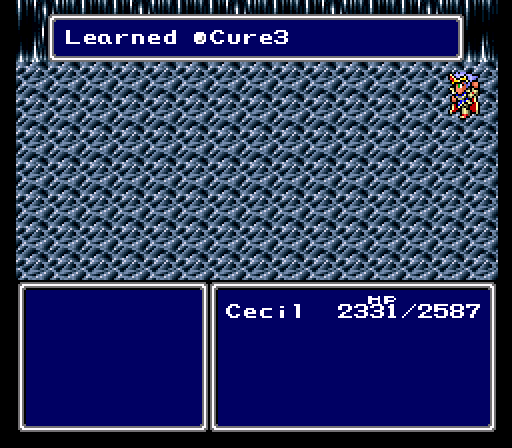
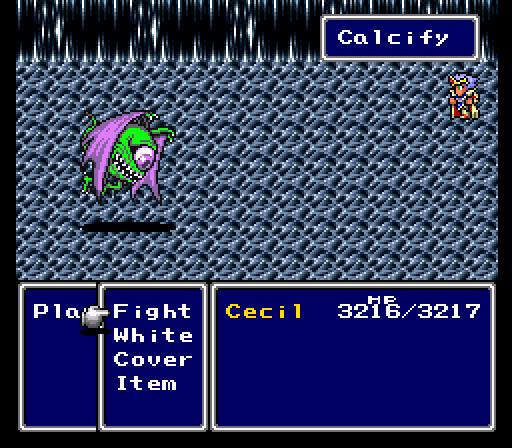
Cure3 is actually a godsend, as by the time Cecil's geared up it'll be healing for around 2500HP, or around twice that of an X-Potion. This run would have been much, much harder without Cure3.
Plague is literally powerless if you're holding the Aegis Shield.
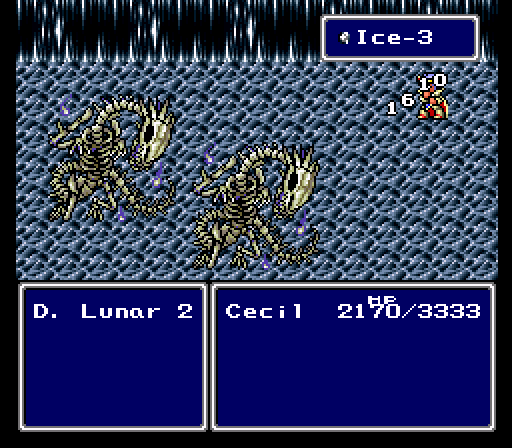
The Lunar Dragons are a bit tricky, but there are a couple ways around them.

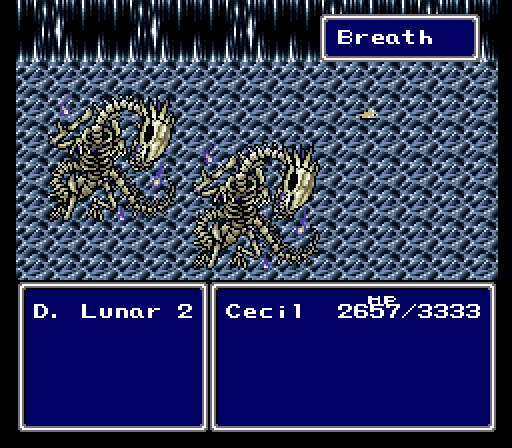
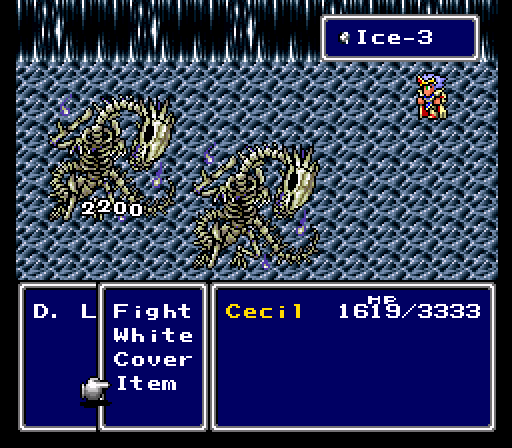
First off, if you physically attack them, they counter by casting Wall on themselves followed by bouncing Ice 3 spells off each other. Thus you want a Dragon piece equipped to resist it. And if you let them do their initial attack pattern, they can use Bad Breath, though luckily the Power Gauntlet resists part of that, and due to how status effects work in this game it makes that move meaningless.
Someone in the Twitch chat suggested using spells, which does not trigger their Ice3 spam. It's a good idea, but my ultimate solution was more delightful.

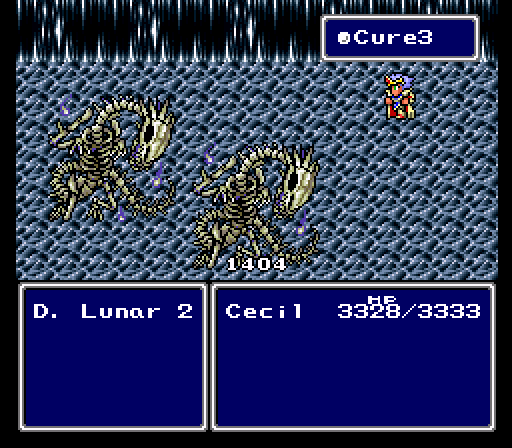
Buffed and resistant, their Ice3 onslaught is laughable now.
Here's the thing about their AI, though. They initially cast Reflect, then continue spamming Ice3 on each other. Without ever refreshing Reflect. So you can literally let them kill each other.
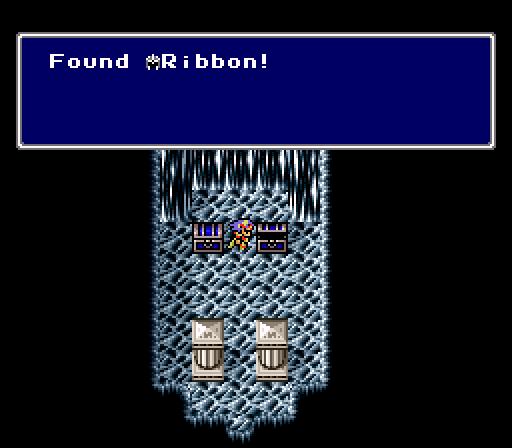
The Crystal gear is nice and all but Cecil can equip the Ribbon too. This is very handy, of course.
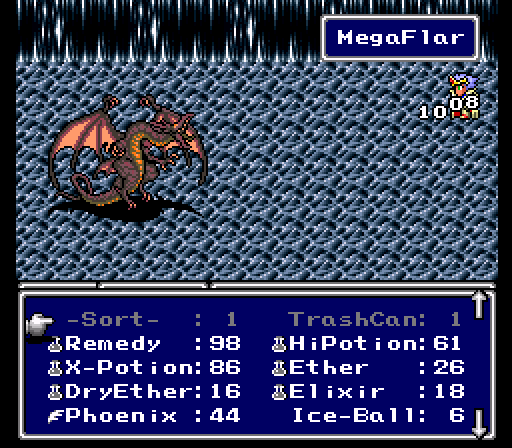
Wyvern's a matter of Shelling up and healing during his Flare spam until you're ready to go on the offensive. One of Cecil's attacks is roughly enough to counter Bahamut's Remedy move, so even with healing Cecil wins the damage race handily and gets his ultimate weapon.
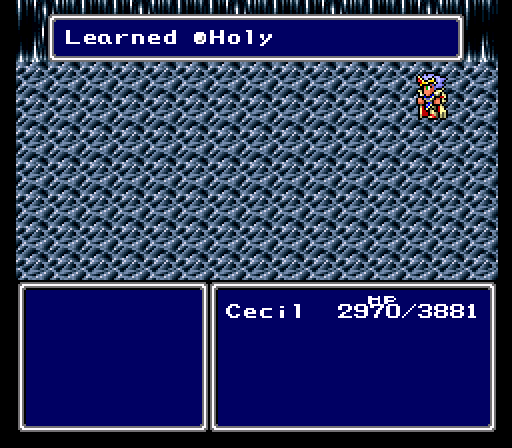
At L54, Cecil learns Holy. Yes, that Holy.
I don't bother with it since it's not that much better than his physicals at this point, and the MP is better saved for Cure3.
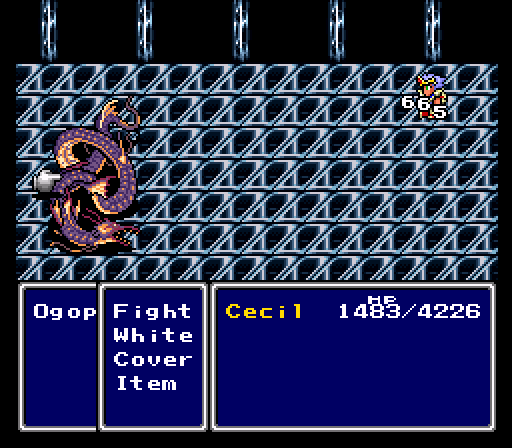
Ogopogo is a matter of surviving his physicals, since his Tidal Waves will always either do 1/4 or 1/2 max HP damage, depending on if it's one or two waves.
Cecil can equip this, and honestly the magic resistance is much more useful than the Crystal's physical, considering Zeromus has no physical attacks and all.
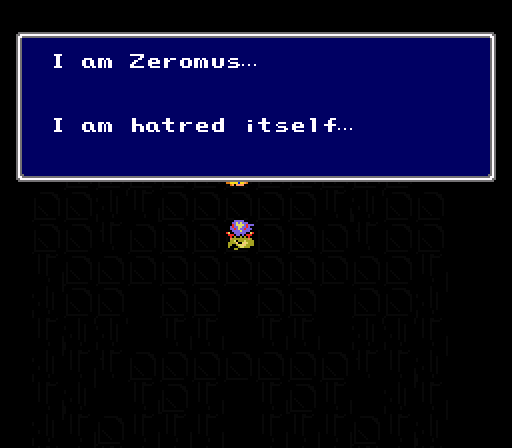
The cutscene plays out the exact same as before, even with nobody there.
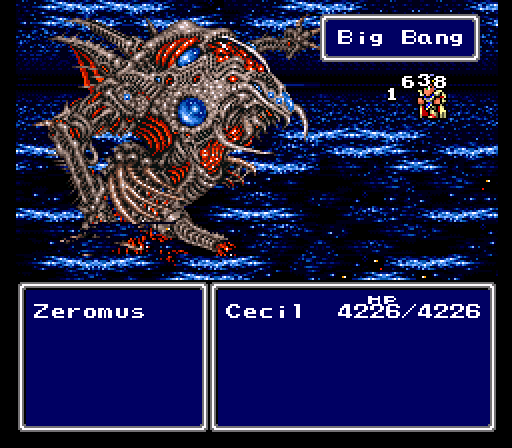
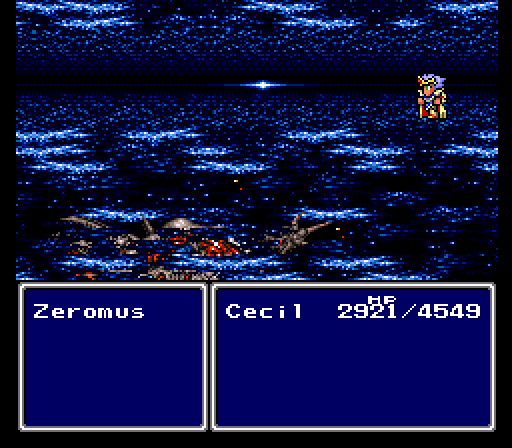
Zeromus is a big battle of attrition. If I get around 2000HP, cast Cure3. If I'm low and I feel Big Bang is coming soon, go for an Elixir. Otherwise, attack.
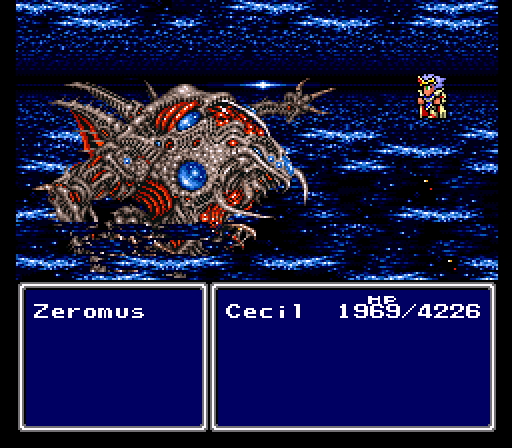
It's Big Bang and Flare spam the whole way down. It takes awhile, but Cecil was never in danger of losing.
So, what's changed?

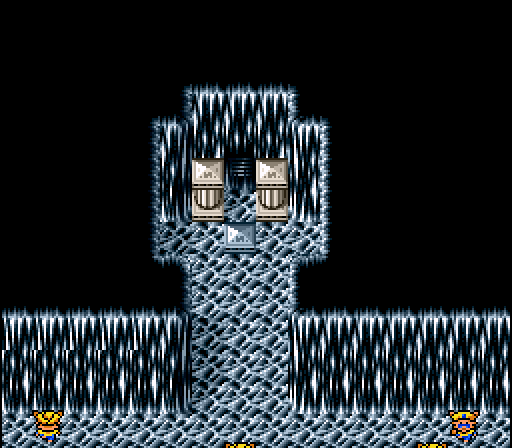
Remember that doorway in the Hummingway cave? It's now accessible.
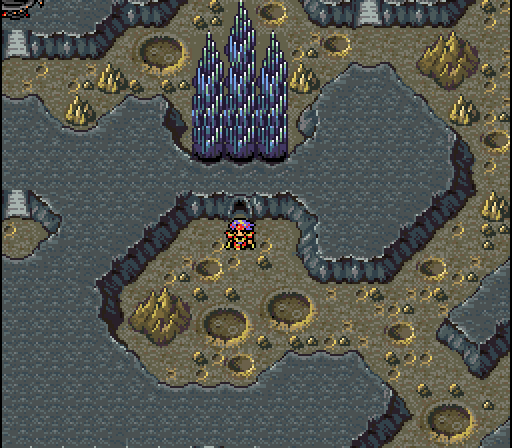
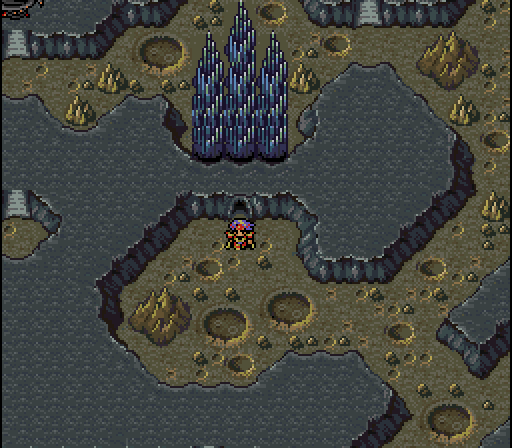
Also, instead of an ending, the game simply drops Cecil back in front of the crystal palace.
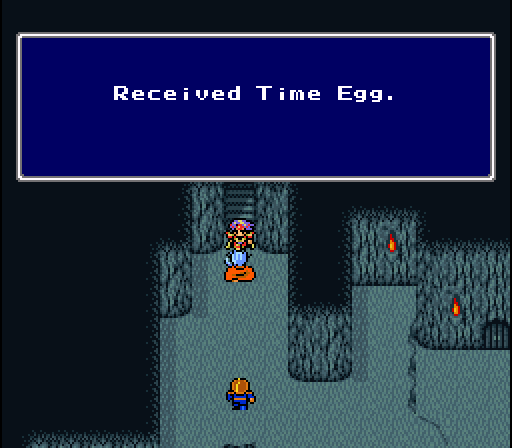
Interestingly enough, at this point the Time Egg disappears from our inventory.
Backtracking triggers the entire core sequence again, so let's check out the new thing instead.

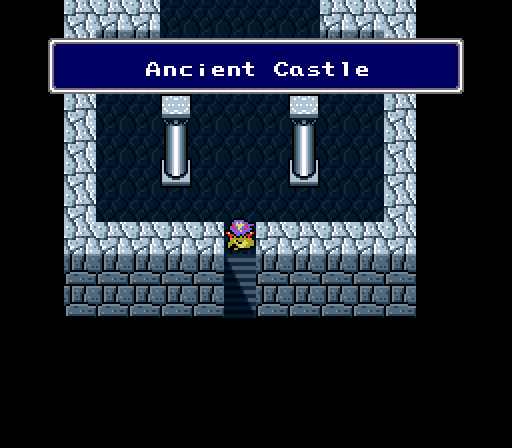
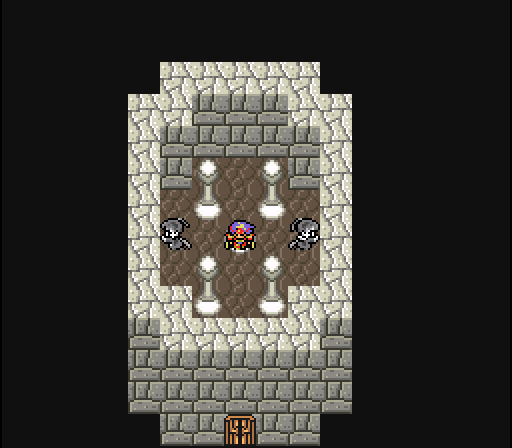
So...this is the Ancient Castle.
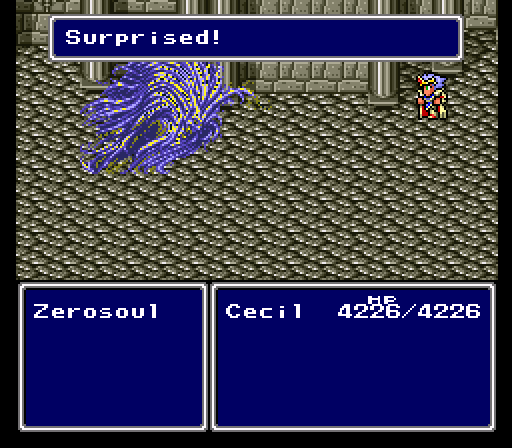
Obvious FF5 vibes here. Zerosouls spam lots of powerful magic and aren't really worth fighting.
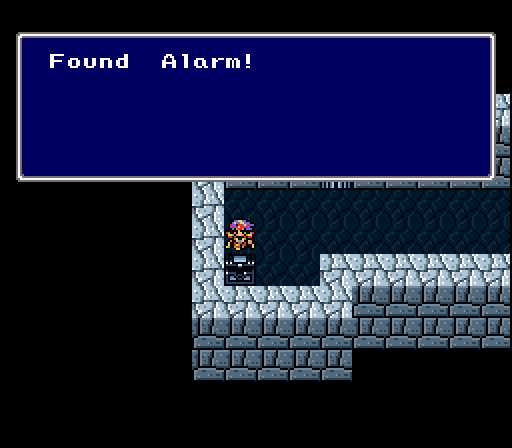
On either side are the only two Alarms in the game, as far as I can tell.
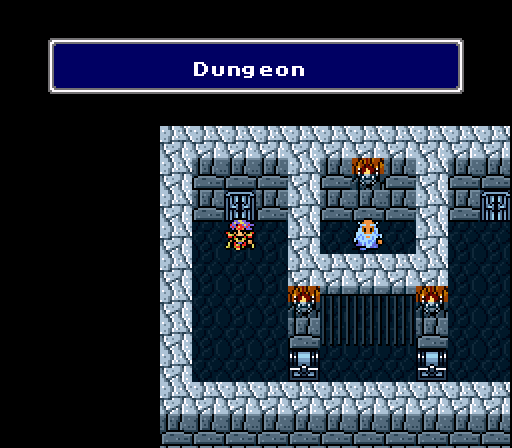
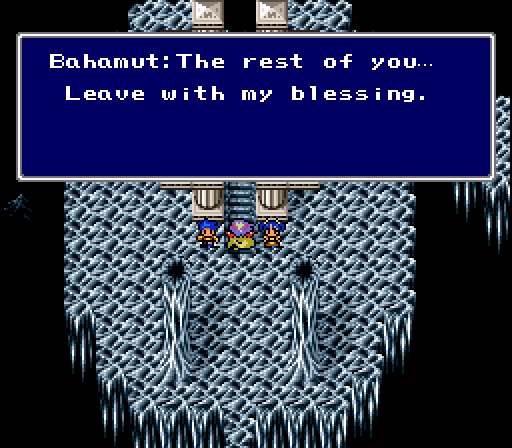
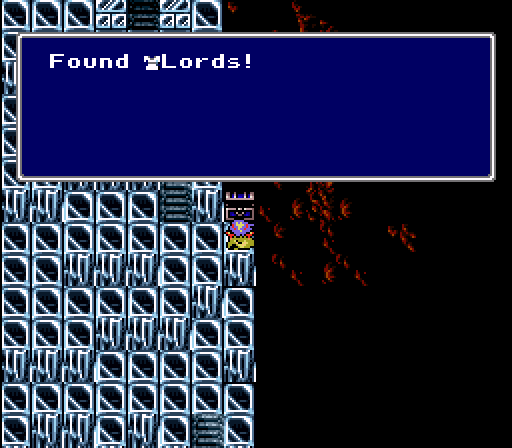
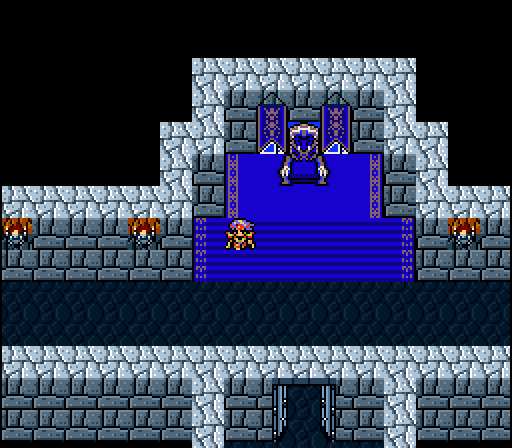
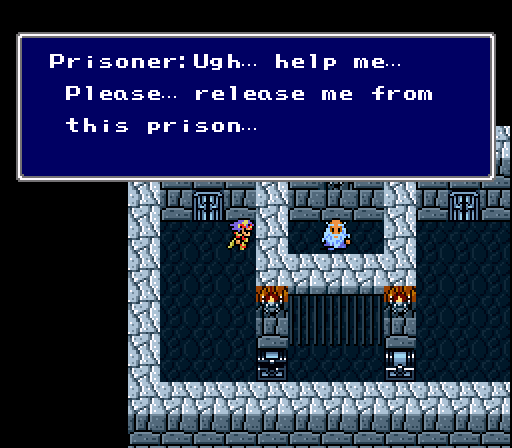
Otherwise this castle is small, and other than two hallways on either side this is the last room. Also looks like we finally found FuSoYa.
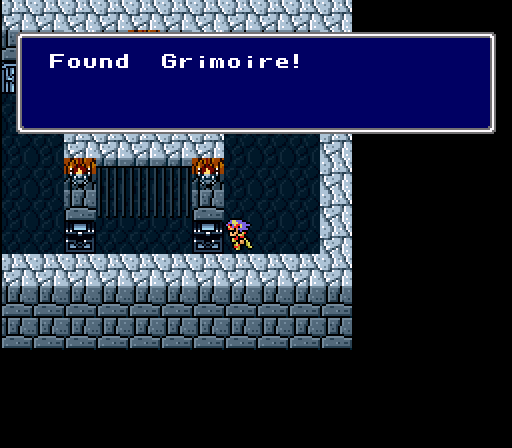
This actually cannot be equipped.
Might as well.

We'll get back to that in a second.
This summons a random summon monster. Alright, then.
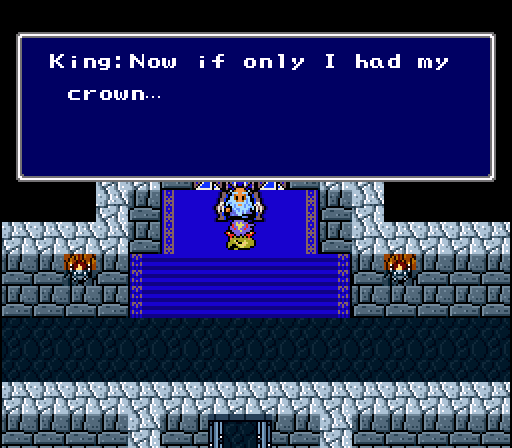
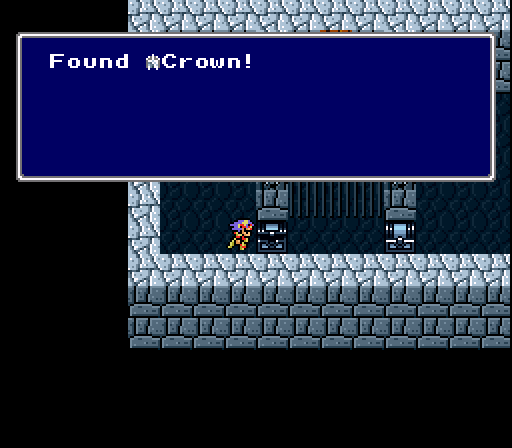
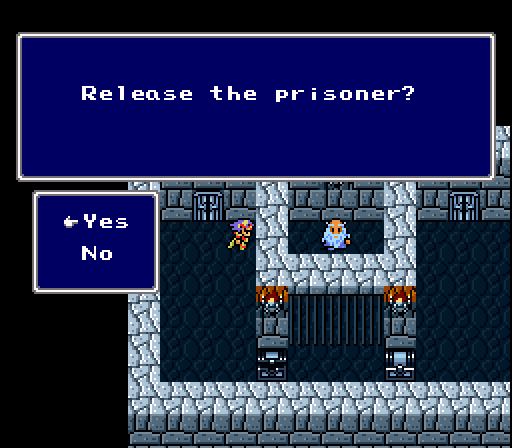
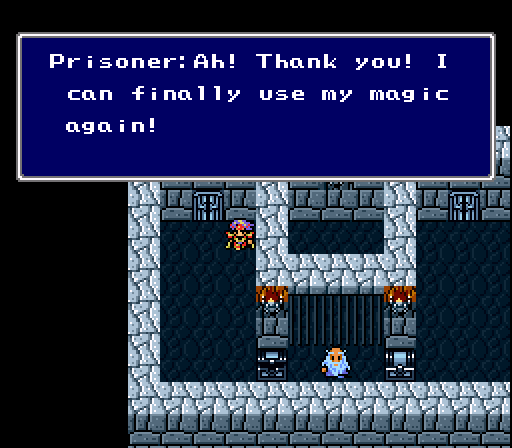
If we give him his crown...
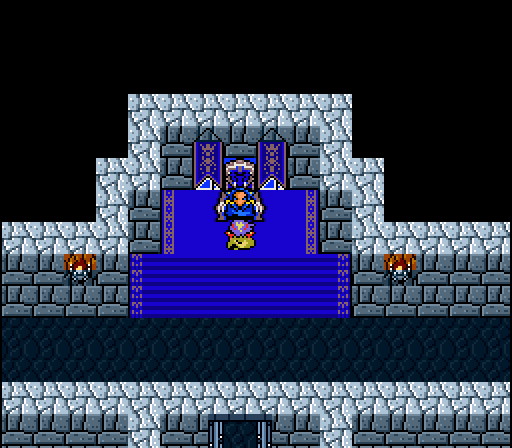
...uh
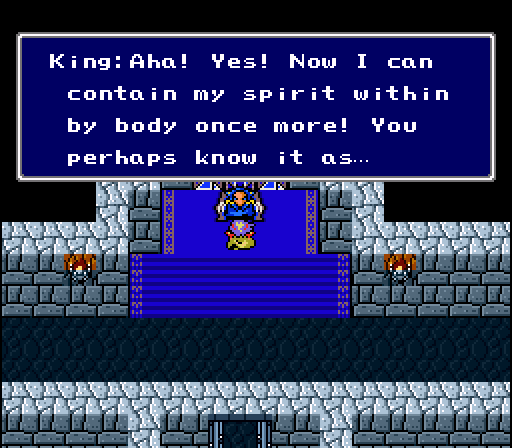
Buckle up, folks. This is where shit gets nuts.
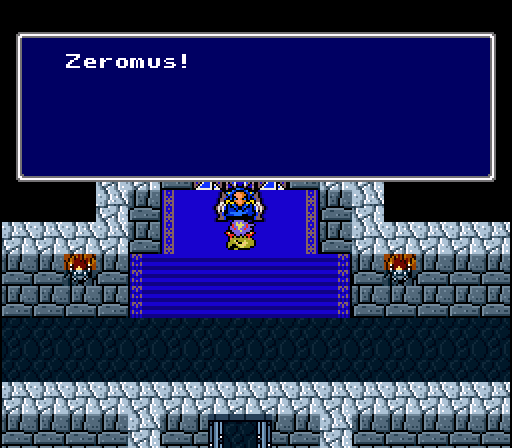
Usually I'll transcribe this, but honestly I need to put all of this in screenshots because you will not fucking believe me otherwise.
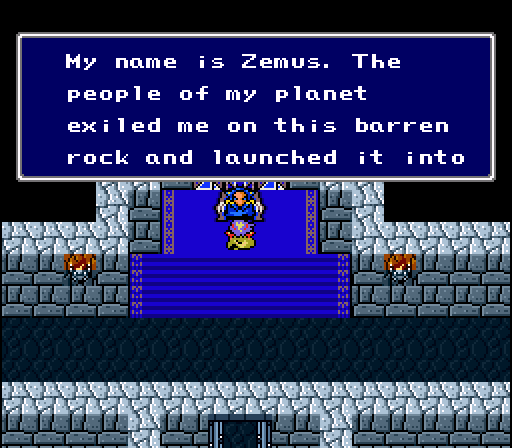

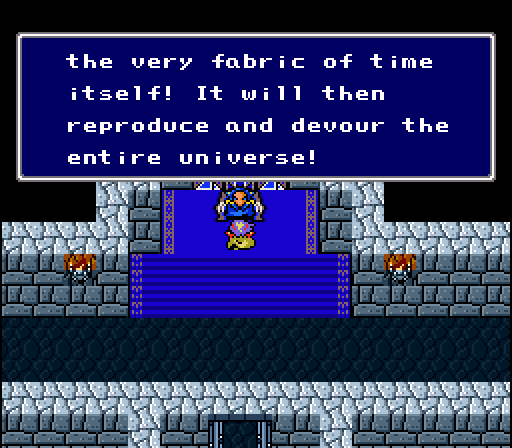
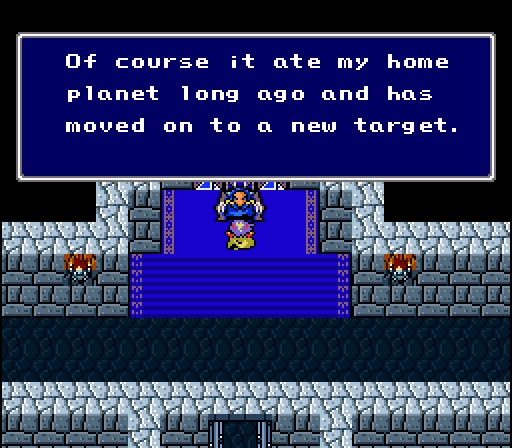
Yes, according to this hack, Zemus created Lavos. You know...sure...alright. Whatever you say.
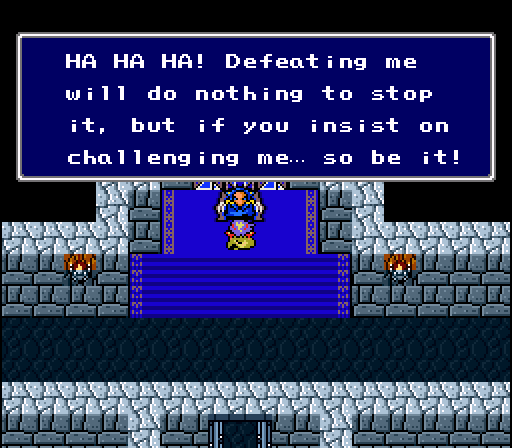
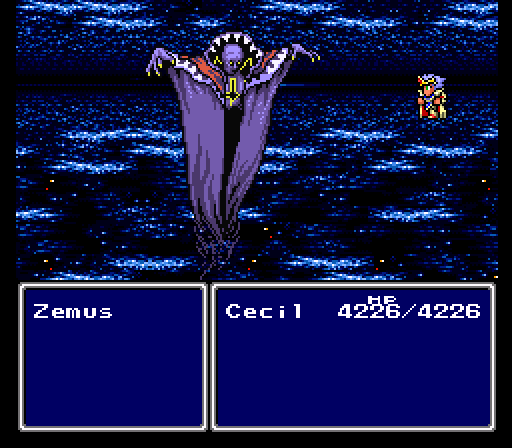
Zemus is the bonus boss here, and while he's tougher than Zeromus, he's still manageable.
His attack pattern is very lengthy, and more importantly, every special move has a physical attack in between that hits for up to a thousand damage.
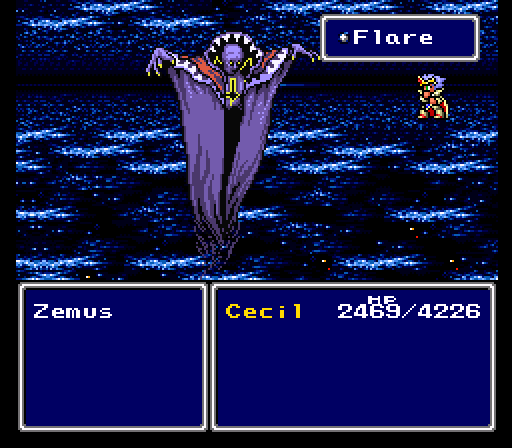
First off is a ineffective Blast move, then Demi, then two Flares in a row, followed by Black Hole.
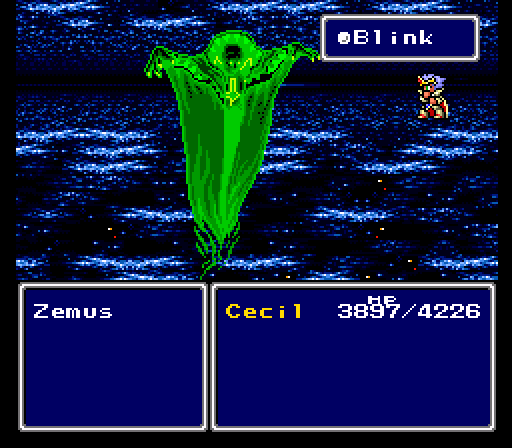
After that is Blink, followed by a triple casting of Fire3/Ice3/Bolt3 for negligible damage.
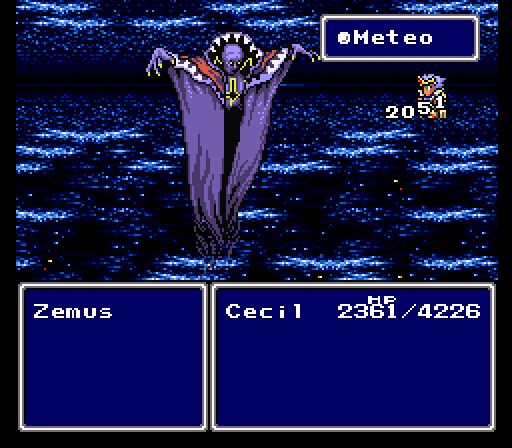
Then fucking Meteo, and the pattern loops around.
Once you anticipate the pattern and learn when to heal up, it's not too bad.
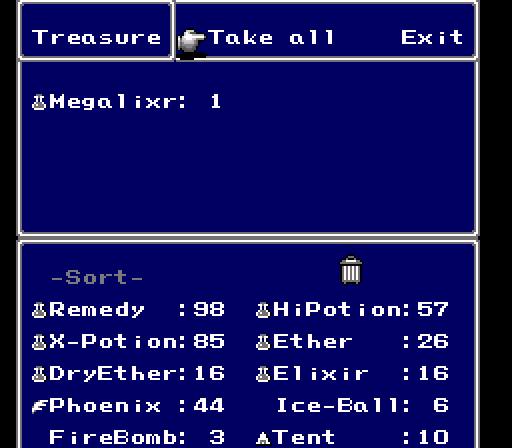
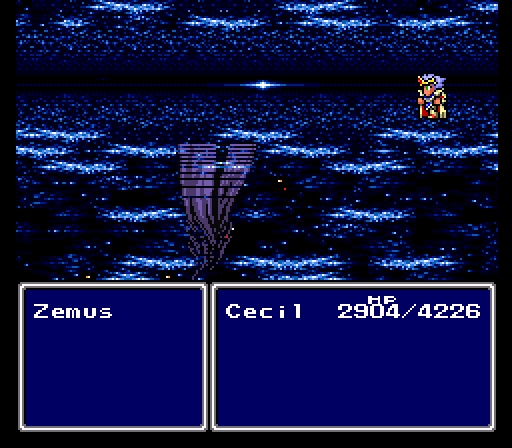
And we get EXP and a Megalixir after all that.

And...that's it. That's literally it. You're popped back out in the room with no Zemus, no changes, nothing.
I went through the entire final dungeon again and beat Zeromus again. The core bosses and treasures do not respawn, if you're curious.
And when you do beat Zeromus...you're popped back out again. Zemus doesn't even respawn. I even googled around, but apparently this is all that happens. How anticlimatic.
On the bright side, I did spoil myself on what happens in the Dark Knight solo run as a result, and the good news is things actually get resolved...sort of. I'll show that off next time.