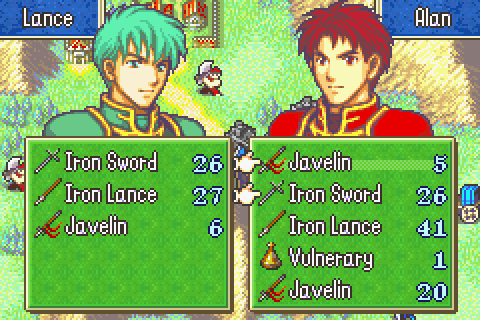
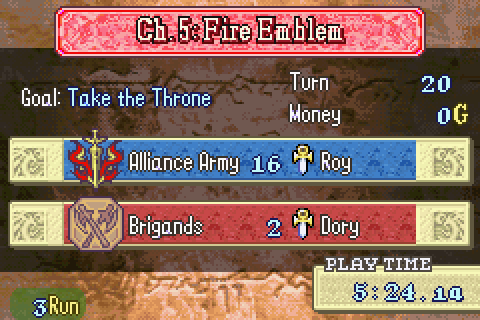
Part 5: Chapter 5 and The War Room Part 39 (Estimating Enemy Hard Mode Bonuses)

Pretty much a filler chapter with a random fight against bandits. The only important thing that happens has nothing to do with the battle and is at the end. That said, this is pretty much the first chapter to be interesting tactically and it’s fairly good that way.
Chapter Summary:
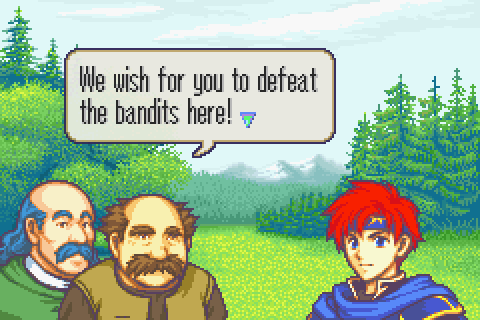
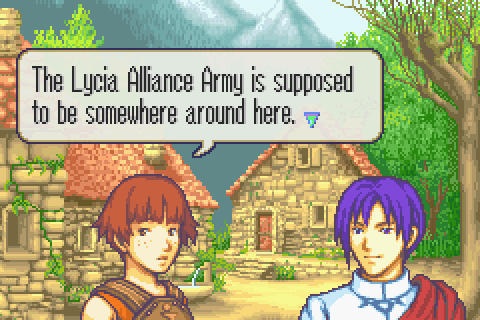
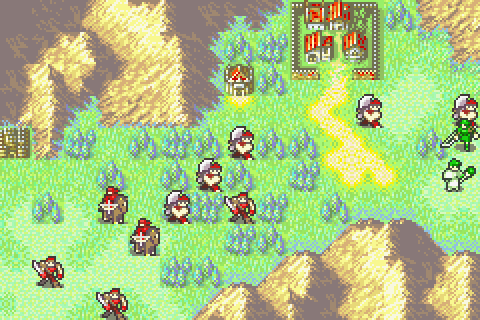
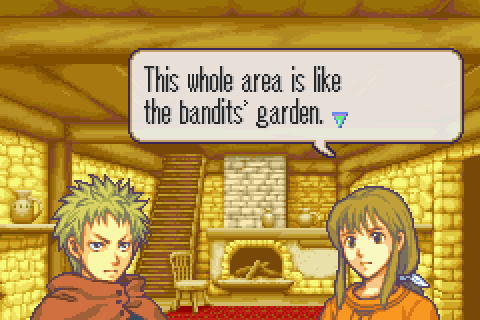
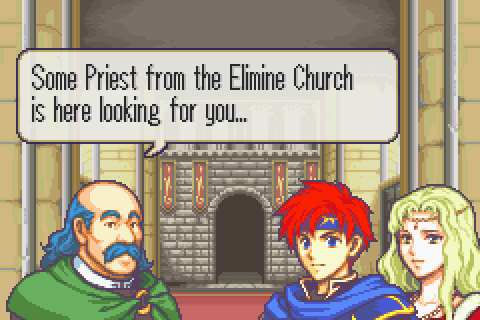
Roy helps some villagers deal with some bandits who’ve begun plaguing the area now that the Lycian armies are weakened. Then a priest of the Elimine church shows up asking Guinevere why she swiped the Fire Emblem back in Bern, which is the first Roy heard of that. Upon learning that she’s trying to end the war peacefully, he and his bodyguard accompany the group.
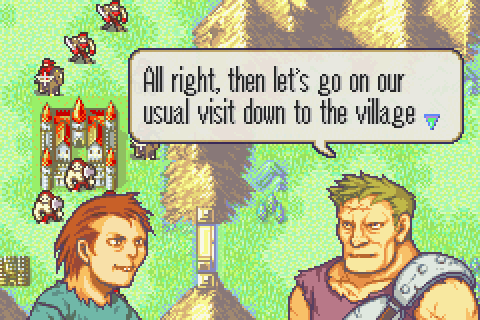
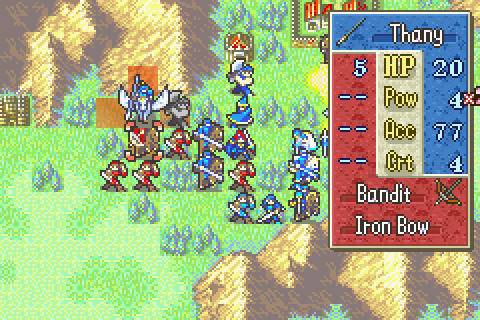
A wild bandits appeared!
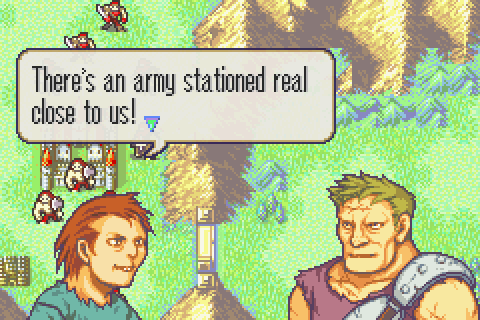
Wow, better get out of there!
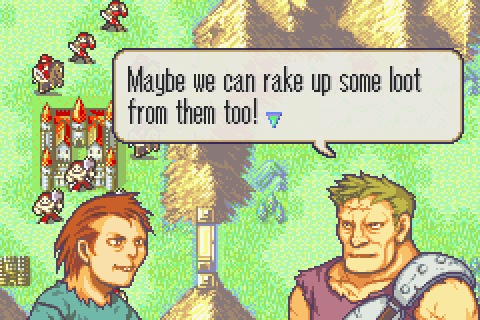
Uh… or the group of shoddily armed and untrained bandits could attack an army they barely outnumber head-on, yeah.

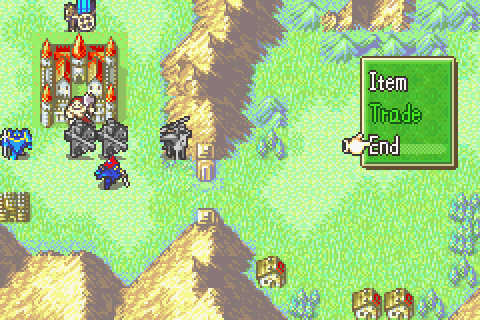
Merlinus, rather than Marcus, seems to handle this kind of secretarial work for Roy.
Right to the point!

Merlinus gives his typical, “This is a stupid sidequest. Let’s get on with the important stuff” line and Roy ignores him as usual
It’s a rather predictable dynamic at this point. They need at least one extra person in there adding to the conversation.
Don’t do it; it’s a trap!
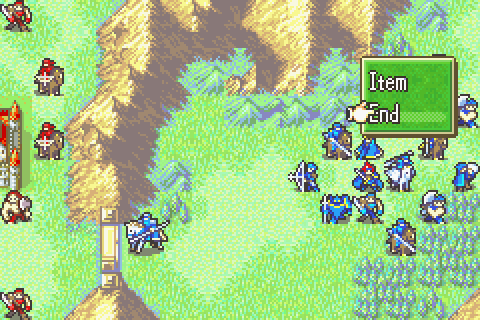
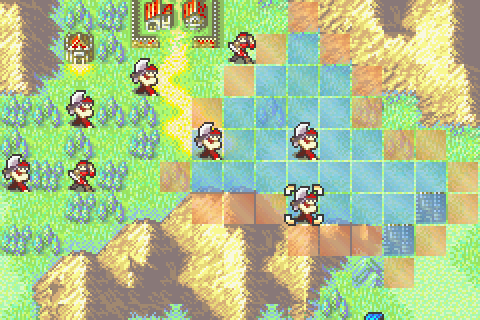
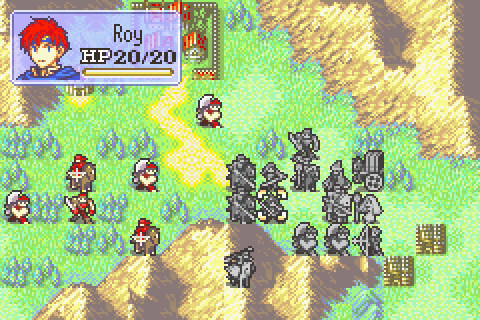
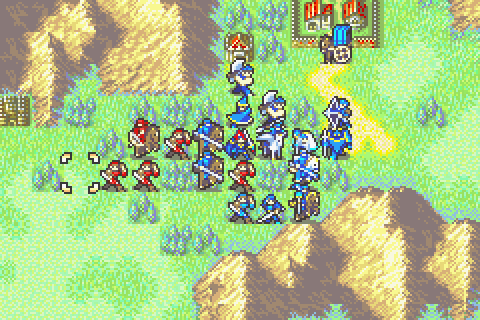
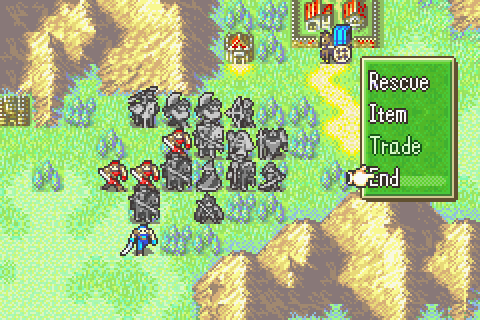
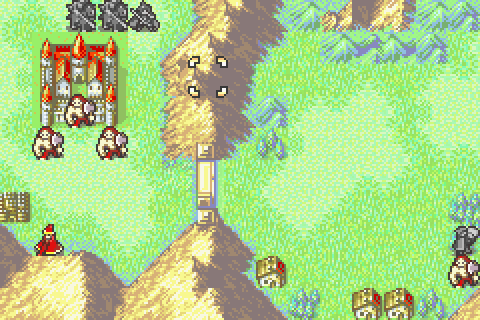
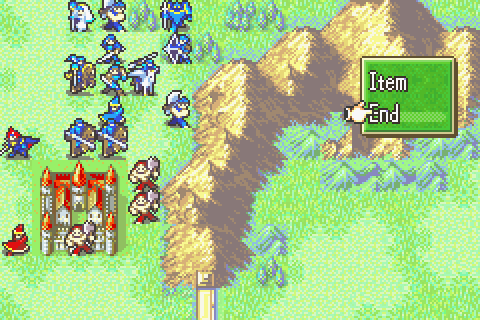
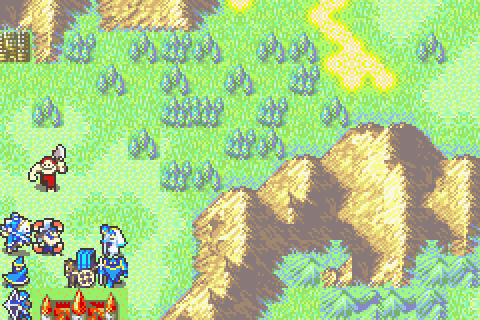
Battle Preparations & the Map:
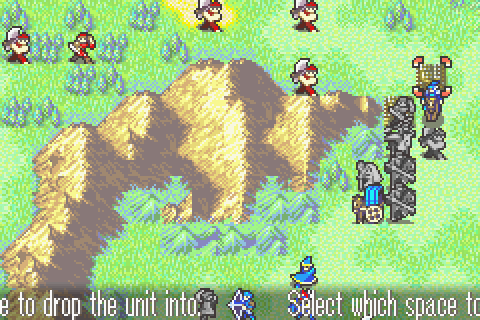
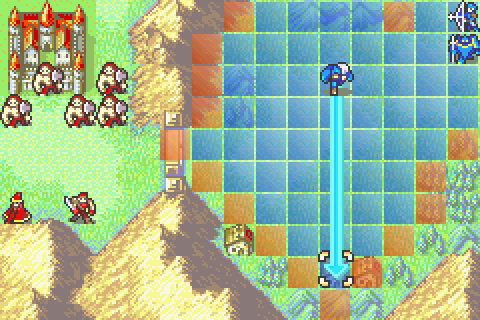
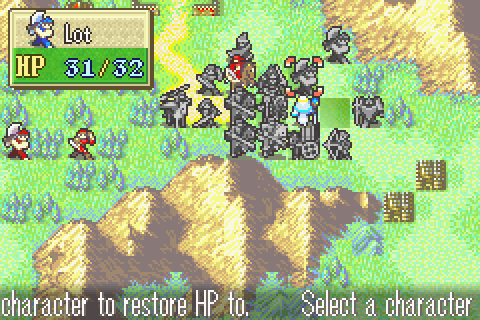
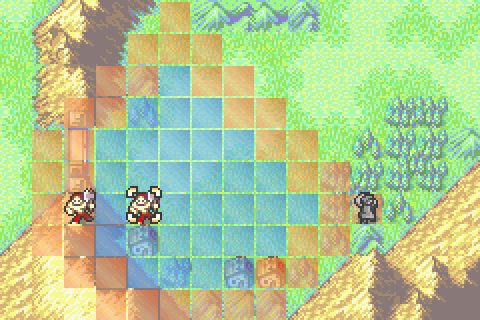
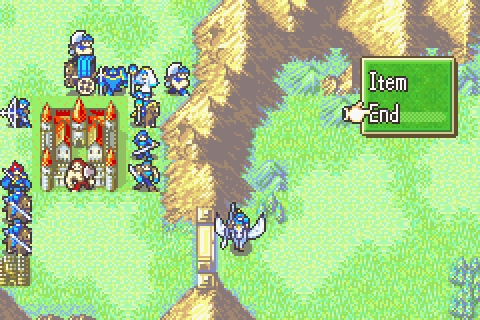
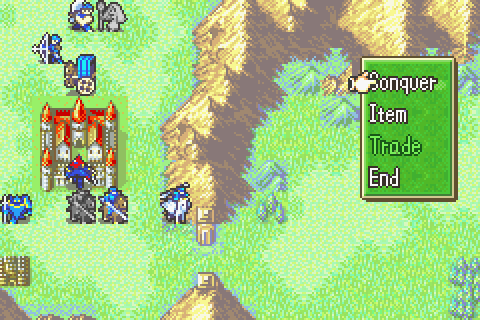
In normal mode, opening the gate was a perfectly reasonable strategy. In hard mode it’s a trick and almost certain death for no reason. Here’s what happens:
(Sidenote, I don’t think they explain very well that the gate will open if you stand a unit here to begin with)
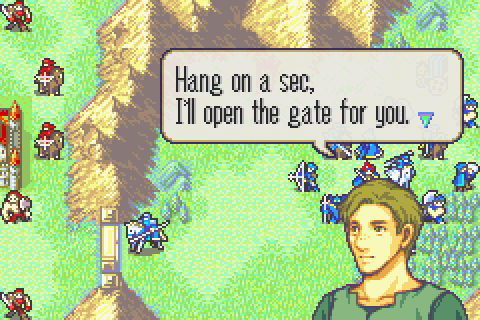
A villager pops up to open it.
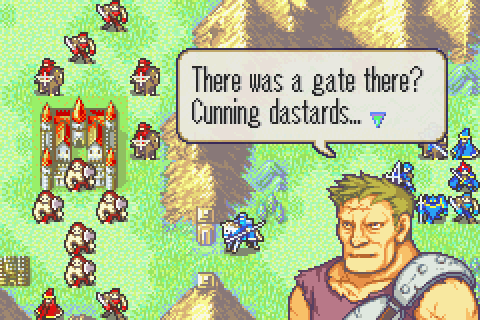
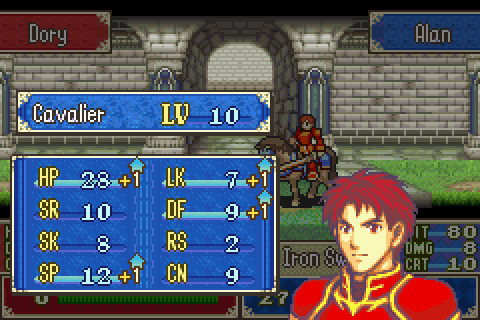
Dory is an idiot. He’s been living right next door to this giant gate blocking off the valley for a week and never noticed it.
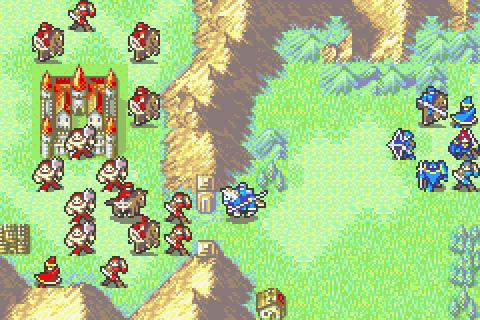
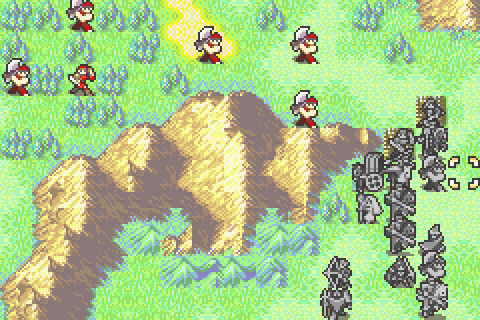
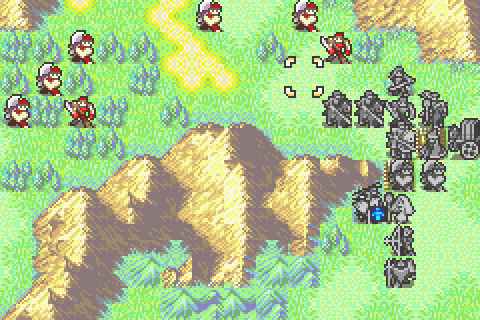
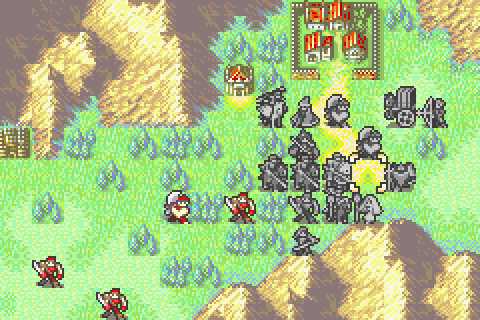
Poof! A group of enemies who will otherwise never be encountered charge out immediately. Nomads and mercenaries are hardcore and they’re backed up by a small army. You can’t win that fight. Not with the brigands coming over the peaks at you.
This particular trap is pretty emblematic of FE6’s gameplay really. There are quite a few occasions where reasonable tactics are punished by bunches of enemies popping up somewhere unexpected to slaughter you without warning.
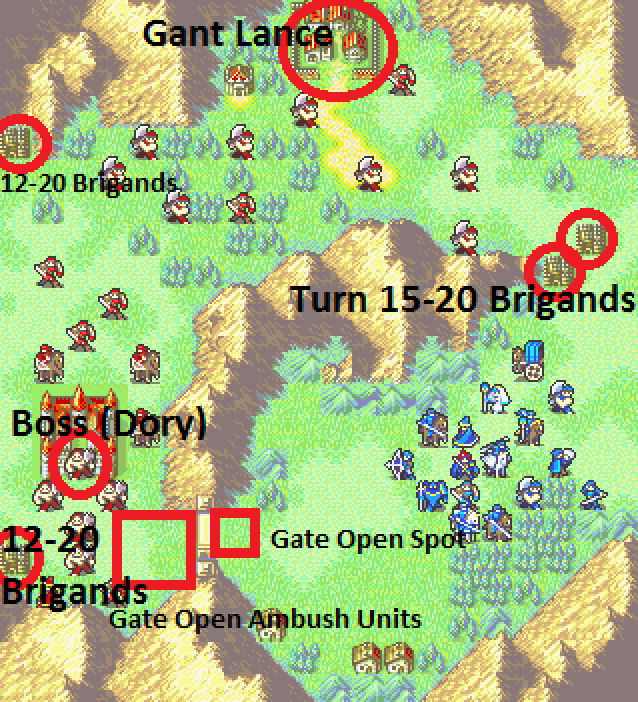
Secondary Objective: Visit the top village for the Gant Lance
Secondary Objective: Grind up some supports
Secondary Objective: Do some shopping
Reinforcements: Besides the gate trap, brigands with handaxes spawn from the top left fort and ones with steel axes from the bottom left one from about turn 12-20. Another pair with varied gear spawns from the two right forts every turn from 15 to 20 or so.
Turn Limit: 15. Way too early for the reinforcements.
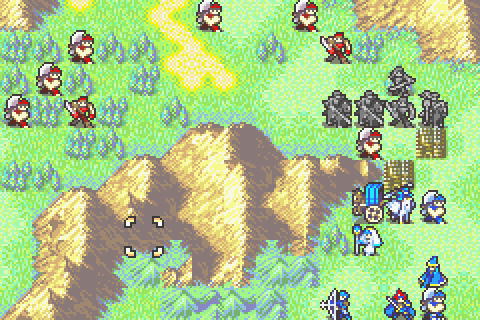
Now this is a pretty cool battle. It’s the first one where there are any serious tactical choices to make. First, do I go around the standard top route or the gate shortcut or both?
Ultimately I concluded that the standard top route was best. I don’t really have enough good units to do both at once. Further, in the confined space of the gate area, my giant army would really at a disadvantage because only the enemy can go over the peaks and they have better ranged attacks.
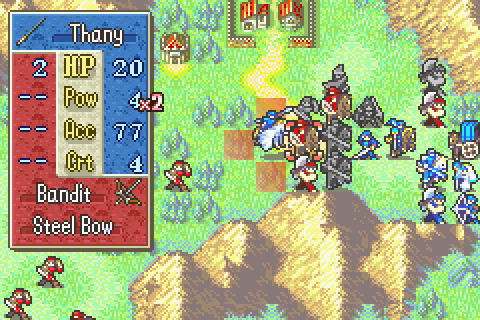
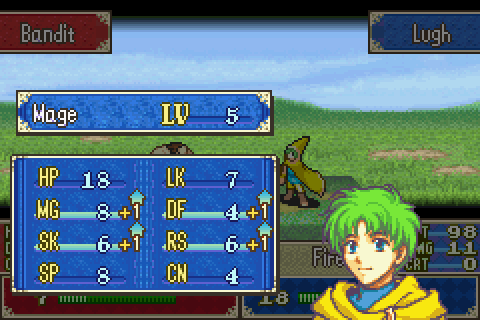
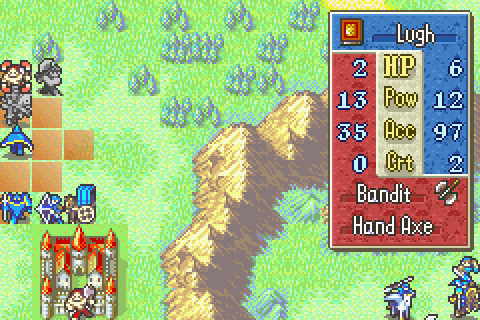
I did consider some somewhat outside the box tactics. For example, Thany could sneak around the bottom and land Chad or Rutger on the fort on turn 2 with some rescue dropping. That bypasses the gate trap reinforcements and would open a second front. And at first glance, it should be a pretty easy fight for a dodge-y sword user on a fort. There are 2 problems though. First, every single one of those brigands has a handaxe, so the sword user can’t actually counter and kill them. Second, that mage is INSANE. It does enough damage to 2-hit kill anyone in the party- including Lugh and my healers- is fast enough to double most people, and hits almost 70 accuracy against Rutger or Chad on that fort. So no one can possibly handle that and because of the handaxes it doesn’t help anyway.
The second big decision comes later and it’s deciding who best to send to harvest each group of brigand reinforcements. This is complicated by needing to continue to build supports and needing to keep both Roy and units who can kill Dory around.
Besides that, there are finally enough enemies of tough enough types and in problematic enough terrain that one has to actually think about moves instead of just throwing troops at the problem.
On the other hand, there are pretty much no side objectives to this map, so one can concentrate all resources on the battle.
The War Room, Part 39
Now that I’m a little further into the game and there are more enemy types to look at, I’m trying to find out in more detail just how many levels stronger enemies are in hard mode. Unfortunately, I can’t find any discussion of this the way there was for HHM. The few links to explanations by people who had known were long since defunct. NeoRonTheNeuron said in this thread that the number of bonus pseudo-levels was 3+ (chapter/2) with that number doubled due to a glitch in the first 5 chapters.
Although I can’t do anything extensive enough to be conclusive empirically, I decided to take a look at some enemies in game and crunch the numbers on them.
To understand what I’m doing, you’ll want to look at these 2 pages:
http://serenesforest.net/binding-blade/classes/base-stats/
http://serenesforest.net/binding-blade/classes/growth-rates/
Those charts tell you what stats generic enemies should end up with on normal mode. For example, a level 5 brigand would have started with 20 HP and then gained 4 levels with an 82% chance to gain more HP every time, ending up with an expected HP total of 23.28.
The way enemies (including those who can be recruited) are powered up in hard mode is by giving them a number of additional levels worth of stats without increasing their real level. In FE7’s HHM, it was just a flat 5 through the game. Here it seems to be both a higher number and to increase with chapter.
To get an estimate of that number I looked at the stats of a number of enemies, subtracted their classes’ base stats, divided those results by the class’s growths, and then subtracted the enemy’s level -1 from each of those. The result is the average number of secret HHM levels the unit would need to have to end up with each of those stat values. Averaging those then gives an estimator of how many bonus levels the enemy actually has. It’s not a perfect estimator by any means, but it’s a decent one.
For starters, here’s the only enemy I happened to look at in chapter 1:
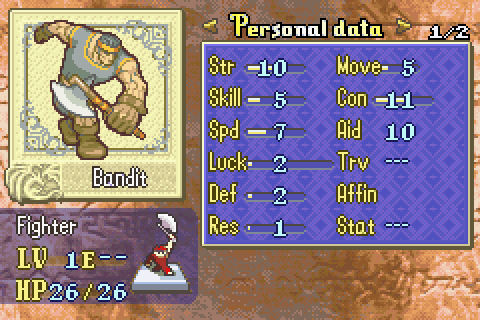
HP (7), Str (9), Skill (8.5), Speed (10), Luck (13), Def (0), Res (10)
The numbers in parentheses are approximately how many bonus levels would be required on average to get each of those stats. The average is 8.2.
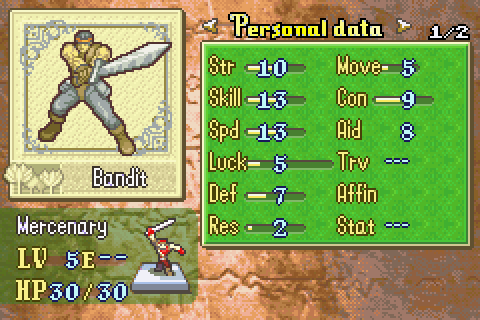
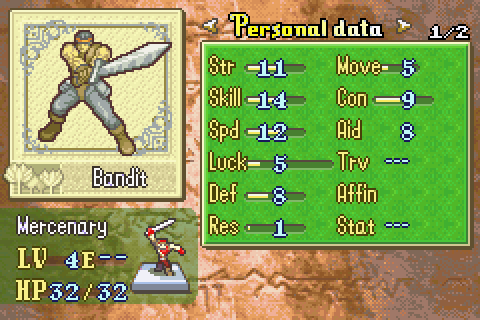
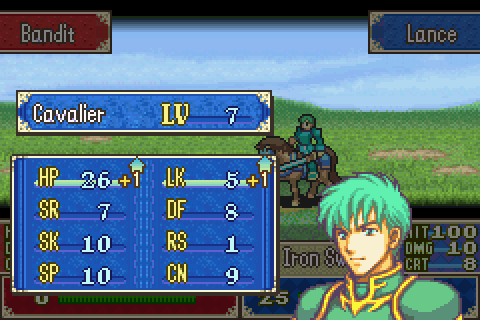
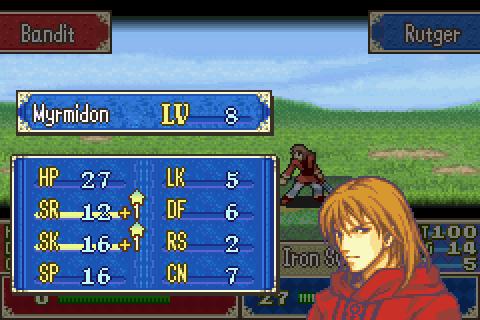
Now here are 6 enemies from chapter 5:
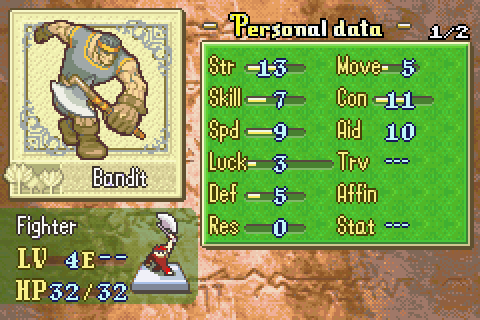
HP (11), Str (11), Skill (11), Speed (13.5), Luck (17), Def (17), Res (0). Average 11.5

HP (11), Str (12), Skill (13), Speed (16), Luck (9), Def (16), Res (6). Average 11.9
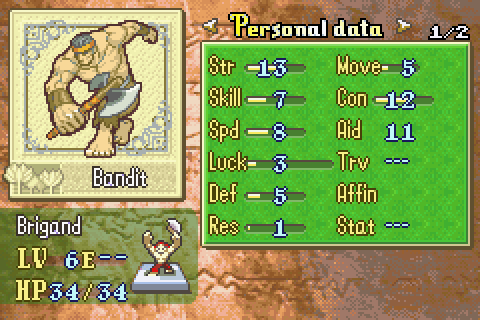
HP (12), Str (11), Skill (15), Speed (10), Luck (15), Def (15), Res (5). Average 11.9
HP (14), Str (13), Skill (15), Speed (10), Luck (8), Def (5), Res (15). Average 11.4
HP (12), Str (12), Skill (8.5), Speed (11.5), Luck (12), Def (12.5), Res (8). Average 10.9
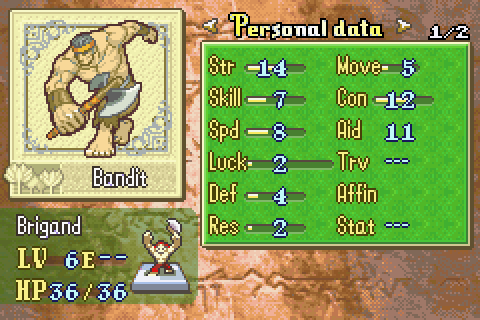
HP (14.5), Str (14.5), Skill (12), Speed (9.5), Luck (13.5), Def (19), Res (3.5). Average 12.3
The average of these averages is 11.7 (and as a reminder the chapter 1 one was 8.2). I also know the number for chapter 5 was 11 at minimum with certainty because one enemy had gained enough points in HP that he had to have 11 hidden levels.
Both of those numbers are approximately 1 above NeoRontheNeuron’s formula’s prediction, but that could just be random fluctuation. I’d be interested in seeing the original discussion that formula came from if it’s still around somewhere.
The Characters:
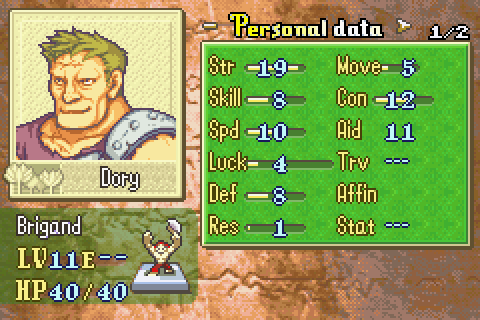
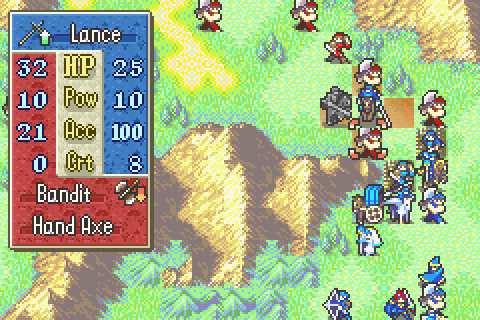
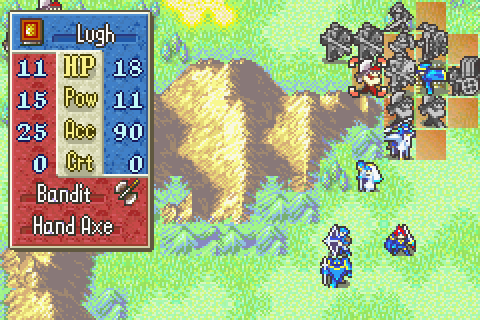
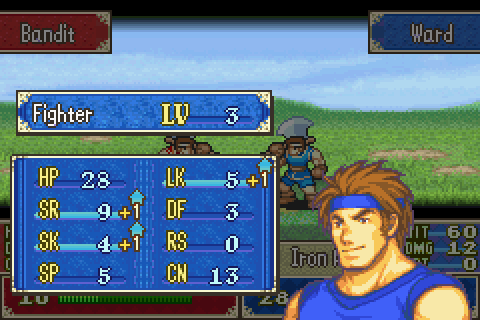
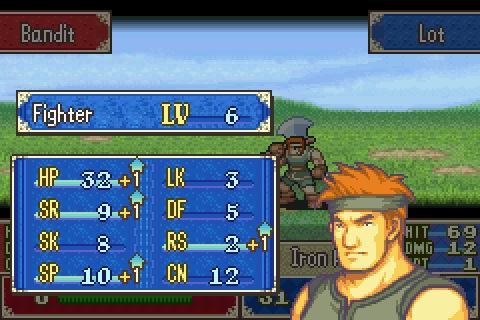
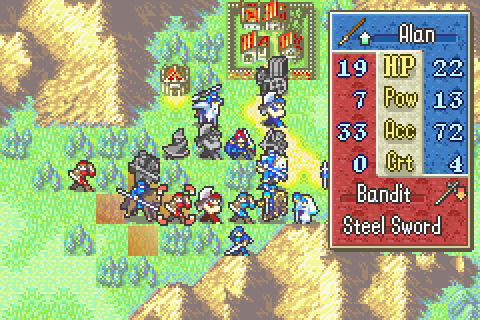
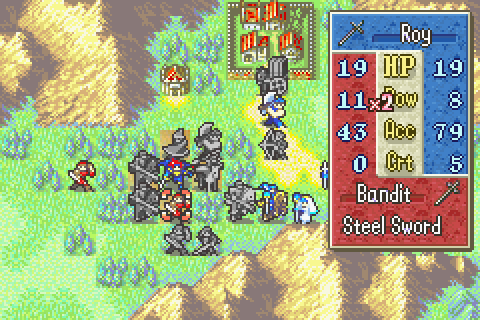
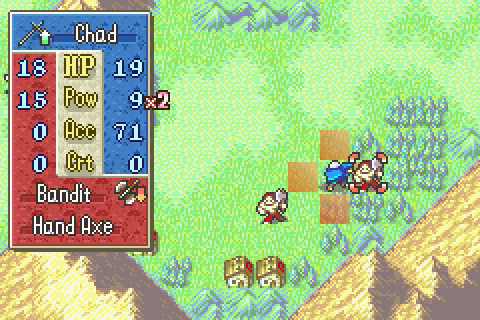
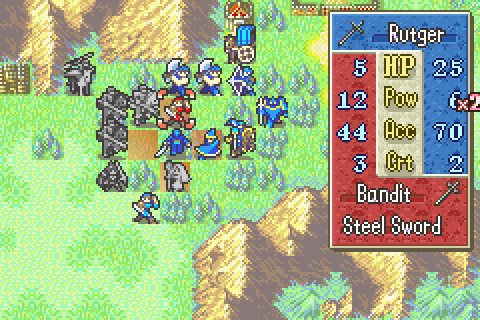
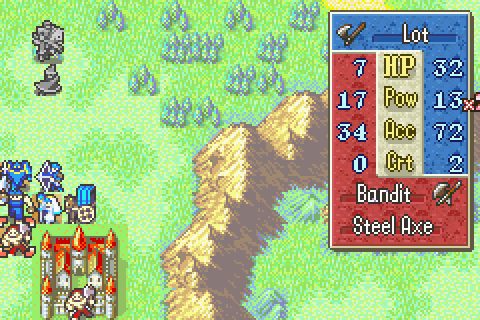
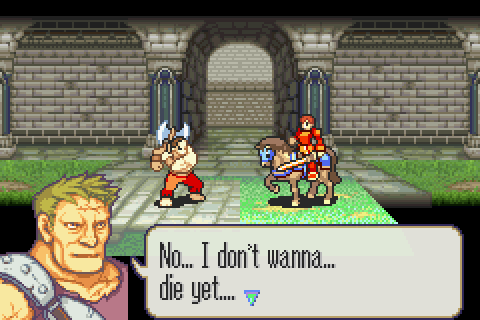
A bandit with even less plot significance than Damas, there’s not a whole lot to say about Dory. He’s evidently rather arrogant and significantly overestimates the abilities of his group and himself personally. And he’s dumb enough to not notice a giant gate right next to his house with people standing by to operate it.
With that 19 Str and solid speed and defenses, he’s one heck of a boss though.

This thing makes him absolutely crazy. With it, he has about a 25% chance of instant killing anyone you fight him with. That’s a 25% chance of having to restart every time he attacks. It’s worse than fighting Zoldam- except that you can make Dory unequip this thing.
What you need to do is attack from 2 squares away (or just stand there) so he’ll switch to his handaxe and attack on his turn. No one has the strength to kill him with a 2-ranged weapon at this point, but on your turn it’s now safe to fight him at 1 range (and then rescue out whoever attacked him to repeat it next turn).
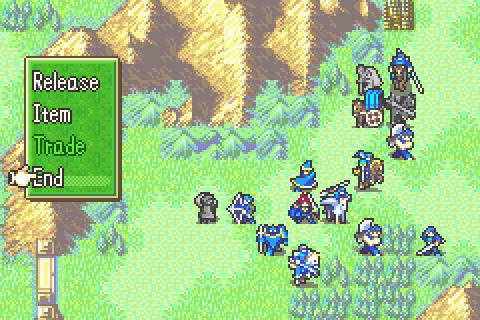
Playing Through:
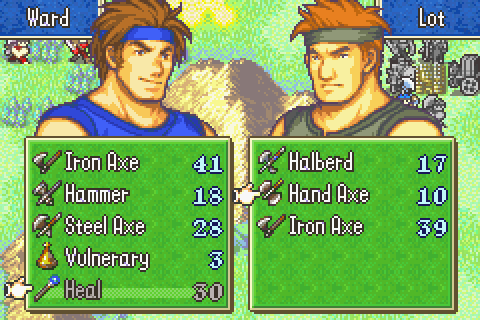
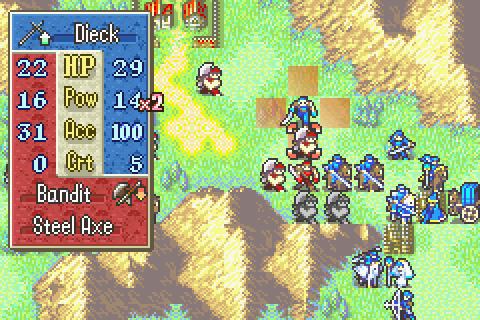
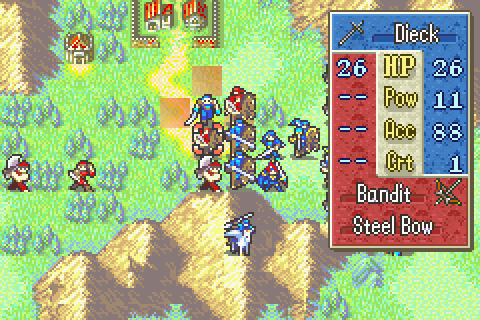
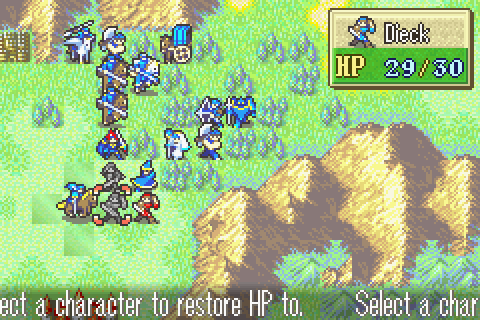
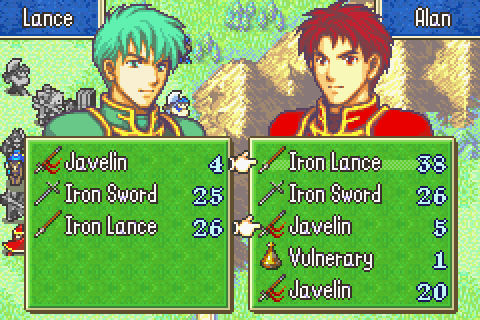
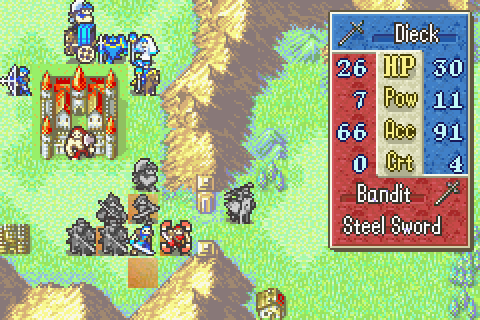
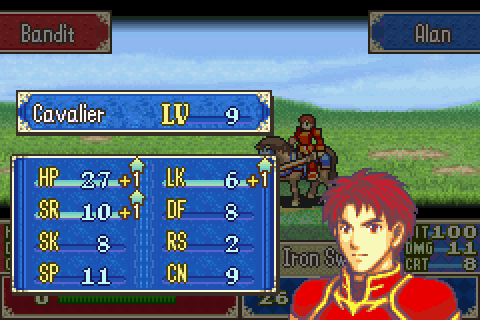
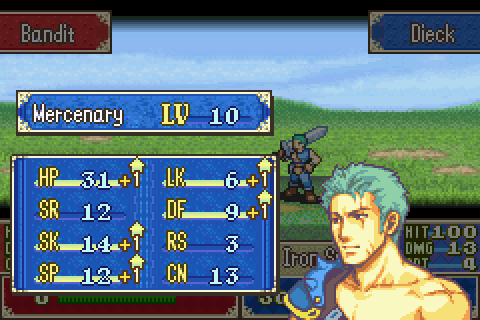
Here we go; at long last there’s a chance to really do something clever tactically. First things first, Dieck needs a new iron sword.
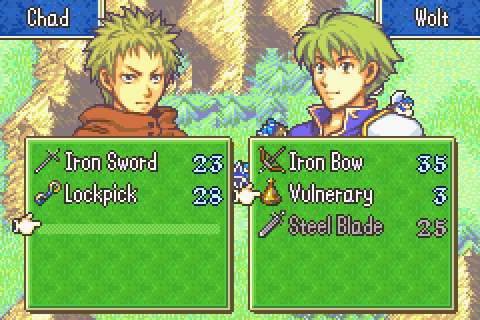
And Chad moves past Wolt and takes his vulnerary. As prophesied, it may serve someone whose life is actually valuable very well.
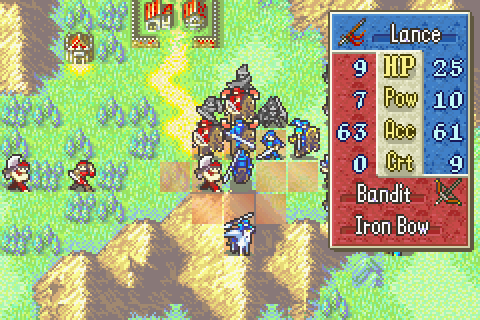
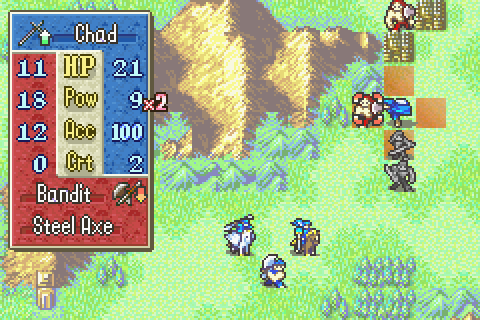
There are a pair of brigands who come over that western set of peaks and I want one decent swordsman to take them down, but no more. Chad fits the bill. He might also be good for triggering the gate later when I can handle the reinforcements.
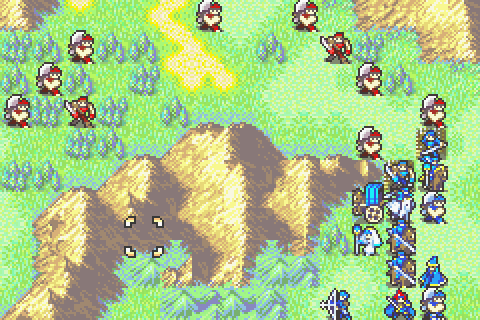
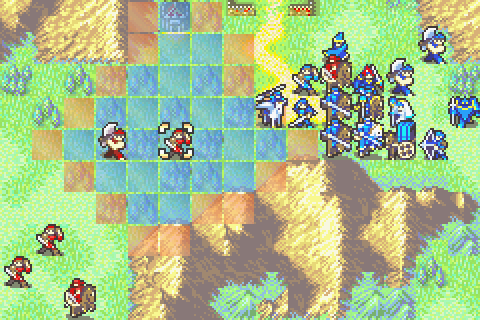
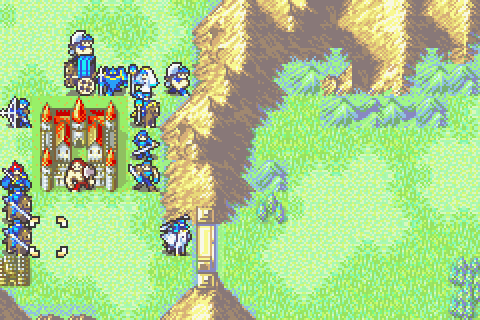
So here’s the deal. I have a long road to fight down and most of the enemies are going to charge forward. If they get onto those forts, I’m going to get bogged down trying to push them off where the terrain is not in my favor. I also have issues right now with most of my front line units being nowhere near the front line and none of them being capable of reaching the forts. It’s time to get clever.
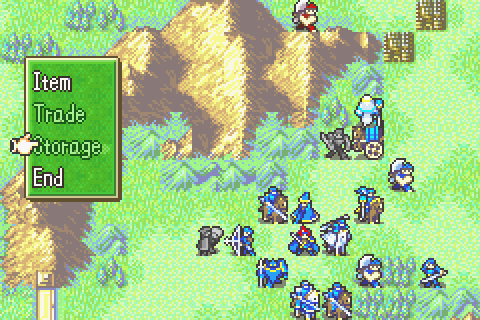
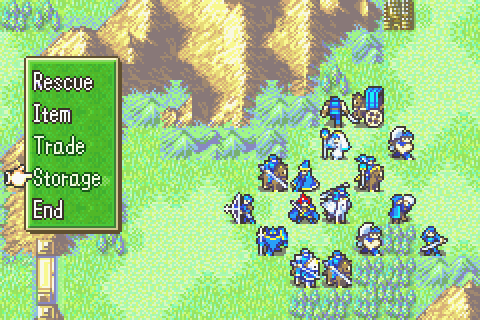
One remarkably awful thing about this formation is that the way people were spaced out in some places and crowded in others can make it hard to rescue people like Dieck here after he moved. Ellen clears the way and gets one of the new heal staves.
Now Dieck can be carried.
The next cavalier takes Dieck but does not drop him
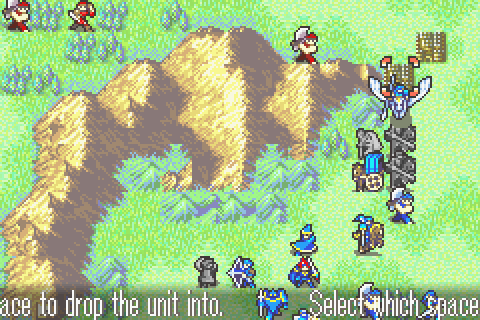
Thany takes him then and SHE drops him. A true rescue chain, moving him 11 spaces worth of movement in one turn despite no one being ideally positioned for it.
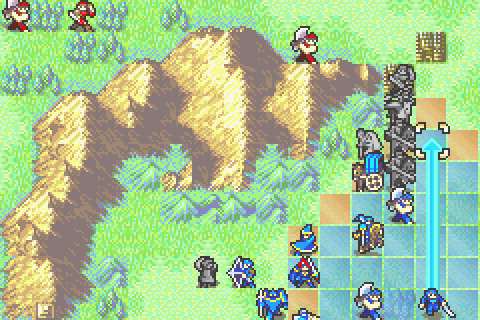
Now Rutger moves north.
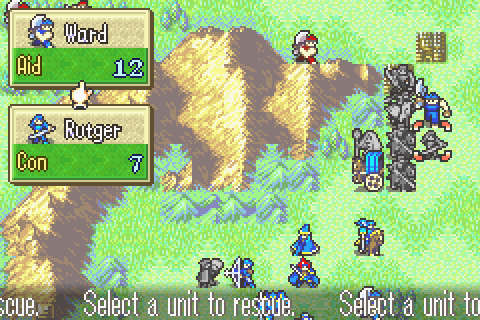
And Ward rescues him.
Then Clarine takes him and drops him onto the other fort.
And then the rest move in (Lot and Marcus carry and drop Lugh).
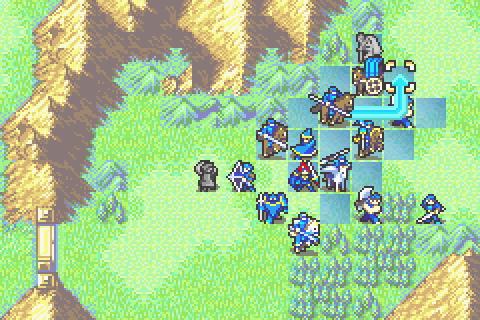
This formation is just about the best one conceivable after this turn. I took both forts even though both were out of reach, what’s more I took them with the ideal units for the job. Dieck, Thany, and Ellen have all been re-equipped. Many others have been moved at greater than full speed towards the new front. And everyone is in support positions with Clarine next to Dieck and Rutger and Alan next to Lance and Roy.
With everyone in proper position, the enemy fighters are helpless.
The inaptly named “Cath” which FE7 veterans may know as “Going My Way” plays during this scene: https://www.youtube.com/watch?v=SKBl_edYuoE
Bishop Yodel makes an early appearance here. I’m not sure what someone so important is doing in the area himself.
You’ll note that this is the same theme that plays for Serra and Erk, a not dissimilar pair in some ways.

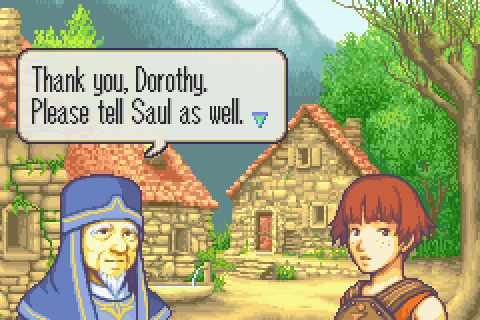
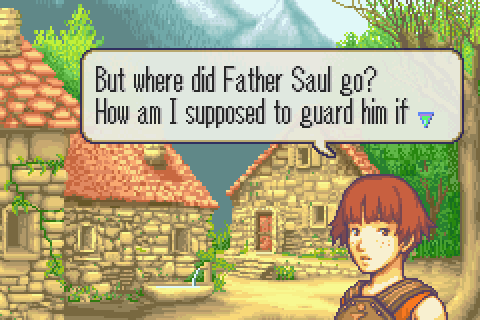
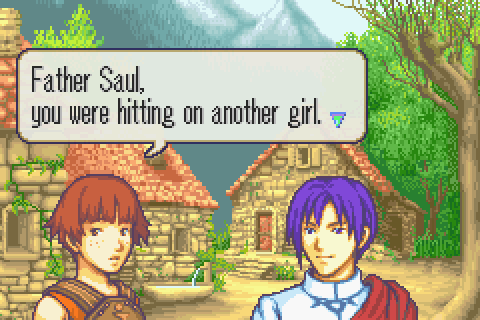
Saul, the priest in question, is off flirting with one of the local women.
When Dorothy comes running up.
And the villager takes her opportunity to slip away.
Of course, she’d been trying to get away before that.
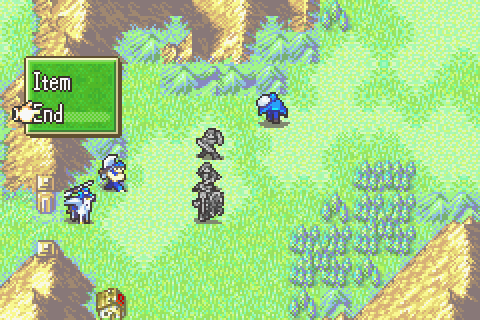
She seems to be his chaperone as well as his bodyguard. The pair of them are half Kent/Sain and half Serra/Erk, though without any of the serious parts of the former. Still, they manage to be more fun than many other zany character pairs in this series with what little screen time they get.
You know, unless he actually wandered off after seeing Yodel, I’m not sure how he’d know that.
Now this line is interesting because he presents his joining as kind of a snap decision later on, not something he set out to do in the first place. Evidently he’s cleverer than he lets us know right now.

And they end on their usual joke. The duo might wear thin if they got more screen time, but like most FE6 characters they have very little dialogue beyond their introduction (besides support conversations).
And they leave to the east. But apparently don’t find us there. Also, they end up in the castle to the west. Elibe must be some kind of pac-man world.
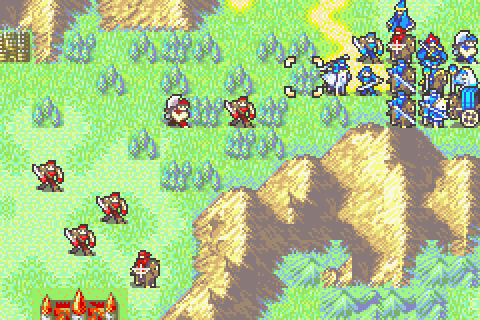
Those brigands will be a while coming, so Chad just visits houses.
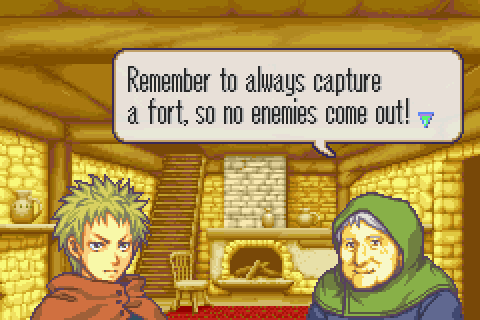
This one actually has semi-decent advice. At the very least, it informs new players that enemies sometimes come out of forts- which begins happening on this chapter. Of course, those enemies are a source of XP and devoting several people to just standing on forts is not an efficient use of resources.
So this turn is relatively easy. Just a matter of finding ways to keep everyone in support formations while still advancing and killing some of the enemies. Fighters are not the threat they were a few chapters ago, though mercenaries are still a big deal.
The cavaliers were further back and make a good front line, so they go in first. They’re also less accurate than the swordsmen, so I want to see if they hit or not before making my plans.
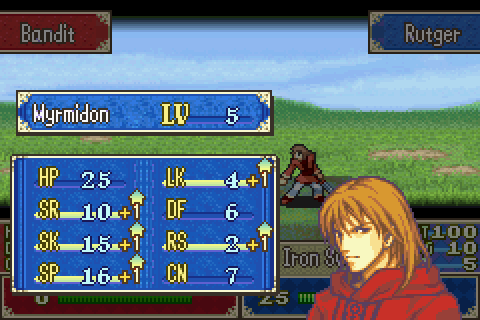
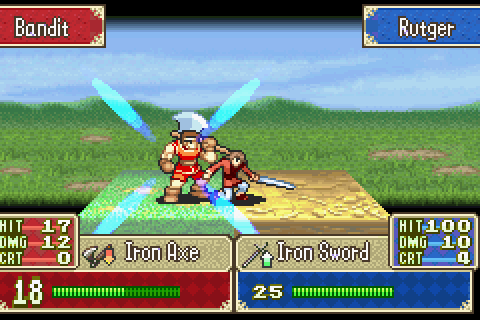
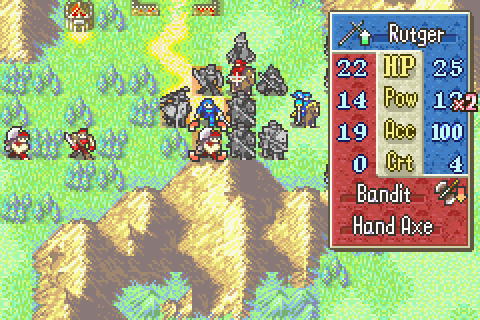
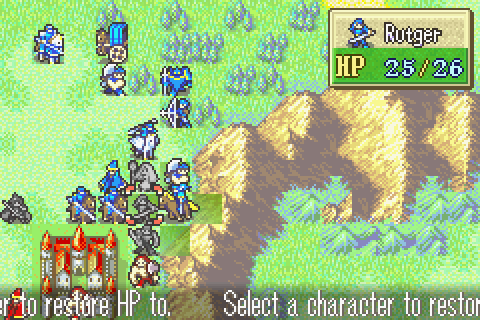
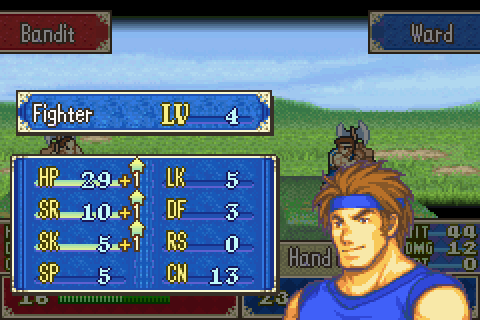
Next Rutger goes in for an awesome level.
Well I’m half done. This last fighter is surprisingly tough to deal with. It’s a shade faster than average which means nothing I have can double it. Of course, alone it isn’t a threat to my troops, but it does prevent me from deploying rapidly.
With some trade chaining a handaxe around, I can muster enough damage to have a chance at killing it.
As long as Marcus and Lugh get in on it too.
But that boxed Roy out and meant I didn’t even have enough people to rescue drop him. I foresee little for Thany to do next turn, so she carries Roy and will drop him somewhere useful.
Uh… ok!
I’ve just got to keep the momentum up, and that means moving as far as possible to attack. Only if I clear a lot of open space can I move my rear people up.
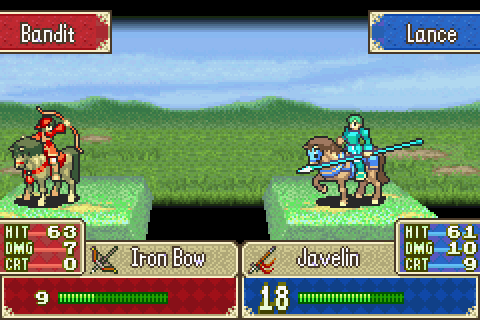
Javelins are handy on offense even against axe-wielders, but I use trading to make sure no one finishes their turn with one out.
I can’t kill the other fighter, but I can at least clear a space to drop Roy into.
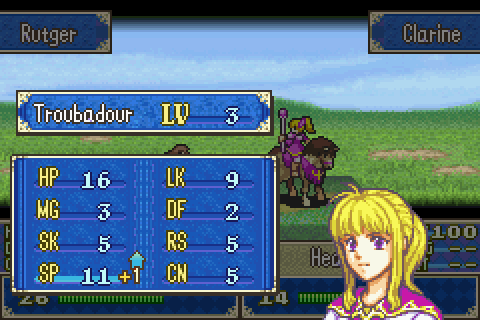
Well that’s a pretty bad level.
Clarine could have survived due to getting a speed level before, but I have enough people injured that I didn’t want to have a healer added to the list.
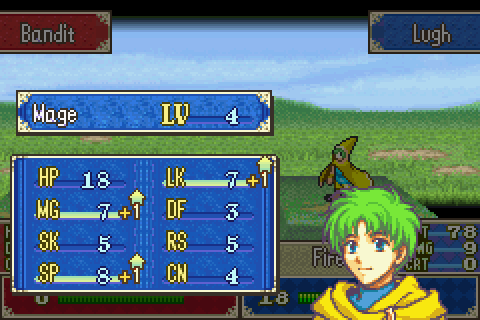
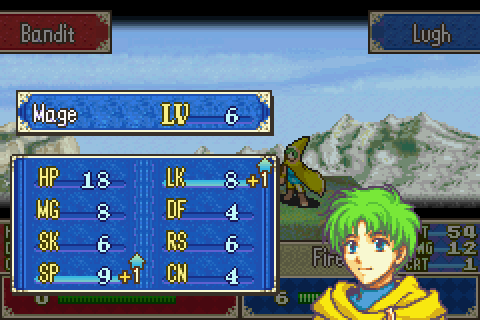
Great. This is a very good Lugh so far. Mag is all he really needs to gain a lot of early, though this speed is excellent too.
After dropping Roy in, Thany of course waits at the farthest forward safe space. She may be useful trapping or finishing a nomad.

Speaking of people needing healing…
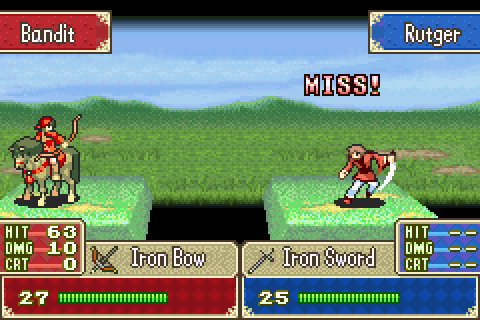
In FE in general, but early in this one in particular, the Random Number God reigns supreme. No strategy you can concoct is miss proof.
If you play conservatively, you can diminish luck’s impact significantly. But the trouble with that is that one of the results of FE6’s setup where the enemy is scattered and comes at you in small waves is that if you don’t eliminate the small waves, they quickly build up into a big group. And THEN you’re often in trouble.
When you go on the offensive, you trade predictable luck for control over the enemy forces. As long as things go mainly the way the dice say they should, you choose which enemies live and which ones die. You can leave alive only the ones who are not in a position or class that is threatening, you can force them to attack targets they can’t beat, and so on.
But of course, if you get a really bad string of misses- like REALLY bad- it can explode your plans completely when the enemies you needed dead miraculously live through everything.
Even my dodgiest unit with massive HM bonuses can’t really dodge tank at this stage of the game. He got lucky this time, but the true chance to hit was just about 75%.
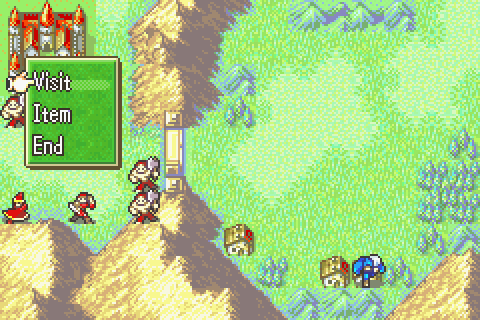
Chad visits the last house.
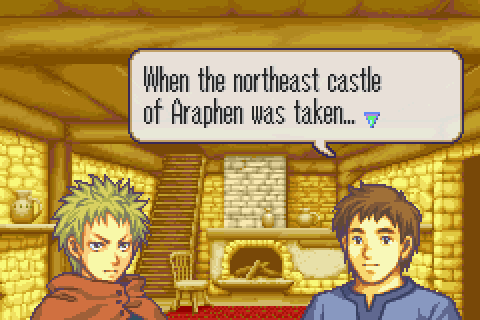
We’ve seen this staring-eyed portrait somewhere before. It looked silly then but now it seems weirdly appropriate now as the shocked man describes what he saw at Araphen.

Wyvern riders.

Now actually dragons? That’s one of the things I definitely liked about the other translation patch, it got rid of this absurd wyvern/dragon mixup
A bad level for Ward as he softens up the enemy.
I really need people who can double nomads. Here Dieck moves as far toward the enemy back as he can to establish a new front line.
I need at least one of them dead. Perhaps I can surround this one if all else fails.
No good.
Well all else failed, so I surrounded one and try to actually kill the other.
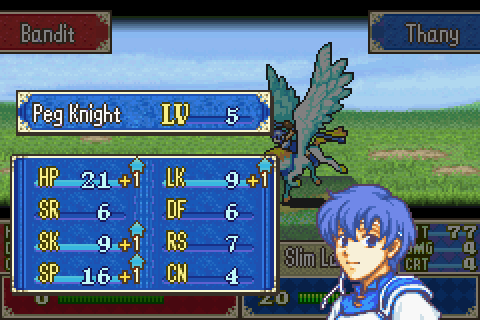
A pretty typical Thany level.
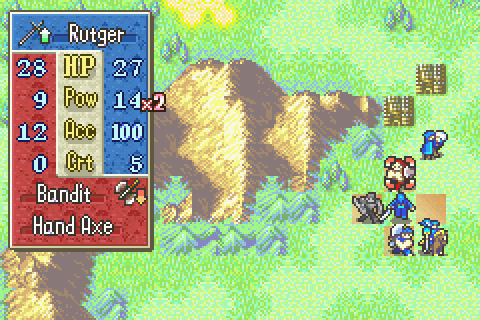
Taking one more enemy down is of course worth Rutger getting hit.
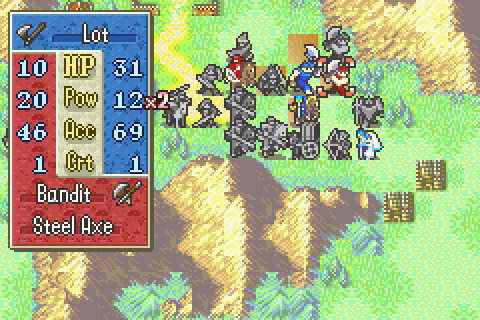
This one has been alive for way too long. Unfortunately, Lot, who I’m trying to train, has to stay back to kill it.
Well that’s a really good level at least.
Always check to make darned sure one enemy can’t actually one round kill your units before putting them in range. Clarine will be hit bad but she’ll live.
Unexpectedly, these guys didn’t move even with a target in range. FE6 actually has a fair number of enemies who behave like that- but they all move if there’s a target they can kill in range. Since you can’t tell in advance which are merely stationary until someone enters their range and which are just waiting to snipe injured people. It can be tricky to advance toward groups like those two.
So as turn 5 begins, the map is actually looks mostly wrapped up. But the reinforcements will be trouble.
There were so few people in range that turn that everyone just had to kind of crowd forward.
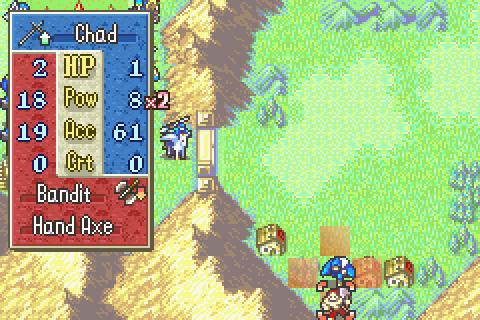
Meanwhile, the first brigand finally crosses the peaks and Chad prepares to lure him away.
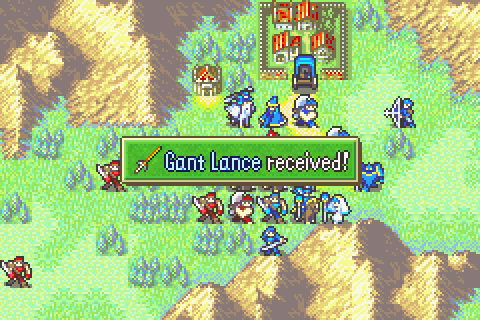
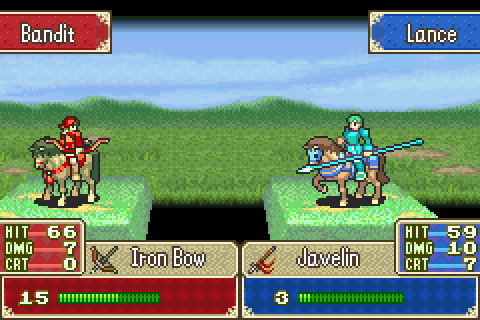
This lance is one of several such items named after characters from the manga adaptation of this game or something like that. I don’t know anything about that, but these weapons are usually somewhere between iron and steel on most of their stats and this is no exception.
So this is where the RNs just do not go my way. This guy has already dodged several attacks and he just keeps it up.
5 people attacked so far and he’s taken only a single hit for low damage. And as you can see, I can’t even attack with Roy or he’ll probably die. I have to occupy this spot at this point though and run a 20% or so risk of Roy being killed because otherwise he’d surely kill Lugh. Sometimes there’s just not a whole lot you can do if an enemy dodges 5 attacks that should have hit when you still have fragile people on the team and the terrain is rough.
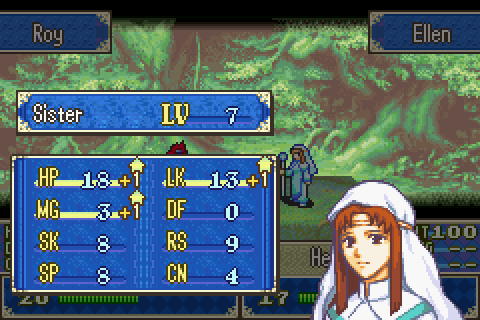
Elen gets an ok level healing the only target in range.
So I survived that turn, but many of my units were badly roughed up. I can’t afford another unlucky turn.
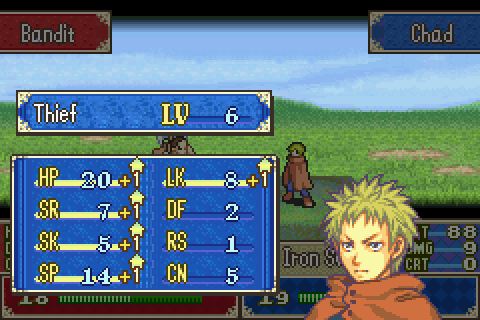
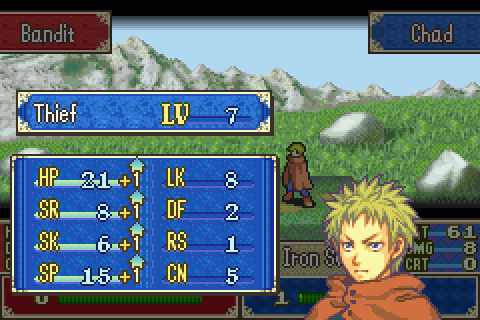
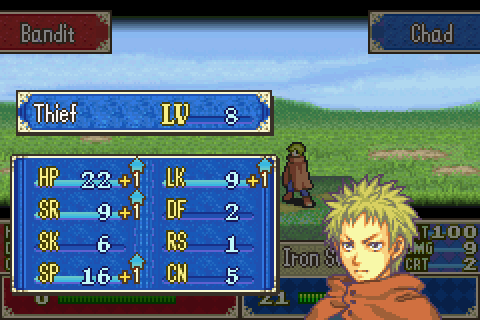
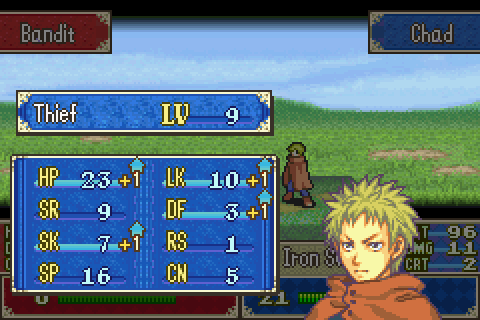
Well first things first, Chad gets a great Chad level as he begins fighting the brigands at last.
And now the main attraction. I expected 2 fewer mercenaries as I made my plans, but then they just dodged too much so now I have a force of badly injured people with which to take out 5 tough enemies. This is going to be hard.
Well this is a decent bet on killing the nomad with a unit who can survive fights from mercenaries if need be. 81% success odds.
Darn.
And that guy kept dodging. And so did his buddies. I’ve… accomplished nothing. And all I have left are injured people I can’t heal easily due to the formation and terrain. This is looking like a game over.
At this point I have to have Marcus javelin the nomad. It HAS to die even if Marcus is the one doing the killing. Then I have to give up on supports and have Lance and Rutger take down the mercenary in the middle of my lines. And then just brace for impact from the remaining 3.
Well it’s a mess and it required me to give a kill to Marcus and not gain any support, but this formation SHOULD work. Geez, 14 guys only managed to kill 2.
Next turn, Chad kills brigand number one.
Will Thany finally get a kill?
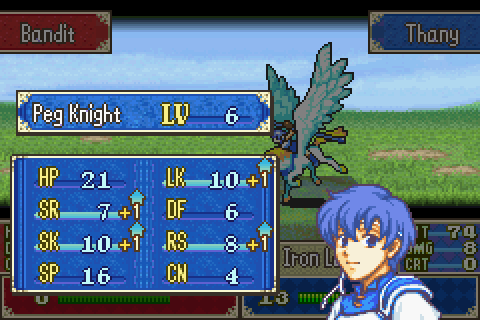
Yes and an amazing level! Ok, my luck is turning around it seems.
Rutger gets the last kill. I can then drop him around if need be.
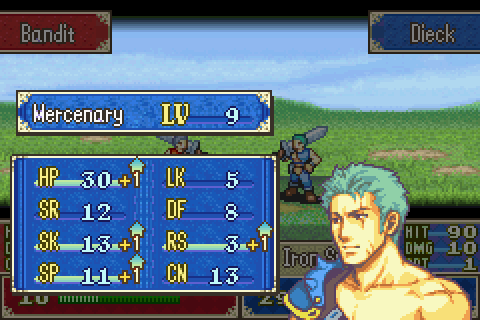
Dieck lured another enemy into range and got a good level from him. He’d been falling a bit short on speed.
After that tense 2 turns, I’ve pretty much won and I can just advance while healing.
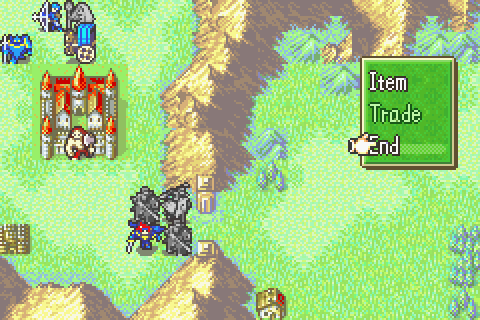
So it’s turn 9 when I make my move toward the castle itself.
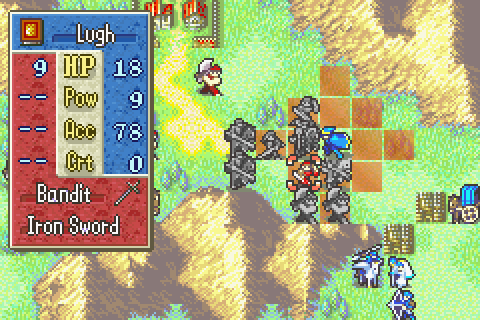
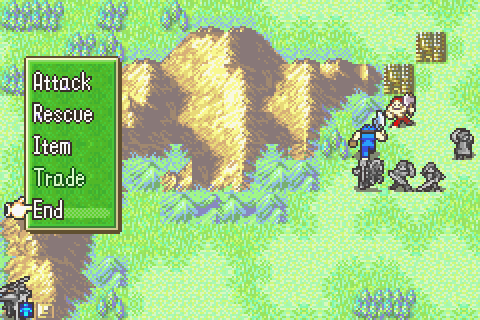
As I mentioned before, that mage is overwhelmingly powerful. In a solo fight, it has good odds to kill anyone on my team- even Marcus. Heck, the two cavaliers together +Roy probably lose if they attack now, but I don’t need to.
Clarine heals and builds support bit by bit.
Well that was a lousy level.
As you can see, Alan and Lance can’t actually get enough damage to kill the mage even if they can both hit it. And they can’t, its avoid is spectacular somehow. Meanwhile, even with supports it will probably not miss and will 2-hit kill. So if I attack, I lose.
So I just give them both javelins and let it make the first move, then finish it safely next turn.
Chad finishes the last brigand.
Startlingly, this doesn’t even put him THAT far above average.
So turn 12 ended up being the fastest I could get here after that 2 turns of missing. That’s unfortunate since fortress reinforcements are about to start, but this is still my best chance to spawn the gate reinforcements.
Chad couldn’t get there in time. Instead he’ll move to the top right for when those brigands spawn.
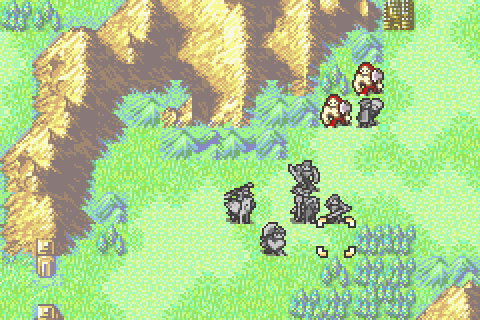
These guys are a LOT less problematic when the Nomads are the front line, the mercenaries are in the rear, and you can slam them with 5 or 6 really good attackers at once.
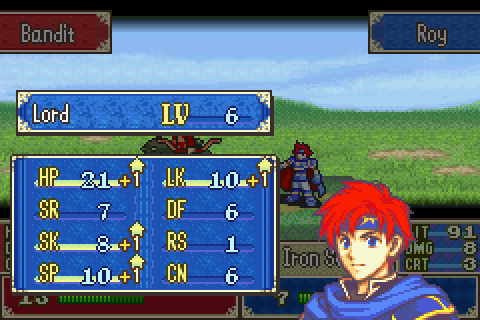
Roy gets to work and gains some more speed. One day he may be able to double things.
All but one falls easily, then the healers move in to heal and support. Meanwhile, a small posse is preparing for the top reinforcements.
Of course, at the time I had no idea those guys had handaxes.
On my turn Lugh gets his best level yet weakening that brigand.
With the mercenaries/nomads gone I can deal with the next waves more easily. But not as easily as you’ve think. Here’s the problem: there are 3 sources of brigands very far from each other. If I fail to kill all 4 total brigands every turn, I might actually be in some danger on that front. If this were FE7, I’d just stand around the fortresses and kill the brigands as they spawn. But this is 6, so the new brigands move first and that means they can’t be trapped- because they can go on peaks and I can’t. And a brigand on a peak is definitely one I can’t kill.
Meanwhile, I want to keep grinding support as well as XP. That means Clarine, Rutger, and Dieck must stay together, as must Roy, Lance, and Alan. Those are my A and B teams so they need to be at different spawn points. But which one? I need Roy close to Dory to seize the throne, but I need Rutger or Dieck there to actually kill him easily in the first place.
But turn 15 is already here, I need to move several people right as fast as possible. Ultimately I decide on Rutger + Dieck + Clarine along with some support. This may have been unwise since killing Dory proves even tougher than expected.
A more normal Alan level. It’s really weird having Alan be the good one and Lance the mediocre one.
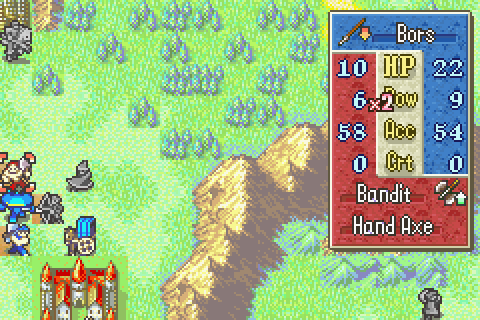
Bors is nearly untrainable.
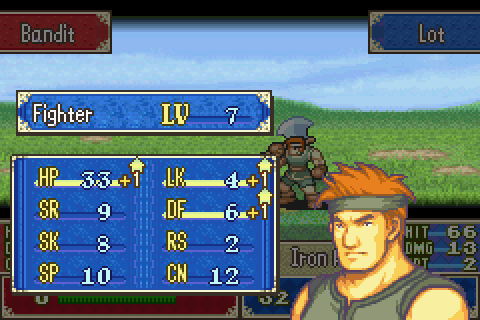
Unlike Lot.
The right reinforcements now begin and behave as expected.

Lance is much more normal than Alan.
I’m also having predictable issues with having 3 groups and 2 healers. Roy needs a healer to take on Dory. The right group needs a healer for their support triangle. This leaves the top left group increasingly injured
The right group is stronger than it needed to be it seems and is now pushing upstream.
Chad continues to amaze.
Sweet!
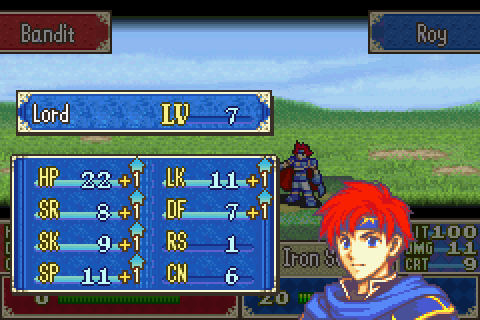
And Roy gets another amazing level!
Not bad. There’s really not much to talk about now. It’s just me farming reinforcements repetitively for a while.
Now this guy is getting somewhere!
On turn 20, the reinforcements are finally almost done.
Well I can always count on Ward to be bad.

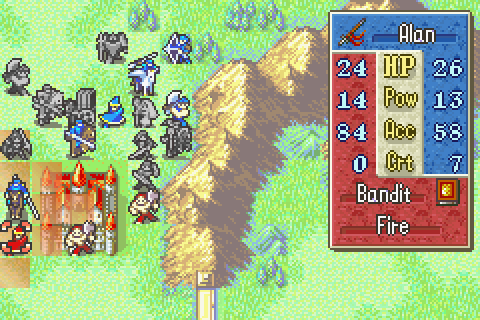
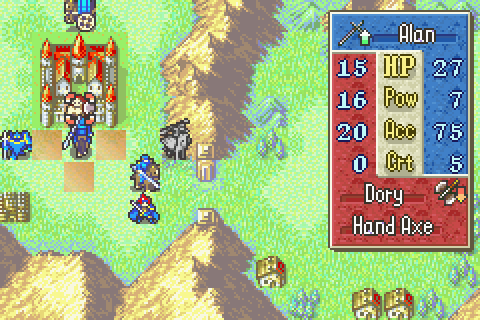
As I talked about, I begin rescue drop operations against Dory. Alan scores a lucky critical.
Alan is pulled safely out and the top group prepares to join in.
Second turn, Alan tries again.
I need this over with. With support, the critical evade chance is rather high.
Chad finally nets some defense from the second-last brigand.
The last one is killed before it can flee.
Alan kills Dory.
Very nice!
And XP grinding continues with the healers. Another unimpressive level from Clarine.
And on turn 22, I finally win. Curiously, no supports become available. Hopefully I’m close at least.
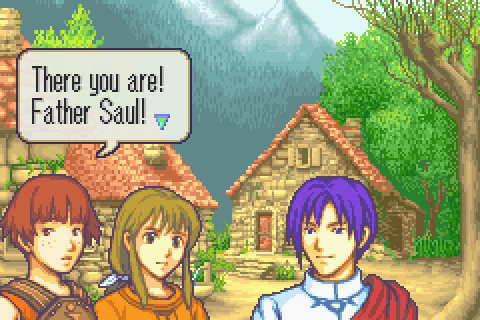
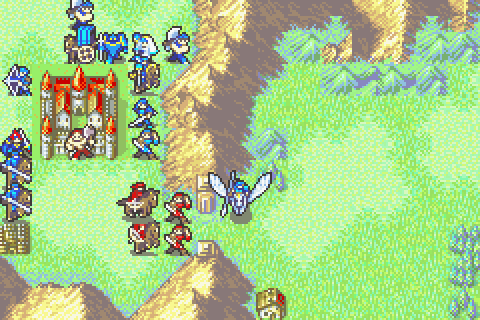
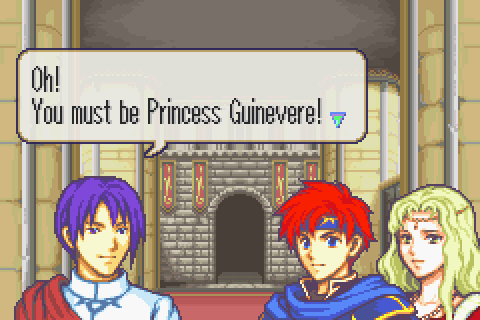
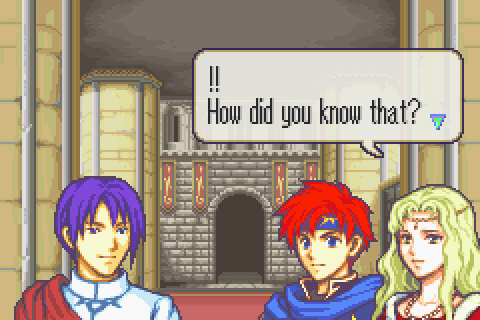
And here come Saul and Dorothy, late to the party.
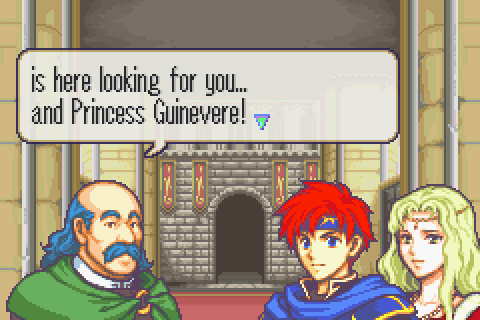
Well that’s interesting.
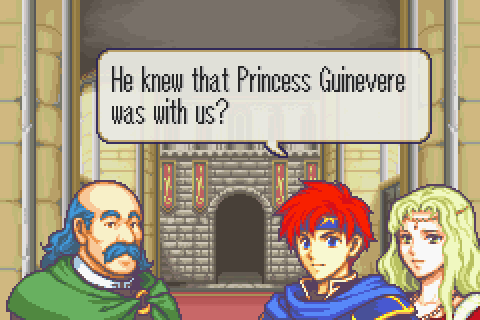
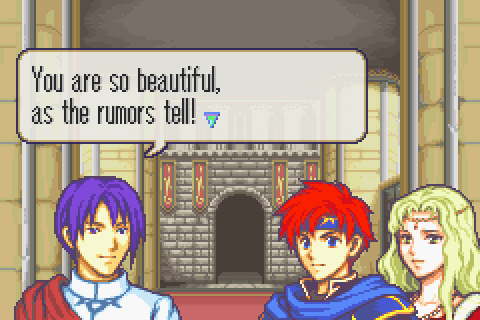
This surprises the characters, but I’m not sure why. I mean, any survivors of the chapter 2 raid would report the truth. People investigating the princess’s disappearance would have noticed that she vanished after last being seen in a castle that the Lycians were about to attack. And so on.
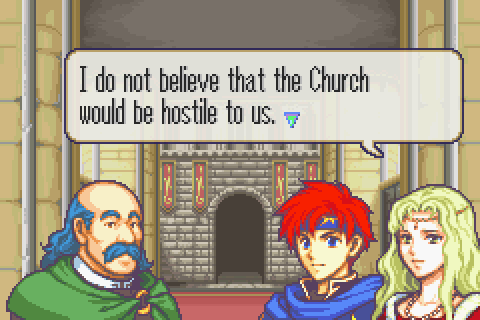
They decide the church is probably on their side and decide to see the priest.
Looks like they were right.
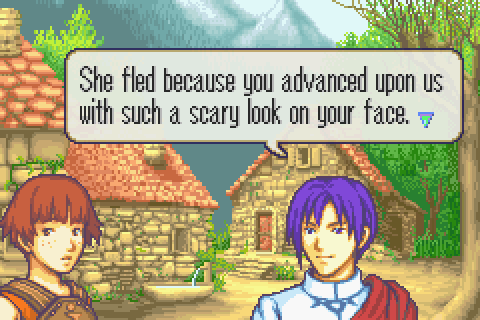
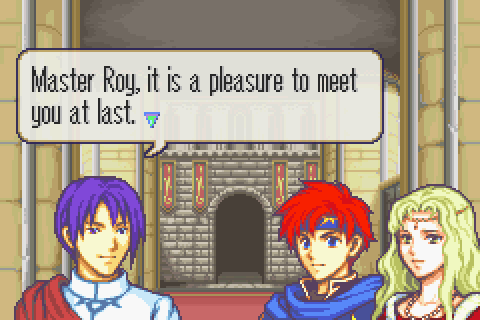
Just as Dorothy predicted.
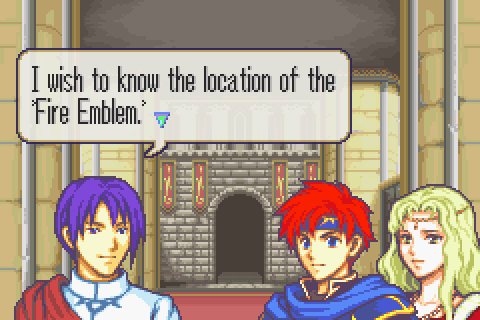
But he does get back to business. And here it is: the first mention of the chapter’s namesake.
Unexpected!
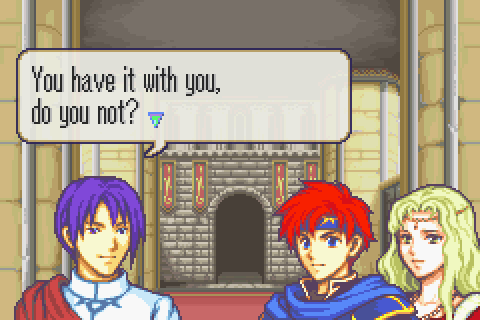
I was really expecting a “Because you just told me” answer the first time I played.
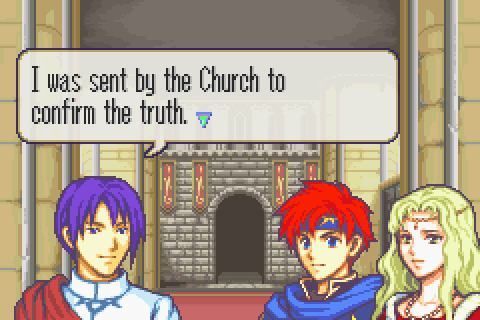
But no, the church put it together by reasoning that 1) the emblem went missing at the same time the princess went missing and 2) so she took it, duh. But if she just grabbed it and left, why is she surprised anyone doesn’t know?
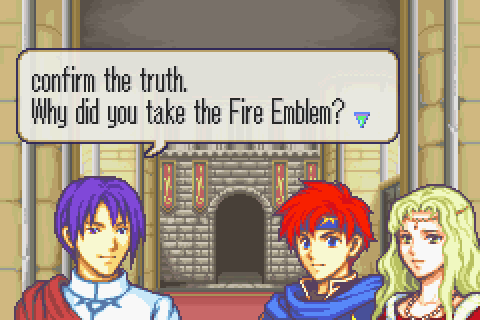
So it seems the real question wasn’t whether she had it but why she left with it.

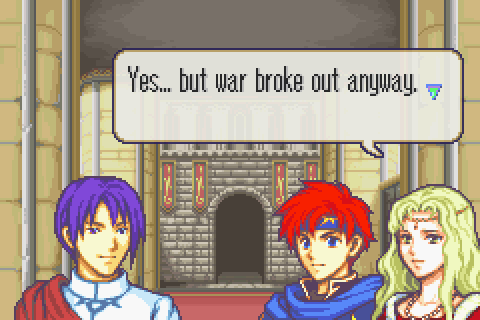
And now she reveals that this was her clumsy attempt to stop the war.
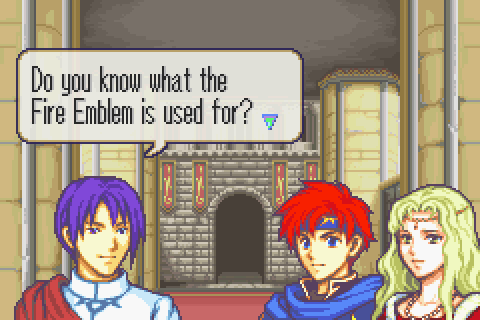
It’s ambiguous at this point if the church does or not, so there are several ways to interpret this question.
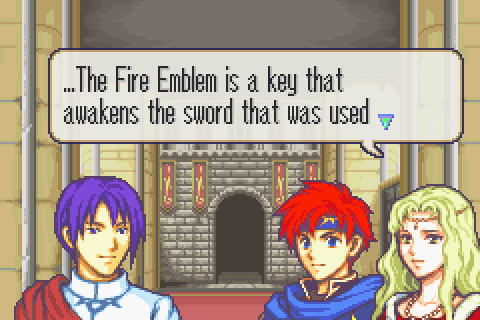
She reveals that she has a hazy idea that it somehow is used to acquire the Sword of Seals.
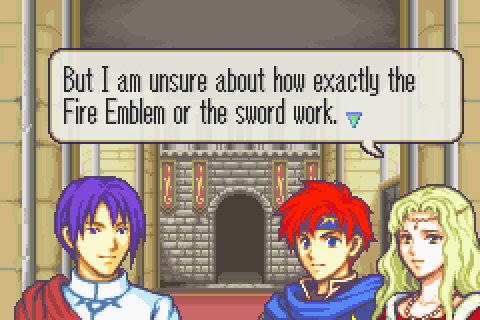
But doesn’t know any of the details. She just knew her brother thought it was important and didn’t want it falling into enemy hands, so she swiped it hoping that that would make him chicken out of the war altogether. That… was not really likely to work without knowing what it does or to what extent it would be important. Oh well, she gets points for trying at least.
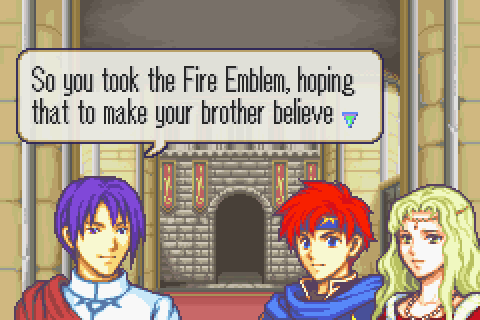
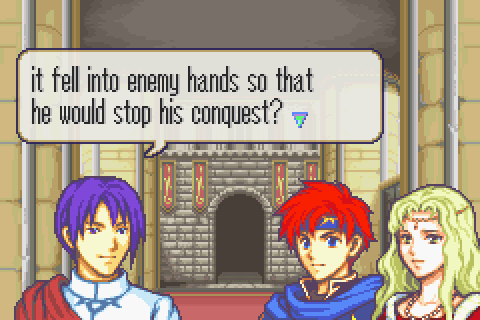
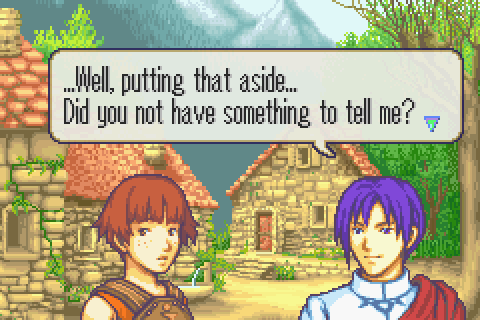
Saul makes sure they’re all on the same page about what she did and why. I’m interested that he didn’t think this stuff should be secret from Roy. Maybe he figured he couldn’t keep Roy out of the loop forever so he might as well tell him now.
Yep, guess it wasn’t that important afterall.
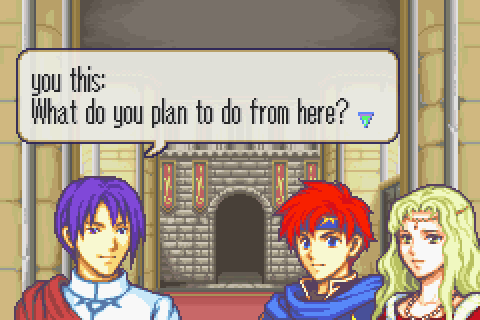
Roy asked her that last chapter; get with the times, man!
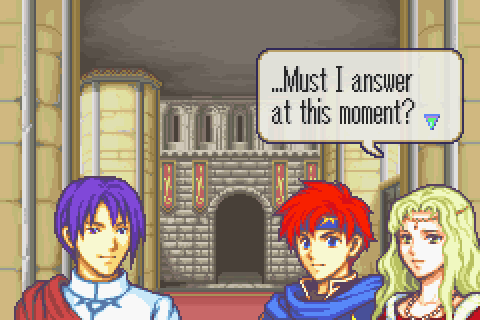
She hints that she still has a plan but doesn’t want to reveal it till the time is right.

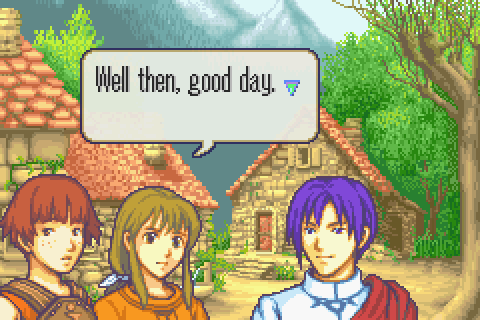
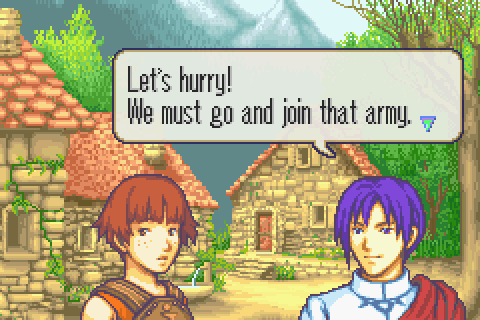
And Saul joins up, acting like this wasn’t his plan from the beginning.
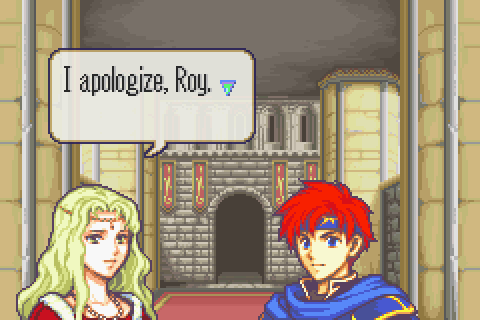
… for what? Every chapter ends with her apologizing. Other times there was at least something to apologize for.
Besides an excellent beginning, I think I played that chapter somewhat poorly, or at least imperfectly. That was somewhat because I didn’t know exactly what to expect from the reinforcements and somewhat because I was too focused on obtaining supports that proved to be out of reach anyway.
Probably I should have sent Dieck up north and kept Rutger near Dory and given Chad less support. After the blessings he’d gotten, he was surprisingly capable of handing quite a few brigands at once.
The trouble (if you can call it that) is that I got REALLY good level ups overall. Sure there were some bad ones and a few terrible ones, but those were on unimportant people by and large. The important people got great levels, and if I restarted to save some turns, I would lose all of that. That’s just not a good idea for the long term.
Total Restarts: 0 (If my levels had been average, I’d definitely have restarted this one to save turns)
Turn Surplus: -19 (Ouch, I went way overtime. There’s just one more chapter to prep supports before 7, but after that I need to start bringing this down)
Things I Regret Missing: A couple of uses of Marcus’s silver lance on Rude, a Chapter 5 nomad Marcus had to kill