Part 7: Chapter 7 and the War Room, Part 40 (Route Choices)
This is… possibly the most infamous chapter in the game. Maybe the second most. It has a reputation like HHM Battle Before Dawn or worse and is often described as the hardest chapter in hard mode. Just like BBD, a fair number of people actually believe it can’t be beaten (or at least Treck can’t be recruited) without luck. As usual, such people are completely wrong and a good approach to the chapter makes it possible to win with no luck at all.
At first glance, this is a really important chapter in the story with the group finally arriving in Ostia and liberating it. But at best it’s the prelude to the actually important chapter 8. Nothing of much consequence really happens here.
Chapter Summary:
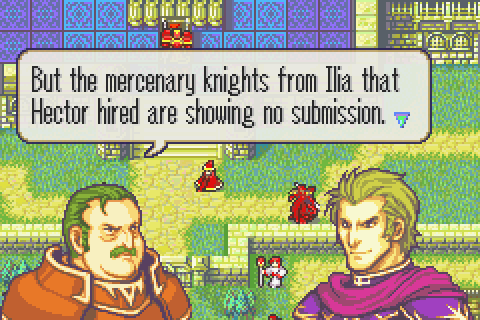
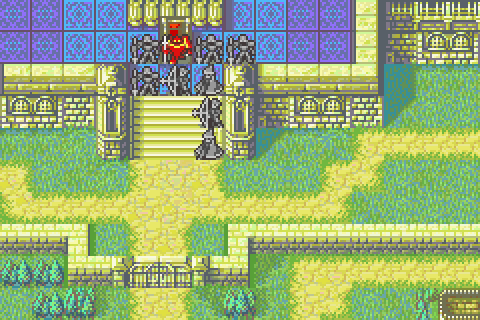
At long last Roy arrives in Ostia. They find the town under rebel control and Lilina a captive. Fortunately, there are some Ilian mercenaries ready to join them. Hector was their last employer and Ilian mercenaries never betray their employers- apparently even when the employer is dead and the job they were probably hired to do is no longer relevant. Together they retake the town and prepare to storm the castle.
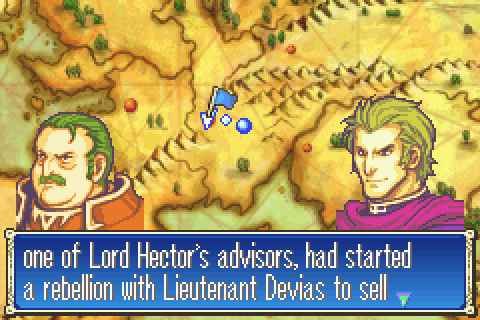
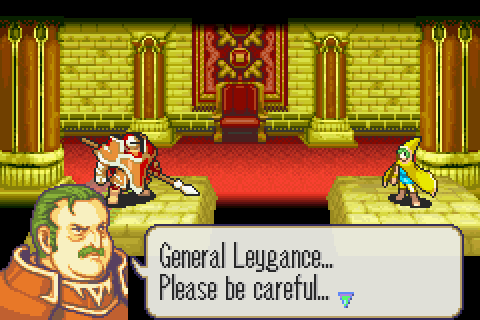
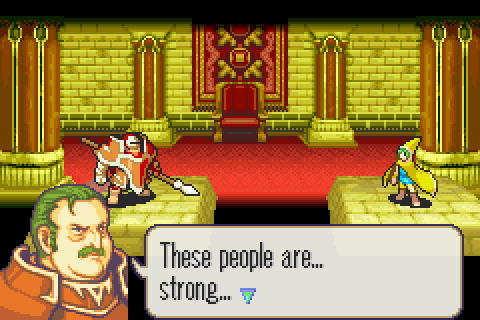
The villains of this two-chapter arc are at last introduced. General Leygance was one of Hector’s advisors and… apparently he joined forces with a lowly lieutenant to rebel and join Bern.
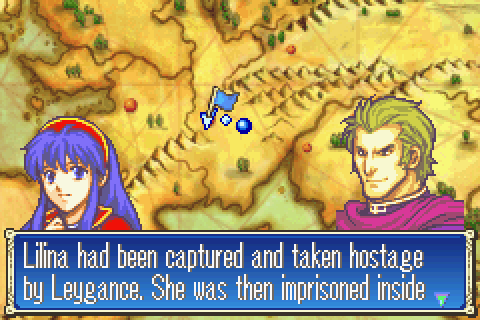
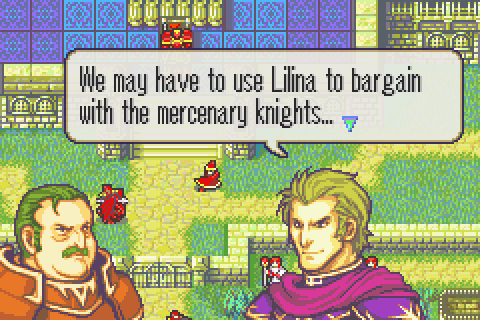
They have Lilina hostage. They don’t ever use her as one.
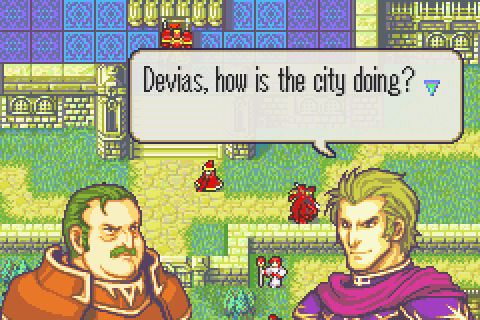
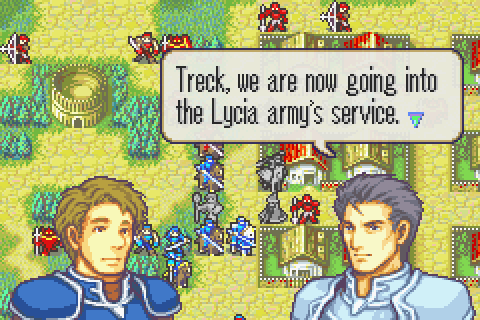
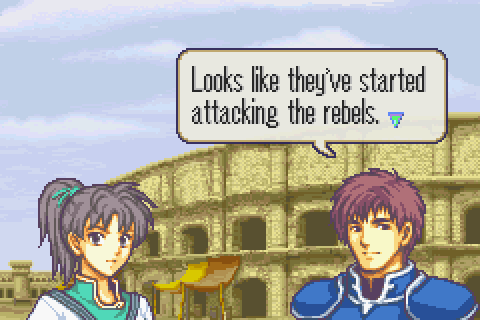
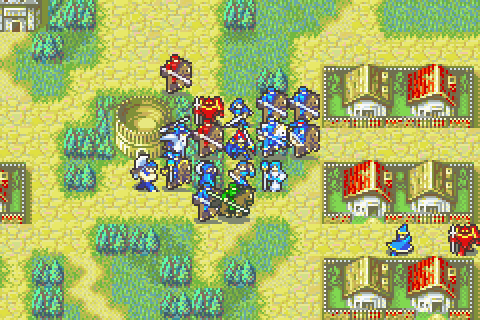
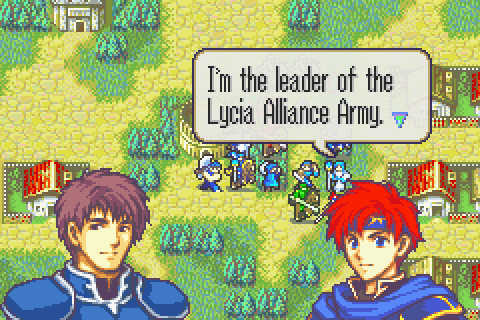
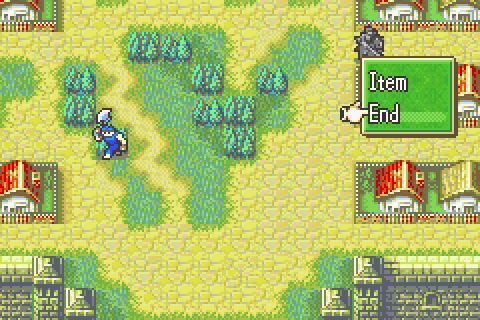
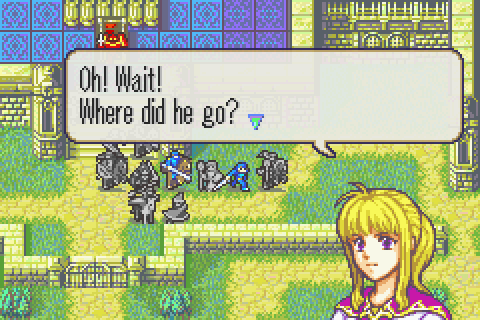
Here we see the two of them conferring about whether the town is under control (It mostly is).
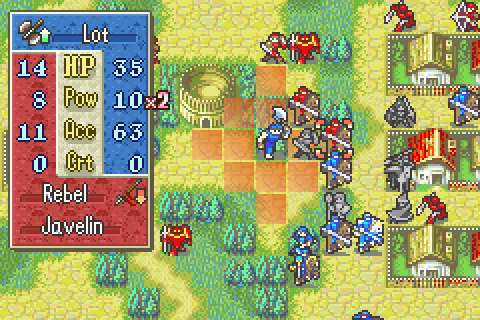
It’s 3 guys. It is literally 3 guys. You have them surrounded with dozens of better guys. Why are they still alive?
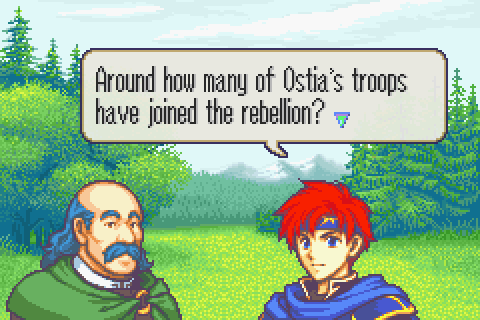
And that’s interesting news. Has he been tearing his way across Lycia to get here? We actually have no indication whatsoever that he has. It reads more like he just got across the entire country unchallenged with his troops.
Or you could kill them. You want to just kill them?
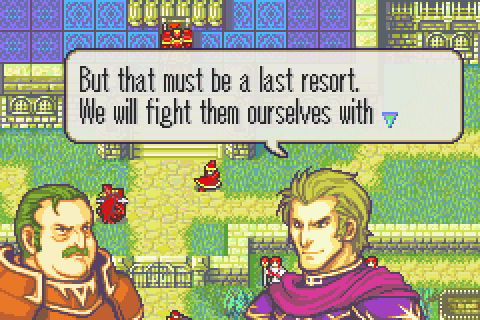
Why? Why is using the hostage they probably went to great trouble to get the last resort? They NEVER use her.
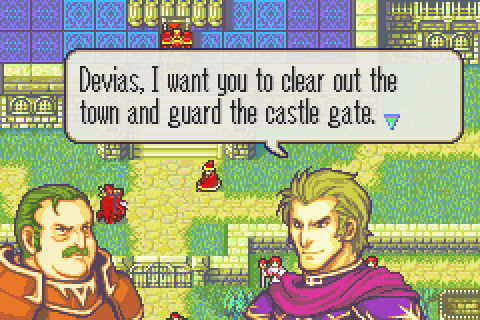
In other words, do all the work. Meanwhile, Leygance will take half the army to… sit around in the castle apparently. Even though Devias was just assigned to guard the gate. These are some dumb villains.
Meanwhile, Roy and Merlinus are arriving.
Unless over half or so rebelled, how did the rebels seize control to begin with? The most logical explanation is that they convinced the rest to stand down by using Lilina as a hostage, but that’s contradicted by the fact that Leygance still isn’t doing that and that in the previous chapter we were told he took her captive thinking he might be able to find some use for her later. Apparently he hadn’t thought of the whole hostage thing.

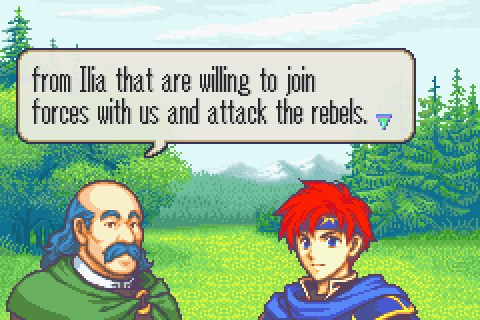
Oh wow, it’s great news that there are 3 mercenaries in the middle of the enemy who might join us.
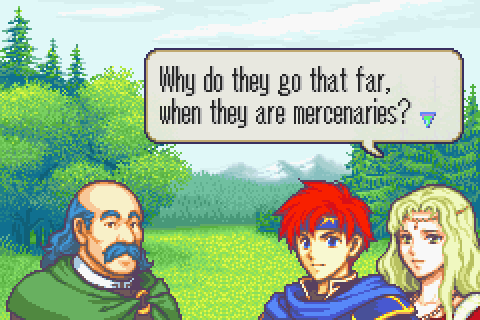
I’m glad you asked! Let’s hear the same answer to that question that we’ve already heard whenever some other character asked it!
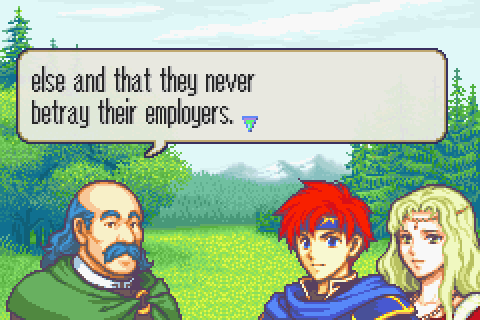
Merlinus explains once again that Ilian mercenaries never betray their employers. In case you forgot Devias and Leygance discussing that 30 seconds ago. Pretty much any time Ilia is mentioned in either game in fact, someone will pop up and go “HEY GUISE DID YOU KNOW ILIAN MERCENARIES NEVER BETRAY THEIR EMPLOYERS?!”
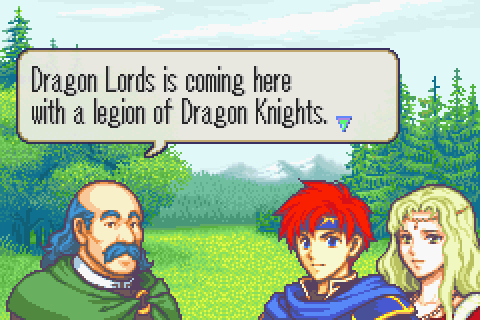
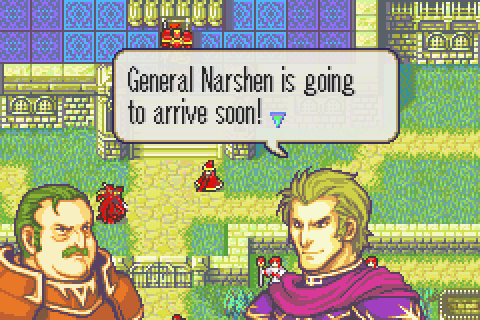
And now the important bit. Roy now knows Narshen is coming with an elite group of wyvern riders.
I would hope so. Bern disrupting the “balance of power” mentioned at the beginning would obviously be a problem for them.
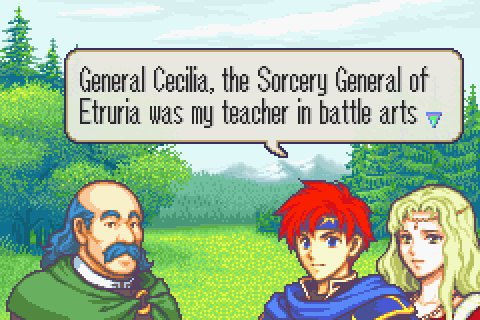
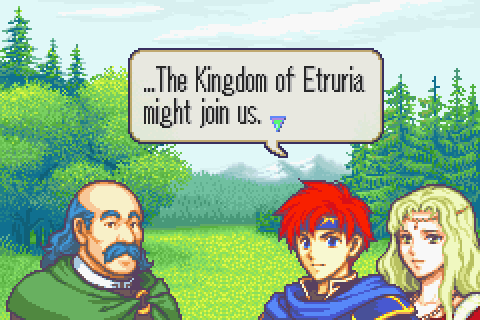
But no one points that out. Instead Roy relies on his personal friendship with one influential Etrurian he knows.
Excellent, now we know it’s a good idea!

… pretty sure you already are, man. A lot of Etrurians we see totally look down on Lycians and even a lot of Lycian noblemen and women talk and act like Etrurians are just better than them.
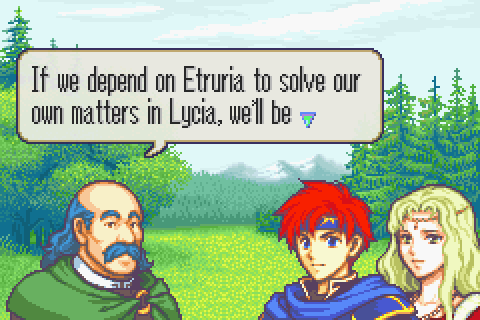
Plus there’s that argument. The war is totally lost already without their help. Or it would be if Bern was doing anything at all.
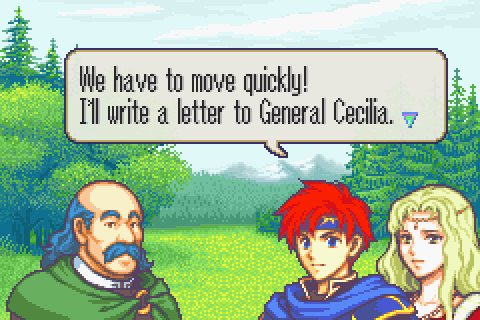
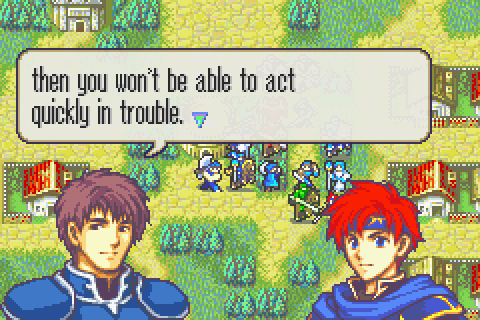
I thought you said you have to move quickly?
The War Room, Part 40
So, now that I have both a nomad and a pegasus knight, this is a good time to talk about the alternate routes in this game. Much like how FE7 had completely different alternate versions of several chapters unlocked depending on various characters’ levels, this game actually has 2 branch points leading to several alternative chapters in a row.
Firstly, if one visits the top rightmost village in Chapter 9, one goes to Caught in the Middle (Chapter 10B) then to Escape to Freedom (Chapter 11B) and then on to The True Enemy (Chapter 12). However, if you instead go to the village next to that one or no village at all, you go to The Resistance Forces (Chapter 10A) then to The Hero of the Western Isles (Chapter 11A) and then to The True Enemy (Chapter 12). I’m going to call the A route the Echidna Route and the B route the Bartre Route to be marginally easier to remember.
Later in the game there’s a more dramatic route split. If Sue and Shin (the Sacaean nomads) gained more XP than Thany and Thite (the Ilian pegasus knights) by the end of 16x, then you go to Sacae for the next 5 chapters and then on to The Sword of Seals (Chapter 21). Otherwise you go to Ilia and then on to The Sword of Seals (Chapter 21).
(Slightly) different stories, different available characters, etc. occur based on which routes you take. These do not affect the ending though. So, just like in FE7, the question is which routes are best for a max ranking run.
First of all, unlike 7, 6’s less sophisticated ranking system does not provide different funds, tactics, or XP requirements depending on which routes you take. So, unlike 7, if one route gives more valuable treasure then the other, then it’s simply better for your funds. And if one route can be more easily completed in fewer turns, that’s better for your tactics.
So Echidna or Bartre? Almost everyone says Echidna. However, I just crunched the funds numbers (including character join gear and everything) and Bartre’s route is better by a significant 7325 in capital. Mostly because Elphin is loaded. That’s one whole extra promotion allowed plus some change.
Which is better for XP? Well that’s hard to figure out. Checking every non-boss enemy that could ever spawn on each map (ignoring ones you must not kill; promoteds count as 2; clerics count as 1/2), I counted 92 enemies in the Echidna Route and 99 for Bartre. So edge goes to Bartre there too.
What about tactics? Honestly, I’m not sure which is better there. They look comparable, with Echidna perhaps slightly faster.
Now the X factor here is that (for no good reason) Gonzalez joins 6 levels lower in Echidna’s route with the same stats. That means he’s basically 4.8 HP, 3.6 Str, .9 Skill, 3 Speed, 2.1 Luck, 1.5 Def, and .3 Res better in Echidna’s route. The HP and Str bonuses are meaningless since he caps those stats in 3 seconds regardless, but the other bonuses can be noticeable. Perhaps more importantly, that’s 600 more XP you can gain using him before he hits 20/20 and must be retired.
Assume a moderately bad case scenario where each dead enemy gives you 20 XP and assume that Gonzalez will be taken to 20/20 regardless of route. Then if you take Bartre’ route, you get 140 more XP and 7000 more capital but lose a few turns. That’s good trade. The real downside is a weaker Gonzalez and one you can’t use as often before he hits 20/20. Still, Bartre’s route looks better unless you’re so far ahead on funds that you don’t care about them.
Now Sacae or Ilia? Well most people say Ilia because it’s easier. Max ranking runs are not about easiness, so that’s totally irrelevant- except that easy chapters let you feed XP to weak characters much more efficiently. Ilia’s pegasi are easy prey to anyone, while Sacae’s myrmidons and nomads are actually a pretty huge threat to weak characters. That’s going to lend a significant XP ranking edge to Ilia. Further, Ilia has something like 10000 more in capital available, and that capital is often easier to obtain. The Ilian route may also be easier on the tactics score, for all that’s worth.
In conclusion: if funds are an issue then Bartre > Echnidna, otherwise they might be roughly equal. And Ilia > Sacae.
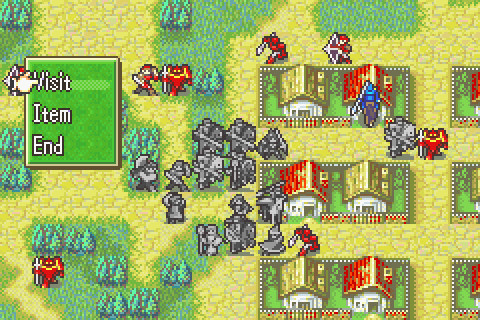
Map & Battle Preparations
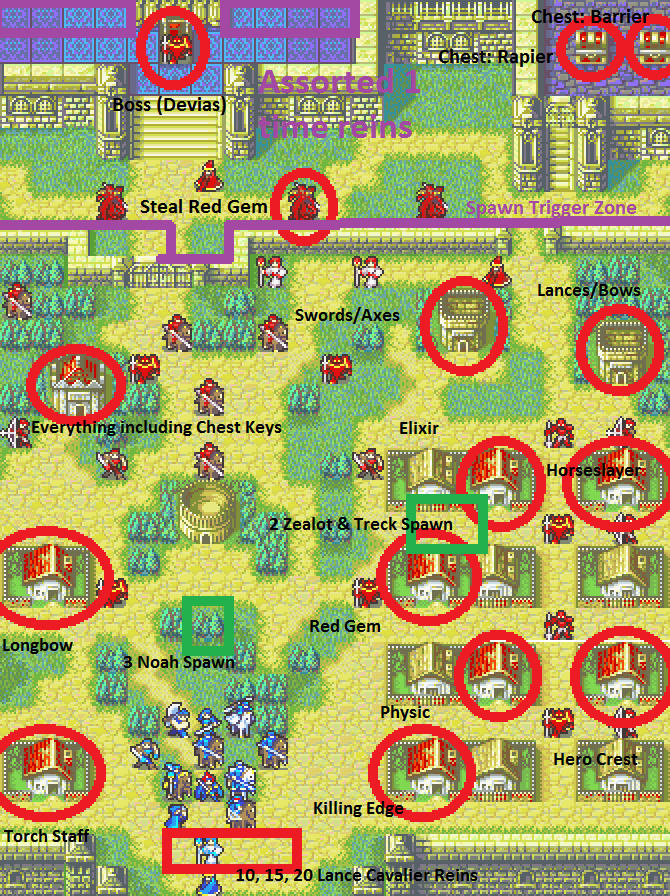
Secondary Objective: Recruit Zealot (Spawns turn 2) with Roy or Noah
Secondary Objective: Recruit Treck (Spawns turn 2) with Roy or Zealot
Secondary Objective: Recruit Noah (Spawns turn 3) with Roy or Zealot
Secondary Objective: Steal the Red Gem rom the middle wyvern rider
Secondary Objective: Get the Torch Staff from the bottom left village
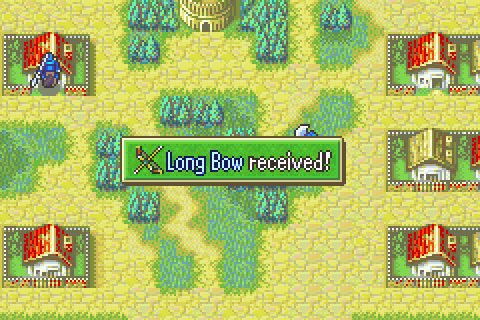
Secondary Objective: Get the Longbow from the mid left village
Secondary Objective: Get the Killing Rdge from the right side bottom row village
Secondary Objective: Get the Physic from the right side second row left village
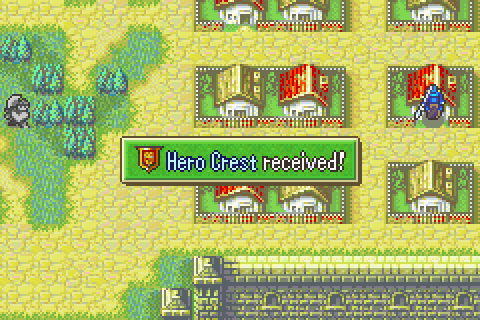
Secondary Objective: Get the Hero Crest from the right side second row right village
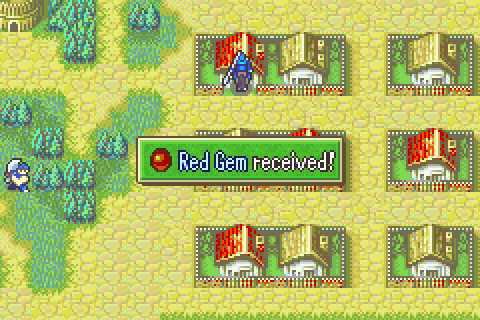
Secondary Objective: Get the Red Gem from the right side third row village
Secondary Objective: Get the Elixir from the right side top row left village
Secondary Objective: Get the Horseslayer from the right side top row right village
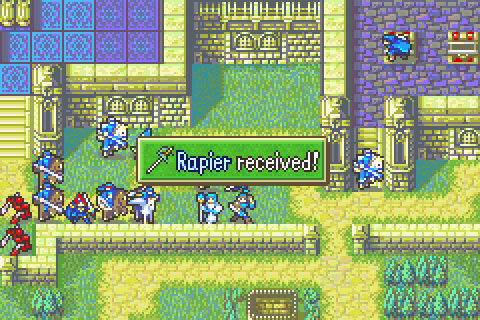
Secondary Objective: Get the Rapier from the left top right chest
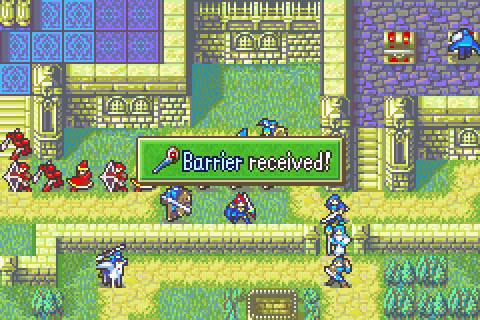
Secondary Objective: Get the Barrier Staff from the right top right chest
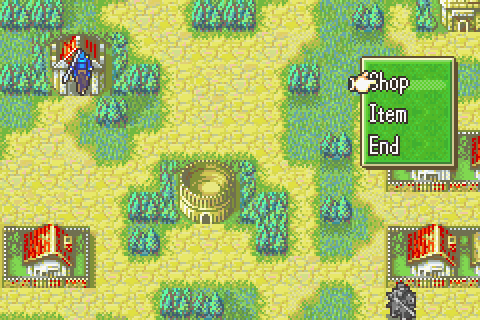
Secondary Objective: Do some shopping
Secondary Objective: Build supports
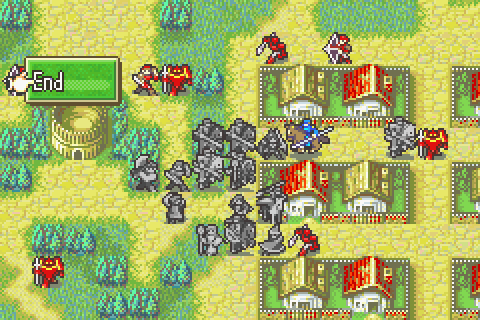
Reinforcements: After an announcement, 4 cavaliers with assorted lances will come from the south on turns 10, 15, and 20. Amazingly, they don’t move on the turn they spawn. Additionally, a moderately powerful wave of 8 soldiers, mages, and archer will come from both sides of the boss when one of your units crosses the purple line on the map
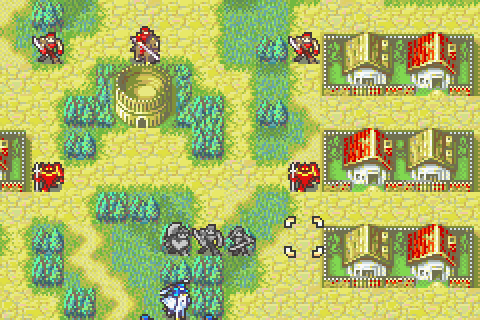
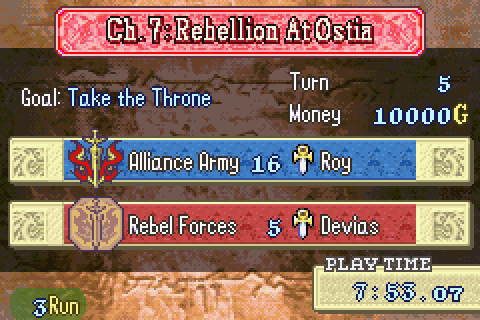
Turn Limit: 20. The map is won on turn 5 with a good approach. Then it’s just a scramble to get all the villages and chests and actually walk to the boss. No way should it take anything close to 20 turns.
Units Allowed: 12 + Roy + Noah + Zealot + Treck. An enormous army. That’s nearly everyone.
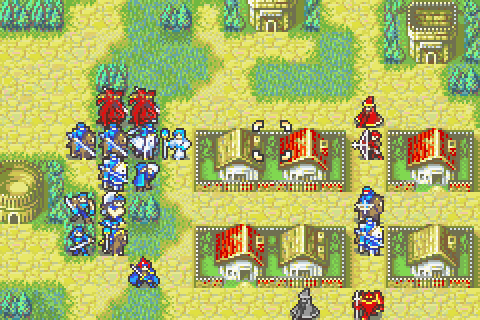
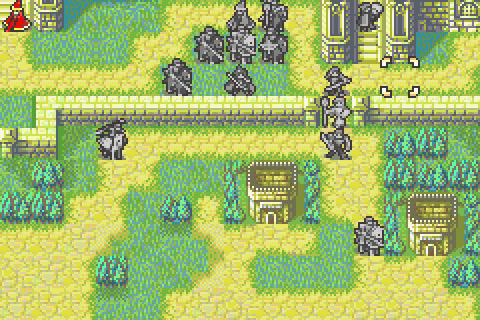
A complicated map at first glance but actually remarkably easy beyond the first few turns. In fact, the game is more friendly here on this allegedly awful chapter than on most others. No brigands and thieves threaten the treasure, the reinforcements are either warned of in advance, spawn nowhere near you, or don’t even move on the enemy turn, and you have a massive army dealing with enemies that barely outnumber you.
Note, however, that though the enemy force is fairly small and will not be reinforced for a long time, it’s elite and dangerous. Cavaliers, mercenaries, and especially wyvern riders are not to be trifled with. Fortunately, they’re scattered and not all of them move if not provoked.
However, the many forests- particularly those placed around the starting area- and buildings and alleys make it hard to deploy properly.
The game is shoveling treasure into your lap with no less than 8 villages and 2 chests full of useful and valuable gear. There were like 8 chests last level and 8 more next level. It’s part of some kind of nefarious plot to drown Roy in money.
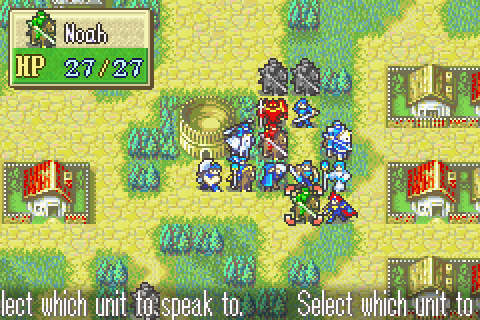
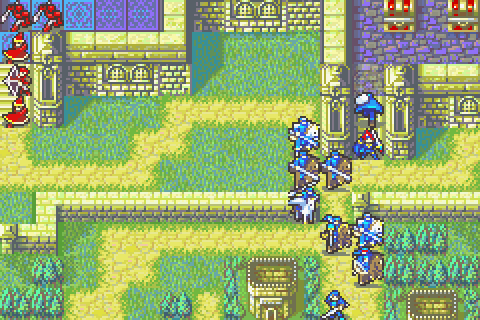
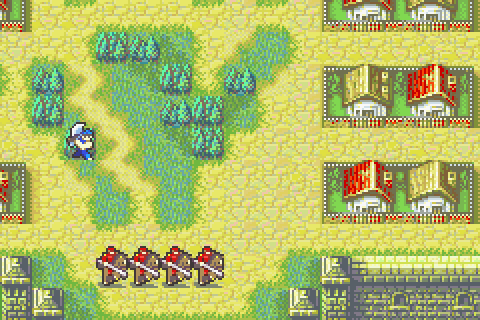
The most difficult part of the chapter is recruiting the 3 mercenaries- all of whom must be talked to individually. Zealot and Treck spawn on turn 2 deep in enemy territory. Noah spawns near Roy on turn 3. Roy can recruit any of them, Zealot can recruit the other two, and Noah can recruit Zealot.
This is where most players go wrong. Not only many players but many guides and even the game’s dialogue assumes that one will recruit Noah first and then send him to get Zealot. That’s an awful idea. Zealot and Treck are idiots and really weak and will both charge into the enemy at random. Not only will Treck (and possibly Zealot) die quickly, but Noah will be exposed to danger chasing after them and there’s no telling how long it will take to get to them as they run around.
But apparently, instead of not using a strategy that clearly doesn’t work and thinking of something better instead, this chapter’s detractors just try the same thing over and over until Treck miraculously survives or just give up and let him die. As I’ll demonstrate, there’s no chance whatsoever of Treck dying if you approach the chapter right.
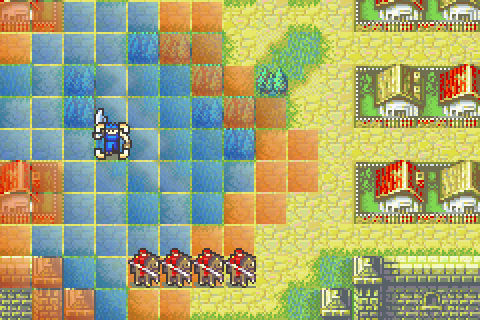
Besides recruiting both of them immediately after they spawn so they don’t do anything stupid, the key is to do something unexpected and move 100% of your force up and right together, rather than splitting them around the arena. This decreases the number of enemies moving after you for a while and also gives you maximum force with which to smash those who do approach. That’s particularly important for killing wyverns. Do that and the map is over by turn 5. From there you can just pile up treasure, go shopping, build some supports, and effortlessly crush the boss and his guard.
Speaking of shopping, I’m going to need to go a while before I can buy what I want again, so I prepared a proper shopping list and made sure I had what I needed. I used the War Room part 26 (http://forums.somethingawful.com/showthread.php?threadid=3701153&pagenumber=18#post442684349) method as usual:
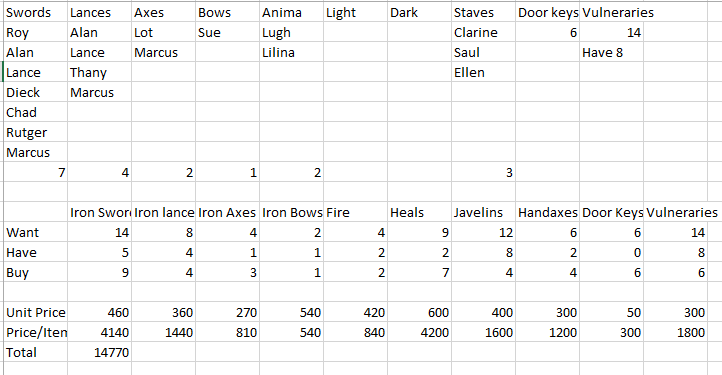
I was surprised to learn this store also sold chest keys, so of course I bought one of those too. They’re not nearly as important as in HHM max ranking where time mattered, but it’s still good to have the option. Remember that buying things hurts your funds ranking in this game. Still, it’s always wise to stay well stocked with gear.
Now for the formation, which is absolutely critical to get right:
Units Brought:
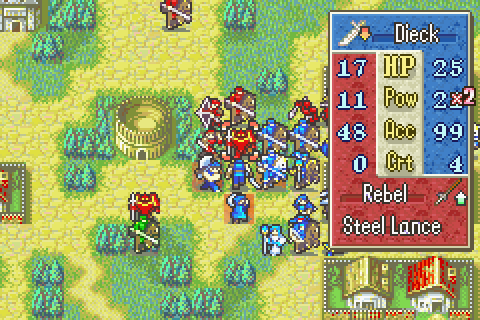
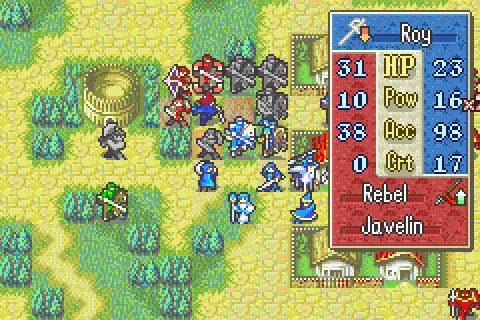
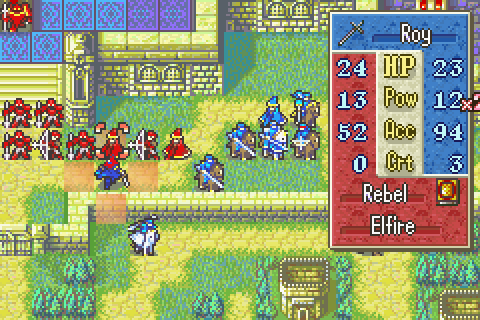
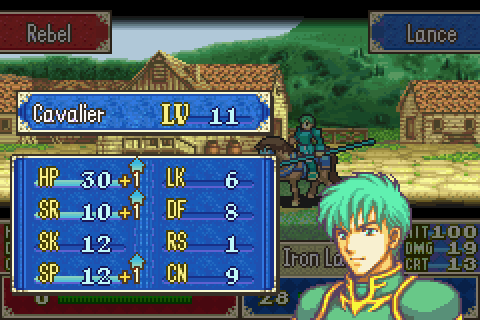
1) Roy. Required plus needed for recruiting people. As usual, he’s a sucky fighter. However, there are a lot of enemies vulnerable to his rapier here at least.
2) Zealot. Required. Marcus but slightly better. That’s not impressive. Still, he’s helpful for protecting Treck and softening a few enemies and rescue dropping.
3) Treck. Required and horrible here, he can barely fight anything on the level. Make him do the village visiting or shopping.
4) Noah. Required and barely usable here. This is just not a cavalier map. Still, he’s high enough level to not die immediately and that’s something.
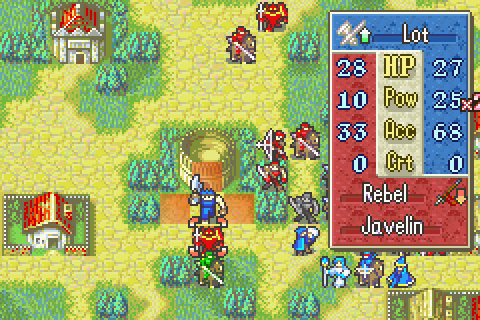
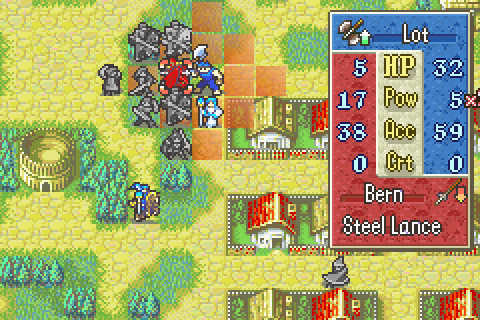
5) Lot. Lot is great here with all the knights, lance-wielding cavaliers, and wyvern riders he can help with. He’s probably the best man to intercept the south reinforcements with too.
6) Dieck. Often at a weapon triangle advantage, but has enough damage to scratch wyverns and can fight knights effectively with his armorslayer.
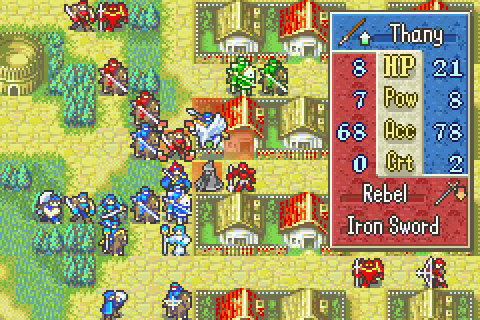
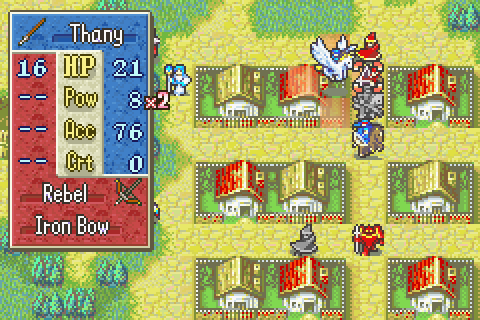
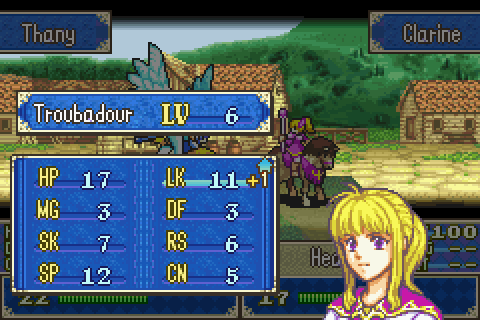
7) Thany. Continues to not be very good at fighting but VERY handy for rescue-dropping or maneuvering to finish weakened enemies in this tangled up map. Plus I need to use her more than Sue to get the Ilian route.
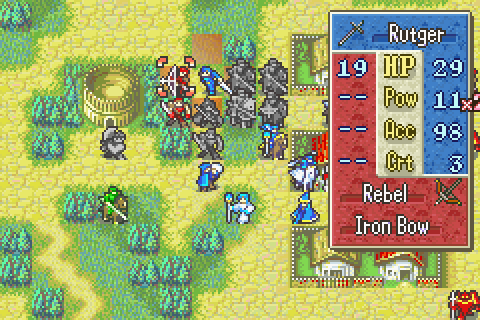
8) Rutger. Continues to be at a weapon triangle disadvantage but useful nonetheless.
9) Lance. Stationed further back than Alan because he’s less useful as usual.
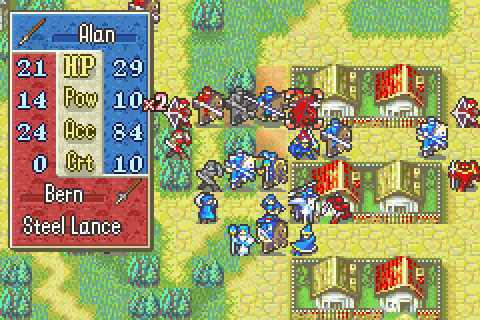
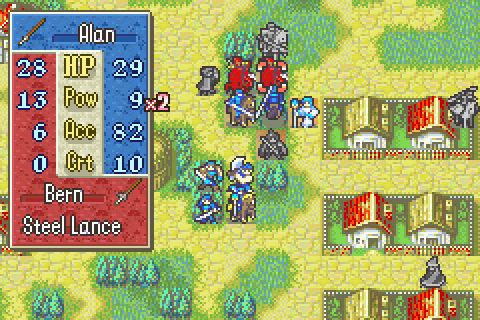
10) Alan. Despite cavaliers being none too impressive here, he remains one of my better units. He’s got some much needed maneuverability and can go toe to toe with even wyvern riders as long as he has his support bonuses.
11) Clarine. Good for rescue dropping and decent for healing, as well as still building support with Rutger and Dieck.
12) Marcus. I need an 8 move unit and he’s the only one available. He’s become terrible at this point, he can’t even double enemies to weaken them anymore. At least he can carry people.
13) Chad. Can’t really fight here against all these heavily armored lances, but needed to steal a red gem and get the top right chests.
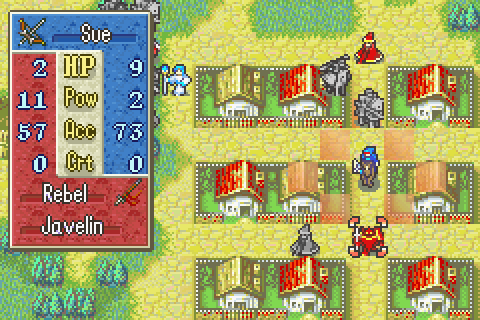
14) Sue. Surprisingly useful even at level 1 against these horrendously powerful wyverns. Plus she can rescue people and is good for one’s XP ranking.
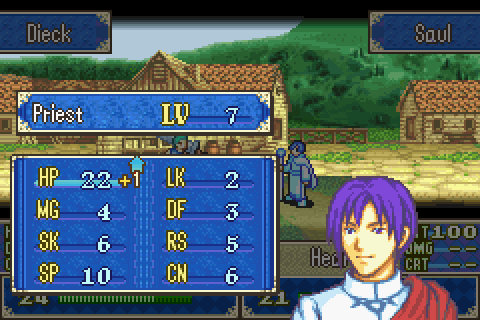
15) Saul. A second healer is necessary and he’s way better than Ellen.
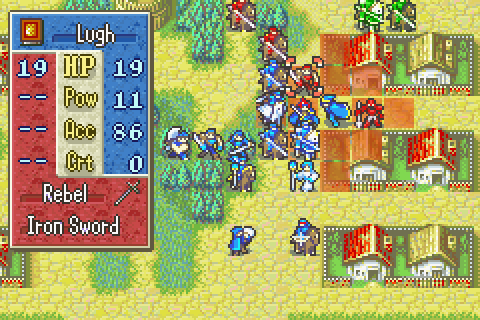
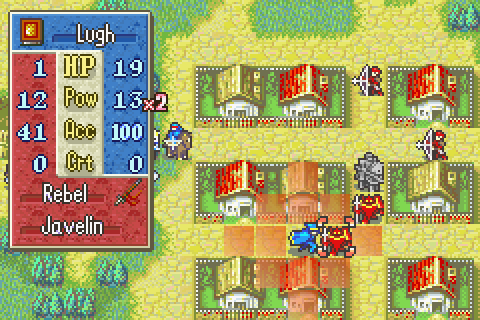
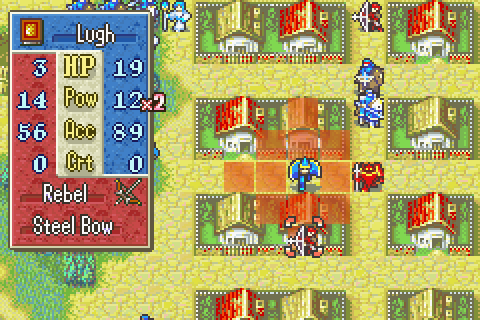
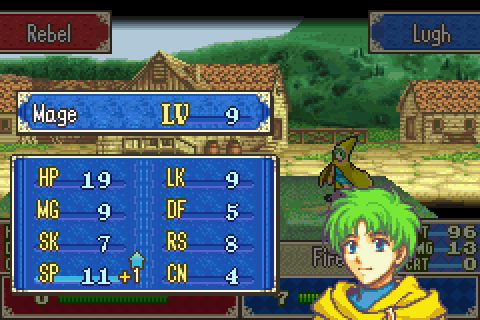
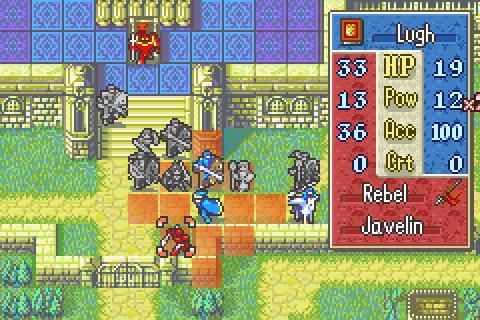
16) Lugh. Great against everything on the level, and even solid against those wyvern riders.
Notable Units Rejected:
1) Ellen. A third healer is unnecessary because the army will mostly be in one place and because there’s almost no fighting after turn 5, allowing the other healers to grind maximum XP gain anyway. Meanwhile, a very large number of fighting units are needed.
2) Dorothy. Would be decent against the wyverns but that’s it. And Sue moves faster, which is critical now.
3) That’s pretty much everyone except for the terrible units.
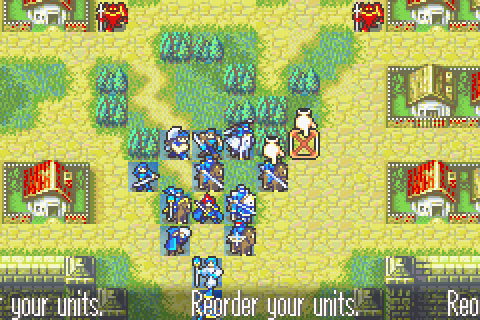
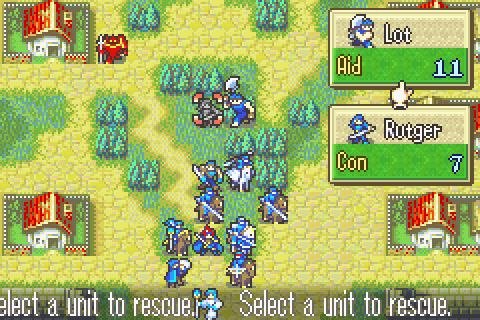
The group is positioned for maximum rescue-dropping (even by some of the infantry). That’s essential. There is no time to slog through those forests or wait for slow people to catch up; I need 100% of my forces in one place and ready to fight by turn 3 at the latest.
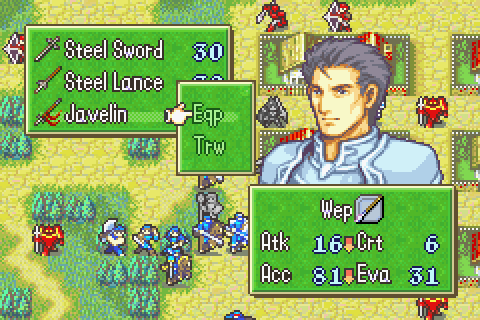
Everyone has fairly standard gear at this point.
The Characters:
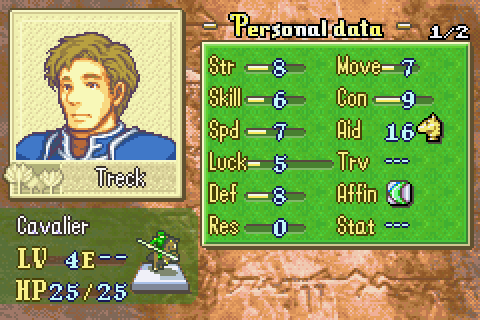
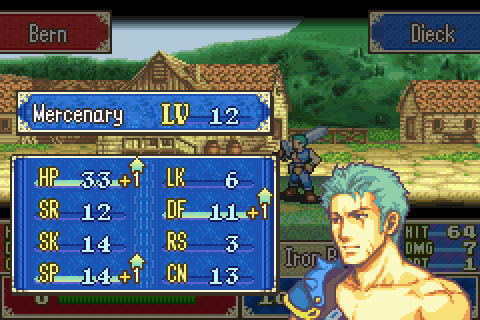
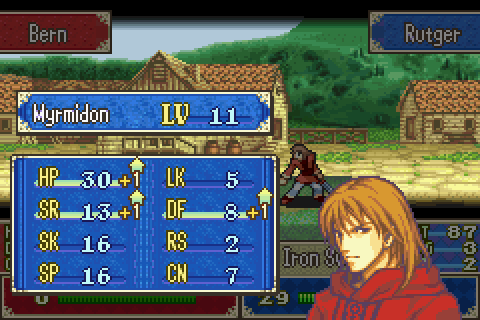
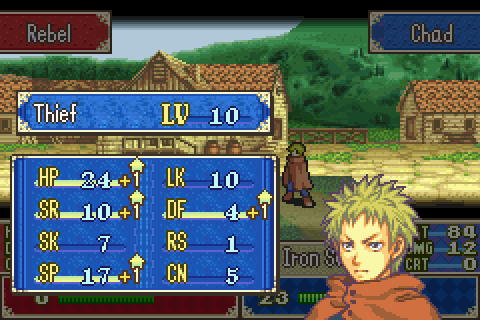
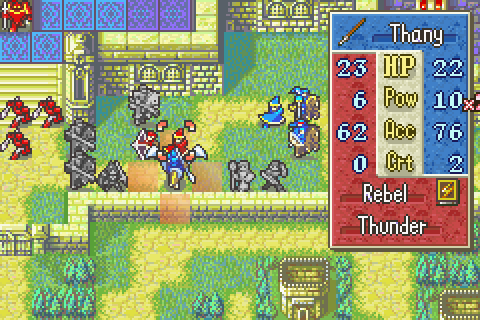
Treck is a bland Ilian mercenary. And another of the ridiculous “ So laid-back he falls asleep on the battlefield” archetype of FE characters. There’s basically nothing else to him. Boring and stupid.
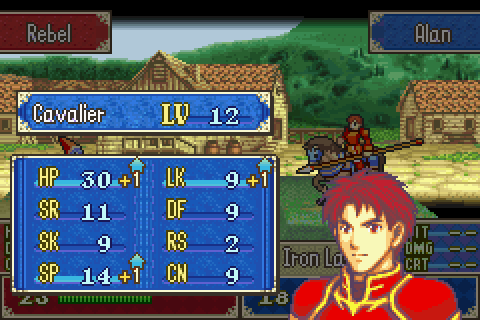
His stats are actually quite good, other than his speed. He leads in HP, Def, and Luck over the other cavaliers and does well in Str too. But he’s the slowest and that hurts. Even more importantly, he doesn’t have a great support list. In fact, he has a terrible one other than Gonzalez. Gonzalez, admittedly, could use his support bonus though. All in all, if you can get him fast enough to get going he could be a really good cavalier, but he can’t match the supports of Lance and Alan or their level lead.
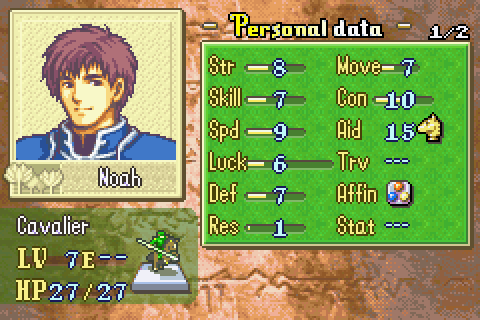
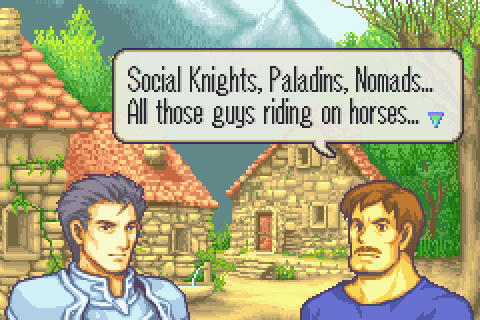
A pretty generic guy in personality, Noah is a much less stupid and lazy member of the Ilian mercenary group than Treck. He’s not terribly well disciplined and ran off in the middle of a war zone to train some random swordswoman (Fir) he saw at the arena in town because he thought she was cute. That’s… about all there is to him.
Noah is the statistically blandest and most mediocre cavalier. He’s the best at nothing and the worst only at Def, but is pretty bad in speed and str. In other words, he’s the worst. However, he joins strong enough to at least be capable of not dying immediately on this chapter and that’s something.
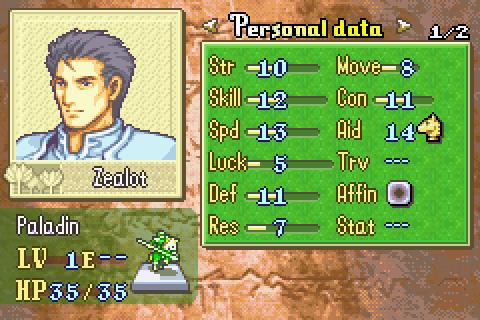
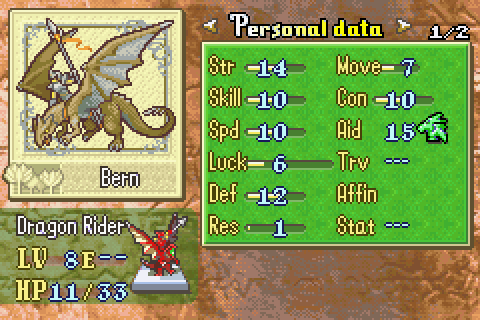
The leader of the mercenary band, Zealot is actually a big deal back in his homeland of
He’s Marcus with +2 in the stats that matter. Marcus stopped being useful several chapters ago. The game lets you bring so many people that sometimes you might as well haul him along, but he’s not very good even for helping other people get kills at this point since other units like Lance and Alan are now better at that job than him too.
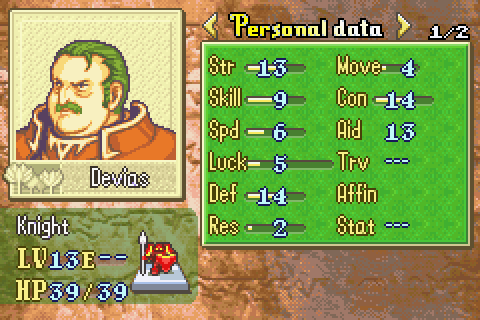
Though only a lieutenant, he was apparently one of the higher ups in the rebellion and seems to rank just below General Leygance. There’s not much to him other than being Leygance’s generic henchman.
And this amusingly wrong description.
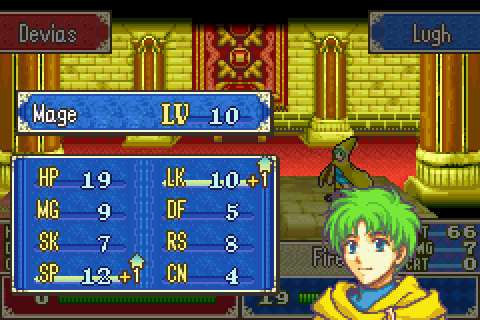
Yet another knight boss. He’s a bit stronger than his predecessors but not enough to matter. Same as them, he has garbage resistance even with the secret +5 throne bonus, and this time I have a mage who can capitalize on that.
Now this thing is actually a bit of a problem. It’s not nearly as formidable as in Blazing Sword, but even here in the prequel^(-1) it packs a punch this early in the game. Still, even with it he doesn’t have much of a crit chance and he’ll still be fighting all alone against potentially your whole army.
Playing Through:
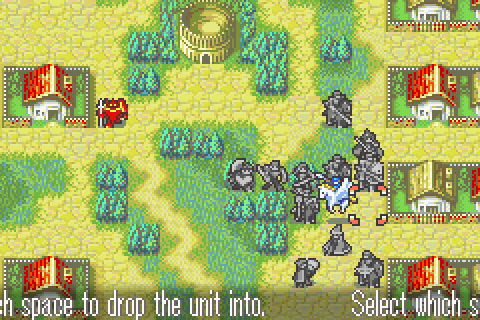
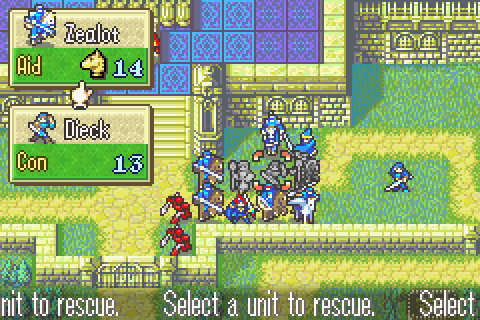
The first thing to do is move the three infantrymen in. There’s no need to fight that left knight now, so I’ll be ignoring him. And (as always) if you aren’t fighting, then you should probably be rescue-dropping for free bonus movement.
Here goes.

And Dieck drops him. Even this simple little maneuver is really valuable. Rutger is a whole 5 squares of movement ahead of where he could have gotten to without slowing the others at all. If you aren’t rescue-dropping whenever possible, you’re just throwing away free movement and positioning.
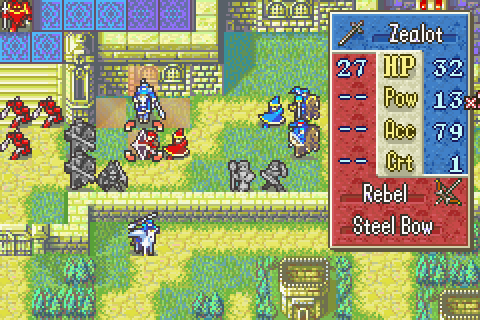
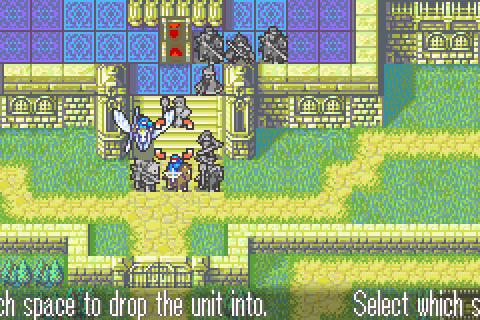
Now looking ahead, I know Zealot spawns in this square and doesn’t move on his first turn. That’s my chance to have Roy talk to him.
In order to move and talk to him, Roy needs to be here (or along the diagonal up and left from here). So I have to get Roy here this turn. He can’t move that far of course- not without being rescued. But before I can have other people carry him, I want him to help carry someone else. That’s just efficient.
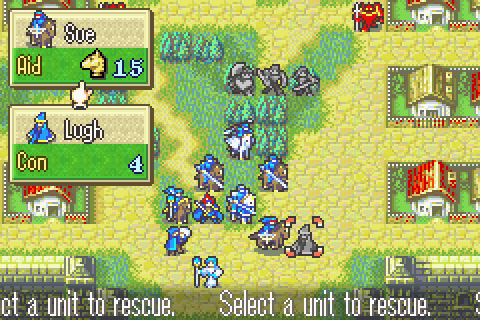
Lugh moves in so Sue can grab him.
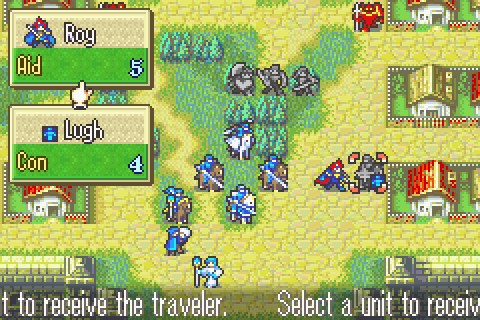
Then Roy takes and drops Lugh, simultaneously moving to a good square for Lance to pick him up from.
Which he does.
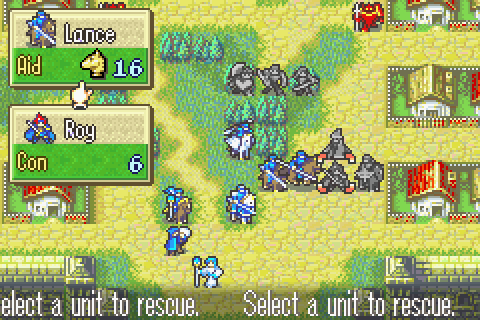
Now Marcus is actually able to drop Roy one square ahead of where he needs to be.
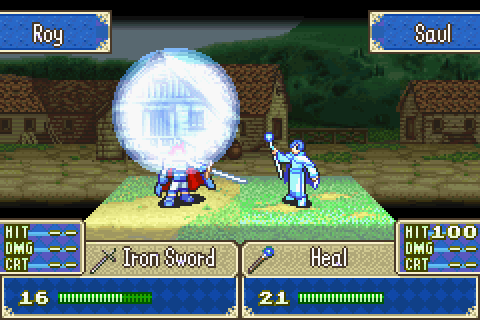
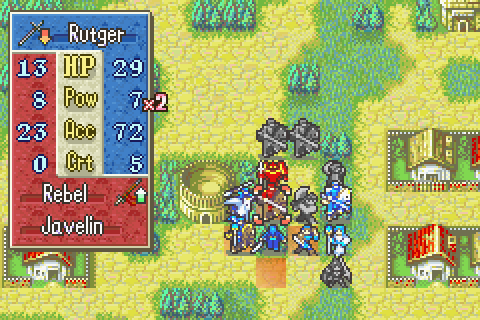
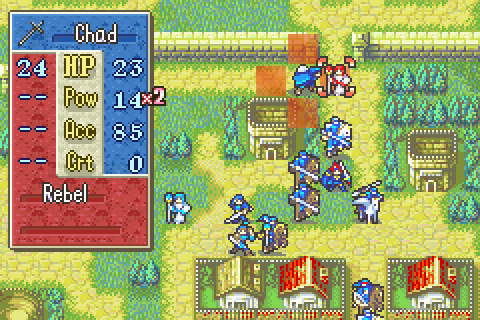
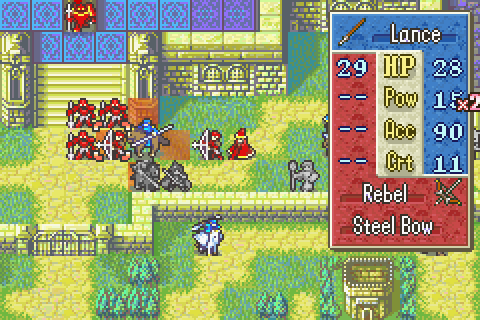
Then, with his support bonuses all set up, Alan moves in to shred this knight. I checked the numbers, and if the Knight is left with 6 HP, then Roy can actually counter and kill him with his iron sword.
Or that could happen. Works for me. It’s actually a minor inconvenience since now a mercenary could move in to block Roy whereas otherwise he’d have gone before the knight and thus had to attack Alan and been out of the way.
Pretty good background there. I don’t think they used that one in FE7.
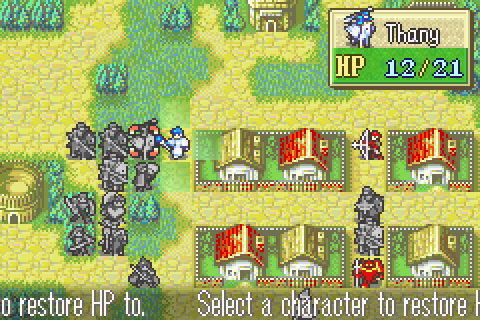
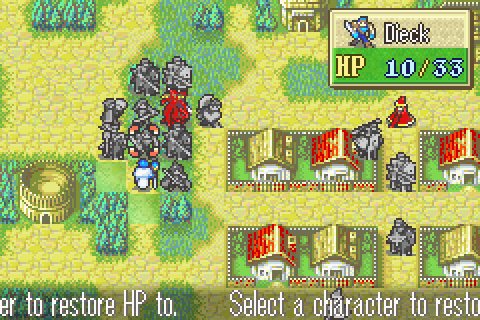
Time for yet another rescue drop, this time of Saul. I need both him and Clarine ready to heal anyone injured at any point next turn.
There’s a guy with a javelin offscreen to the right there. He’s juuuuuust out of range of Lugh, Sue, and now Saul, so he won’t move..
That’s the turn. 4 rescue drops got me into a great position and the enemy can’t do much.

Zealot and Treck pop up but don’t do anything.
He really should get in some serious trouble for just running off with some girl to train her at the arena.
This chapter is full of people talking about arenas. Noah gives Fir a complete explanation of why you should be ready to press B at any time while using one. I won’t be using it of course, since that would defeat the purpose of the run.
For some reason Zealot just says this is odd, not unacceptable and inappropriate while they’re surrounded by enemy forces. He does have to deal with Treck all day. Maybe it seems like a small indiscretion compared to dozing off mid-battle.
My turn. First thing to do is have Lugh weaken the mercenary in the way. He also blocks off this troubleseome javelin soldier at the same time.
Just enough damage for Thany to finish him. There aren’t many soft targets around.
Roy needs to be at full health to tank the kind of hit I want him to.
He goes to talk to Zealot as planned.
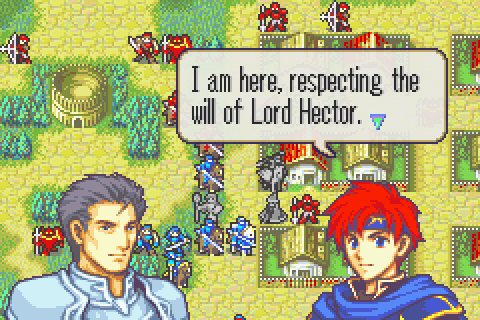
Respecting may not be the best translation word choice.
Zealot apparently knew Hector and thought he was pretty awesome. This might also explain why they’re staying loyal even though he’s dead and the mission they were hired for is no longer relevant.
Is someone going to jump up and say that Ilian mercenaries never betray their employers? It’s been two minutes since anyone mentioned that. I might forget.
He readies his javelin as he moves to talk to Treck and then block the multiple ranged enemies on the right.
Weren’t you already?
He’ll be able to soften these guys for someone else in a few turns.
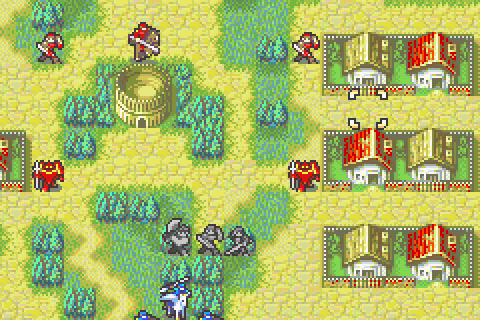
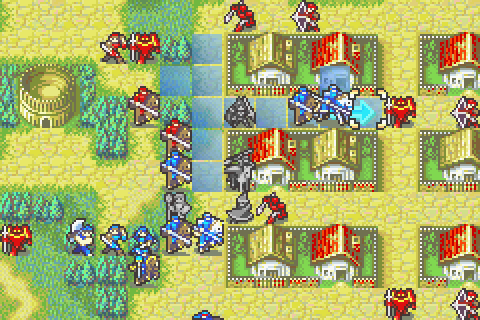
So now here’s the situation with the enemy. There’s quite a few of them but only one wyvern rider since I didn’t advance anyone on the left part of the map. The wyvern and the mage are the big problems.
And here’s my position now that I can actually choose who to use for the second half of the turn. I need those cavaliers dead and a defensive line in place. And I’ve got 10 guys to do that with. Not a problem.
They’re pretty darned tough.
The terrain makes them hard to attack too.
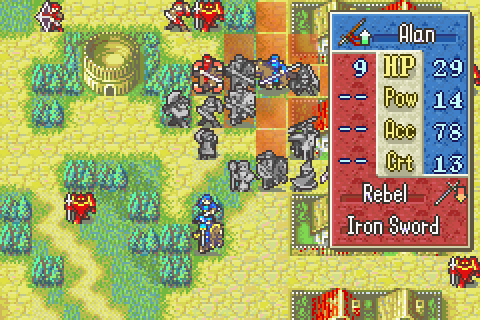
If my Roy was weaker, I’d need to move Alan up 1 instead to prevent ranged attacks against Roy.
Now here I made a mistake actually, having Rutger make Thany equip her javelin. I thought that meant the soldier would be forced to attack one of them and get countered and injured. What I overlooked for a moment was that the solider could now move 1 up onto the village, attacking Rutger from there.
If your Roy isn’t tough, have Treck rescue him and run. My Roy is pretty high level and strong, so he can stay right there and Treck can instead visit this village.
So here’s the final turn 2 setup.

Alan scores a critical against the attacking mage. That’s nice, the mage could have been a threat if it dodged.
Well lucky me! Roy crits the attacking wyvern and barely damages it.
Solid level though. And that’s the enemy turn.
Noah and Fir are chatting at the arena. Noah is really not fast on the uptake here.
I’m really not sure what the point of this whole scene is. I mean, it sets up that Noah recruits her on chapter 9 I guess, but does that itself really add anything to the game?
There’s a whole battle going on now I could use the two of you in. It’s happening right next to the arena. You can hear the blood splattering from where you’re standing.
Darn.
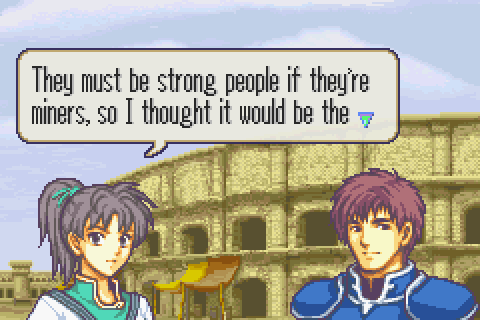
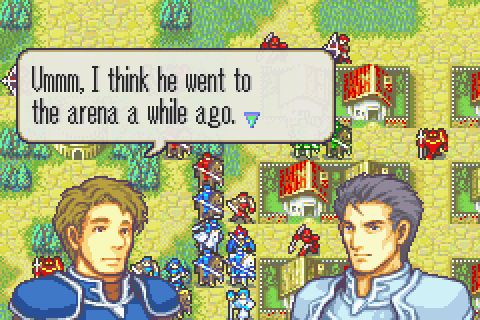
She’s… assuming that because miners are strong, the miners in the western isles will be good opponents to practice swordfighting with.
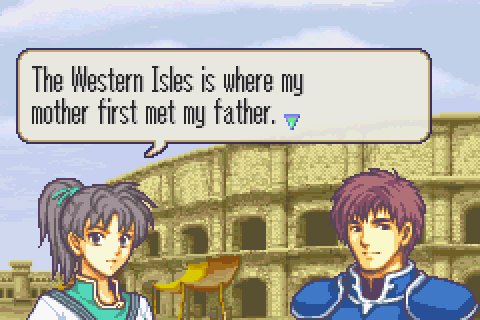
And here’s a less stupid reason. Actually, this arena right here might be the second place they met. And it might also be the one Hector often sneaked out to as a boy.

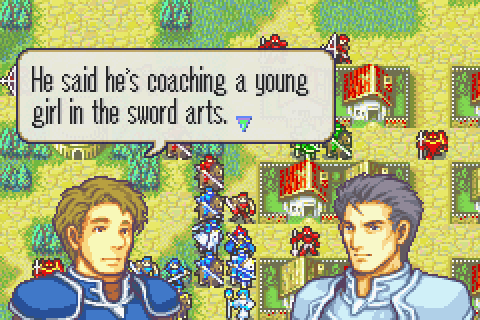
Noah now spends a while trying to tell us that she’s actually a deep and developed character. Unlike both her parents.
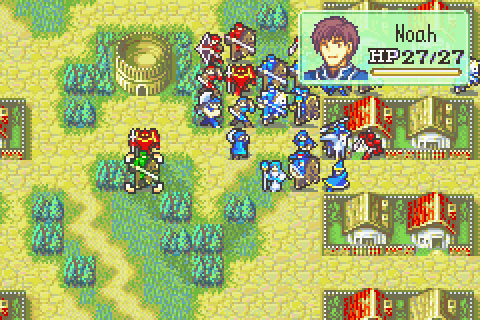
And then he finally appears on the map. I can’t recruit him immediately, but who cares? He’s in no danger at all.
So things are a bit of a mess at the start of turn 3 at first glance. But as long as I can kill that wyvern, it’s really no trouble at all.
Dieck easily kills a knight.
Lot takes down the other.

Since he’s not as strong as Alan, Lance kills the soldier to open the space near the wyvern.
Not bad I guess. He’s really slow.
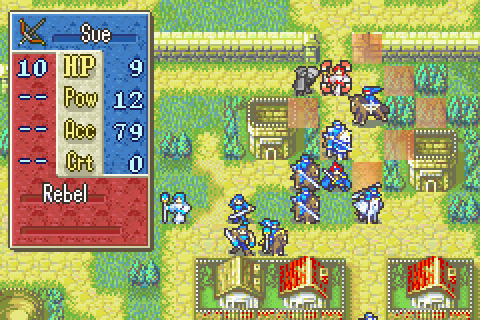
Even Alan, fully supported, has trouble damaging these monsters, but this should weaken it enough for someone else to-
Darn, it dodged. Here are the stats on the thing. It has as much Def as knights, more HP, more str, no weakness but bows, and amazing speed. As you can see, it’s every bit as strong as the ones fought on New Resolve, which were a serious problem there for a much stronger party (http://forums.somethingawful.com/showthread.php?threadid=3701153&userid=0&perpage=40&pagenumber=13#post442494526).
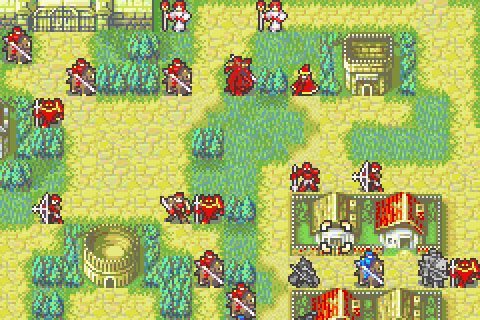
Fortunately there are only 3 of these and they don’t work together well. Still, each one of them fights better than a moving boss at this point in the game and the terrain favors them.
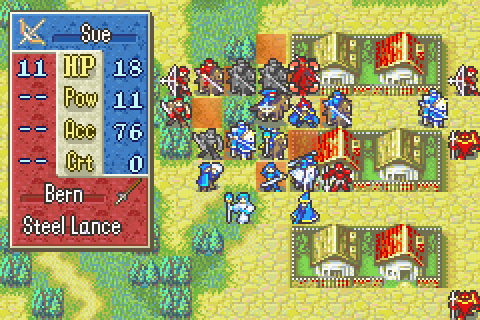
So Sue has a use! Her triple damage iron bow allows her to land respectable hits on wyverns.

Wow! Keep this up and I might actually make you part of the team!
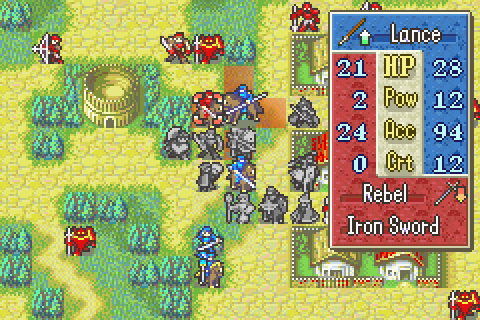
The Rapier is useful taking out a cavalier from full. While supported of course.
That final mercenary on a forest may be impossible to kill, but it’s not a problem since the rest of the enemy wave was wiped out. The chapter is in the bag except for one final fight with 2 wyverns.
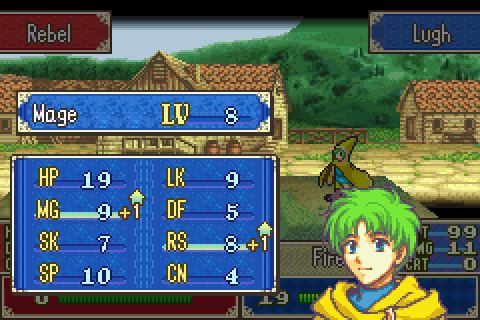
Lugh finishes off the soldier. He’ll be fighting many of the enemies in the village cluster. Pretty nice level.
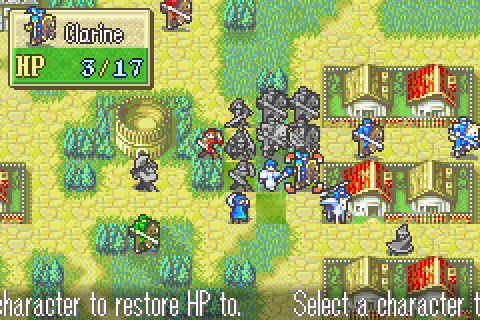
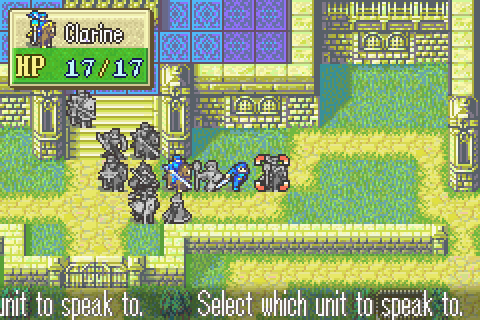
Clarine took a javelin hit before, time to do something about that.
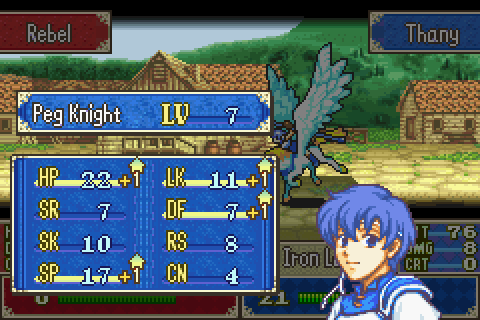
For every level Sue gets, I need to make sure Thany gets one too.
It worked! Now to heal her too. Noah is a loose cannon at this point, but at least he can’t hurt himself immediately.
Well isn’t that nice of him; he moved on in where I can recruit him.
Treck can’t recruit him because no one likes Treck, so he heads off to start snagging the left villages and then go to the vendor

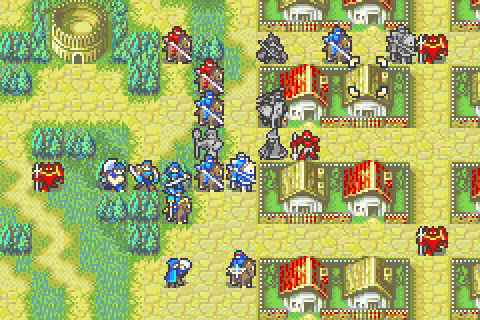
Here come the other wyverns. For now I just need to clear all these other enemies out so I can focus on them alone.
Lugh continues to fight the right enemies, as does Zealot, who’s careful not to kill any.
Roy recruits Noah.
And now some nonsense begins. See, the game assumes you’d play foolishly and recruit him before Zealot. So he talks like he’s joining up without Zealot knowing what’s going on.

So we get this absurdity when Roy already talked to Zealot and Zealot joined up.
You know what else prevents you from acting quickly in trouble? Running off on your own to teach some random girl how to fight in the arena while the battle begins.
Well he’s as useless as Treck right now, so he’s going to start snagging villages.
These things are so hard to kill…
Marcus has to join in on this one…
… so that Dieck doesn’t need to use 2 armorslayer charges, just one.
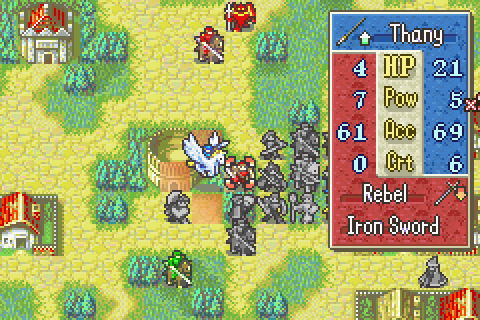
Thany is here as bait. See the gem wyvern rider doesn’t move unless someone goes in his range, which Thany is now in.
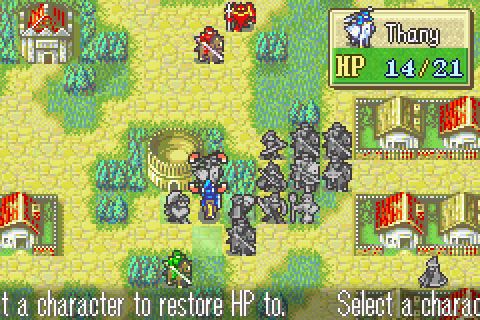
This was not unforeseen, but is a problem. She can’t use an iron lance without being slowed by 4. Oh well, it did its job while it lasted.
My turn, Lugh keeps fighting. Sue has joined in against the few remaining enemies, which means neither she nor Lugh can help with the wyverns. Surely the other 15 or whatever units can take on just 2 wyvern riders in the open, right?
Could be handy. I’ve been saving Rutger’s first one pretty carefully.
So here’s the situation. It’s 11 vs 2 on the left, but that’s barely an even fight against wyvern riders. On the right I want to train Sue but she can’t take another hit.
Thany kills this archer instead.
Well the Def is nice.
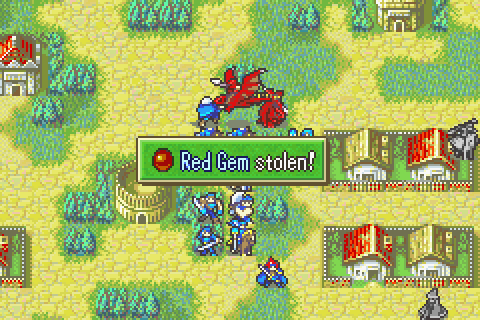
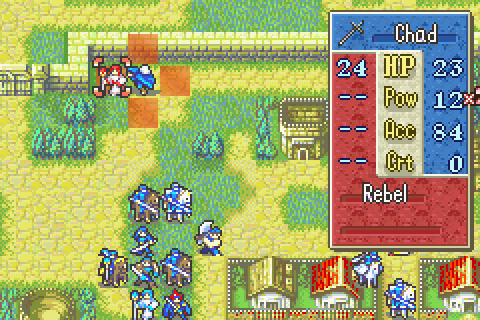
Chad steals the red gem.

Marcus is totally ineffective and gets a terrible level.
Everyone else keeps attacking.
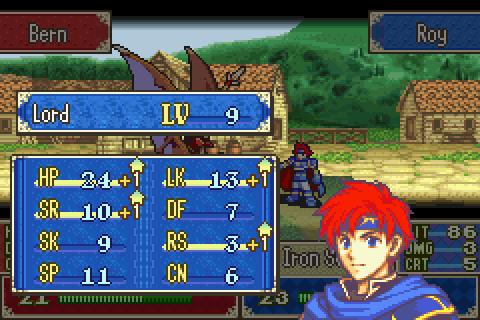
Nice! This is actually a really good Dieck all in all. Significant plusses to speed and Def.
The chapter was so easy that I decide to just take a risk here in hopes of getting some XP for Sue. It’s only turn 5 or something.
Wow, that paid off great. Sue is starting to look really good with those Str plusses.
Ultimately it comes down to this, Lot vs the wyvern rider (with an iron axe, not this handaxe).
And he double misses. Darn. Better get healing so no one dies to the wyvern’s javelin.
Well that’s a terrible level.
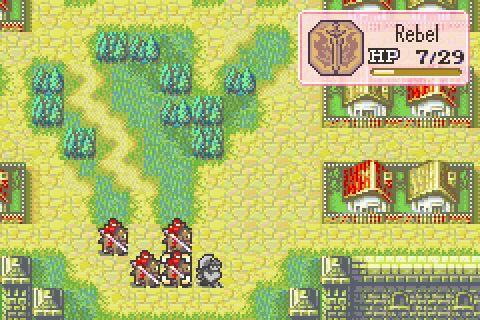
So as turn 5 ends, you can see the enemy army is gone. Of those 5, one is the boss and two are priests.
The last wyvern went before the priests, so it suicided before they could use their Physic staves on it.
Excellent! That sure makes up for Saul.
More village visits.
Chad runs up and kills one of the Physic priests.
Nice.
Lugh needs to rejoin the group.
With the fighting done, Zealot joins in on visiting villages.
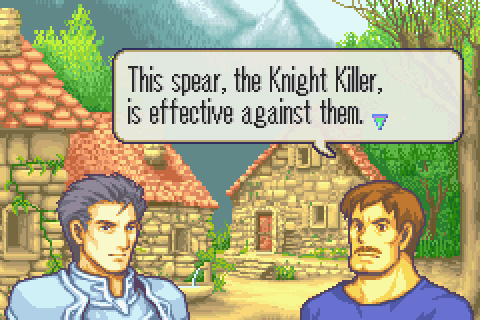
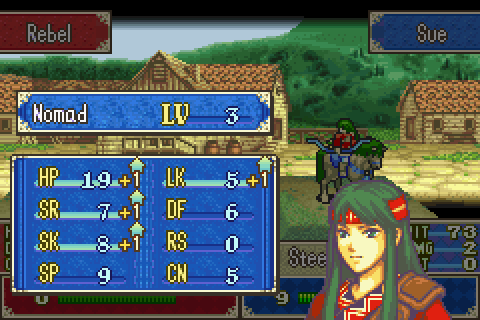
Wrong. It’s not effective against nomads. Still a darned good weapon. Waaay better than in FE7

Treck gets the Torch from his first village.
Now every single coming cavalier has a lance, so Lot can handle them alone. But he’ll need Marcus’s less damaged iron axe.
Time to part ways.
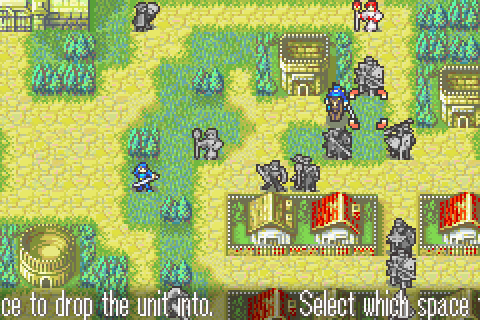
Roy can’t keep up, so the others start hauling him around. I’ll be doing the same for several other infantry units on and off whenever they fall behind.
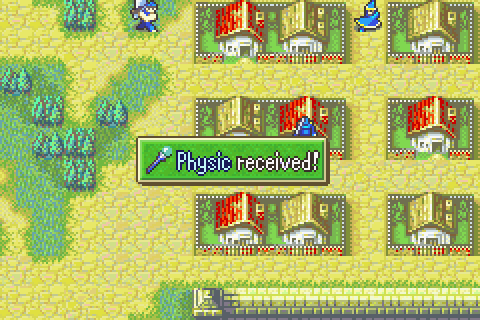
Now this is treasure! I don’t have anyone who can use it effectively yet, but Physic is a very handy tool to use later. Those 2 priests on this chapter can really be a nuisance with theirs.
Speaking of which, Chad kills the next one.
He missed, so Sue finishes it.
And the rest of the group just pushes through. Now we’re over the line so the reinforcements should appear soon.
Sure enough.
Chad opens the door.
A very handy item in this game.
Meanwhile Noah gets the first promotion item.
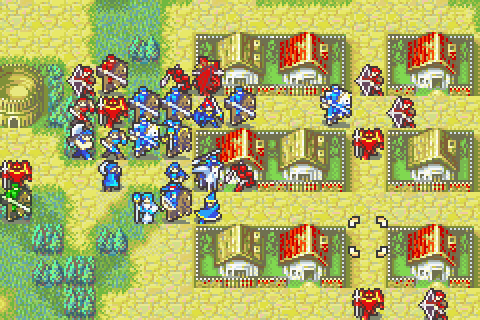
So as turn 8 finishes, the group is in position to take down the reinforcements.
Alan gets a nice level while being attacked by one of them
Chad gets another fun item. They give you all the cool stuff on this chapter.
And that’s the last village at last.
This is the ideal spot for Lot to fight the cavaliers from.
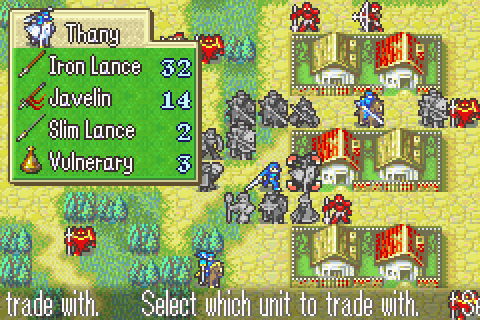
And Treck goes to the store for tomes, vulneraries, and the like.
The enemy is poorly positioned and we’re ready to crush most of them.
Lance and Alan wall out the remaining enemies while Zealot weakens this one.
And Thany weakens this one. Now Lugh and Sue can finish them.
Well that’s pretty bad. Oh well.
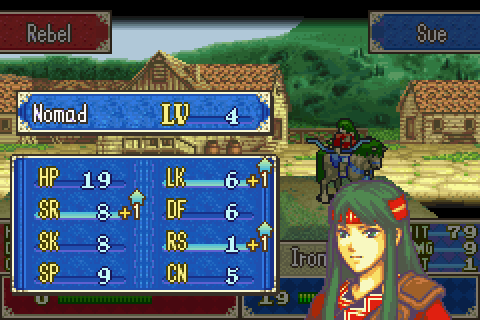
That makes up for it. Wow she’s packing a lot of Str now.
Even lance finally gets a good level!
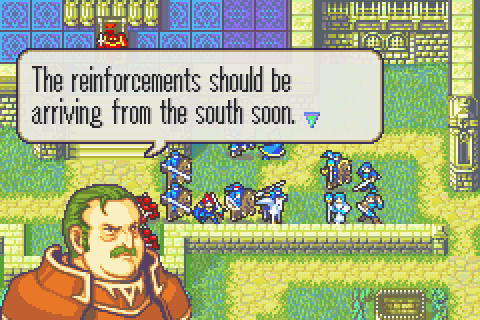
This chapter is really nice. They warn you about reinforcements coming from the south and everything.

You’ll be shocked to find we could kill you before they even arrive if we wanted.
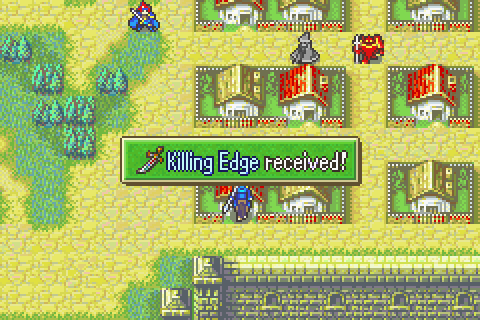
Chad gets the last chest. If rapiers weren't bad in this game, this would be pretty great treasure.
I need Dieck for this job, so Zealot carries him to the front.
The rest of the enemy are easily dispatched.
Rutger stands by Clarine for more support.
And it’s unlocked at last.
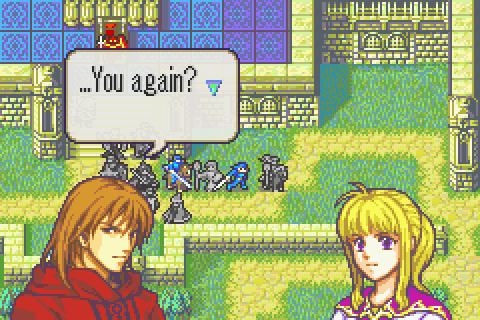
Well that’s unexpe-

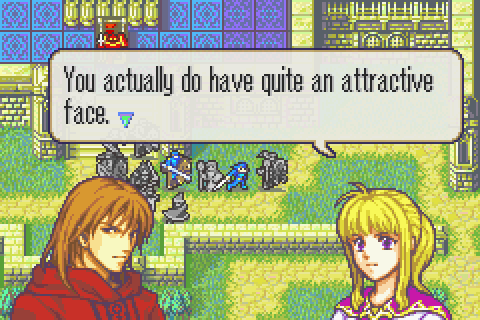
And then of course she immediately turns it into a string of remarks about how of course she and her brother are better than him in every way but she, with her tremendous skills, could make even a lowly commoner like him good looking and so on. Ugh.
Rutger is very good at dealing with her.
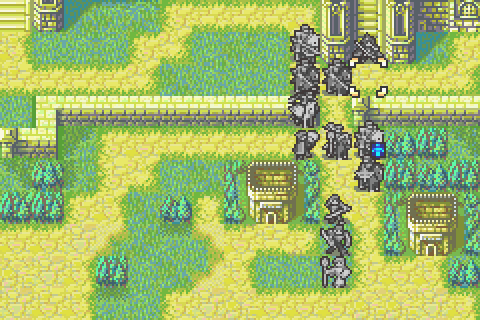
The southern reinforcements appear!
And they don’t even get to move on the enemy turn! The game really plays nice this chapter and is unimpeachably fair. If you lose this map, it’s because your strategy wasn’t good enough.
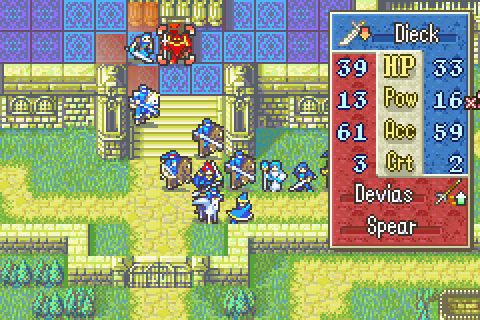
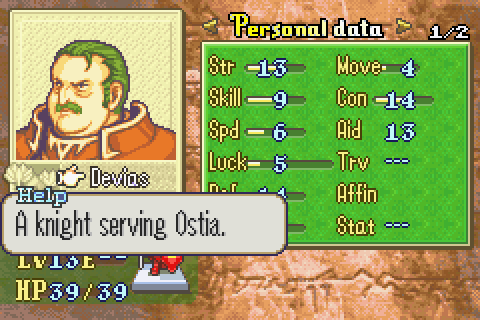
With his throne, even Devias can be hard to kill.
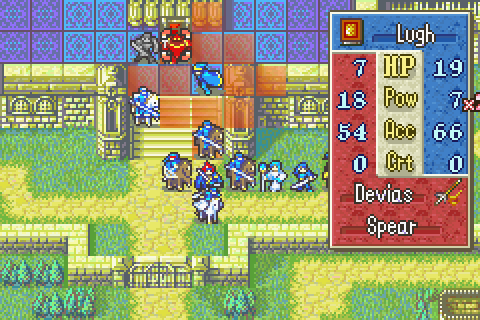
Dieck actually managed to double hit, so Lugh can now finish Devias off.
Too late!
Meh.
This is a bad Clarine. And that’s saying a lot.
Dieck is dropped to continue building supports. I’m not going to finish the level for one more turn since I want to finish shopping and have Lot kill the last enemies.

He attacks and gets another great level.
They’re all weakened, so one more turn will suffice.
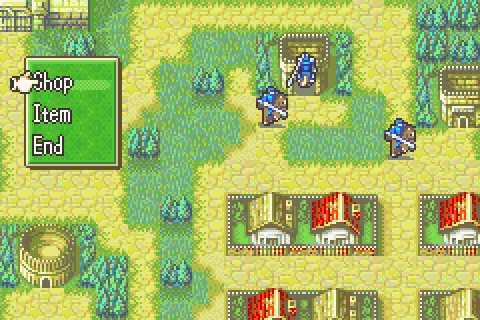
Marcus and the rest finish shopping.
On the enemy turn, Lot gets a horrible level.
And on my turn he kills the lucky last one.
So that’s that, I win on turn 13.

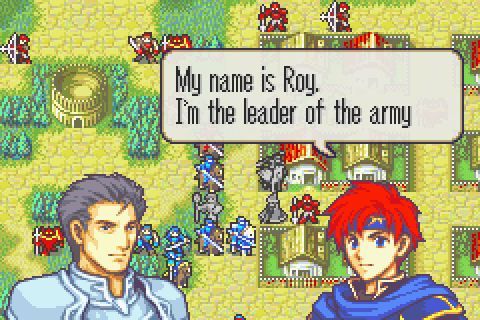
Now on to the chapter where important stuff happens for the first time since maybe 3.
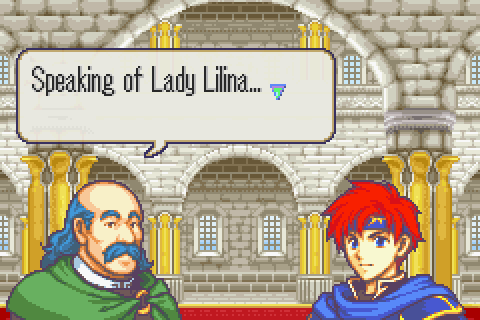
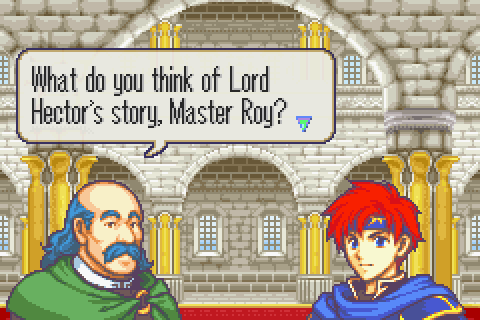
You… do realize that has nothing to do with Lilina, right?
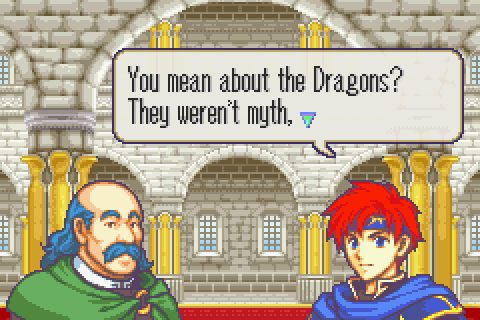
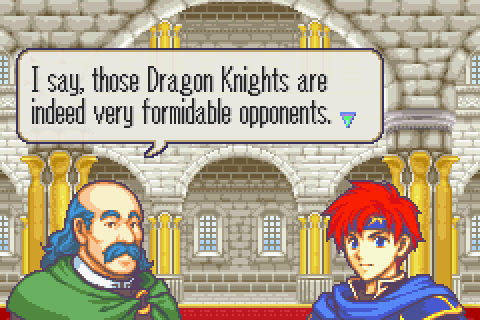
Why in the world would anyone have thought they were myth? There’s got to be so much evidence all over.
I guess we’ll have to take your word for it.
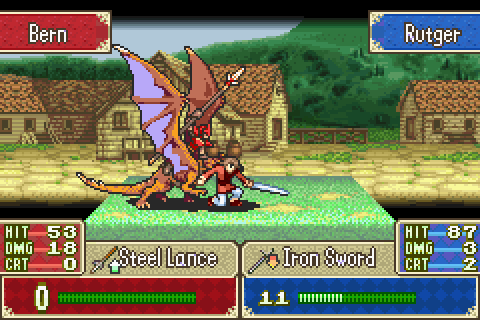
QED dragons.
Whoah. Either Merlinus is right about something or the writers thought wyvern riders were extremely weak.
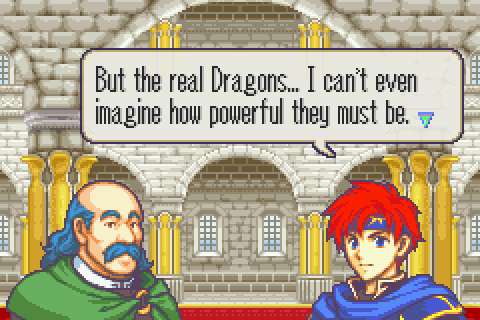
Actually… not that much worse. I mean they hit harder but they don’t fly around and aren’t anywhere near as fast.
Why is Roy so ignorant?
Well that’s that. I hope I’ve demonstrated that far from what people say about this chapter, it’s actually really easy if you take a good approach. Heck it’s like a bonus level full of dozens of great items and all the time you could want to buy absolutely anything.
Total Restarts: 2
Turn Surplus: -12 (Scored 7 turns there. Could have had more, but this let me finish shopping and kill a few reinforcements)
Things I Regret missing: A couple of uses of Marcus’s silver lance on Rude, a Chapter 5 nomad Marcus had to kill