Part 23: Fall of Macedonia, Part 1
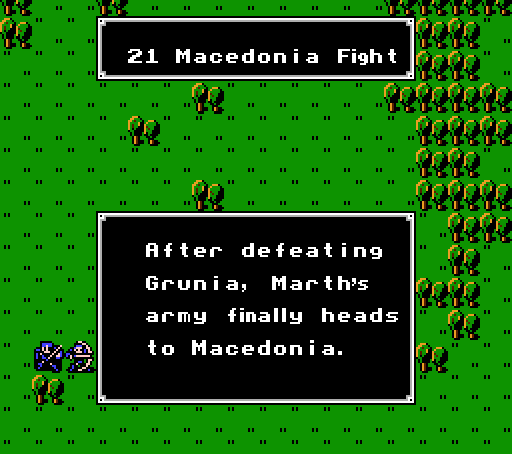
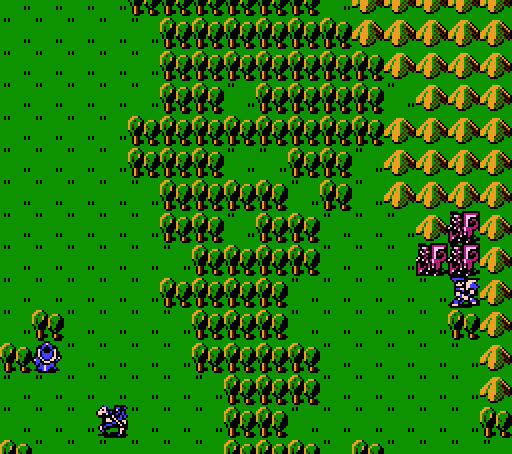
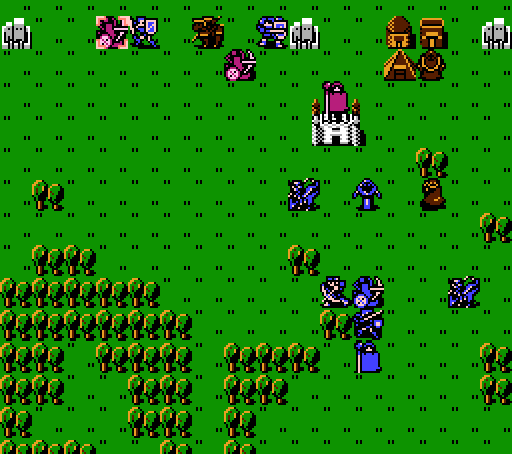
Macedonia's Dragon Knights are waiting. It's said that countless reinforcements are waiting inside the fortresses. Will Marth's army break through them?
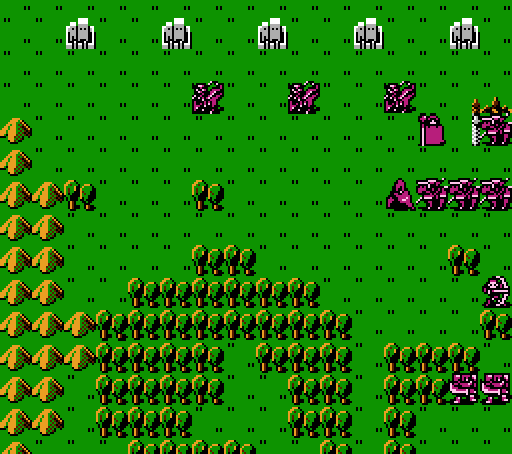
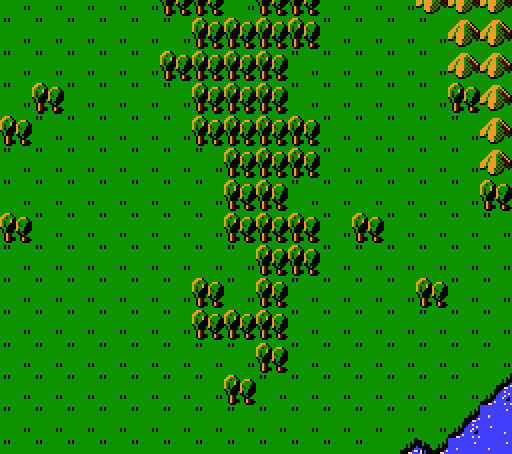
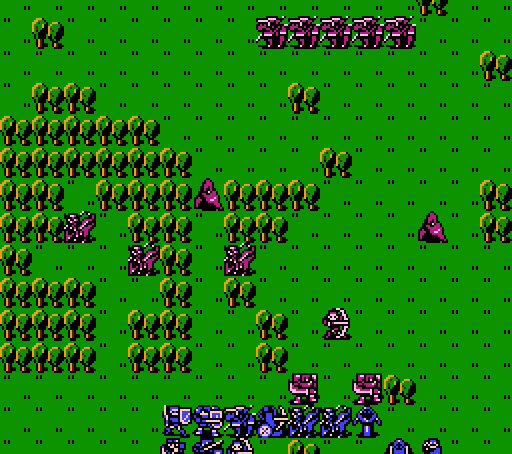
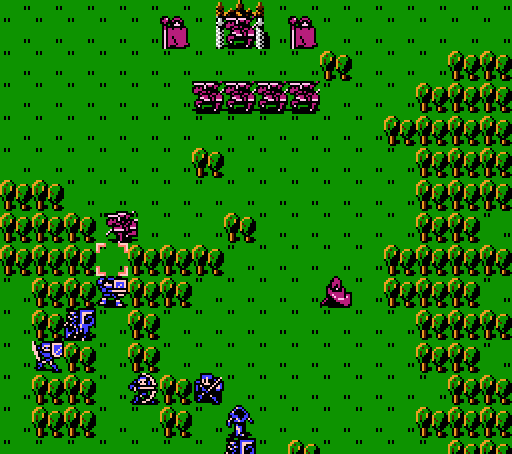
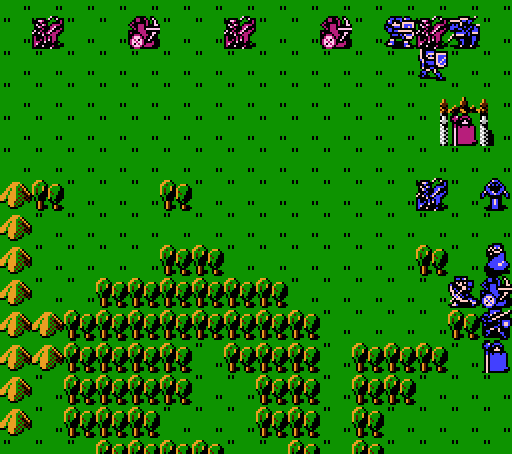
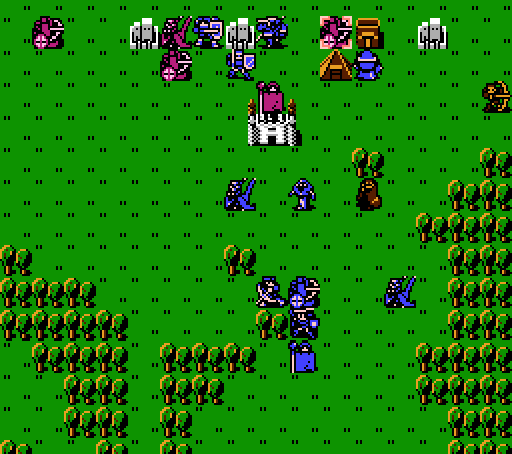
Lots of forts up north for reinforcements, big crowd of enemies in the middle staggered to hit us all at once. This battle could require some actual strategy, but it's not too difficult. The Generals and Paladins all have silver weapons, as does the Sniper, but the Dragon Knights mostly have Javelins.
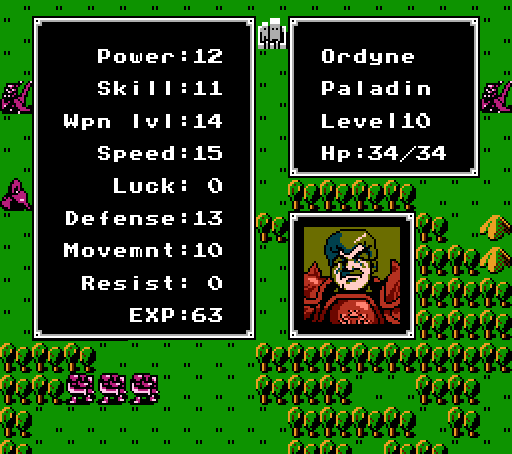
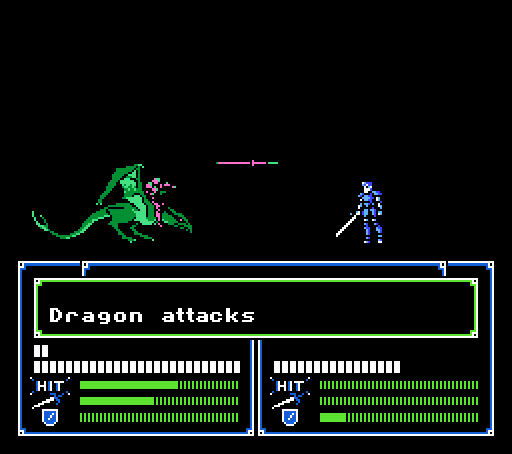
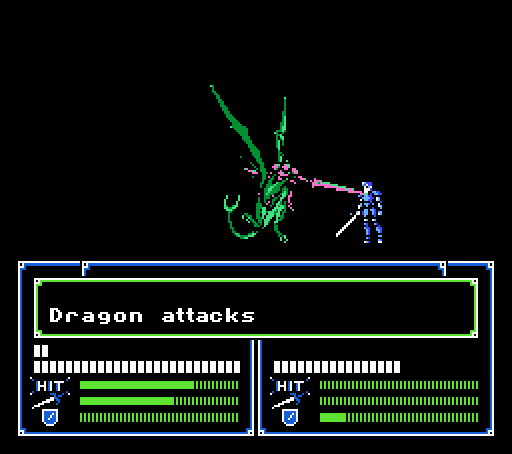
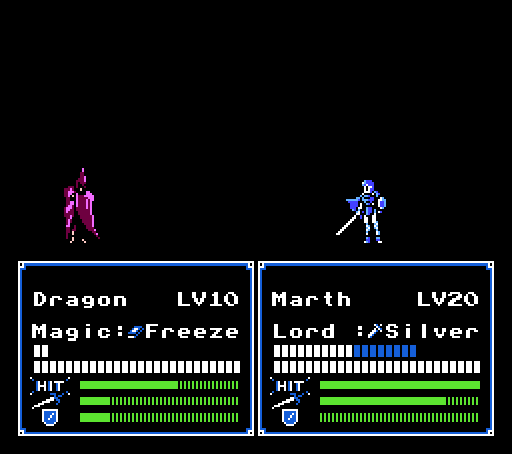
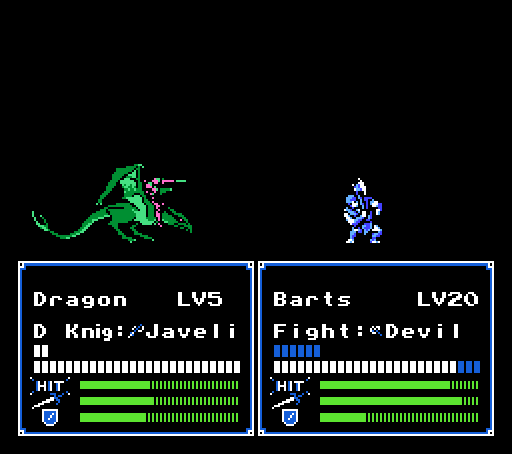
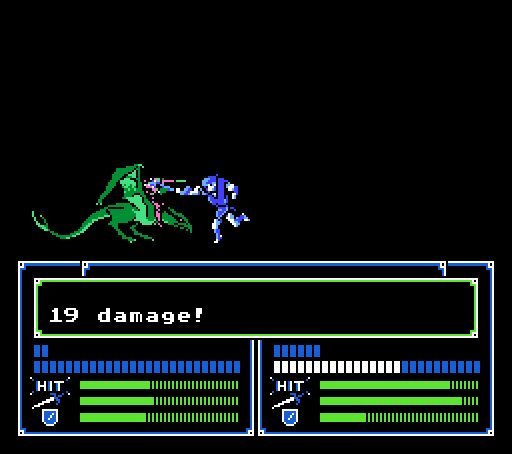
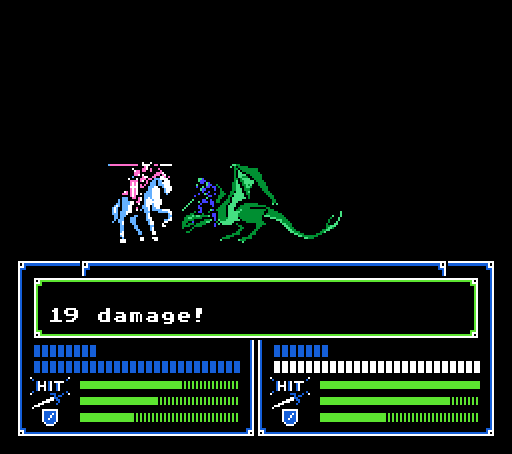
Ordyne is another filler boss, and only has a Javelin (only 19 Attack). We have several units that can double-attack and kill him in one turn at this point.
Turn 1:
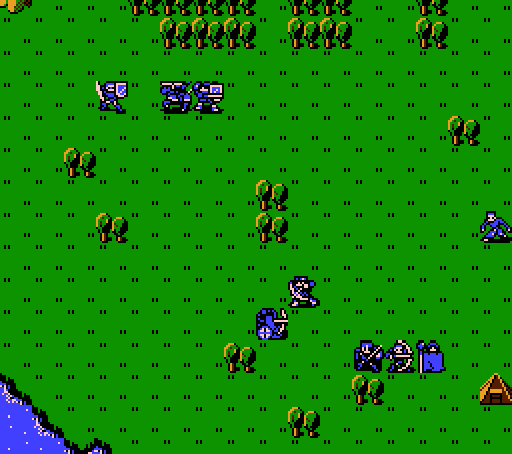
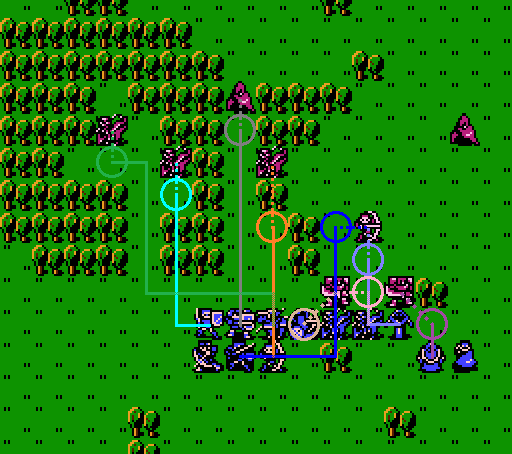
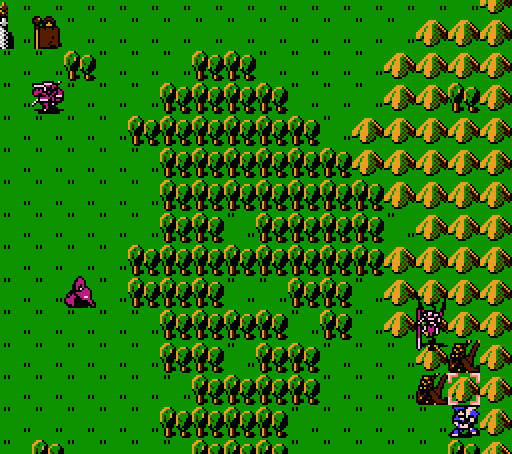
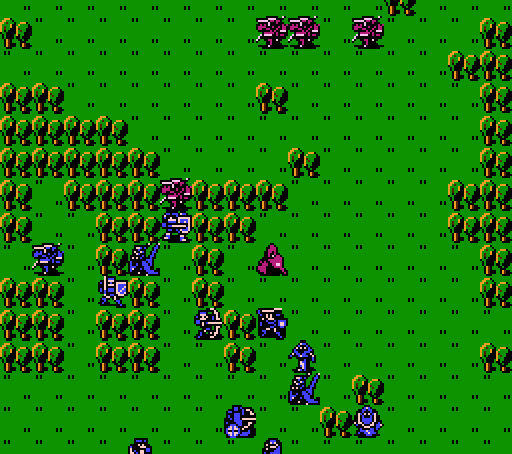
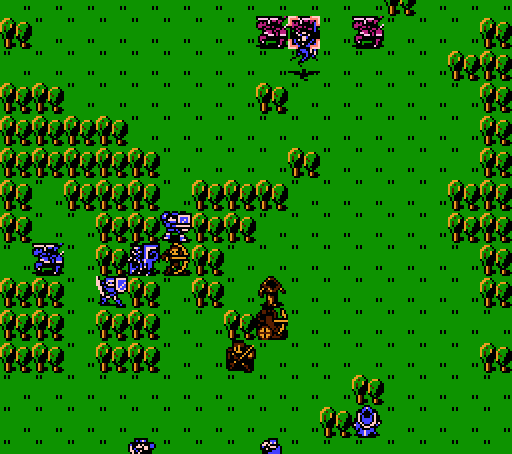
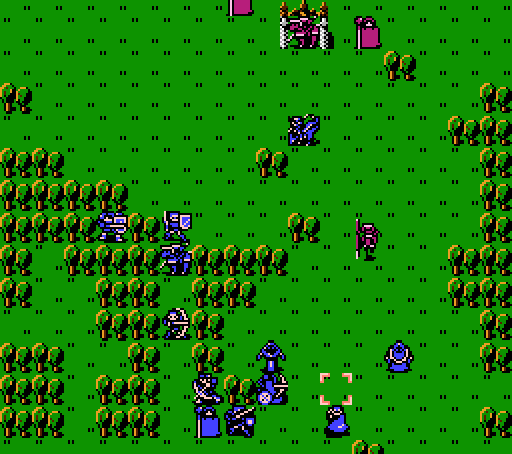
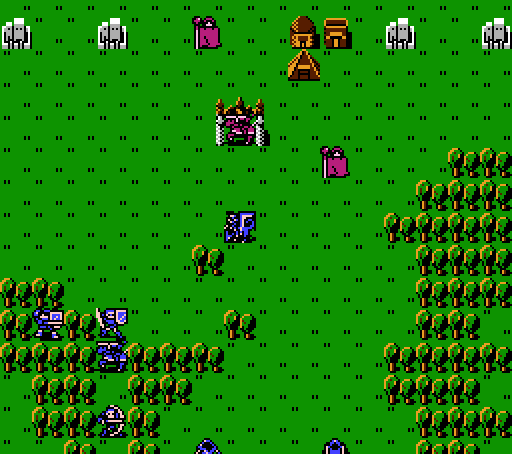
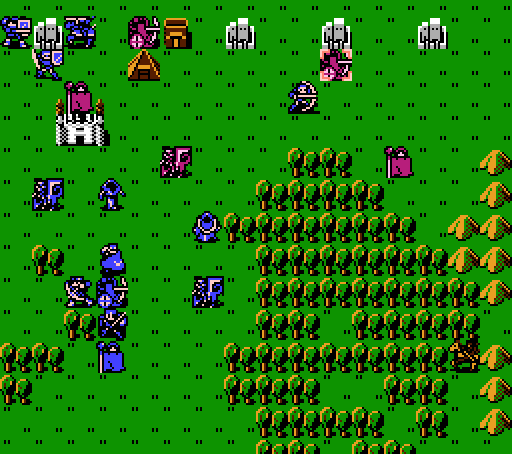
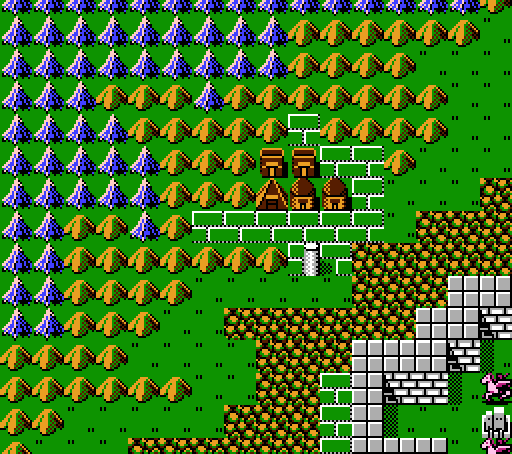
We start off a bit scattered in the southern end of the map. The best strategy here is actually to form up a defensive line and let the enemy come to us at first.
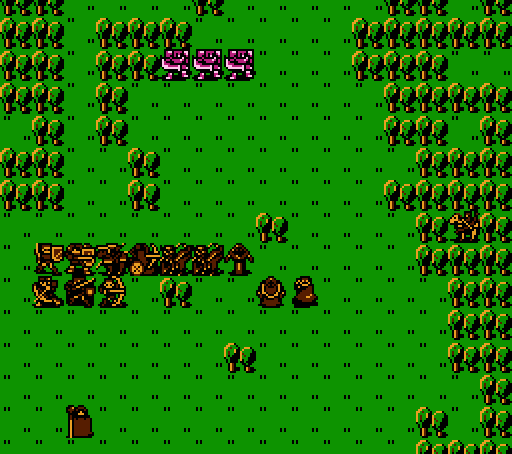
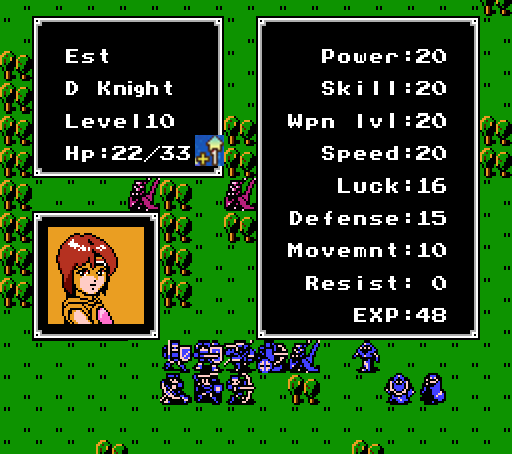
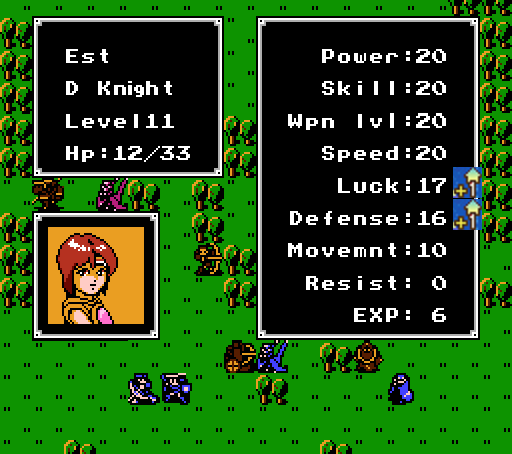
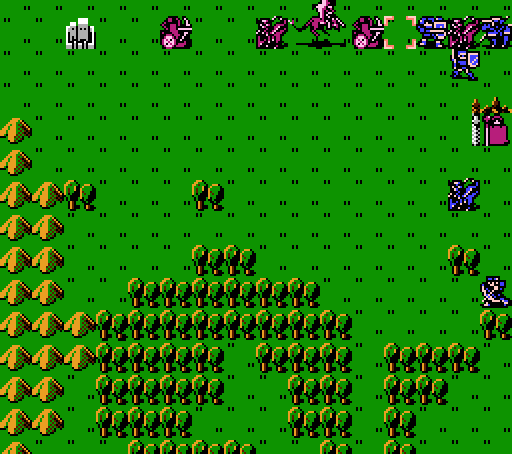
To that end, Chainy transforms into Est and most everyone forms up.
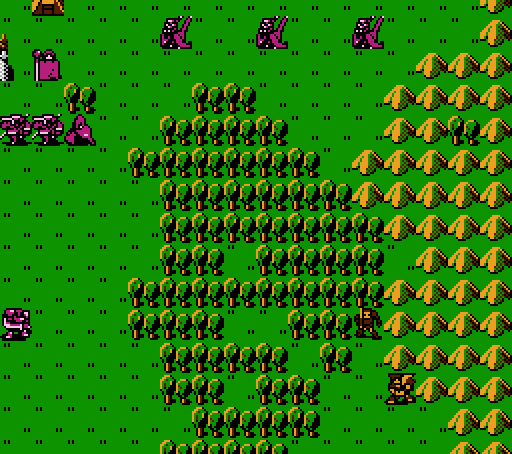
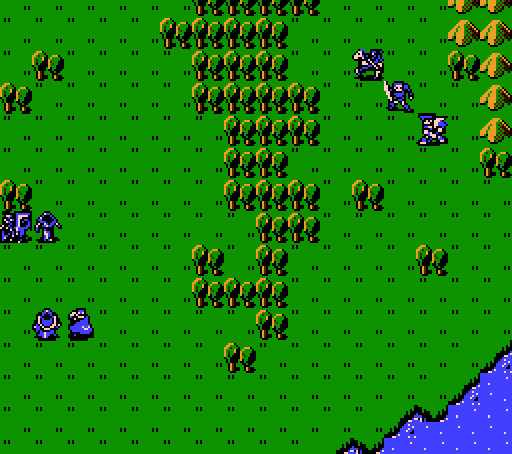
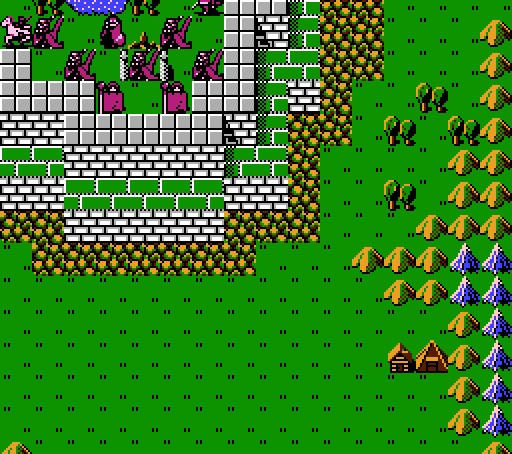
Raddy and Barts undergo a stealth mission to the east.
Stealth missions work better when the enemy can't see the entire map.
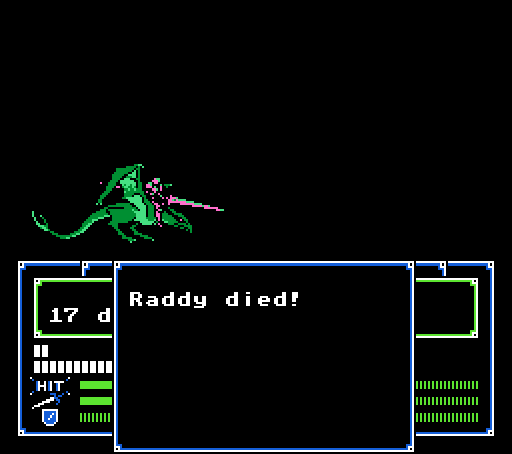
This Dragon Knight had a Silver Lance, much to Raddy's detriment.
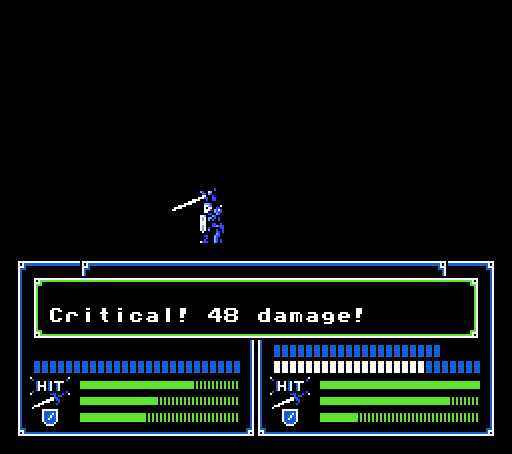
For some reason the line of Paladins didn't advance, but the three Generals reached our front line, with Est getting in a counter-crit-kill combo.
Meh.
Turn 2:
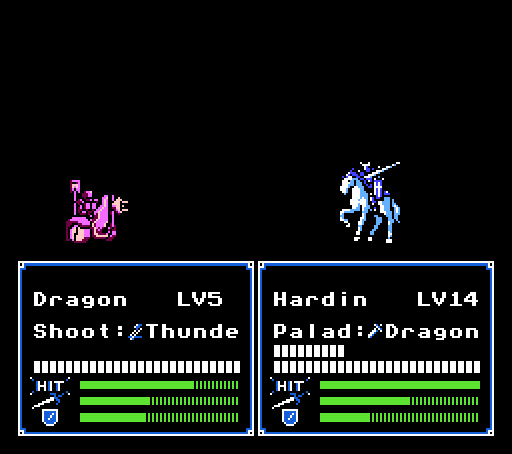
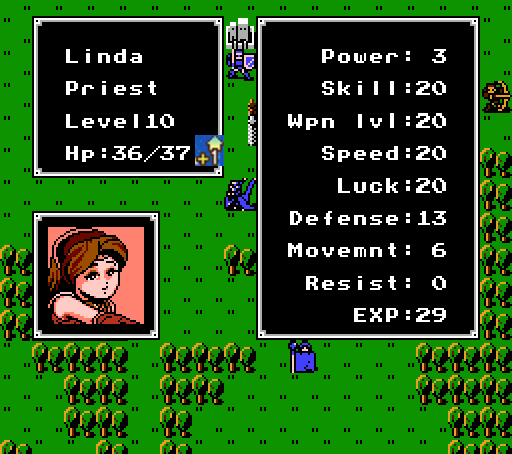
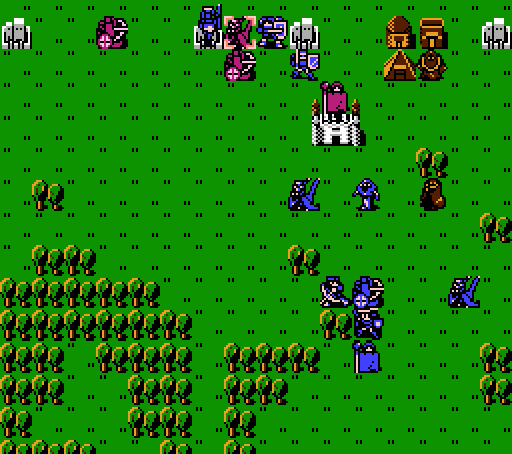
Target saturation in the center of the map here. The Paladins in the north will charge anyone who strays too far from the line, too, so we have to be careful who moves forward. On the left side, Hardin, Navarre, and Gordon take care of the Dragon Knights. In the middle, Linda removes a General, Jake and Est take out the other one, and Chiki and Marth handle the Sniper.
Chiki and Est get a couple great levels out of the maneuver, too.

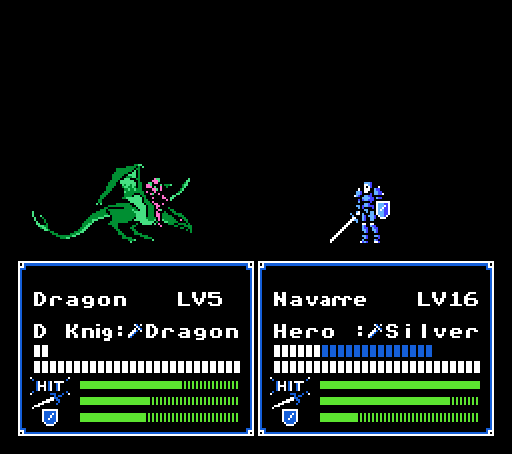
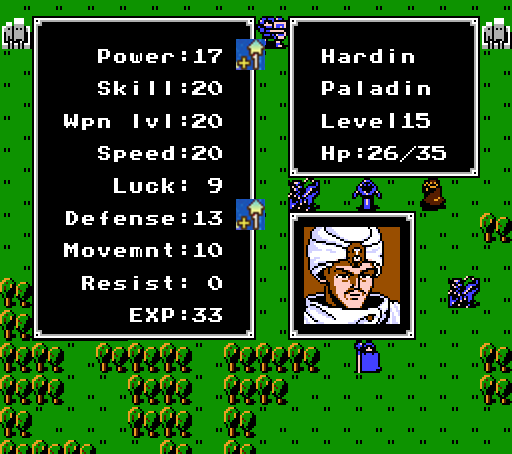
Well, it was almost perfect. The Dragon Knights actually had enough Defense and HP that Navarre couldn't quite kill his - even Hardin only managed due to having a Dragon Killer handy. Kashim can't quite reach, so instead Julian loans Chainy his Kill Sword, and Chainy flies over to take the kill.
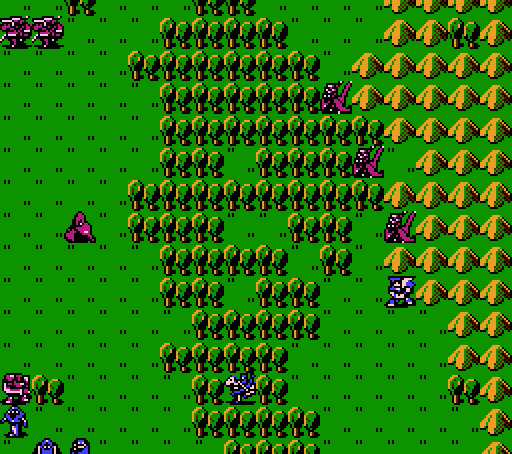
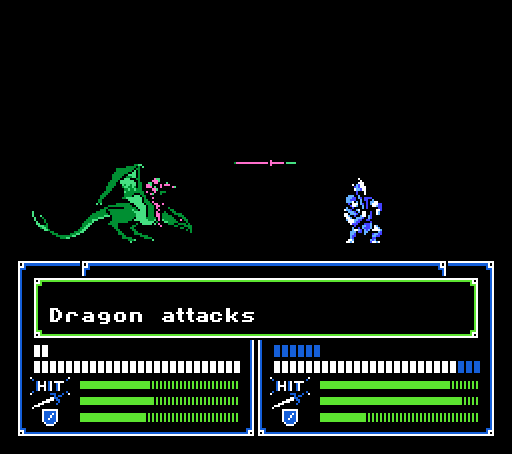
Out east, the stealth mission spectacularly failed and now it's Barts against three Dragon Knights. Barts can survive exactly one hit from all three, so he just retreats into the hills for some cover rather than risk a counterattack.
One Paladin goes after Roger, who misses his second attack.
The three Dragon Knights do go for Barts, who dodges one Javelin but is still in pretty bad shape.
Marth draws over a Paladin and the remaining Magician, counter-killing the Paladin. The other Paladins stay put again.
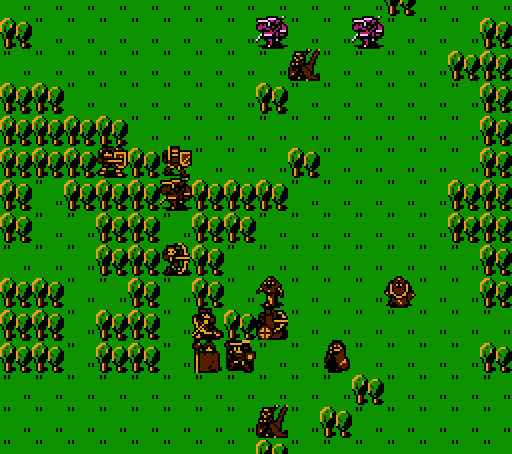
Turn 3:
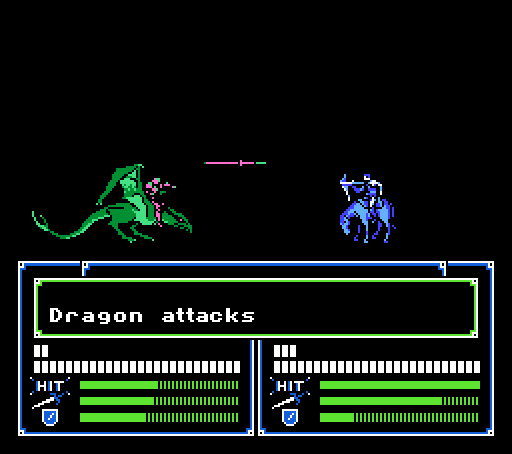
Barts is kind of hosed over here. But he was able to counter-attack and weaken one Dragon Knight last turn, so he straps on the Devil Axe to try and
 his way out of the situation.
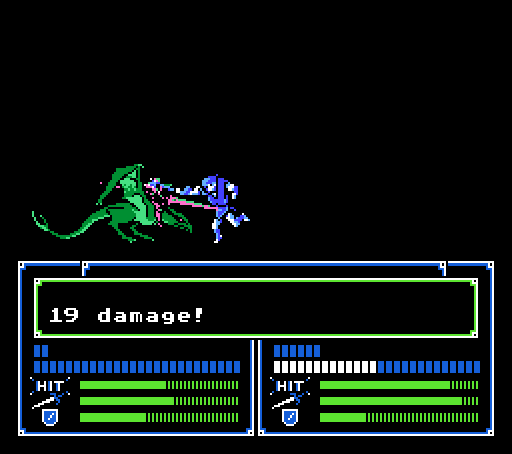
The center has turned into a bit of a mess. Gordon moves over to take out the Paladin, while Jake softens up the Magician to feed Chiki a kill.
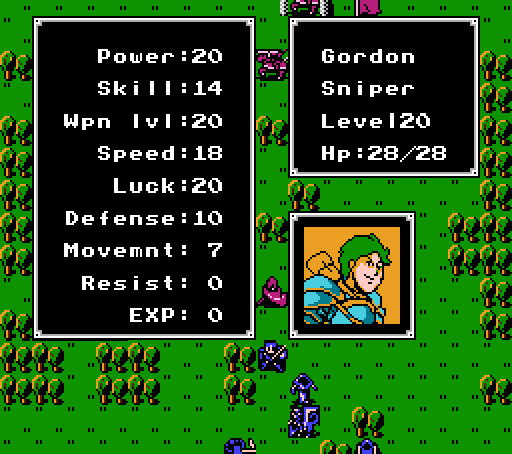
Gordon gets his final level. He ended up a bit behind overall, but he's way ahead in Power and has enough Speed to double most enemies, so he's actually in pretty good shape.
Est, meanwhile, flat-out charges into the middle of the remaining Paladins, killing the center one easily.
In the center, only the two Paladins are left to threaten us. Rena used her Reserve Wand to patch up everyone again.
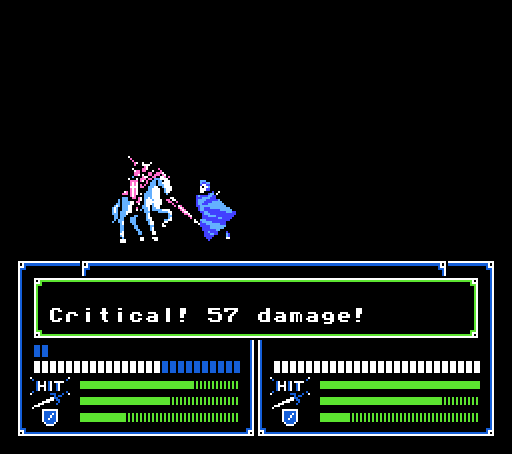
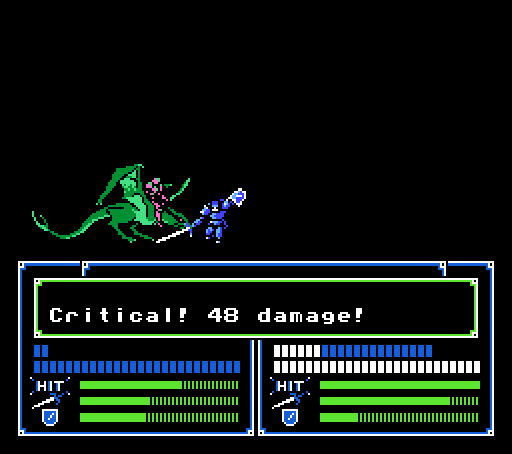
Navarre draws in one of the Paladins and gets a nice overkill crit.
The other Paladin goes for Julian, misses, and then falls to a Devil Sword crit.
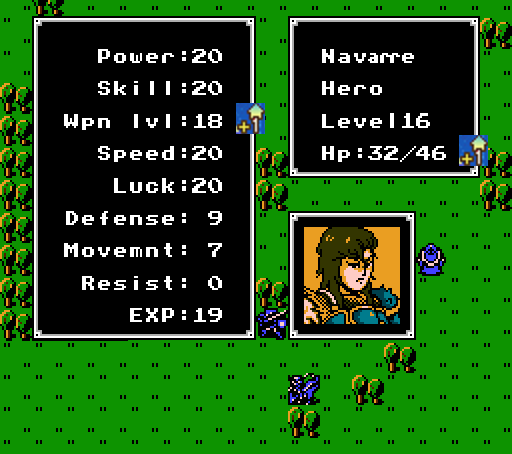
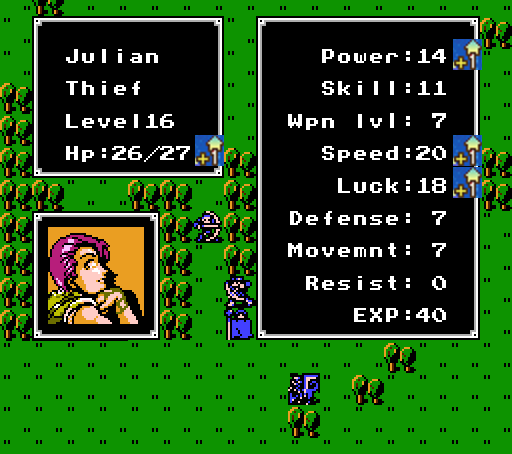
Navarre creeps closer to the level cap, while Julian caps Speed. They're both pretty fragile, though - Est is actually much better than Navarre at this point with the seven extra Defense, even with 13 less HP.
For the Dragon Knights, one misses Barts again, while the other takes a shot at Wolf.
Turn 4:
Wolf doesn't take any chances, using the Silver Bow to take out this Dragon Knight in one shot.
Suddenly, all that's left is the boss and two Clerics. Plus the promised endless reinforcements.
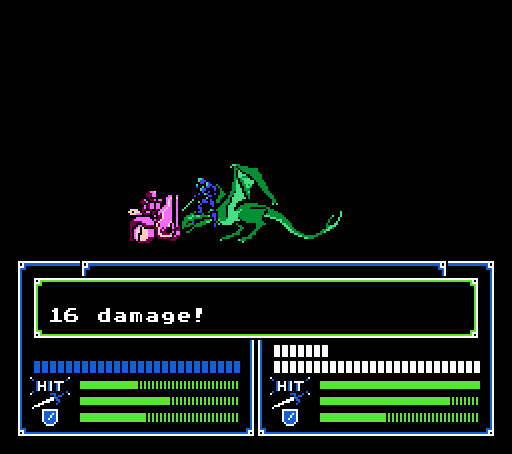
Ordyne doesn't have any lines so Est knocks him out in one turn, even dodging the counterattack.
Turn 5:
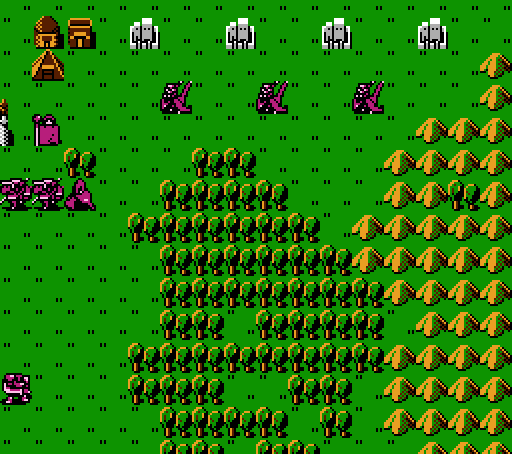
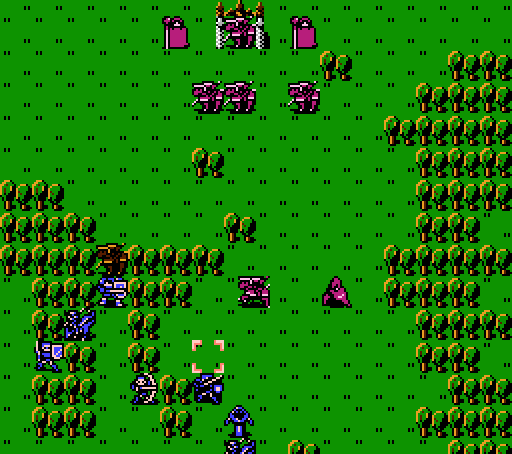
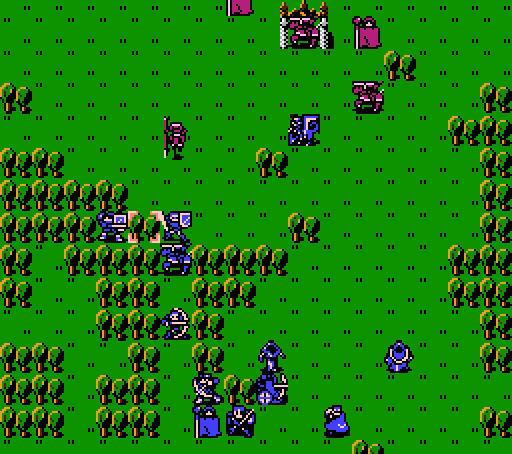
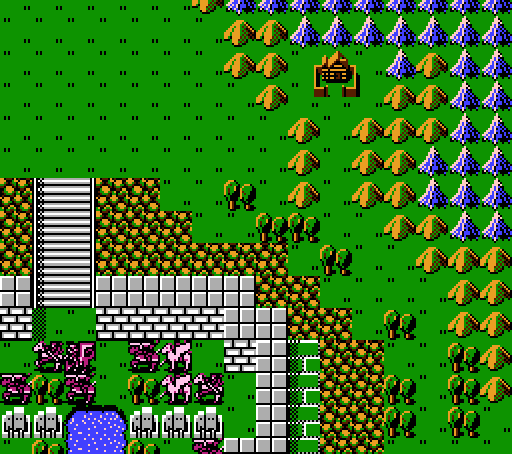
I ignore the Clerics, preferring to save them for Chiki later. More important is setting up for the inevitable reinforcements.
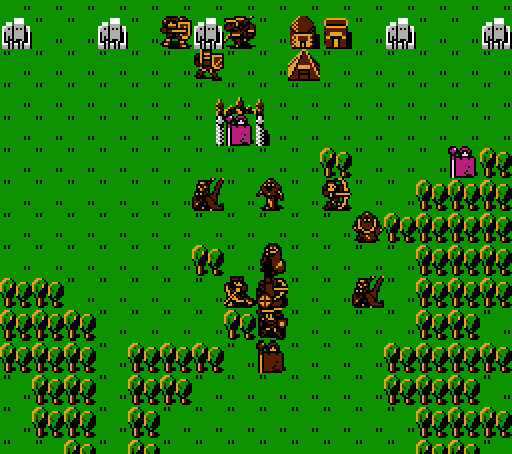
There's nine forts along the top of the map, and from them come five Dragon Knights and four Shooters, each with various weapons. The Dragon Knight that I have surrounded in the middle has a Dragon Killer, so I wanted to make sure he couldn't get to Est. The one on the far left has a Knight Killer, so Hardin is kept just out of reach there. Everything else is basically a crapshoot.
Roger's up first. He only takes one damage from the Knight Killer, but can't do enough in return to get a counter-kill.
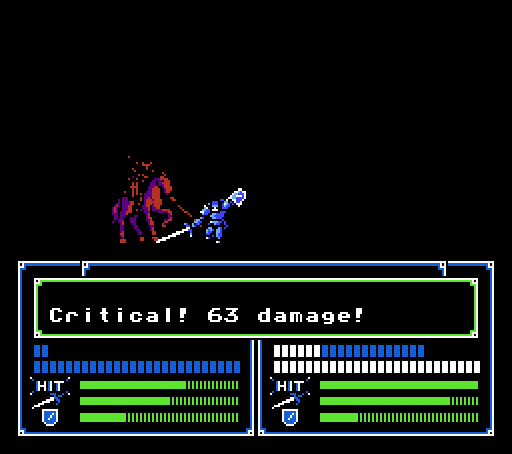
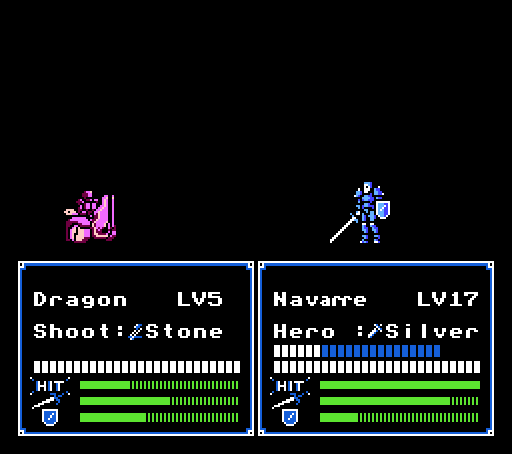
Navarre's next. This Dragon Knight has a Silver Lance, so is a bit threatening to Navarre's paper defenses. Fortunately Navarre has enough HP to soak up the 14 damage attack, and enough Power to counter-kill the Dragon Knight in return.
The trapped Dragon Knight also goes for Navarre, but a Dragon Killer isn't threatening enough to non-Dragons to matter (and Navarre dodges it, anyway).
Navarre counter-crits for the kill.
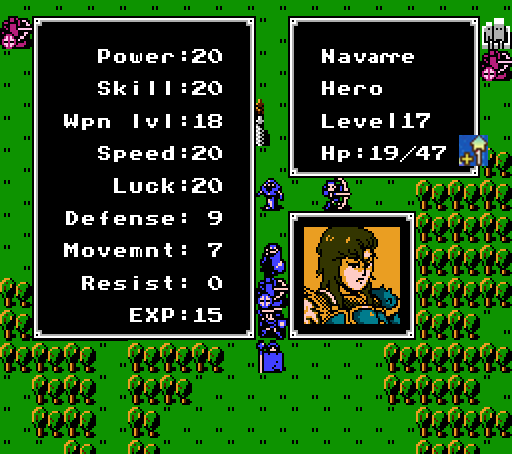
Another not-Defense level for Navarre.

I was trying to force this Dragon Knight to use its Javelin to attack Gordon or Linda from range (and thus incur a counterattack), but obviously it didn't work out. Still, Javelins aren't very dangerous at this point - Gordon takes just eight damage.
The final Dragon Knight can't reach anyone, so flies off after Barts.
Only one Shooter is in range of us, and despite the ~30% hit rate it does another 13 damage to Navarre.
Oops, turns out this Shooter can actually reach Hardin, but it only manages five damage.
Turns 6+:
Well, that was a bit rough, but we managed well enough. If the chapter's opening text were to be believed, we could probably expect another round of that every couple turns. However, it was a bit misleading - nine reinforcements on one turn is the most we've seen so far, but they only show up on that one turn.
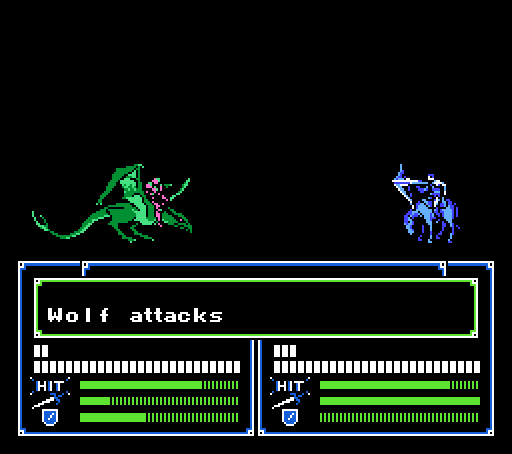
Wolf starts off by taking out the Dragon Knight that flew towards him and Barts.
Gordon helps out by removing this Shooter.
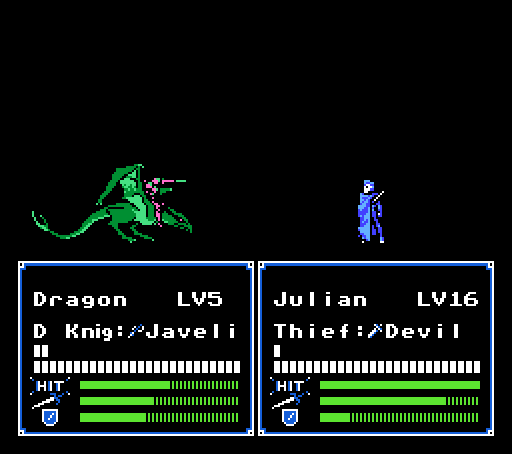
Julian can actually just barely handle this Dragon Knight by himself.
Linda makes short work of this Shooter and picks up a level.
Hardin circles around to get another use out of his Dragon Killer, and gets a fantastic level.
Navarre ignores his injuries and wipes out a Shooter.
And Est wraps things up with the final Shooter.
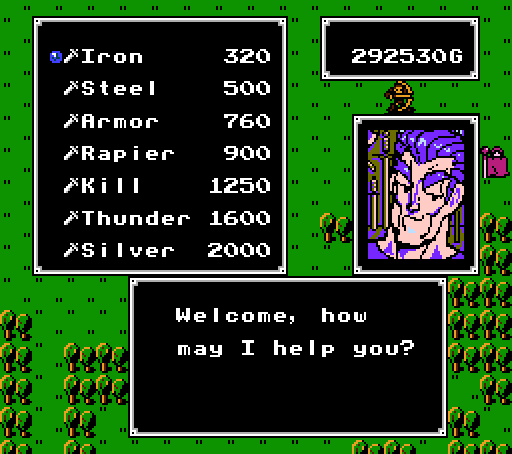
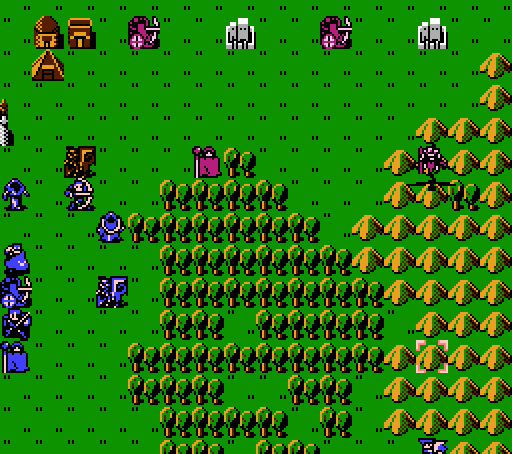
The regular shops here aren't really anything special.
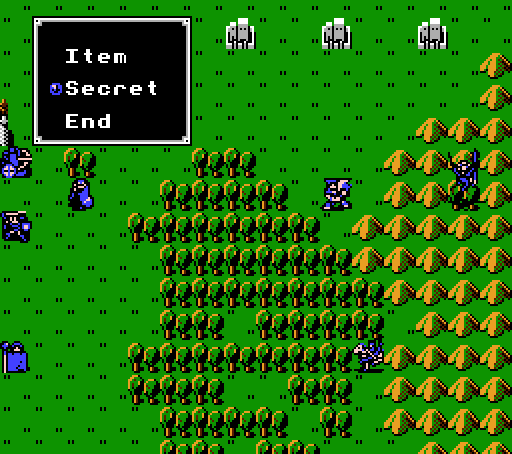
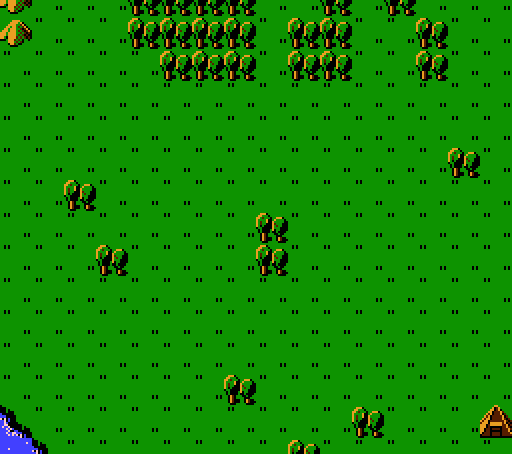
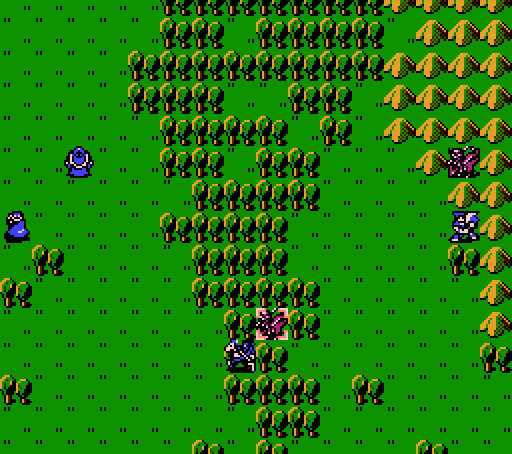
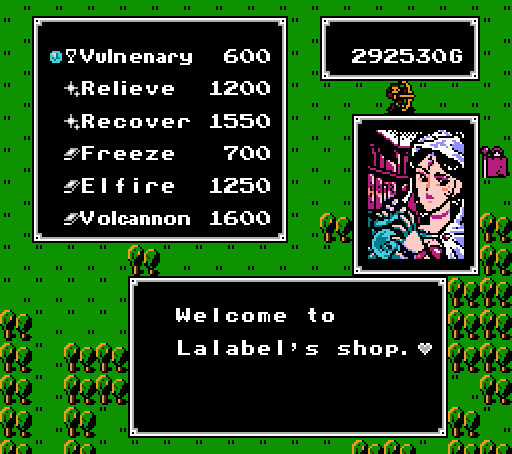
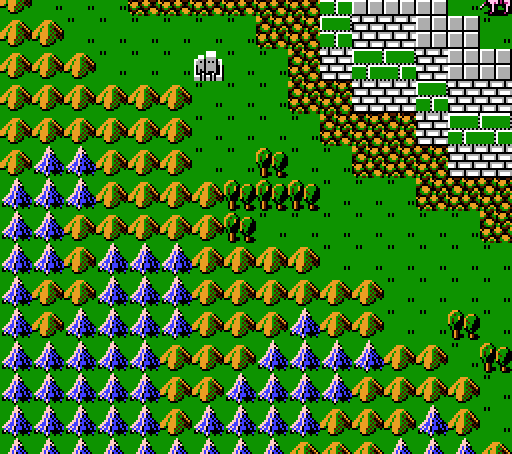
Did you notice this lone forest surrounded by hills? It hides the second Secret Shop. Again, you can only access these while holding the Member Card.
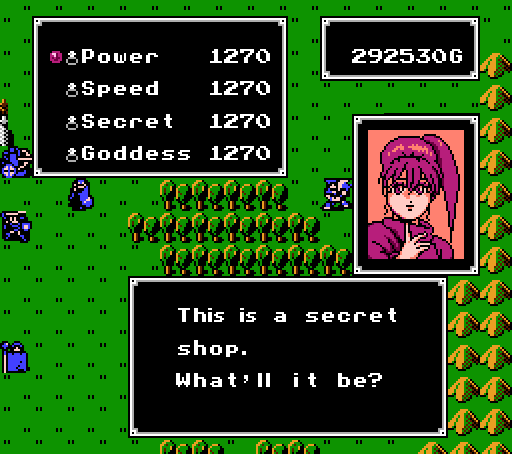
Welcome to the primary reason to abuse the Arena and hoard money throughout the game. Most of the later games in the series limit this type of shop to one purchase of each item, but there's no such limit here. Given our current treasury (and we're also holding the Silver Card for a 50% discount as well), we can easily max out every unit's Power, Speed, Skill, and Luck right here. If you're struggling with the game at this point, this shop here is a giant easy button.
I'll put up a vote on how much to abuse this shop at the end of the thread - it's fun to see a bunch of over-powered units, but we've taken much of the challenge away already.
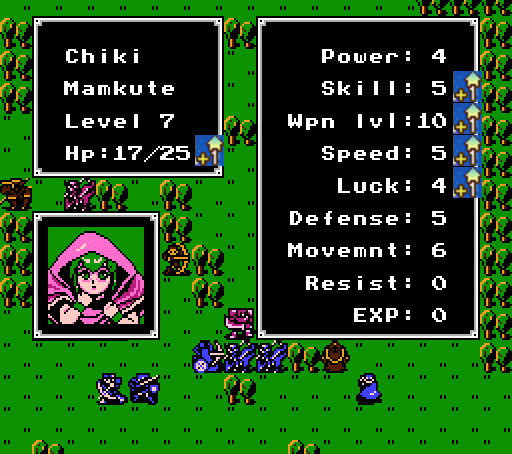
The two enemy Clerics are still running around healing each other, so Chiki plays dragon-and-mouse with them for while.
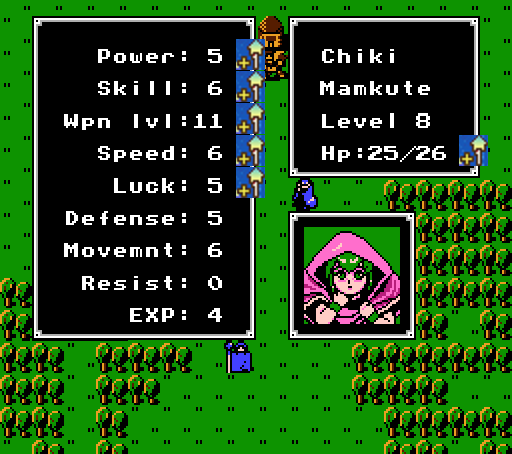
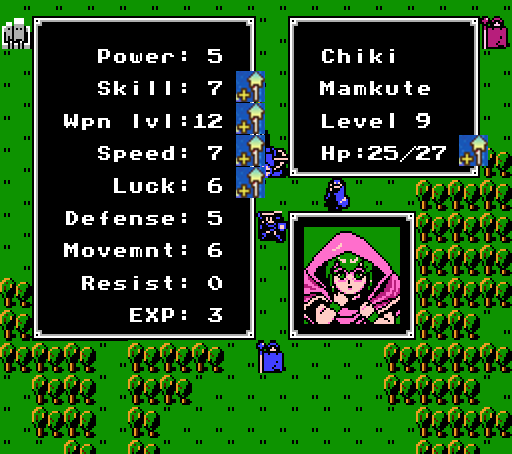
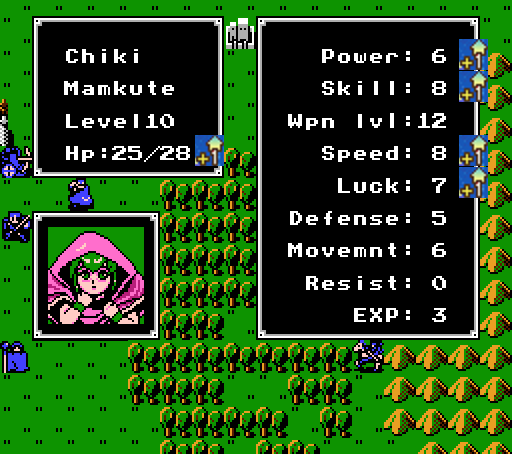
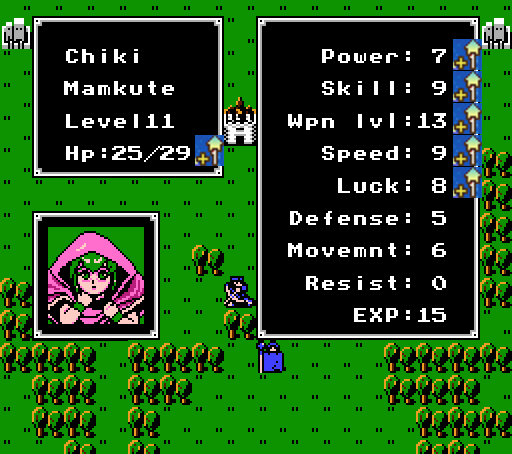
That's two perfect levels in there (Chiki's Defense growth is 0% alas).
I'll save it here pending the results of the voting, but I'll show you the chapter ending now:
Important Conversation Music
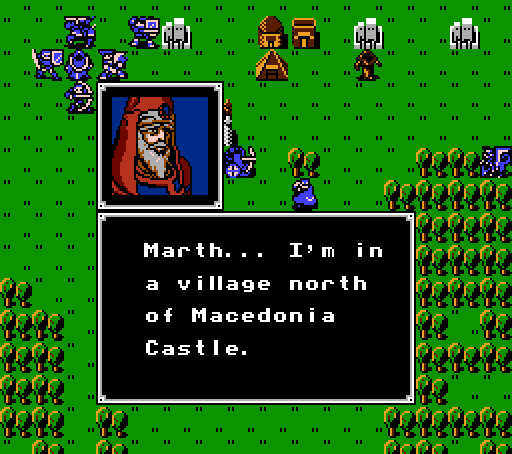
 You're almost there. If you have both the Star Orb and the Light Orb, bring them. Without the Starlight Tome, you won't be able to take back the Falchion from Garnef. Garnef escaped to Tebe. Ellis is there, too. Hurry there and rescue her!
Our current roster, with the active units in bold. (Full stats in this post.) Recall votes are suspended from here forward.
Lord: Marth
Pegasus Knight: Est [Dragon Knight], Sheeda, Minerva [Dragon Knight],
Social Knight: Hardin [Paladin],
Armor Knight: Roger, Doga, Tomth,
Archer: Gordon [Sniper], Thomas,
Cleric: Rena,
Mercenary: Navarre [Hero],
Fighter: Barts, Maji,
Hunter: Kashim
Pirate: Daros
Thief: Julian,
Magician: Linda [Priest], Marich,
Bow Knight: Wolf,
Mamkute: Chiki,
Shooter: Jake, Beck
Commando: Chainy
* Non-violently retired
Offer up suggestions for another sacrifice, but the primary vote is this:
 How much should the Secret Shop be used?
 Your three options:
- Not at all, we're good enough as-is
- Each unit can max out one stat just for kicks
- Break the game open, buy as much as possible
Next time:
Macedonia's last stand.