Part 50: Chapter 4, Part 7: Lost Woods
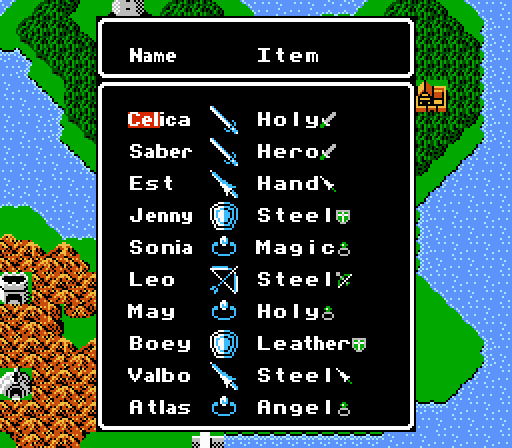
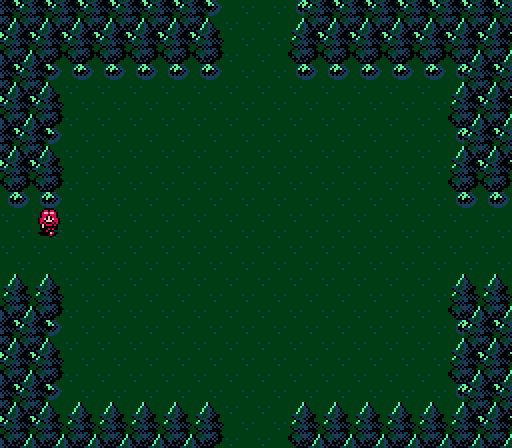
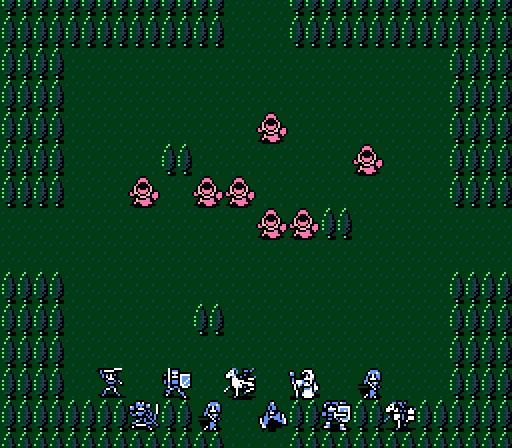
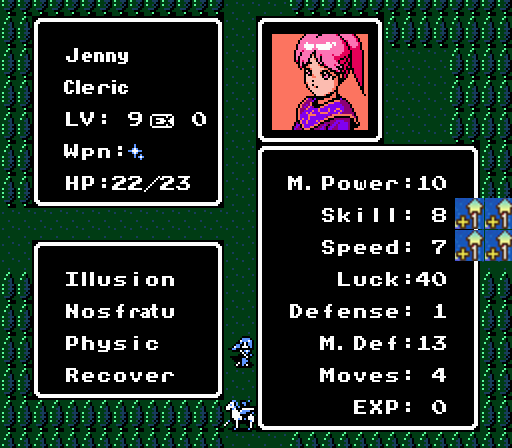
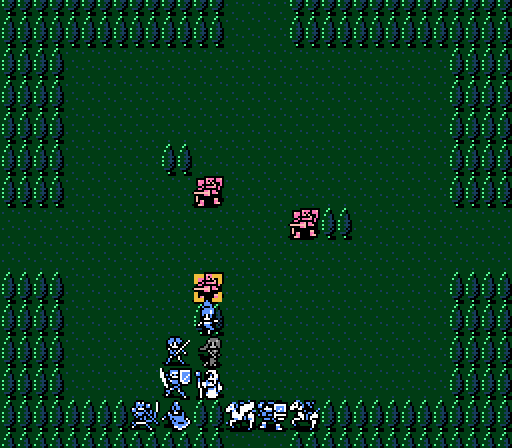
Celica's headed into the Lost Woods today. There's not much room to maneuver in the woods or something I guess, so we only get to bring ten people along. Here are those ten, fully equipped.
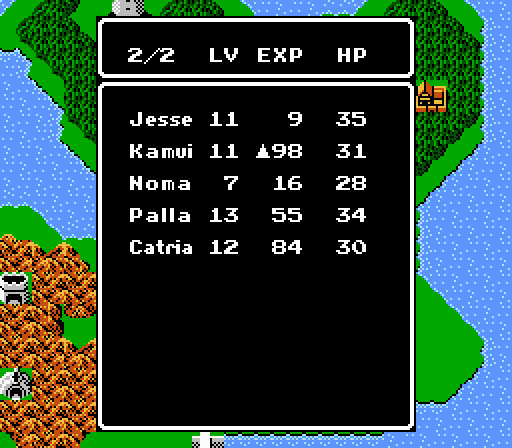
Noma stays behind because he's already promoted and has terrible growth rates so won't benefit much from more experience at this point. The others are left out because they're already ready to promote so the experience is best used catching up everyone else.
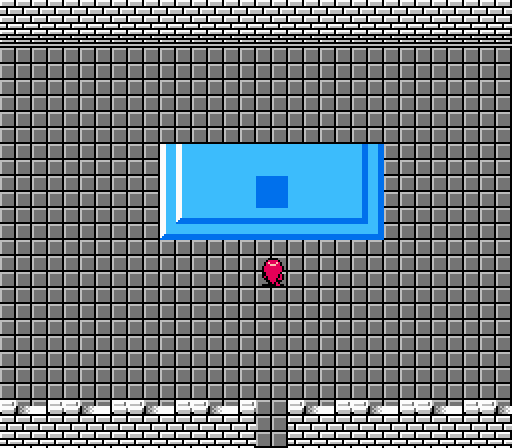
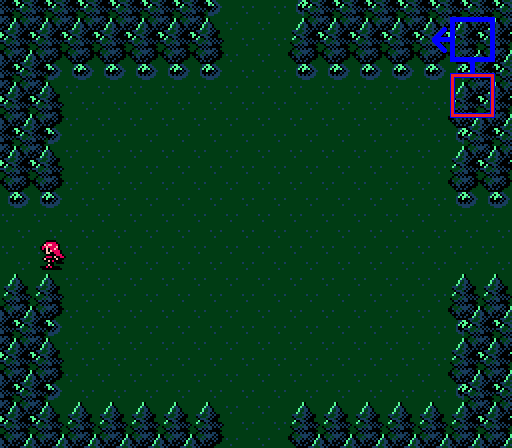
The teleporter in Dolk's Fort leads to the Lost Woods. It's a two-way teleporter, so we could go back if needed, but there's not really any reason to do so.

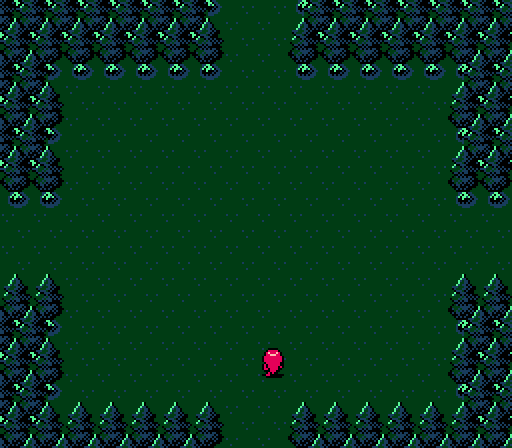
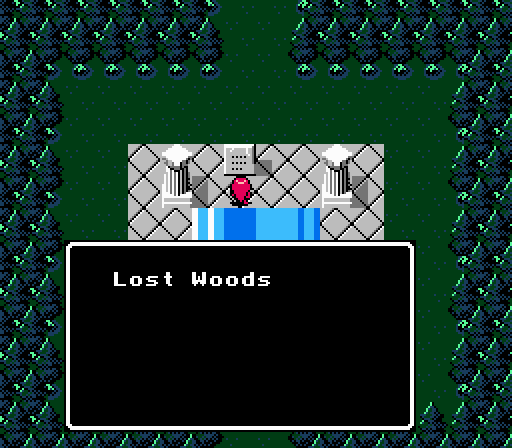
The Lost Woods is a classic "unfair" maze common to these early video games. By unfair, I mean that the layout is complete physical nonsense - you can't draw a map and feel out the boundaries of the maze to find your way out. There's a set path through the maze, and if you stray from that path, you end up with an endless sequence of four-way intersections, and the only way to stop is to retrace your steps.
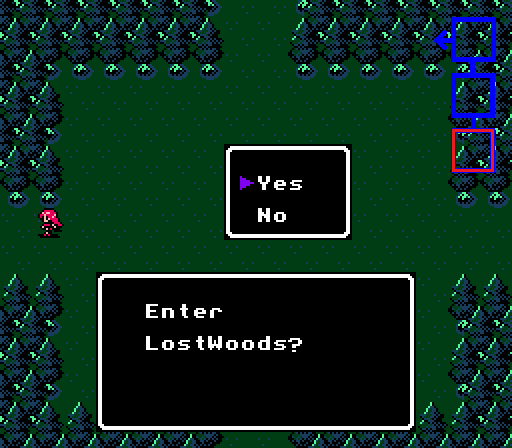
The exit is relatively easy to find - from the start, go up two screens and then take the left exit. But you're missing a lot if you just leave immediately, and will eventually be unable to complete the game without taking one of the side paths here.
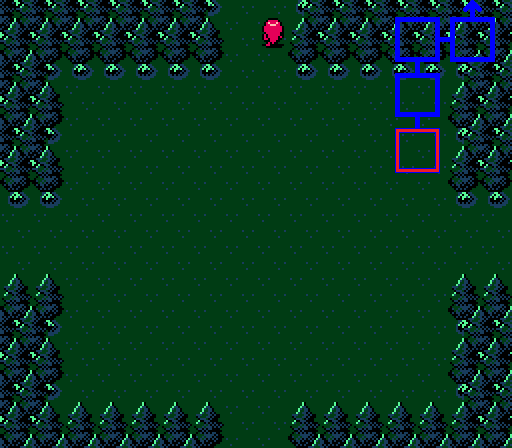
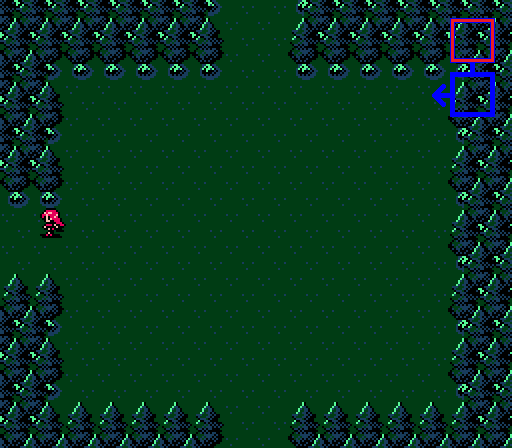
Go one more screen to the right, and take the top exit to reach the rather well-hidden Sage Village. We'll explore this more later.
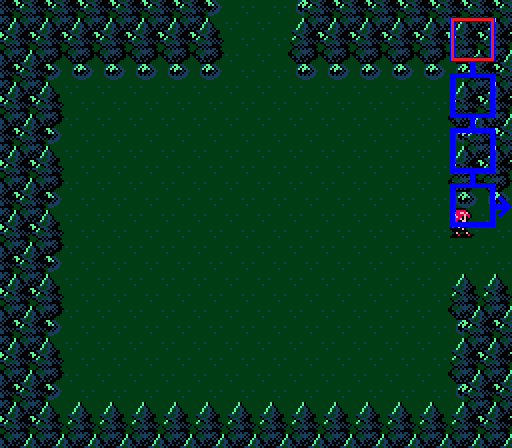
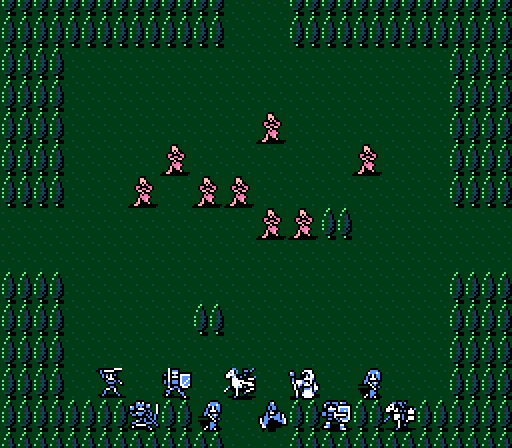
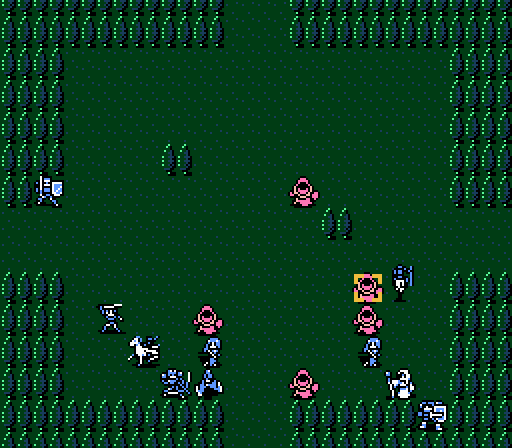
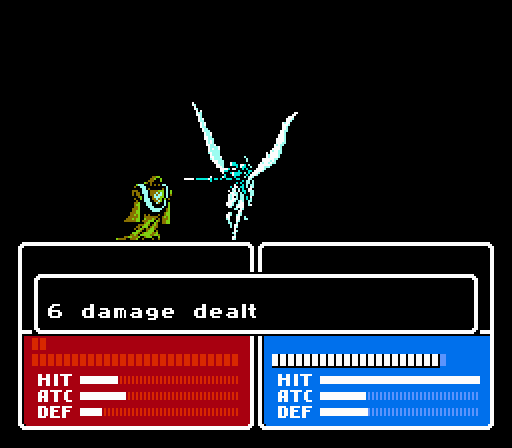
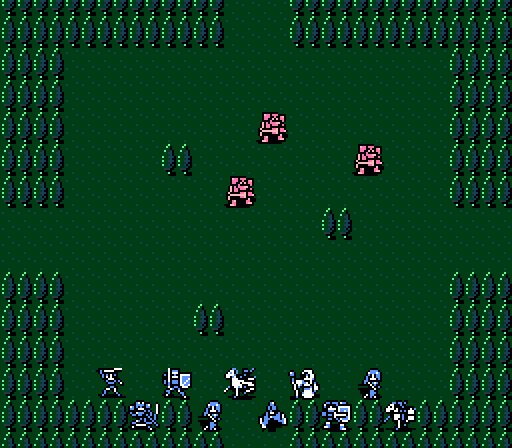
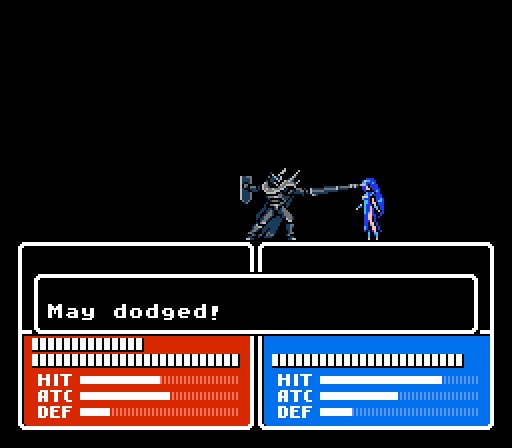
From the start, go three screens down and take the right exit to reach one of the three battles scattered throughout the Lost Woods. Zombies are a joke. These aren't quite zombies but might as well be.
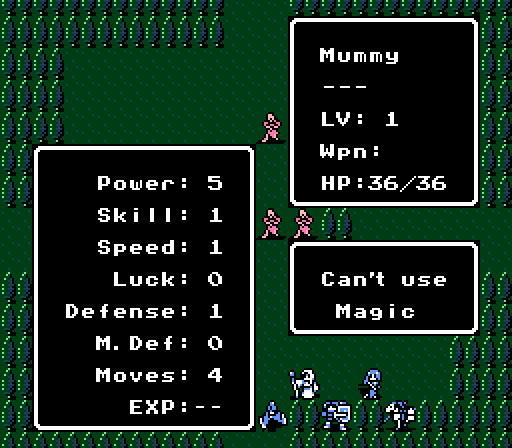
Technically they're mummies, but you're forgiven if you can't tell the difference. Their stats are exactly the same. The one difference will become immediately obvious later.
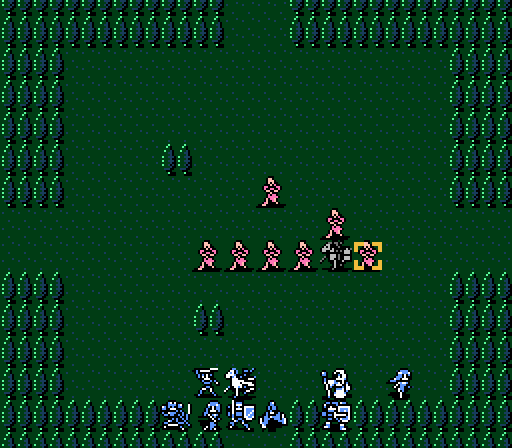
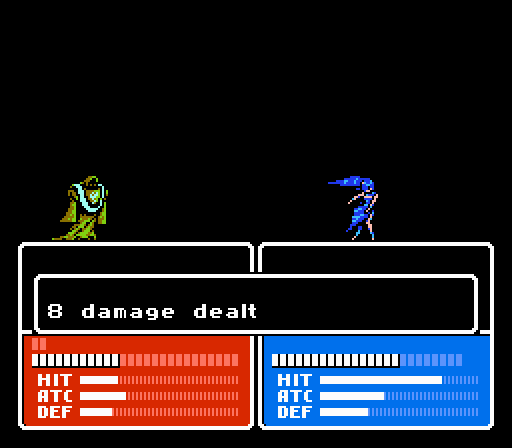
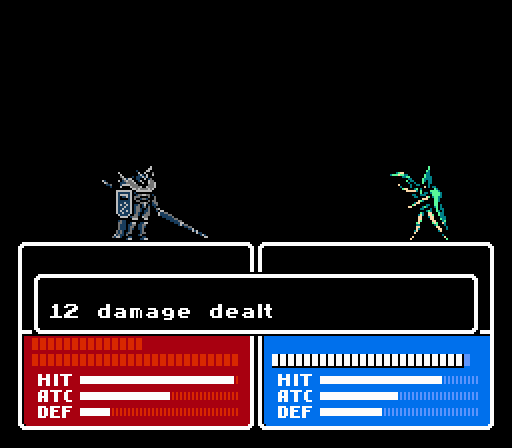
Eight pseudo-zombies aren't exactly challenging, so I'll forgo the blow-by-blow details. Basically, Atlas runs out to fight alone with the Angel Ring.
_-_Chapter_4_Part_7_Battle_1.gif)
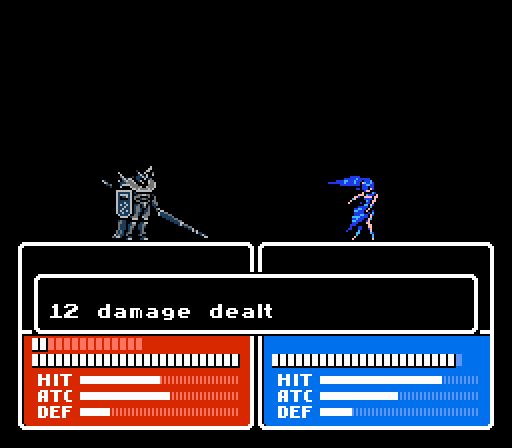
So where zombies are only worth a base of 15 XP, mummies are worth a base of 255 XP - 17 times more. That's more than enough for a free level per kill for low-leveled units like Atlas.
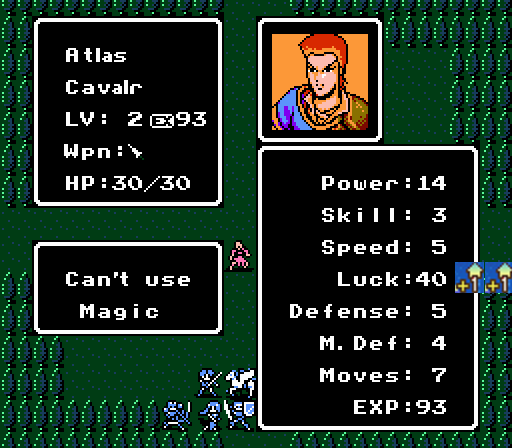
I could wish that he would take better advantage of the opportunity, though.
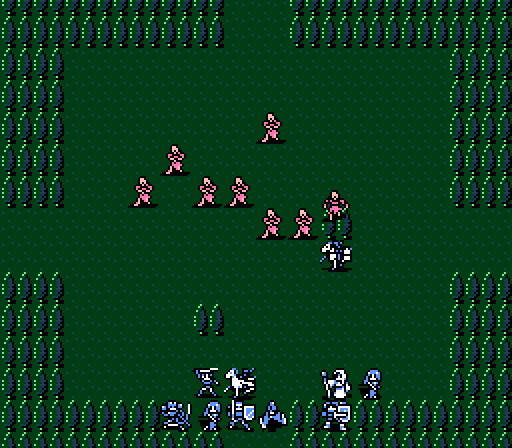
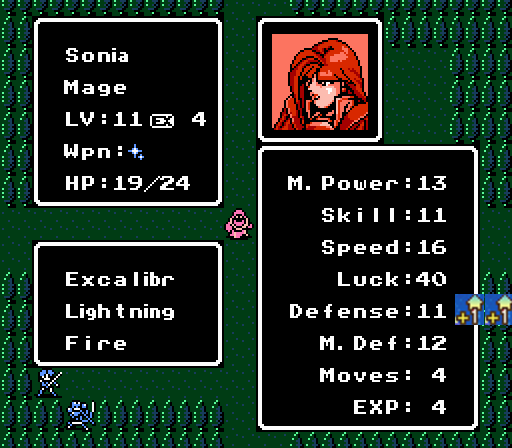
Sonia picks off one of the mummies, but she's up at level 10 so only gets 31 XP. The XP formula is rather complicated, but essentially at level 10 Sonia is getting 20% of the XP that Atlas was getting at Level 1 or 2 (though Atlas's gains were capped at 100 XP).
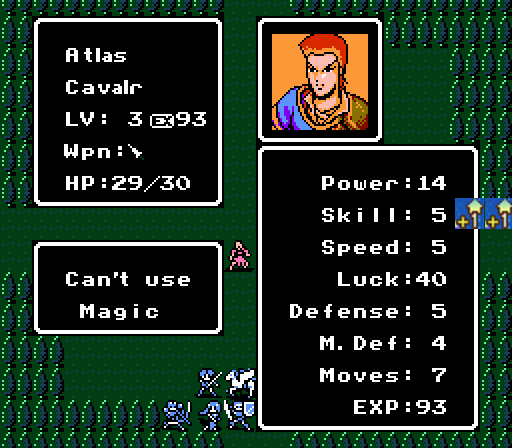
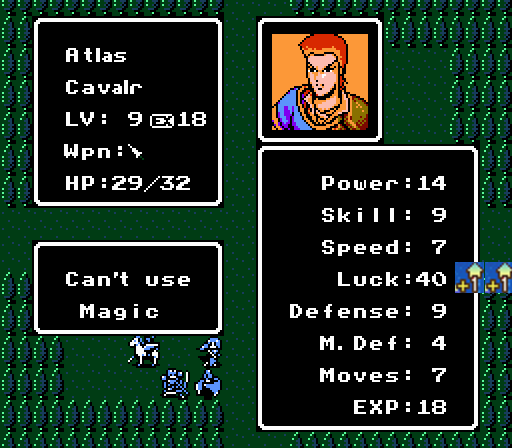
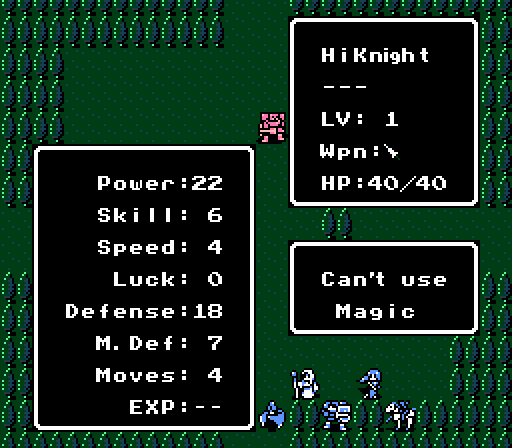
Atlas gained so much XP on the enemy phase of the second turn that he gained two levels, so I couldn't get his stats screen in between. First level was Defense, the second was Skill and HP.

Sonia zapped another mummy to put her on the verge of a level, but Atlas still has the Angel Ring so he goes and gets another free level here. He's picked up HP, Skill (twice), Speed, Luck, and Defense now - everything but Power, which is already his best stat anyway.
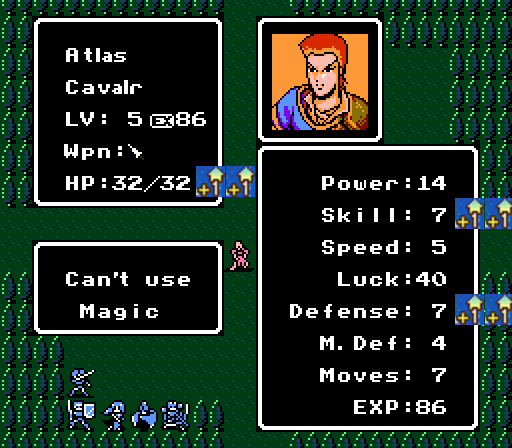
The enemy phase on the third turn gave Atlas two more levels - one Skill, one Defense. He's actually a serviceable unit now.
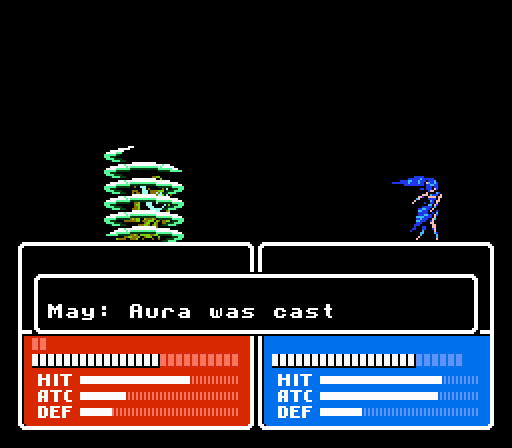
May finishes the battle with a fireball to get in on the XP bonanza.
By leaving the Lost Woods and re-entering, this battle can be repeated indefinitely. It doesn't take a genius to figure out the implications of having such an easy source of XP, combined with the Angel Ring. But we won't be doing that here.
After each of the three battles, continue in the same direction from which you entered (in this case, go right).
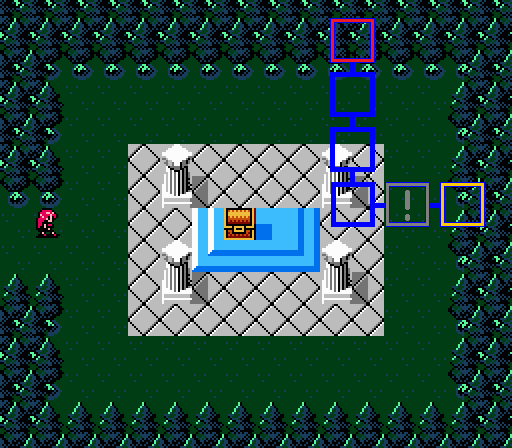
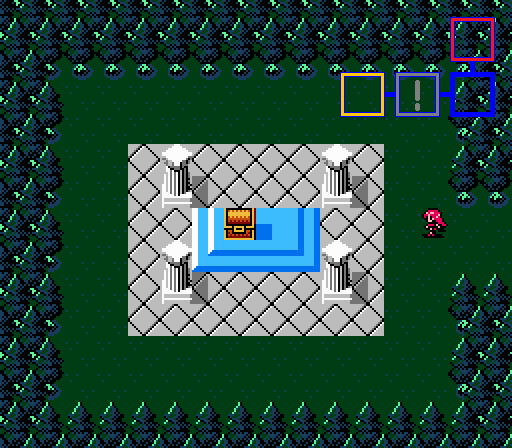
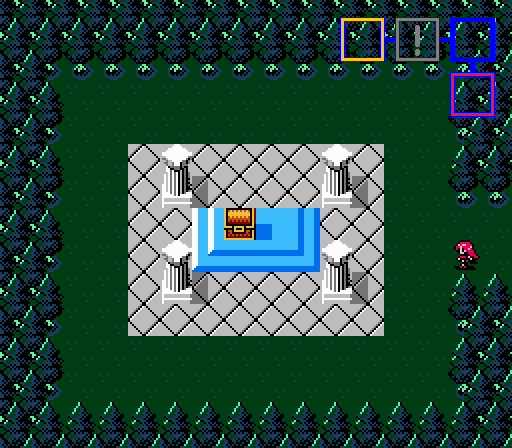
Treasure!
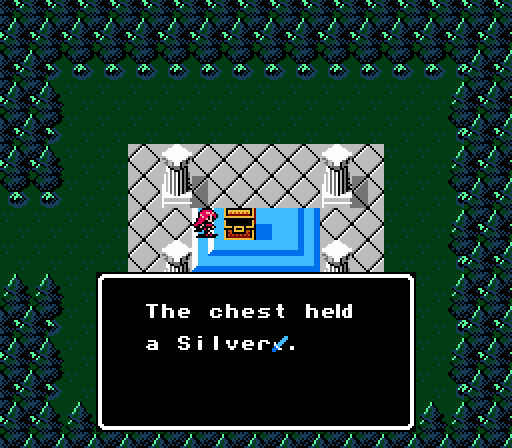
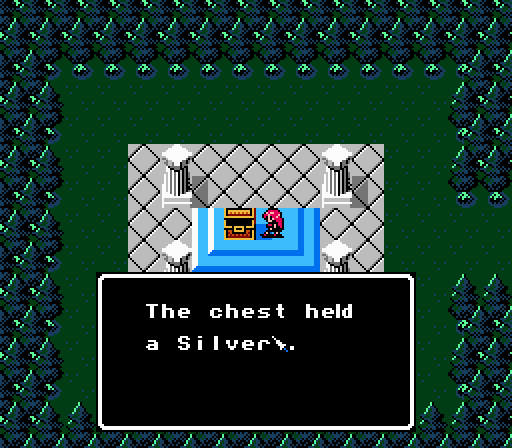
A Silver Sword! At 8 Might, it's stronger than any sword we've seen so far save the risky Dark Sword, and is also lightweight (1 Weight) and accurate (90% Hit Rate). There's no Crit Rate, so the Hero Sword is still better in some circumstances, but we have plenty of sword users to go around anyway.
The next battle is found by heading down one screen from the start and then taking the left exit. This time we've got seven vanilla wizards - no fancy XP gimmicks.
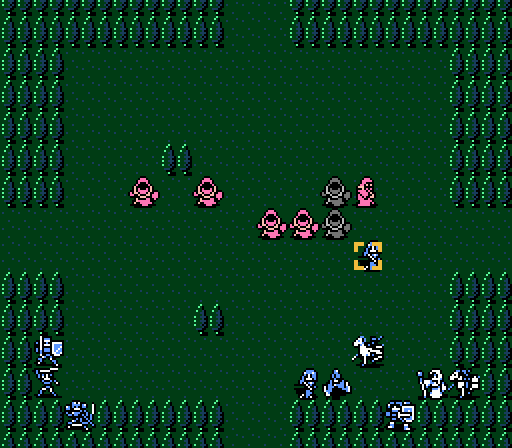
Sonia's out front with the Angel Ring this time. She doesn't get much XP so she won't hold onto it long, but she was only 8 XP from a level.
That's a tough little mage.
A turn later and I give Atlas one more shot since he was close to a level. Wasn't worth it.
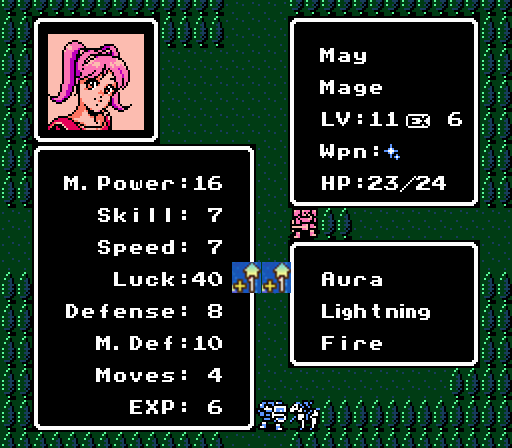
I'm trying to get Sonia and May up to level 12 so they can promote, but the wizards are only worth 10 XP for a kill so it's slow going.
Jenny's been stuck at 99 XP for awhile so I finally find the time to get her the Angel Ring and she doesn't disappoint me.
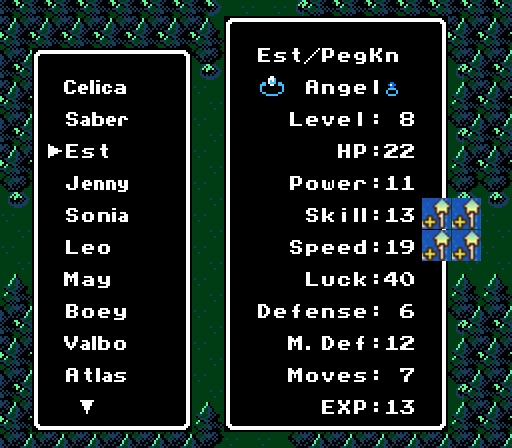
Est ends the battle with a level of her own, though she still has a long way to go to catch up to her sisters.
More treasure awaits to the left of the battle site.

And Leo gets a pretty nice upgrade. The Silver Bow is much stronger than the Steel Bow at 7 Might, with a higher Hit Rate (80%) and the same extended range and bonuses against flying units. The only penalty is a slightly higher Weight (2).
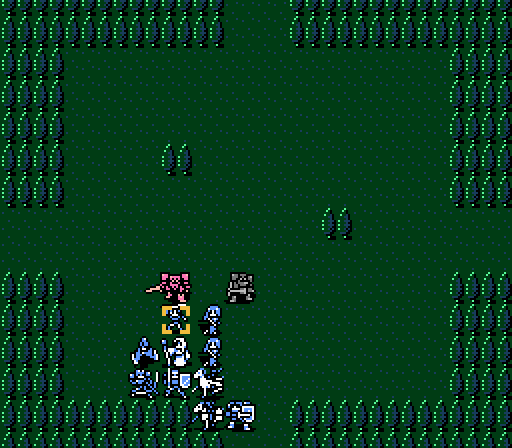
The third battle is also placed so that you'll stumble into it while searching around for the exit - just go one screen up from the start, then take the left exit.
We're faced with three "High Knights" here. They're exactly identical to barons in every way (even XP given, this time), so I'm not sure why they needed to come up with a new class here. As with the barons, coordinated magic attacks will be the way to go here.
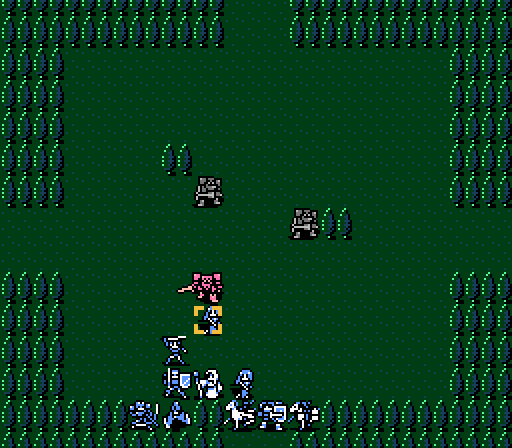
May isn't really the best choice to face the high knight's charge, but she's in a tree and will only get hit once. She's also got the Angel Ring for some free healing on the following turn.
And the tree pays off.

Sonia weakens the high knight further, so that May can get the easy kill.
Better crit rate, I guess.
Celica's got the Angel Ring next, and the high knight goes after her for 10 damage.

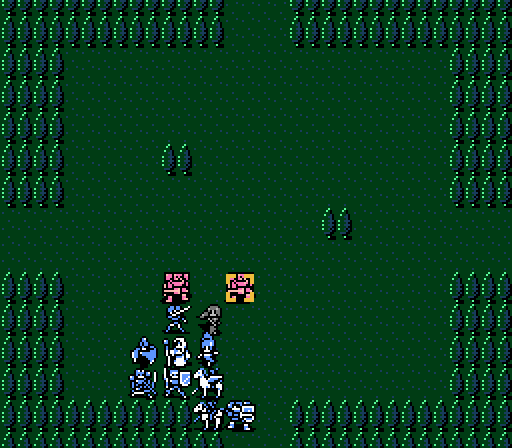
May and Sonia make short work of the third high knight. I think it's still just the third turn at this point.
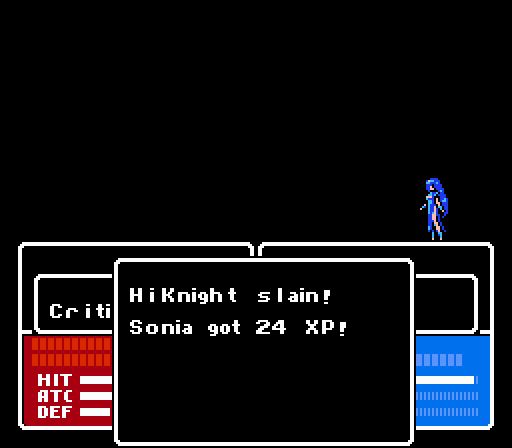
Sonia gets decent XP out of the kill for a level 11 unit. A level 4 unit would've gotten 96 XP, for example.

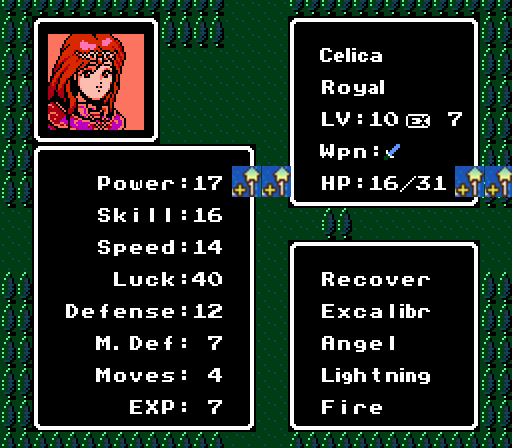
Celica dishes out two shots of Angel to the second high knight. She doesn't get the kill, but she does get more than enough XP for another pretty great level. Her Magic Attack is up to 25 with Angel, or 22 with Excalibur.
Boey takes the final kill. He might be the only unit in Celica's army that won't be able to promote; he's still five levels away.
Continuing left after the battle yields the third and final treasure.
A Silver Lance will be very useful for one of the pegasus knights, or even for Atlas. It's got 8 Might, with a 90% Hit Rate and just 1 Weight. Like the other silver weapons, it's much better than the steel version.
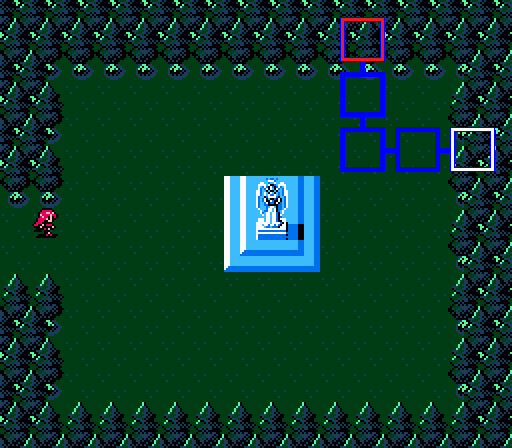
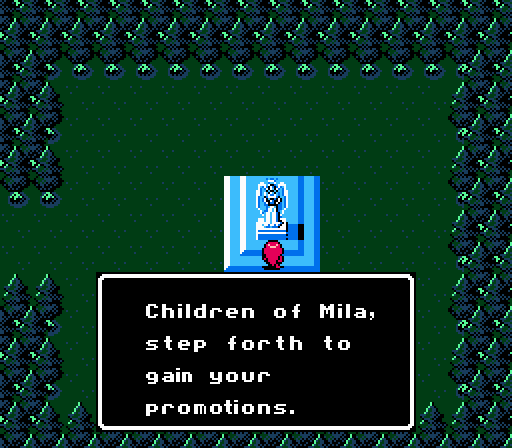
The last secret to be found in the Lost Woods is an angel statue, just above where the first treasure was located (from the start, go two screens down, then two screens right). Promotion time!
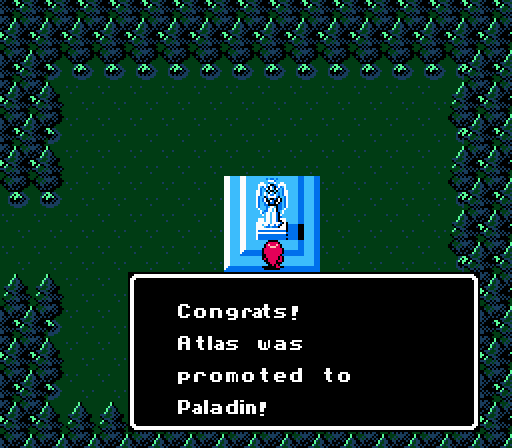
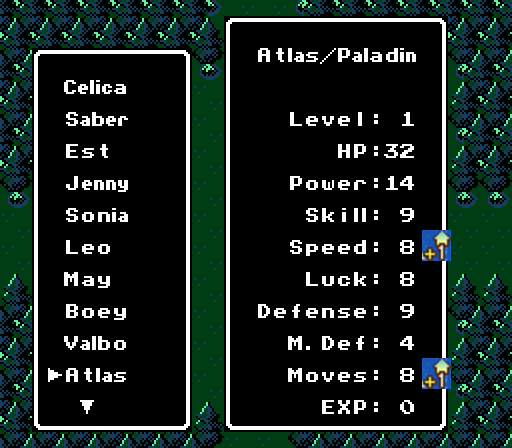
The main promotion gain for Atlas is better mobility. He's actually shored up pretty much all of his weaknesses.

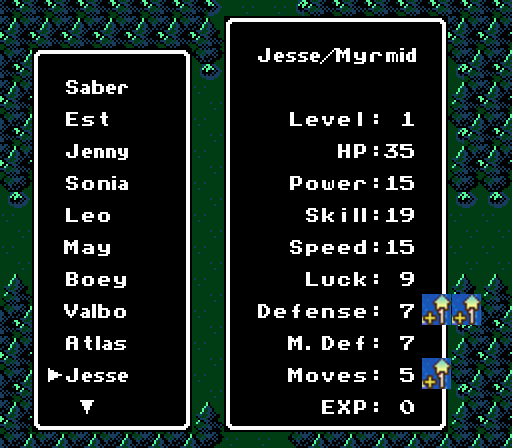
Jesse gets some much-needed Defense, previously his biggest weakness.
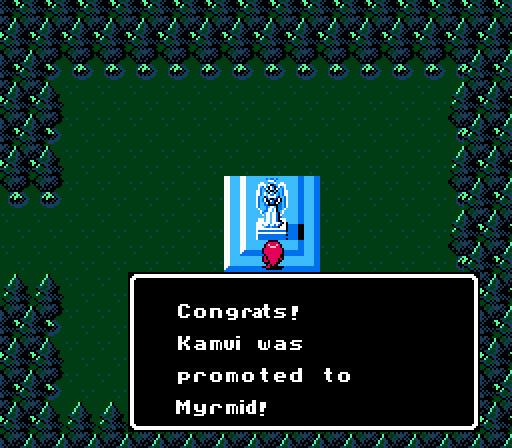
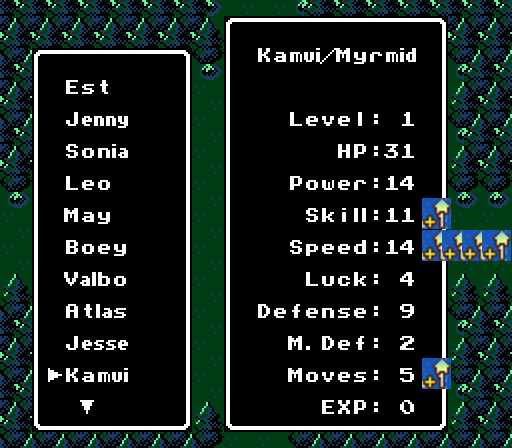
Kamui receives a significant Speed boost. I'm pretty sure he was supposed to gain a lot of Magic Defense as well - Serene's Forest says the myrmidon base is 6, and Kamui's is only 2. Must be bugged or something. I guess Kamui's never going to be much of a mage-killer, then.
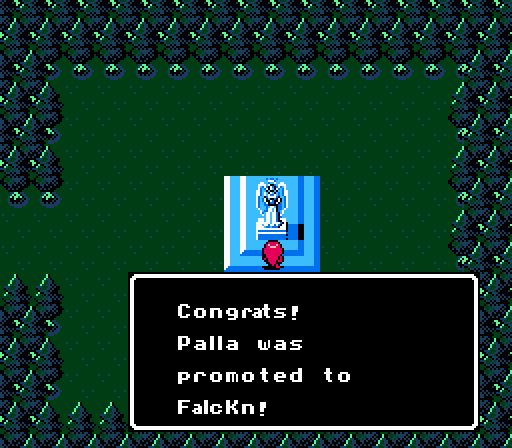
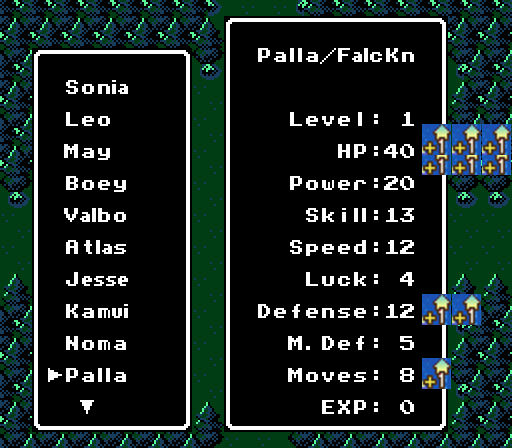
Palla gets a lot tougher, bumped up to 40 HP and 12 Defense. She also got robbed on a Magic Defense upgrade, though - the base for falcon knights is supposed to be 12.

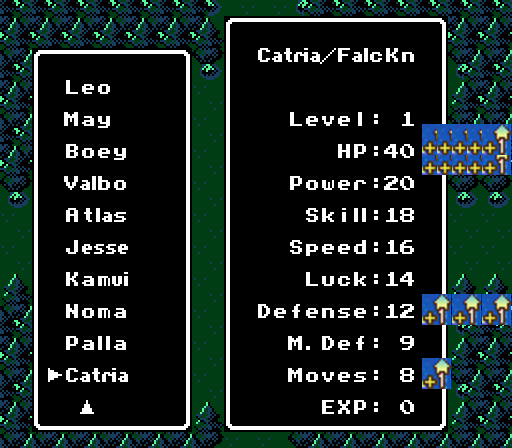
Catria gets moved up to the same base HP and Defense as Palla, but it's much more of a boost for her. Catria's a total beast now, with much higher Skill, Speed, Luck, and Magic Defense than Palla.
Still waiting to promote are late-comer Est, plus all the magic-users - Jenny, May, Sonia, and Boey. They all need to reach level 12.
Is it bullshit to hide the late-game promotion shrine inside an unfair maze that has no hints whatsoever? Yes, yes it is. But with this map you too can navigate the Lost Woods.
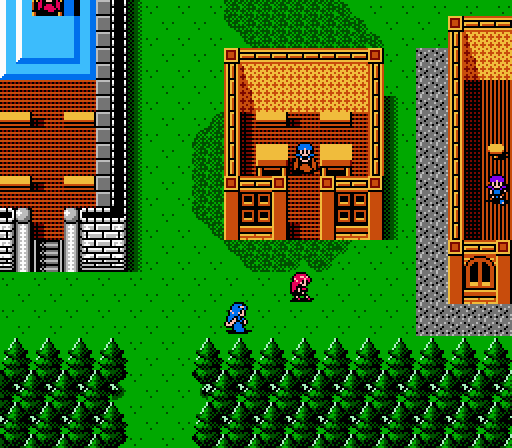
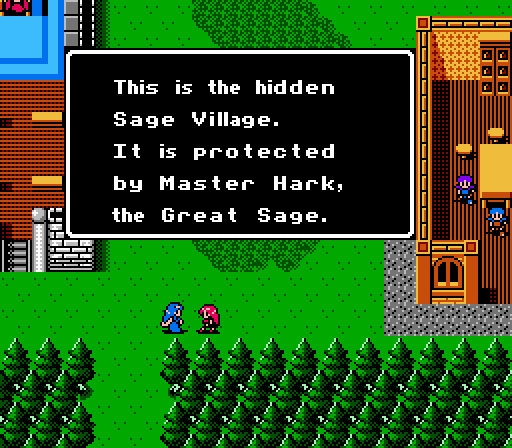
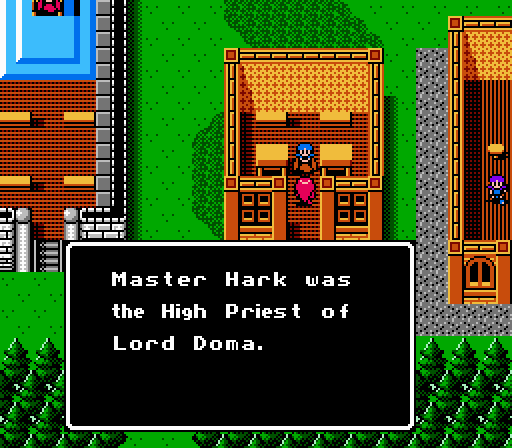
Let's check out the Sage Village now.
However, he lost a dispute with the shaman Judah and fled here. Judah is a vile man. If you wish to fight him, there is only one way. On turn 4, 8, 12....Ugh....I....Judah's spell has....
_-_Chapter_4_Part_7_Battle_2.gif)
After his speech, the villager vanishes. I guess he died? Regardless the hint is a little heavy-handed - I wouldn't have thought that in-game characters would know what "turns" are. Moving along....
We know what these are.
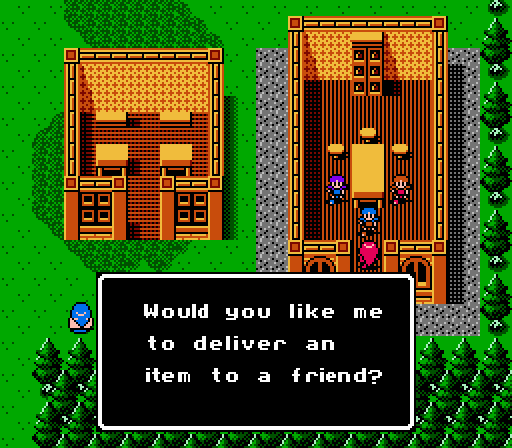
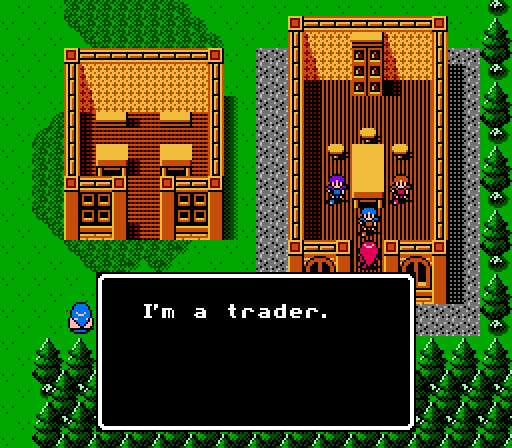
Hmm, well we did just get a bunch of treasure. Think Alm could use any of it?

Oh, I suppose it's Alm's turn to play with the Angel Ring.
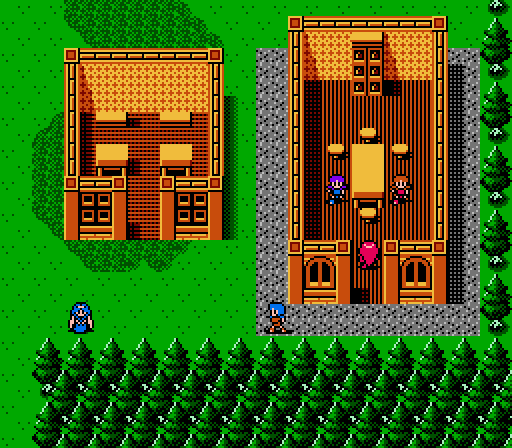
The trader actually leaves the screen. Presumably to go deliver the ring. The other two characters in the building are also traders, so we could send Alm three different items if we were so inclined. We're not.
There's also a single lion-head shrine here. It gives Defense, and has five uses instead of three. So as usual, I'll let you decide who gets the extra Defense: VOTE HERE
Est isn't eligible - she'll get set to 12 Defense upon promotion so any shrine uses are pretty much wasted on her here. Jenny's in a similar situation.
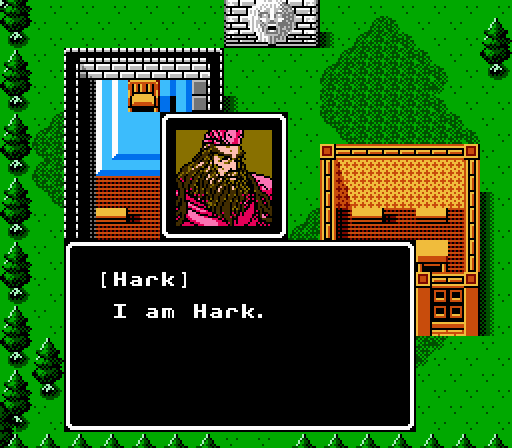
This is Sage Hark. He does some important stuff. We'll talk to him later. Let's move on from the Lost Woods for now.
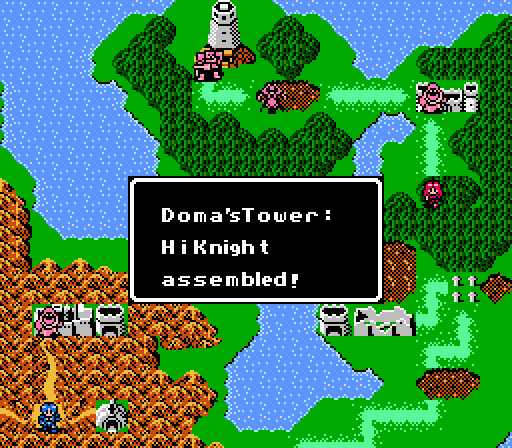
A group of high knights pop out of Doma's Tower. Celica will have to deal with them later.
Celica appears on the other side of the forest (notice the little house representing Sage Village tucked away from the path). Her next fight appears to be a tough one.
Next time:
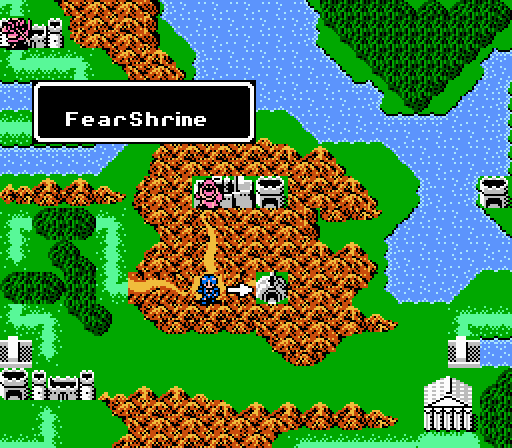
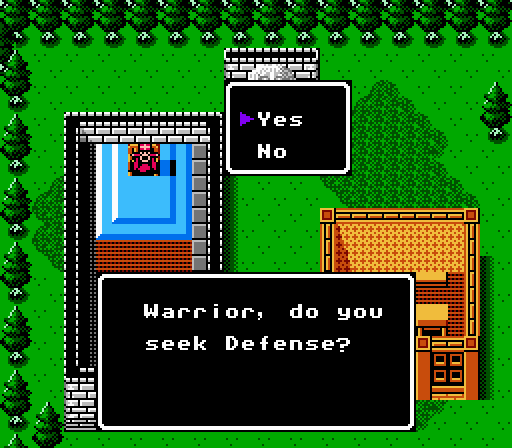
Alm takes the Angel Ring into the Fear Shrine.