Part 57: Chapter 4, Part 13: Doma's Tower
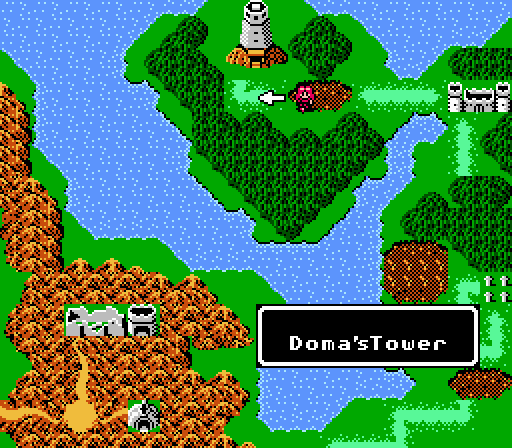
Celica's a bit ahead of Alm, ready to enter her final location of the fourth chapter. There's a reason for the difference in pacing, but you won't find out until next update.
Music: Doma's Tower
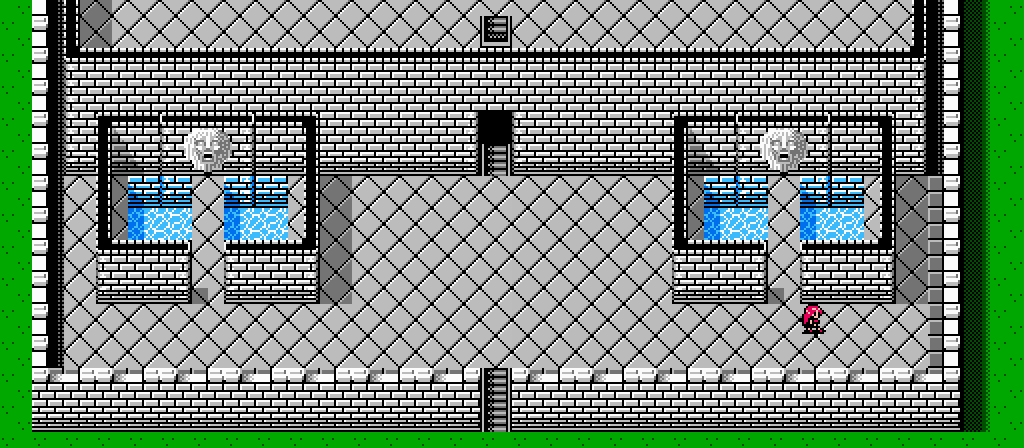
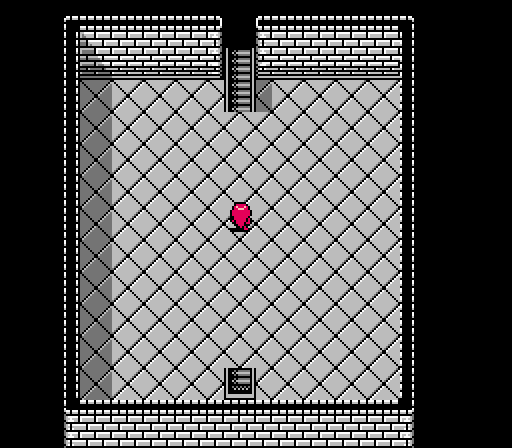
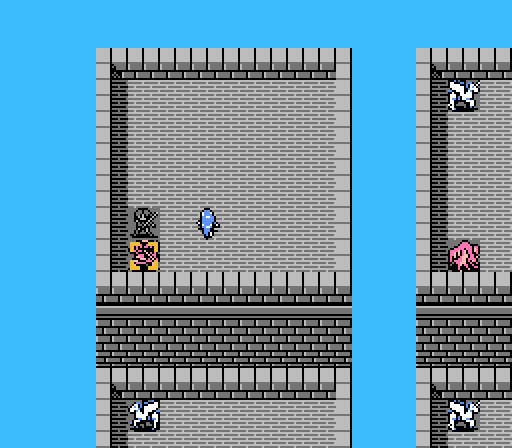
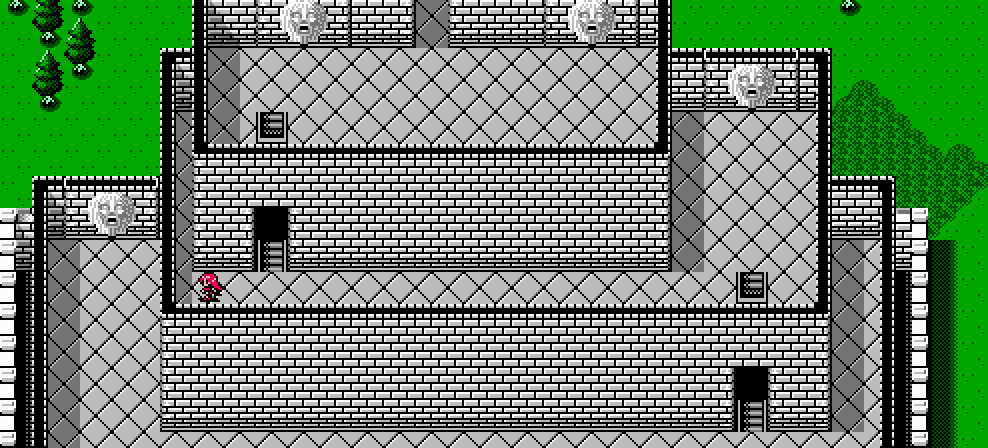
The first new music in awhile. Right away we have two shrines for some last-minute power-ups.
I don't think I have to tell you which one is better. Anyway, we'll pick these up later.
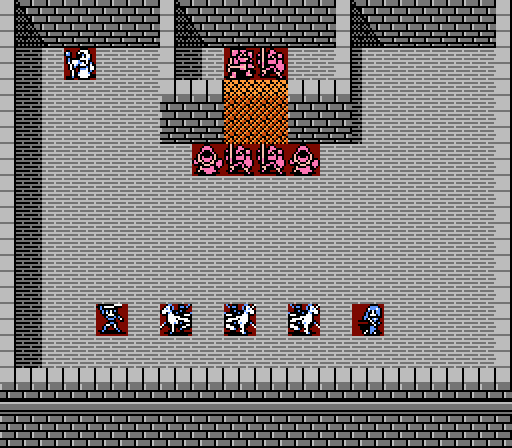
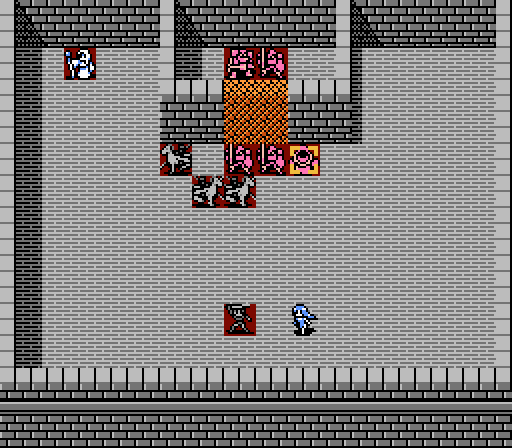
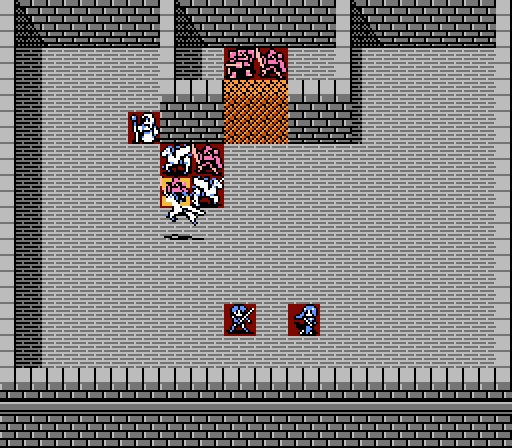
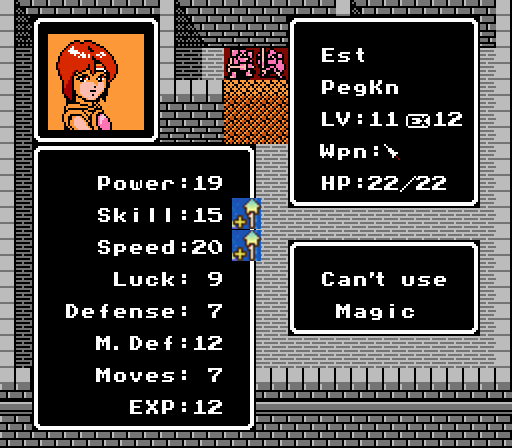
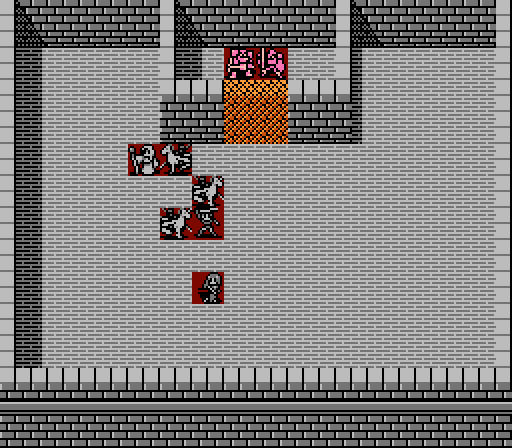
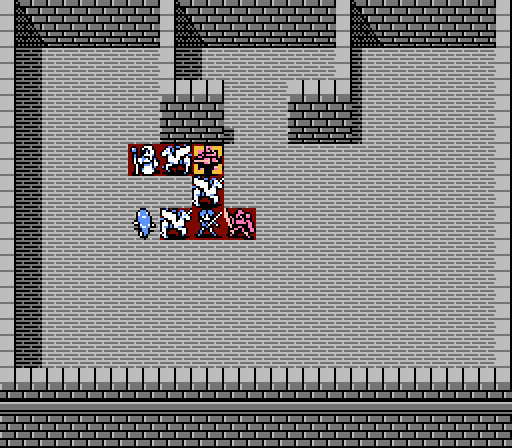
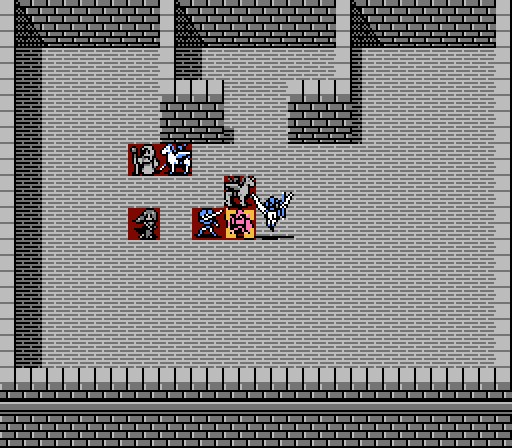
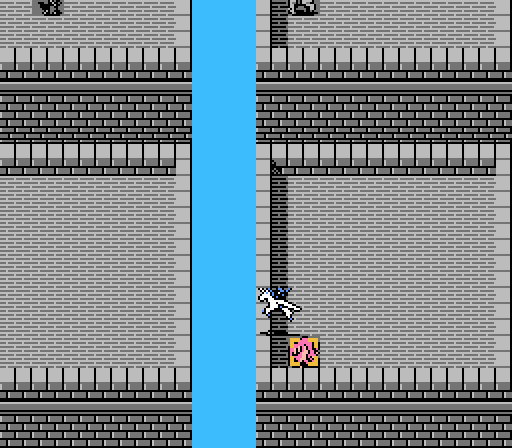
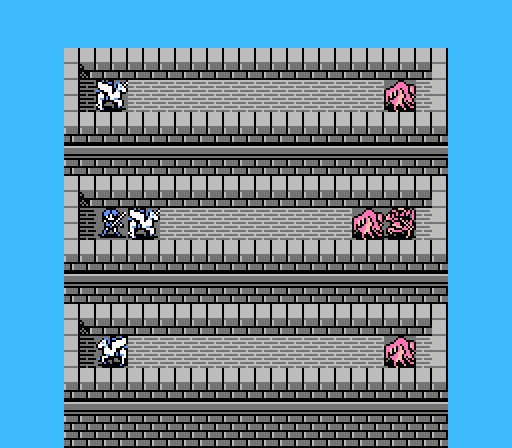
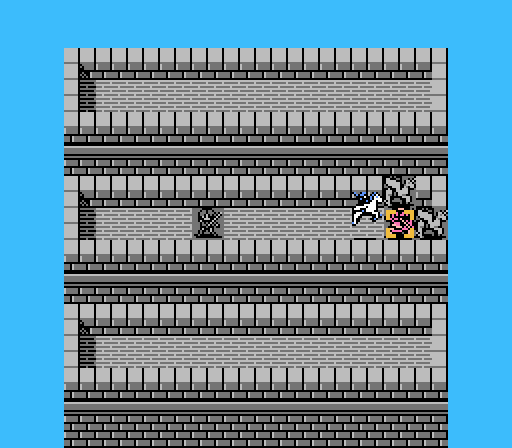
Door number one holds a small skirmish. You only get to bring six units with you (the first six on your roster), and you're rather exposed with no terrain or cover to help you out, so bringing the pegasus knights is recommended due to their high mobility and general awesomeness. Sonia's also here with the Magic Ring for extra range, and Jenny's got full-range healing with the Physic spell. It's an all-female army here.
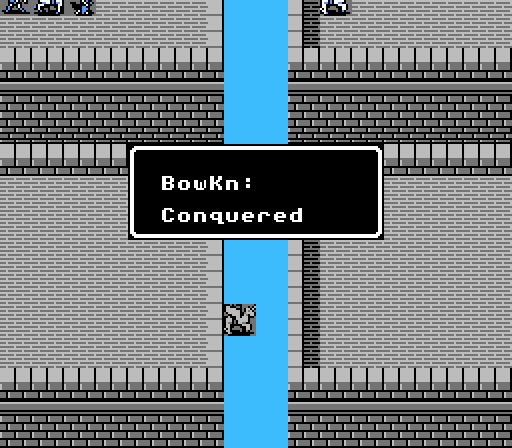
The strange barrier will lock in the high knight and the third slayer for a little while, but don't trust it.
Turn 1
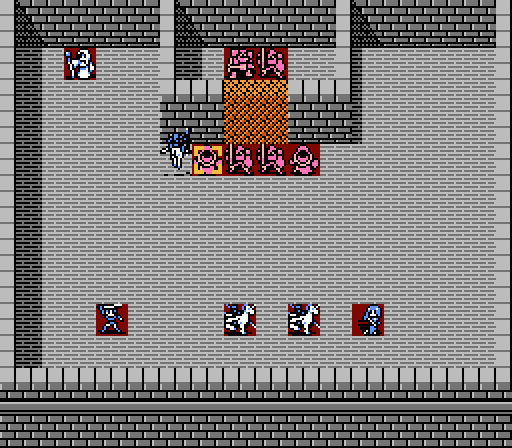
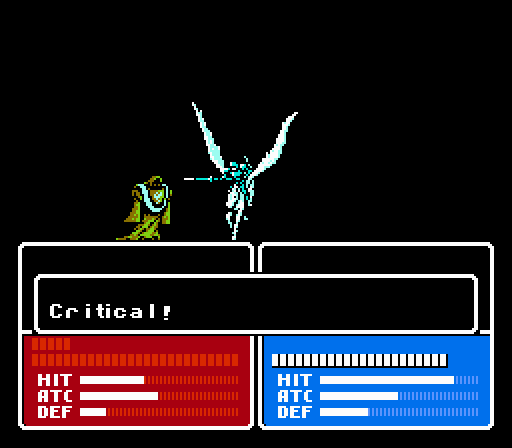
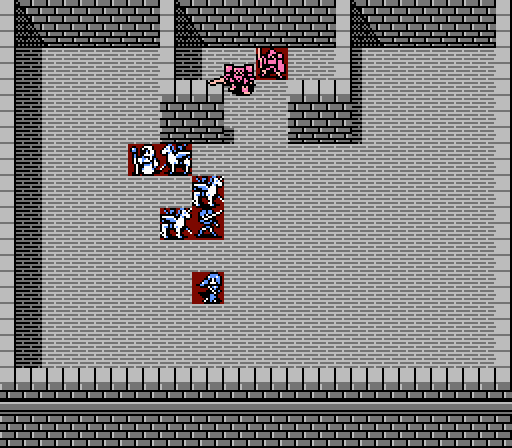
Est takes out the first wizard immediately with a crit.

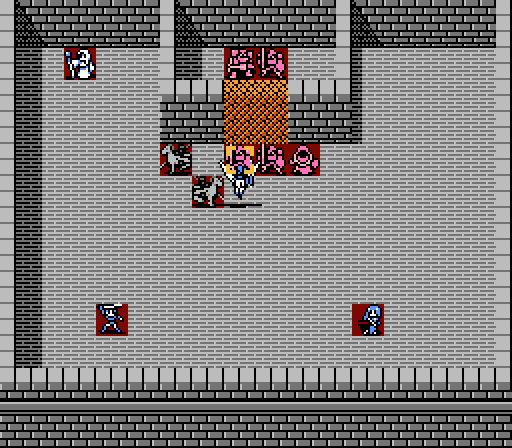
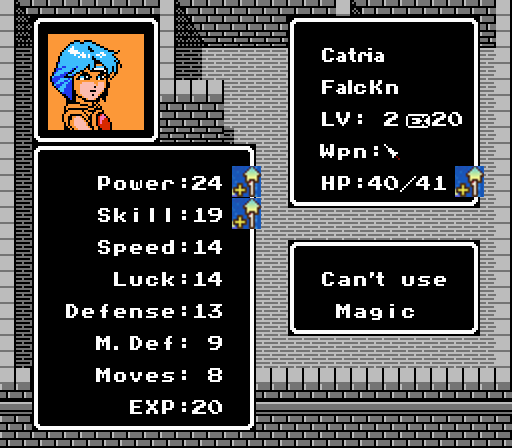
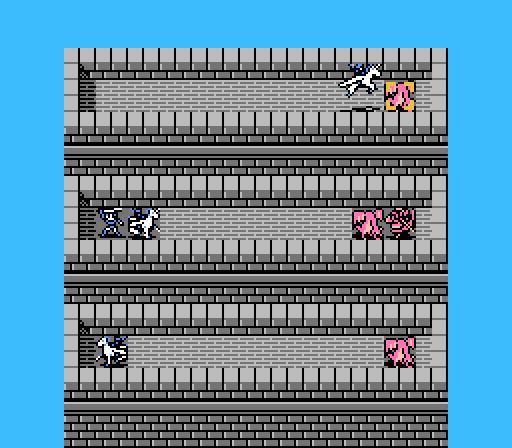
Catria and Palla team up on a slayer, but they're too slow to get in two attacks so it lives through the assault.
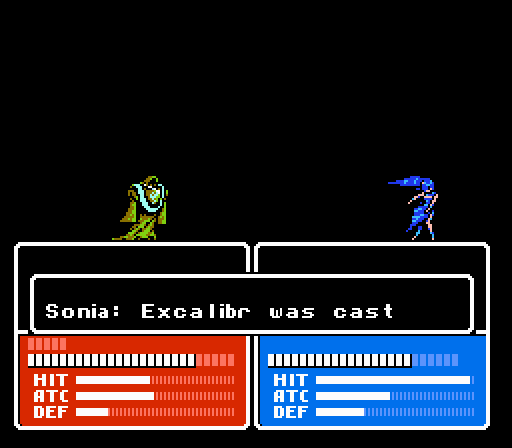
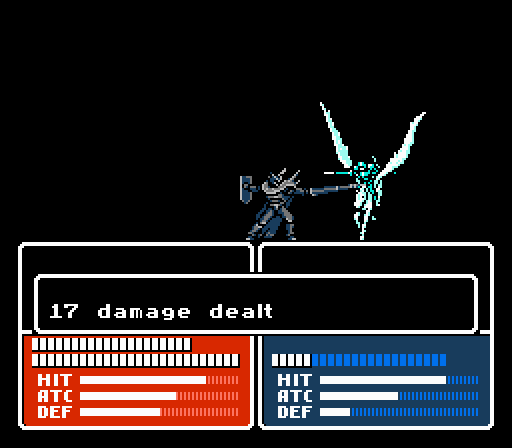
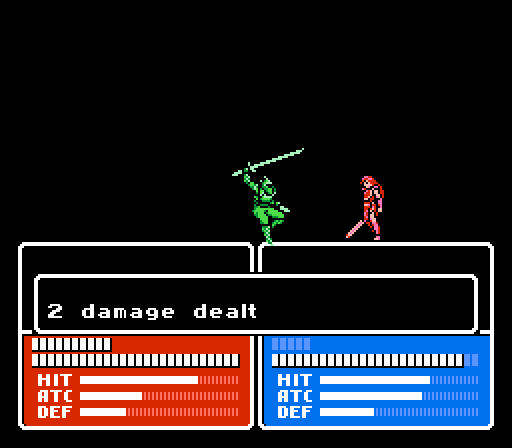
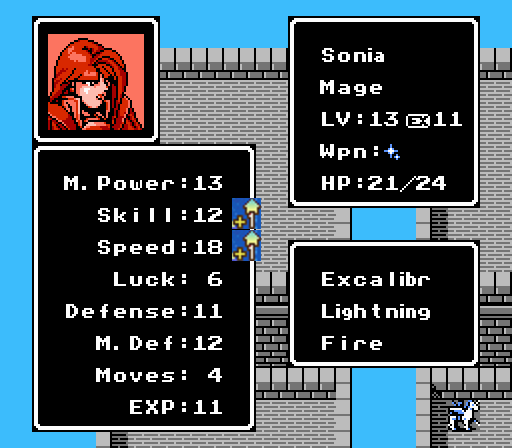
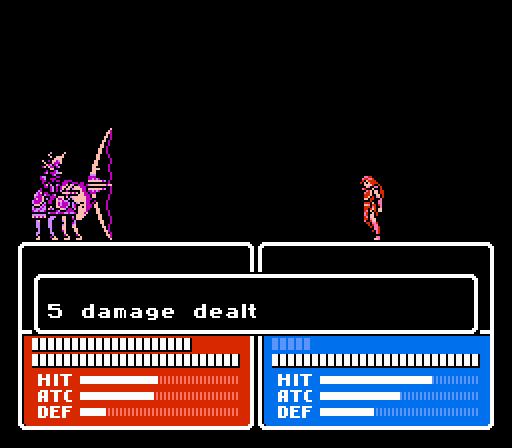
The slayers have a very high Magic Defense (15) so Sonia's going after the remaining wizard instead. Her second shot of Excalibur results in a killer crit.

Jenny heals up the HP that Sonia lost from casting Exclalibur twice, and the turn is over. The slayers can both reach Sonia, but she actually has a good enough Defense and Speed to fight them both off if necessary.
Est has a paper Defense so both slayers go after her instead. She's fast enough to get in two counterattacks but misses both on the injured slayer.
Turn 2
Palla sets up a special formation to eliminate the healthier of the two slayers.
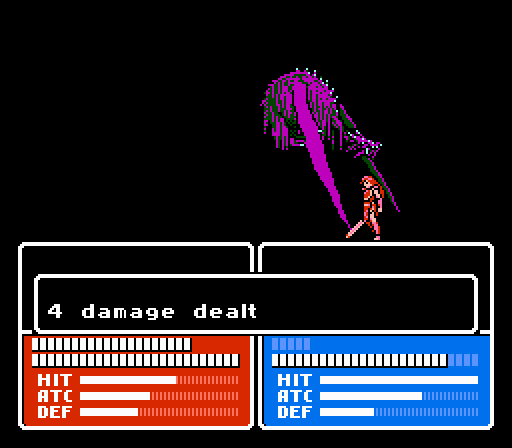
Celica gets involved with some Excalibur action of her own, weakening the slayer enough for Est to take the kill.
Faster and faster. She misses having the Angel Ring, though.
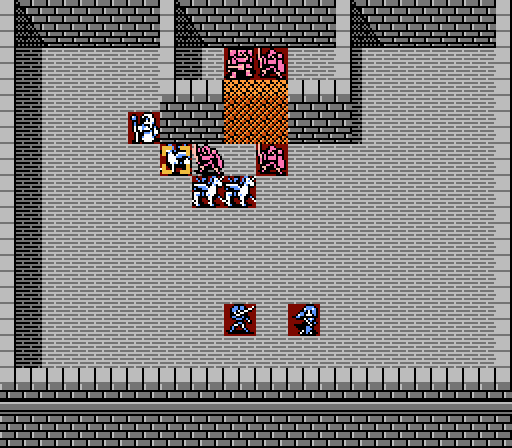
The barrier comes down suddenly at the end of the player's second turn, freeing up another two strong units for the enemy. Really it's better that they were divided up at the beginning, anyway.
Est takes a big hit from the high knight but survives.
The last slayer scratches up Celica, who misses her counterattack.
Turn 3
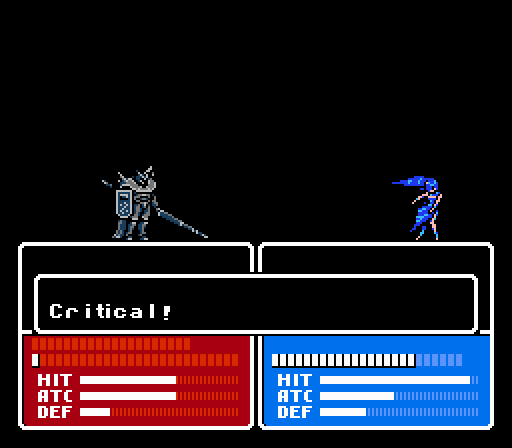
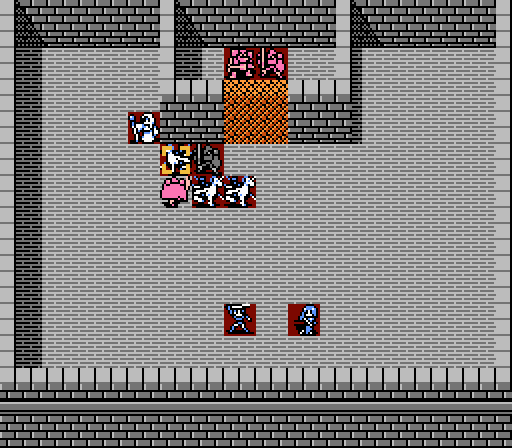
You should know this by now, but high knights are easily beaten with magic. Though getting another crit certainly helps.
Catria finishes off the high knight from a distance here.
She continues to be great.
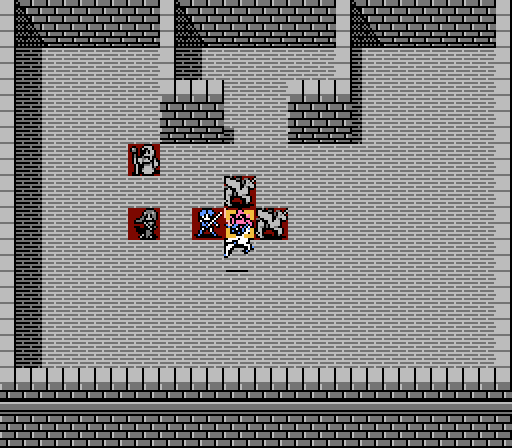
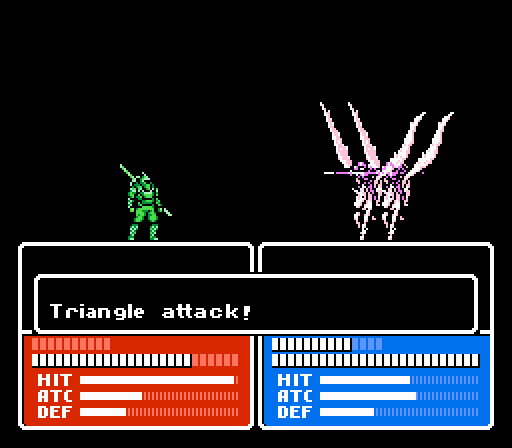
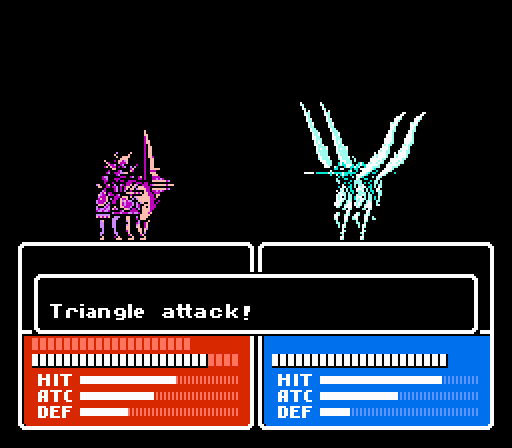
Palla and Est set up another triangle attack to end the battle.
_-_Chapter_4_Part_13_Battle_1.gif)
Est makes it interesting by missing the first triangle attack somehow, but comes through with the second attack.
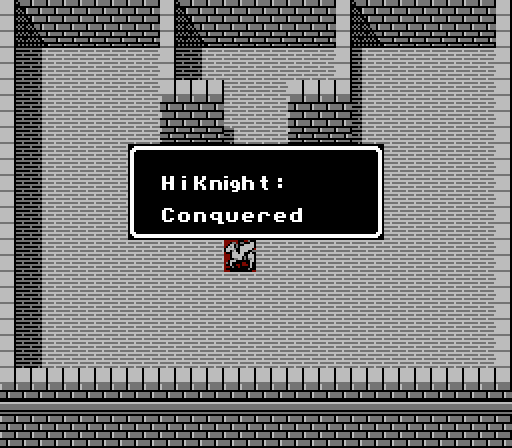
Round one complete! What, you didn't think that was all there would be in the tower, did you?
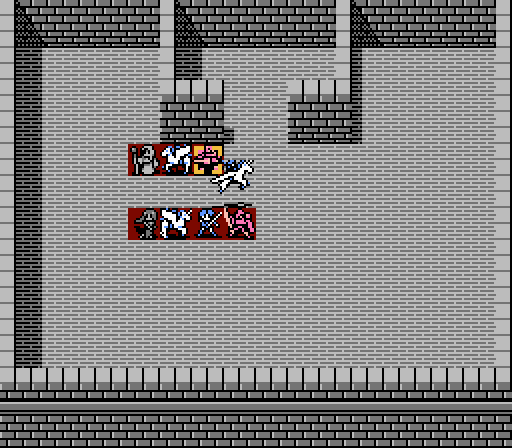
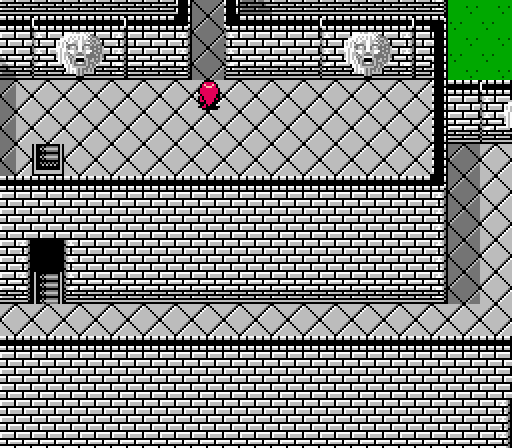
Time to move up.
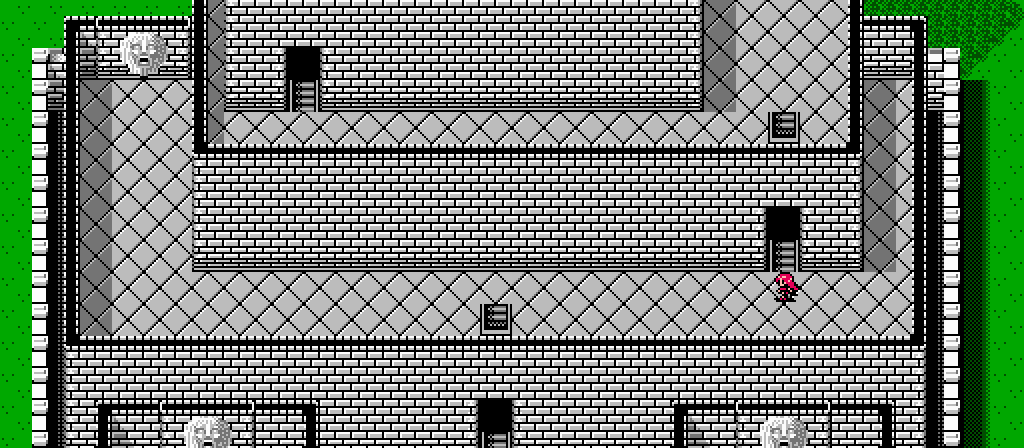
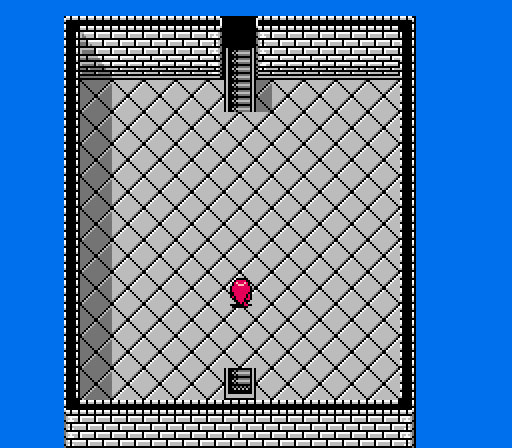
Behold, the second floor of the tower.

Skill is nice, but again I'll wait until the end for these. Anyway, the path forward is pretty obvious, just enter the next door and prepare for another battle.
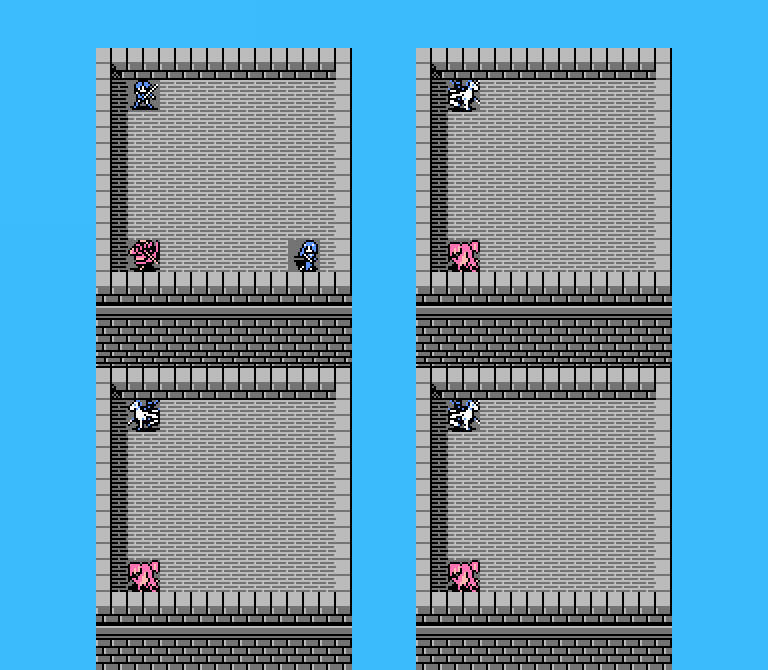
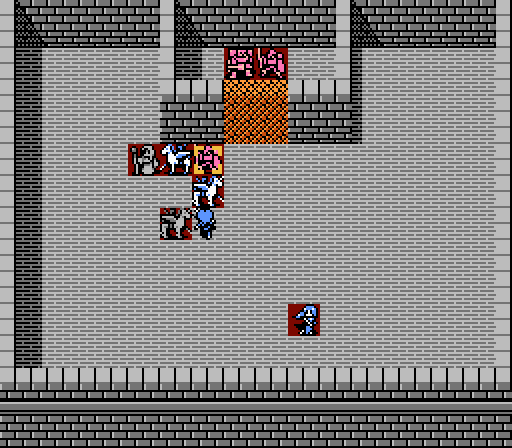
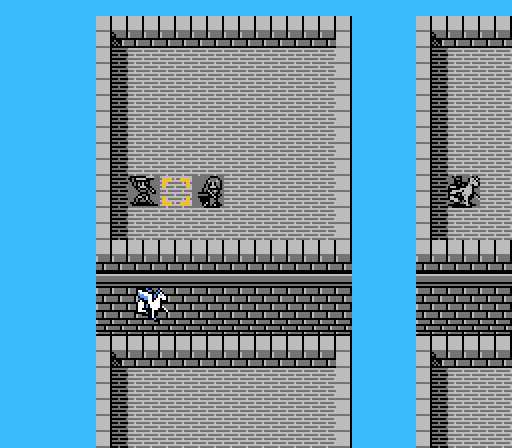
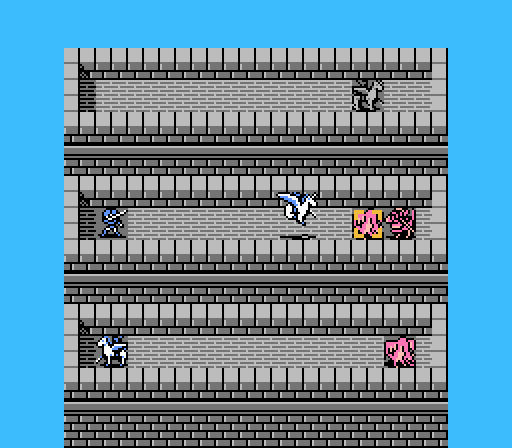
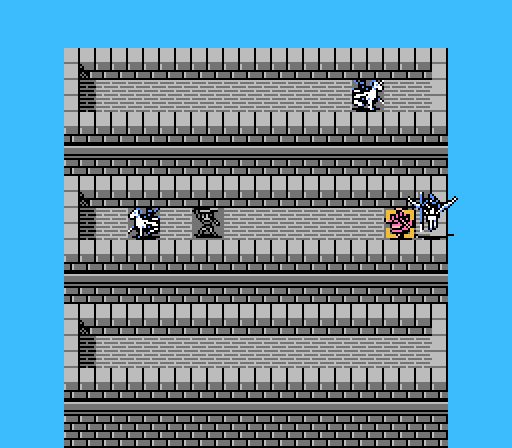
A bit of a gimmick battle, really. You get five units isolated to four towers. The intent is to have four mini-duels going on at the same time. However if you're clever and bring your fliers, you can ruin the whole setup since they can go wherever they want. As an added bonus, as falcon knights Palla and Catria can one-shot the dragon zombies, making this fight even easier.
Turn 1
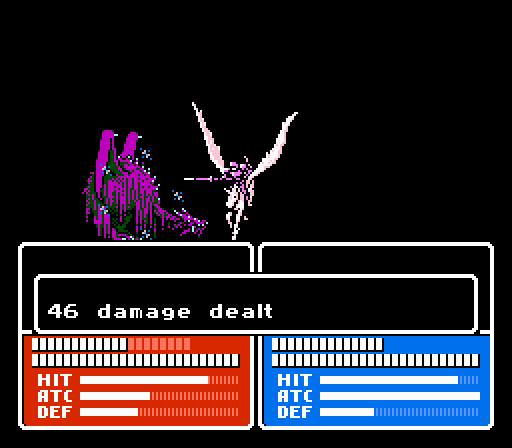
Celica and Sonia finish off their opponent quickly, with Sonia pulling out another Excalibur crit.
Speedy mage.
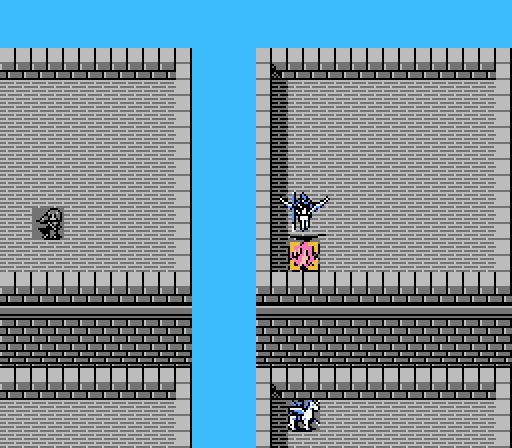
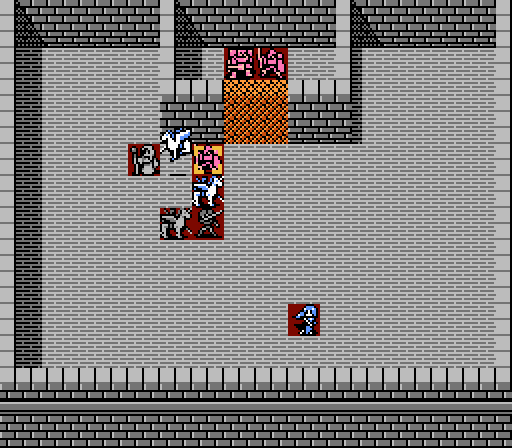
Palla wins her duel instantly. Note the little mini-angels (smaller versions of the effect of the Angel spell) whenever the falcon knights attack a monster - that's the sign they're getting an effective bonus in this case.

Catria does the same.
Est isn't promoted so can't really stand alone against her dragon zombie, so she retreats.
The last dragon zombie can't reach anyone, but kindly puts itself right in Catria's grasp for next turn.
Turn 2
Catria one-shots another dragon zombie, and the second tower battle is complete.
I'm not sure how there were four floating towers inside the second floor of the tower like that. Anyway, we head up to the third floor now.
The third floor looks much like the second, just a bit smaller.
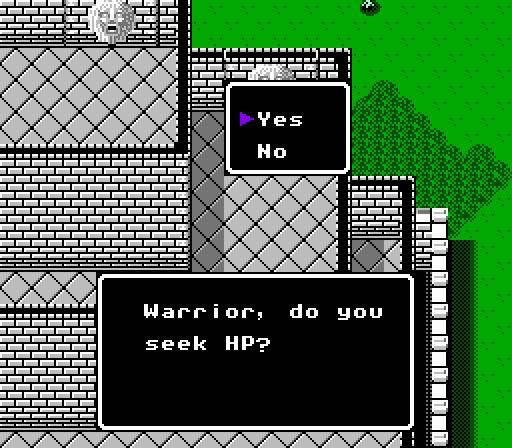
This shrine, which gives HP, shares its uses with the previous shrine, which gives Skill. If you didn't know better you probably used the shrine three times for Skill, and then got here to an empty shrine and just lost out on HP. Not really a big deal - Skill is usually better to have at this point, since most of our units are in the 30-40 HP range already. Anyway, enter the door for the third battle.
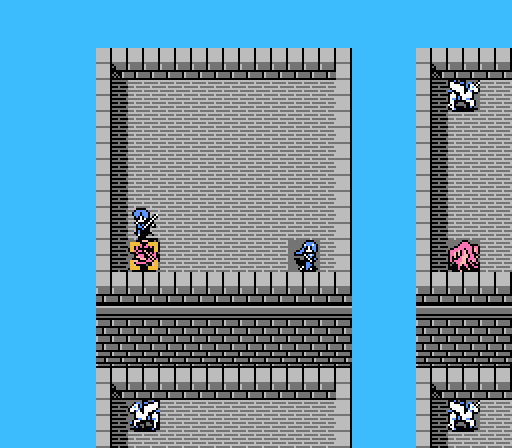
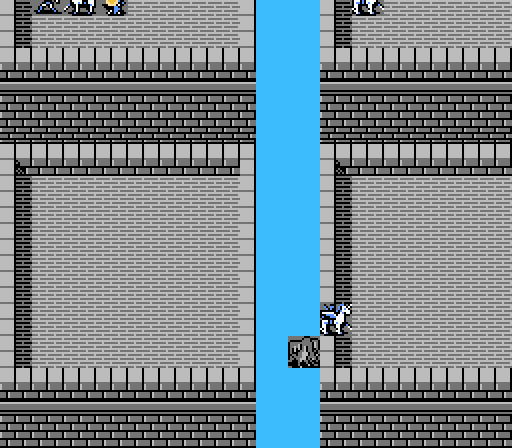
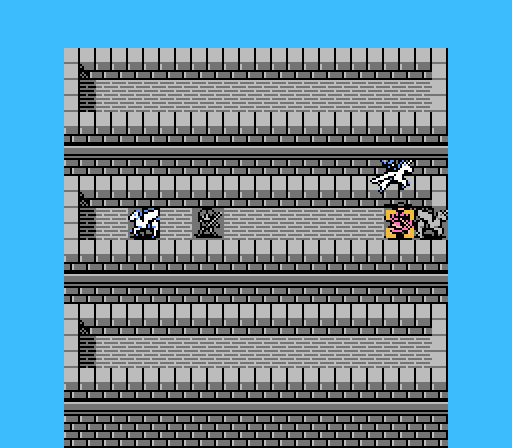
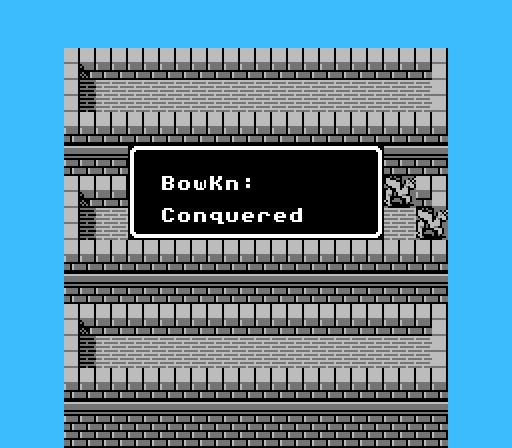
Similar to the second battle. We're down to four units now, facing four enemies on three different wall segments. Again you'll want your fliers to trivialize this battle.
Turn 1
Palla and Catria immediately wipe out two of the dragon zombies.
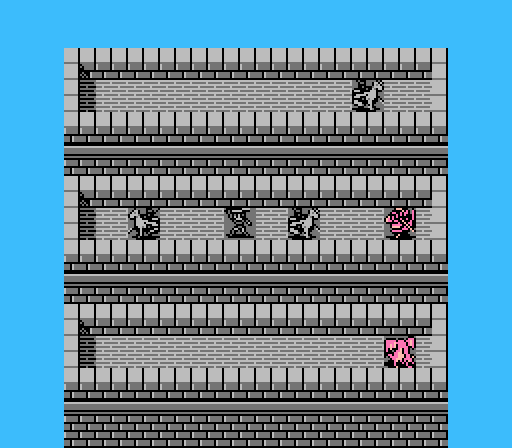
Celica moves up a bit, while Est hangs back out of the bow knight's range.
The bow knight and the last dragon zombie both go after Celica, but she's tough enough to take it.
Turn 2

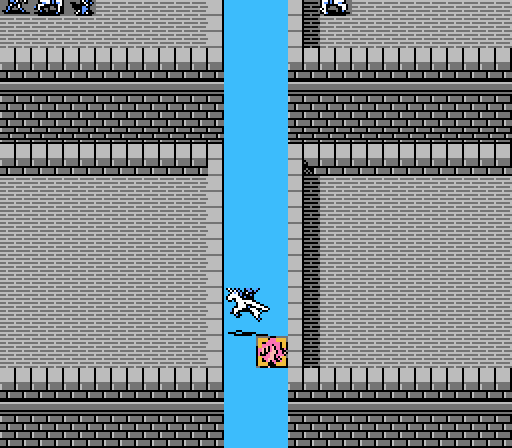
For a change of pace, Celica finishes off the dragon zombie with her Angel spell.
Catria and Palla should have been enough to kill the bow knight, but Palla somehow missed both of her attacks.
Not a problem for Est and the triangle attack, though.
And just like that, the third battle of the tower is complete.
Continue up the stairs again.

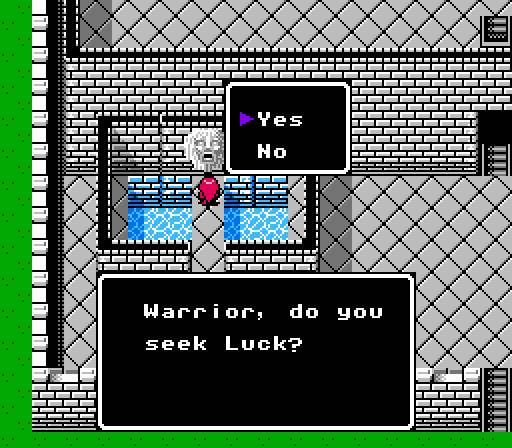
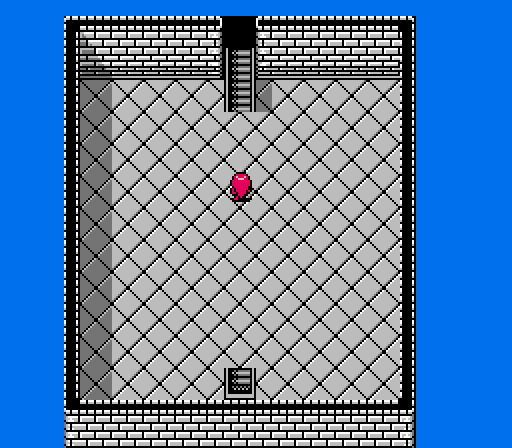
The fourth and final floor of the tower brings two more shrines and an open passageway leading...somewhere.
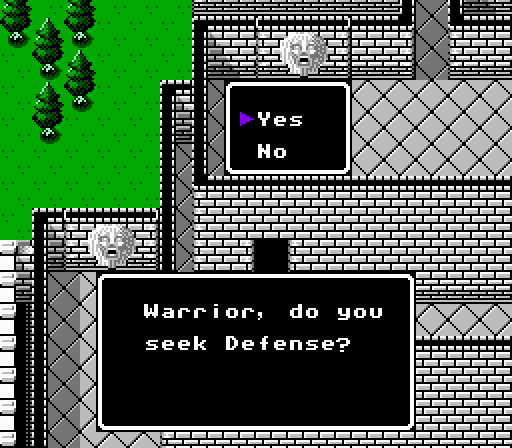

The last two shrines are the best. You'll get three increases of Power and/or Defense here.
Going to stop at this point so that Celica can grab all of the shrines. Here's the recap of what's available:
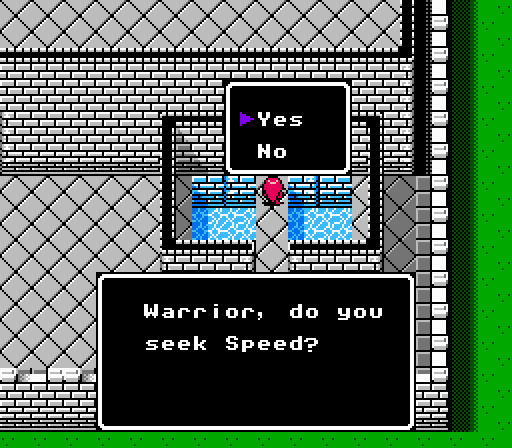
Shrine 1 (+Speed): VOTE HERE
Shrine 2 (+Skill): VOTE HERE
Shrine 3 (+Power and +Defense): VOTE HERE
Apologies to Boey fans, but Celica only gets to use 10 units from here on out so the following units are permanently benched: May, Atlas, Noma, Boey, Jesse.
Next time:
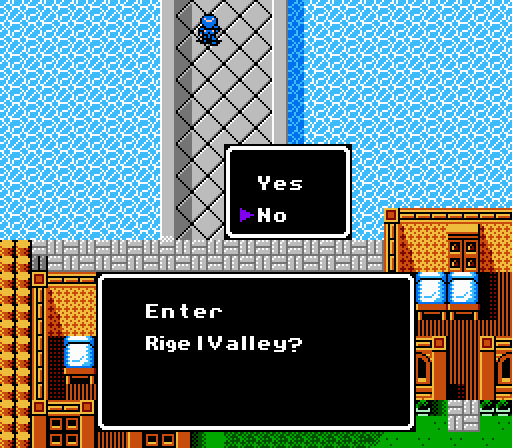
Alm enters Rigel Valley.