Part 17
I'm not planning to do any more LPs any time soon... I mean, this one was fun to do but a fair bit of work and time commitment, and I have a lot of obligations to meet. If things got less busy for me I wouldn't be completely adverse to the idea if I could find the right victim. Story-driven games that take themselves too seriously are good candidates. Future Wars would be pretty much perfect, although I'd need to find somewhere I can download it, get it running, and actually finish it for once.
Anyway.

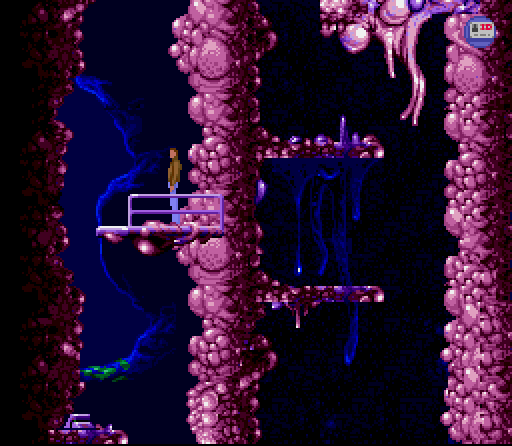
From where we left off last time, we head up.
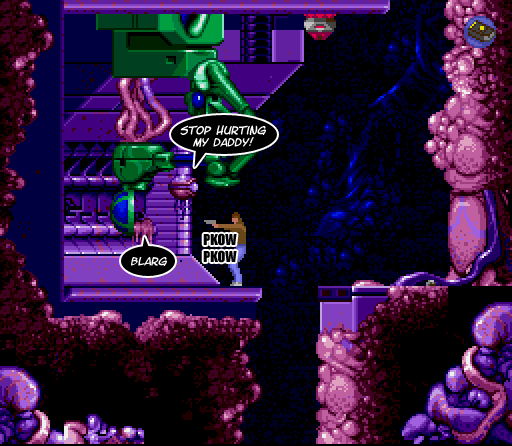
Where there are two danging Morphs to fight. Fortunately, as with many moments in the game, the very similar and predictable AI cause multiple enemies to group together very tightly, and then it's just like fighting one enemy with twice the hit points.
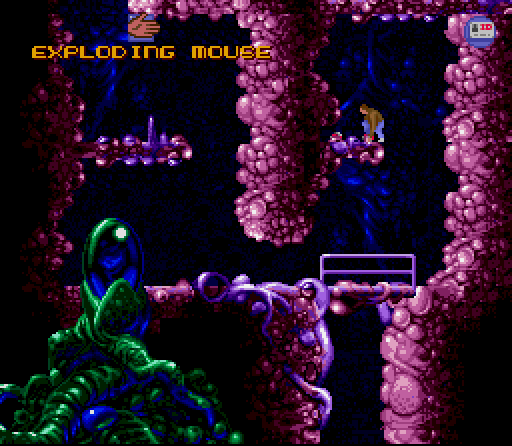
Some deactivated exploding mice can be picked up from here if we feel inclined to trap setting. It's too little too late, though, because they can't hurt Morphs when they're in blob mode and Morphs are very rarely not in blob mode. Conrad takes them anyway for the company.
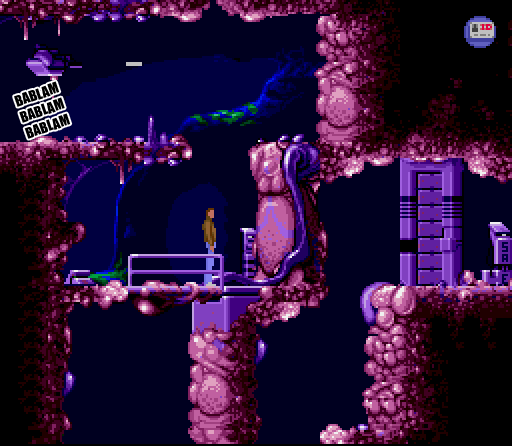
A short arduous climb supervised by a weird flower monstrosity...
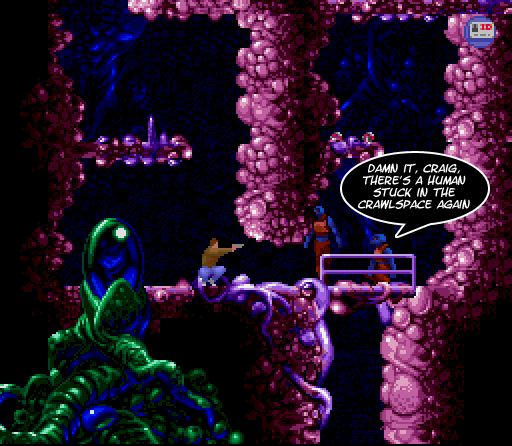
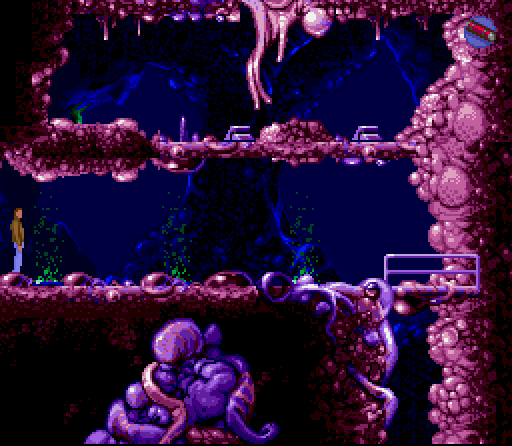
...leads us to an area with a big pink bubbly tower like the planet's hugely diseased cock and a locked room with two morphs imprisoned.
Up in the lift we go.
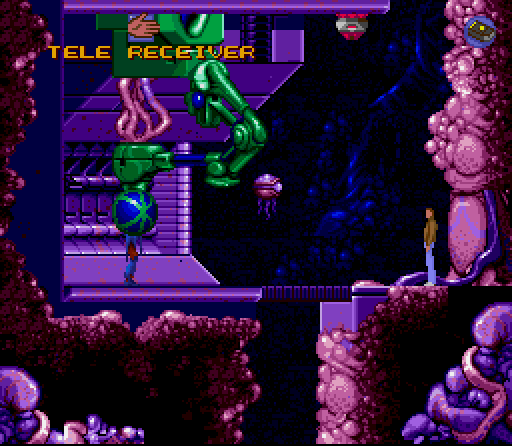
The lift triggers a tripswitch and now that turret won't stop firing. We have to send the elevator back down with the other switch before it'll be safe to venture further, and this will complicate matters later.
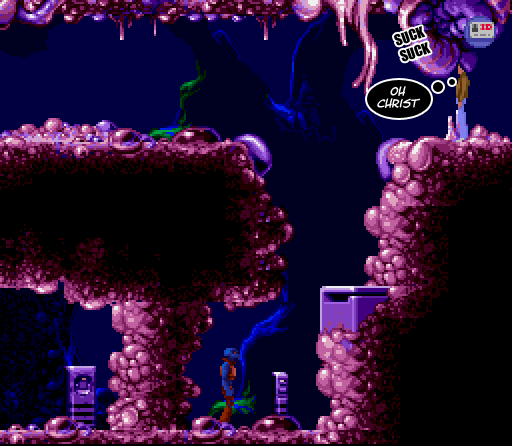
Conrad finds himself in another room, positioned in such a way that it looks like a piece of foreground is sucking on his head.
The objective is to hit the switch that the Morph is guarding. The Morph may raise some objections to this so we have to get him out of the way. We can't roll around on the lowest or middle level, so we have to lure him up to the top. Again, it's pretty much entirely chance whether or not the morph succeeds in hurting you on the way up.
Eventually we get it all sorted out. Now we can press the switch, which opens that door in the last room. You know the one I mean.
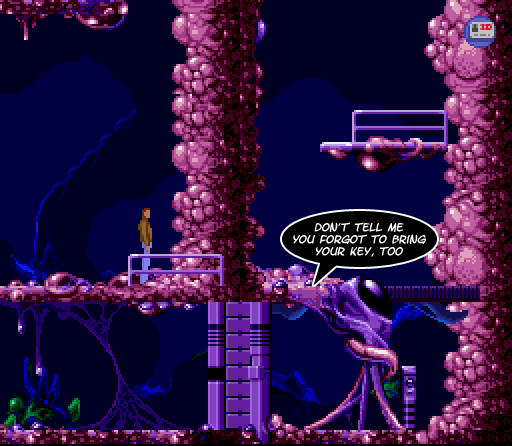
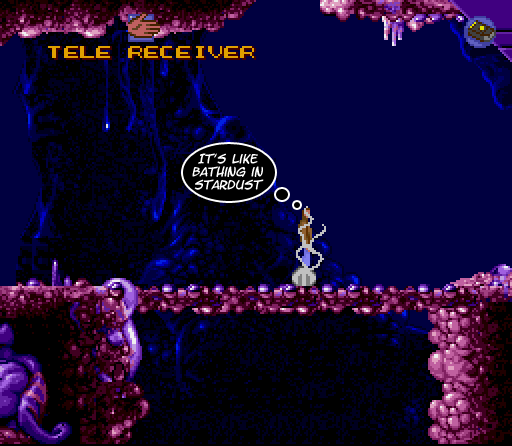
But now there's no way back down, because we dismissed the elevator. So we just drop the teleport receiver down there, right? Nope, because since Conrad insists on doing his stupid baseball pitch all the time, the receiver will overshoot the hole from wherever you stand. If he could just drop it down the hole then all would be lovely, but no.

So what we have to do is reload a save state and pre-emptively leave the teleport receiver down there before we head up in the lift. There are puzzles, and then there are puzzles, and then there's this, which is retardation.
Anyway, those two morphs have been freed now so we get them out of the way.
Through the door we opened earlier.
Here's another timing puzzle involving those tiresome Little Green Showers of Bastard. A robot mouse in the inaccessible area above trips three switches in rhythm which momentarily turn off corresponding LGSBs. I suppose we could just time our movements to coincide with the mouse, or we could show off with our knowledge of bug exploits.
For whatever reason, if you go into a running jump just as you enter an LGSB, you won't die, and the second one won't hassle you either. The third one we have to avoid in the intended manner but still, that's a serious cut to the workload.
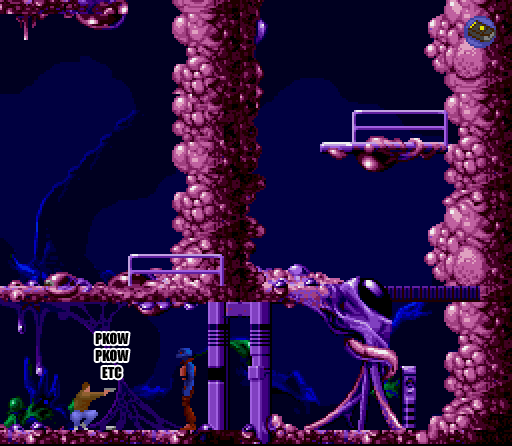
In the next room is the third and final red dog thing in the game.
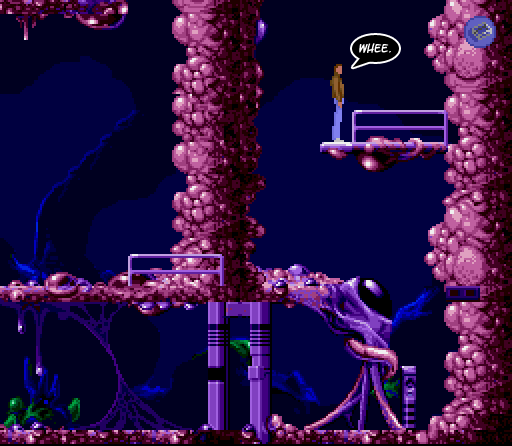
Having made an alien species extinct, Conrad celebrates with some air guitar. Not really of course - he's just chucking the teleport receiver down the hole.
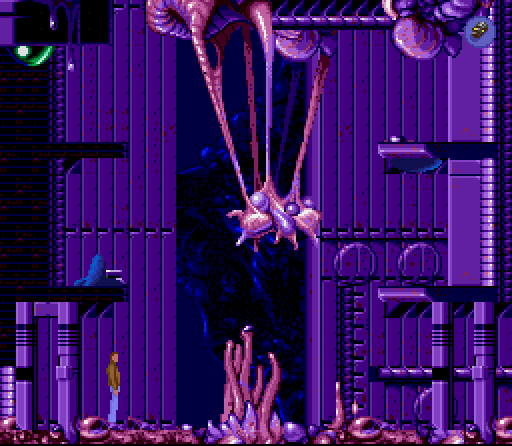
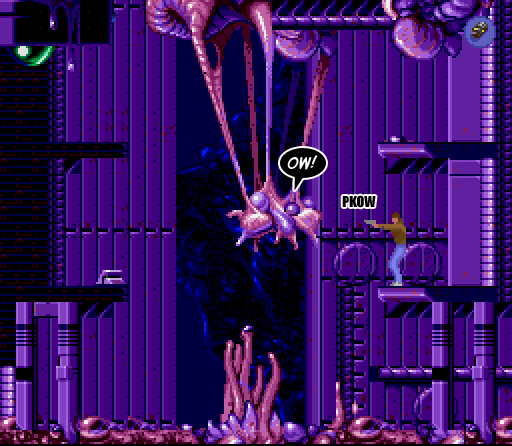
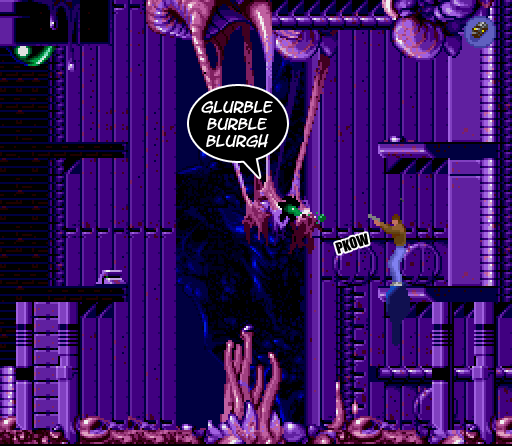
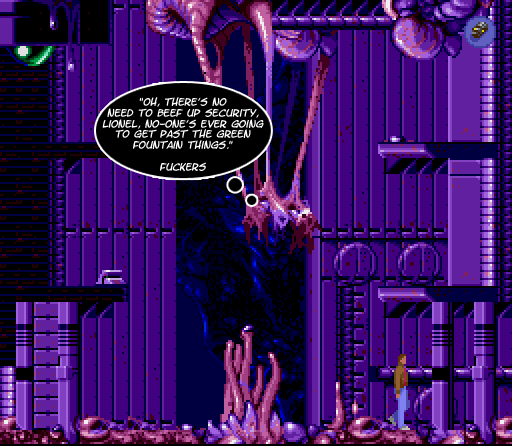
This is the auxiliary brain. It's the spherical thing hanging down at a convenient firing level. In itself, it has no defenses. It is guarded, however, by a morph (easily killed), a thing on the ceiling that drops bombs (easily avoided), and a currently invisible gun turret that fires irregularly (easily foiled by ducking).
Once we know our way around the defenses, all we have to do is shoot the auxiliary brain a few times and it melts into a puddle of the slime from Ghostbusters 2.
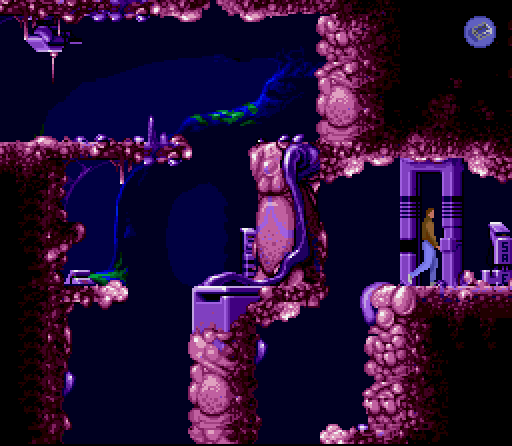
Again we chuck the teleport receiver down a hole to avoid a nasty fall and wind up here.

Heading left, we find ourselves back where we started this update.
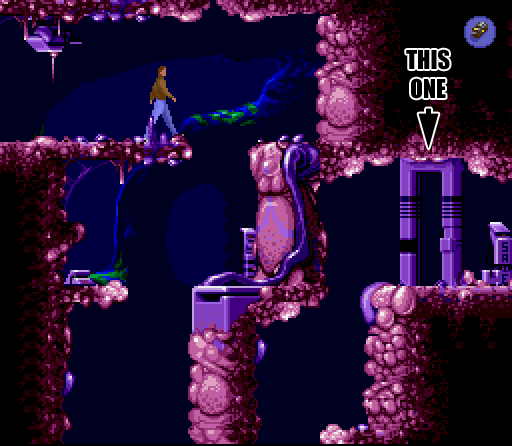
We keep heading left, 'cos now we've defeated the auxiliary brain, a new door will have opened up.

It's this one.
There's a brief and utterly pointless cutscene of Conrad riding the lift deep into the planet, to the sound of ominous music.
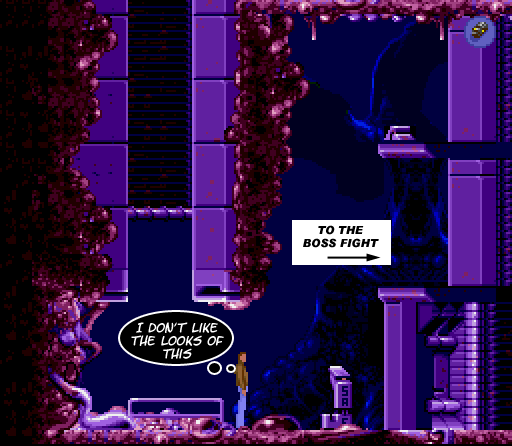
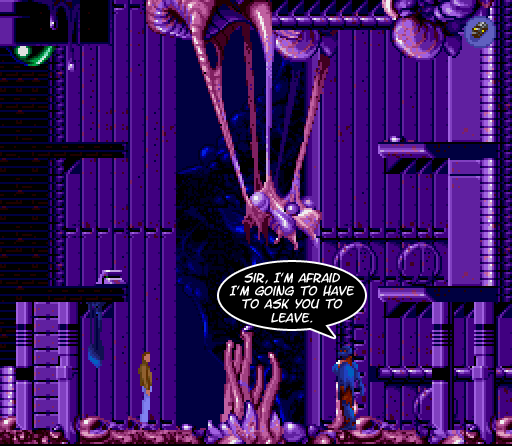
This is it, audience; this is what it's all come down to, the final battle with the Morph's [s]Mother[/s] Master Brain. It will be an arduous fight, or at least it would be if the brain had any defences at all, or even the ability to move.
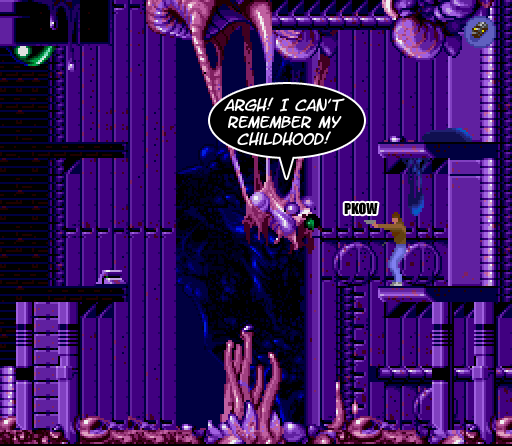
The super secret technique for killing Master Brain is to shoot it.

But you have to alternate which side you shoot it from, so that the damage is symmetrical. It's better Feng Shui.
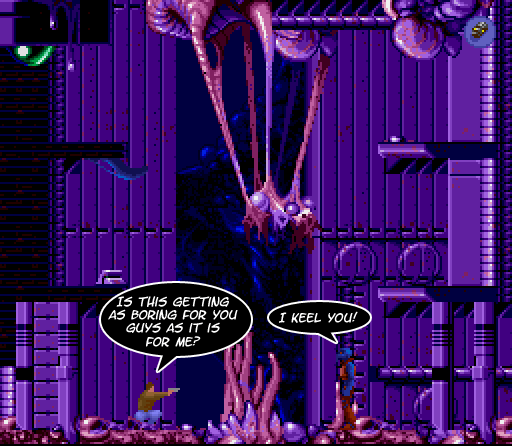
Every now and again the brain summons three morphs, but all of them have only one hit point, so they should barely slow you down.
So it's just a matter of shooting the brain...
...and killing the morphs...
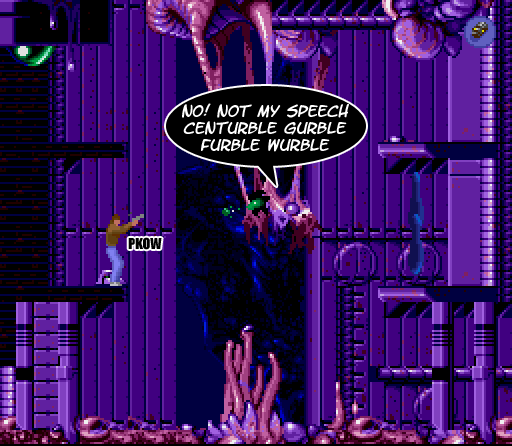
...and shooting the brain...
...and killing the morphs and shooting the brain...
...until the brain stops reacting to our shots and morphs stop appearing, which means we've won. Considering how steep the difficulty curve was earlier I'm feeling somewhat underwhelmed, here.
But it's not over yet! Join me for the next and final update to witness Conrad committing an act of atrocious genocide!