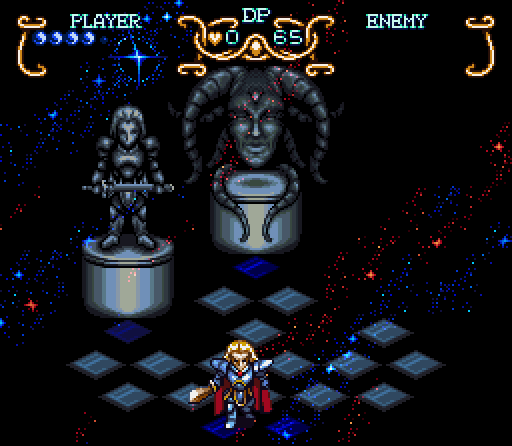
Part 4: In Which Will Cleans Out the Basement
Danger Abounds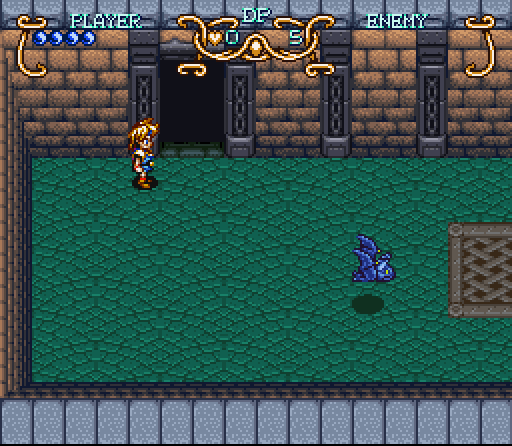
Stepping through the door we’re into a whole new realm of combat, with the bat as our new mortal enemy. Will attacks using his flute, but the bat isn’t actually that threatening and just flies around. Killing it clears the room, which means…
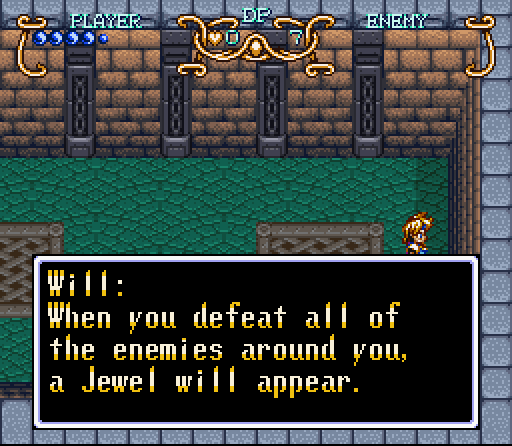
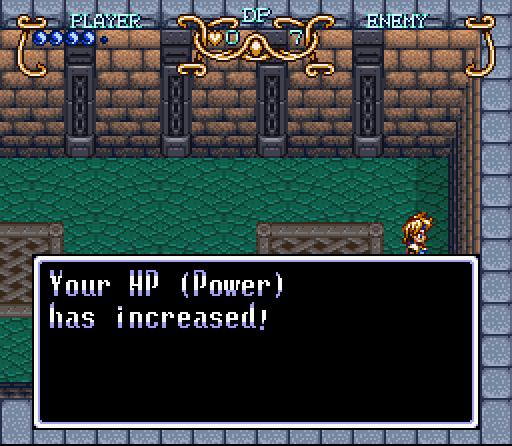
That we get an upgrade. Illusion of Gaia works a bit differently than other RPGs. Rather than giving you experience for enemies, you instead get an upgrade to one of your stats when you clear a room for the first time. The real kicker is this… you can’t grind. Once you clear a room you never get another stat boost from killing those enemies. You can’t brute force your way through with just being a higher level. There’s another facet to this mechanic, but we’ll talk about that when it comes up.
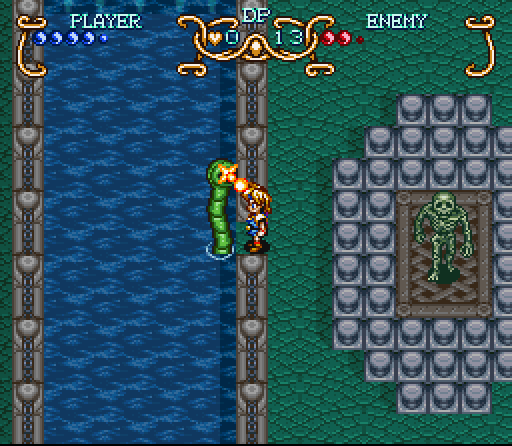
Moving on into the Underground Tunnel we soon find our next set of enemies. The enemy on the left is a Canal Worm, which will shoot fireballs at you. You can use Will’s telekinesis to block them, or you can just swing until it goes down. One thing to note is that Canal Worms don’t regain their HP when they go in the water (unlike enemies in Soul Blazer) so you can wear them down. Killing the worm releases the skeleton (or Ribber) which occasionally throws a crescent shaped bone at you. Clearing out another along the way clears the room and gets us a Strength upgrade.
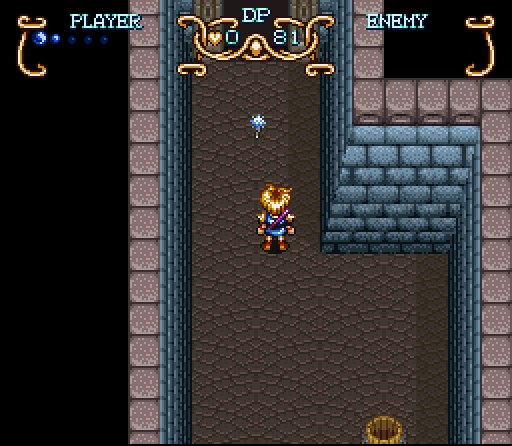
Our progress is stopped for a second, but this is a pretty big hint to use telekinesis. The observant among you might notice a little fluff ball, which can occasionally get in our way.
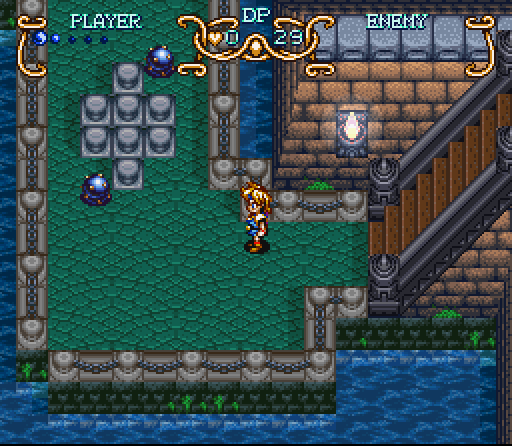
Next up we have these little guys, who aren’t enemies so much as obstacles. They’ll orbit around those pillars in a fixed pattern.
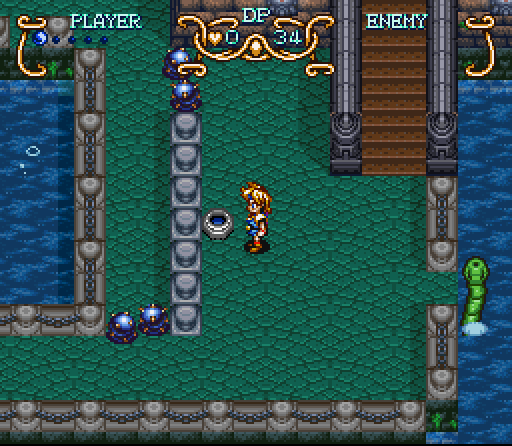
The next time we see them, the switch in front of us changes their direction of travel and creates a window to get past.
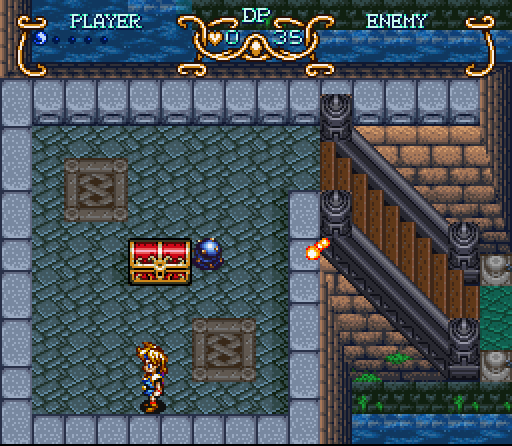
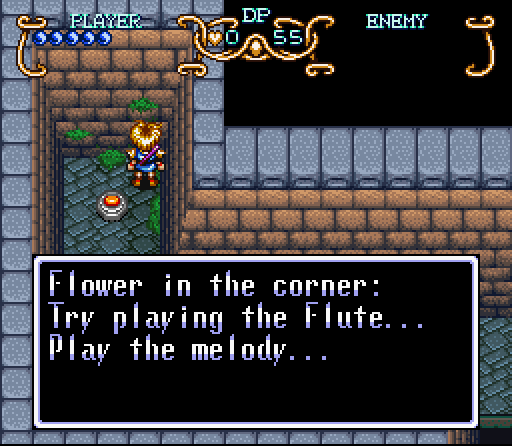
They can also be found around treasure chests like this one, which contains an herb. Herbs are healing items, restoring 8 HP (each large dot on our life bar is 2 HP), but there’s a bit of a catch. You can’t buy herbs. They can only be found, and there’s a limited number in the game. As such you should save them for emergencies, although this time I ended up using one since I was still getting the hang of the game. Clearing the room gets us a Defense increase, which is the third type of upgrade we can get.
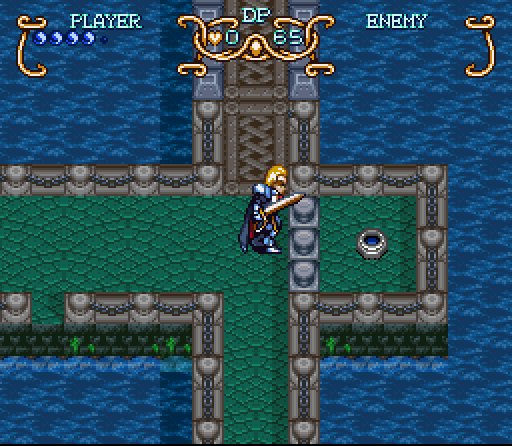
Past the flying spears we find a switch we can’t quite trigger…

With the obvious solution being to jump on it from above. Hitting the switch opens a doorway immediately next to it.
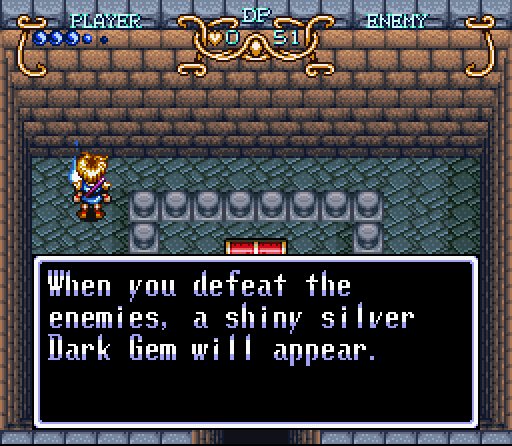
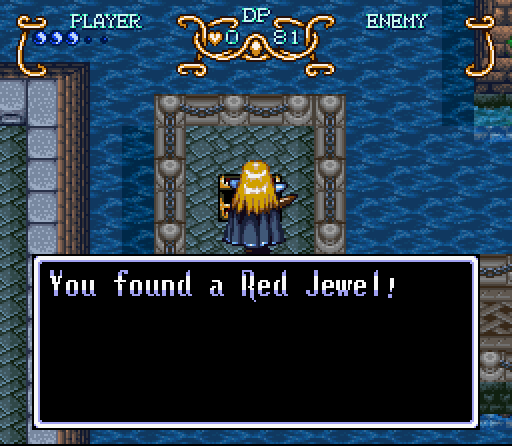
Inside we get an explanation on the jewel like the one we found in our cell and the ones that enemies drop. They come in differing sizes with different values, and if you get to 100 you get a life. This restarts you at the last door you passed through with 50% of your HP. This might be useful, but in a lot of situations just restarting from a save or save state is easier.
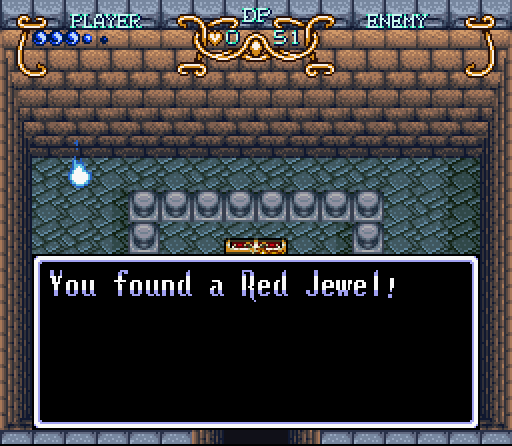
Our reward is a Red Jewel, and after that we can leave and clear out the north portion of this room.
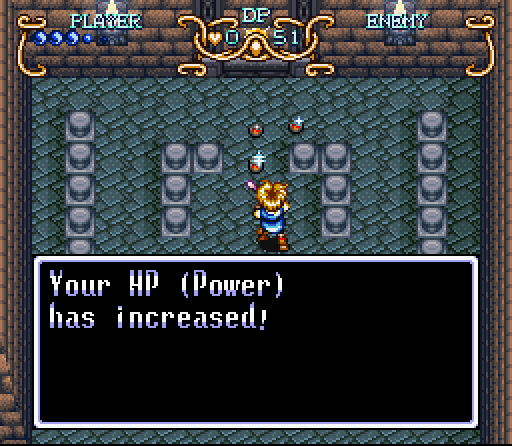
We can never have too much HP.

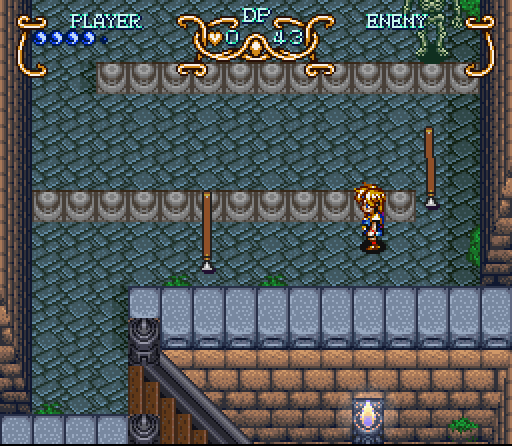
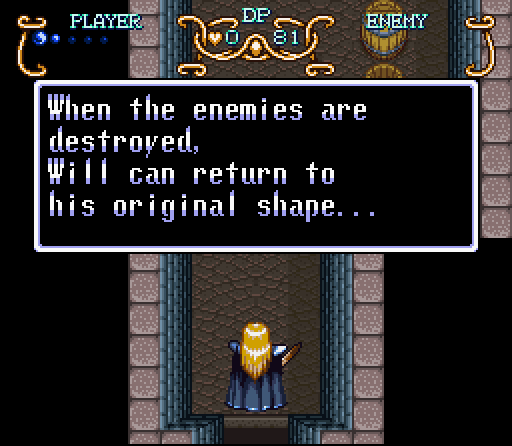
The next puzzle is a timing issue, which requires us to wait for the count of three and hit the switch. Failing gets us a scolding and we have to try again until we get it. Once we get it right, we go into a dark space…
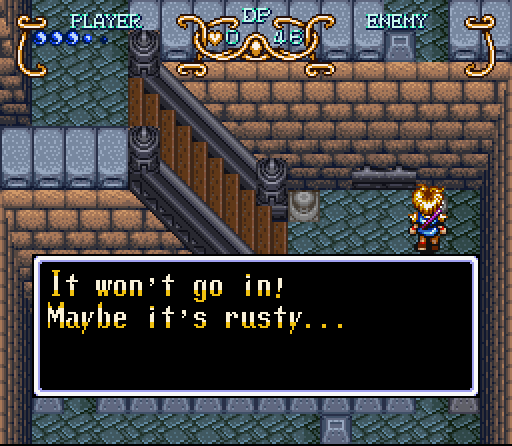
Transforming into Freedan gives us increased combat power and range, allowing us to trigger this switch behind the pillars so that we can proceed.
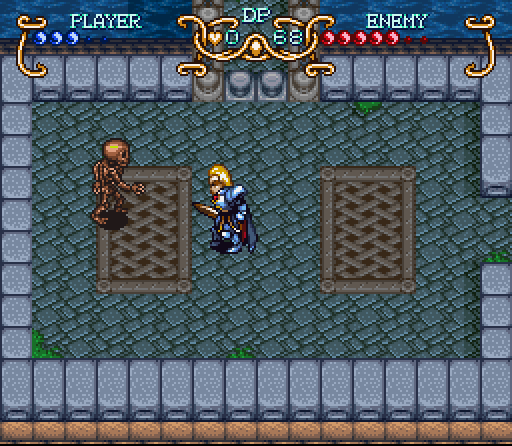
This route takes us to another enemy, the Skull Chaser. It’s a much improved version of the basic Ribber, with a special feature in that after you defeat the body the skull will fly around and have to be defeated separately.
The next area gets us a Red Jewel, which is kind of hard to miss. There are 50 Red Jewels in the game, but a number of them are dungeon treasures and are thus kind of hard to miss. The ones that you can miss, however, are a completely different matter. Directly south is a Canal Worm, who’s the last enemy we need to get a Defense Increase.
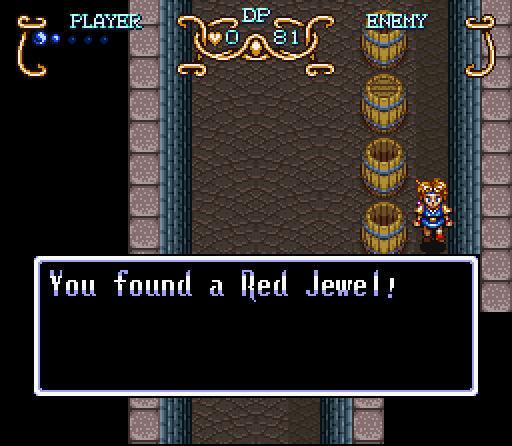
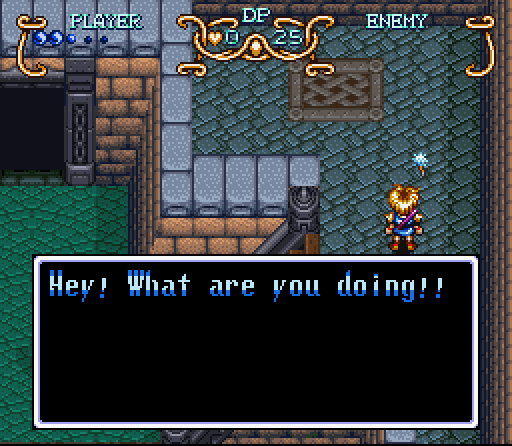
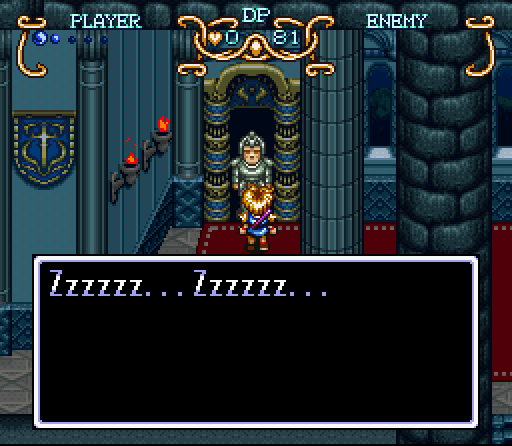
Yoink! This is an easy one to miss, since it doesn’t come in a chest. Moving toward the exit, we find that we’re not alone.
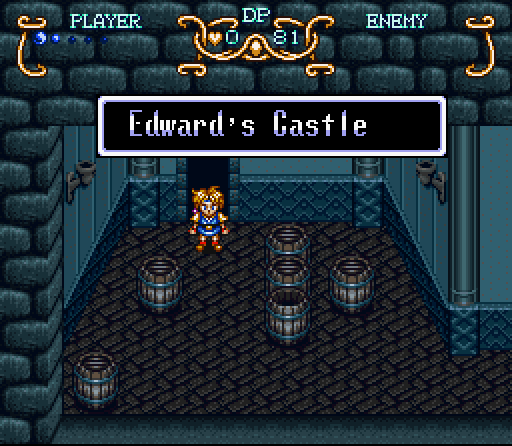
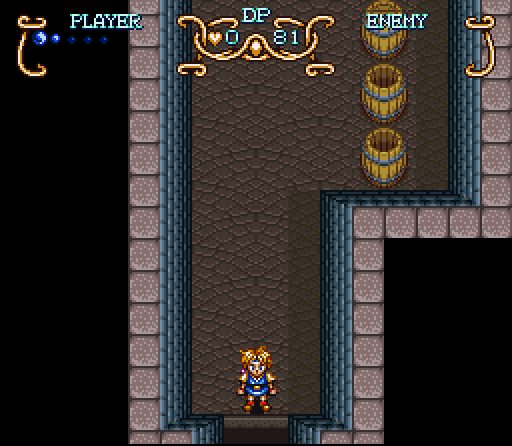
Passing through the door, we’re in to the basement of Edward’s Castle among the kingly wine and meat barrels.
Next update: Escape, and the Itory Village.