Part 28: In Which Will Cracks some Skulls
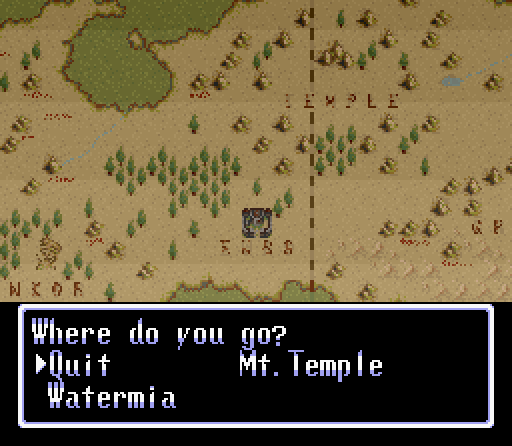
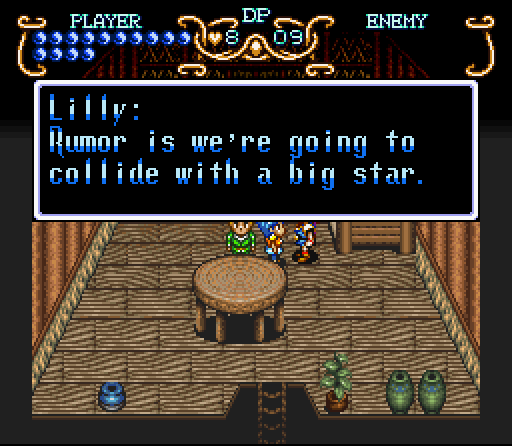
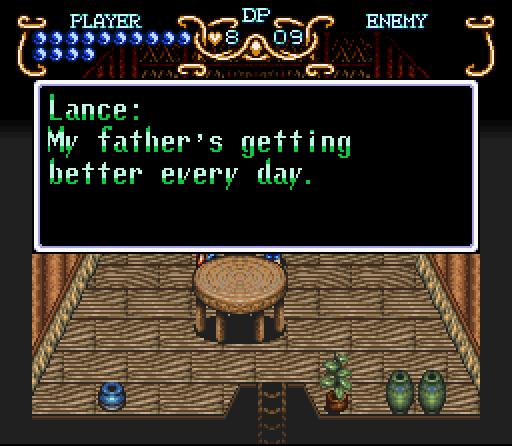
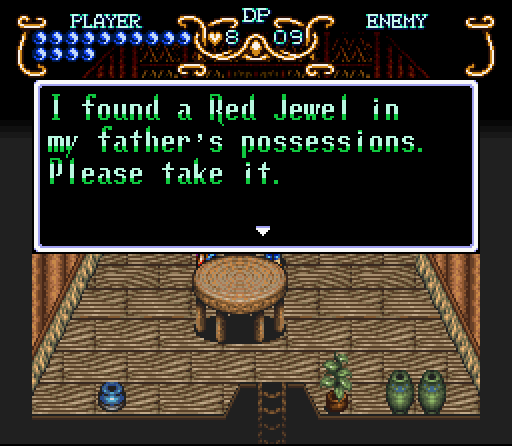
Our new objective is on Mt. Temple, but since we can head back to Watermia it might be worth it to check in on Lilly and Lance.
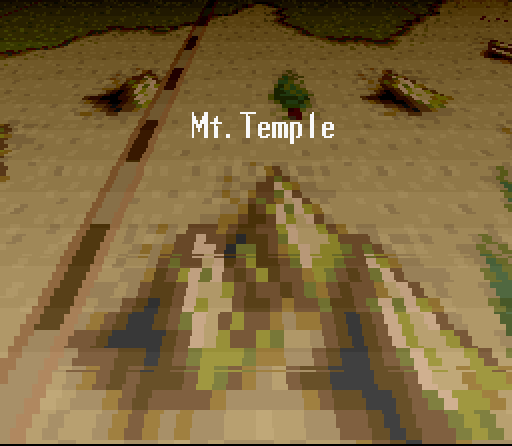
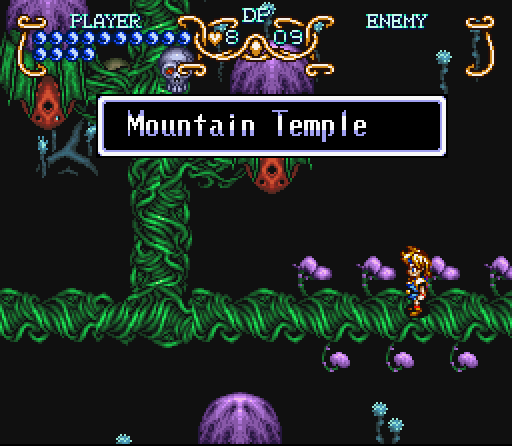
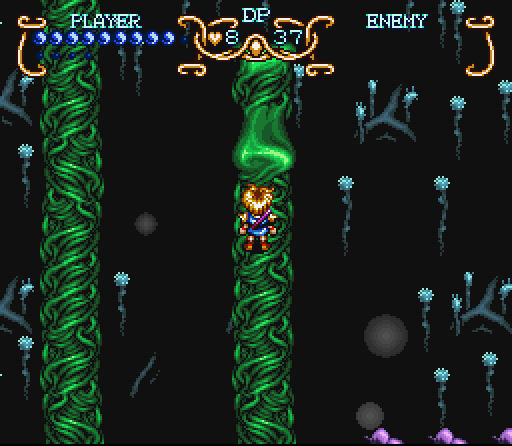
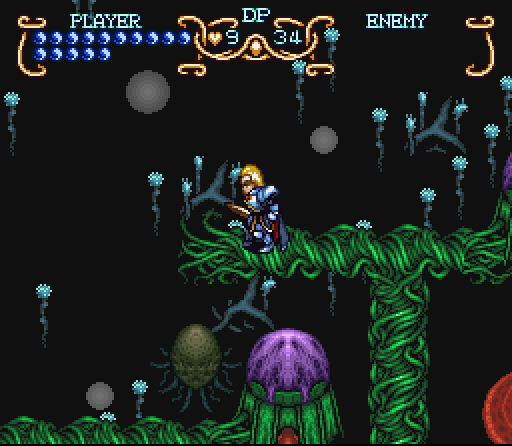
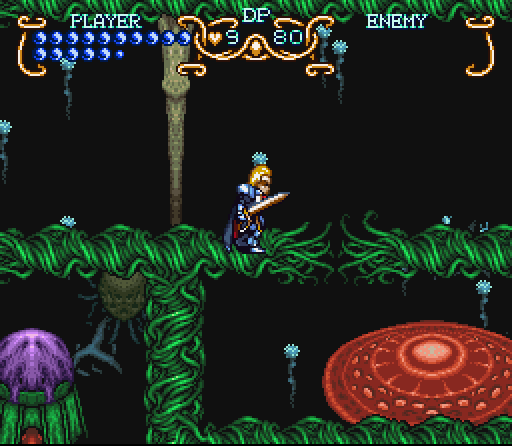
After that, we can head to Mt. Temple to proceed with the story. It’s… well, as you can see it’s pretty damn unique.
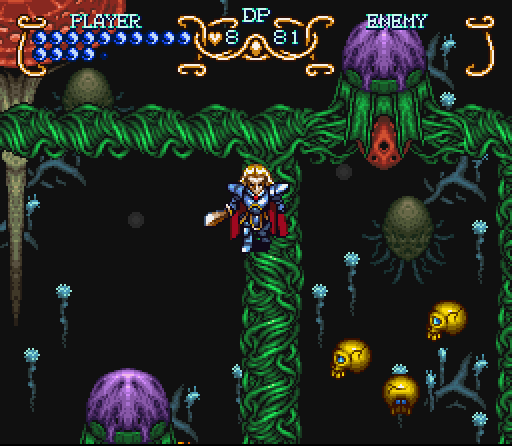
Right off the bat we’ve got a couple of new enemies in the first screen. The grey skull is called, simply enough, a Skulker. They move in straight lines, but don’t attack other than by charging at you. Off to the left we have Acid Spiders, who can jump from one level to the next to come after you and spit acid. They’re best dealt with at a distance, but with Will we really don’t have that opportunity.
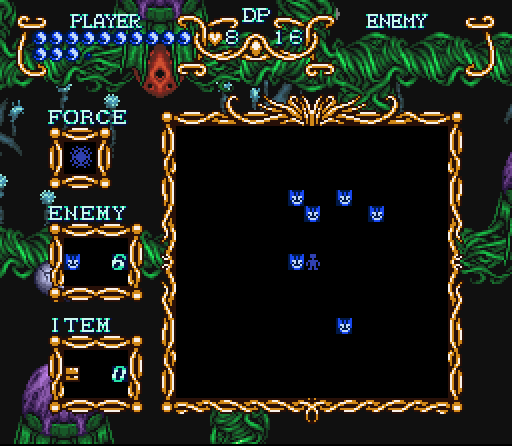
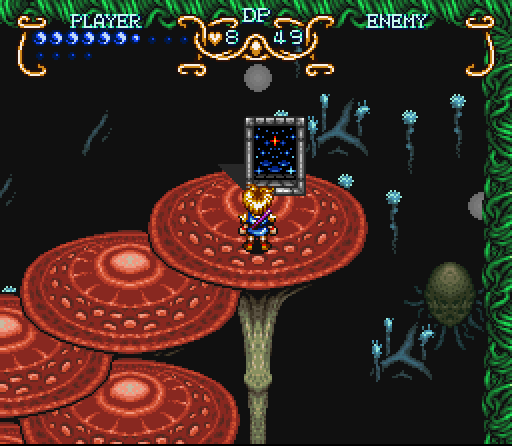
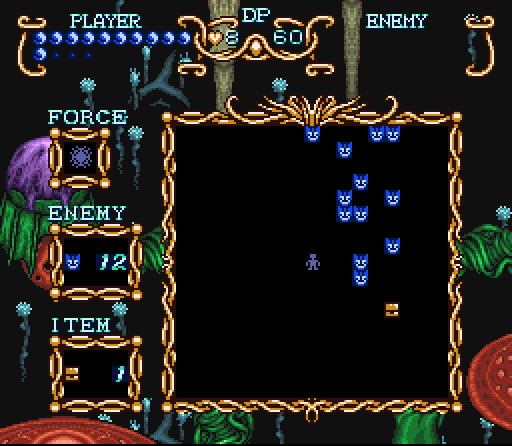
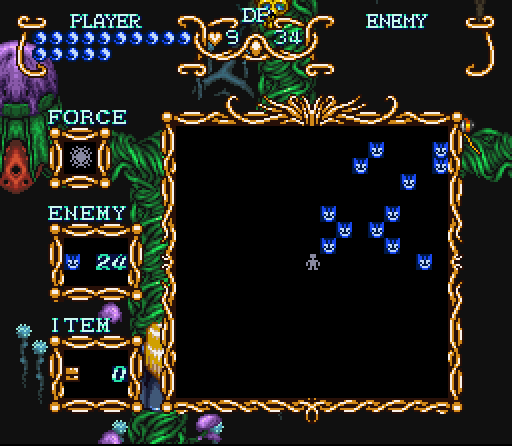
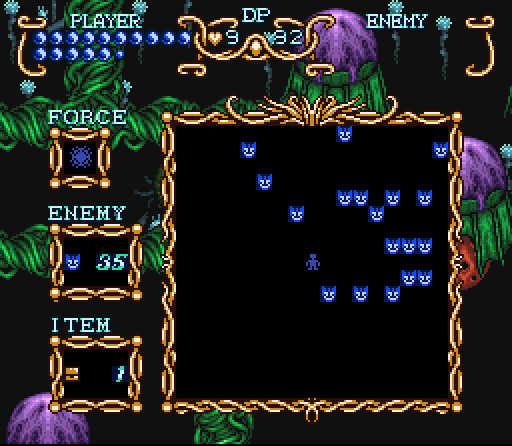
The Radar Screen is a pretty useful tool in this dungeon, since it can twist and turn a good bit and leave you pretty easily confused as to where the hell you’re going. The fact that most of the paths look the same does’t help matters.
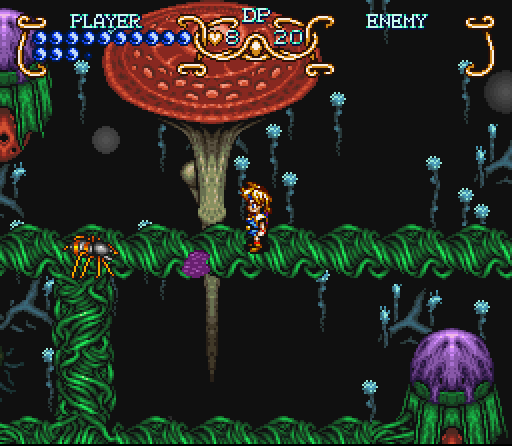
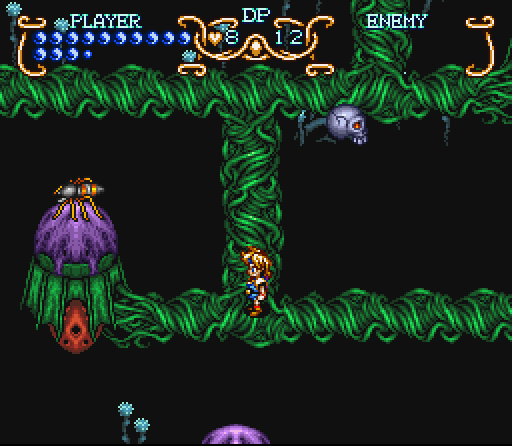
Remember that whole Acid Spider thing? The purple spot there is acid. You can block the shot when it’s in motion using telekinesis, but once it lands you either have to step around or wait until it fades. Clearing the first screen of enemies gets us a STR increase.
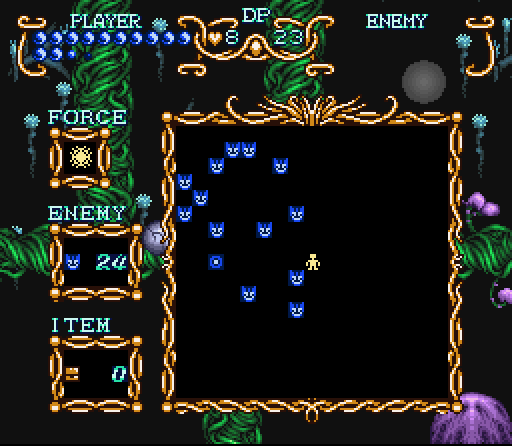
The next screen is exponentially more crowded, and that’s kind of the order of the day in this dungeon. It’s a bit of a slog, and the more skilled you are the easier it is to make your way through without damage.

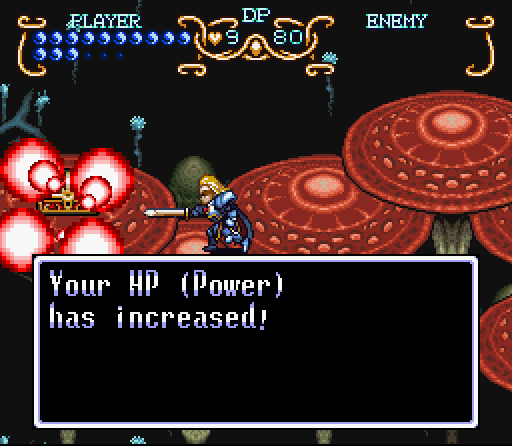
On a field of mushrooms we meet our next enemy for the dungeon, the Fire Sprite. They mostly float around and play their little flutes, and summon fire wisps that circle around them. Of course, you actually have to let them live long enough to pull that off and since they’ve only got 15 HP (as much as an Asp from the last dungeon) most of them won’t get a chance to pull that off.
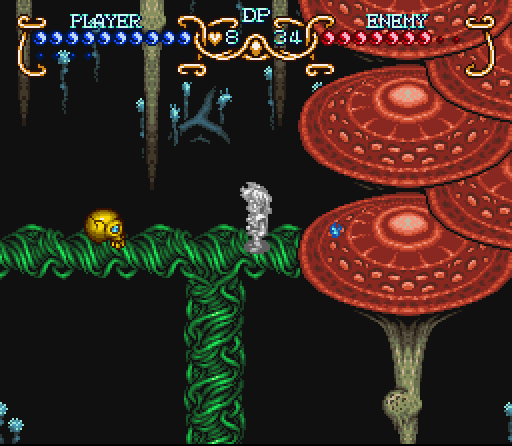
The final enemy is the Yorrick, which is an upgraded version of the Skulker that can move in straight lines and shoot fireballs from their eyes. The key to dealing with them is to stay out of the line of fire and use the intersections to make attacks from the sides. “Alas, we knew him well…”
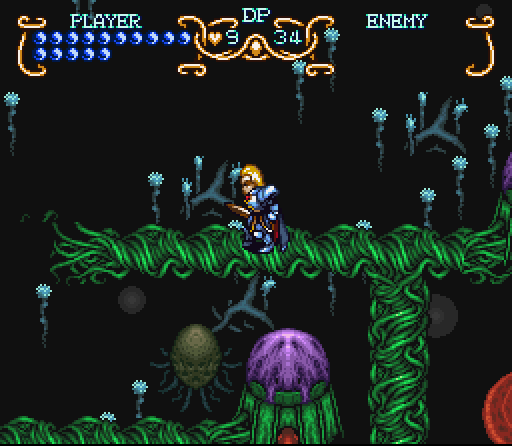
The other wrinkle in this dungeon is different endings to the pathways. You can sprint along the top areas and spin dash across the bottom pathway to move between areas.
The other major objective in this section is to reach the Dark Space to transform to Freedan. Given the number of enemies in this area, this is a matter of slaughter more than anything else.

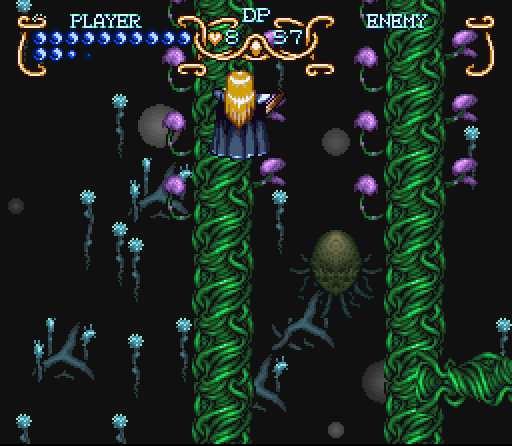
Now that we’ve got Freedan out, this is a good time to show off the enhanced Dark Friar. The method for using this is to shoot off a regular Dark Friar and then hit the attack button once the projectile leaves the weapon. At this point the Dark Friar will split into four projectiles that circle outwards. It takes up a substantial portion of the screen if done correctly. Clearing up the screen gets us a DEF increase.
The temple continues to go more complicated the further you go, with multiple pathways to the same areas. There’s ac considerable amount of backtracking and returning to previous areas through different entrances necessary in order to clear the dungeon completely.
Thankfully this next section is fairly straightforward, with a lot of easily approachable enemies. Clearing out the whole area gets us an HP increase to complete the trifecta. By this point your HP is likely to have been worn down, so it’s a welcome refill.
Proceeding, there’s a number of enemies in fairly close proximity. The upgraded version of Dark Friar excels at clearing out groups of enemies, and that helps when you’ve got twenty or so enemies in groups of three or four. Finally clearing the area gets a STR increase to make the next few areas even easier.
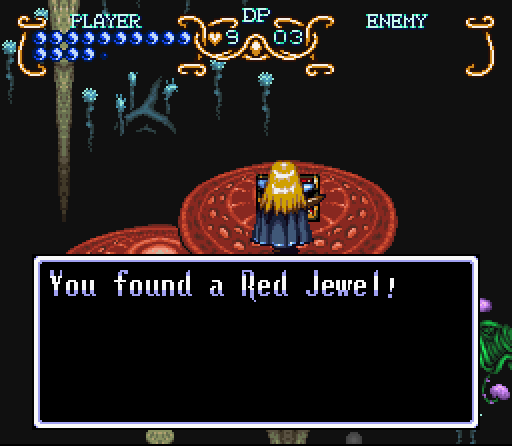
Pressing forward gets us another Red Jewel to finish out the colliection for this area, along with another HP increase.
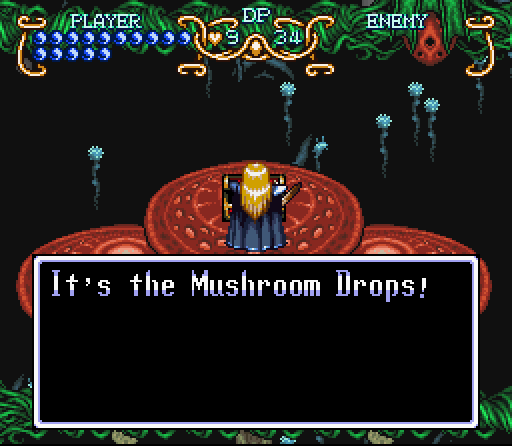
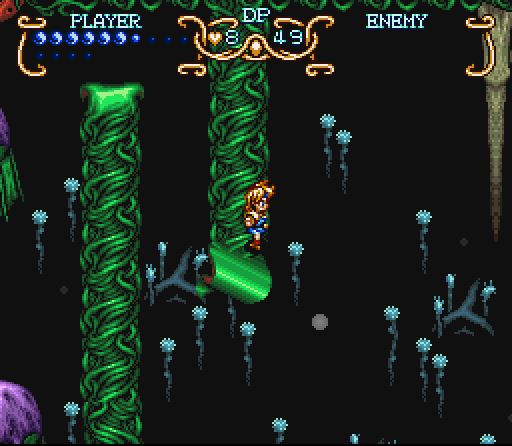
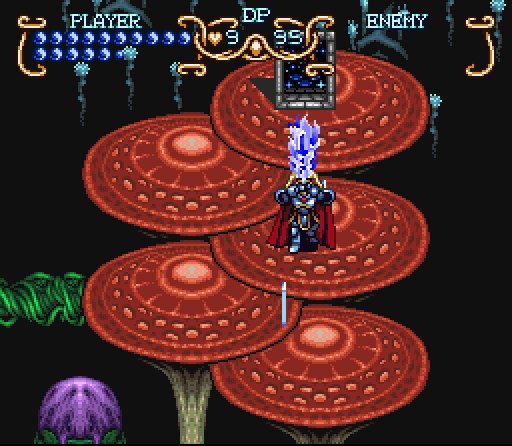
The next treasure hidden away is the mushroom drops. There’s multiple sets of these in the dungeon, because their function…
Is to grow these pathways to allow progress into different areas of the dungeon. This consumes the Mushroom Drops, so you have to find a new set when you come to another gap. That said, I don’t think it’s actually possible to somehow screw yourself over by using them in the wrong place.
After that, it’s just a matter of cleaning up and another 70 or so enemies to clear out the entire place. There’s not that much else to it, and to be honest it’s not that interesting. It’s boring enough that I didn’t even do a video of the dungeon. On the other hand, this is also a better shot of enhanced Dark Friar as it spreads.
Seriously, they’re everywhere. At this point it’s mostly cleanup, although there’s a couple of high points.
I don’t use this for the next couple of dungeons, at least. I..don’t do defense very much in this game.
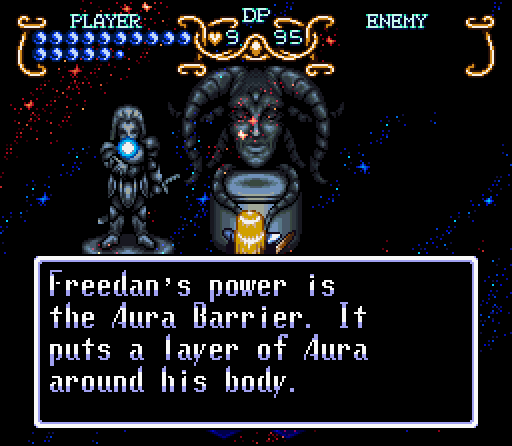
Aura Barrier looks like this, but it has a fairly brief duration. It’s pretty situational, but maybe it’ll come in handy against a boss at some point.
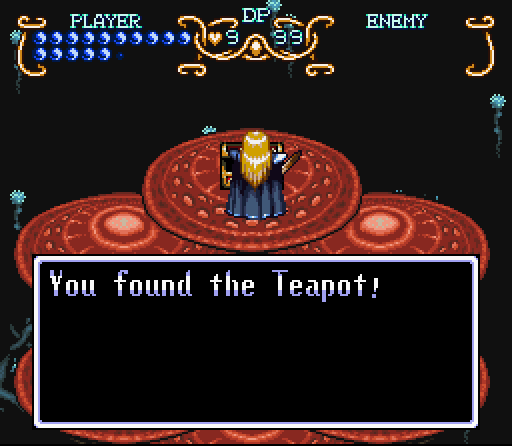
Cleaning up gets us a STR and two DEF increases to round the dungeon out, as well as the Tea
Next update: Why did we get this? What are we here for?