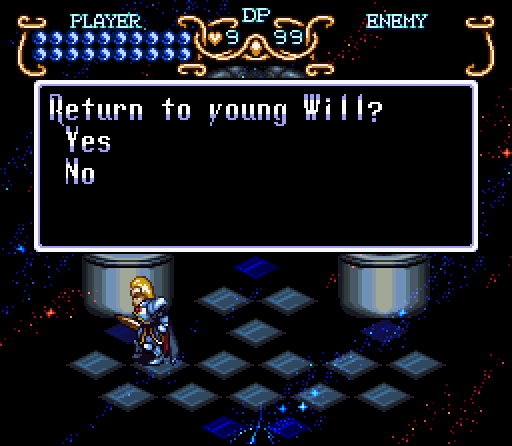
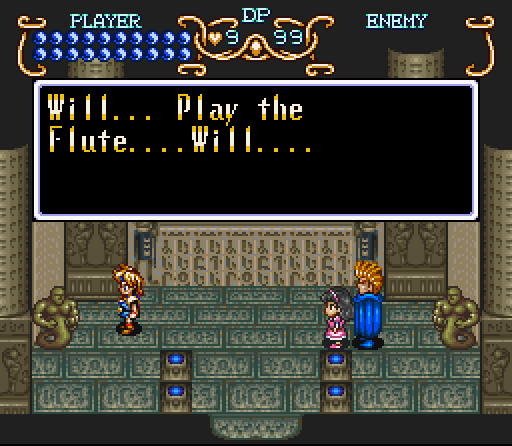
Part 35: In Which Will Starts the Fire
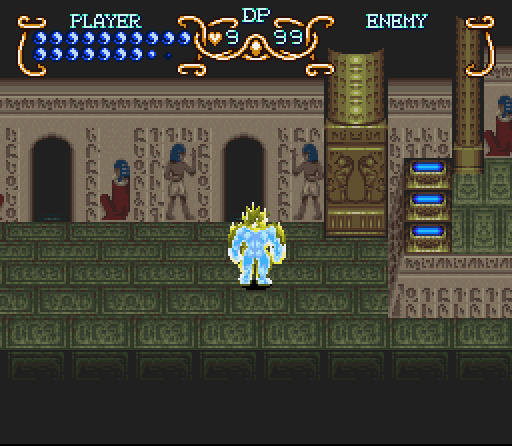
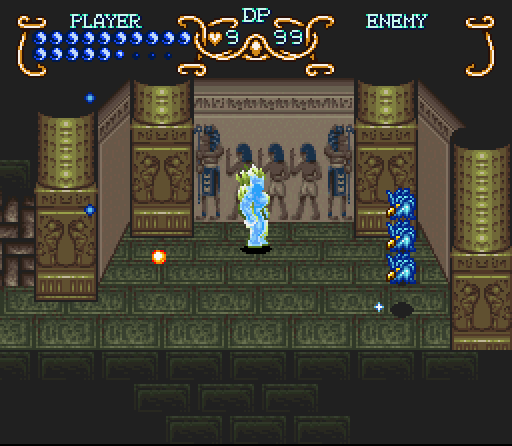
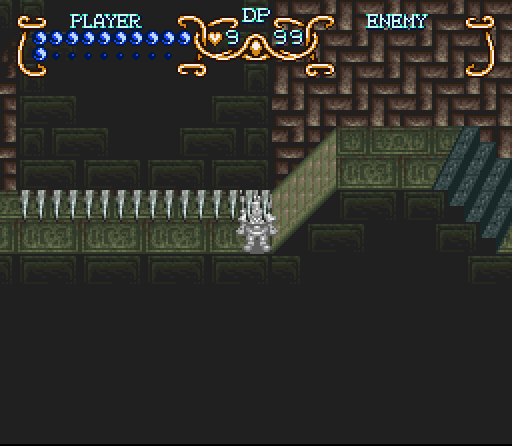
The third passageway in the pyramid is a bit different from the others, and it still pays off to have Shadow lend his muscle to clearing out some of the enemies before switching forms.
This path is a mixed segment, with a wide open central shaft that you can jump across for treasure and some switches to hit. That’s not the entire gimmick, though, as we’ll see, but you don’t have to switch out to get the Heiroglyph.
Before getting to that, we’ve got a new enemy in this section. The Blaster is an invisible bird head that shoots fireballs at you and then flickers in and out of visibility. The shots aren’t homing and you can block them, but they also tend to wait until you’re fairly close. It’s possible to miss one or two of them along the way in a dungeon and miss out on a level up if you’re not careful and don’t consult the map. They’ve got 25 HP, which means they go down in a couple of shots once you find them.
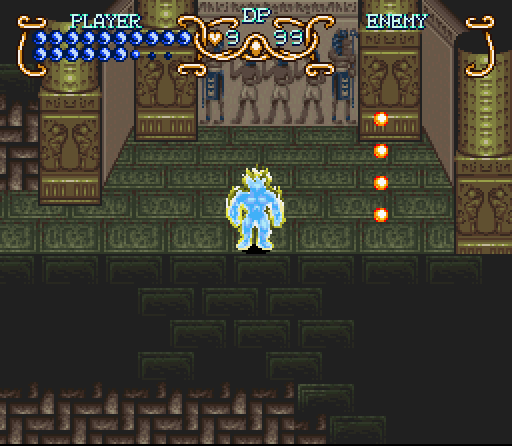
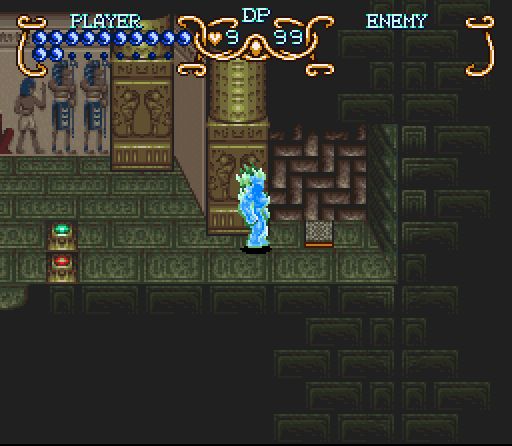
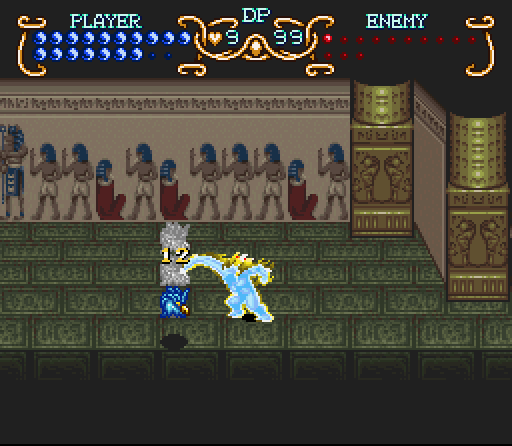
Even for Shadow, this isn’t exactly a good situation to drop into. Another shot of Shadow’s liquid form courtesy of Aura.
At any rate, the other gimmick in this path is a series of switches and a stone elevator with passageways cut into it. Stepping on switches moves the whole thing to change the layout, but it’s actually not too complicated in practice.
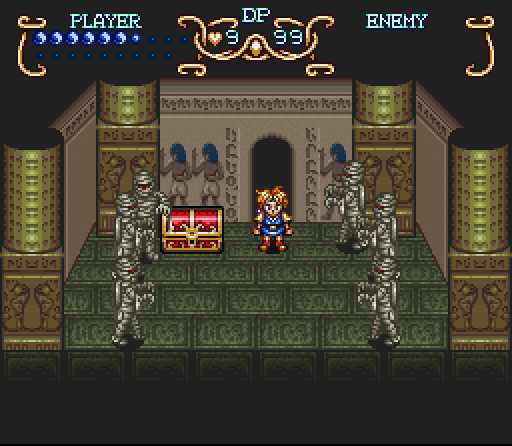
Meat for the grinder. Clearing out the last of the enemies on this floor gets us a STR increase and another hieroglyph tile.
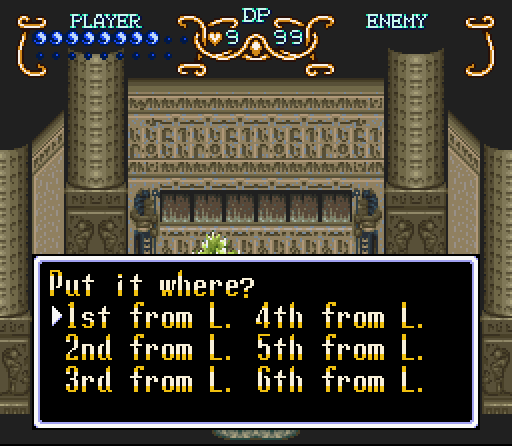
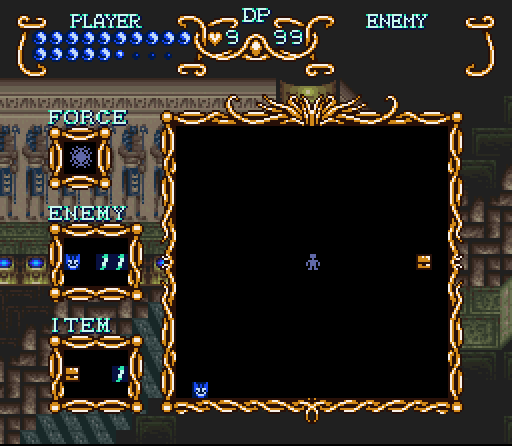
Our inventory is getting more than a bit full, so it’s time to unload these. There’s a specific order the tiles have to be put in, and you don’t have to put them in sequence. I just want them out of my inventory.
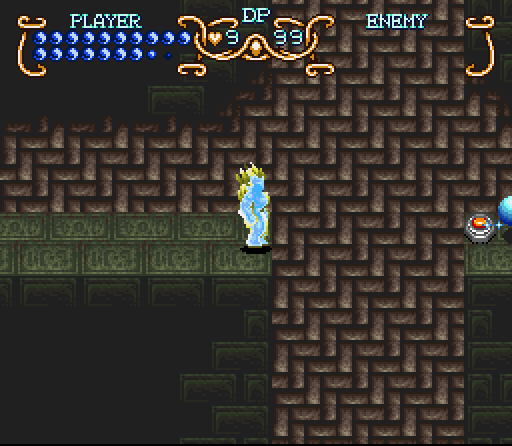
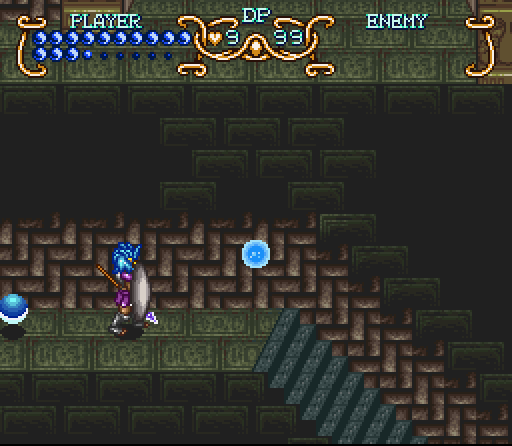
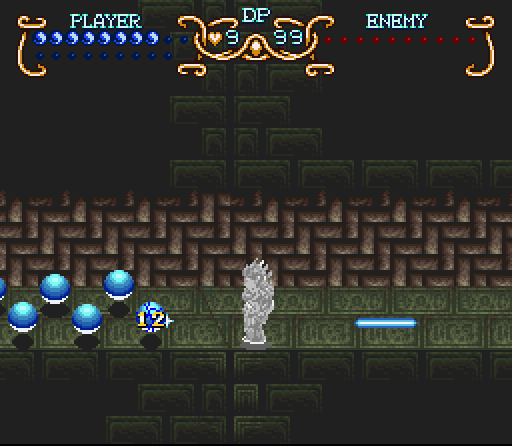
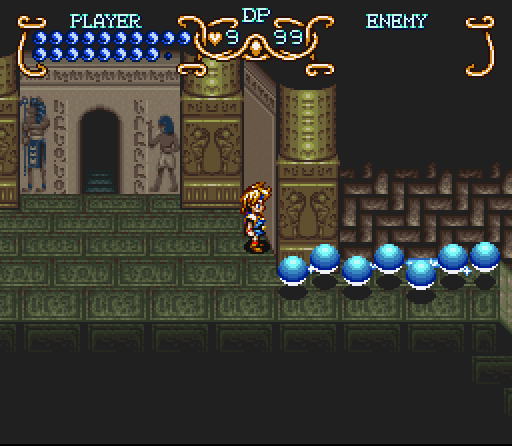
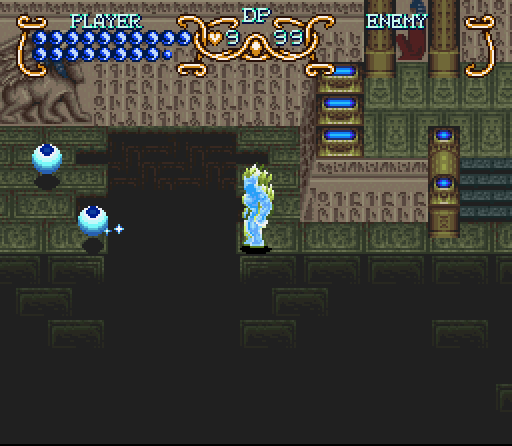
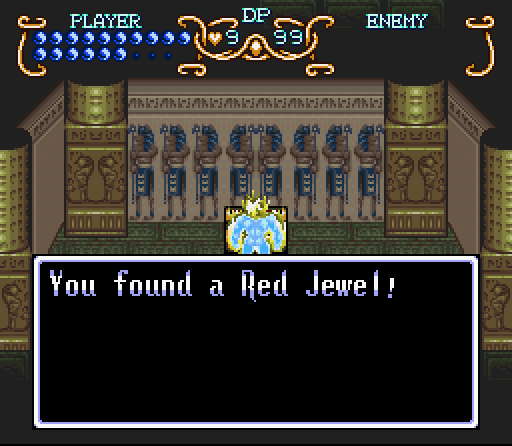
Coming back as Will and leaping over the divide gets us a Red Jewel and a couple of Blasters to kill and get a DEF increase. I don’t even know how many that is at this point.

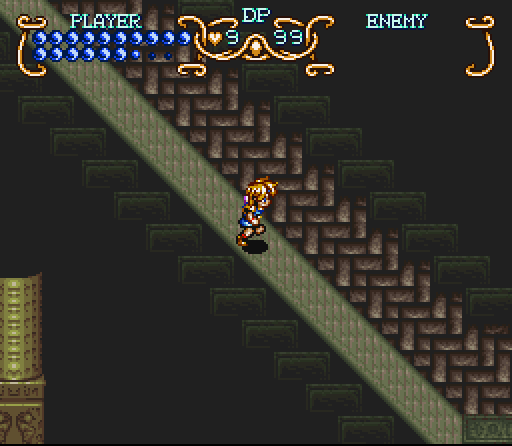
Halfway done, and we definitely need to turn into Will for this next pathway.
Psycho Slide is a lifesaver sometimes, and my frame rate thanks me for it.
We’re also kind of locked into this path once we start it, although my memory might be a bit fuzzy and there might be a way back around that isn’t the end of path teleporter.
We’ve also got another enemy, the
The next portion has Mario-style spike crushers broken up by ramps. If you’re smarter than I was here, you can start your Spin Dash further back and just time it so you don’t get hit while you spin up the ramp.
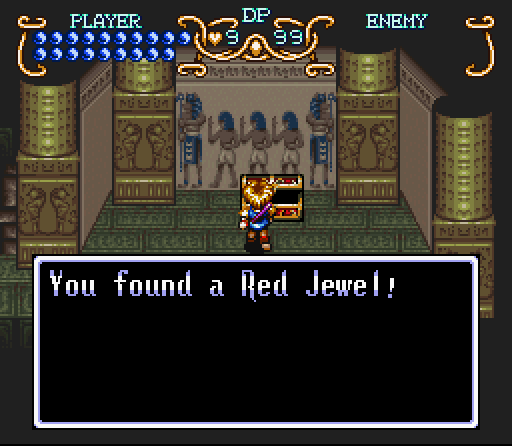
Along the way six dead Haunts nets us the second to last Red Jewel in the dungeon and the third from the last one in the game. We’re getting REALLY close to the end.
That and a couple of spin dashes and a few more enemies gets us some more STR and a shiny new hieroglyph tile.
The fifth pathway is a straight Shadow path, with no gimmicks or tricks where we need another character.
People have mentioned before how badass Shadow’s default attack looks. This is a better shot of it, and let’s see if I can get a gif going here…
A STR upgrade for killing all the enemies just makes it more beautifully lethal.
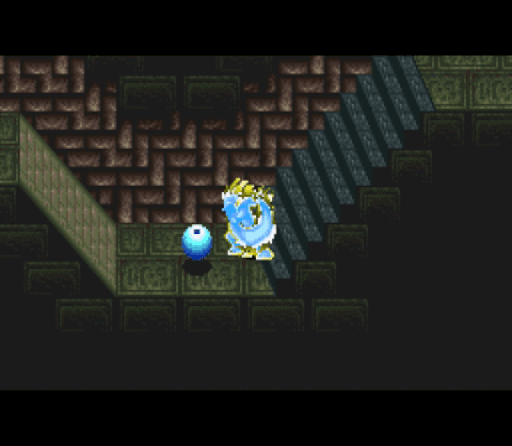
This pathway has a few open spaces that we can’t bridge. Freedan’s Dark Friar would be nice, but we can work our way around to them.
Using Aura gets us access to the final Red Jewel in this dungeon. After this, it’s a straightforward fight.
Along the way we pick up an HP upgrade and a STR upgrade after chasing down the last few enemies, but other than that there’s not much noteworthy as we get our fifth tile. From there it’s a simple trip via jumping down a vertical shaft to make our way back to the central corridor.
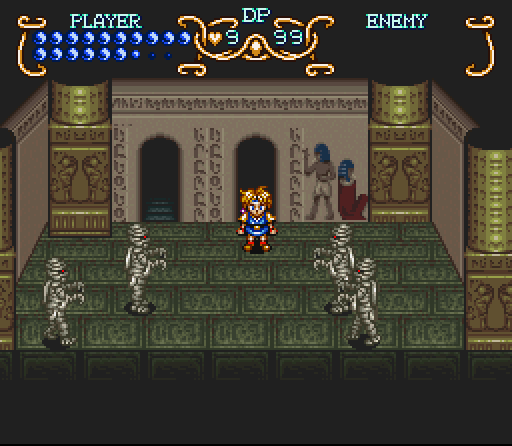
For the final segment we’re going as Freedan. I… don’t exactly recall why I did that, but it seemed like a good idea at the time.
The entire area is full of Haunts, and they’re easier to deal with using Dark Friar. The important thing to focus on here is the center space, which you can see is a bit different than the ones to either side: it’s actually a pathway.
Other than finding the hidden paths there’s nothing else to this pathway besides picking up the last hieroglyph tile. Along the way we pick up some DEF and HP, and now it’s time to solve the puzzle.
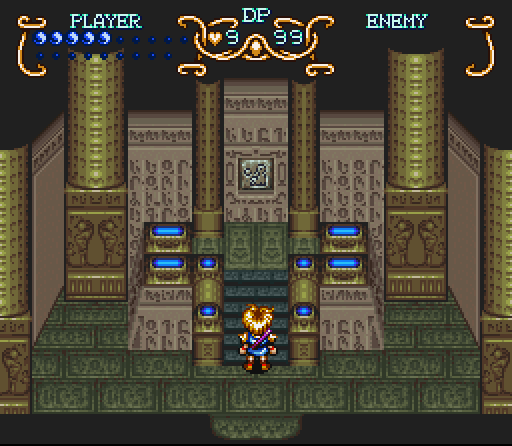
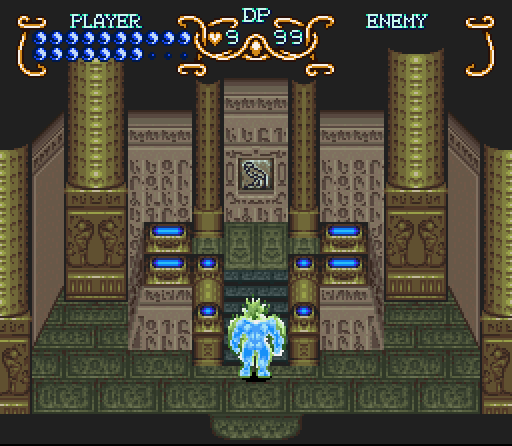
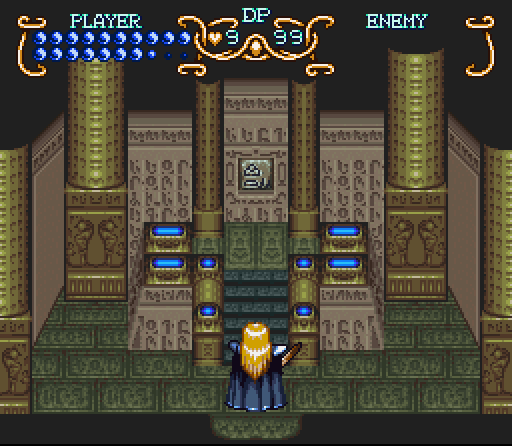
For… reasons… we need to be Will for this segment. After that, it’s just a matter of going into the puzzle room.
You might want to watch this
 “I heard about an ancient bio-technology using a comet’s light. I didn’t know it was you. With the power to change body shape, you could get anything. People would bow at your feet. It’s only natural that King Edward would trick you into this..”
 “Yes! After all, that’s the way kings are. He would do anything to get the power. He might even be more evil than a mercenary like me. Heh heh.”
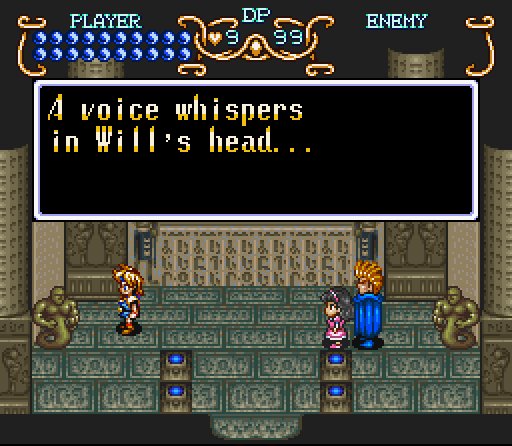

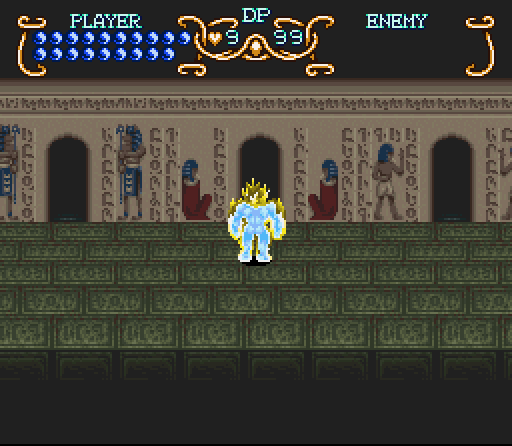
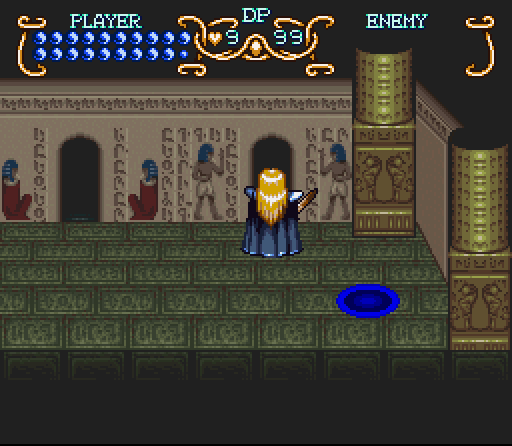
Before proceeding, we’re going to want to switch to Freedan. It’ll make more sense in a moment.
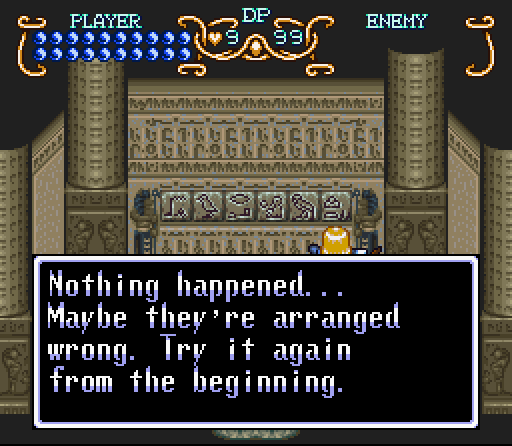
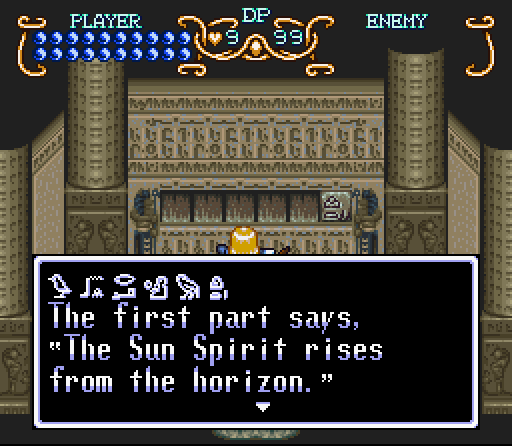
Naturally, they’re out of order. The solution is in Will’s father’s journal, which makes a LOT more sense when you’re actually looking at all the tiles. I actually got it mostly right, it’s just a matter of switching the first couple of tiles. They weren’t exactly trying to make this hard.
After getting everything in order, a teleport circle appears right in front of the puzzle room leading to the boss.
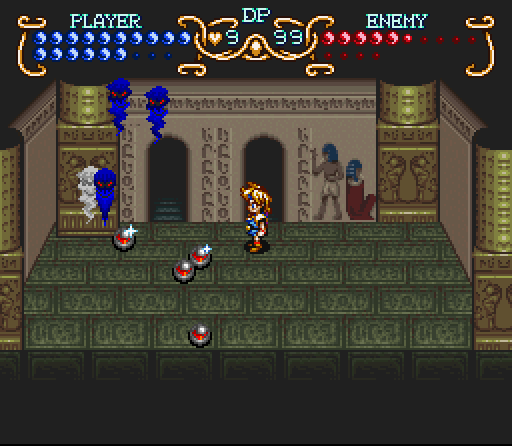
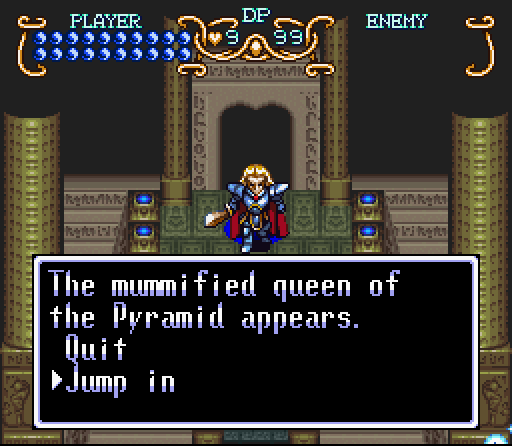
Mummy Queen Boss Fight
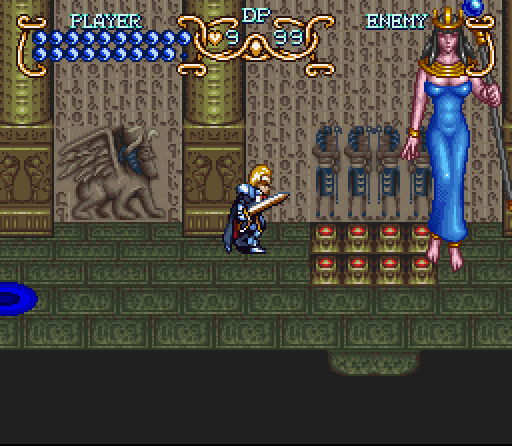
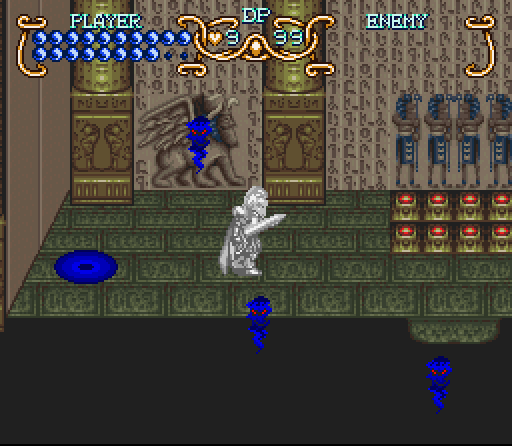
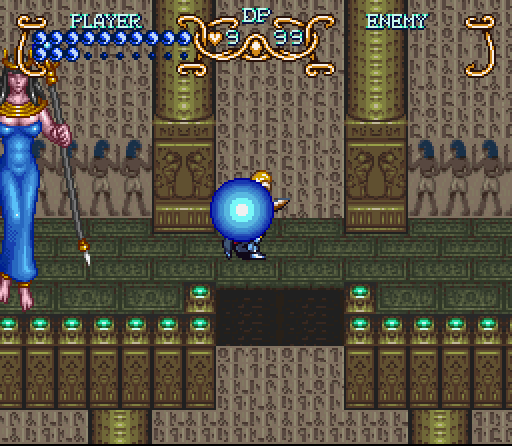
Our next boss fight is the Mummy Queen, who pretty much presents a giant target. Once you hit her she splits into eight Haunt Spirits that will try to close in on you. The teleport circles on either side can provide an escape route, and if you’re on the upper level (there’s an upper level, by the way) then you can just jump down and take advantage of the fact that the game doesn’t know how to handle hitting you in midair.
Her main methods of attack are dropping blocks and shooting balls of energy, so it’s kind of underwhelming. The real danger is mostly from the Haunts.

After you’ve drained most of the Mummy Queen’s life instead of spreading out and then closing in the Haunts will start spinning around in circles. Only one of them is real, and once you hit it she’ll reform so you can do some more damage. The enhanced Dark Friar is useful here, since the spread of the fireballs makes it really easy to ensure that you hit the target.
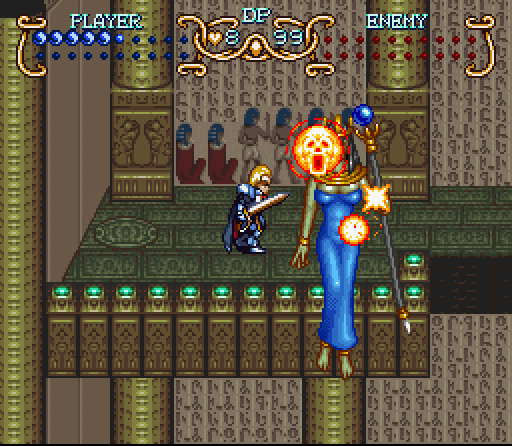

Once you’ve got the trick down it’s not actually that bad, and winning gets us our final Mystic Statue outside of the final dungeon. Also, I never noticed the screaming faces when you kill a boss. Neat.
Next update: Return to Dao and the Tower