Part 3: Chapter 1, Stages 3 & 4


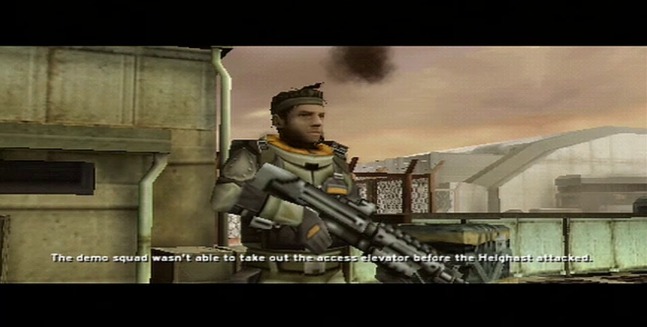
After being separated from Rico, Templar and Hallucinatory Hakha press into the occupied ISA firebase to rescue the three VIPs from the Helghast clutches. Upon his rescue, General Dwight Stratson informs Cpt. Templar that the ISA was forced to abandon the base’s arms cache when the Helghast attacked and could not seal its access elevator in time. Stratson orders Templar

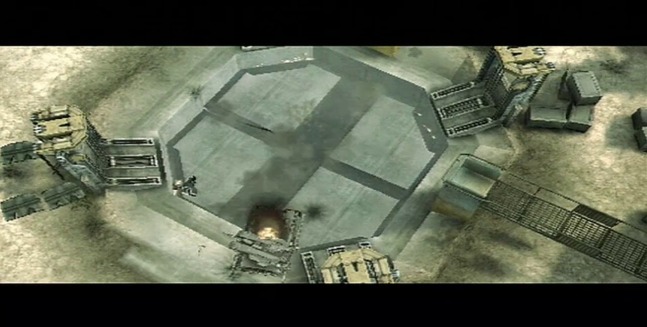
STAGE 3: EVACUATION
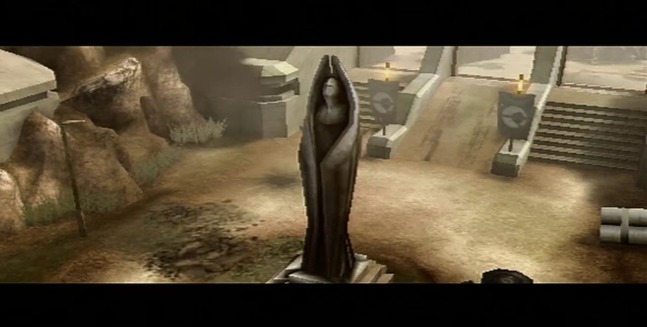
Stage 3 of Chapter 1 opens with a shot of a statue out in front of the main ISA base in Rayhoven. It’s, ostensibly, a statue depicting an angel, but it’s not a particularly comforting visage, is it? Could this be the Angel of Death, maybe? The way its wings are wrapped around it, it makes it look very Grim Reaper like.
Who puts a statue of the Angel of Death out in front of a military base? That’s just overly morbid.
What’s more, this is one of the few pieces of Vektan artwork that we ever get to glimpse in the original generation Killzone games. Everything else we’ve seen up till this point has been either commercial advertisements (see: the mall in Killzone 1, Chapter 3), or military B-roll photographs dressed up as artwork (see: ISA HQ in Vekta City from Killzone 1, Chapter 2).
And what’s Guerrilla’s statement about art?
Just more grist for the mill of war. Everything burns in the fires of conflict: food, water, shelter, civilization, even thought and expression are all casualties of conflict.
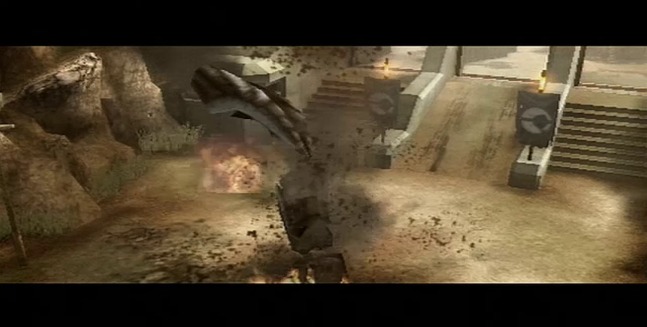
Then again, good on you Helghast goons for blowing that fucking creepy looking thing up. It gave me the willies.
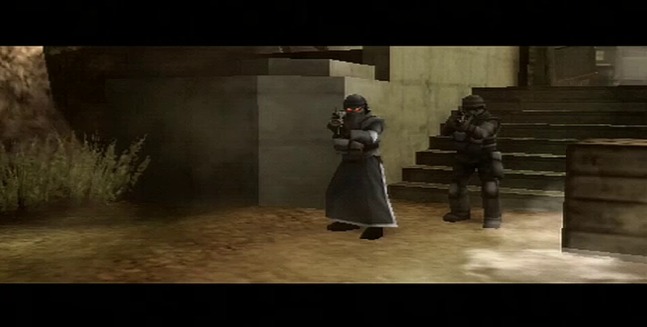
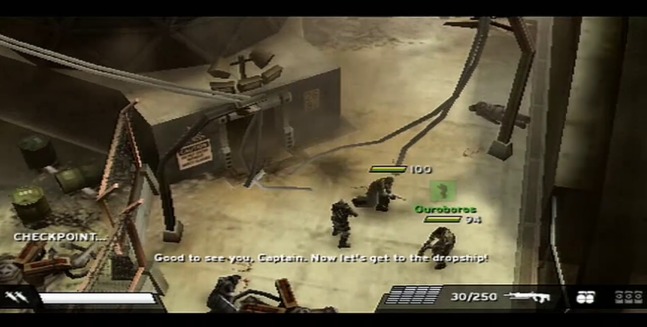
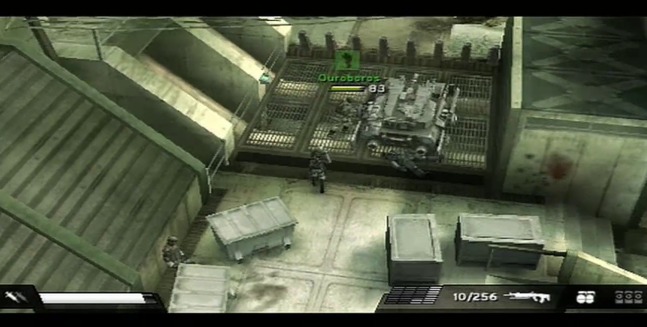
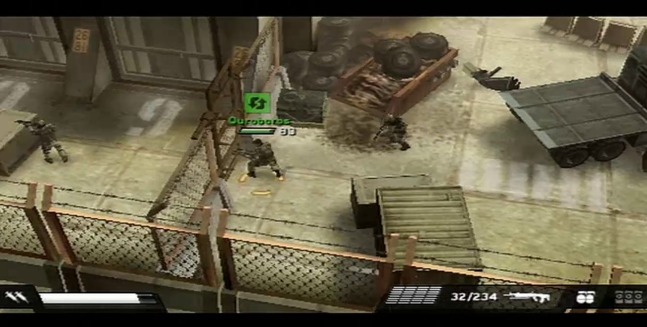
We also get to see the stratification in the Helghast ranks up close thanks to Liberation’s janky cutscene engine, as a Helghast Rifleman (trenchcoat) comes out to greet Templar
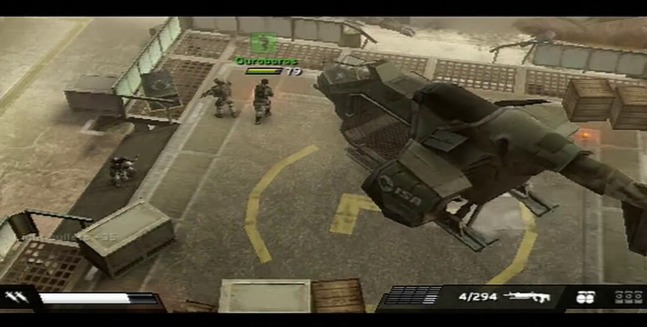
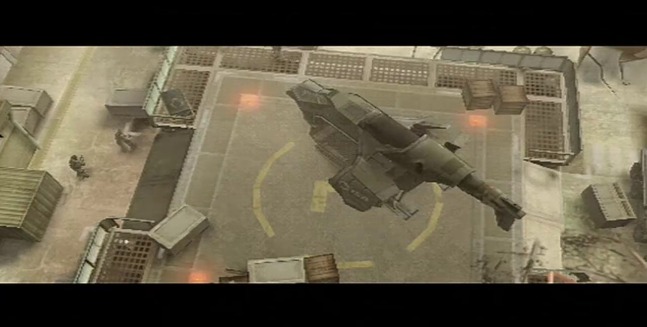
Once the base’s helipad has been secured, the ISA Airforce manages to get a MEDEVAC VTOL dropshop into the base in preparation for Batton, Milcher, and Stratson’s extraction. A similar dropship deposited Templar
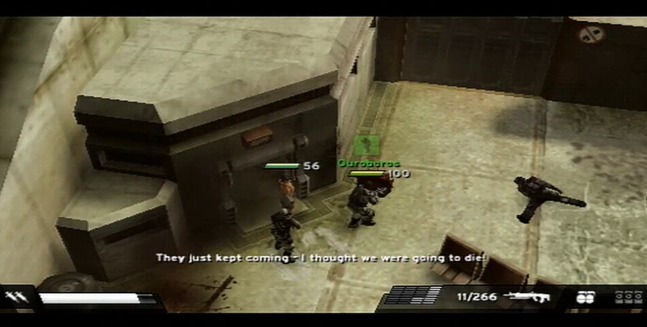
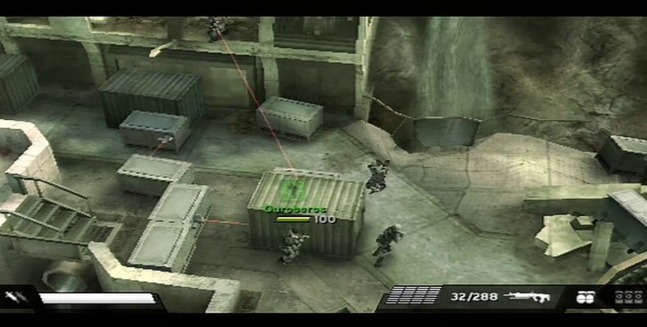
Our first evacuee from the base is Dr. Evelyn Batton, ISA nuclear munitions expert and developer of the Red Dust high-yield, low-fallout tactical nuclear weapon.
Batton is unarmed and only has 56 starting health, because while she’s weapons-trained and a fairly good shot, she’s also unarmored, not combat trained, and injured to boot. You need to guide her back to the ISA dropship on the landing pad.
Luckily, Evelyn’s AI will follow fairly close to you, and will duck behind cover should things get dicey. There’s also relatively little/fairly weak Helghast between her hiding spot and the helipad, so the game at least eases you into your escort mission for this stage.
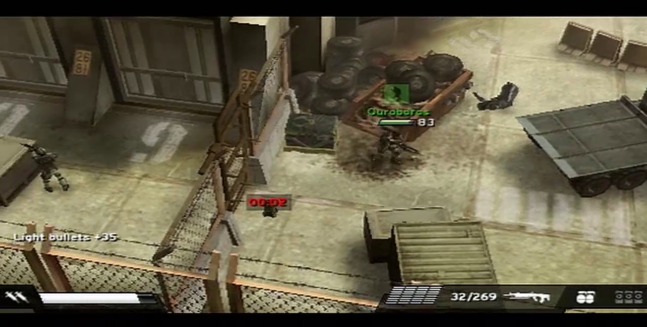
Once you get her to the dropship, she climbs aboard to safety and informs you of where you’ll find your second evacuee, Heff Milcher.
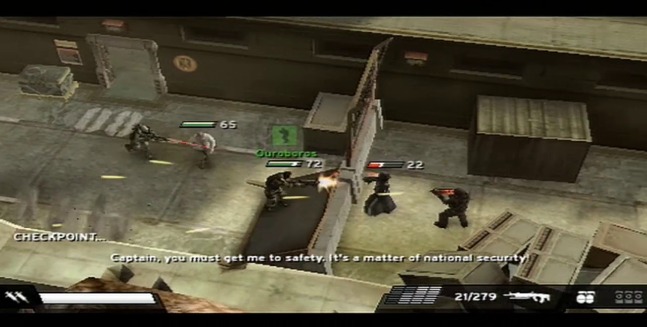
Milcher’s up second. He has 65 health, despite being overweight and even less combat-versed then Evelyn. The tradeoff here is the Helghast response to your escorting him to the helipad is also stepped up.
On the one hand, Milcher’s kind of a self-important ass, but on the other hand, he is right that his survival is a matter of national security. Because if he dies, Vekta loses its defense minister AND its political compass on whether or not to deploy Red Dust on the Helghast.
His death could prompt the Vektan parliament to deploy the nukes purely out of revenge, so we kind of want to avoid that if we can.
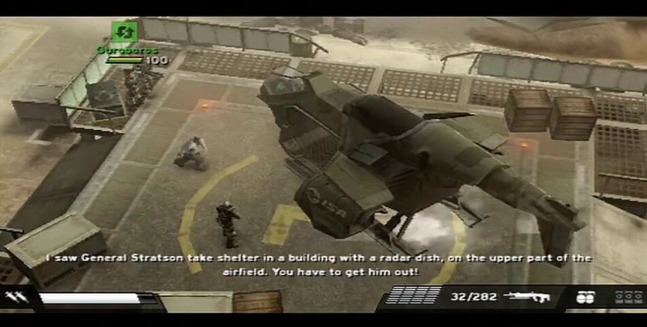
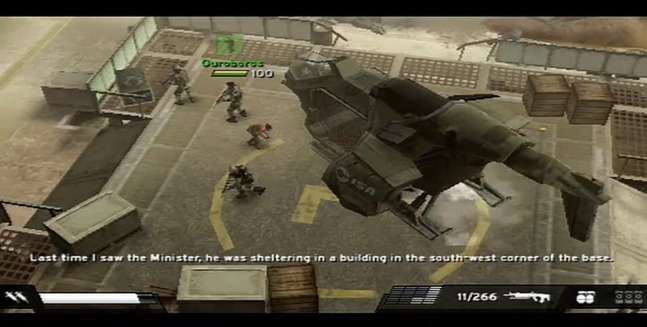
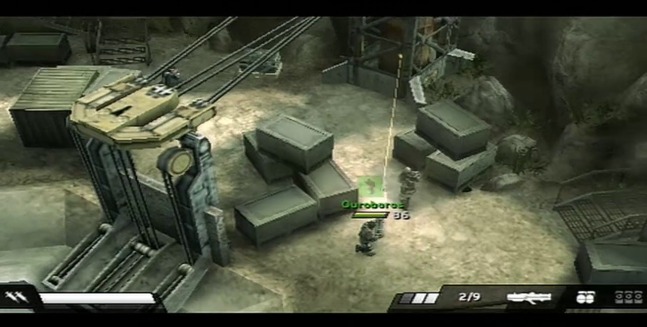
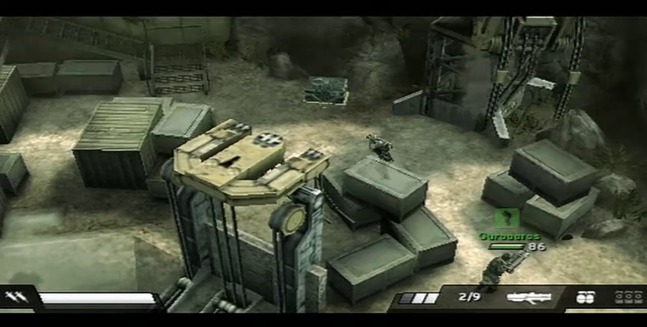
As Milcher boards the dropship, he tells us where we’ll find our final VIP: General Stratson. Stratson’s holed up in the base’s communications bunker in the north west sector.
When we free Stratson, he comes out both with a full 100 health AND wielding an ISA M3 revolver piston.
Being an ISA general, Stratson is the only one of our three VIPs who’s anywhere near fit for combat, even if he is only using essentially a backup sidearm.
That said, Stratson knows how to kick his fair share of ass. And because he’s the strongest of your escort subjects, the amount and strength of the Helghast resistance you face between the comms bunker and the helipad will be at its heaviest now.
But mowing down infinite numbers of Helghast grunts is just all in a day’s work for Jan Templar
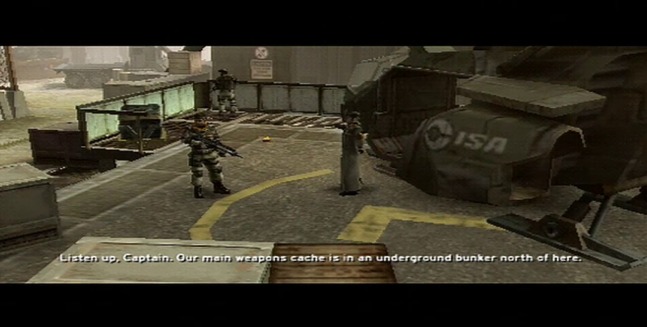
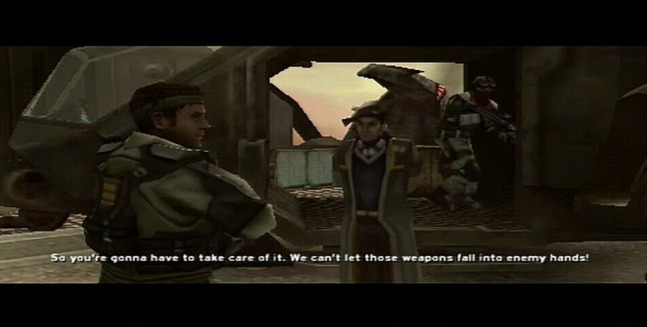
Just because we’ve rescued the hostages doesn’t mean our job’s done, however. Gen. Stratson imparts a follow up mission on Jan before boarding the dropship.
We’ve got to head to the base’s ammo cache and seal the access elevator to it to prevent the Helghast from looting it (…or so we’re told).
Yeah, because that would just put everyone up shit creek, wouldn’t it, Dwight?
So Captain Hero and his PSTD Ghost Hakha head out for the ammo dump while Stratson, Batton, and Milcher fly out to more secure territory on the MEDEVAC dropship.
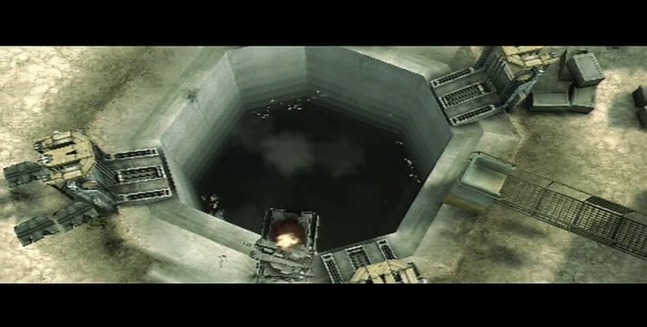
STAGE 4: SABOTAGE
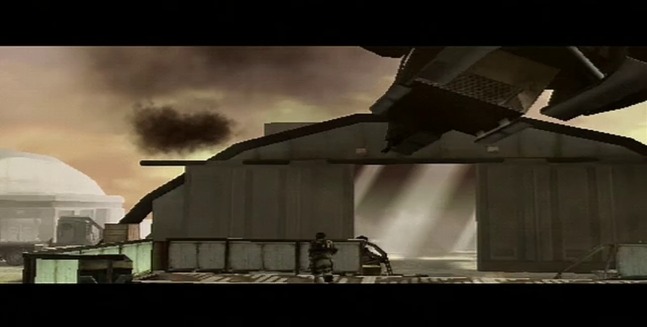
The northern half the base has clearly suffered the brunt of the Helghast assault, as whole chunks of it are already crumbling away after a heavy opening bombardment.
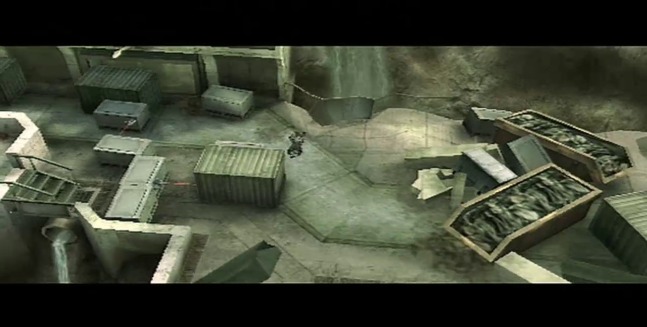
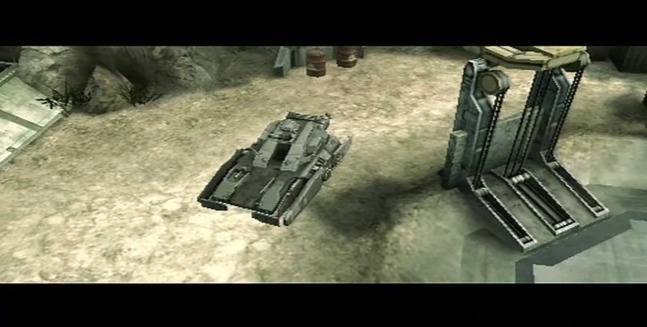
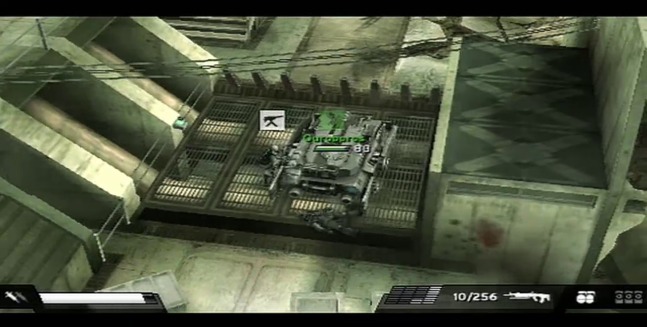
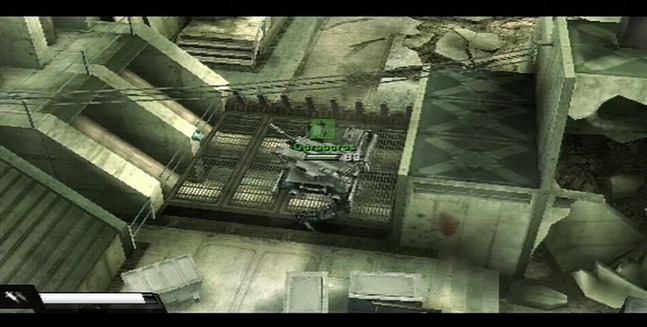
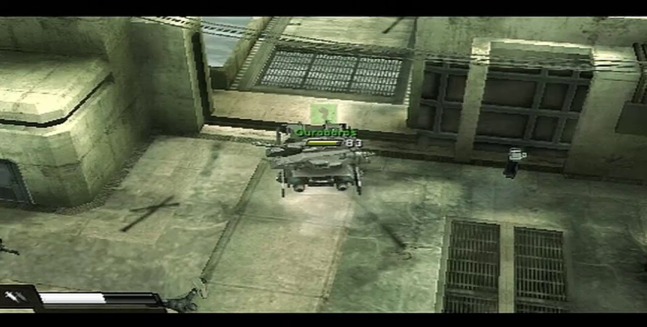
The Helghast are dug in pretty deep, but luckly they’ve left one of their tanks undefended, so Jan
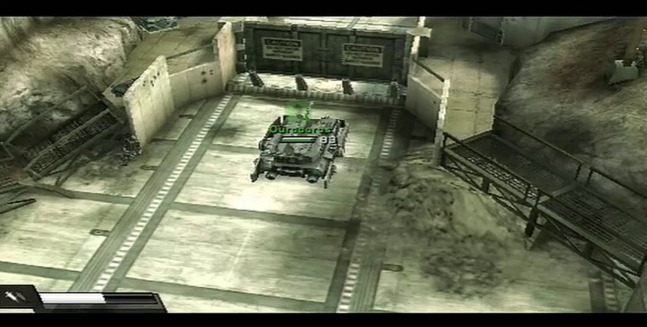
Unfortunately, the base’s anti-tank defenses make reaching the ammo cache in the armor impossible, so from here they have to go on foot.
Which REALLY sucks because the Helghast have their own tank waiting for them at the supply elevator.
This will be our first boss fight, which I will cover more in the Gameplay section.
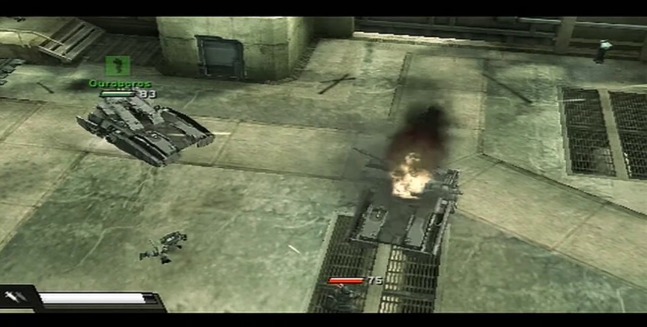
With the tank dealt with, and the support cables holding the elevator in place severed, the Rayhoven Base ammo cache is cut off from the Helghast now.
…Or wide open to the Helghast now. Take your pick.

Fun fact: if you kill the tank the way Luger tells you to (see: Gameplay), the tank will fall into the shaft with the elevator. So we kind of fucked that up here.
Oh well.
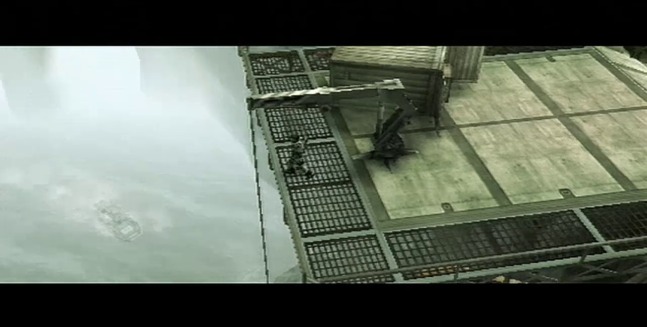
With his mission accomplished, Jan
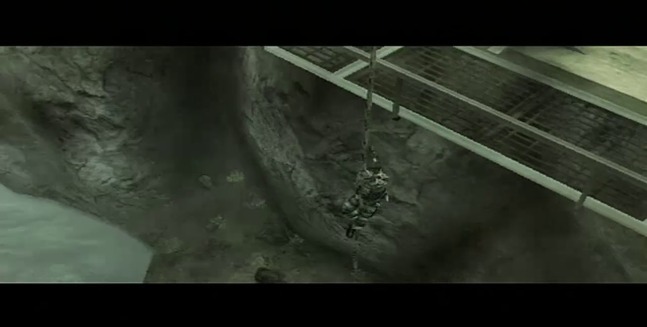
Jan action climbs down the rope…
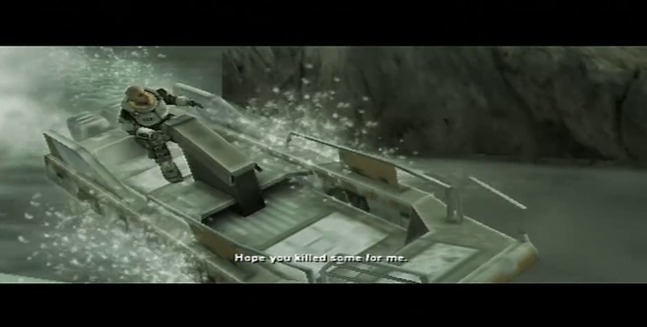
And oh hey Rico, what’s up? I don’t know how or why Rico managed to score a boat, or how he was able to find exactly where Jan was right in time to come puttering up with it for Jan to drop into, but he did.
Maybe Luger’s linked up with Rico too and she’s only relaying information directly to Jan and Rico separately and not bothering to co-ordinate between her assets directly. I dunno.
Luger’s a shitty Intel Officer, is what I’m saying.
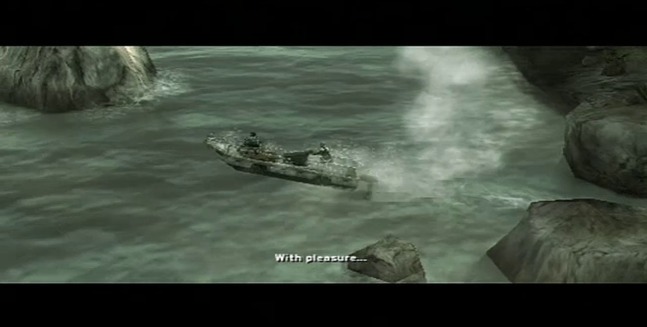
And so Jan and Rico

Stages 3 and 4 of Chapter 1 introduce us to a few new elements of Liberation’s gameplay, primarily vehicles. But for now, let’s stick to matters on the ground.
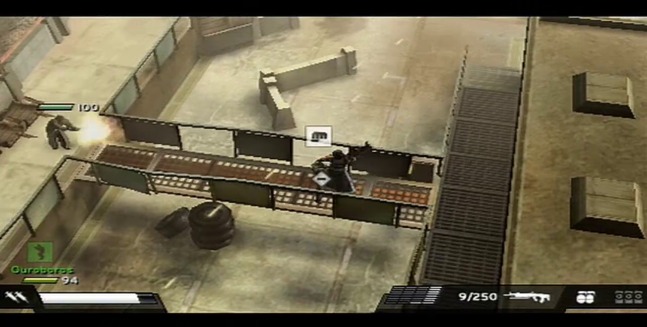
For starters, Liberation starts getting a little more obvious with its cover spots. Before, there was the occasional concrete block or dirt mound to hide behind out in the field. Now that we’re in close quarters in a firebase, we’ve got full on sandbags and barricades to help us out. This is where Guerrilla just beats you over the head with USE THESE FOR COVER, STUPID!

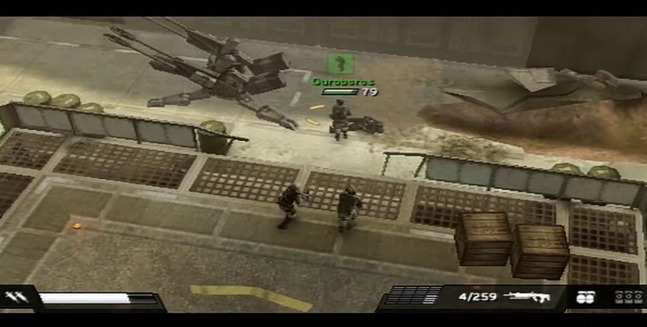
I point this out in the video, but I misidentified the turrets you can hop into in Liberation in the previous post as Helghast Chimera AA gun platforms. I was wrong, and I just want to point out that these right here are the actual Chimera gun platforms which return from Killzone 1.
Note their distinctive dark grey colouring and quad-barrel design.
Sadly, Chimera’s aren’t commandeerable like they were in KZ1, and can only be destroyed in Liberation with heavy weapons fire or grenades or C4.
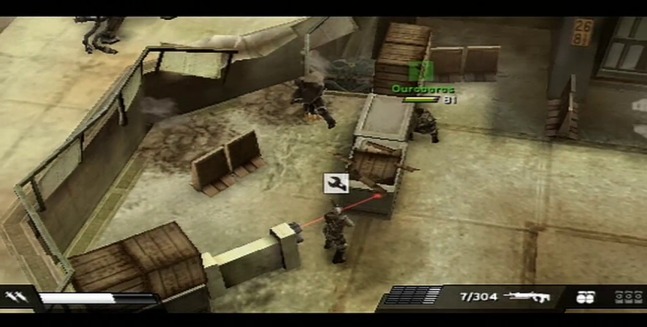
C4 isn’t the only high explosive you can use to clear barricades or open paths us.
In this stage, we also find timed mines, which can be laid out just like C4. Once you plant the mine, you have 4 seconds to run or roll to safety before it explodes.
Also returning from Killzone 1 Helghast tripwire mines. Their unique property in the first game was that Hakha could pass through their tripwires unharmed due to his Helghast DNA. But because Hakha technically doesn’t exist in this game, Liberation treats the co-op partner as a second Templar and the mines will explode if you cross their tripwire.
Though I suppose you could write it off as the Metrac’s forces field modifying their mines to disable their DNA screeners to countermand Hakha’s advantage now that they know he’s an active enemy combatant.
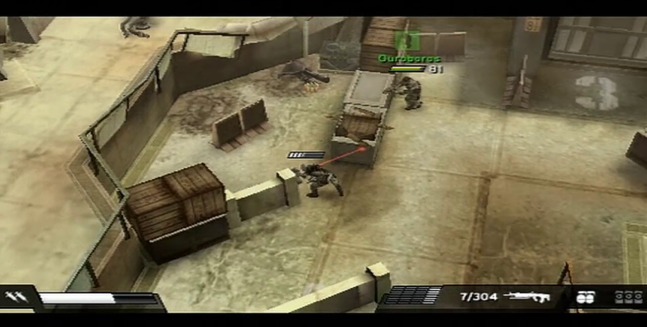
Approaching the charge will give you a little wrench prompt over your head and when you press and hold the action button, your character will crouch down for a few seconds and begin disarming the mine. If you stop pressing the button at any point prior to the mine’s deactivation, you’ll need to start the whole process over again.
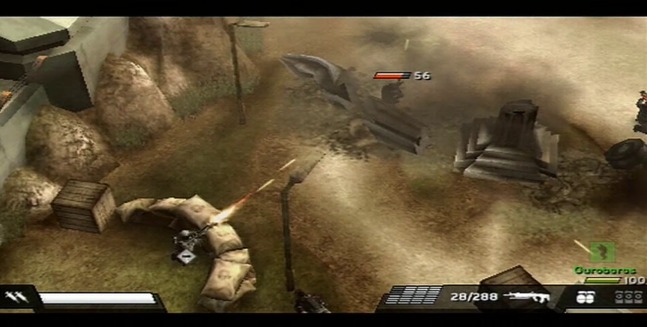
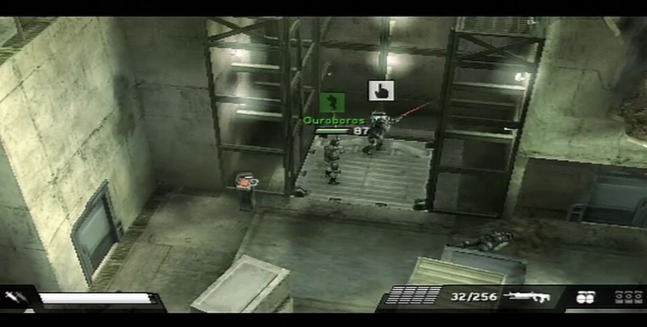
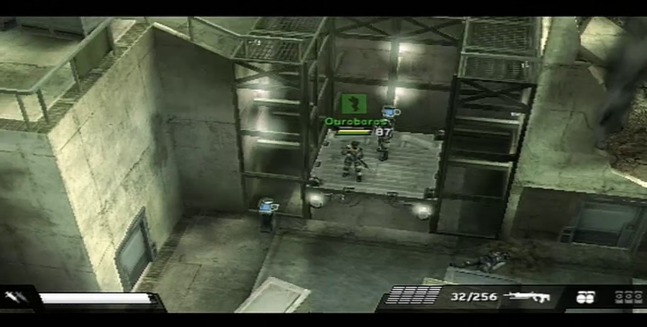
In Stage 4, we begin encountering Helghast snipers. They’re easily spotted thanks to their long sighting laser on their rifles. They’re quite easy to avoid being hit by and they can’t shoot through cover, but it you do take a sniper shot it’ll shave like half of your health off in one blow, and if you’re anywhere under like 55% health, it’s a one-shot kill.
A good practice in co-op is for one player to rope-a-dope the sniper by running between cover spots and drawing their attention while the other player flanks them and picks them off before they can get a shot off on their partner.
Liberation also introduces gameplay elevators to the Killzone franchise—though correct me if I’m wrong please because Killzone 1 was too much of a desaturated blur for me to remember if there were actual working elevators in it.
And no, that one tram on the SD platform doesn’t count as an elevator.

Elevators are simple: push button, get on, wait till it stops, get off. If you can’t use one of these, you shouldn’t be allowed out in public.
Now here’s something I KNOW is a brand new gameplay element: DRIVABLE VEHICLES!
Liberation allows you to climb behind the wheel of several types of vehicles, starting with the Helghast hover tank.
Anything drivable vehicle will be denoted by the steering wheel icon that appears over your character’s head.
In co-op mode, vehicles are broken down into driver and gunner. Whoever enters the vehicle first will be its driver, and the second player will then be its gunner. You can see the gun icon hovering over Hallucinatory Hakha’s head there prompting me to get in and take over the turret.
In co-op mode, the turret on whatever you’re driving operate independent of the vehicle, meaning you can swivel it in the complete opposite direction and take out enemies as you drive away.
The tank is steered with the analog stick. X accelerates the tank, and Triangle slows it down. The L and R shoulder buttons swivel the turret around left and right in a 360° arc. Pressing both L and R together centres the turret ahead at 0°. Square fires the tank’s main gun, and holding Circle fires its machine gun.
The tank also has infinite ammo, but limited health, and if the tank is destroyed while you’re in it, you die.
In co-op mode, the tank’s controls are split between the Driver and Gunner, with each taking half of the control scheme for themself.

The tank can drive over just about anything, including concrete barriers. When driving the tank barriers will suddenly show a blue health bar, meaning they can either be destroyed with about two shells, or by just ploughing the front end of the tank into them like so.
You can also run over enemies on foot Goldeneye-style, leading to some horrific one-hit crush kills.
You’ll also encounter the occasional enemy tank, just to make it so that you’re not trampling everyone into dust on your way to victory.
Enemy tanks also have a health bar to whittle down, but right now they go down in about two or three hits from the main turret. At the moment, your own tank happens to be a little more durable than the rest of Metrac’s tank forces, but that’ll even out the further we progress into the game.
Whenever you come to a gate, one of you will have to hop out of the tank and activate the switch to open it.
Best practice in co-op is to let the driver flip the switch so that at least you’re not leaving the tank undefended if more enemies show up, but Blind Sally’s a greedy tank hog and desperately clung to that driver’s seat even though I didn’t want to take it, so I’m forced to get out and flip the switch for him.
And then we’re back under way.
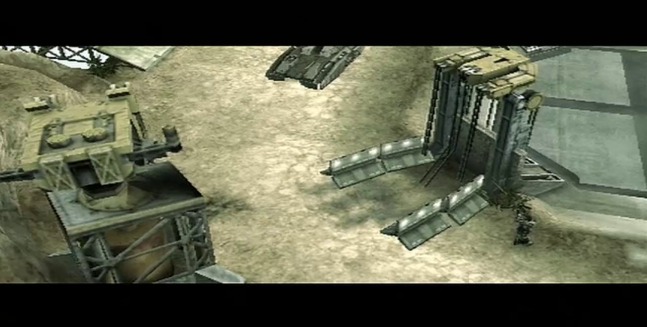
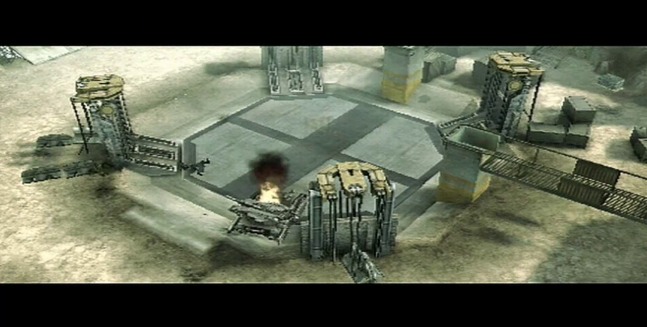
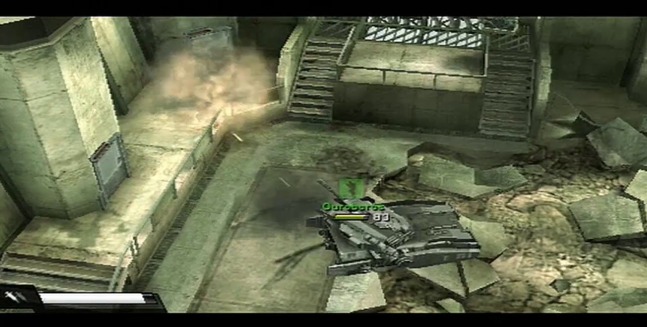
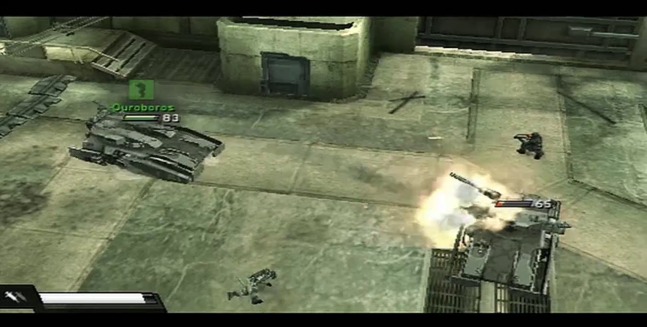
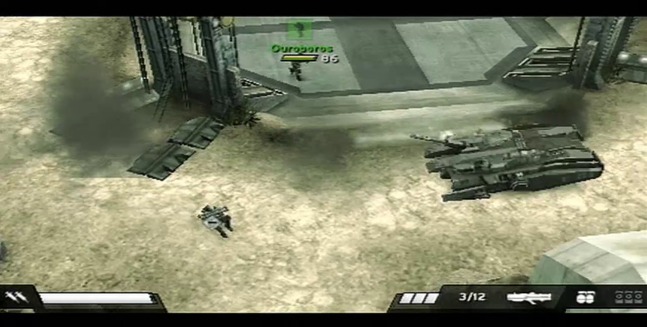
Each chapter of Liberation is usually capped off with a boss fight of some kind. Here, we have to face down another Helghast tank, only on foot because we can’t take the tank into the boss arena with us.
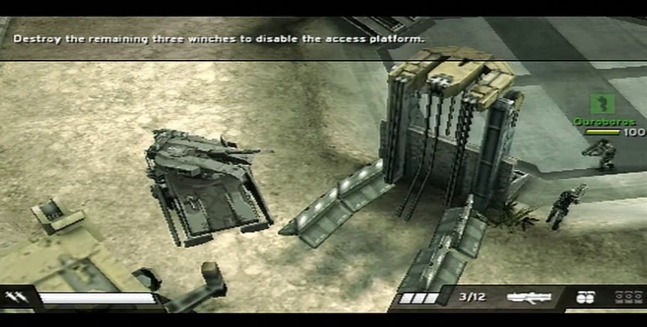
At the start of the fight, Luger lays out your principle objective, and your most effective strategy for beating the tank: blow up the elevator winch assemblies and drop the tank into the ammo dump along with the platform.
But there are multiple ways to kill a tank in a Killzone game, however, and Guerrilla did see fit to pepper the boss arena and its runup corridor with rocket launchers.
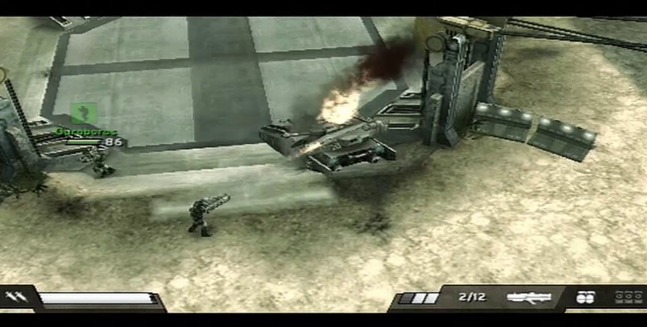
So the tank goes down in about three hits anyway.
Blind Sally posted:
As an aside, if you really want to, you can kill the tank with just a machine gun. However, it takes forever, and is basically suicide.
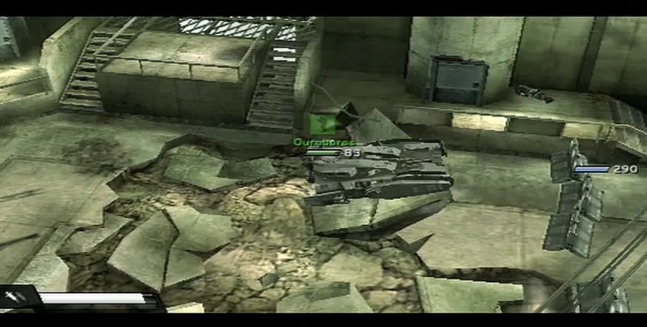
But killing the tank is only one part of the objective for this boss fight, so enemies will keep spawning until you take out three of the platform’s winch towers.

And for that, you’re still going to need your rocket launcher.
Shooting the scaffolding around the towers will sever the elevator cables, and will drop both the platform, and the tank, if it’s on it at the time, into the pit, thus winning the boss fight and clearing Chapter 1 completely.

And now to introduce our three ISA VIPs.
These three individuals are key to the ISA’s impending counter-attack on Metrac's forces on Vekta, namely the decision of whether or not to use nuclear weapons in their retaliatory strike.
They are, in the order of their rescue by Templar

Voiced by Larissa Murraym, who has voiced characters in several anime OVAs like X, Battle Angel, and Appleseed, among other things.
Dr. Evelyn Batton is one of the ISA’s preeminent nuclear munitions experts. She is the head of the Red Dust project, which created the Red Dust warhead—a high-yield, low-fallout bomb designed to devastate an enemy capital without irradiating the landscape to allow for easy capture and occupation of the ruins.
Dr. Batton is boasted to be among the brightest minds not just on Vekta, but in the entire ISA nation of colonies. Her work is stated to be years, if not decades, ahead of her contemporaries on other ISA colonies.
General Stratson has brought her to Rayhoven to win her support for using Red Dust on Metrac’s forces in Southern Vekta in order to break the Helghast invasion of the planet decisively.
As you’ve already seen in our concurrent run of Killzone 2, Evelyn goes on to play a key role in the events of that game as well.

Voiced by Peter Marinker, who has voiced characters in The Witcher, Dark Souls I & II, and Risen 3, among other games, and has appeared in films such as Event Horizon, Love Actually, Judge Dredd (the shitty Stallone one, not the asweome Karl Urban one), and United 93.
There’s no good images or artwork of Heff Milcher available, so here’s a picture of Fat Drew Carey. Because that’s pretty much what Milcher looks like. You can see a scan of the tiny piece of artwork he has next to his character profile in the Liberation manual at the end of this post, if that’ll help things though.
Milcher is Vekta’s defense minister, and is about the closest we get to seeing the upper echelons of Vekta’s/The ISA’s/EarthGov’s civilian leadership, at least in the early Killzone games. As Minister of Defense, Milcher’s vote in favor of using nuclear weapons on the Helghast on Vekta would carry considerable weight with the Vektan Parliament and Prime Minister. He is also, essentially, the boss of all our protagonist characters so far.
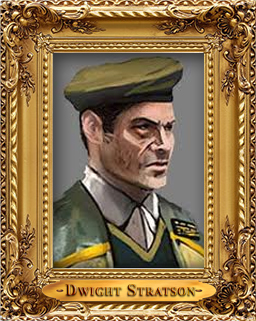
Voiced by Vince Marcello, who’s only credits are literally Stratson, and an uncredited character in the game Operation Flashpoint: Cold War Crisis.
General Dwight Stratson is the commander of ISA military operations in Southern Vekta. He is the ISA’s analog to Armin Metrac in Liberation, essentially. His plan for forcing the Helghast off of Vekta is to deploy Dr. Batton’s Red Dust warhead against Metrac and Lente’s remaining forces gathered in the south.
His plan faces fierce opposition in the Vektan parliament, as no one else in power either in the civilian or military branches is willing to resort to use of nuclear weaponry on their home soil to fend off an invader, even if the warheads in question have been designed to minimize the long-term radiological damage that have made use of such weaponry a taboo among the ISA colonial states. To foster support for his plan, he has invited Dr. Evelyn Batton and Defense Minister Heff Milcher to Rayhoven in the hopes of winning them over to his side. Stratson believes that having Red Dust’s own creator and the top civilian overseer of the military backing him will ease the government’s reluctance to deploy the bombs.
Stratson is a Vektan native who joined the ISA military at a young age and rose steadily to the rank of general and was a contemporary of fellow general Stuart Adams. Unlike General Vaughton, who Jan Templar looked up to like a father, Templar has no emotional loyalty to Stratson beyond a professional level. It’s a relationship made doubly tense by Adams’ betrayal, which has shaken Jan’s faith in the higher ups in ISA military command.
Curiously, over the past few weeks, Stratson’s direct subordinates, chiefs of staff, and other high-ranking ISA officials in Southern Vekta have been assassinated by Metrac’s forces in a coordinated series of strikes carried out with seemingly uncanny precision.


Red Dust
Evelyn Batton's 40 megaton* brainchild. The Red Dust bomb is a tactical nuclear fission weapon claimed by Dr. Batton and her development team to produce near zero radioactive fallout, allowing it to be used against an enemy city or fortification to break local resistance and leave the potential insertion site for ISA clean up detachments clear of any harmful radioactivity.
The debate currently raging in the Vektan parliament is over whether or not to detonate a Red Dust bomb on the Helghast massing in Southern Vekta. General Dwight Stratson, commander of ISA forces in Southern Vekta, favors the device's deployment, but has met strong opposition within the ISA's military and civilian leadership due to Red Dust's still-experimental nature and doubts over whether or not it is as fallout neutral as Batton and her team claim it to be.
* Not Red Dust's actual explosive yield.

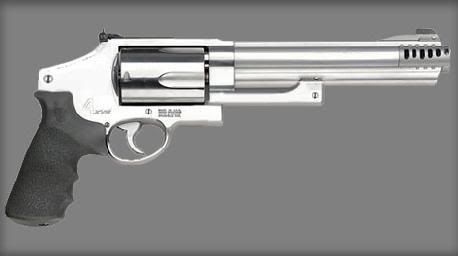
M3 Revolver
The standard-issue ISA six-shot .357 magnum revolver, and predecessor to the enhanced ISA M4 Revolver seen in Killzone 2. This sidearm had largely been relegated to ceremonial duties, though the protracted blockade of Vekta facilitated its reintroduction into the ISA’s arsenal. ISA gunsmiths and sergeants-at-arms have performed a number of field modifications to their M3s to improve their functionary in combat, such as adding tritium sights and a double-action trigger.
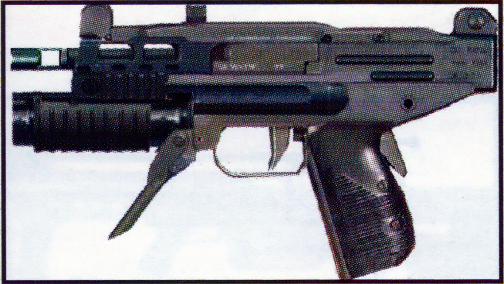
IvP-18 Tropov Machine Pistol
While technically the same model as the original IvP-18 pistol (manufactured by the Helghast Iven and Petrom arms corporation), the version wielded by Metrac’s soldiers has been heavily modified into a sub-machine gun, boasting a burst fire mode, increased ammo capacity, and a barrel-mounted hand grip for increased stability when firing.
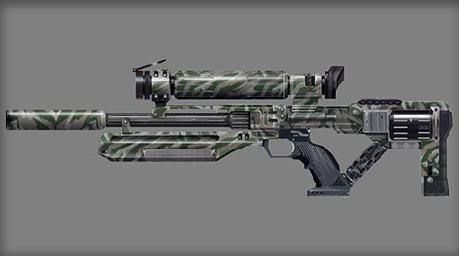
StA-52 SLAR
The Stahl Arms SLAR (Sniper/Light Assault Rifle) sniper rifle makes it return from Killzone 1, also wielded by the snipers of Metrac’s army. Much like how it is in the original game, it’s a very powerful but hard to wield properly weapon. It suffers greatly from a slow rate of fire and a limited magazine capacity.
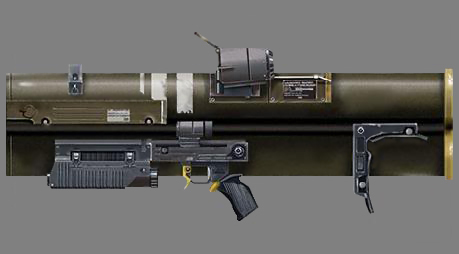
BLR-06 HADRA MRL
The Brown Industries BLR-06 HADRA MRL (Multiple Rocket Launcher) is the heaviest possible weapon in the Helghast’s infantry arsenal. Designed to devastate enemy armor, it is capable of firing up to three rockets in rapid succession from its triple barreled 66mm launch tubes.
There’s one extra-narrative thing to note about the BLR-06, and that’s that it wasn’t initially available in the retail version of Killzone: Liberation. It and the VC1 Flamethrower were included along with the free Chapter 5 DLC released shortly after Liberation went on sale in 2006.

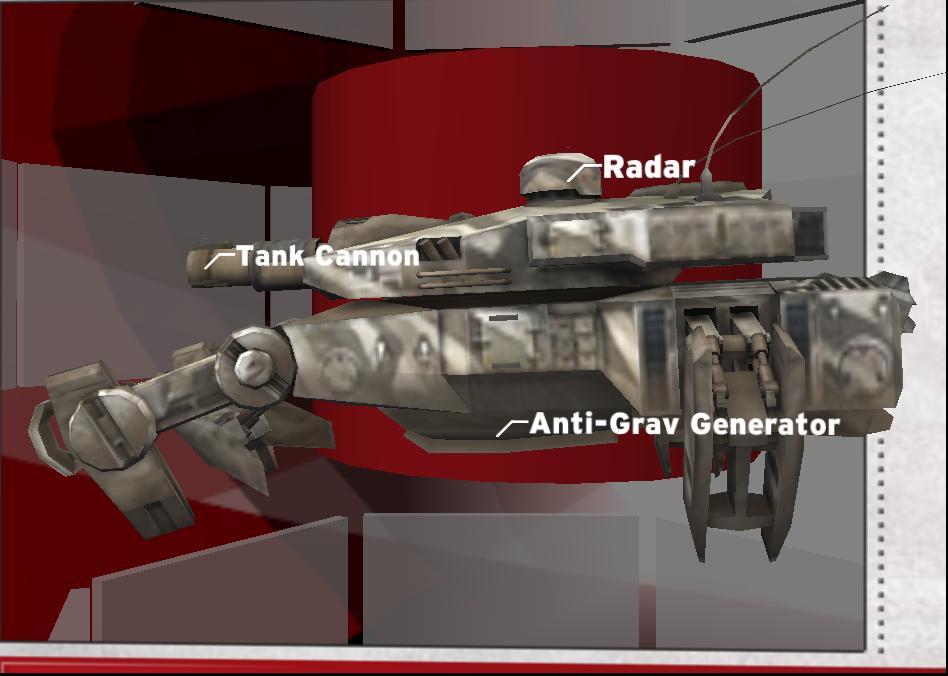
Helghast Heavy Hover Tank
A heavier version of the Light Hover Tank, the Heavy Hover Tank is the main mobile artillery muscle of the Helghast Third Army. Heavy Hover Tanks come equipped with a machine gun and a 152mm M81 smoothbore gun-launcher main turret and possess armour stronger than anything the ISA has to meet it with in their arsenal. The only effective way to bring down a Heavy Hover Tank is by using a Helghast BLR-06 rocket against it.

ISA VTOL Jump Jet & Gunship
The ISA VTOL (Vertical Take-Off & Landing) dropship is the ISA’s primary fast-action deployment and close air support vehicle of choice. There are two versions seen in Killzone: Liberation, the dropship variety, seen in Chapter 1, which has a single nose-mounted machine gun, and the heavy weapons gunship variety which will be showing up later in Chapter 3, which comes equipped with a pair of side-mounted heavy missile launchers.
The VTOL is eventually replaced with the ISA Intruder, due to the Intruder’s lower production cost, smaller airframe, faster manufacturing turnaround time, and slightly increased capacity to actually stay in the air
 .
. 

Behold: the only existing extra-game image of Heff Milcher.
CONCEPT ART
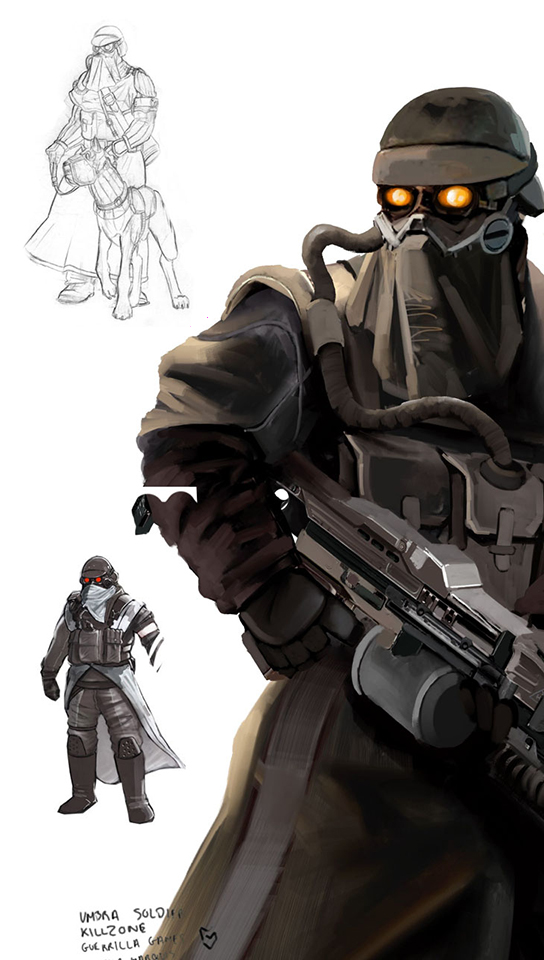
Helghast Shocktrooper, ver. 2

ISA VTOL
WALLPAPER
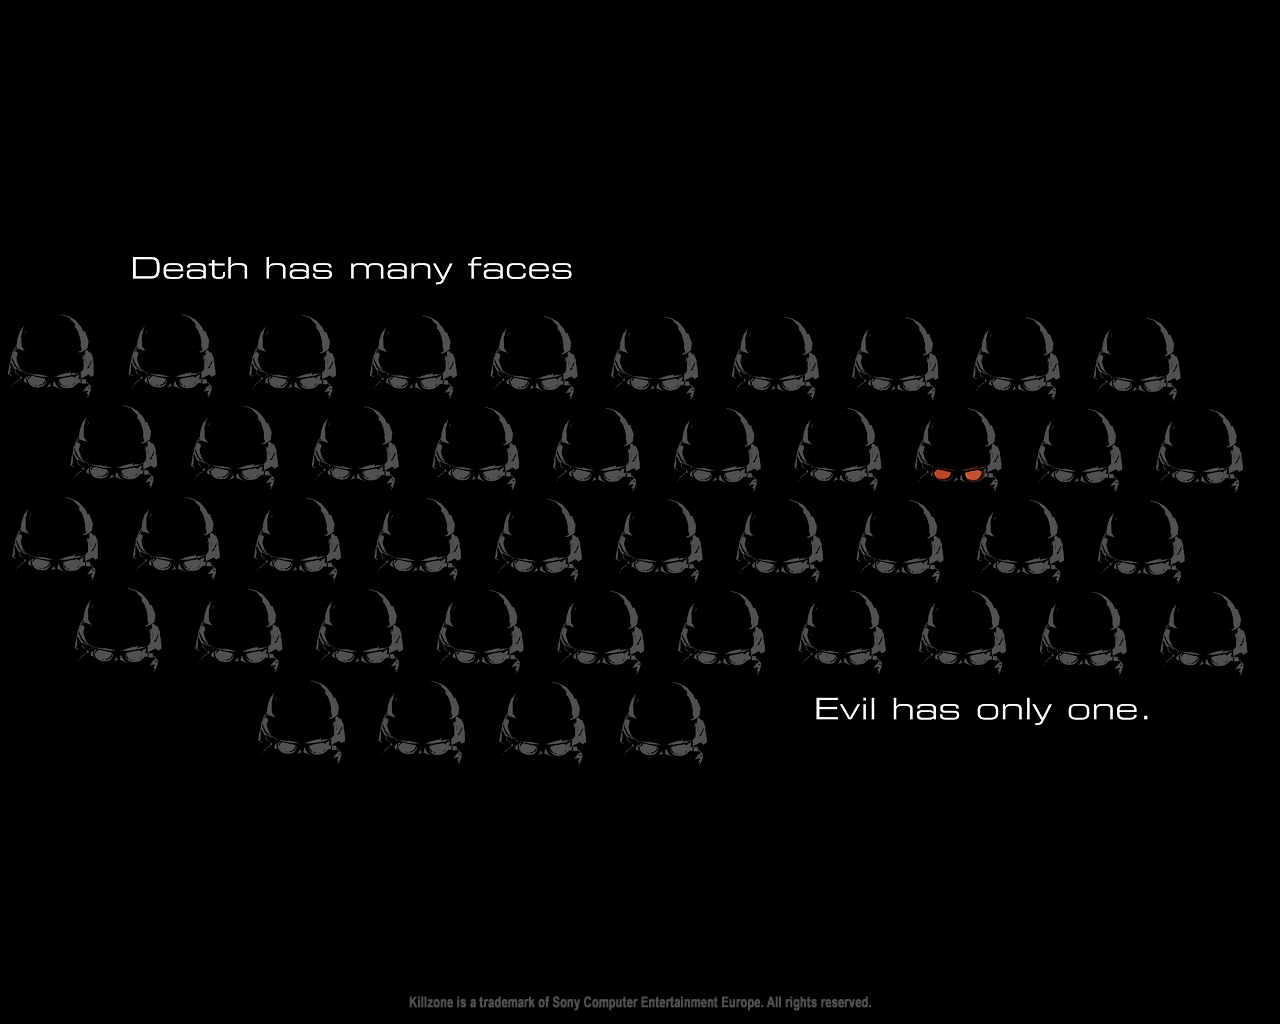
"Death has many faces. Evil has only one."