Part 8: Chapter 4, Stages 3 & 4


Templar
STAGE 3: CONFRONTATION
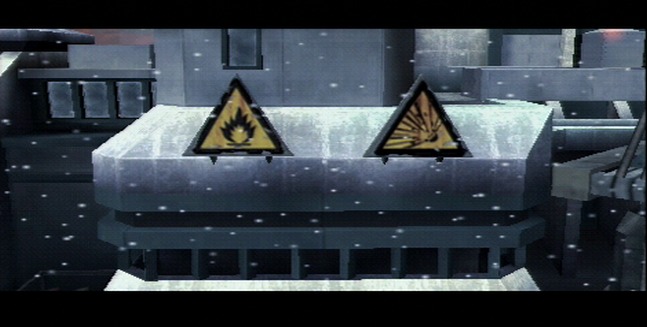
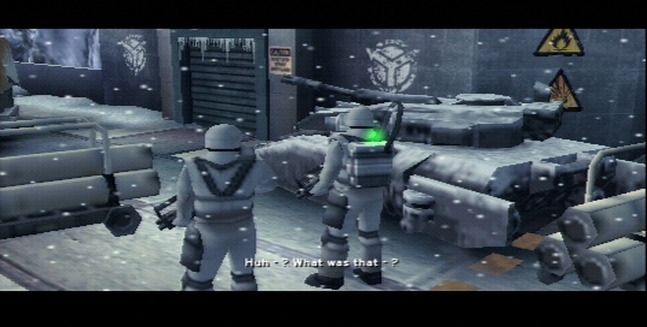
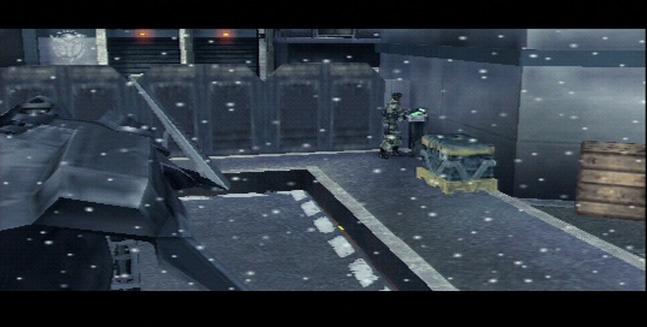
We begin with a sweet pan through the base which reveals, somewhat humorously, that the Helghast utilize the same universal hazard symbols we’re familiar with today, showing that they’ve at least survived into the 2300’s.

You can see here the symbols for Flammable and Explosive materials, which would make sense to post around a military airbase which would be positively soaked in flammable and explosive material (jet fuel and munitions).
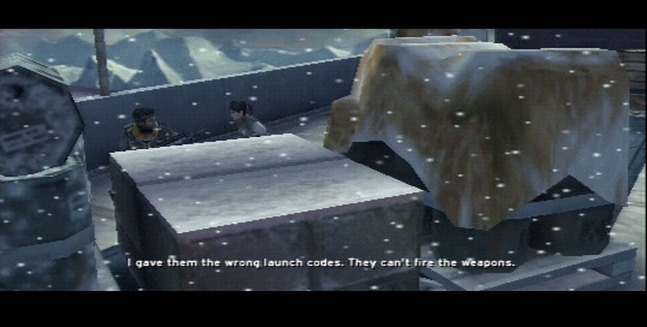
Evelyn reveals an understated but key detail which lays the groundwork for a major turning point in the plot of Killzone 2: she gave the Helghast the wrong detonation codes for Red Dust. So at the very least, the Helghast can’t use the warheads immediately.
This also has the unintended side effect of making Evelyn Batton one of the most important people in the Alpha Centauri binary system to the Helghast from this moment on.
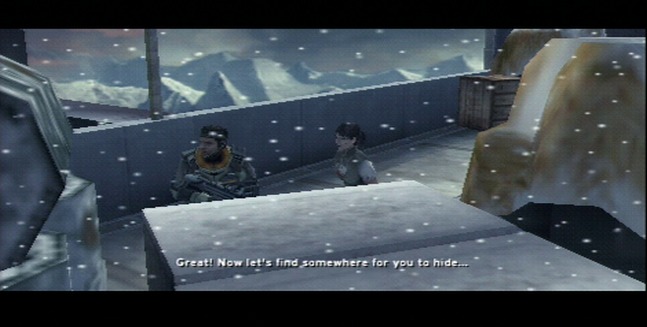
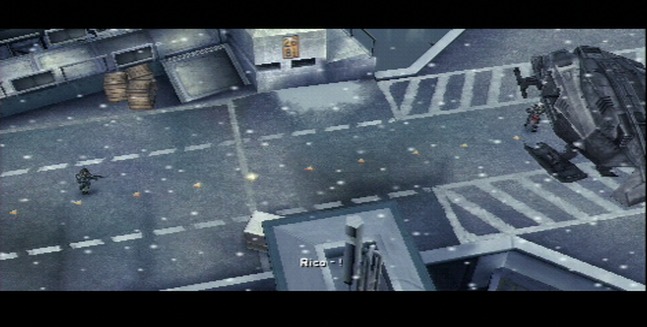
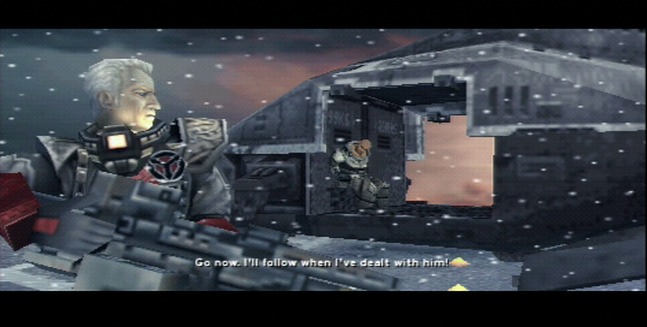
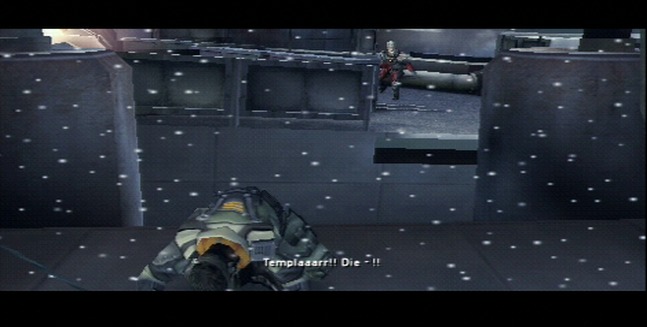
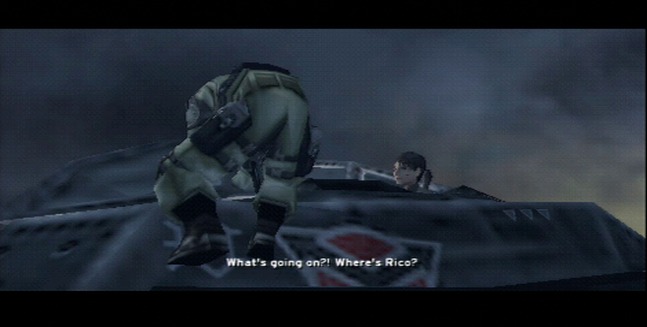
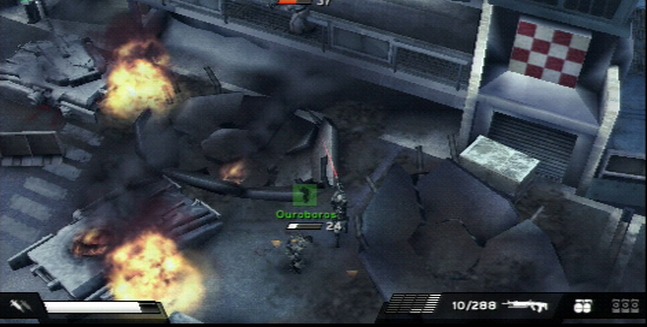
But first thing’s first: we’ve got a boss fight coming up soon, so we need to find somewhere to stow Evelyn while we go after Metrac.
Unfortunately, while the Helghast might be incapable of using tactics and cover properly, they aren’t deaf, and can hear Evelyn and Jan talking at normal volume while crouching behind a bin just 10 feet away.
So now it’s time to fight.
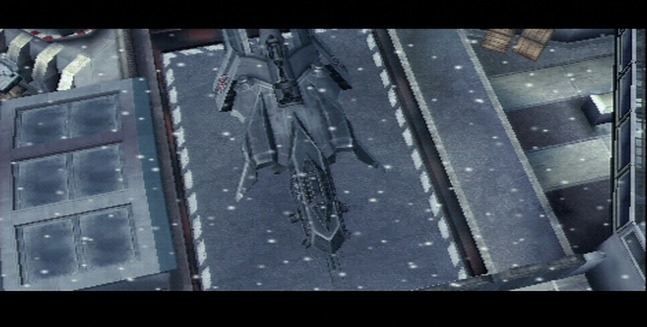
Later on in the level, we eventually find a Helghast fighter jet parked on the tarmac. Hmmm. This seems like a great place to hide a combat-averse nuclear munitions engineer.
Yep. We’re going full Episode I on this one…
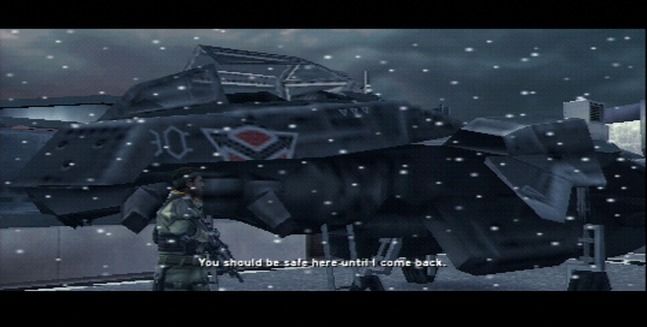
…Unless, you know, someone comes along and sees her in the cockpit, but whatever, Jan.
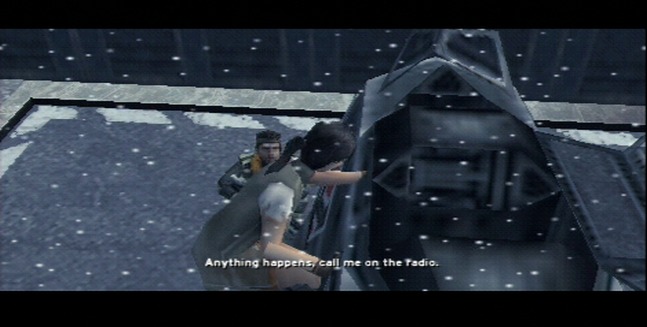
Evelyn and Jan share a touching little 90’s action movie bonding moment before Jan heads off to face Metrac.
I feel like The Touch by Stan Bush should be playing at this point just to complete the action hero tableau, because now Jan
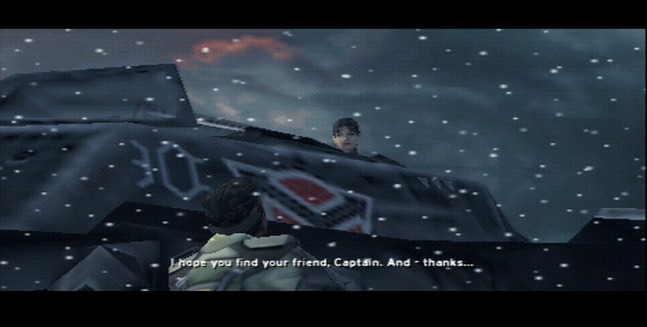
Templar sends the plane down into the hanger via the elevator just to make sure Evelyn’s completely safe in case the ISA squadron arrives early and mistakes her for an enemy target.

So we get a brief preview of Evelyn’s role coming up in Chapter 5, namely that she’ll be our replacement Luger for reasons of “I don’t think they could get Luger’s voice actor back for Chapter 5
 ”
”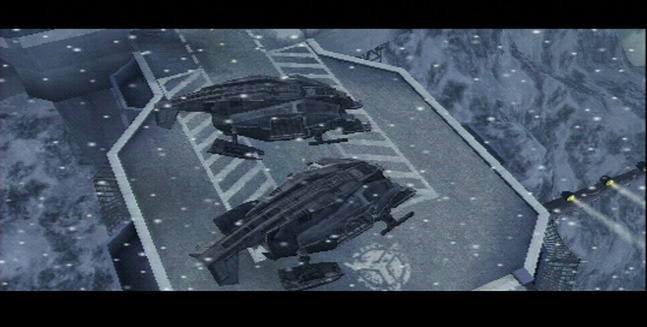
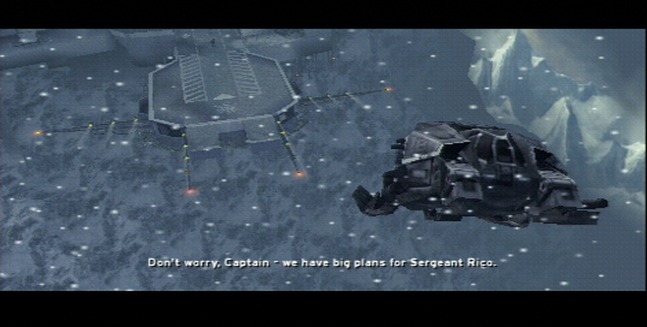
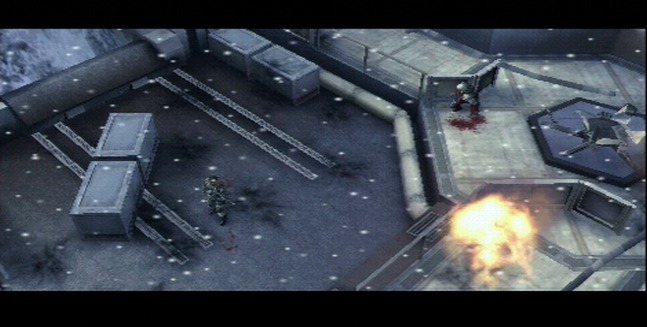
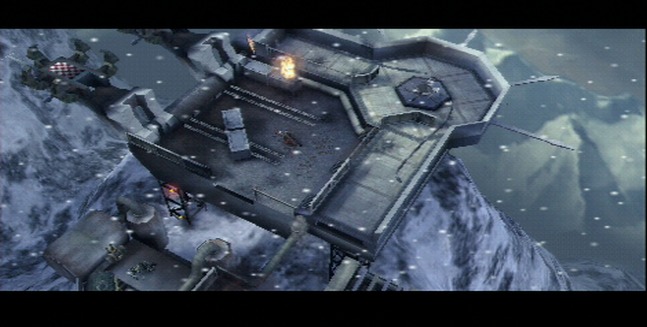
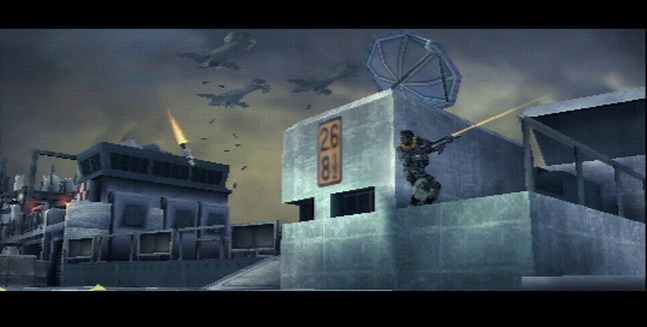
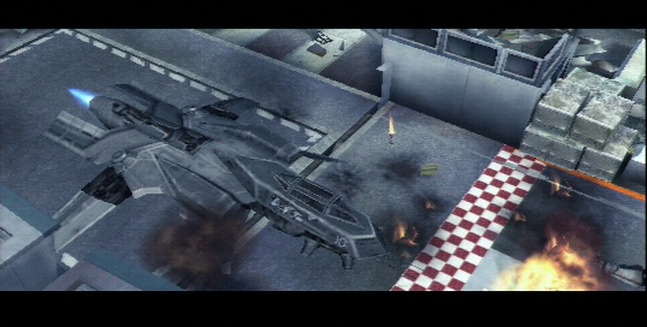
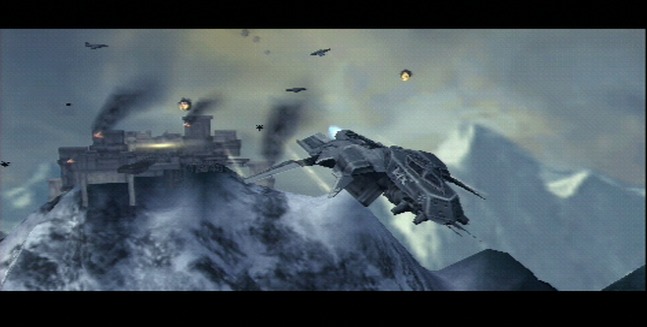
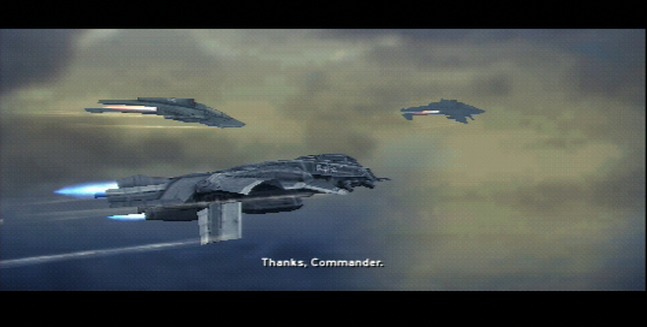
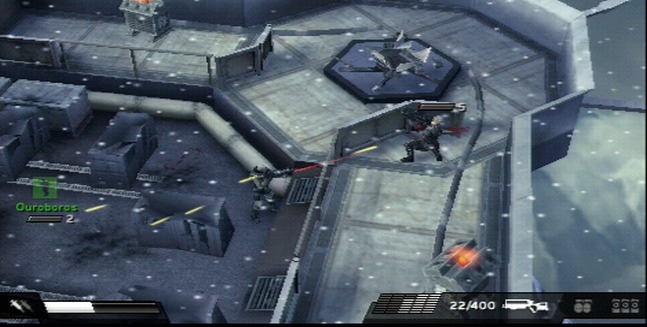
At the end of the stage, we come to the end of the airfield, and find a pair of Helghast Overlord dropships on the landing pad.
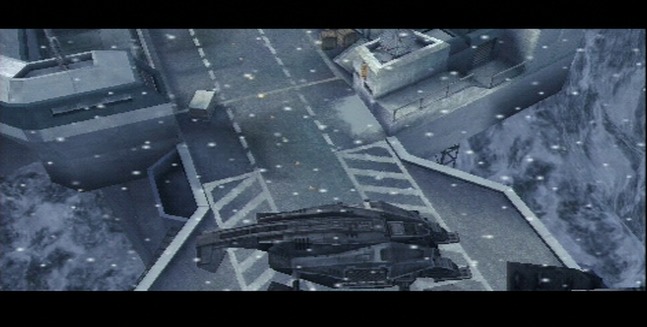
One of them takes off as the camera flies towards the soon-to-be boss arena to focus on the approaching Templar
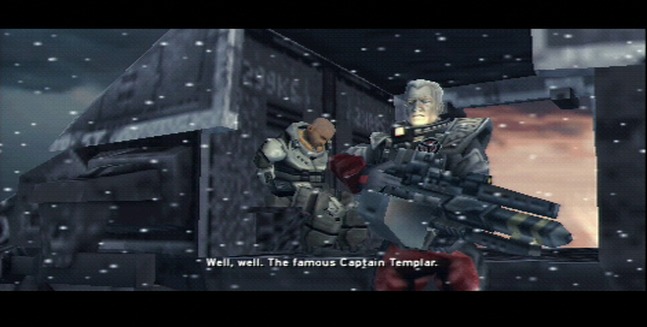
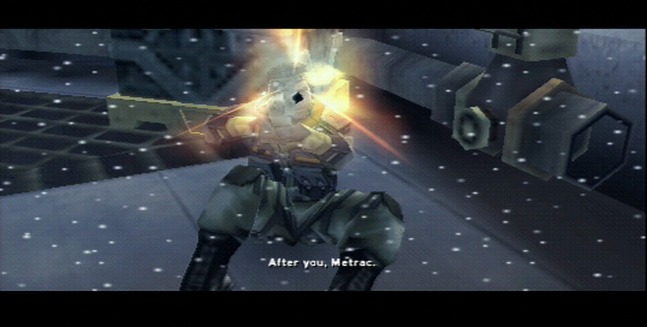
 : Templar!
 : One shall stand, one shall fall.: Why throw away your life so recklessly?: That’s a question you should ask yourself, Metrac.: NO! I’ll crush you with my
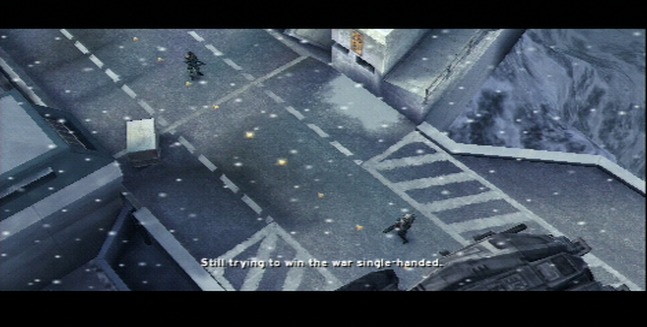
Hey, Hakha’s there too… allegedly.
Metrac orders the dropship with Rico aboard, who seems to be sitting there awfully quietly and contently for someone who hates the Helghast as much as Rico does, to take off and head for parts unknown.
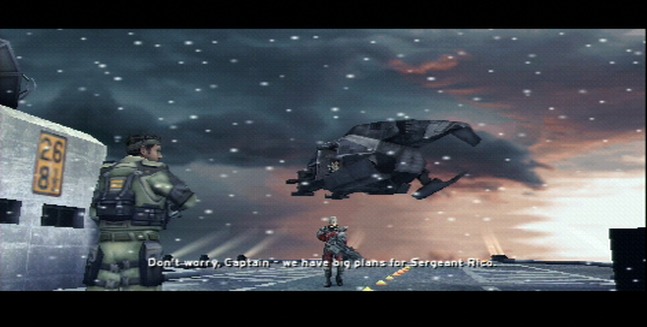
Plans that you would have no idea what they entailed if you didn’t download the Chapter 5 DLC.
I dunno, what do you think, thread? Because to me it looks like Rico might have actually taken up Metrac’s “join me and blah blah blah” offer from the end of Stage 1 of Chapter 4. In which case, it’s time to debut…

Yes, ladies and gentlemen, it is time for Rico Velasquez’s Big Goddamn List of War Crimes, wherein we shall catalogue all the various potential war crimes committed or alleged to have been committed by one ISA Sgt. Rico Velasquez over the course of the Killzone franchise.
This list shall be a recurring feature of this LP from this point onward and is only garuenteed to grow by leaps and bounds the further we head into Chapter 5, Killzone 2, and Killzone 3.
So, let’s begin with the basics:
- Dereliction of Duty
- Threatening a Superior Officer – I’m retroactively including his little tussles with Hakha over the course of KZ1 just for posterity’s sake.
- Assaulting a Superior Officer - Ditto.
- Providing Intelligence to the Enemy – Who knows what Rico told the Helghast while he was being tortured.
- High Treason against the ISA – Or so it seems to appear.
- Aiding and Abetting Enemies of the ISA
- Collaboration with Enemies of the ISA
Entries on this list shall be crossed off upon presentation of exculpatory evidence, but never expunged completely.
Because Rico, that’s why.
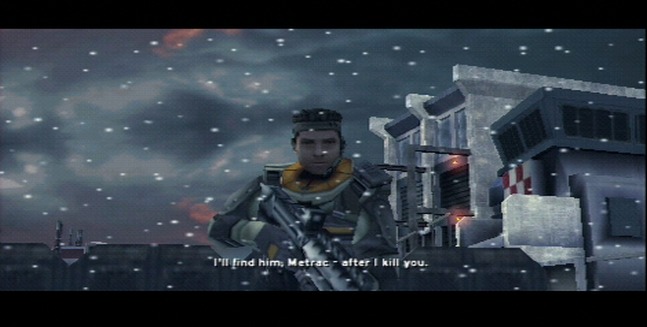
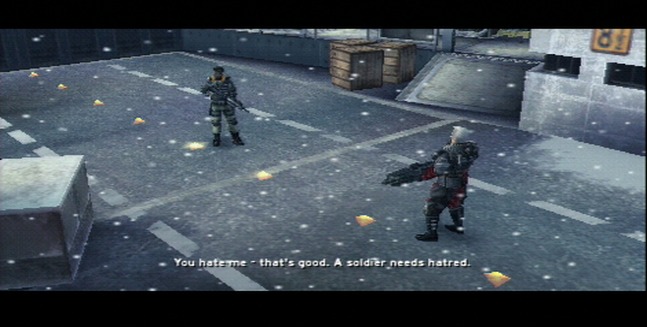
It’s a pity that this is the last we really see of Metrac before we kill him, because as you’ll see by watching the video, Metrac is as much of a glorious ham as Adams was in Killzone 1. His pre-fight back and forth with Templar here is just dripping with contempt. You can really tell that this is a man who utterly despises everything Templar stands for as a person and as a soldier.
We also get a brief up close glimpse of Metrac’s gun, a unique weapon as far as Killzone games go. Usually Killzone games try to shy away from the concept of the “unusable enemy-only weapon”, preferring to operate under the veneer of realism that anyone in real life can pick up any weapon they have the strength to hold and start firing it regardless of who made it.
The closest analog I can find to it is Rico’s M224-A3 HSW hip-mounted chaingun from Killzone 1 in terms of its appearance, firepower, and secondary fire capabilities, but I’ll cover just what it’s capable of in the gameplay section coming up.
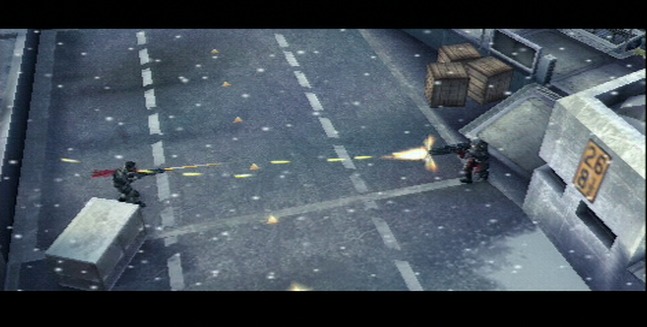
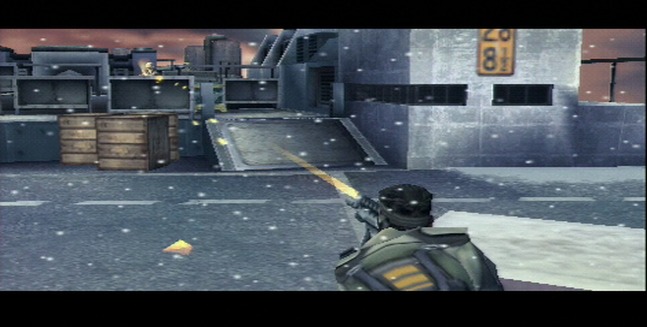
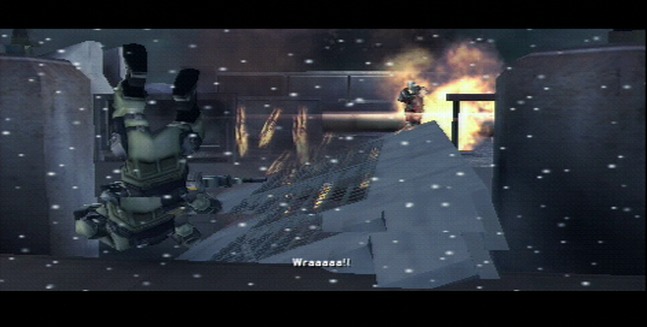
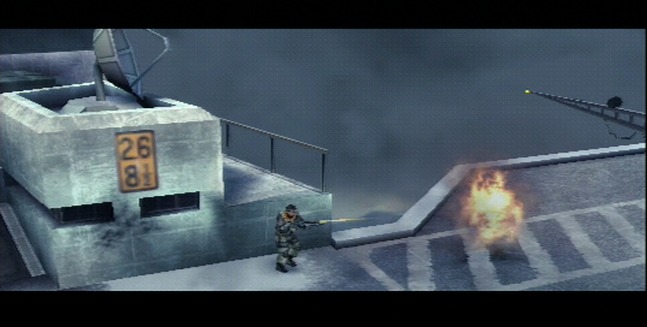
And now at long last it’s time for the duel we’ve all been waiting for since the moment the game began: Templar vs. Metrac.
Our two military titans begin with a spray of mutual cinematic “that didn’t count” gunfire as Metrac makes a dash for high cover.
One asskicking, coming right up!
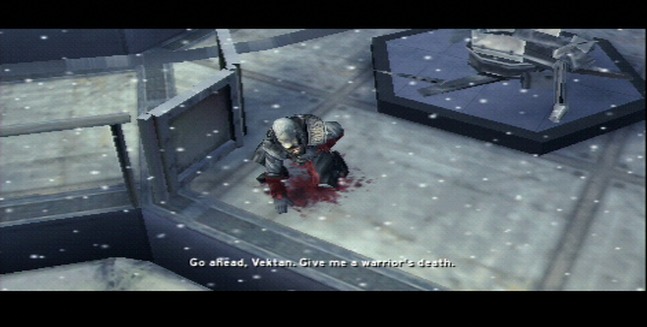
And after a long and brutal battle covered in the Gameplay section, Metrac lies mortally wounded.
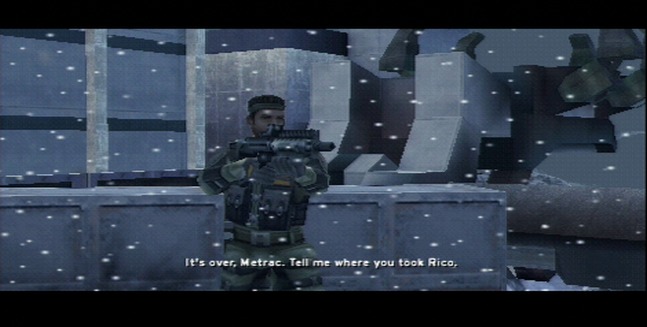
Templar, however, still wants answers from him before he lands the final blow. I wonder how responsive Metrac is going to be to Jan’s demands?
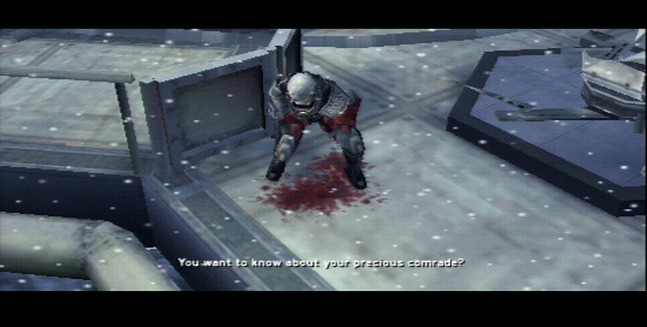
Answer? Not very.
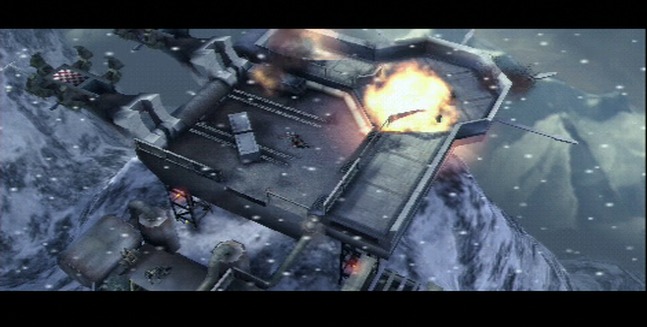
However, before Metrac can explain anything, bombs begin exploding all around, ripping the airbase apart. The ISA Airforce has arrived, and at probably the worst possible time if we were hoping to wring any last tidbits out of Metrac before he flames out (quite literally, it seems).
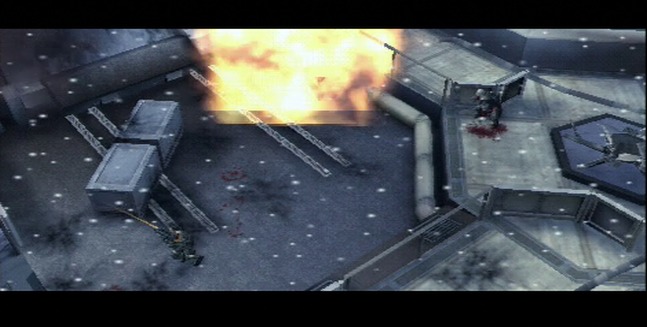
Because Liberation is still clinging to the 90’s action movie vestiges of Killzone 1, Metrac makes one last futile, rage-fueled charge at Templar across the gap between them.
…Which becomes a literal gap as the bombs dislodge the outcropping he was standing on from the main base portion where Templar is.

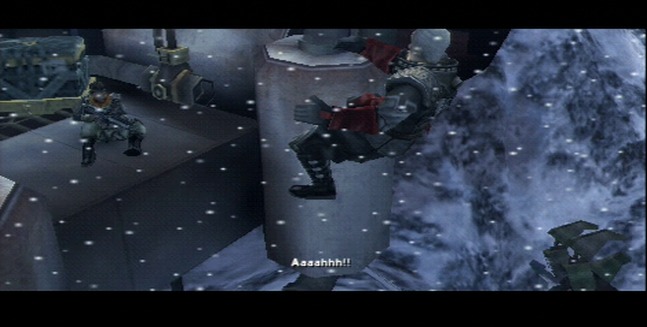
And for all his poetic and melodramatic flair, and his smug air of superiority, in the end Metrac is left with nothing but frothing rage as he impotently roars and runs towards his foe in a last ditch effort to at the very least make sure Templar dies with him.
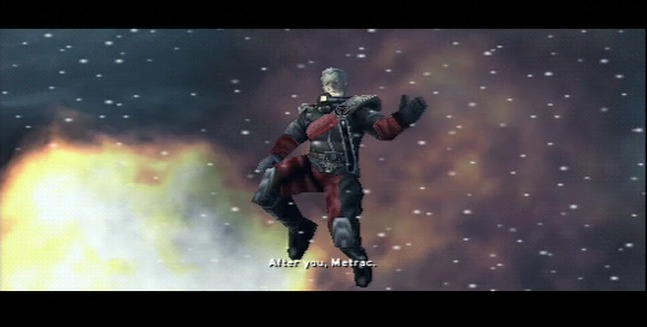
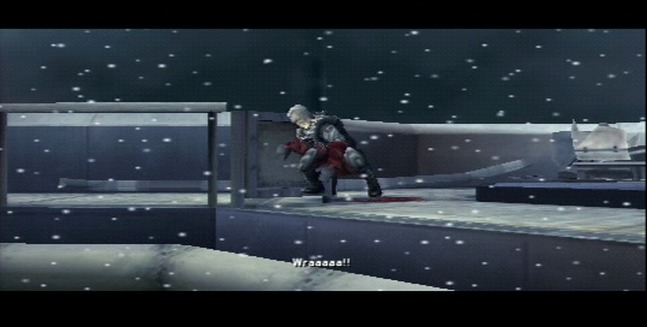
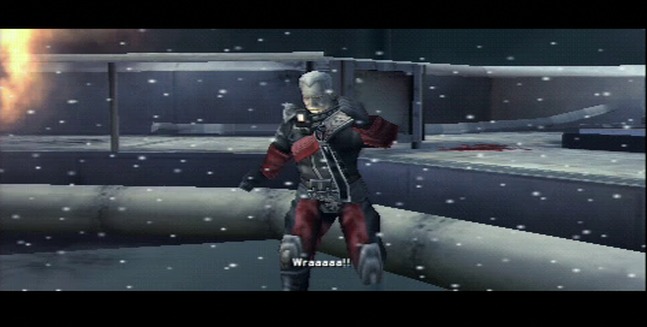
HOLY FUCK! This is amazing!
And Jan gets his Action Hero Climax One-Liner in for the game…
And ventilates Metrac mid-jump.
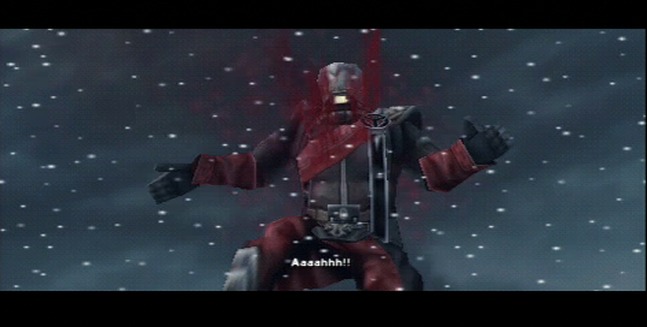
SWEET JESUS!!!
Oh, it’s such a shame that Liberation wound up on the PSP of all places, because I’m pretty sure that Metrac has hands down the single most awesome death of any of Killzone’s numerous antagonists.
Lente got shot in the crotch by his former second, Adams got crushed to death by a falling beam, Metrac OUTRUNS A FIREBALL, LEAPS ACROSS A CHASM FROM A COLLAPSING PLATFORM, TRIES TO LAND A DEATHBLOW ON TEMPLAR WITH HIS BARE HANDS, AND THEN GETS SHOT IN MID-AIR AND FALLS SCREAMING TO HIS DEATH!

This. This right here is Shakespearean.

[Exeunt Pursued by Bullets]
Good night, sweet prince, my flights of angels sing thee to thy rest… assuming they can find your body in the rubble.
Thus Jan ends Stage 3 looking over his handiwork, probably taking a moment to spit on Metrac’s fallen corpse for all the horrors he has wrought in such a brief time period.
STAGE 4: LIBERATION
Hey, that’s the title of the game! D’aaaw, I see what you did there Guerrilla.
See what I mean about there being a payoff to each of these stage names having a –tion suffix?
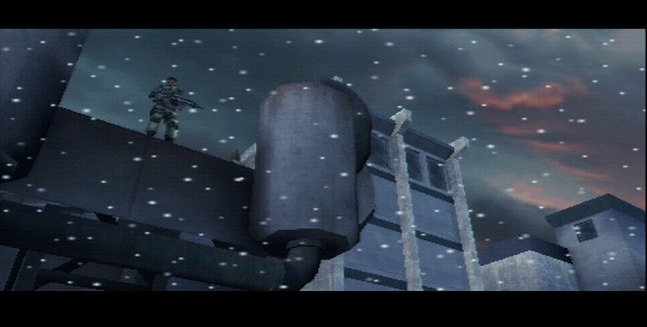
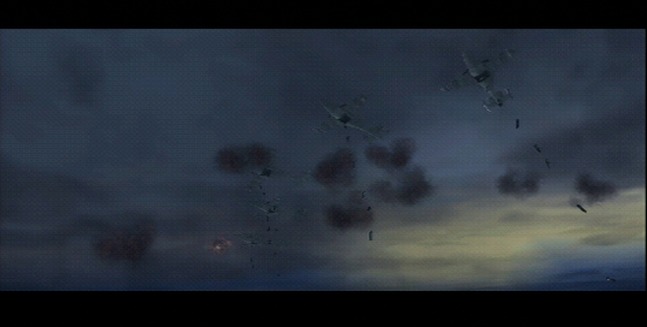
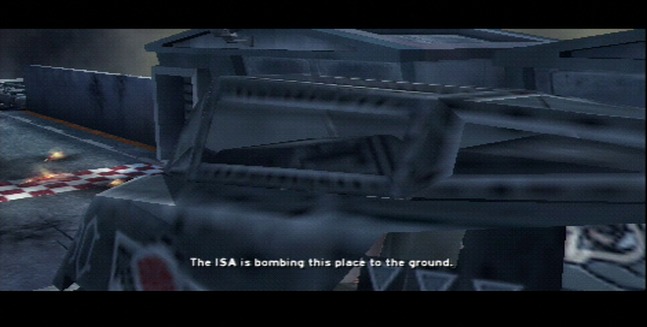
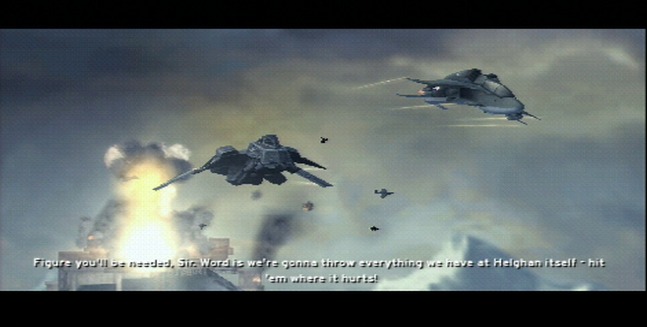
So Stage 4, the final stage of the base game of Liberation begins with the ISA bombing the airbase.
…With Templar right in the middle of everything.
INCOMING!

So just because Metrac’s dead and done with, that doesn’t mean that Liberation is over with by any reasonable stretch. We’ve still got to get out of here alive and then we’re going to have to deal with the fallout from what just happened a few minutes ago.
Chapter 4 Stage 4 is the most run-and-gun-y of Liberation’s stages. Your objective is to survive the bombing and make it back to the Helghast plane to escape.
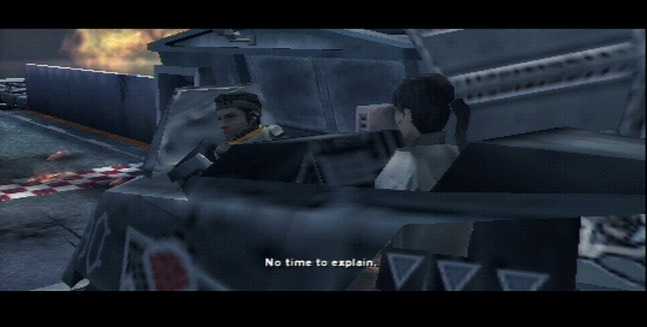
Finally, Templar
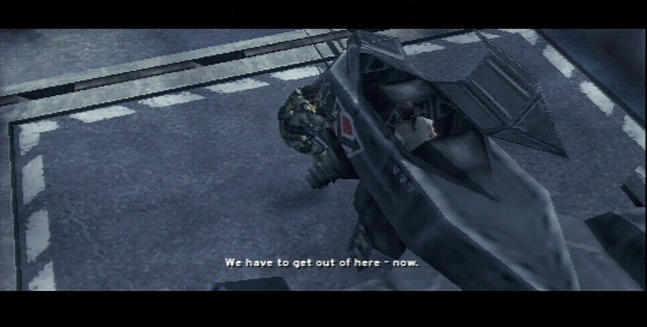
Templar climbs into the cockpit with her. Hakha’s left behind in the rubble just off screen because there’s only two seats in the plane, and Hakha isn’t Action Protagonist material, so he doesn’t get priority.
I’d say this would be the point where Jan has completed his healing process and that now that Metrac and Cobar are both defeated, he no longer needs his Hallucinatory Hakha companion anymore and is therefore leaving him behind for good in the ruins to move on with his life… But then we’ve still got Chapter 5 ahead of us, so no Templar still needs to hang on to Ghost Hakha for a little wile longer.
Don’t worry though, Guerrilla’s working on a quick-fix DLC chapter though!
Also, good old PSP Cutscenes™; the camera is clipping through the jet’s body to get this angle.
You better call Kenny Loggins… because you’re in the Danger Zone.
I feel the need.

The need for SPEED!
Are they gonna make it?
Well they both appear in Killzone 2, so OF COURSE they make it.
WOOOO!! TALK TO ME GOOSE!
And so Templar and Batton get away clean from the base. There’s only one last thing to take care of.
I said something about “flying away from an explosion”, didn’t I?
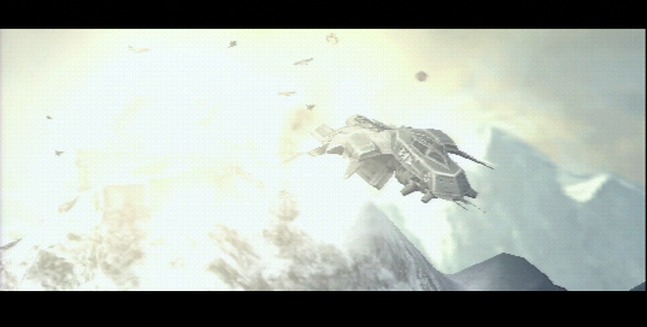
POW!


The ISA squadron drops the big bombs on the base and triggers the base’s weapons cache to blow, causing catastrophic damage.
Unfortunately, as we’re going to learn in Chapter 5, the Red Dust nukes have already been moved off-planet from Adlez Base and are on their way to Helghan at this very moment.
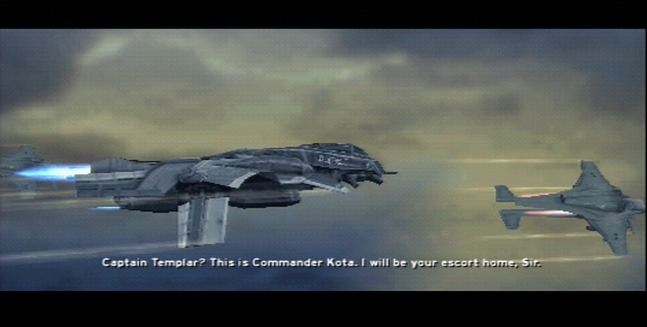
Luckily, the ISA fighters don’t immediately blow the escaping Helghan plane out of the sky, and realize that Templar and Batton are aboard it. The squadron’s commander, Kota, introduces himself as his planes form up into escort formation around the fighter.
Kota also informs Templar that the plot of Killzone 2 is about to ramp up; Vekta is about to go on the offensive against the Helghast and are preparing a plan to put boots on Helghan for the first time since the end of the First Extra-Solar War.

Templar, for his part, is completely on board with this idea. Of course, we’re going to see this first hand in Killzone 2, where Templar accepts a promotion from Captain all the way up to Colonel and command over the cruiser ISSC New Sun… but that’s all yet to come from the perspective of Liberation in the here and now.
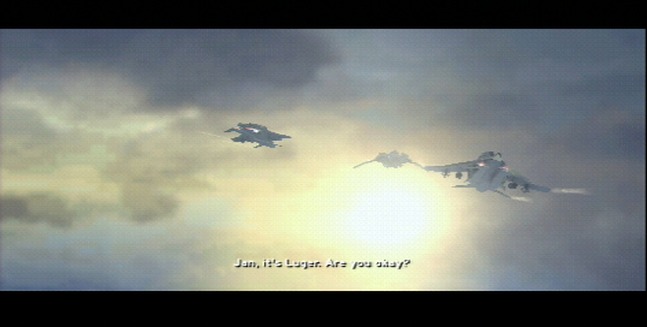
And finally, at the end of the stage, Luger radios in to make contact with Templar one last time. She informs him that she was able to intercept a Helghast radio transmission detailing where the Helghast have taken Rico… and that Templar is not going to like it.
This right here is the last we see and hear of Luger in the Killzone franchise.

This is also the point where the base game of Liberation ends. If we didn’t have the Chapter 5 DLC, the game’s credits would start rolling right here. To the people who only played the base game of Liberation and then went into Killzone 2, there was quite a lot of confusion bred as a result of this ending.
There’s still a considerable gap between Rico flying off on that Overlord, seemingly defected to the Helghast, and when he shows up on the New Sun at the start of Killzone 2 seemingly forgiven and back at the tip of the spear for the ISA’s counterattack on Helghan.
So then, is Liberation just non-canon in Killzone’s storyline? Well, no, of course not. Killzone doesn’t do non-canon. …When it comes to its games, anyway. And elements explicitly set up in Liberation will be paid off across 2 and 3, not to mention Metrac is visually referenced in 2, 3, and Mercenary. So Liberation canonically happened. It just needs the Chapter 5 DLC to make it fit into the broader Killzone canon 100%.
And that’s exactly what we’re going to tackle next time.

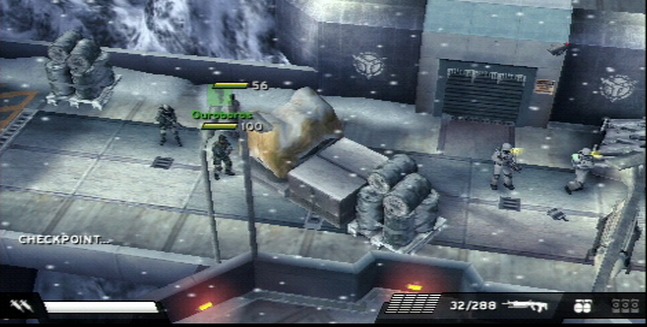
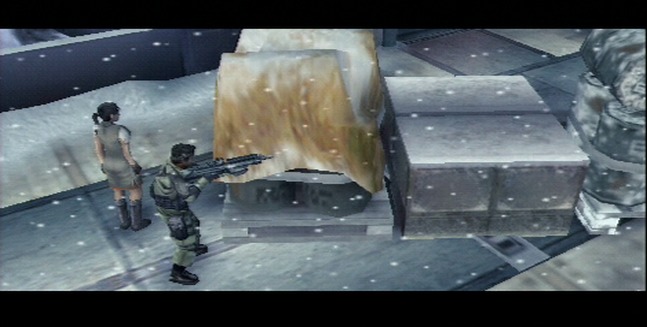
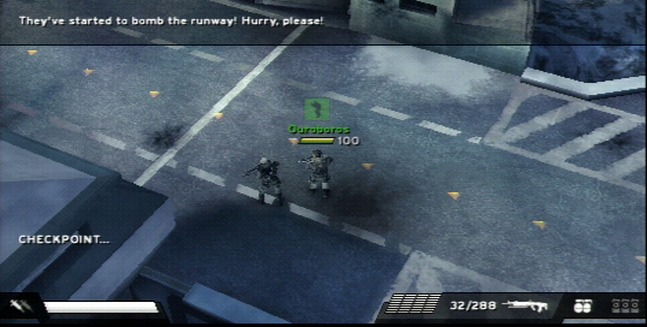
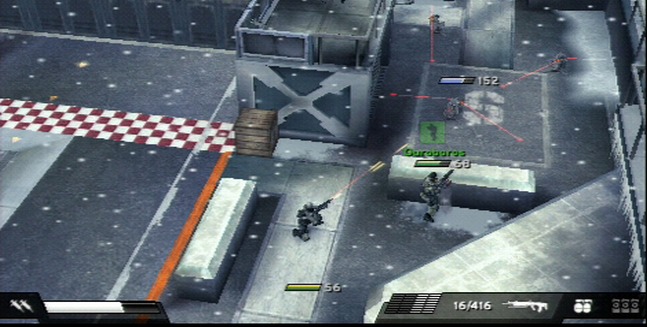
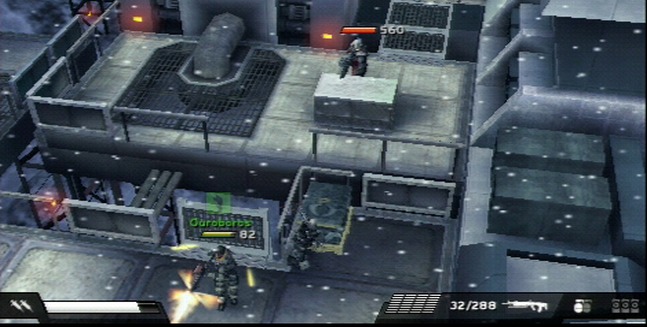
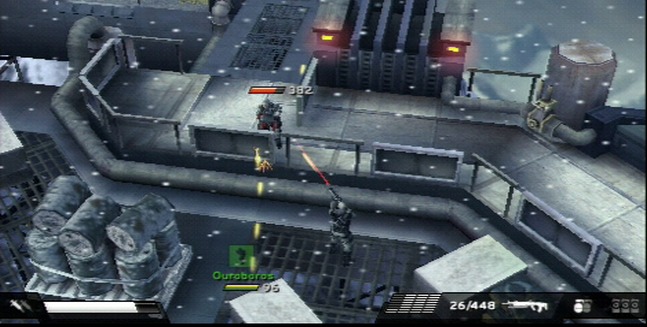
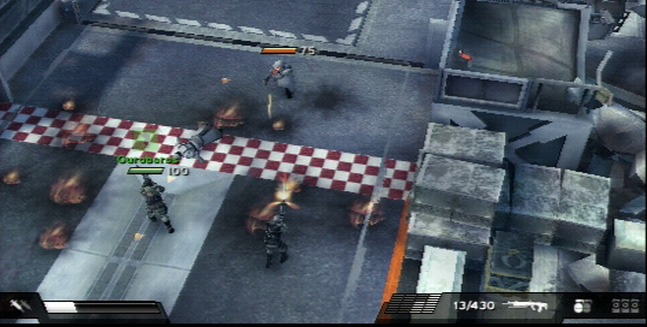
So for the first part of Stage 3, we’ve still got Evelyn as our AI escort companion. Because she’s been tortured, Evelyn only has 56 maximum health. She also has no weapon on her. Yes, Templar could have easily found her a pistol to defend herself, but we simply assume that at this point in the Killzone storyline, Evelyn hasn’t had any weapons training yet.
Her kidnapping and torture presumably changes this, because the next time we see her in person as an ally, in Suljeva Villiage on Helghan, she’s packing an M4 Revolver and seems to be decently proficient with it. No doubt the result of a hasty round of weapons training between her rescue at the end of Liberation and her assignment to the New Sun under Templar born out of the trauma of being kidnapped and tortured and wanting to take preventative measures to ensure that that either never happens again, or that she at least goes down fighting next time.
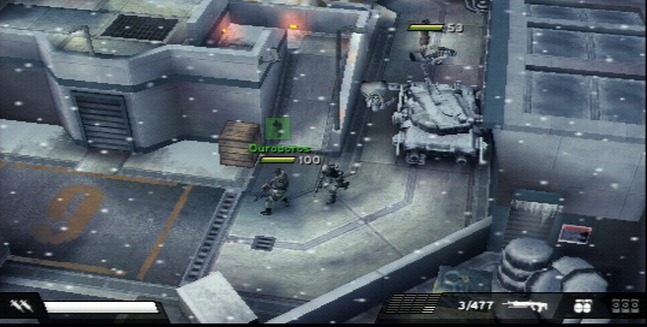
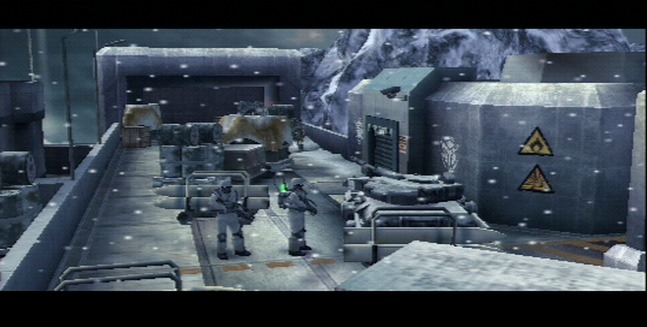
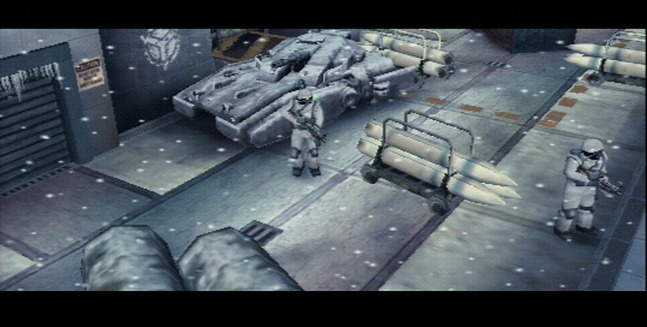
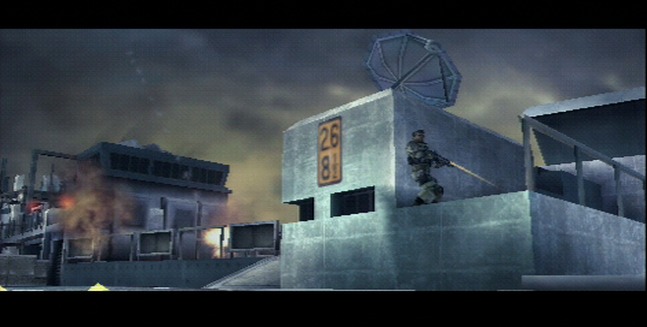
Although Adlez Base is clogged with hover tanks like the one we got to drive in Chapter 1, none of them are actually drivable in-game, meaning they’re just obstacles and cover here.

And this is pretty much Evelyn’s role in Stage 3, cowering in fear and crying for help. I suppose it’s to be expected, I mean she is a non-combatant who was just TORTURED and is now in the middle of an active combat zone while Templar
Again though, by the time Killzone 2 rolls around, Evelyn will be a little more comfortable in active combat situations than she is here, so at least it shows character development across multiple games.
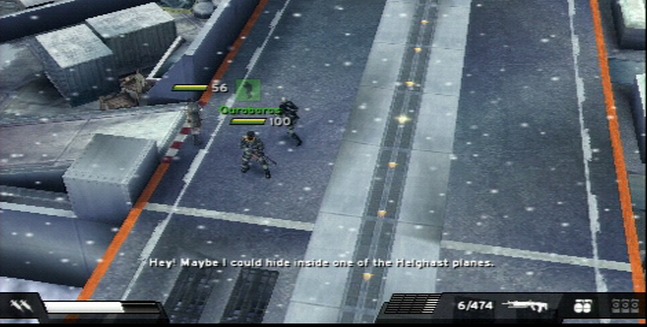
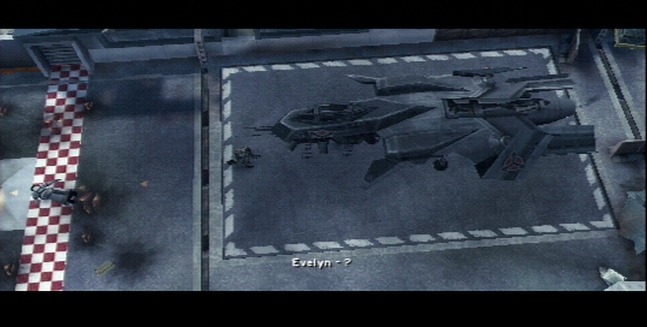
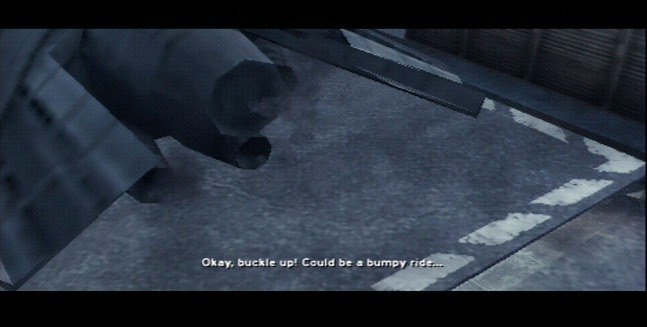
When you get to the airstrip itself, Evelyn is actually the one who suggests hiding in the fighter cockpit.
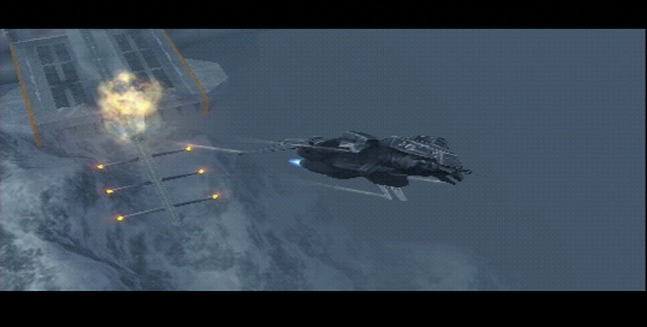
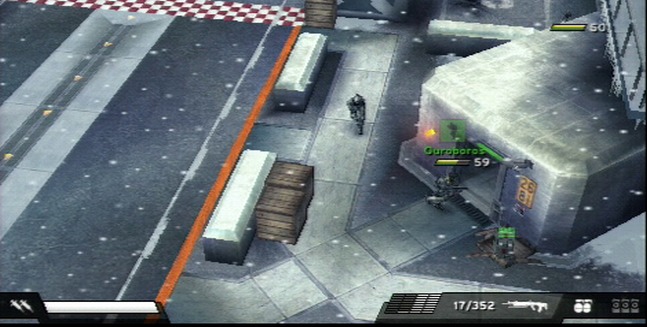
It’s at this point that a Helghast pilot emerges from this spawn point and makes a run for the plane.
You need to take him out before he makes to the plane, otherwise he will hop into it and fly away with it, netting you a game over.
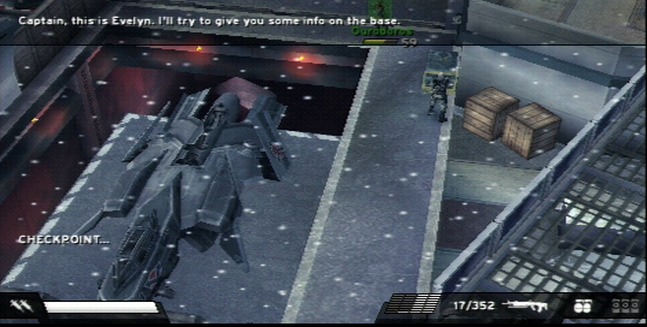
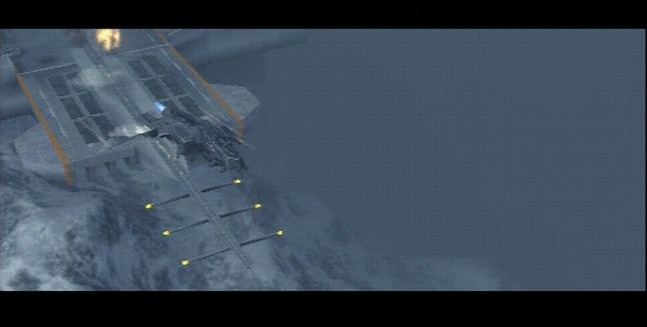
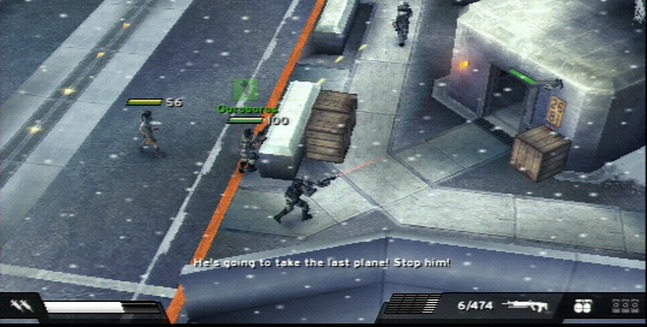
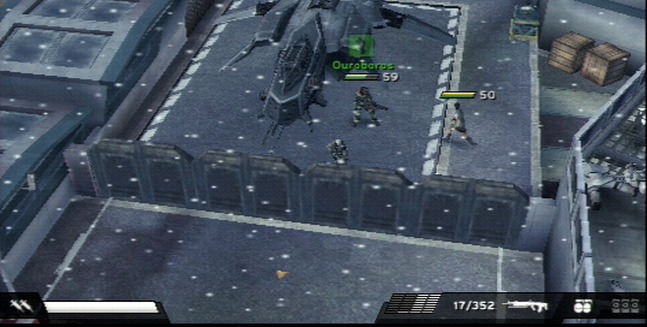
From there, the path to the plane itself is guarded by a trio of rotating laser trip mines. You’ll need to take out all three of them because they’re pretty much purpose-placed to blow up Evelyn, whose AI doesn’t have the finesse to thread the needle around the laser tripwires like you or your potential co-op partner normally could.
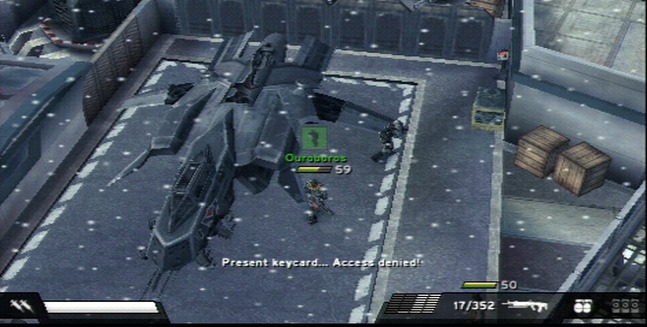
One more piece of bullshit unfurls as we can’t unlock the cockpit without a keycard. And where is said keycard which we’ve never had to use before in game up till this point?
Oh yeah, the pilot has it. It’s that green blob down in the lower right of the screenshot.
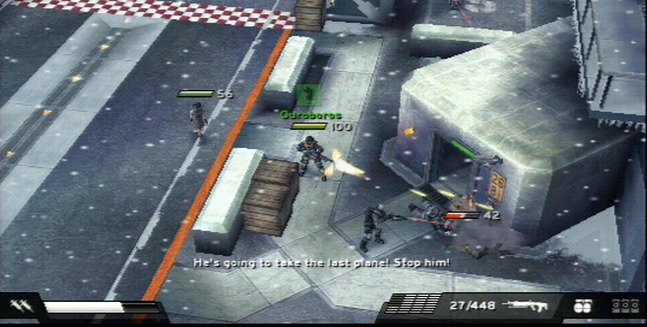
With the cockpit unlocked, Evelyn climbs on in and it’s time to go smoke Metrac.
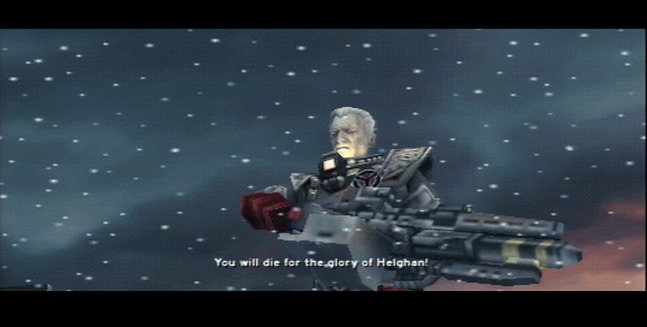
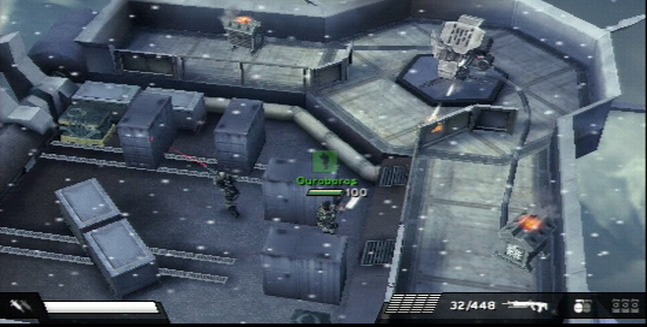
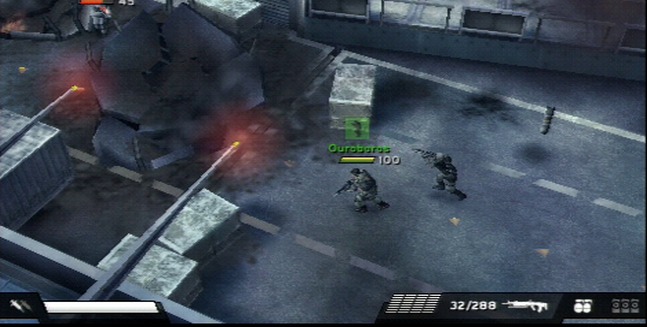
So Metrac is our boss battle for Chapter 4, the final boss of the base game and penultimate boss of the complete game.
Metrac has 560 health on Trooper (aka Normal difficulty), and has multiple stages to him. This first stage has him separated from you by a gap in the architecture.
In this first stage, Metrac will mostly hide behind cover and pop up to alternate between firing his chaingun and its secondary fire.
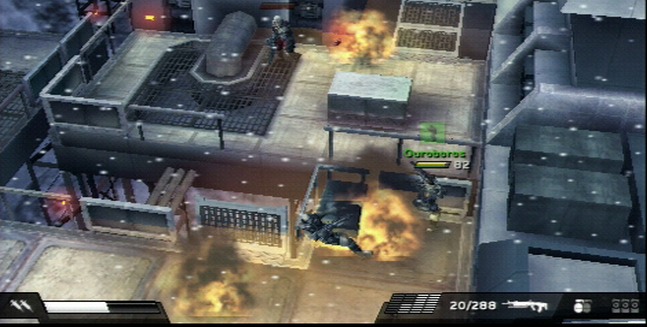
Which is a scatter shot of frag grenades.
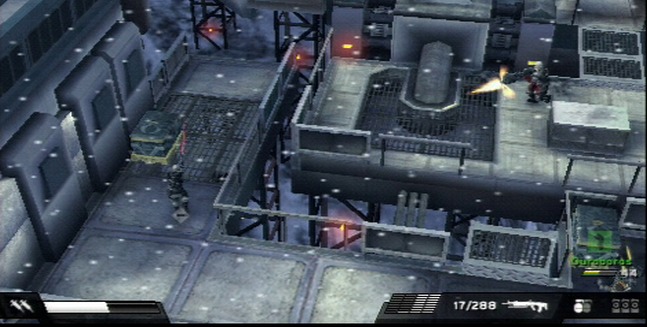
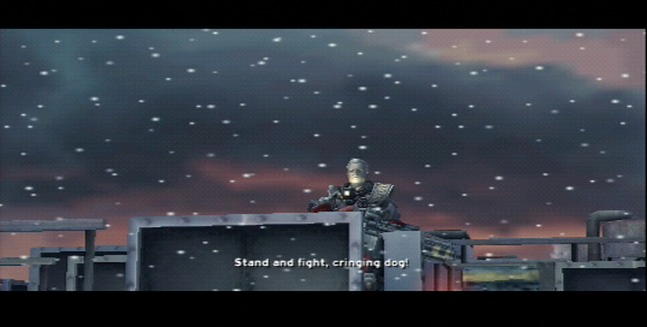
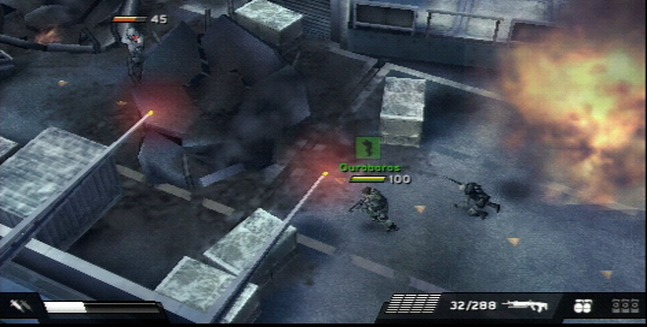
After winnowing his health down a bit, a gangplank to the next part of the arena will extend. Metrac will run off and you’ll have to chase him down.
The same thing happens again, only this time there’s more obstacles between you and Metrac making it harder to get line-of-sight hits in on him. This isn’t much of a problem for Metrac himself, mind you, because he can still hit you by arcing his grenades over cover.
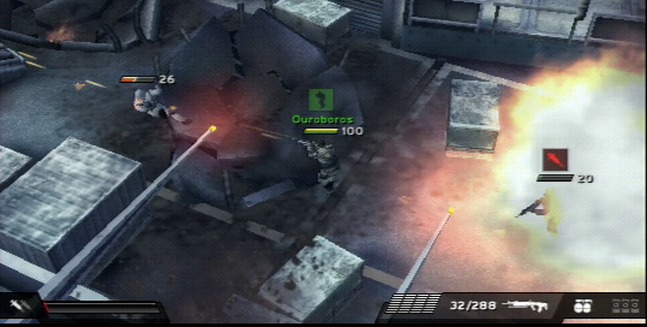
For the third stage of the fight, Metrac leads you to a more open arena where he then hops into a turret and begins firing its main gun at you.
While Metrac is in the turret, he cannot be damaged himself, though the turret can eventually be destroyed.
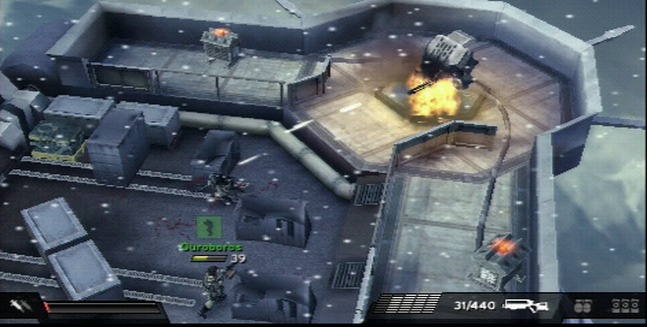
Don’t quote me on this, but I think you can also disable the turret temporarily by shooting out both the generators with the big obvious glowing orange lights on them on either side of it.
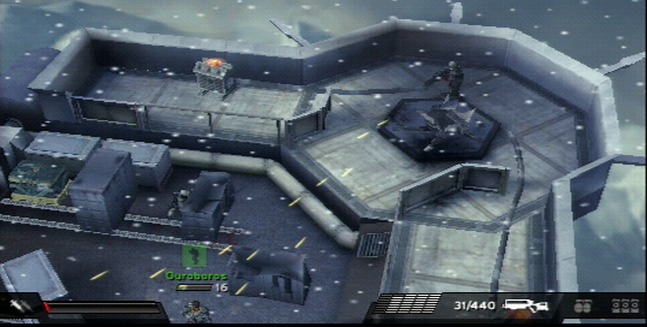
Regardless, with the turret destroyed, the fight enters its final stage, where it’s just you alone with Metrac and within spitting distance of him now.
And not to brag or anything, but when it comes down to it, I’m the one who lands the killshot on Metrac.
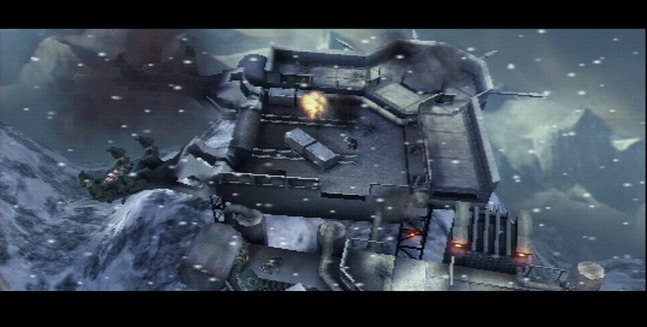
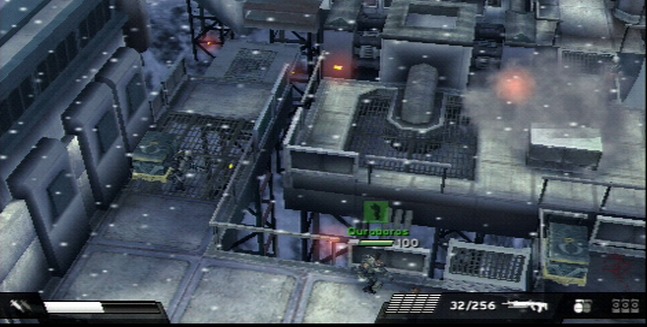
With Metrac dead, Stage 4 is a game of “outrun the slow moving fireball.” This is the Escape From Ganon’s Castle portion of Ocarina of Time part of the game.
The really sucky thing about Stage 4 is that all those bombs that are dropping around you are active stage hazards. That means than you will take damage if one drops near enough to you and you get caught in its explosion, and they can very easily kill you if you dawdle in one place for too long.
Like so. You have very limited warning as to where a bomb is going to land. Usually you will see the shell falling on screen, and by that point it’s too late.
Bombs will drop in random patterns with no indication of their blast radius, so they will fall behind you and in front of you. So you need to both run like mad not get blown up AND be cautious and deliberate so as not to get blown up.
Thanks for that Killzone: Liberation.
The really neat part of Stage 4, however, is that it reuses Stage 3’s level but with obvious damage and destruction physics at play, so even though you’re backtracking for literally the entire last 10 minutes of the game, it never really feels like you are.
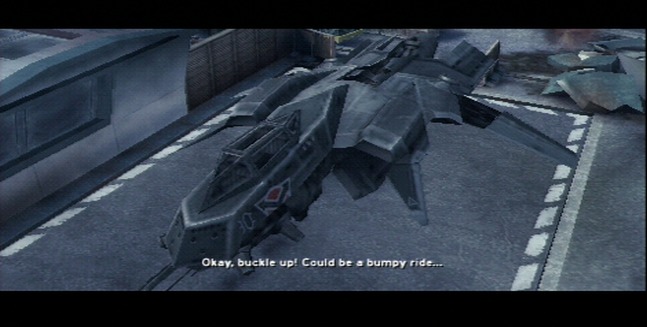
Eventually though, we make it back to the plane, and after hitting the switch to raise the flight elevator back to launch position, we also take out the last Helgoon of the base game of Liberation on our way out the door.
From here, it’s onward and upward to Chapter 5.

Oh boy, do we have some developments for this update.

With the death of General Armin Metrac, the Helghast invasion of Vekta is effectively over. Metrac was their last flag officer on-planet, and although the Helghast still have a deep cover turncoat in the Vektans’ midst, Scolar Visari orders the general withdrawal of all Helghast assets from Vekta now that the Red Dust bombs are securely in Helghan custody.
Command of the retreating Helghast forces now falls to Colonel Vyktor Kratek, the highest ranking remaining Helghast officer on Vekta following Metrac’s death. Upon completion of his operations in Diotrem City east of Adlez Base, Kratek returns to Helghan to help prepare for the inevitable ISA counter attack, and we might actually see him in action in the future if we decide to LP Killzone: Mercenary.
Rico Velasquez is now the most wanted man on Vekta after his apparent defection to the Helghast for as-yet unknown reasons.

Along with General Stratson, Evelyn Batton was successfully rescued from the Helghast by Captain Templar. Though she gave the Helghast falsified detonation codes for the Red Dust bomb in the hopes of delaying a possible mass-casualty event through their use, she knows that the Helghast will eventually try to reverse engineer or brute force the bombs’ detonation sequencer to overcome this imposition.
From here, she will join Templar’s retinue of operatives and accompany his strike force to Helghan to help them locate, retrieve, and disarm any Red Dust bombs still on the Helghast capital world.

Jan Templar is not about to take Rico’s apparent defection lying down. With the last piece of intel Luger provided to him before slipping back into the shadows for good, Jan prepares to track the last remaining Helghast detachment to Sedah City on the west coast of Southern Vekta and find Rico, and, god willing, clear the dumb son of a bitch’s name before he gets himself executed for treason.
ISA fighter pilot, occasional Jedi Knight, and professional Joe Biden impersonator, Commander Kota briefly appears at the end of Chapter 4 to escort Templar and Evelyn back to Rayhoven… after almost accidentally blowing them both up.
Oops.
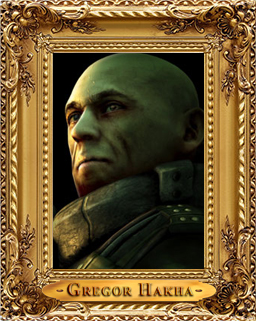
Gregor Hakha is still retired from active duty, like he has been since the end of Killzone 1.
When Templar recounted the events of Chapters 1-4 of Liberation and Hakha’s alleged role in them to him via video chat, Hakha abruptly hung up on him.

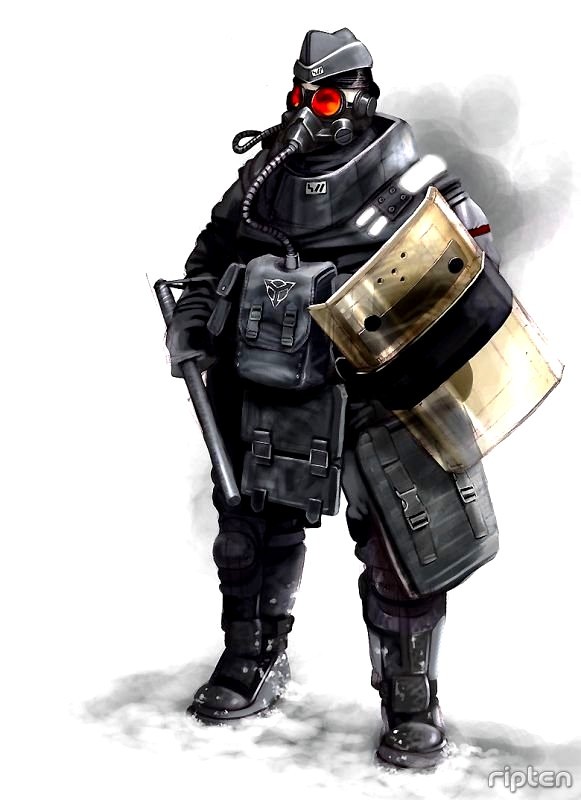
Bodyguard
Seen primarily in Stages 1 & 2 of Chapter 4, the Helghast Bodyguard trooper resembles a riot control officer with their large transparent shields and stun batons. They are large, bulky, and slow, but also heavily armored. They have the highest amount of health of all non-boss enemies in Killzone: Liberation, and their stun batons can kill in two hits. Thanks to their shields, they are invulnerable from the front and either need to be outflanked by a co-op player, or damaged from behind with a well-placed grenade throw.

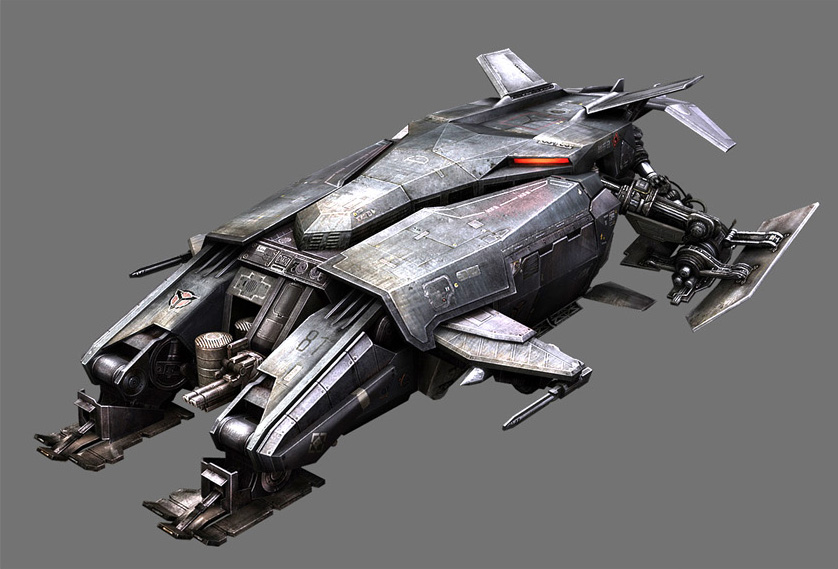
Helghast Overlord Dropship
Analogous to the ISA VTOL dropship, the Helghast Overlord is the primary rapid troop deployment platform of the Helghast military. Capable of vertical take offs and landings and hovering, an Overlord can enter a battlefield, deploy a compliment of Helghast soldiers and leave without ever touching down.
Its two swivel mounted VnS-10 Scylla machine guns allow the Overlord to also function as an anti-personnel gunship and provide top cover for disembarking Helghast soldiers entering a battlefield. Its heavy armor renders it near impervious to small arms fire, and its six Petrusite capacitors allow it to remain in the air for an almost uncalculable time before ever needing refueling.
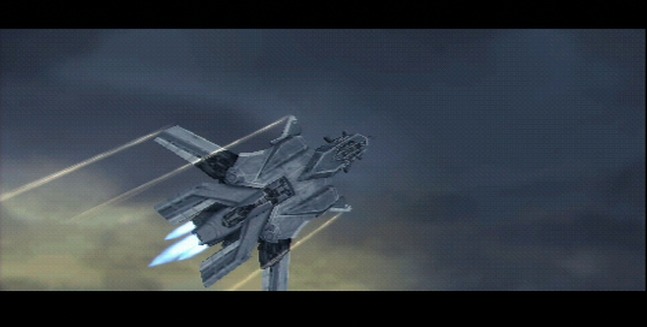
Helghast Strike Fighter
Official designation unknown. This craft is the Helghast’s new model adjustable wing air superiority strike fighter. Little is officially known about this craft, although it does appear to support a 35mm autocannon and missile launcher capabilities and is propelled by three Petrusite-powered thrusters at the immediate rear of the plane.
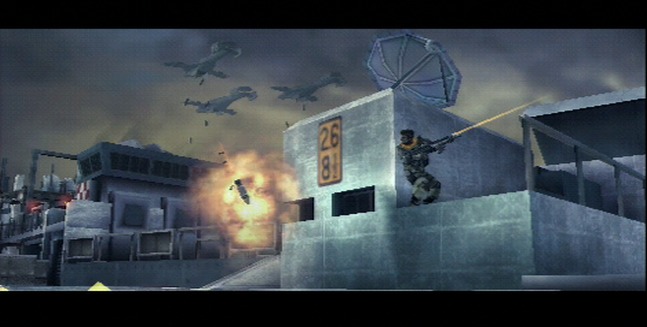
ISA Fighter/Bomber Aircraft
A fixed wing strike craft utilized by the ISA Airforce as a rapid action bomber platform aircraft. Thus far it has only been seen in action during the strike on the Helghast Adlez Mountain Airbase.
Armament and capabilities currently unknown.

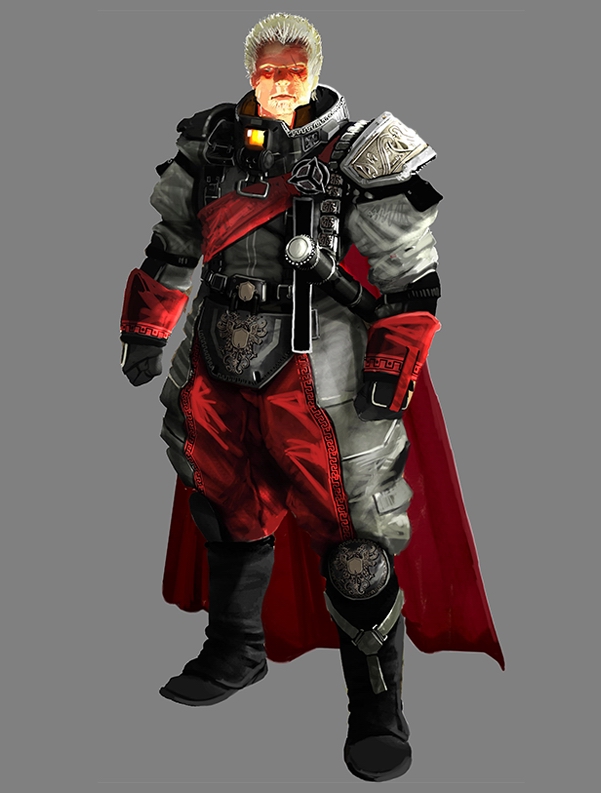
A Note on Vyktor Kratek

Now, a lot of you might be wondering “who the hell is this guy that got randomly name-dropped in the post for this chapter if he doesn’t appear anywhere in Liberation itself and my god is that a stupid looking outfit he’s wearing, is he literally some kind of cartoon character or something?” And first of all, wow that’s a mouthful, and second of all, good question Implied Audience!
Colonel Vyktor Kratek is a character who appears in the PlayStation Vita exclusive Killzone: Mercenary, the current gen spiritual successor to Killzone: Liberation. Mercenary begins in the waning hours of Liberation and then fast forwards to take place mostly concurrent with Killzone 2. And in it, Kratek serves as a major antagonist for the majority of the game.
I’m adding this in here because of his retconned connection to Liberation. Kratek is a combination of Evelyn Batton and Tendon Cobar, a genius weapons designer (though of the biological, not nuclear kind) and a vicious mid-level Helghast officer. While Cobar oversaw the invasion of Rayhoven, and our as-yet-unrevealed ISA mole oversaw the invasion of Sedah, Kratek was tasked by General Metrac with securing the third of Southern Vekta’s three major cities: Diortem.
While in Diortem, he captured and attempted to execute one of the ISA’s top commanders in Southern Vekta, Admiral Alex Grey, who we also learn in Mercenary was the commander of the ISA’s disastrous first wave of the invasion of Helghan before Templar’s battle group arrived.
Without making this too much into a Mercenary derail, after Metrac was killed by Templar, as we just see happen in Chapter 4, Kratek and his men hastily pack up shop in Diortem and hightail it back to Helghan to make life miserable for Mercenary protagonist Arran Danner and the rest of the Phantom Talon PMC which Danner works for.

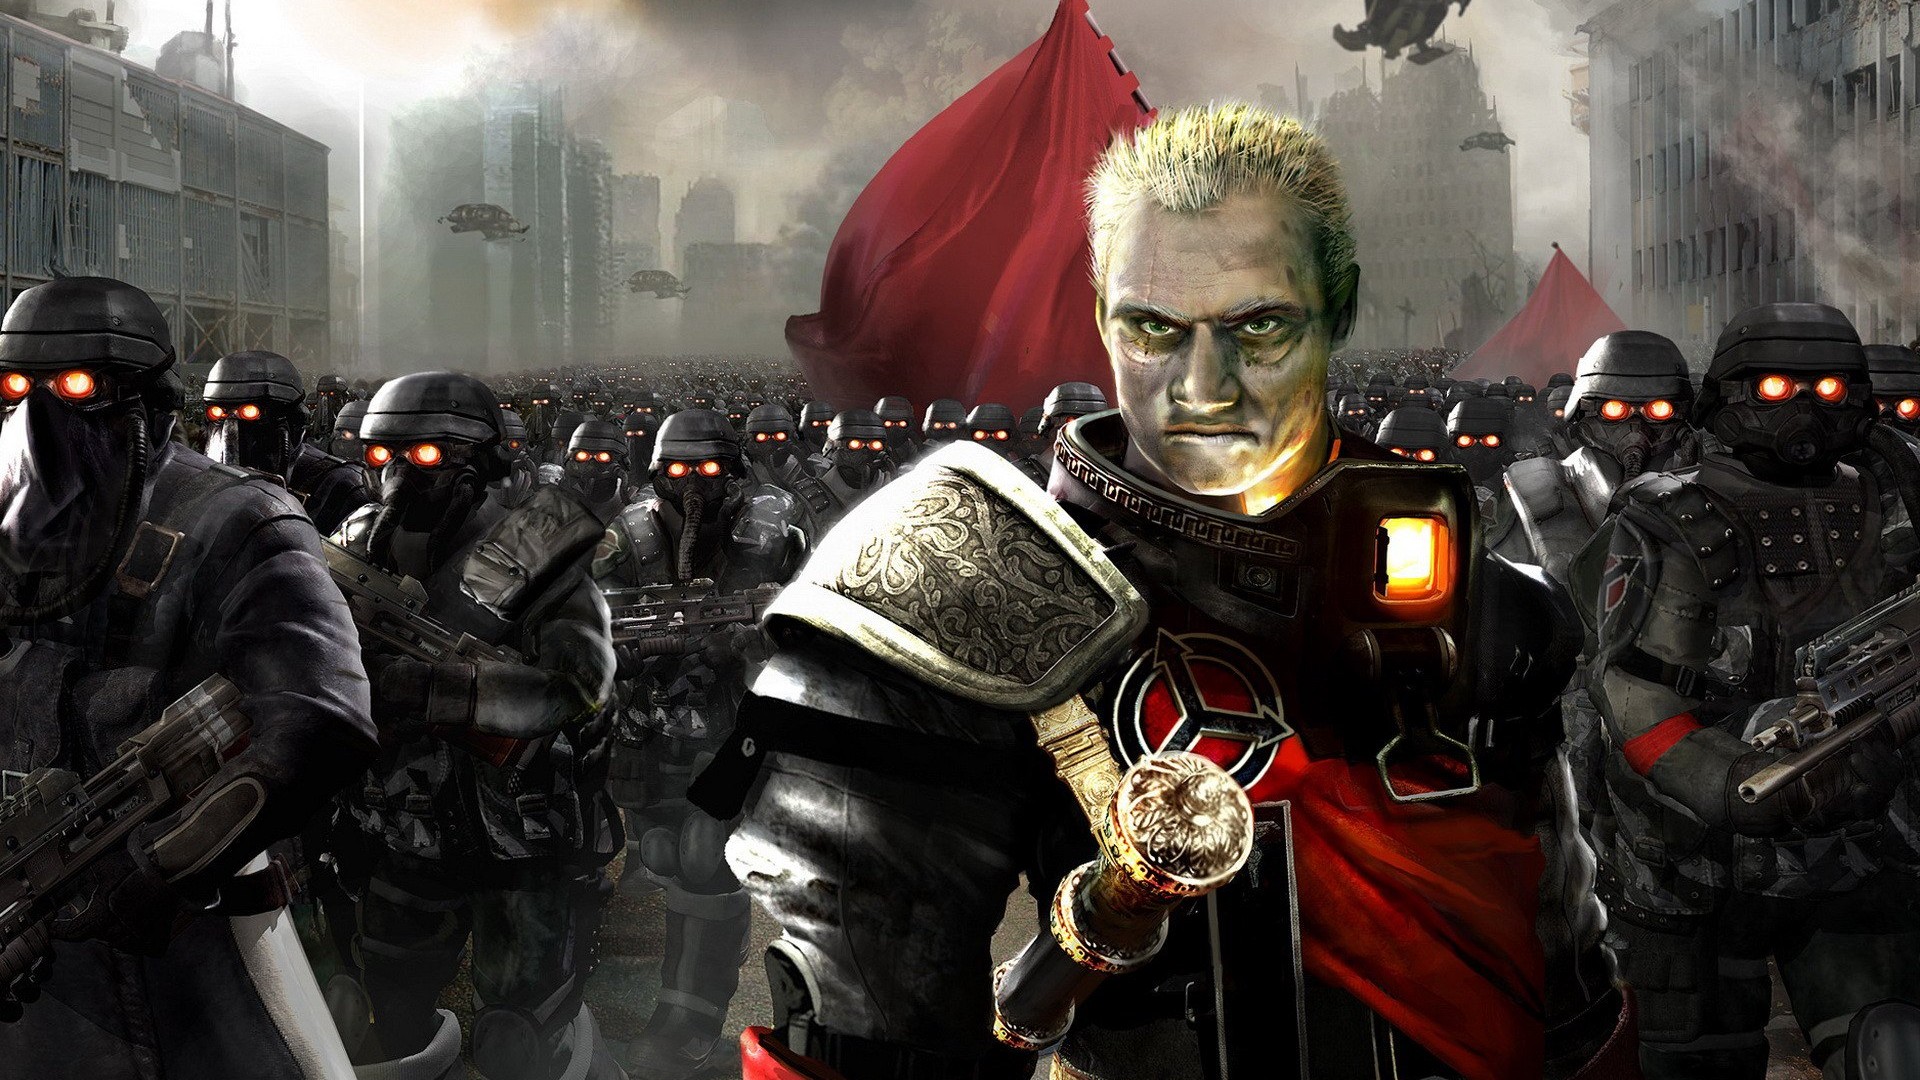
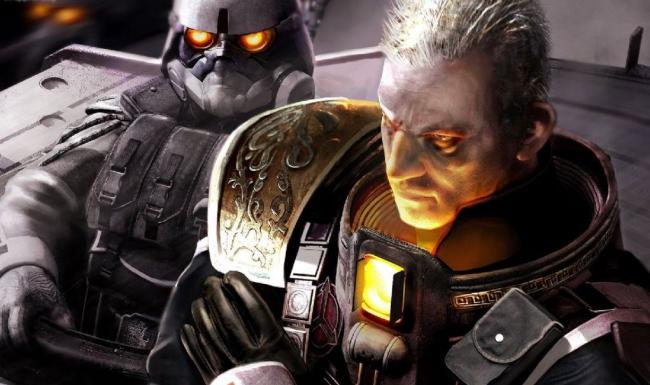
And now, a bunch of Metrac-related artwork from Liberation in celebration of his glorious death:

CONCEPT ART
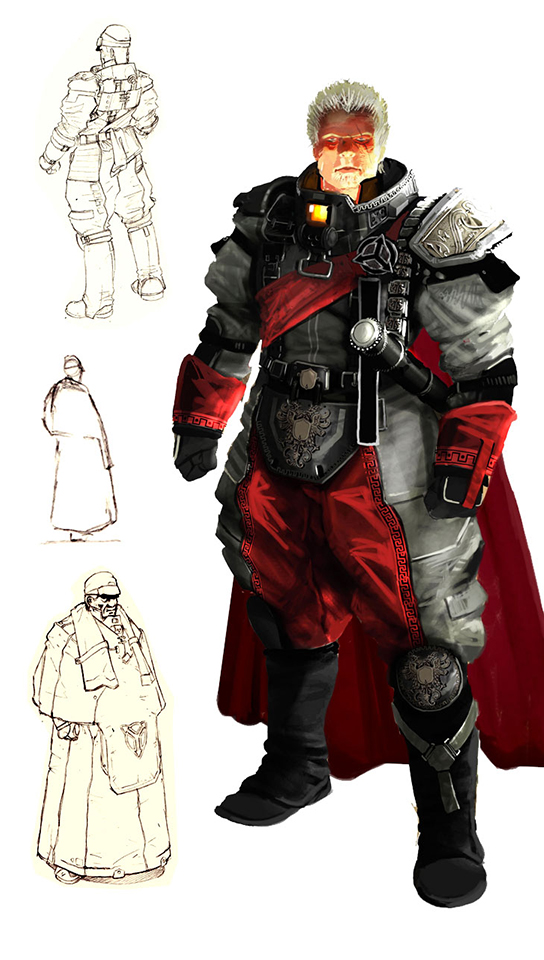
General Arin Metrac... Space Pope?
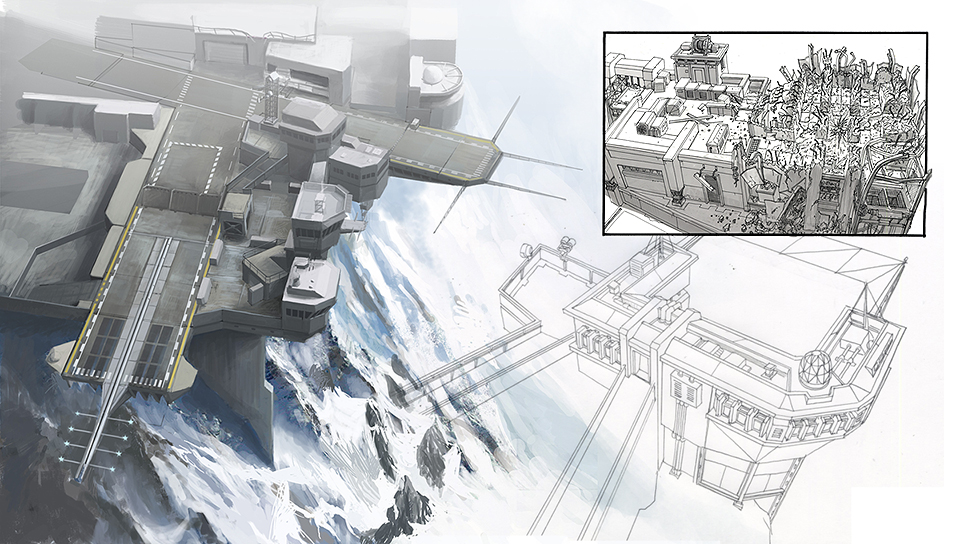
Adlez airbase, sketch

Adlez airbase and prison complex
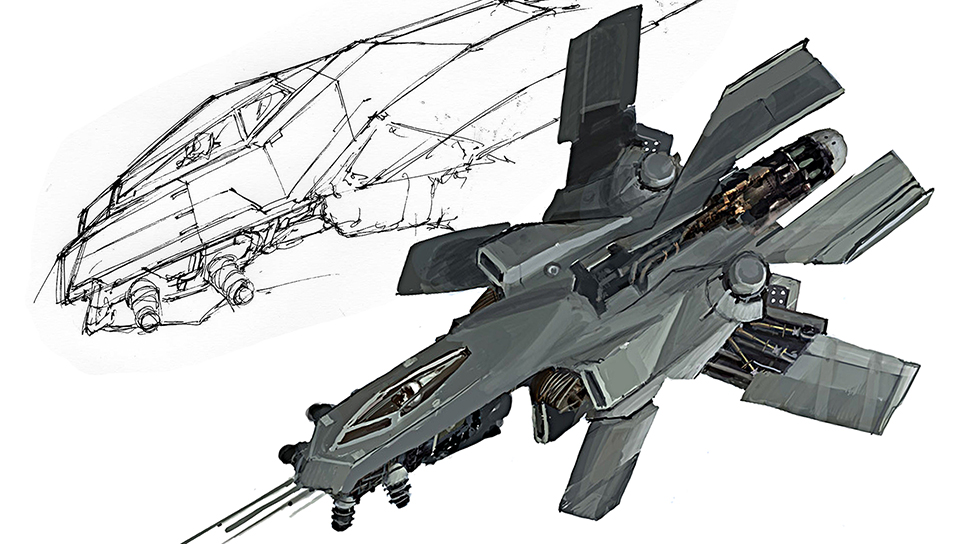
Helghast Fighter, sketch
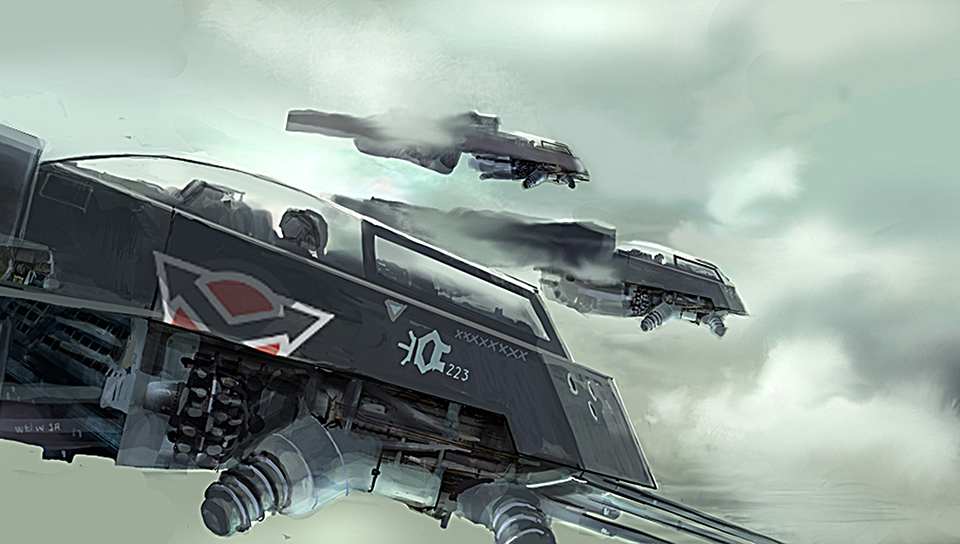
Helghast Fighter, cockpit
WALLPAPER
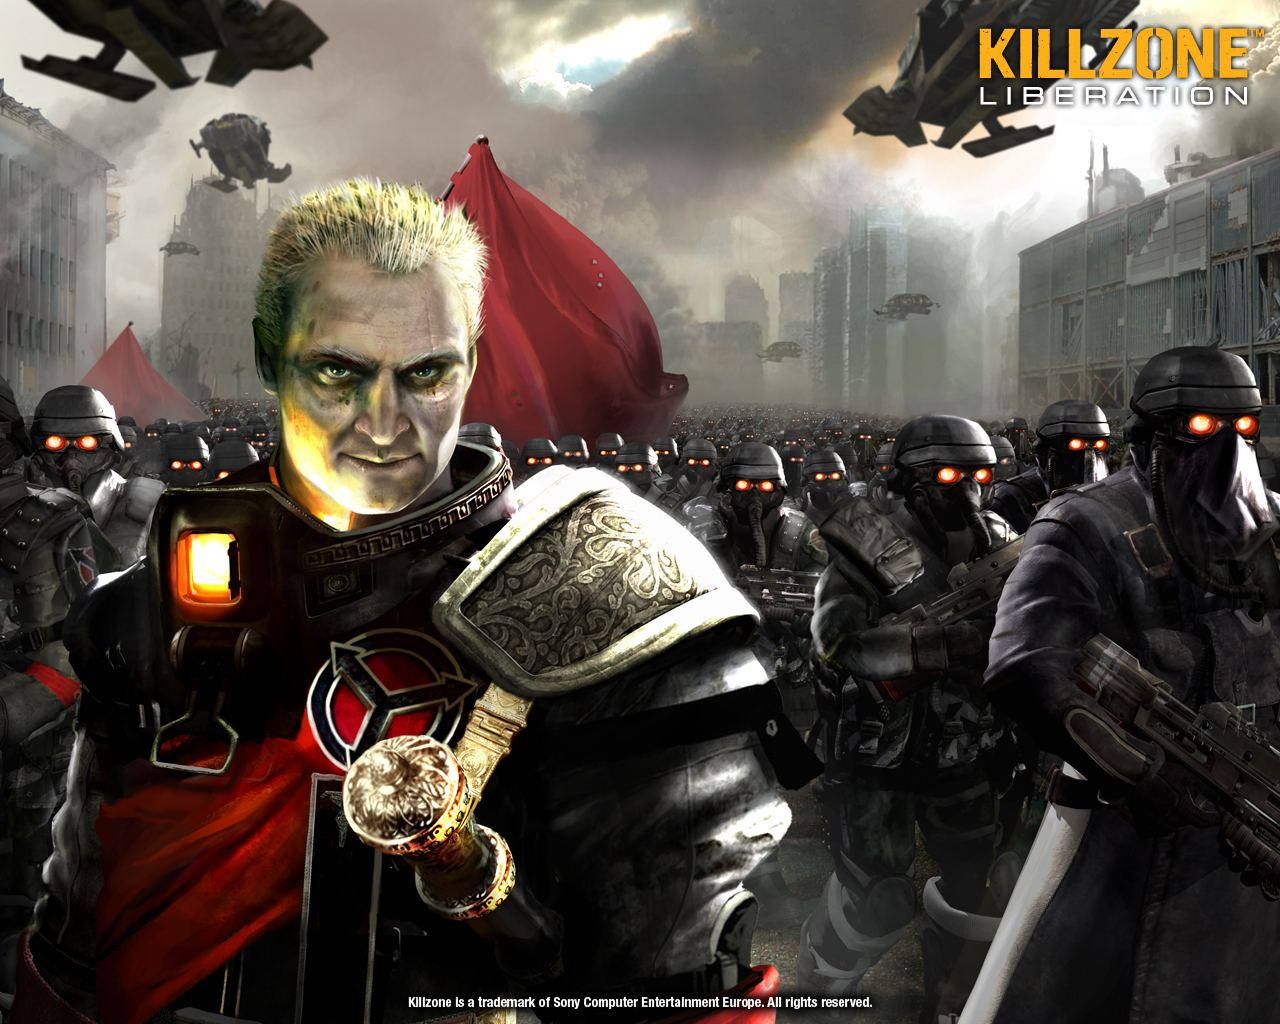
General Armin Metrac on the march