Part 79: Challenges E
All right, time for another challenge/Lite's Play update.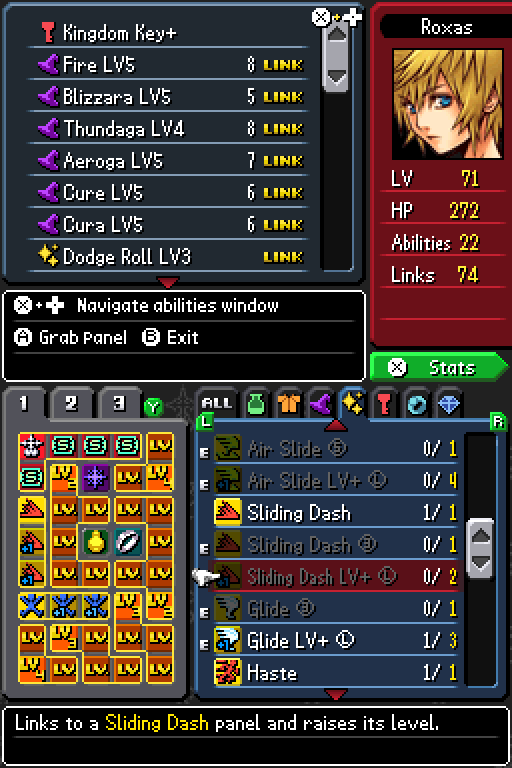
We got plenty of Slot Releasers from doing Mission Mode, so that's nice. We can actually use all 4 elements now :sciende:
First up, we're going to actually do the first Games mission. These missions should be more feasible now that we have the postgame equipments.
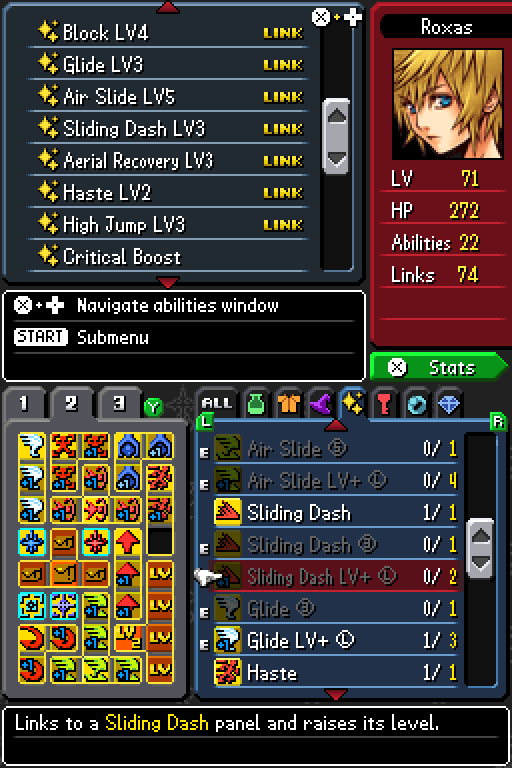
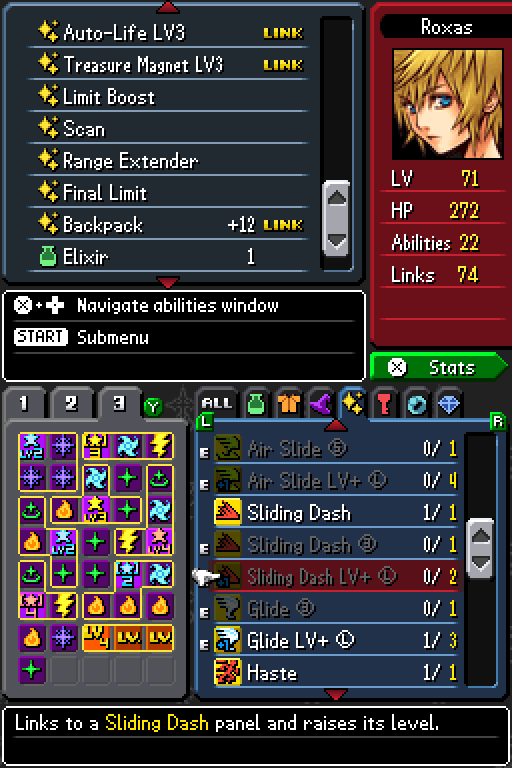
I'm not going to show the panels again. For challenges with level caps, just keep in mind that I swap the Level Up panels with random items that I'm not going to use.
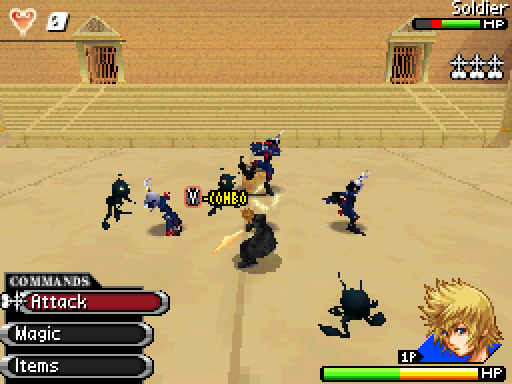
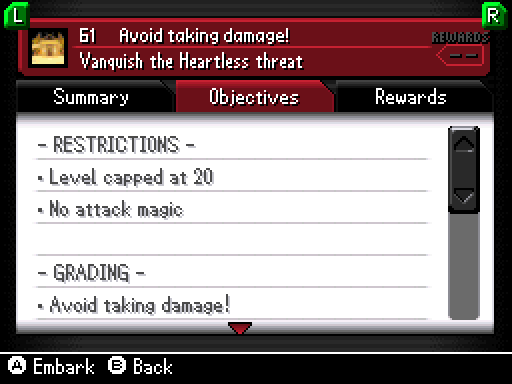
For the first round, we just have to be careful not to get hit. The first round is piss easy.
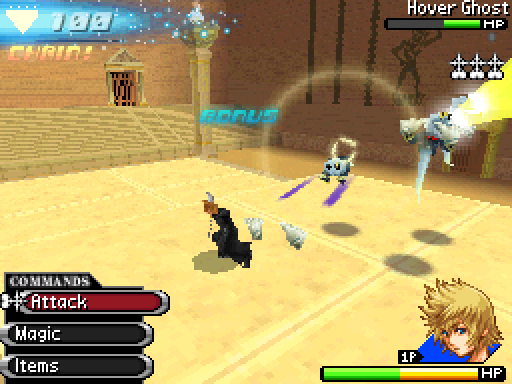
Unfortunately, the rest of the Games are nowhere as easy. We technically can use the barrel against these ghosts to kill them quickly, but I feel that hitting them manually is safer (with save states, of course). Even with that, you'll probably get hit once or twice.
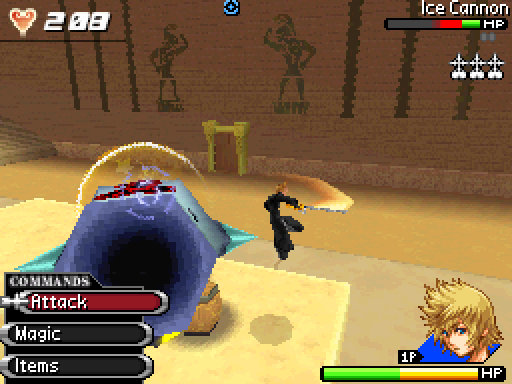
For the third round, we can hit the Ice Cannon manually before using the barrels to hit the Striped Arias. The Ice Cannon is too much of a bother otherwise. Getting hit once here is fine, but try not to.
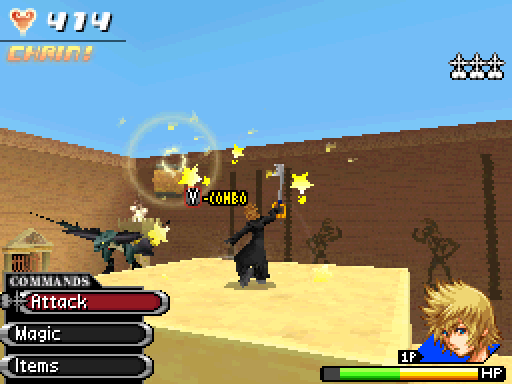
Just hit the Yellow Operas. They pretty much die in 1 hit, then just be careful when taking out the Tailbunker. Both the barrel and the manual way works.
Xigbar needs to be taken down quickly. Just chase and hit him to proceed.
Because we can't get hit, we can't use Limit. We probably could if we use Extreme, but I'm not willing to change this mission from "Don't get hit more than 6 times" into "Don't get hit more than once".
Oh, yeah. We can get hit 6 times and still get 3 sigils.
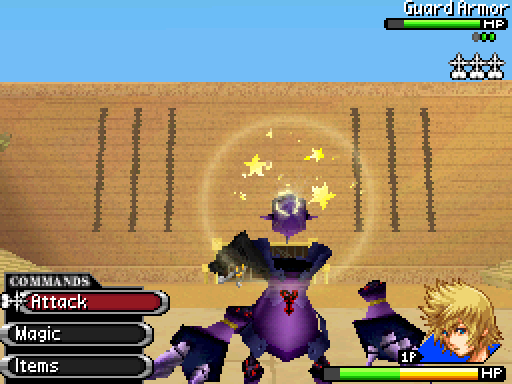
Don't attack the legs while it's attacking and be mindful about the arms. The attacks are easy to avoid otherwise.
...I still have no idea why they decided it was a good idea to make the arms and legs invincible most of the time.
I wound up getting hit once in round 2 and 3. I didn't even need savestates for the final 2 rounds (and the first).
Our next challenge is uninteresting. so let's switch to something a lot more interesting.
...Oh. This level. Disregard the "a lot" part then.
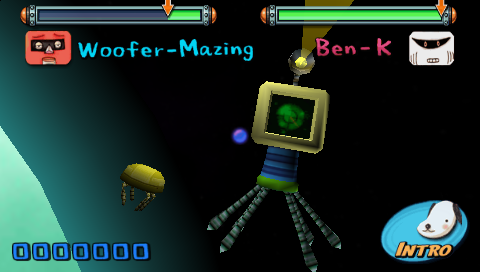
The gimmick of this level is that all of the charge/attack/final phases consist of VERY LONG notes. Because of that and the fact that the game only penalizes us for missing the first part of the notes, this stage is piss easy.
And because of that, if we lose the note for whatever reason, we're left with nothing to do but wait and probably admire the background. It can be a very tedious stage if we keep missing the attack notes.
There's not even much background to admire. It's pretty, but it can get old pretty fast. The only thing that varies is the ship that passes through.
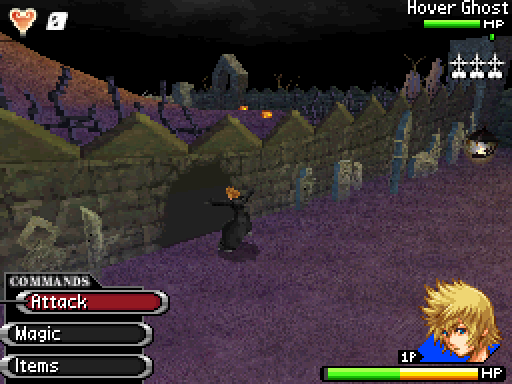
So back to the challenge we go. This one isn't bad as long as you remember to blow up the wall after the fight with Lock, Shock and Barrel. Otherwise we have to go to Boneyard 1 and fight the Hover Ghosts there, forfeiting our 3 sigils.
The rest of this mission is just like usual. Also wow that's creepy

3:00. It's tight if we don't take the shortcut but plenty of time otherwise.
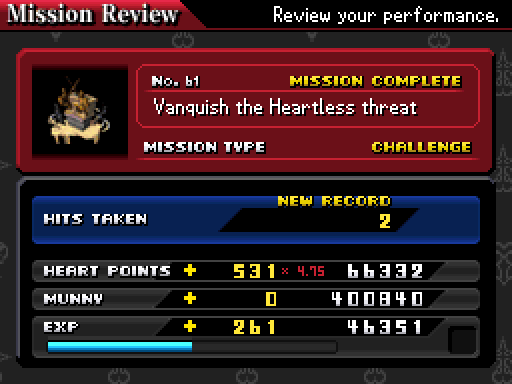
Our next one is just another Heartless genocide mission. It's more boring than it sounds.
Anyway, the guard phases are by far the most interesting parts of the fight.
Mostly because, like I said earlier, the attack phases also has long notes.
The thing in the background there is actually the same squid/satellite from the first picture. I swear it looked like a human in this picture.
Oh, another reason why this stage can be a slog: Sometimes the attack notes are not enough to go to the next phase, even if we hit all of them perfectly.
Unlike other stages, this stage's sections contain both charge and attack/guard instead of just attack/guard phases, so this basically means we're starting over from the beginning. Joy.

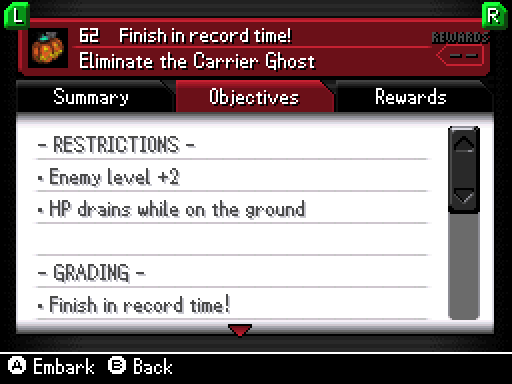
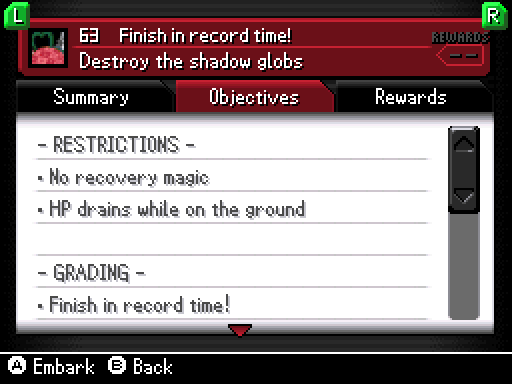
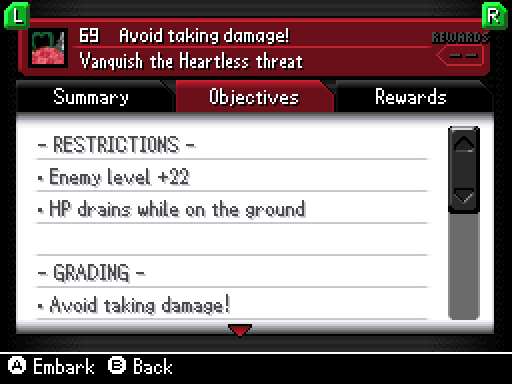
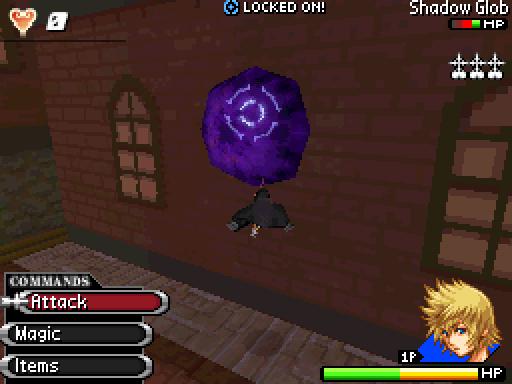
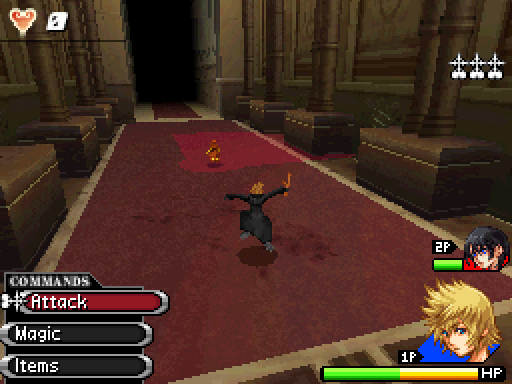
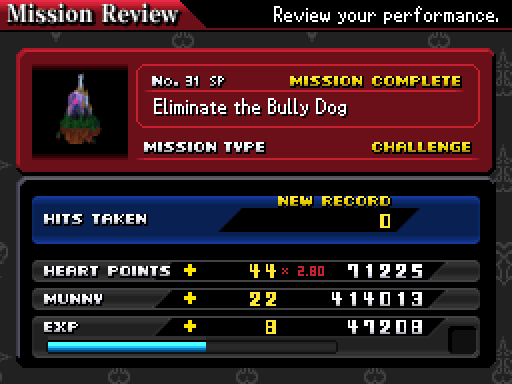
Anyway, the challenge is just the most boring genocide. Like the briefing said, our HP is drained while we're on the ground, so we can glide to avoid it. You might think that we need Potions because we can't use cure magic, but we don't need them. Xion will heal us when with her infinite Mega-Potions.
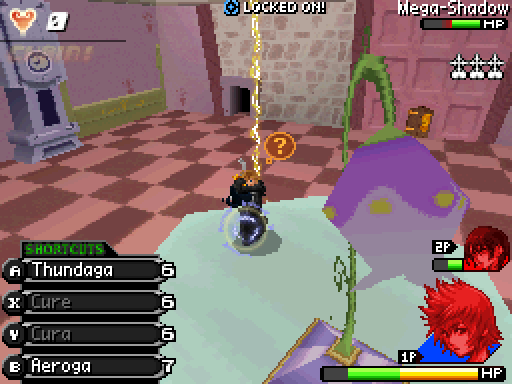
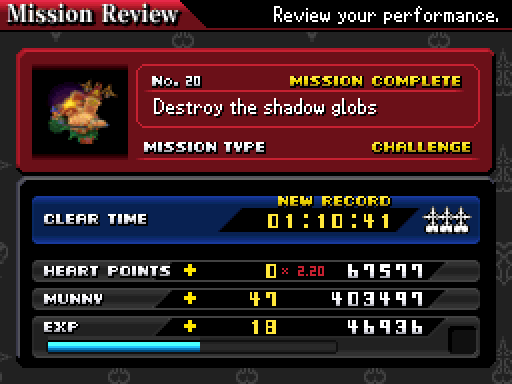
The only interesting part is when this Heartless prevent us from RTCing. Thundaga takes care of it quickly enough. Otherwise we just go around and kill every Shadow Globs we see.
2:30. It's a very generous time limit (as long as you don't get trolled right before RTCing).

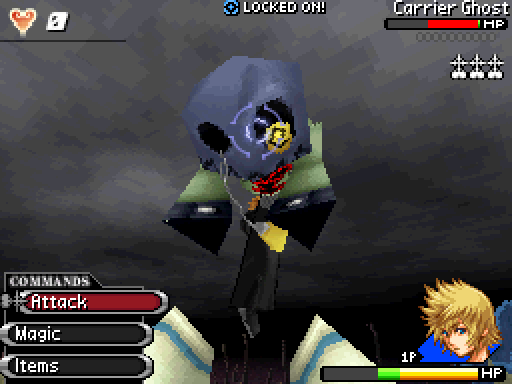
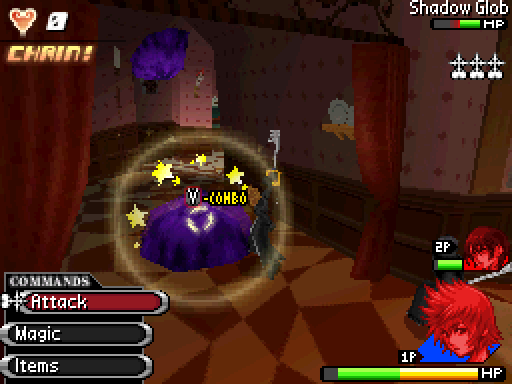
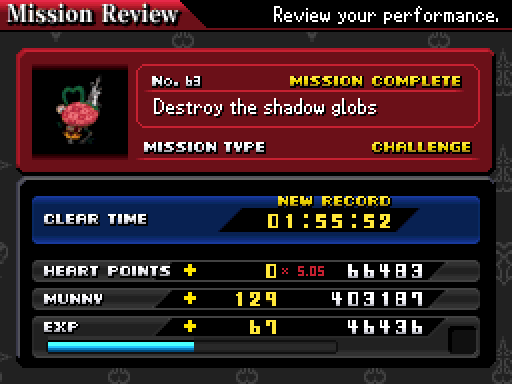
Our next challenge is...this one. I get to fight Leechgrave and the Tentaclaws again.

Thankfully, our improved gears make killing the Tentaclaws much quicker.
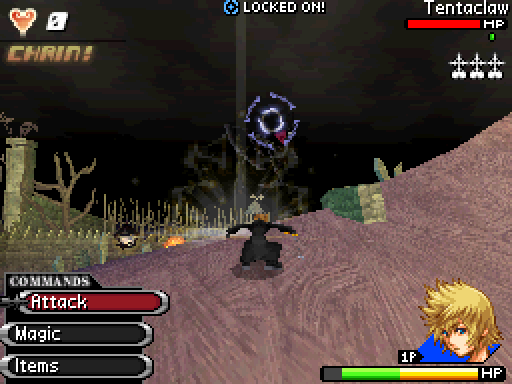
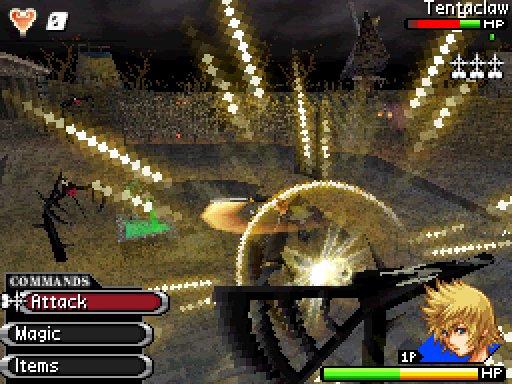
We also have more slots for magic now, so we can use them against the earlier Tentaclaws with more to spare.
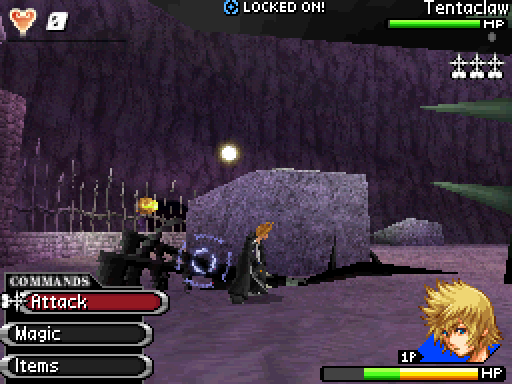
For the Leechgrave itself, we have time to take down the first round of Tentaclaws.
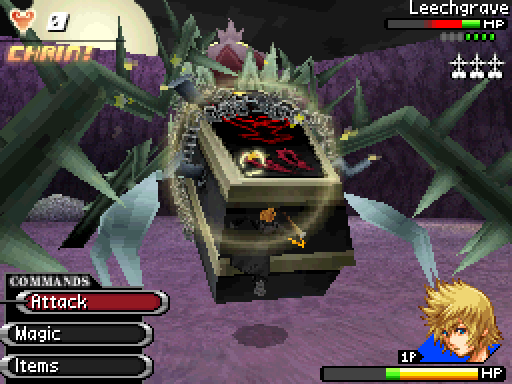
Remember, Leechgrave takes more damage once all of them are taken out.
After that, we just have to wail at it and kill it before it kills us.
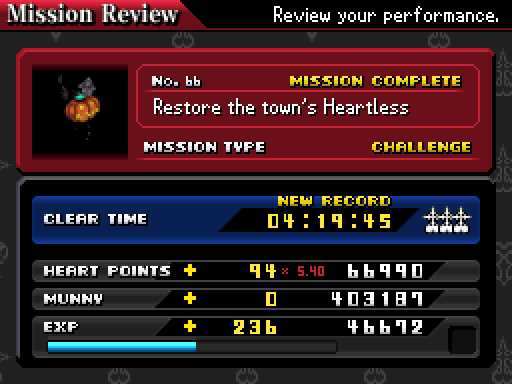
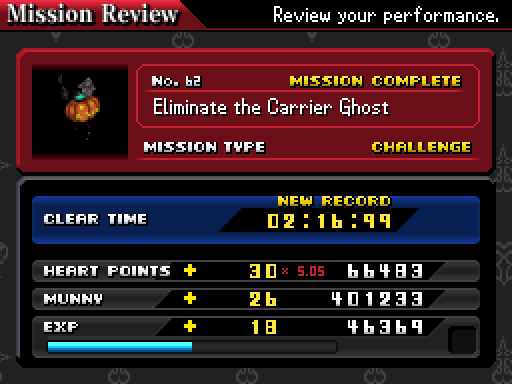
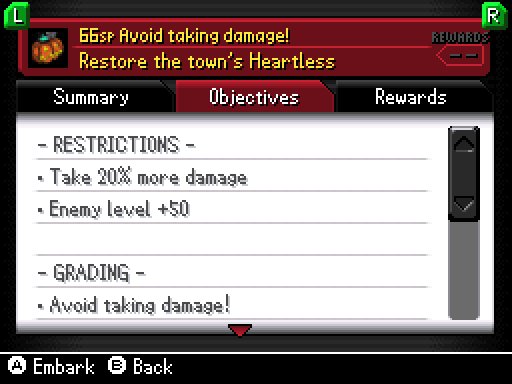
The time limit is 5:10. I probably had time to kill the second round of Tentaclaws, but whatever

I ended up not needing to use savestates for this one

This one...I'm not even going to attempt it right now.
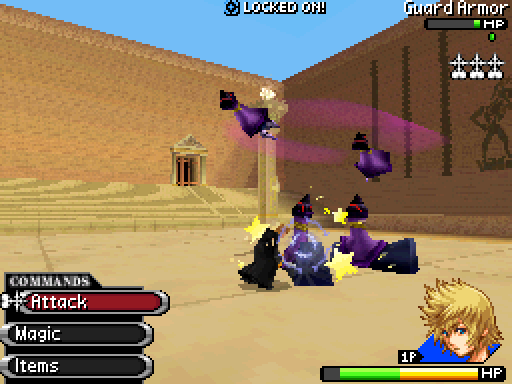
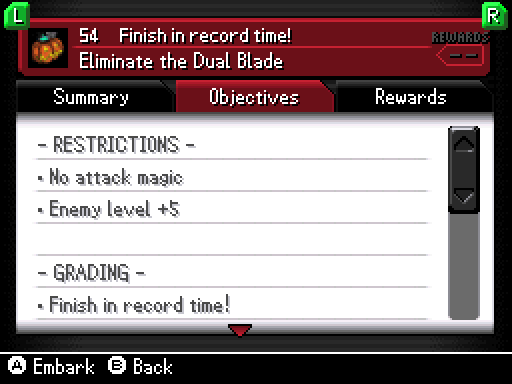
The next one involves another boss. It's our third boss challenge in just this update.
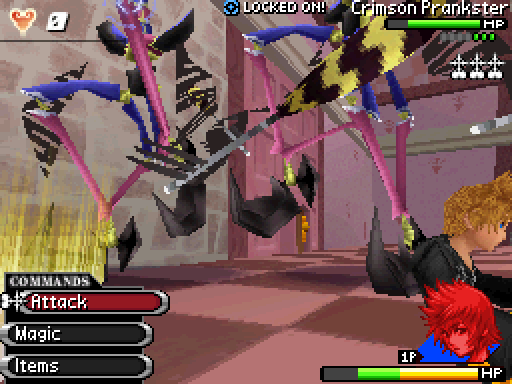
It's a lot less interesting than before. Just be careful not to be hit and we'll be fine.
Well, we finally get to see the attack that it (they?) refused to do during Story Mode, so that's something.
Make sure to kill them close to each other. Otherwise, well, this mission will be a lot longer.

We can get hit 10 times. That seems very generous. That said, I got hit 6 times with savestates, so it's probably not as generous as it seems.

We probably could do this mission now, but I'm not going to bother right now. Instead, let's do the previously impossible challenges.
This mission used to have an impossible time limit. Now it's just a normal one. Apparently Glide and High Jump makes a very big difference.
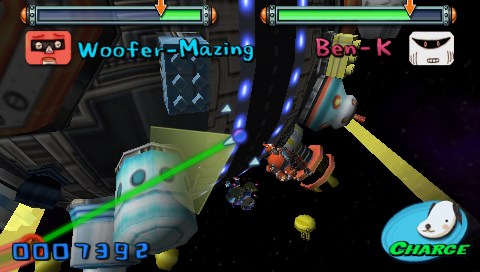
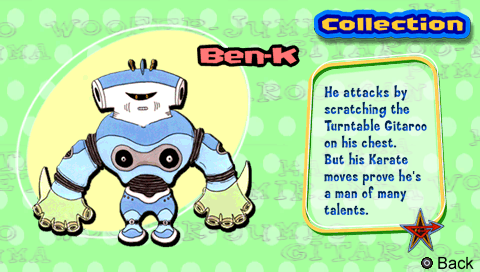
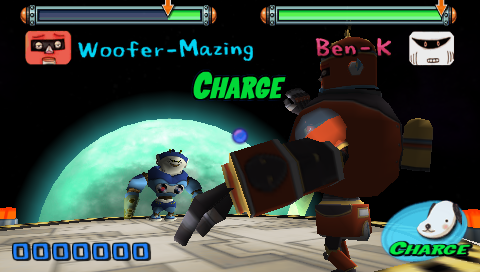
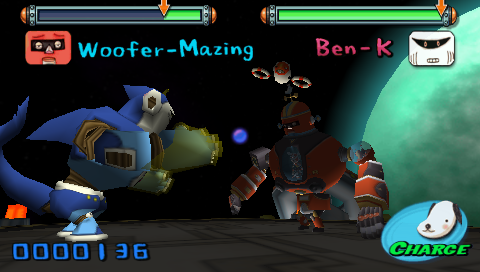
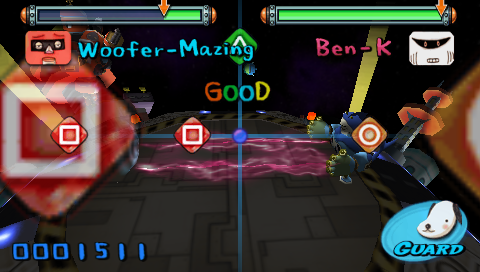
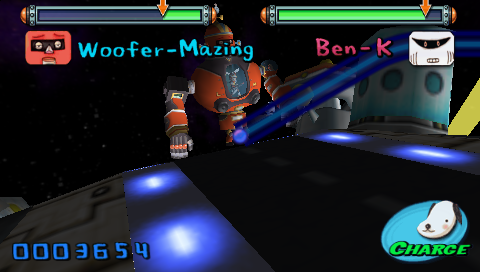
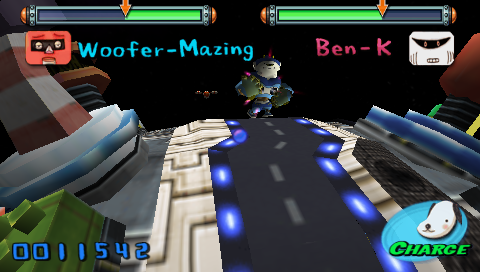
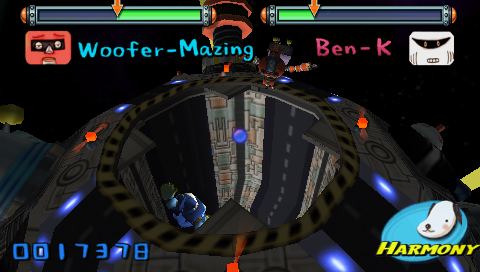
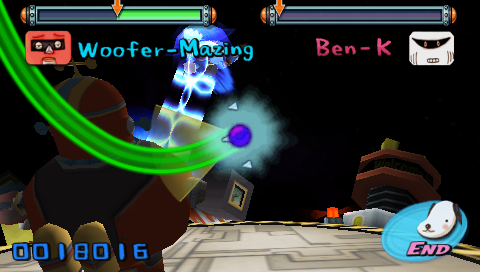
Back to this stage. For the first section, we can actually figure out whether we're repeating or moving on based on the visual cues. If Ben-K follows
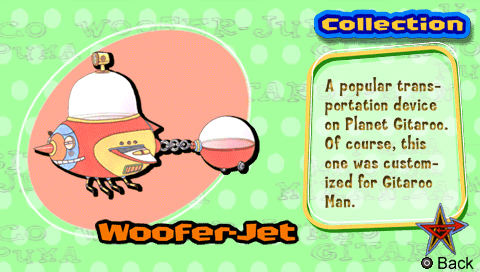
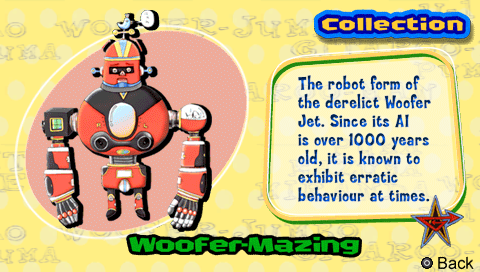
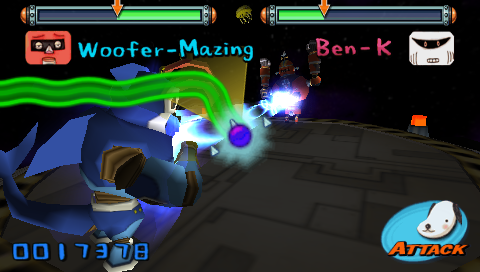
So if you're wondering why we're playing as Woofer-Mazing instead of U-1, well, it's a long story. Let's just say that I skipped one stage. You should watch the actual Brass Monkey's LP if you're curious about the story.
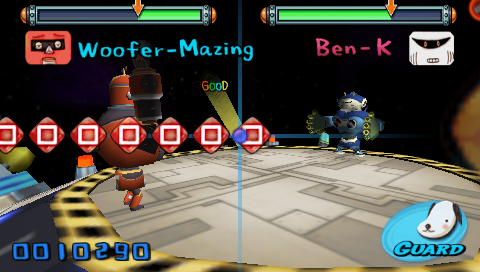
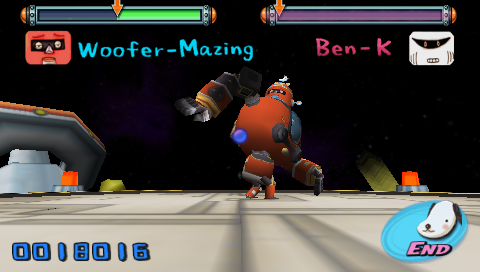
The guard phase is interesting because it has shit like this. It's also interesting because Ben-K attacks with a turntable

By the way, Woofer-Mazing uses theremin, which explains why the notes are so fucking long. It's a great change but still a slog to play.
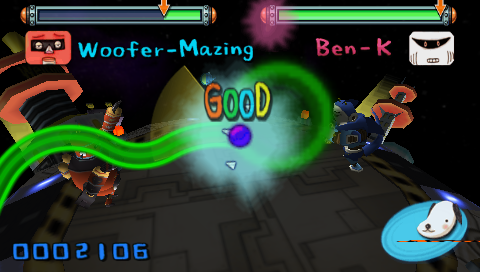
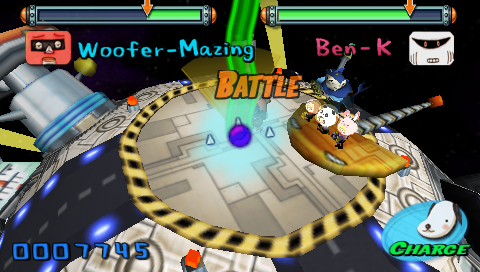
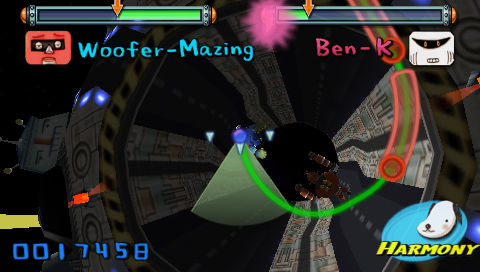
The second section, unlike the first, has no way to tell visually what will happen next. The music is still different, though, and Puma will tell U-1 to stop running once we got to the third section.
For the third section, we can tell that it's repeating if U-1 and Woofer-Mazing circles the arena. We can also tell by using the more obvious method, which is looking at which phase we're in. It will say Harmony instead of Charge if we're moving on.
Back to the challenge, it's somehow an even more boring genocide compared to last time.
Just do this one after getting High Jump and Glide and you'll be fine. Next!

Like last challenge, the time limit was impossible.
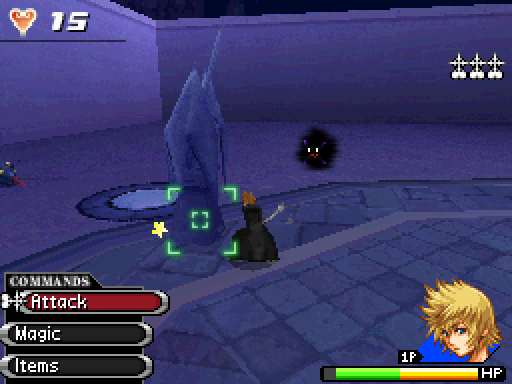
We have to waste a lot of time hitting the statues while having the targeting system distracted by the Heartless.
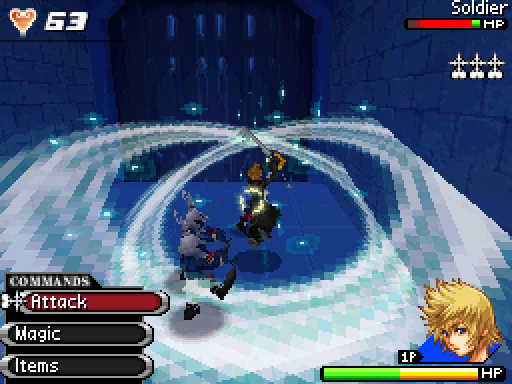
We also have to waste plenty of time examining the switches while having Heartless that prevent us from doing so.
The Sergeant itself dies in 1 combo.
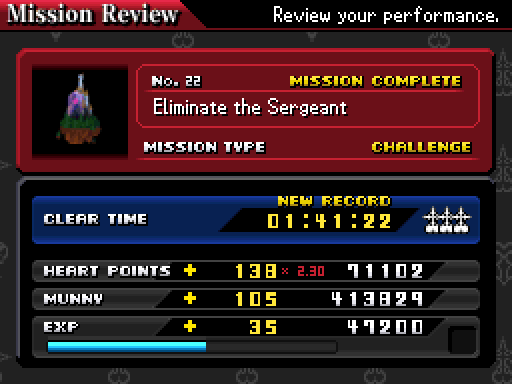
2:10. It'll take much longer if we're not strong enough to kill the Heartless quickly.

This mission requires very strong gears for obvious reasons. I swapped the Level Up panels with random magic. I didn't bother swapping the Sight Units because Critical Boost lets us crit with magic.
Because there's no time limit this time, Cogsworth is just an annoyance instead of a hindrance. At least it's our final stealth section (I think)!


Just spam Blizzara and use Thundaga if it's frozen.
We can't even get hit once, so it's VERY important to be careful.
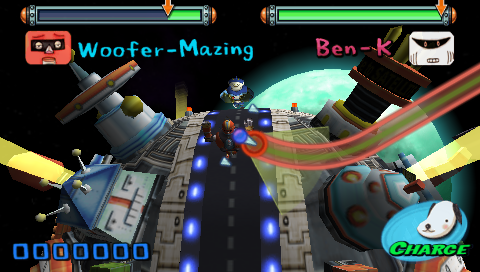
Our next one is another "challenge with used to be impossible time limit".
These sharp turns are very hard to do properly. At least it's much easier in the PSP version than in PS2.
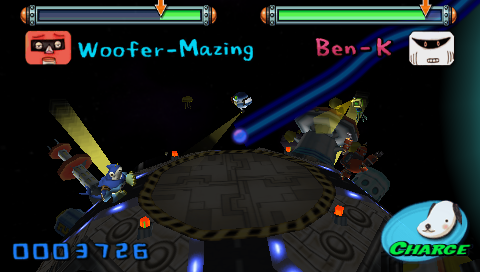
In the Final Phase, the door opens to reveal...a road. I don't know what it's doing inside a planet, but there's stranger things already in this game.
Behold, the shortest non-guard note in the game!
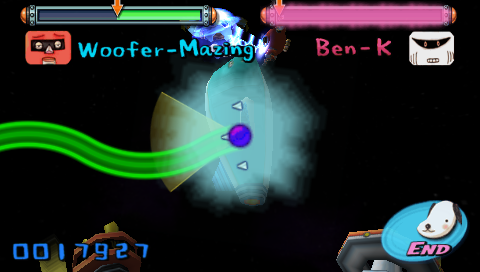
The end phase is signified by a ship suddenly pushing both robots out of the planet's inside. Okay then
1:00. You can see why it was impossible.
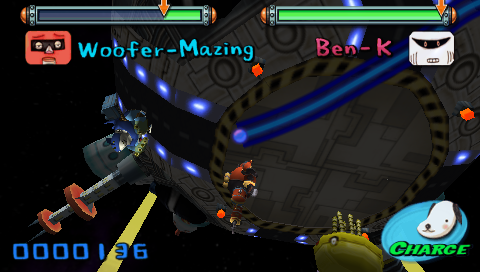
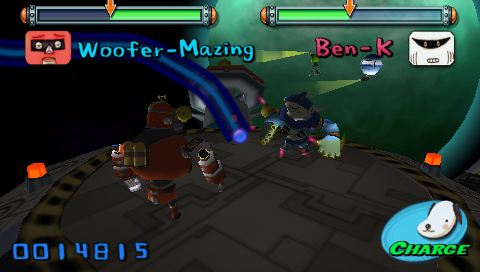
Here's our final challenge for today. We could do this before, but it was too much of a slog for me to bother.
This is still a slog, but it's actually better than when we do it in Story Mode.
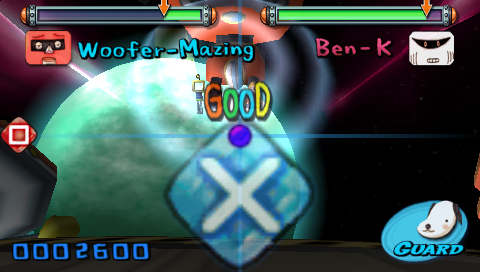
Speaking of slog, this note is actually the same one as the last Gitaroo picture. It lasts for 40 seconds. I'm not kidding.
If we miss the note, there won't be a ray of light coming from Woofer-Mazing. Ben-K will still act as if it got hit, though, so it will look ridiculous.
Woofer-Mazing has a unique victory pose that's only used for this stage.
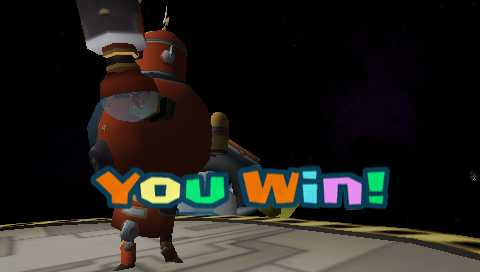
Honestly, this stage is better to listen to than to actually play.
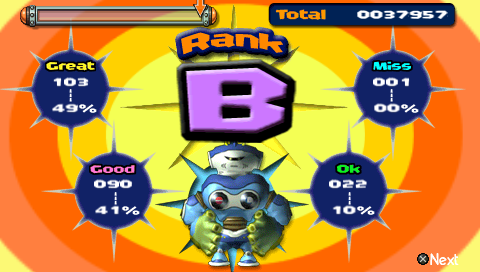
That said, this is the easiest stage on Master Mode, so it has that going for it.
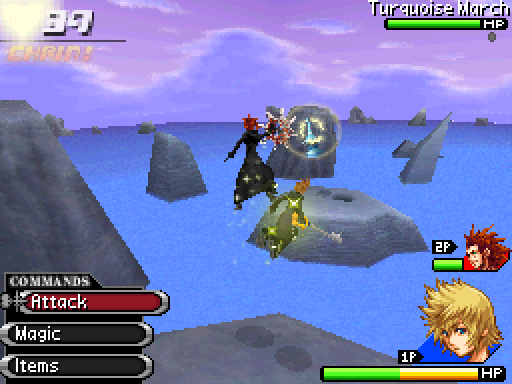
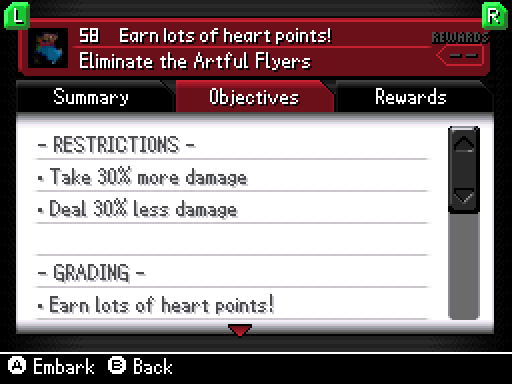
Anyway, this challenge is just hunting for Turquoise Marches. They die in 1 combos, so they aren't as bad as they used to be.
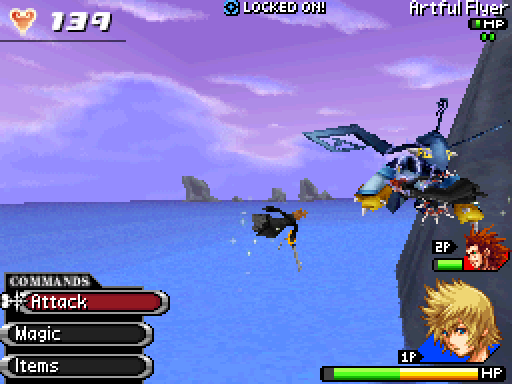
Don't forget to examine the boxes and, you know, actually do the mission itself.
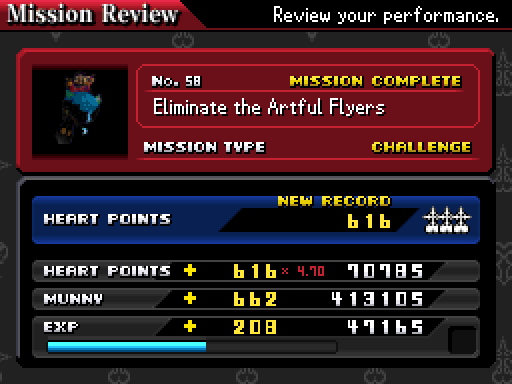
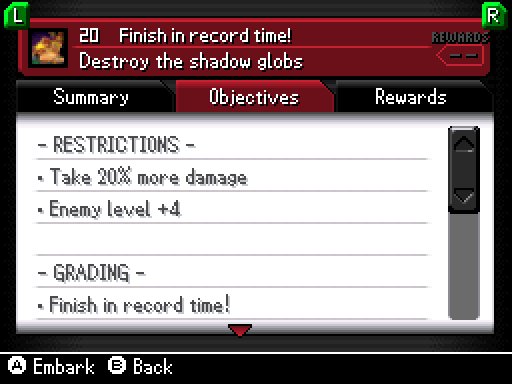
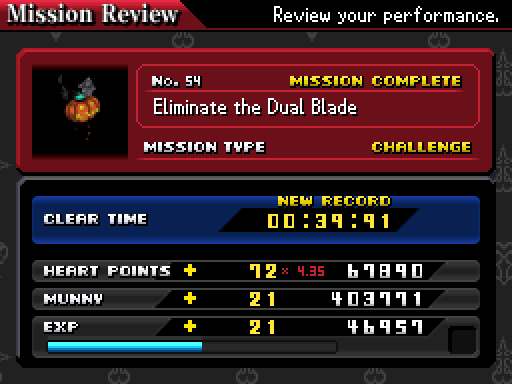
We need 570 Hearts. We don't even need to maintain any chains for this.
And with that, we now have 153 sigils.

These three are our rewards. They're okay, I guess. We do finally get a bigger Glide to use our third Glide LV+ on, though.
New reports: