Part 27: A Girl's Worst Enemy
Update 15: A Girl's Worst Enemy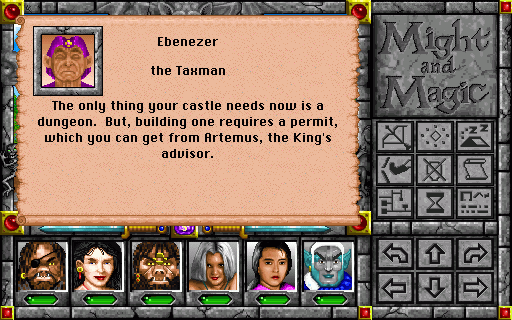
 "Artemus might be willing to help us if we helped rescue Crodo like he asked... but we've still got no leads on how to get into Darzog's tower. Maybe we can just bribe our way into a permit with even more Megacredits instead!"
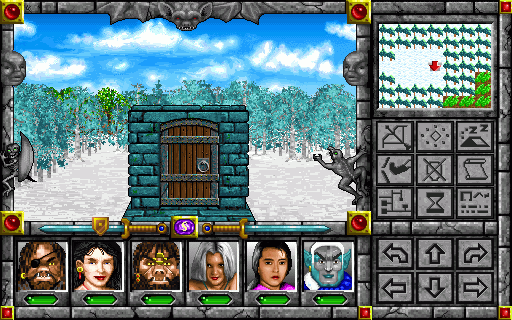
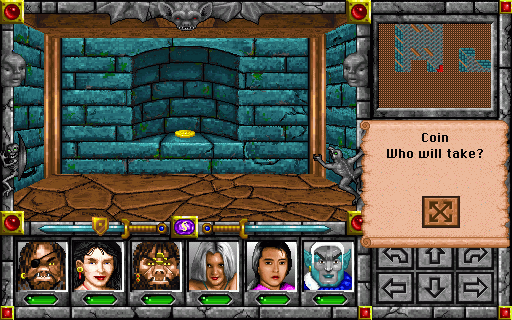
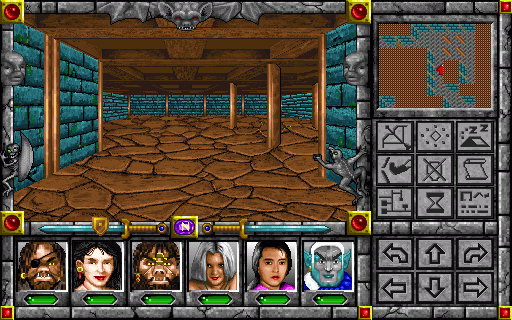
 "If this is truly the Golem Dungeon, our stone should allow us inwards. Let us be seeing..."
 "Aha!"
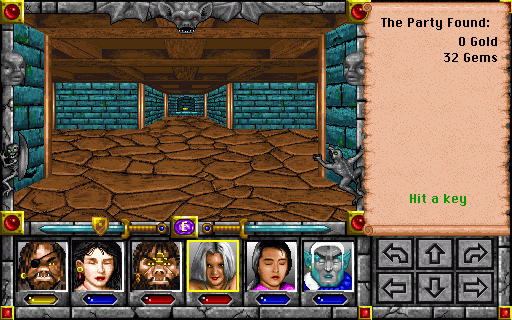
I'm gonna level with you right now: we don't actually need to visit Golem Dungeon in order to beat the game. Between the Temple of Yak and the Tomb of a Thousand Terrors, we've already got all the Megacredits we need, so this dungeon just exists in case we missed some. Still, there are some other very nice rewards for completing it and it offers some fun challenges, so let's get to work!
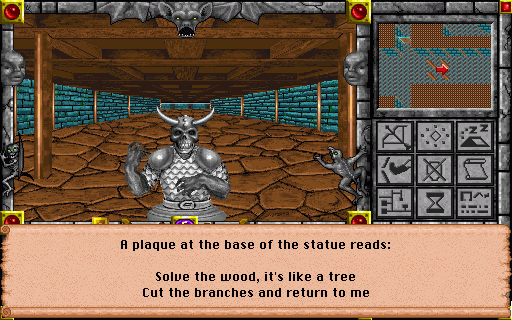
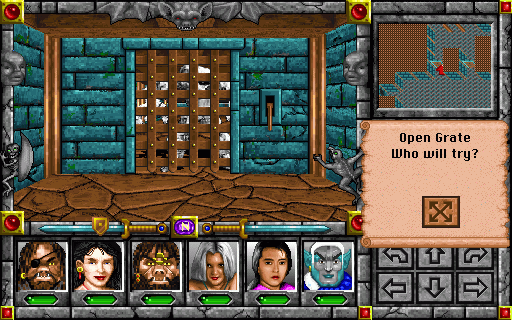
Next is stone, it's full of blocks / Push them around, expose six rocks / Last is iron, there is a key / Set the tumblers and you'll be free.
 "Oh, don't tell me. We're going to have to solve puzzles to get through here, aren't we?"
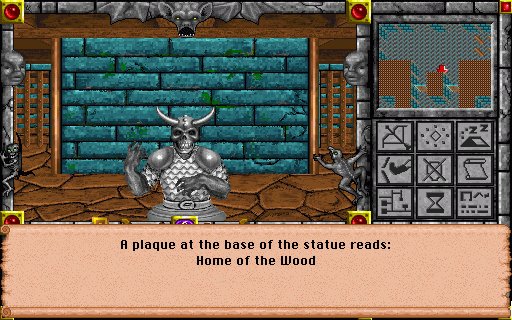
 "No complain. Sooner we start, sooner we finish."
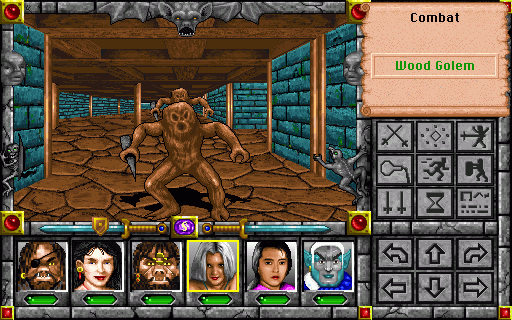
As you might expect, past the grates behind the "Home of the Wood" statue is an area full of Wood Golems. We've fought them before in Newcastle's foundations; they weren't a challenge then and they aren't a challenge now. Don't worry: this dungeon has much worse to throw at us.
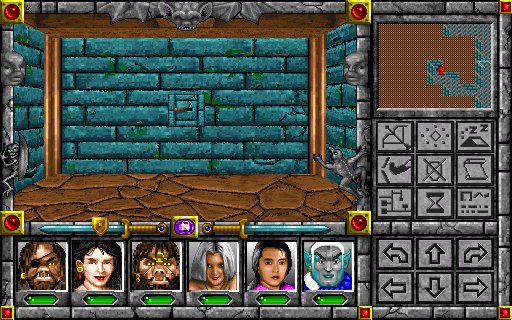 "So for this one, we're supposed to 'cut the branches'... maybe this switch has something to do with it?"
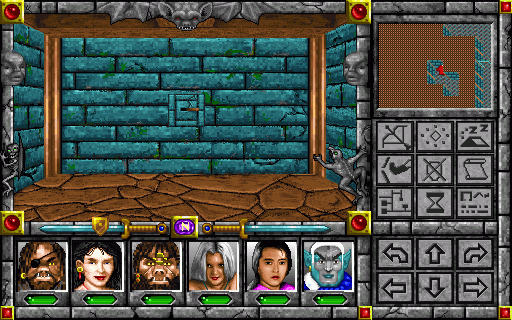 "That definitely did something -- the wall behind us just closed off. I guess we're supposed to do the same with all the side passages in this area, but how do we get out after flipping the switches?"
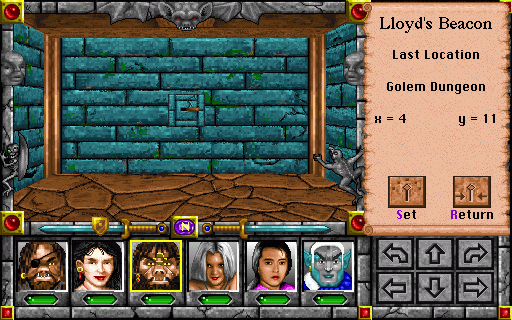 "Easy. You flip switch back. Flench go out, set beacon in main hallway. We come back, flip switch again, go back to beacon."
There are a few ways to solve the Home of the Wood, all involving some kind of teleportation. The Teleport spell would work just fine if we had it. We could even use Town Portal to zap ourselves over to Rivercity and walk back to the dungeon each time, if we were doing some kind of no-sorcerer challenge or something.
Let's not forget to pick up the Megacredits at the south end of the Home of the Wood before leaving! Not that we actually need them for anything any more, but, y'know, bragging rights.
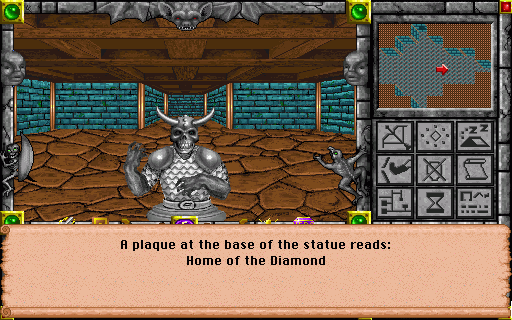
 "That's the Home of the Wood dealt with. I believe it's time to tackle the Home of the Stone, to the north of the main hall. 'Expose six rocks'... hmm."
 "Six -- ooh, ooh, that three times two! Fubar, Flench and Sloof all pull down pants?" "I... I think not. Let's explore the dungeon further before we do anything drastic."
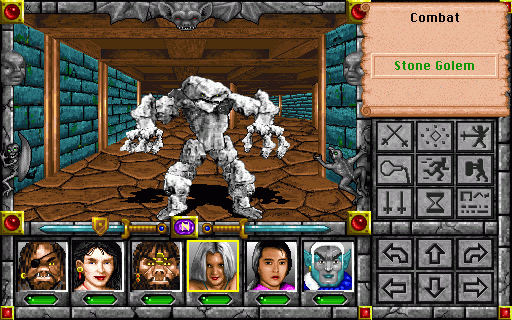 "Wow, that thing's even bigger and uglier than Fubar. I bet it's easier to kill, though!" "Fubar take that as compliment."
Stone Golems are a pretty big step up in power from Wood Golems. They have 200 HP (twice that of Wood Golems), they attack twice a round for about the same damage per hit as the Wood Golem's single attack, and they're completely immune to fire and cold, nearly immune to electricity, and heavily resistant to acid and physical damage.
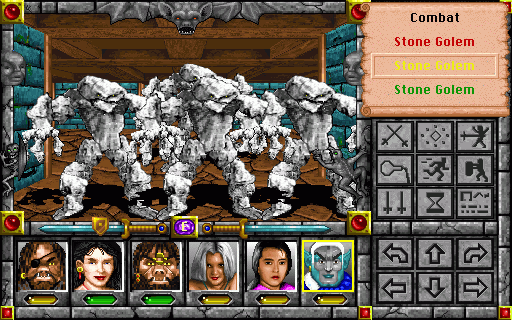
Individually, our party can handle them pretty well. In groups, though...
... well, it pays not to get overconfident. This is my own fault for not even bothering to buff properly before the fight.

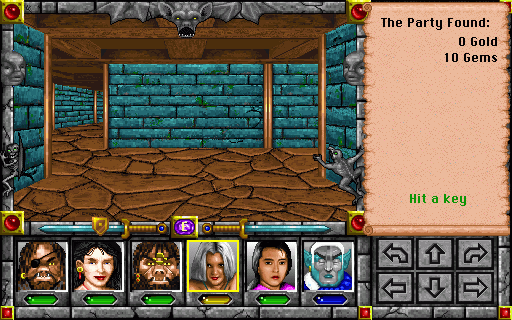
There are more Megacredits free for the taking in the small rooms off to the side of the Home of the Stone. I'm not going to stop and point out every time we find Megacredits from now on, especially since we don't need any more: just assume that every new area of the dungeon we explore contains a few of them.
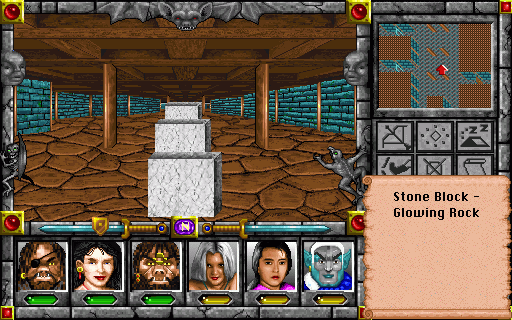 "So here are the six blocks, but they're too heavy to just push around. What are we supposed to do with them?"
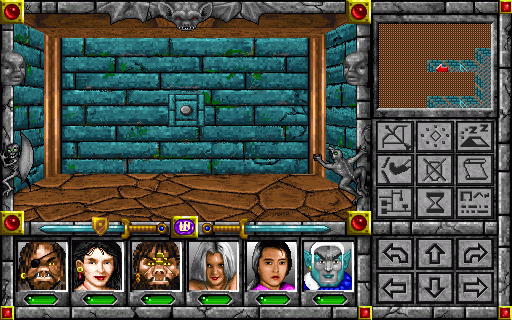 "I'm going to take a wild guess that it has something to do with these buttons."
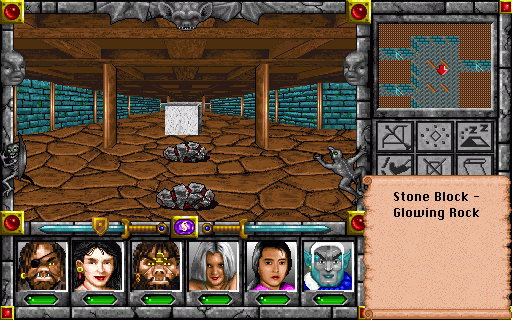 "A most excellent start! Now, all we must be doing is to continue pressing until we have exposed six of these!"
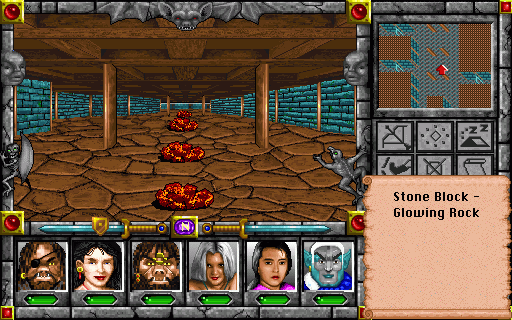
To be honest, I don't fully get how this puzzle works. There are three buttons, and each one makes stone blocks appear and disappear, but it's not a simple toggle: pushing the same button twice doesn't restore the puzzle to its previous state. Fortunately it's not too hard to muddle your way through by trial and error, and the hintbook tells you the solution anyway.
 "I'm not sure what we're achieving by solving all these puzzles. Oh well. Time for the Home of the Iron!"
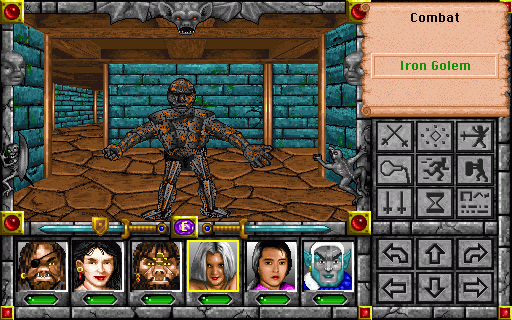
Iron Golems aren't as big a step up from Stone Golems as Stone Golems were from Wood Golems, but they're a step up all the same. 300 HP, stronger attacks, immune to cold and electricity, nearly immune to fire and acid, heavily resistant to physical and energy damage.
Considering how Iron Golems are resistant to practically everything else you can throw at them, the game kinda wants you to have Golem Stopper and make use of it at this point, but we're powering on through with melee and stubbornness.
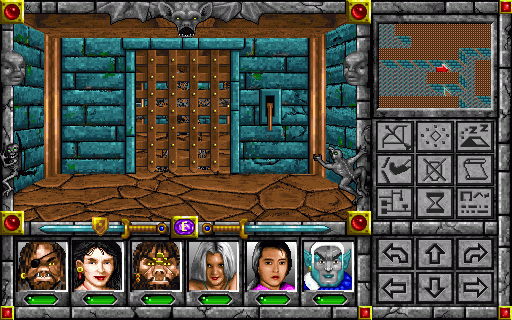
 "What was the hint for this one -- 'set the tumblers like a key' or something? Should be right up my alley!"
The short side corridors to the north and south have switches at their ends: each switch changes the position of the walls in the passageway to the east. This time the switches are just toggles that are either on or off: you have to find the right combination to allow you a clear path.
 "And there we go. See? No trap switches triggering slides that tip us into pools of acid, no huge boulders rolling down the passageway after us... nothing. Too easy." "There's such a thing as tempting fate, you know."
That sparkle you can kind of see to the right of the party in the last screenshot will teleport us to this tiny room. This room, in turn, has four teleporters in it that lead back to the Home of the Wood, Stone, Iron, and the dungeon entrance. It's neat, but not very useful.

Instead, we want to continue on to the next room, which has a couple more Megacredits and this switch.

If we've correctly solved the puzzles in the Home of the Wood, Stone and Iron, flipping the switch will cause a sparkle to appear on the floor here.
"This path must surely lead to a worthy reward for our endeavours! Nothing goes here!" "Sloof, it's 'here goes nothing'." "Eh, same thing."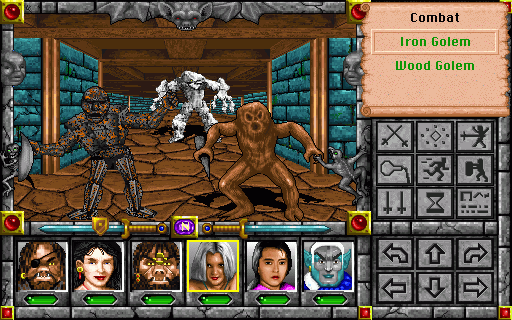
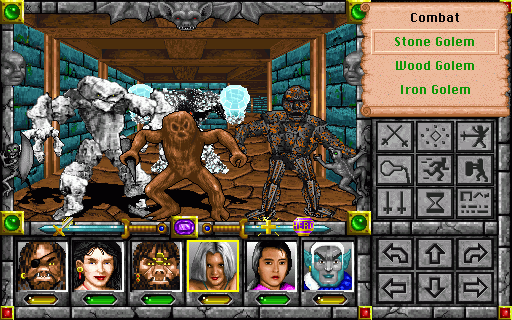
The sparkle leads to the final area of the dungeon. From here on, Wood, Iron and Stone Golems live together in blissful harmony, working together to dismember adventurers. There's something much worse than any of them, though...
 "Probably danger ahead. Everyone ready?" "To fight gigantic magical war machines made of pure diamond? Hell, why wouldn't I be ready?"
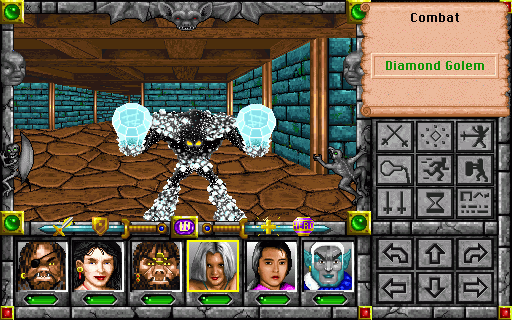
Meet the Diamond Golem, a melee-oriented party's worst nightmare.
The Diamond Golem has 50% resistance to physical attacks and acid, 80% resistance to fire, cold and electricity, very high AC, and one thousand HP. Physical attacks will miss most of the time and inflict greatly reduced damage even when they hit, and most spells other than Energy Blast and Golem Stopper will have little effect. Diamond Golems will attack twice per round, hitting for 4-200 Physical damage.
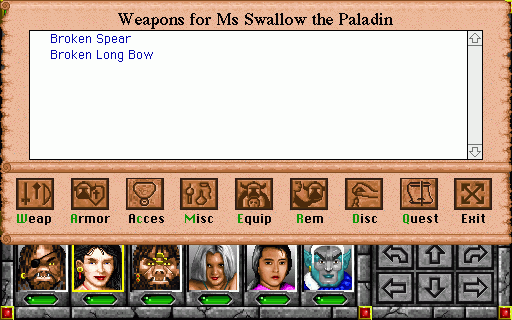
Did I mention they can break your weapons if they hit you? Yeah, they can do that, because your melee characters just weren't screwed enough already. Broken weapons are useless until repaired.
Incidentally, this is another small engine change from Might & Magic 3: in that game, enemies that broke your weapon did it when you hit them, rather than the other way around. While this made more logical sense, it was also even more annoying, so I don't mind the change.
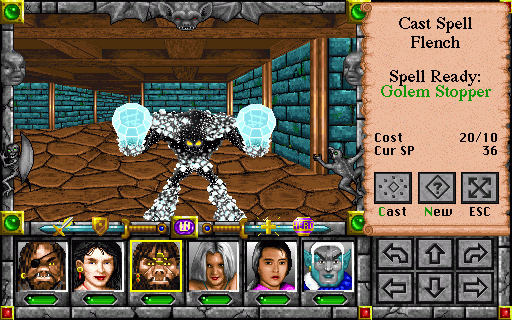
Golem Stopper is by far our most effective tool in this fight. It slowly but surely chips away at the Diamond Golem's HP, 100 damage at a time.
"Prepare yourself, golem! Thanks to the magic of the great Vandesloof and his loyal assistant Flench, you will become a stoplem!"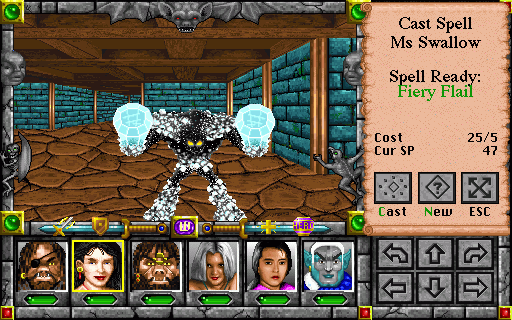 "Looks like even that joke wasn't enough to kill it. I guess it's all up to me, as usual."
Flench and Vandesloof don't have quite enough SP between them to finish off the golem with Golem Stopper, so the rest of the party still has to pull their weight. Fiery Flail is currently our clerical spellcasters' best option for inflicting damage against the golem, despite its high fire resistance. Of course, using attack magic means less SP to spare for healing, so it's a double-edged sword. Or flail, as the case may be.
 "Whew. I know they say diamonds are forever, but that was ridiculous."
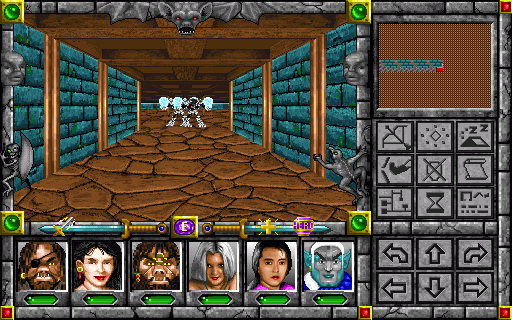 "Two golem now? Even Fubar can only smash so much at once!" "Fear not, my good man, for I am having a brilliant plan stored in my sleeve!"
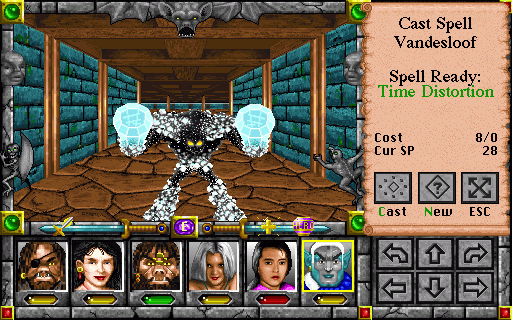 "After we have destroyed one golem, we simply run away to rest until we can return to fight the second!"
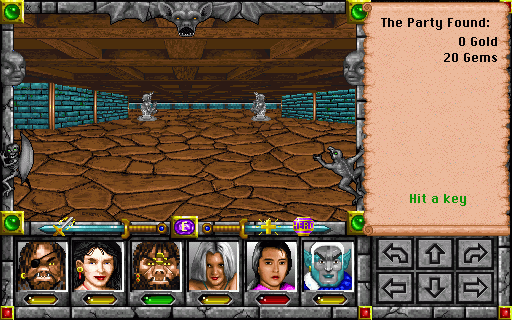
Okay, so "brilliant" is overstating it, but it's a sound plan and a good chance to get some use out of Time Distortion. If we escape from a battle, we still get the experience and treasure from the enemies we defeated, and those enemies stay dead.
There are no complex puzzles or fancy tricks in the Home of the Diamond, just rooms connected by a series of hallways and teleporters, all filled with lots and lots of golems. By clearing out the Diamond Golems one at a time and resting between fights, we can slog our way through.
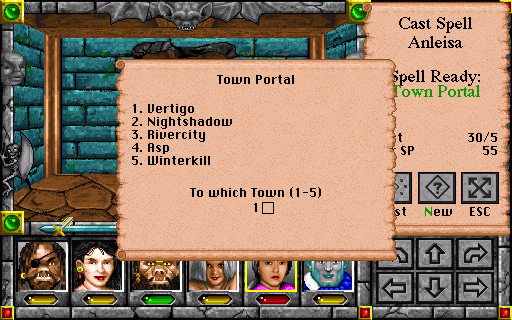
I do have to head back to town to visit the bank and withdraw some more gems at one point: spending all of our SP on Golem Stopper and Fiery Flail every fight is kind of a drain on our supply. Still, resources exist to be used, right?
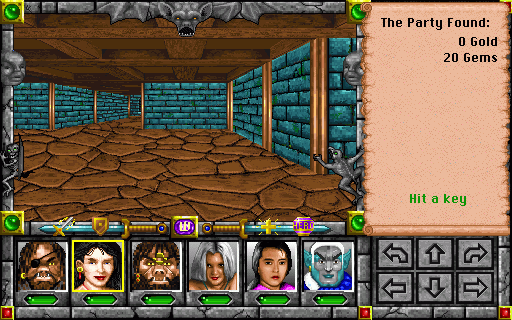
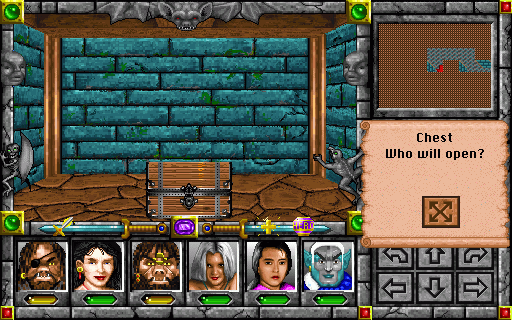 "Somebody hid a treasure chest in here? Well, hey, gift horses and all that."
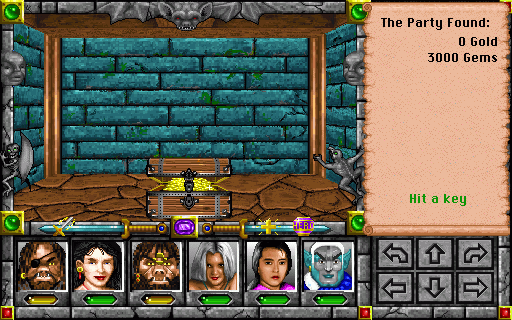 "It seems we've found the source of the magical gems used to animate these golems -- there are enough here to more than make up for the gems we've expended to come this far. I don't believe anyone will object if we take them for ourselves."
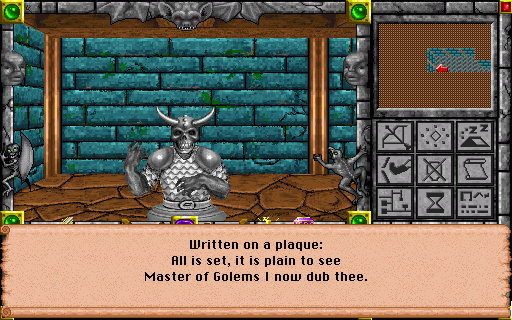 "You better believe it! We mastered the heck out of those golems! Well, I mean, if I'm being honest it was Sloof doing most of the actual work on those diamond ones. But I provided moral support!"
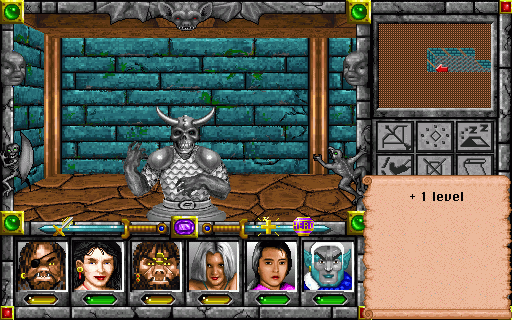
This is the true reward for completing Golem Dungeon, something even better than a few thousand gems: an extra experience level for the entire party.
When the party is granted a free level like this, they also gain exactly one level's worth of experience points. That means that for the maximum benefit it's best to wait to do this until level 11-12, when advancement stabilises at just over 1 million XP per level. If you wanted, you could wait even longer to claim it in order to exceed the normal level cap of 20 in Clouds of Xeen, but it's unnecessary -- we might as well get it now so we can benefit from it for longer.
 "Hm. Flench need to train harder. Need strong weapons and magic if we fight monsters like that again."
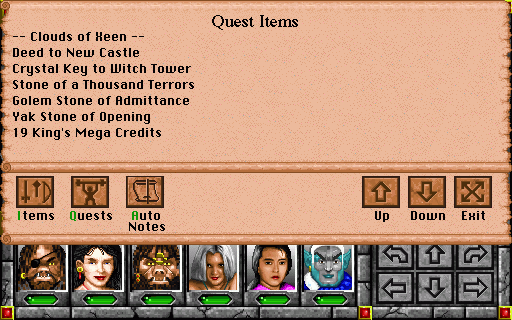
There are a total of 14 Megacredits in Golem Dungeon. If you missed out on all the Megacredits in the Temple of Yak and the Tomb of 1000 Terrors, you can definitely find enough here to finish Newcastle, even without having to mess around with the Diamond Golems at all.
The party didn't exactly get much new equipment or gold out of Golem Dungeon, but between the bonus level and the big haul of gems they've done alright.
And just like that, we're done with the toughest dungeon we've faced in quite some time. Next time, should the party visit Winterkill to cool down for a while, or return to the outdoors for more exploration? Vote now!