Part 65: It's Time For War, It's Time For Blood, It's Time For Tea
Update 35: It's Time For War, It's Time For Blood, It's Time For Tea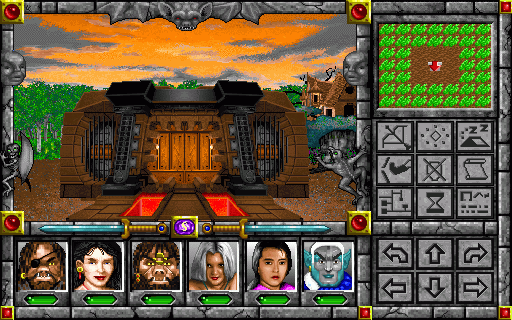
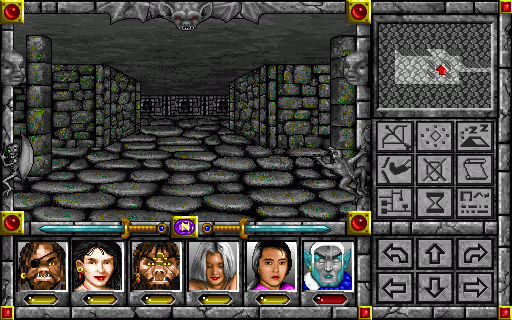
 "We've got the key and we've got a sprite to rescue. Let's do this!"
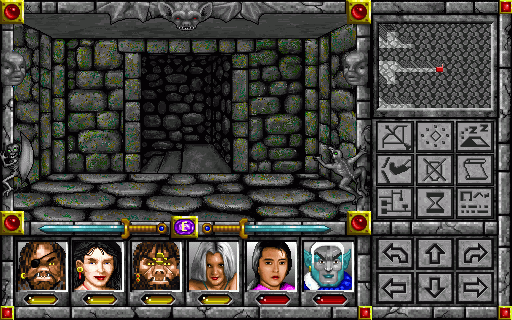
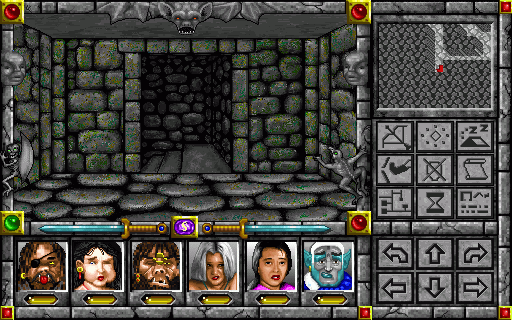
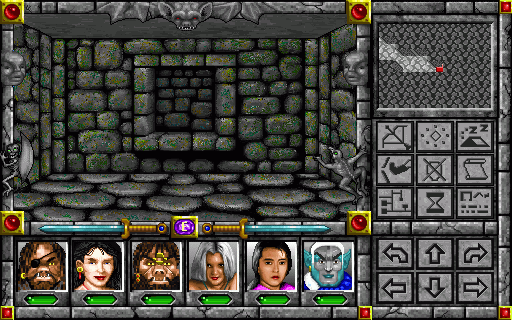
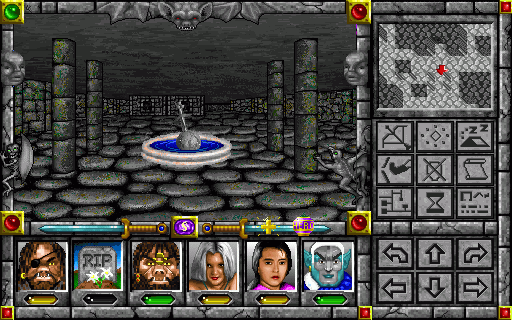
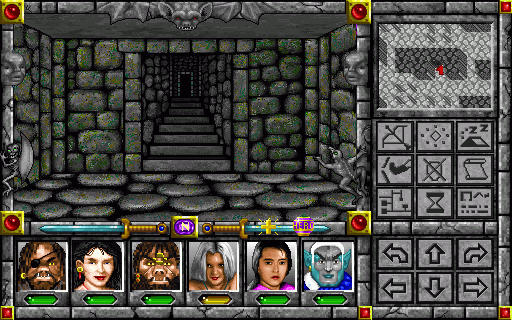
Welcome to the Temple of Bark. It's huge: of all the dungeons we've seen so far, only the Red Dwarf Mines back on Clouds rival it for sheer size.
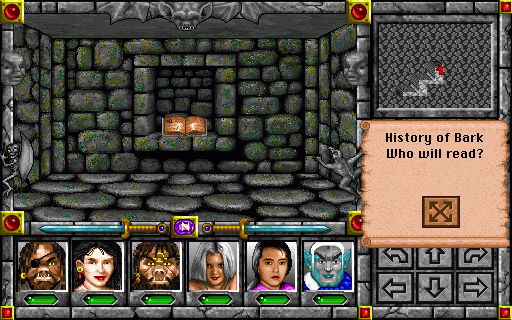
 "History always was my favourite subject..."
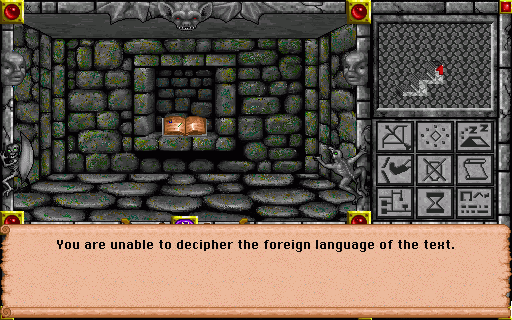 "... so it's a shame I didn't study harder."
There are a number of books about the religion of Bark in the temple's vestibule, but reading them requires the Linguist skill. I'll come back here once we have it to show you what the books say, maybe in a bonus update.

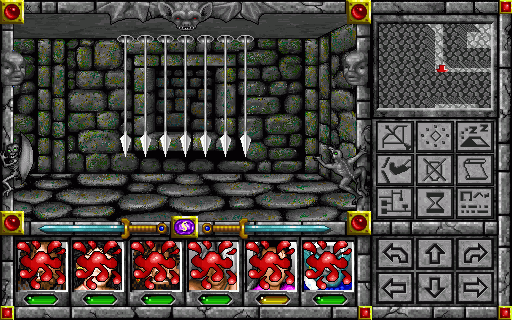
 "Always with the spiking. Why us? Have we blasphemed against some god of pointy things?"
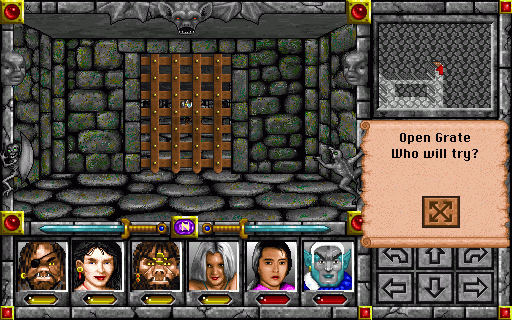
Note the amount of damage the party took from being hit by just one spike trap. The traps are generally placed either in the middle of a wide hallway or just outside the entrance to a room, so it's best to avoid those locations as much as possible. Jump spells can help.
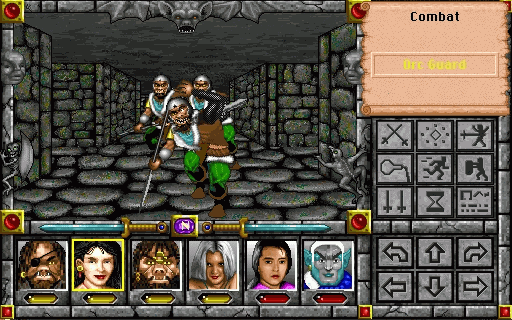
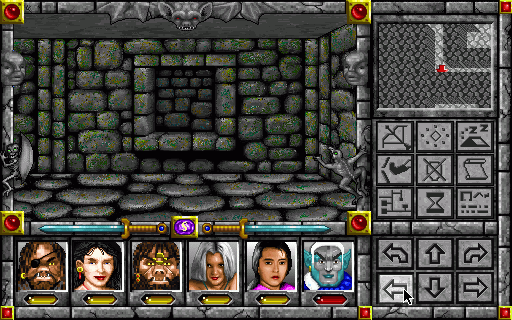
 "Something moving on far side of grate. Smell like orc."
 "This whole place smells like orcs. It probably would even if you two weren't here."
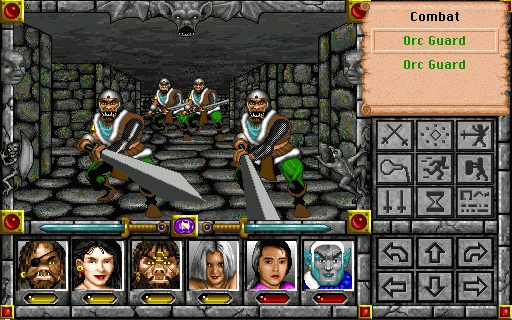
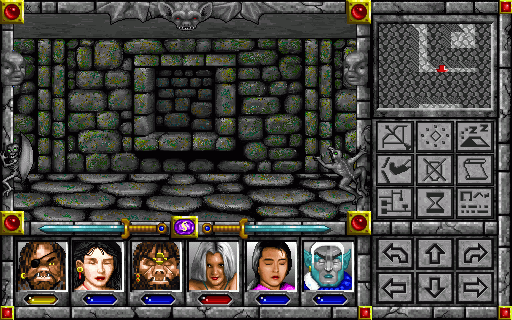
Orc Guards tend to appear in large groups, but they're among the weakest monsters in Darkside.
They'll selectively target dwarves, which could possibly be an issue if we had an unusually squishy dwarf in the party, but since we have no dwarves they're just no-account melee enemies that we can walk all over.
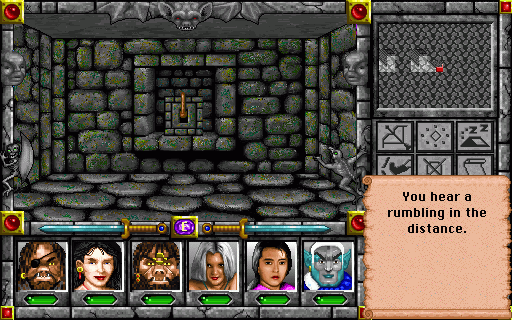
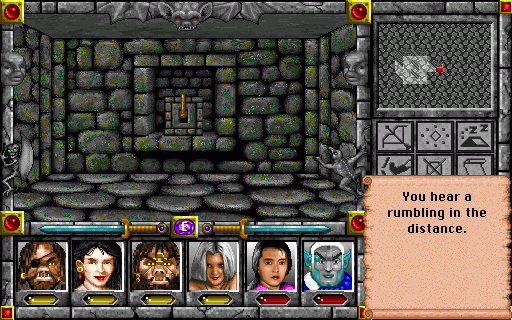
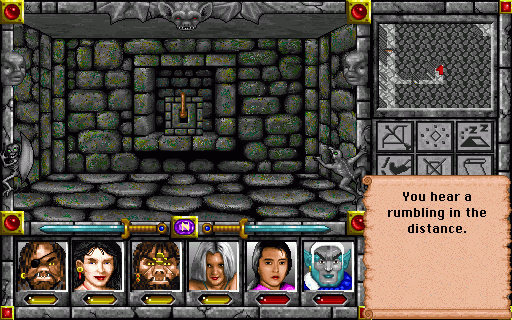
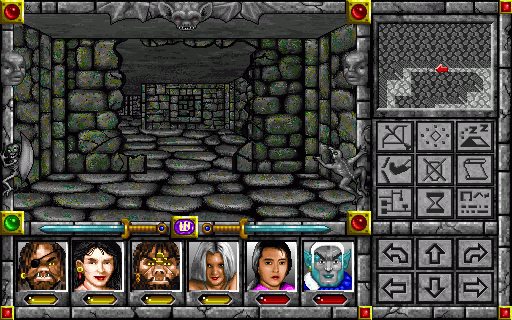
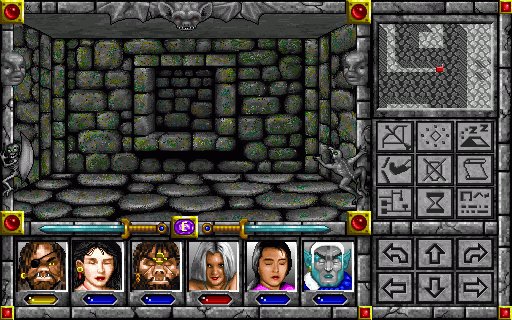
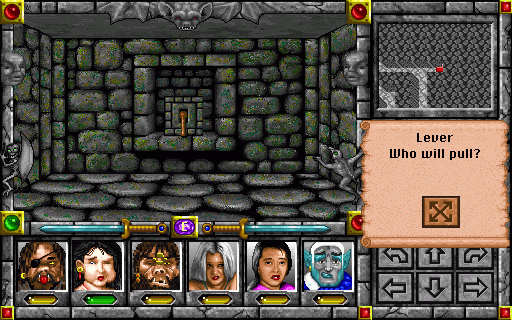
 "Fubar hope that good kind of rumbling and not big-rock-crush-us-all kind of rumbling."
I assume this lever opens a passageway somewhere. At least, that's the most reasonable assumption, since it sure doesn't turn off the spike traps.
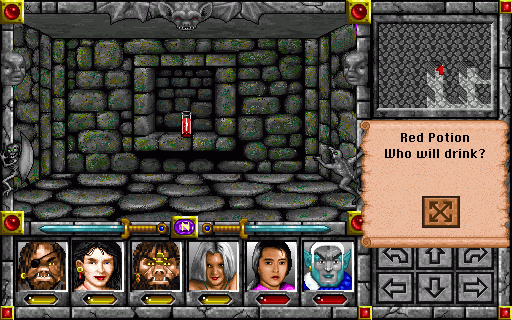
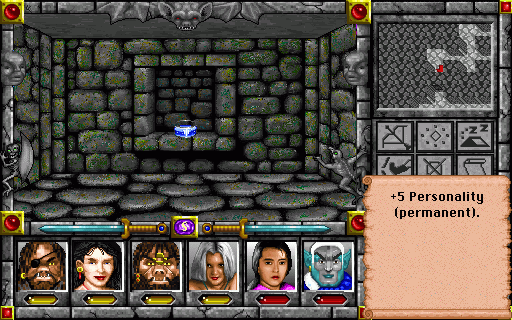 "Who says alcohol's the only magic potion that can improve your personality?"
There's a variety of coloured potions in alcoves in the temple. Each is good for three drinks, increasing a stat by +5 each time. Note that there's a bug with these potions, at least in the Mac version -- if you examine the alcove and then cancel out without drinking, it'll use up a dose of the potion as if you chose to drink. So don't be hesitant!
The usual colour-to-stat correspondence rules for stat boosters apply. It's nice that they put in the effort to have different art for each type of potion.
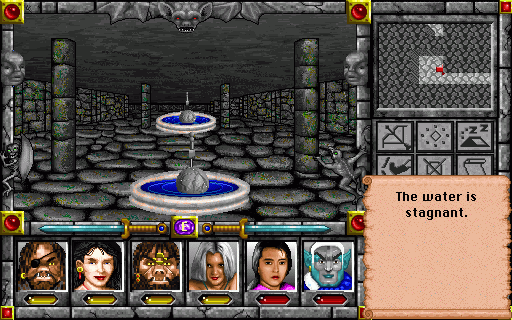 "I guess this is what I get for trusting in orcish plumbing."
There are a few fountains like this in the temple, but they don't do anything for good or ill.
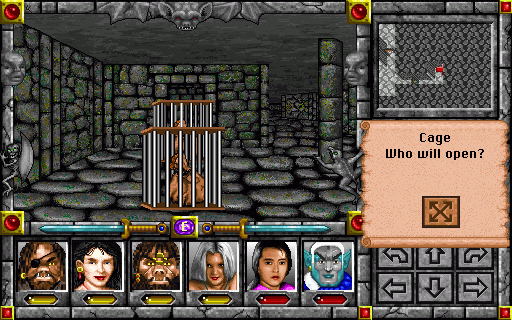 "What mysteries and wonders may be lying in wait within this sack?" "Probably either wild pig to eat or human to sacrifice. Or eat."
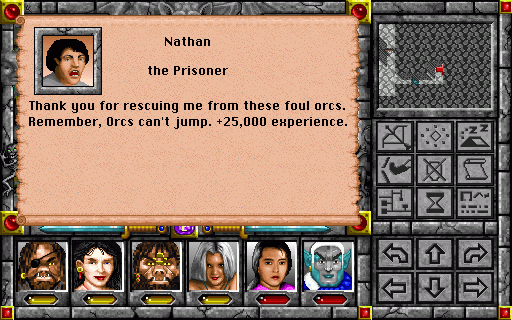 "Huh, really? What about half-orcs?" "Can hop."
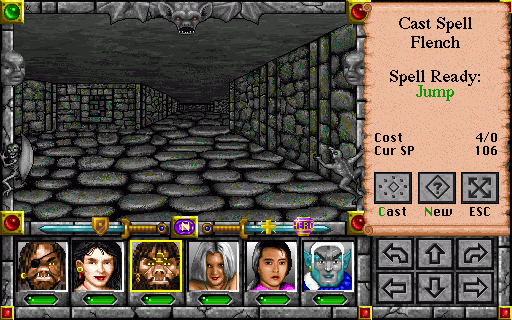
In case you hadn't realised how important the Jump spell is for avoiding traps in this dungeon, the game offers a friendly reminder here.
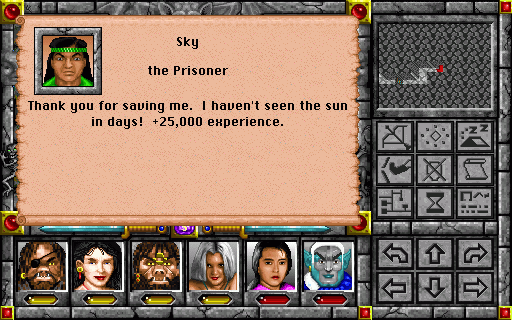
The other prisoner in the room is just good for bonus experience, but that's nice too.
There's another lever in the room just past the prisoners.
And a final pair of levers past the locked door in the central antechamber. I'm probably doing something good by pulling all of these, I think.
Okay, I just loaded an old save to check what the levers actually do, because it'd bug me all day if I didn't. The first two levers keep certain grates open, allowing you to return to the entrance area. The grates close behind you, and re-close immediately if you try to open them, so you can't leave until you find the lever (unless you can teleport). I'm still not sure what the other pair does, but I assume they're important.
 "These orcs almost as weak as sprites. Disgrace to Orcish pride. Maybe stronger ones deeper down."
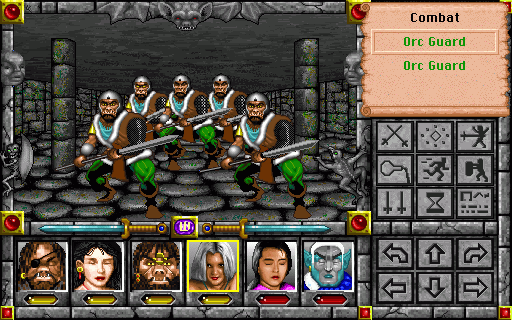 "Doesn't look like they're getting any stronger so far. Just the same old... um, why's everybody just kinda standing in place and swaying? Uh-oh."
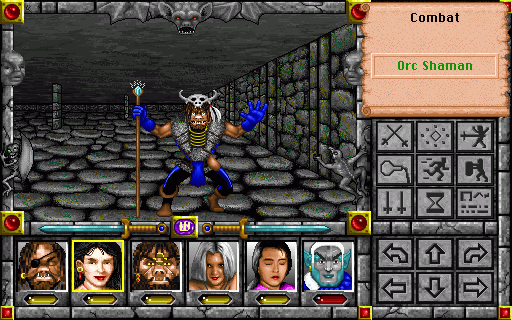 "Good to see orcs using magic. Not so good to see orcs using magic on us."
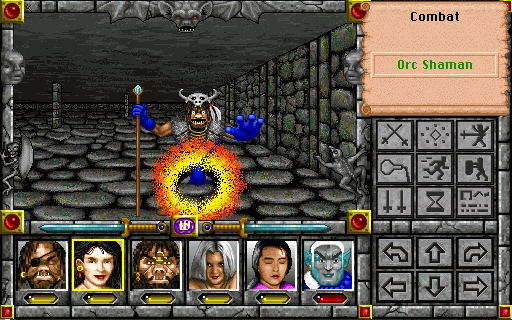
Orc Shamans hit the entire party for minor cold damage. They aren't very strong or tough, but they have a chance to put characters to sleep. Keeping Protection from Cold active renders them harmless.

The largest damage splat, as pictured here, means a character's attack caused a total of over 200 damage. Considering that Orc Shamans have only 50 HP, killing them won't be a problem as long as the party can stay awake.
 "Perhaps these side passages will have fewer traps and guards than the main hall..."
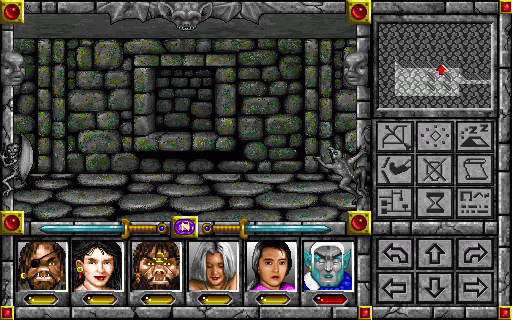 "What? Are my eyes playing tricks on me?" "If they are, can you tell them to stop playing tricks on the rest of us too?"
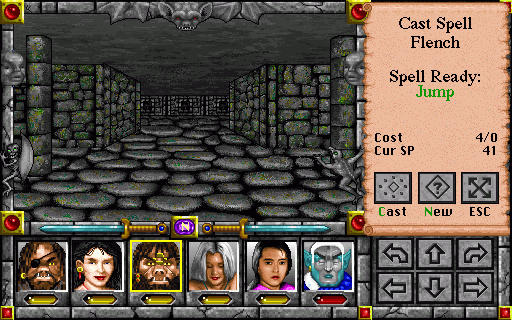 "If we step near, passage close up. If we step far, passage open again. Easy solution: get through without stepping."
The reward for our ingenuity is some more stat-boosting potions.
Disappearing passageways aren't the only trick this floor has up its sleeve, either. Keep an eye out for false walls.
 "Another mystery for the solving! What could be in this barrel? A famous vintage of wine? An experimental monster? Perhaps even a portal to another world? There is only one way to be finding out!"
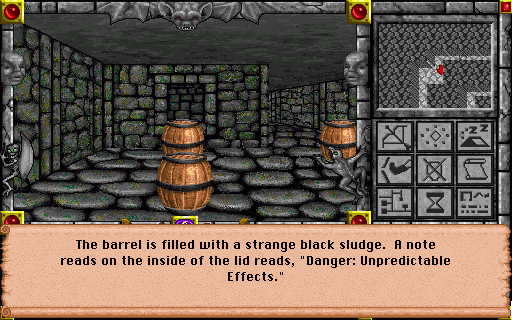 "I'm going to regret this. I know I'm going to regret this. And yet I'm doing it anyway."
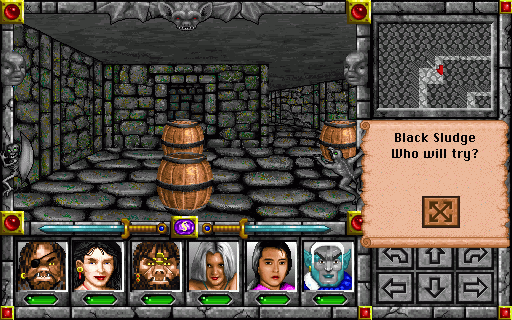 "If this is a love potion, somebody please kill me." "I've already got my sword out and ready, just in case." "Aw, I always knew I could count on you if I needed someone to stab me in the back."
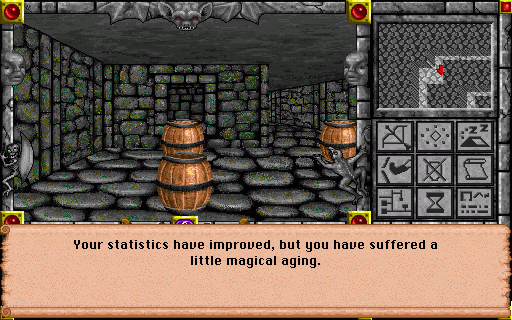 "That... could have been worse. It could have been better, but I'll take what I can get."
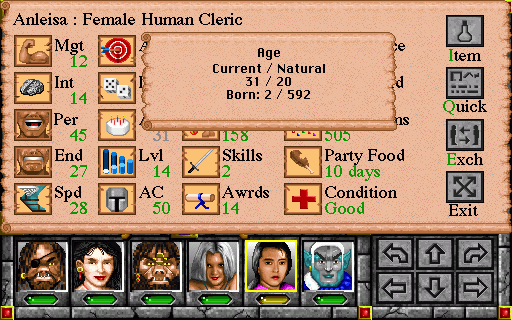
The black sludge grants a +3 bonus to all statistics, but 10 years of aging is a significant price to pay when we haven't yet restored the fountain of youth. She won't start suffering age-related stat penalties until age 35, though.
Here's a nasty trick: a spike trap located at a corner. If we try to turn, the trap will hit us a second time.
Luckily, the game allows us to sidestep.
Unluckily, there are more traps further down the corridor.
 "Oh, you have got to be kidding me. No treasure? No secret passage deeper into the temple? We have to go back the way we came empty-handed? This place is the pits!" "You know what would be weird? If we fall into pit right after saying that." "Ha ha, yeah, that... that'd be funny alright. You happen to have a healing potion to wake up someone who can levitate us?"
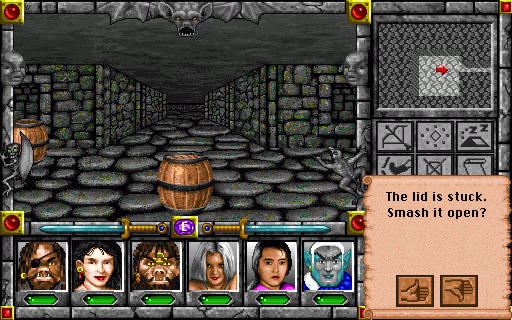 "This black barrel looks like the ones we saw before, but I can't get the lid open..." "Fubar know how deal with tough lids! Same way Fubar deal with every other thing!" "Wait, are you sure--"
 "Whoopsies."
Smashing open a stuck barrel blows up everything else in the room: other barrels, monsters, furniture, you name it. It also inflicts 250 damage on the entire party. Don't do it.
 "When you think about it, being almost killed twice in the first two floors isn't such a bad record by our standards. Let's see if we can stay on par for the next floor!"
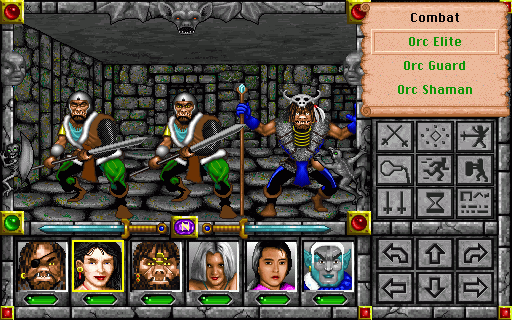
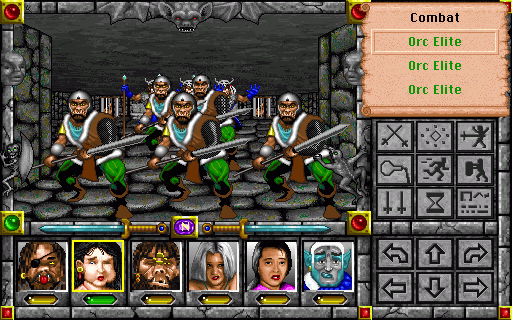
Orc Elites start showing up on the third floor of the temple. They're similar to Orc Guards, but with much more HP and a stronger attack. A party that can clear out some of the tougher Troll Holes should have no problem with them.
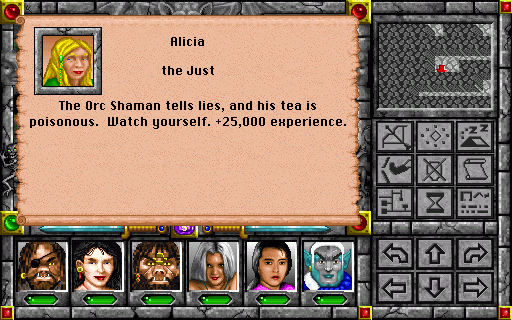 "Another floor to explore, another prisoner to rescue. Thanks for the tip -- we'll remember it if we run into this shaman."
 "Wooo! Free tea!" "This seems like a poor idea. Alicia did just warn us--" "She say orc shaman, not orc king. This guy probably legit." "I'm more vulnerable to peer pressure than I am to poison." "However bad this tea is, I've had worse." "A gentleman never refuses tea, no matter how bad an idea it is to be drinking it!"
No, the game doesn't give you an option to refuse Shaalth's offer, even if you've already heard Alicia's warning.
 "In hindsight, we really shoulda seen this coming."
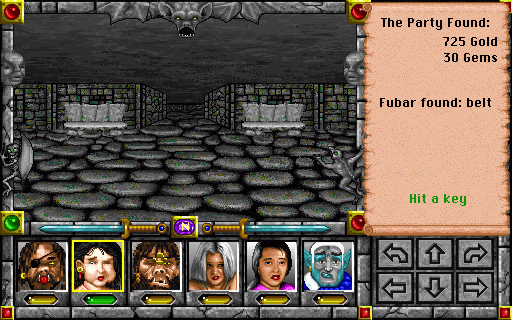 "We fought our way out of their trap easily enough, but I didn't see what happened to Shaalth. Perhaps he slipped away during the battle?"
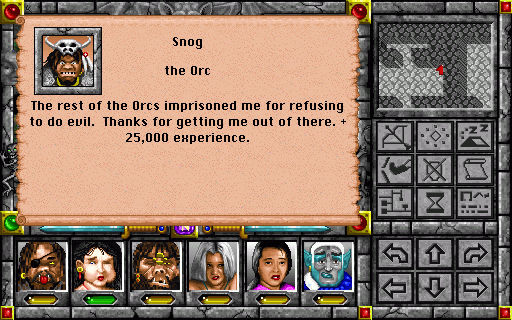 "No problem. Flench understand how hard it is to be own person in face of stereotypes."
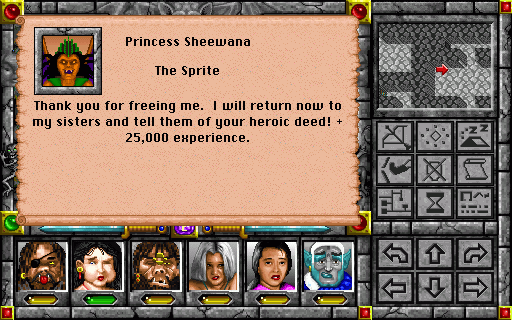 "Once again, we have proven ourselves worthy of the trust placed in us." "If you have any attractive friends, make sure to be telling them the great Vandesloof saved you!" "... mostly worthy."
 "We can't return just yet -- not when there's still more of the temple to explore! I bet Shaalth has all kinds of neat treasure down here!"
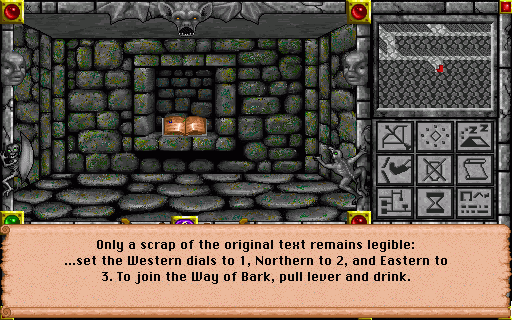
This Book of Ascension is the only book in the temple that doesn't require a Linguist. It's a good thing, too, since we'll need to follow these instructions to fully explore the dungeon.
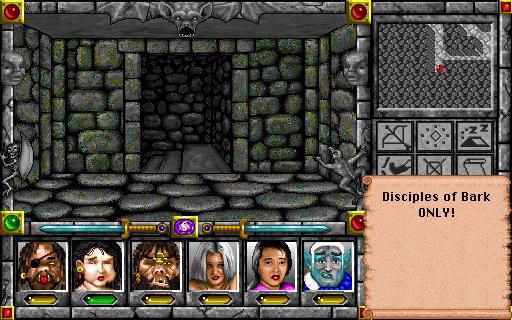 "Guess we're not getting much further without convincing the temple we're part of its weird cult. We'd better find the dials and lever that book mentioned."
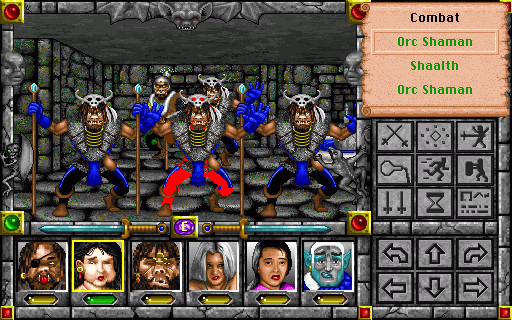 "There you are, you rat bastard! We still owe you one for that tea which we inexplicably drank!"
Shaalth is just a stronger Orc Shaman with a lot more HP. Protection from Cold should still be enough to nullify his attacks: you can use Power Shield as well if you're coming here at a low level, just to make sure.
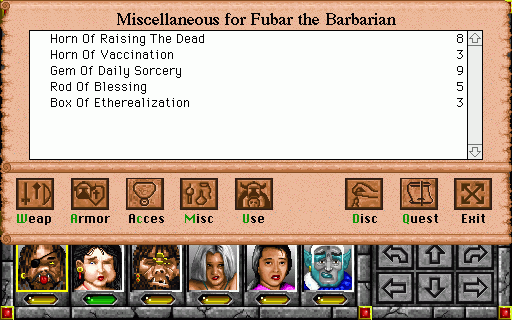
Shaalth drops a random high-level item when defeated: we got a box that casts Etherealize, which I'll hold onto in case we need to get past a locked door or grate that Trish can't open.
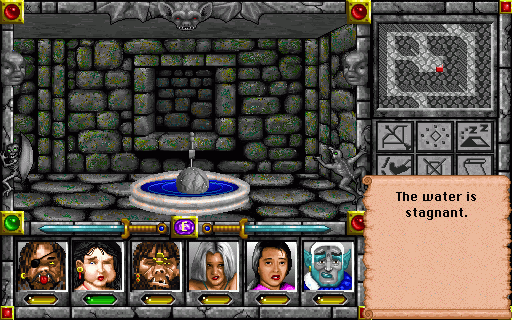 "Ick. Looks like this is what we have to drink from after we've set the dials and the lever."
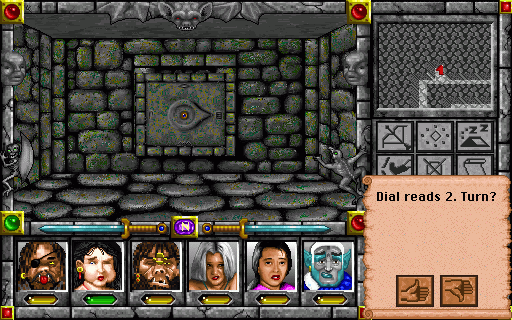
There are dials set into the west, north and east walls of this level. Setting them is straightforward enough: just follow the instructions in the book.
Once they're set, we can pull this lever in the northeast.
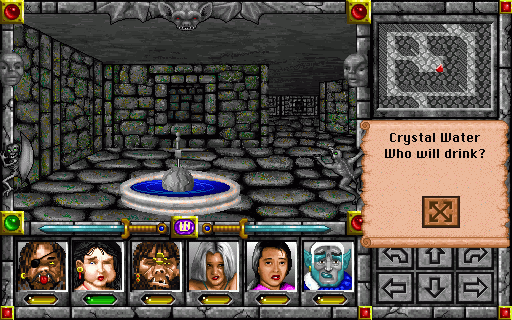 "Hm. Water clear now. Probably good sign."
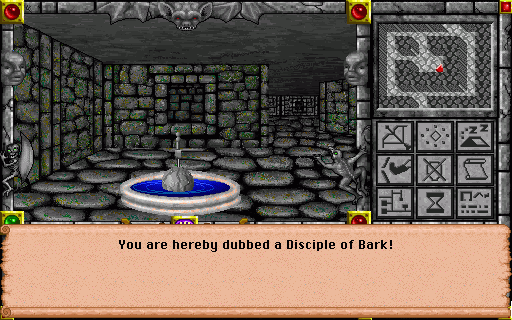 "Yay! Fubar now Whatchamacallit of Bark!"
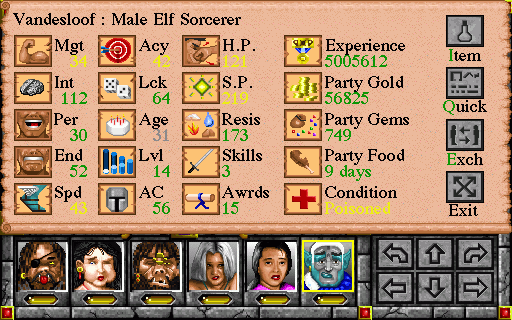 "I am feeling full of new life! This is a thousand times better than that unfortunate incident with the monkey glands!"
In addition to granting the Disciple of Bark title, drinking from the fountain after setting the dials and lever will permanently raise all stats by an impressive 19 points. Each party member can gain this benefit once, and it's a good reason to tackle this dungeon as soon as possible.
 "Okay, staircase, we're disciples now, so you can definitely let us through and trust us not to plunder all the sweet, sweet treasure you've been keeping from us!"
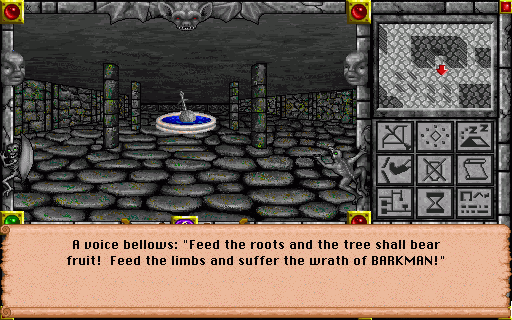 "Oh no, not ~Barkman~. I'm so scared." "... Did you just make air tildes with your fingers? Why did you do that? How did you do that?" "I've set off so many traps with these hands that there's no bones left, just rubbery scar tissue. Neat, huh?" "Call me J.R., 'cause I'm ew-ing."
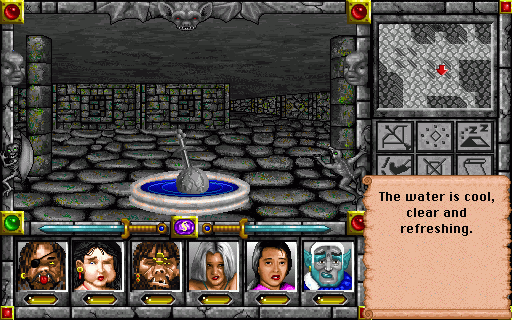
The fountains on the bottom floor of the temple aren't stagnant like the ones on the upper floors. They still don't do anything as far as I can tell, but at least they taste good.
 "Hmm. If I look at the map in this way, the shape of this floor is somewhat resembling a tree. That would be making this... a root. So we should be feeding it!"
If you give a total of 5 gems to a skull at the "roots" of the "tree", a kind of sparkly noise will play.
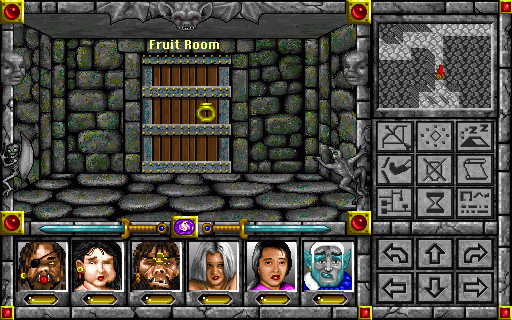 "Let's see what we just threw away all those gems for..."
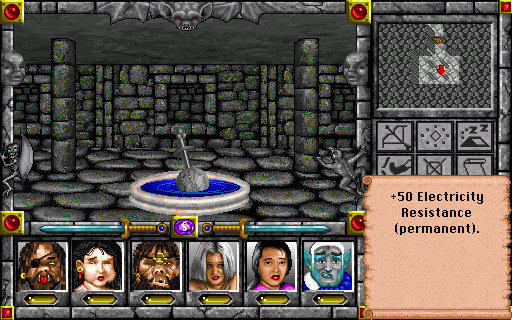 "Okay, yeah, I'll admit that was worth it."
These fountains only have an effect if you've found and fed all of the skulls at the roots. There's one fountain for each of the four "natural" elements: fire, electricity, cold and poison. It might be worth holding off on drinking from these until after getting the permanent resistance boosts from the Great Western Tower, since these ones work no matter what, while the ones in the tower only work if your resistances are low to begin with.
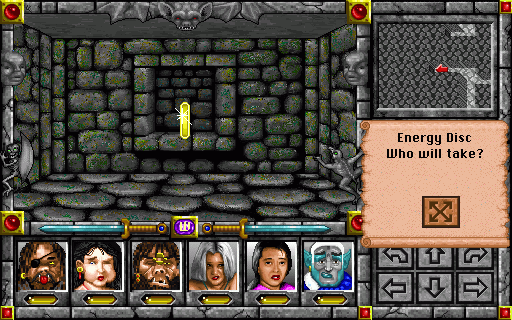
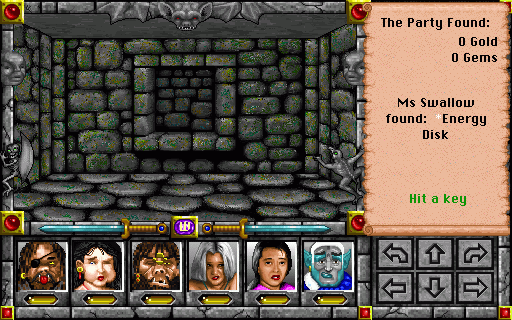
There are also two energy discs in alcoves on the east and west sides of the floor.
They're nice to have, but I really, really wish the game would decide on one spelling of "disc" and stick with it. It bothers me more than it should.
 "All done. Time to go cure tea poisoning, then report back to Sharla."
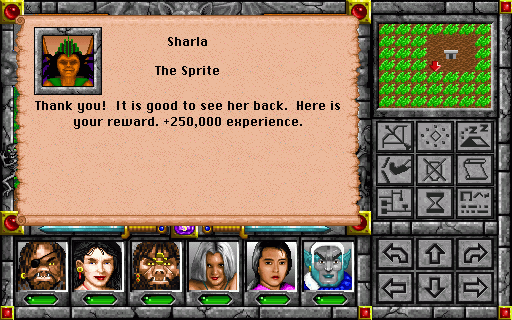 "Remember, we were promised a lot of gold!"
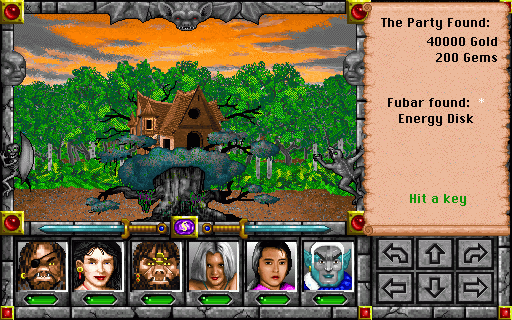 "Hmm. I guess that'll have to do." "Now, now. I'm sure it seems like a larger amount to a sprite. And between these and the ones we found in the temple, we've found a total of four more energy discs -- that's excellent progress toward restoring Castle Kalindra." "Before we take these discs back to Ellinger, there's just one more thing I'm curious about..."
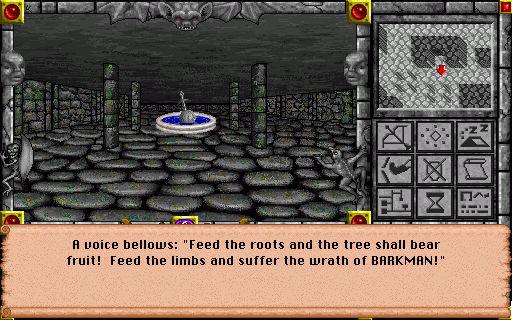 "What was all that about feeding the leaves? We've really only explored the southern half of the bottom floor."
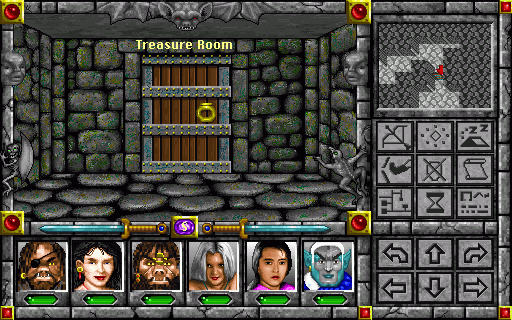 "Now that's a word I like to see."
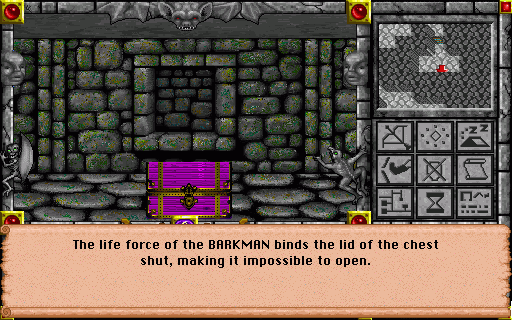 "So to get treasure, we have to smash Barkman? Not sound so hard." "We have to find him first, assuming he's even real. If feeding the leaves invites his wrath, maybe we can draw him out that way..."
The skulls in the "branches" of the tree can be fed just like the ones at the "roots"...
... and when fed enough, they'll disappear with a slightly ominous noise.
 "Flench guess we find Barkman. Still sure this was good idea?"
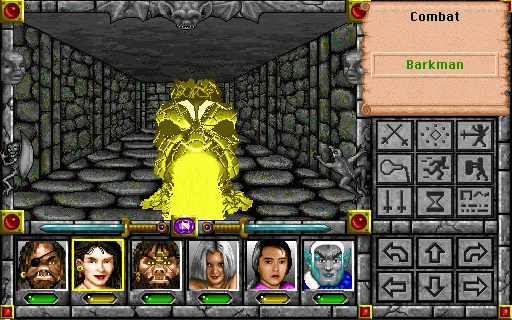 "Why is a giant tree god setting us on fire? Even I know that's theologically unsound!"
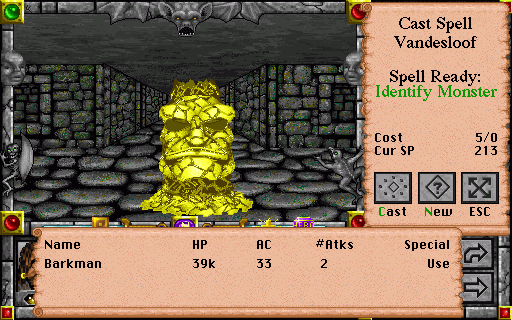 "Do not be panicking, but there is a possibility that we are outside of our league here."
Barkman has 40,000 HP, is completely immune to fire and poison, resists electricity, and attacks three times per round for 250 fire damage.
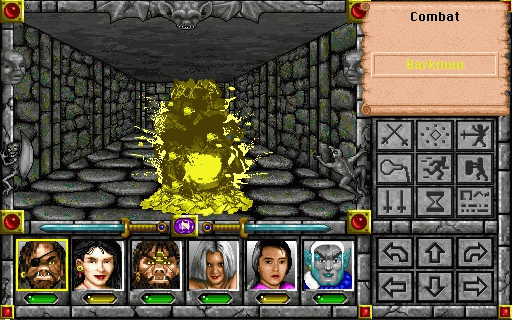
His attacks are actually the least of our problems: between our high resistances and protective magic, we can mitigate the damage enough to survive for quite a while. His AC is high, but not so high that we can't get some good hits in with buffs active.

No, the real problem is just that he has way, way more HP than we can reasonably wear down. After several rounds of combat, we're starting to run out of HP and SP while he's still going strong.
"This is getting us nowhere. Run for it!"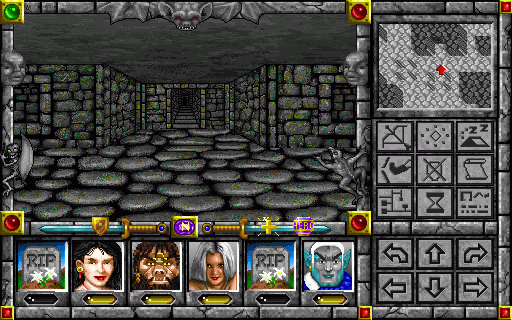 "Okay, that didn't work out so great. Anyone got a plan B?" "I believe this was plan B, plan A being 'don't anger an ancient god'. We're now on plan C, which is evidently 'come up with a plan D'."
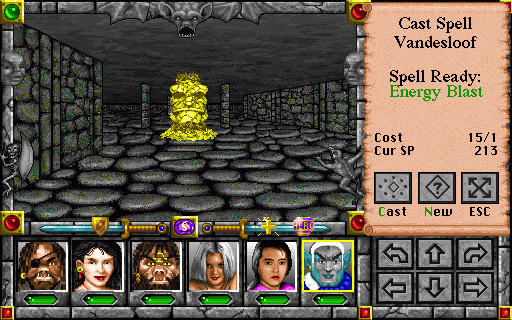
Warping back to town to revive everyone is easy enough, but it doesn't really help us win: leaving this floor of the dungeon or reloading a saved game will both restore Barkman to full HP. We can't wear him down over the course of multiple battles like we did with the Dragon King, because we don't have Time Distortion yet and there's a high risk someone will die if we just try to flee normally.
Only one viable option remains available to us: we can kite him to death.
Barkman doesn't have a ranged attack, so if we can keep our distance using Jump spells then we can pepper him with arrows or spells at no risk to the party. This would go much, much faster if we had Mass Distortion to halve his HP with every hit, but we can still make the strategy work even without it. It'll make me hate myself, but it'll work.
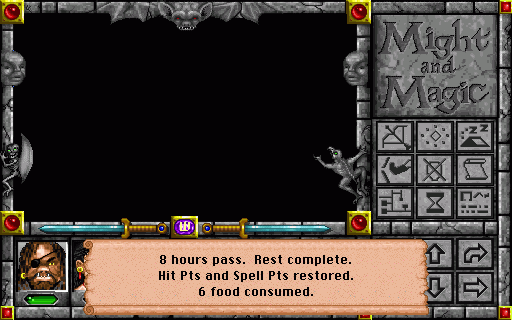
When the party's casters are running out of spell points, they can repeatedly Jump away from him until he loses their trail, and rest.
Did I mention that he has 40,000 HP, and each arrow is doing maybe 10-15 damage per hit? This could take a while. Good thing we brought plenty of food.
If you want a vision of the future, imagine an arrow shooting a giant wooden face -- forever.
Or at least for about two hours of real time, interrupted by occasional hiding and resting to restore spell points. And then imagine that a single wrong keypress can mean Barkman catches up to the party and I have to hope I can run away without anyone getting killed, because if I reload a saved game I have to start the fight over from the beginning. Welcome to my world.
A couple of times I did in fact screw up and have to run away, sometimes losing a character in the process. I decided to blow some charges of a Raise Dead item, despite the permanent Endurance loss, because at that point it seemed less heartbreaking than restarting the fight.
 "Holy crap, it finally stopped moving. I think we killed it." "We killed a god? Isn't that bad karma or something?" "It's a bit late to consider that now."
Yep, we did it alright. Barkman is worth a total of 4 million experience points shared among the party, so everyone gains two-thirds of a level for this feat.
Irony of ironies, the random item Barkman drops is a mid/high-tier piece of armour that grants fire resistance. Considering he has a chance to drop anything up to and including obsidian, I'm not impressed.
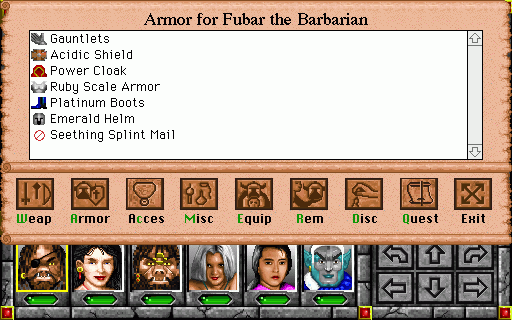
A chest in the hidden room that Barkman came out of is more worthwhile: it contains three random items that are guaranteed to be of top-tier quality, in our case an Obsidian Saber, Obsidian Scale Armour and Obsidian Ring. The ring is useless vendor trash, but the other two go straight on Fubar and will probably remain on him for the rest of the game.
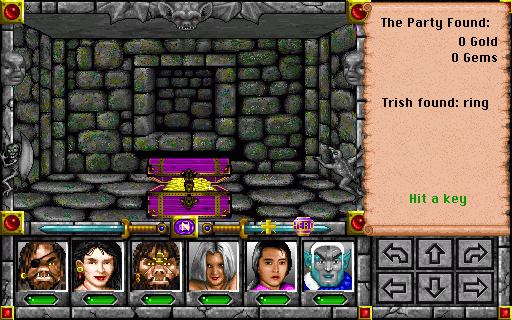
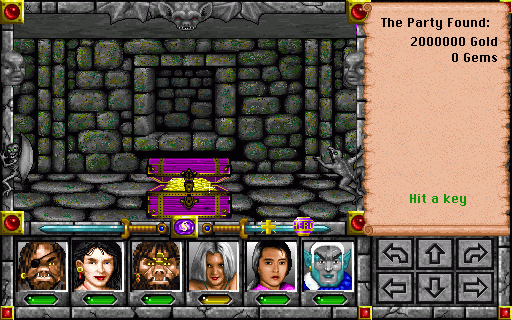 "It's... it's so beautiful..."
This was the chest from the Treasure Room that we couldn't open while Barkman was alive. I'm not sure I can honestly say it was worth the trouble, but it's sure worth something.

A second treasure room on the other side of the floor contains all the gems we're ever likely to need.
 "Okay, this time we're getting outta here forever. I don't want to stick around and find out if that thing can come back to life."
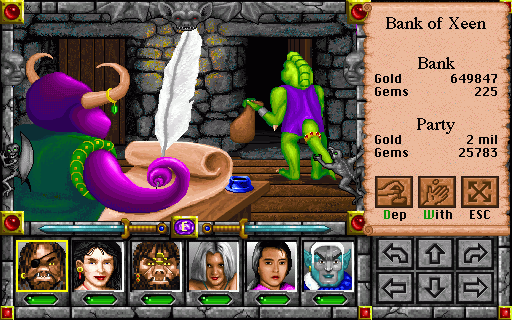 "Now we have four times as much working capital as before. Maybe start bank of our own soon. Or at least venture capital firm."
 "Before you think up any grand plans for how to bankrupt us, let's all remember why we're here, and why we've been going out questing and collecting energy discs. We have six discs now, which is more than enough to restore an additional floor of the castle."
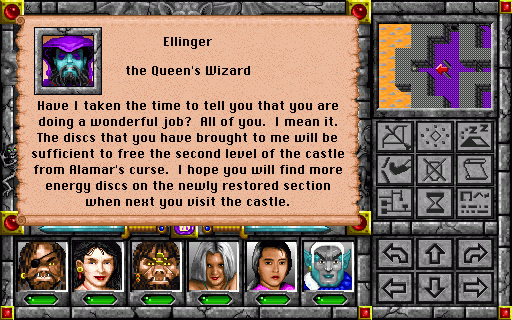 "No problem. Helping people's what we do. Well, getting insanely rich and powerful is what we do, but somehow we usually manage to help people in the process. Anything you can do with this sixth disc we've got left over?"
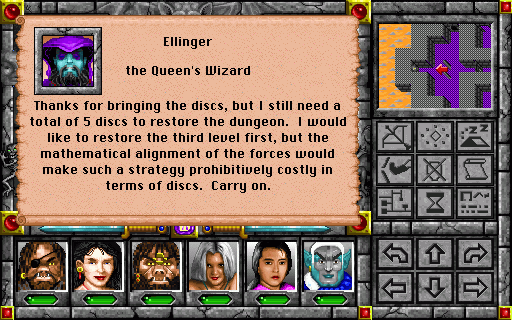 "Four more discs and we bring back the dungeon, huh? At the rate we're going, I think we can swing that. I don't know how we're going to top killing a god, though."
Between the stat boosts, new equipment, experience and gold from the Temple of Bark, the party's in an excellent state to continue exploring. Next time, should they pay a visit to Sandcaster or cross swords with the thieves' guild in the Great Southern Tower? Vote now!