Part 3: Tank Battles At ICARUS
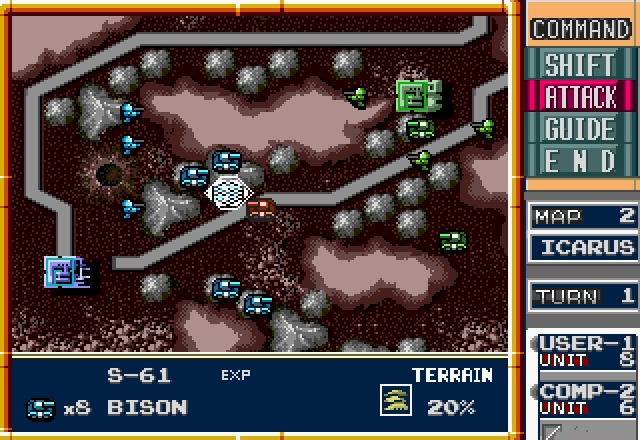
Stage 2 - ICARUSThe first battle has been won, but the war is far from over.
Let's see if we can repeat our success.
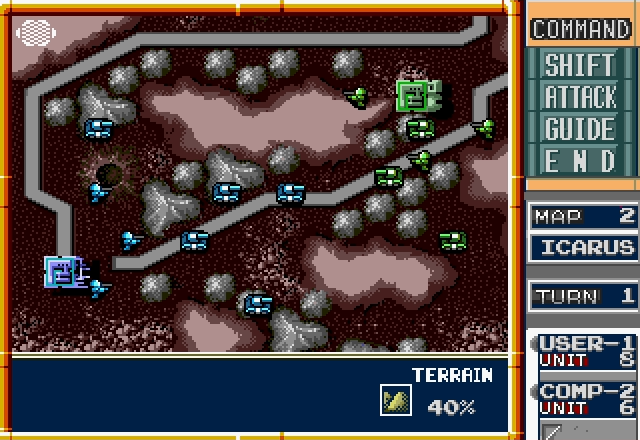
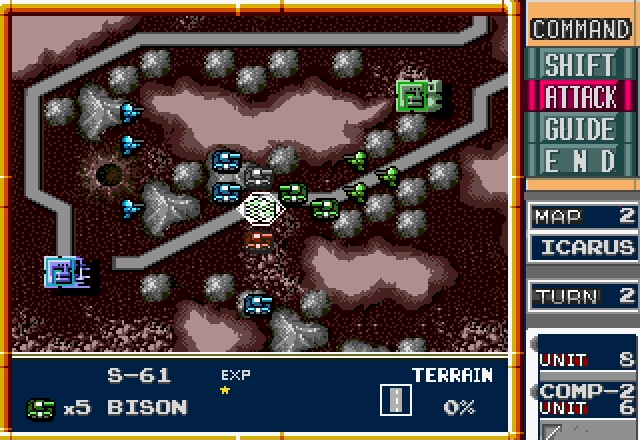
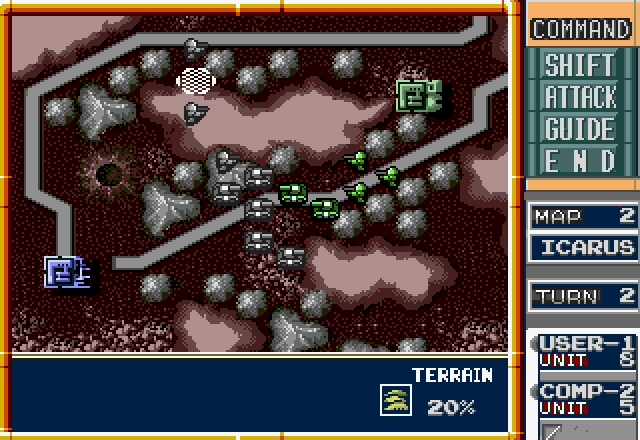
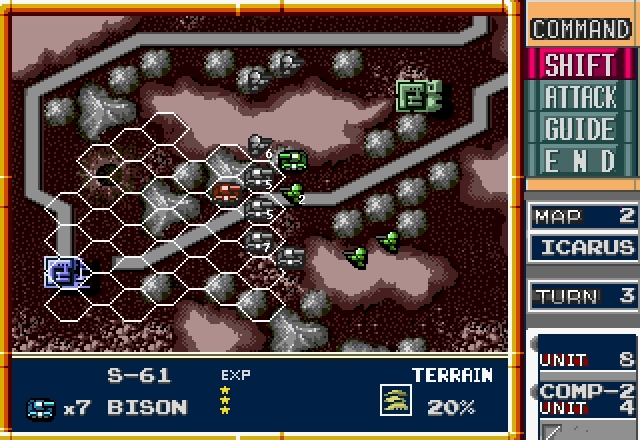
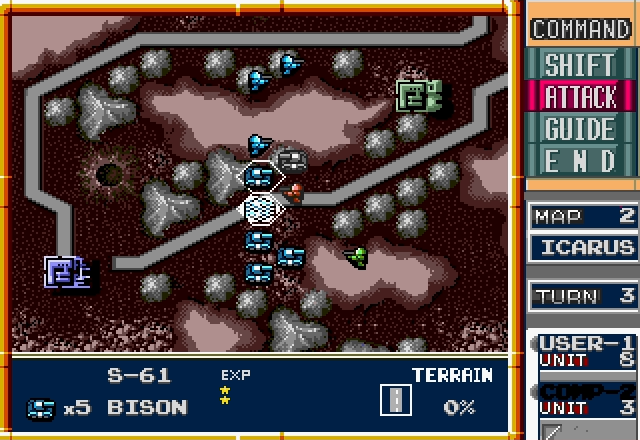
As you can see, there aren't any special tricks to this stage. We're still only using Bisons and Charlies, and the only difference is that our tanks outnumber the enemy's even more than last time.
Even so, this stage gives a beginning player some new things to think about. At REVOLT, the tanks could only duke it out at a single chokepoint, and the key to victory boiled down to "make the enemy cross the bridge and come to you." Here we've got an open corridor that gives plenty of room to show just how strong the support and surround effects can be, along with terrain that offers some actually useful defensive cover, which the AI will use to their full extent.
That said, since we know full well how those things work, this is going to be another mopup.
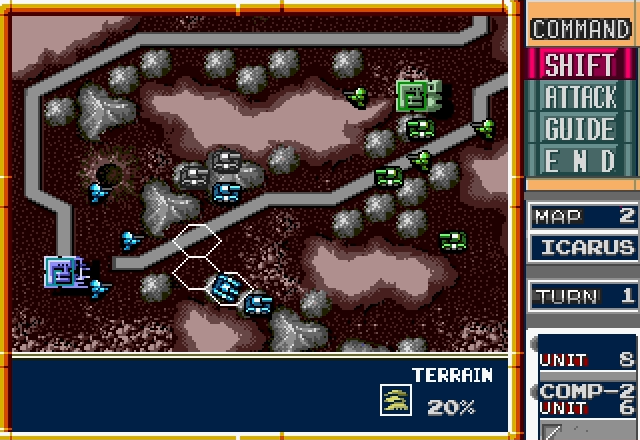
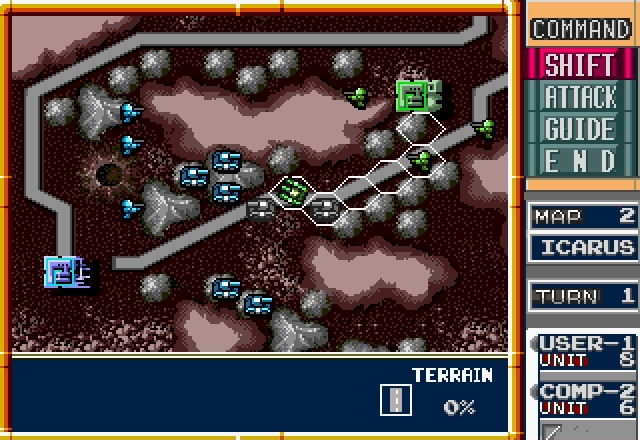
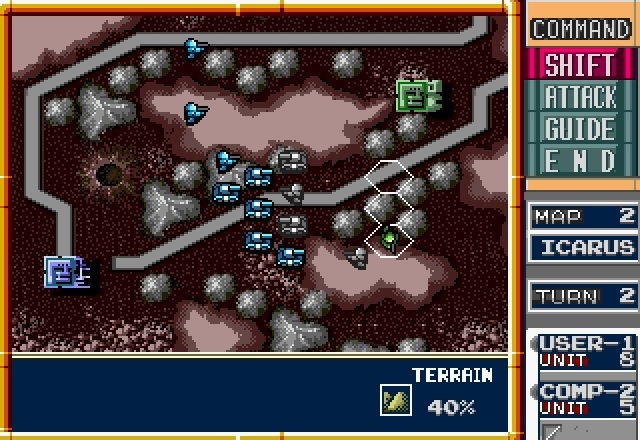
We'll start off by pulling back the tanks to these hills. If we can force the AI to get between our two clusters of tanks, that's our best chance to surround them.
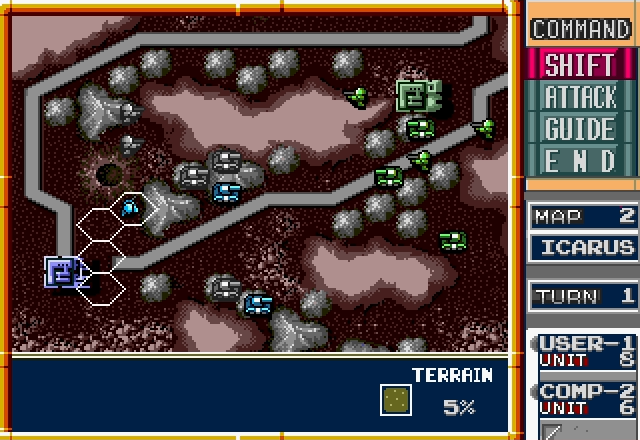
Then we'll move the infantry north to try to sneak around and capture the HQ.
Our turn's done, time to see if the trick works.

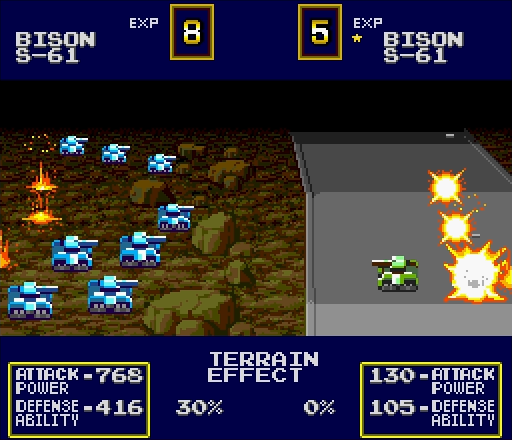
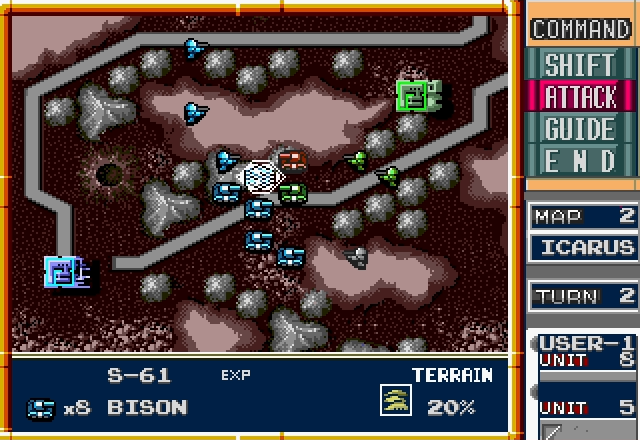
The enemy rolls up and attacks as planned, and you can see these hills give a nice defense boost.
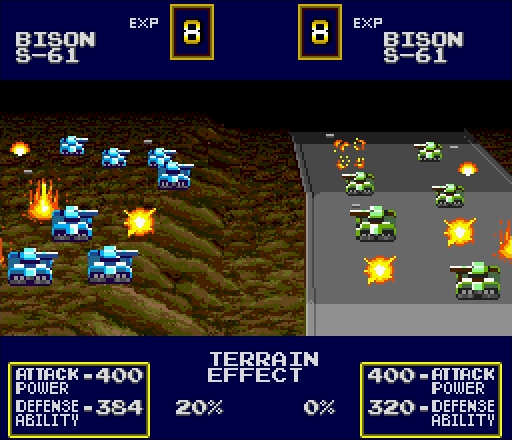
A very nice defense boost.
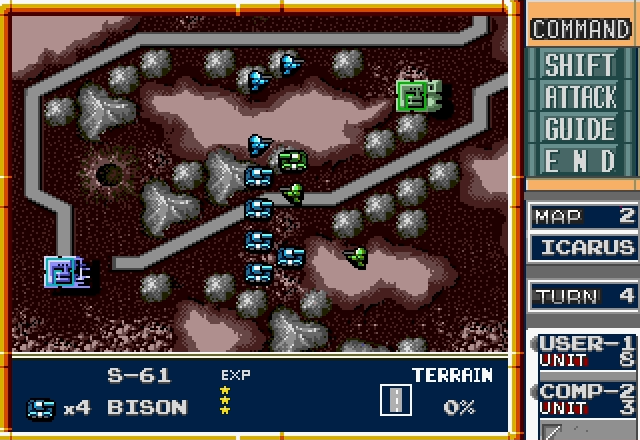
Now that we've crippled the lead unit, the rest of the tanks obligingly move in single file so we can easily surround them.
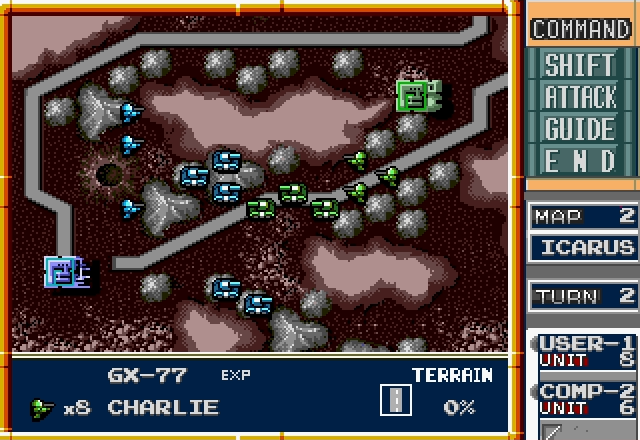
The infantry decided to follow them, for some reason.
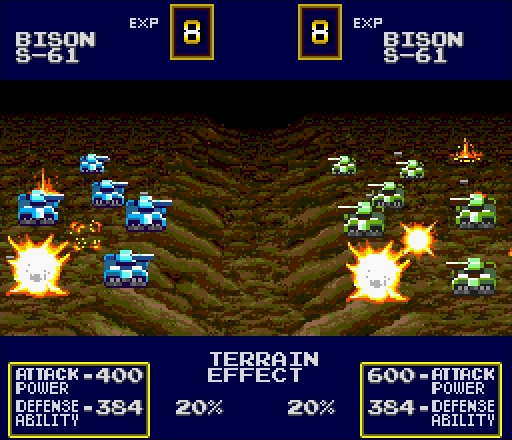
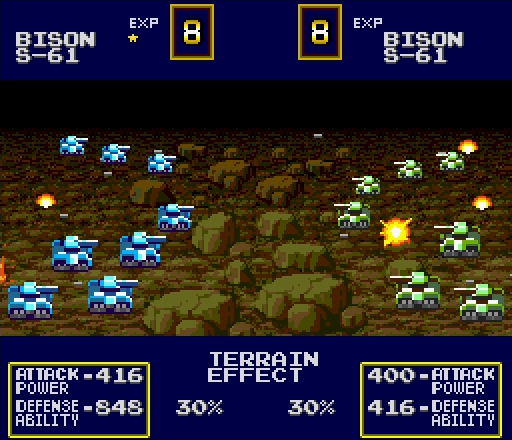
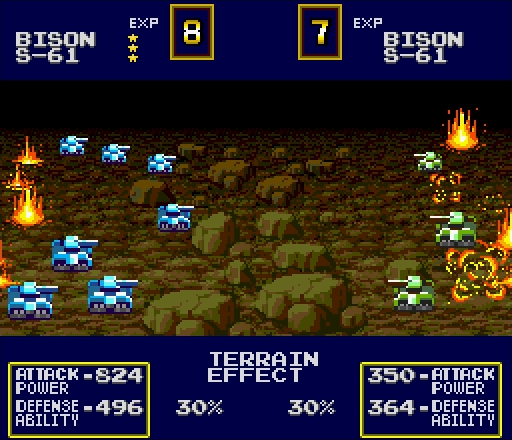
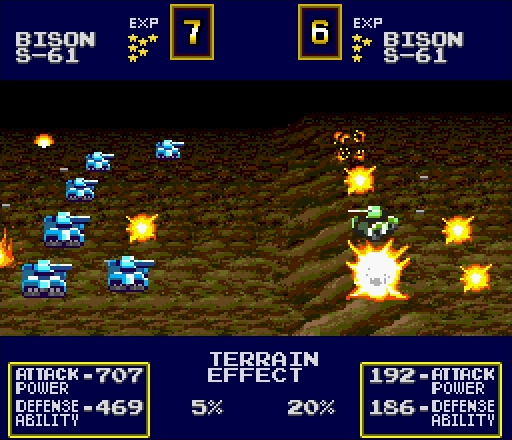
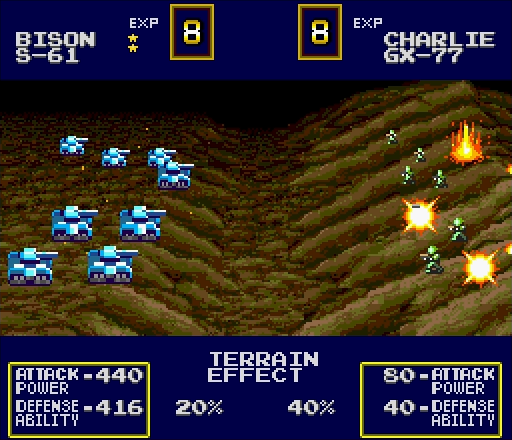
Now, what does the surround effect do when the units involved actually have some firepower?
Wonderful, terrible things. Kind of annoying they left one Bison alive, though.
No biggie, we've got more than enough guns to spare! We didn't lose any tanks destroying this one, so that just means more experience stars for us.
And since I forgot to show it off last time, here's what it looks like when a unit is destroyed.

Now we'll move the rest of the tanks up, but not so far that we hit the chokepoint. We need open spaces to take advantage of our numbers.
The Charlies keep going full steam towards the enemy HQ, and with that our turn's over.
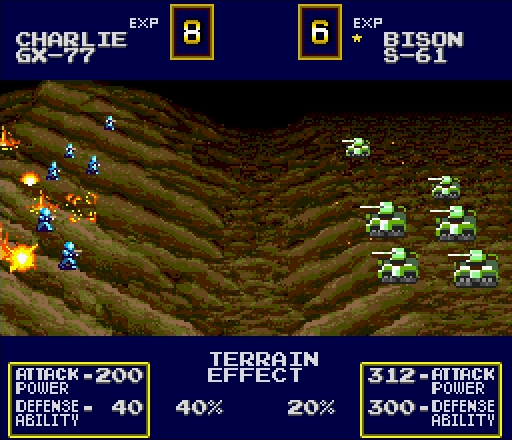
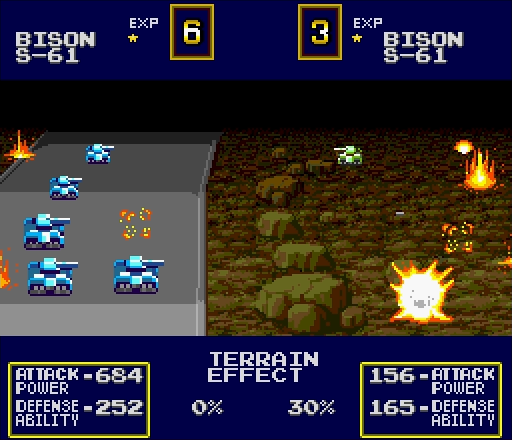
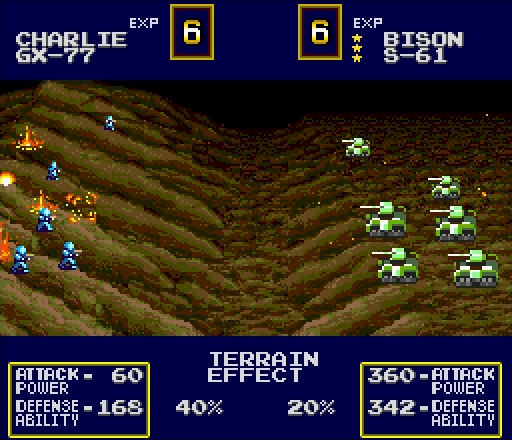
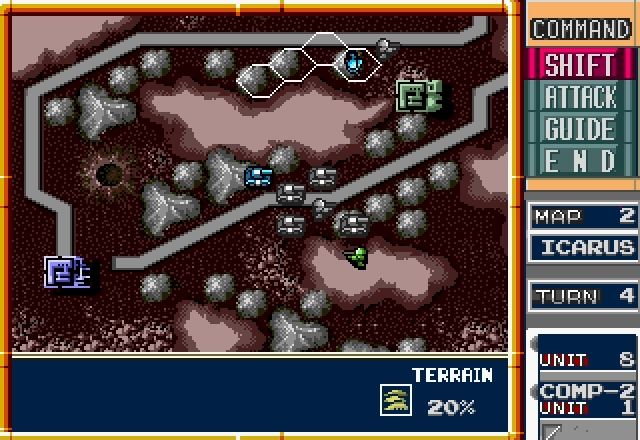
I guess the AI sobered up after one of its Bisons got slaughtered, because this is a pretty smart move it made here. You can see it's put its Bison where it's got both cover and supporting fire from a neighboring tank, and where we've got no supporting fire of our own.
Ouch. What else has it got up its sleeve?
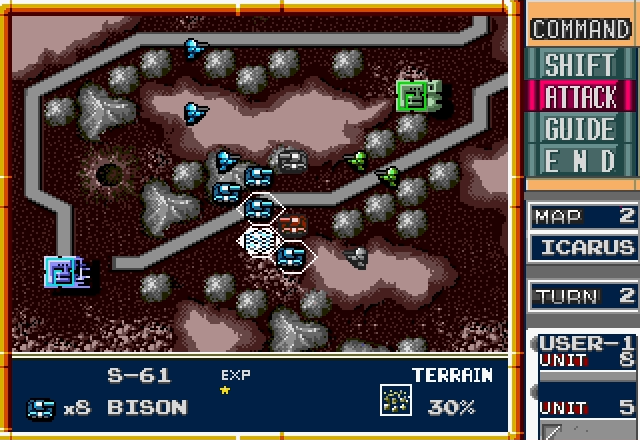
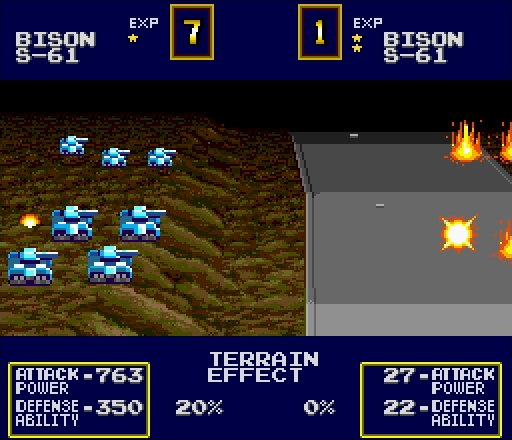
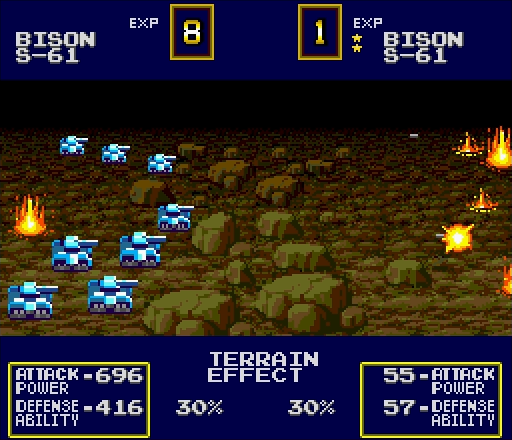
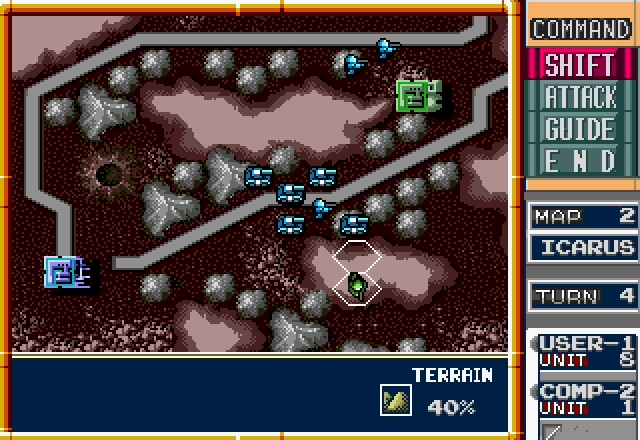
...Aaaaand the AI goes right back to being dumb. The only real advantage this spot gives the tank is a bit more defensive cover, which really isn't worth it when you consider it's outnumbered 3-to-1 and easily surrounded now.
The result: Our Bison's defense is sky-high, so it gets no damage and 2 free experience stars.

An enemy Charlie joins the fight, and with the supporting fire from nearby units it actually manages to kill 2 of our tanks. Still gets torn up in return, though.
The other two infantry head into the southern mountains, apparently trying to sneak into our prison camp.
Our infantry head into the northern mountains to do the same to the enemy, except for one that, well, uh...

Yeah, for some reason I thought my support bonus would be a lot higher than it actually was, and ended up making a mistake I've mocked the AI for.
With the enemy lines weakened, I go all in with a tank blitz.
Even without the surround effect, our numbers and support bonuses are so large that we're ripping them apart without breaking a sweat.
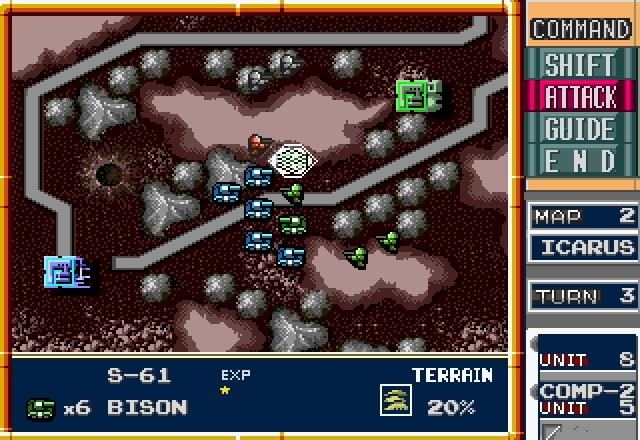
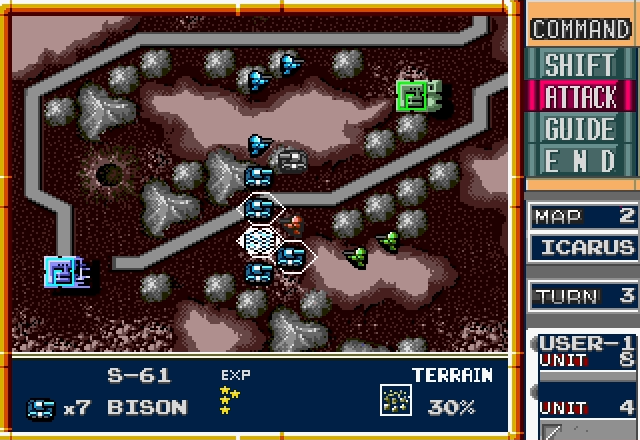
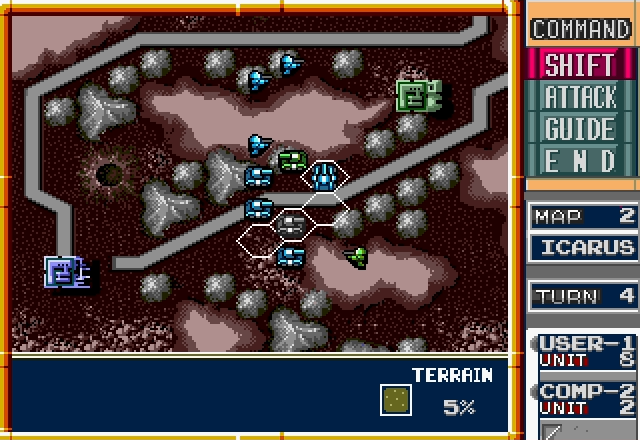
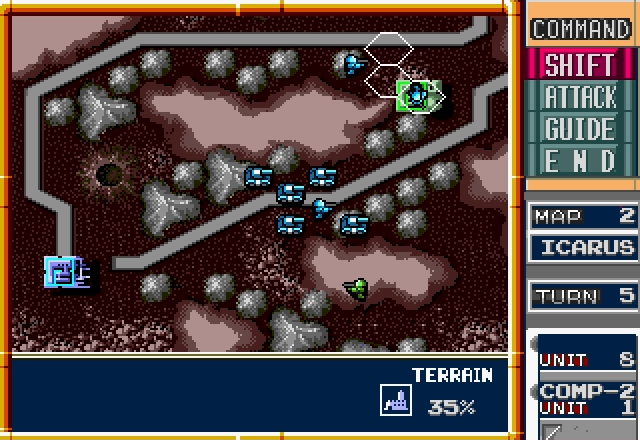
I've filled in numbers here so you can see how much health each unit has. Unlike
 that lucky bastard Paul.Power, my game doesn't do that for me.
One other thing to comment on in this screenshot: notice how it looks like our tank highlighted should be able to move south of the enemy's Charlie and attack it, but can't? That's the Zone of Control at work again. If you move into an enemy's Zone of Control, you can't go any further. The two hexes with my 5HP tank are next to the Charlie, so they're within its Zone of Control, and we can't move through them.
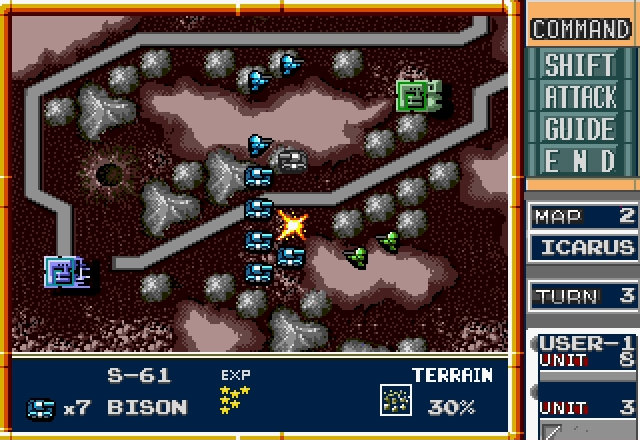
With that, we're done with our turn.
The AI tries to stay in the fight, but it's running out of options fast.
Case in point.

Apparently out of ideas, it throws yet another infantry under our tank treads.
Our turn again, and it's about time to wrap this thing up.
Charlies can actually do a decent job bolstering Bisons if you use them properly. The AI doesn't use them properly.
 I was hoping I could knock out that tank in one shot.
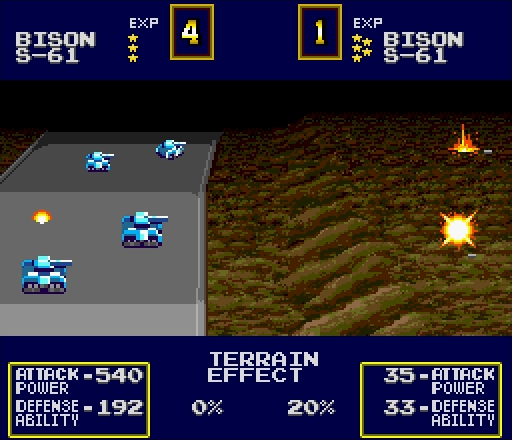
Having to make one extra attack's not a huge problem, though.
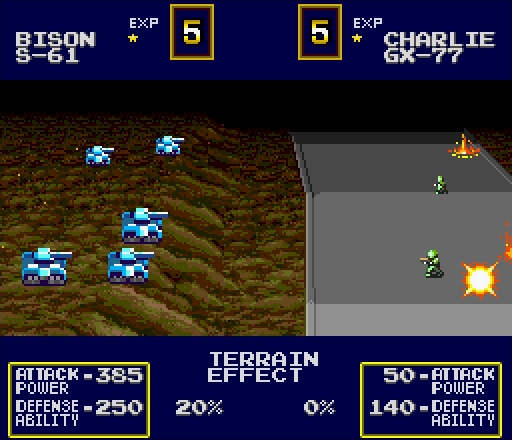
Pictured: Attacking the infantry to the south.
Pictured: Why I shouldn't have bothered.
The Axis infantry, realizing it's hopelessly outmatched, runs off to warn the neighboring bases.
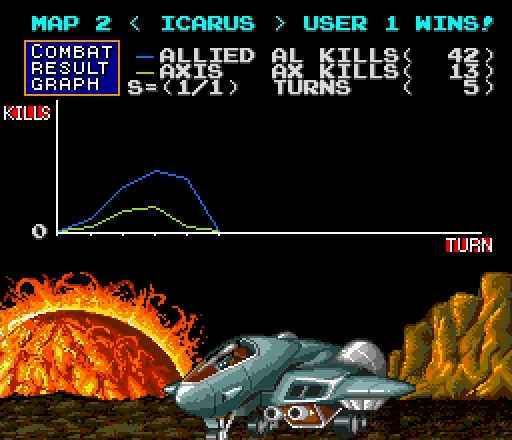
Another easy Allied victory! We can't take these for granted, though. These were only isolated outposts, nowhere near the full strength of the Axis forces.
NEXT TIME: Factories and new weapons at CYRANO.