Part 11: Hunting The Hunters At DARWIN
Slum Loser posted:
I am digging this LP a lot and was a bit worried for a few days there about it getting updated. This game seems awesome, and to think I used to have a TurboGrafix... alas, all we had was Keith Courage, games were really hard to find, and I was like 6 years old. I still regret having only one cart for a system, and didn't make that mistake since.
I can definitely see how this latest mission could have clusterfucked, but it didn't seem that bad at all.
Thanks Polybius!
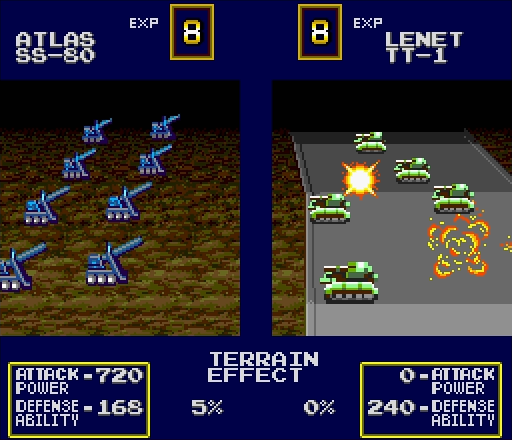
And yeah, all it would've taken for things to get ugly was the enemy actually bothering to deploy its Atlas.
Danger-Pumpkin posted:
What were they thinking? That Atlas could've supported their tank line and stopped you from very (very) slowly repelling them. All those tanks you pulled back to the factory could've been toast instead! Who did the moon Nazi's appoint to command this army?!

In all seriousness, I haven't a clue why they didn't deploy the Atlas, but I'm not about to complain.
Anyway, time for the newest mission! Sorry for the delay on this one, my college semester started a couple weeks ago, so updates will be a bit slower coming now.
---
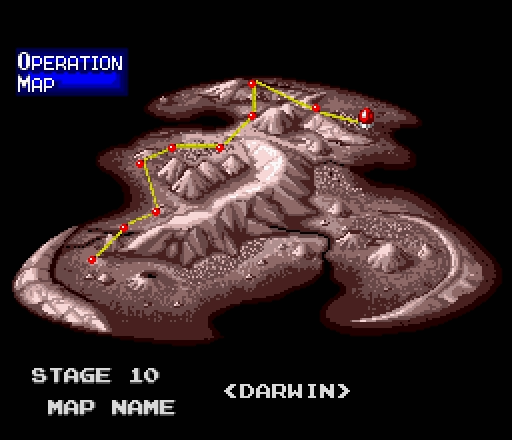
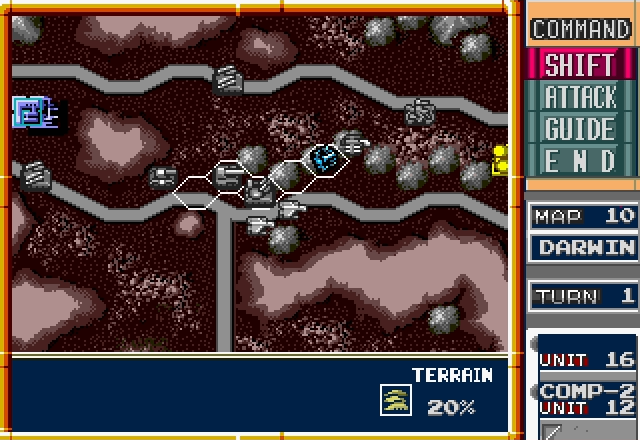
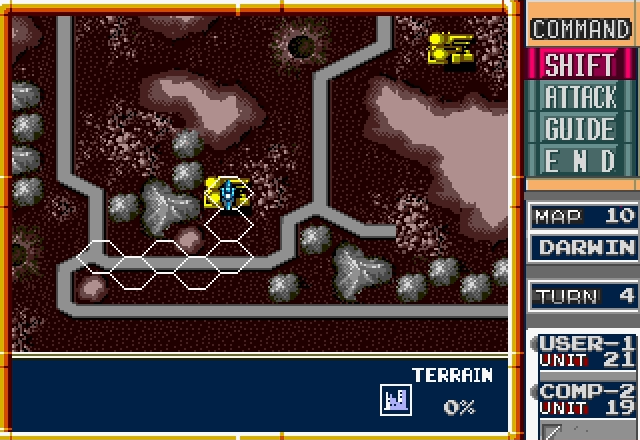
Stage 10 - DARWIN
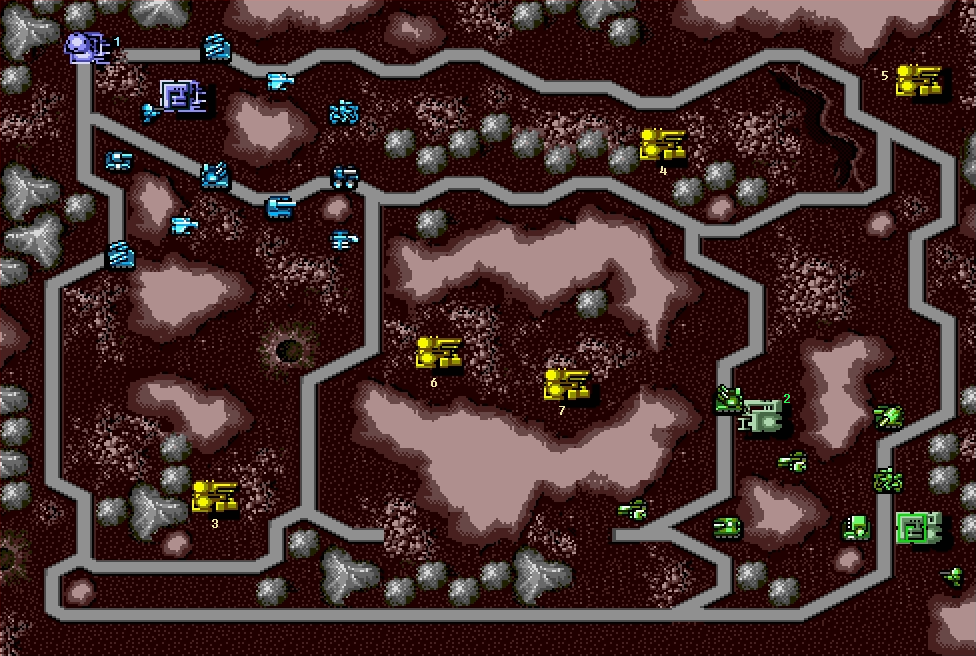
UNITS IN FACTORIES:
1 (Allies). Falcon, Eagle, Grizzly, Panther, Mule
2 (Axis). Hunter, Hawkeye, Panther, Mule
3 (Neutral). Eagle, Hadrian, Rabbit, Lynx, Hawkeye, Pelican, Atlas, Charlie
4 (Neutral). Octopus, Pelican, Atlas, Mule, Kilroy
5 (Neutral). Hunter, Hadrian, Octopus, Pelican, Trigger, Rabbit, Hawkeye
6 (Neutral). Trigger, Eagle, Pelican, Octopus
7 (Neutral). Hunter, Hawkeye, Pelican, Charlie
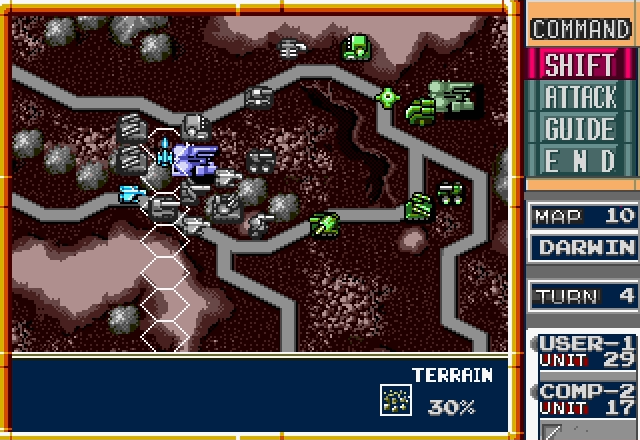
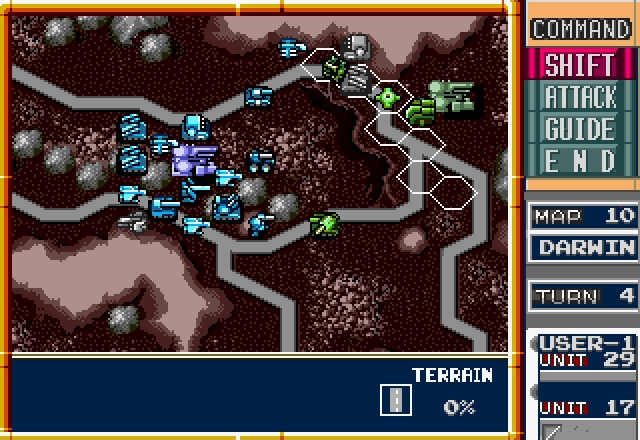
We'll get factories 3 and 4, the Axis is going to get factories 5 and 7, and it'll be a fight for #6.
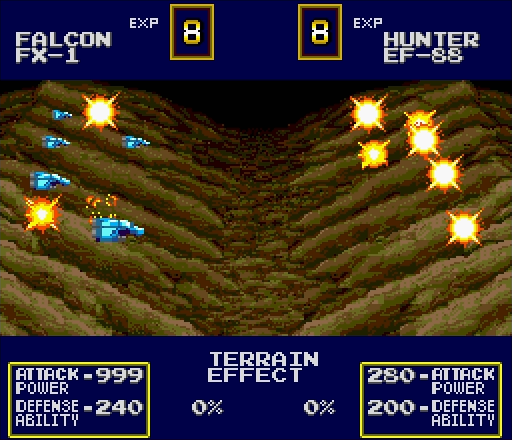
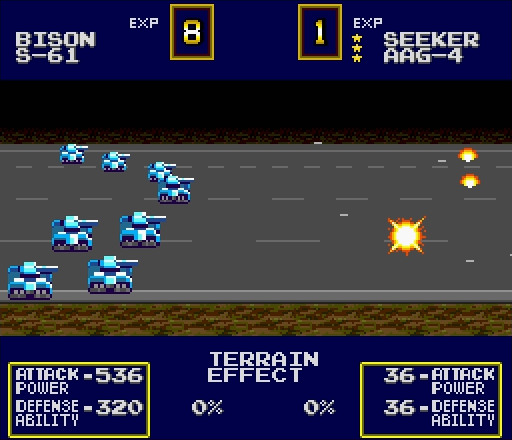
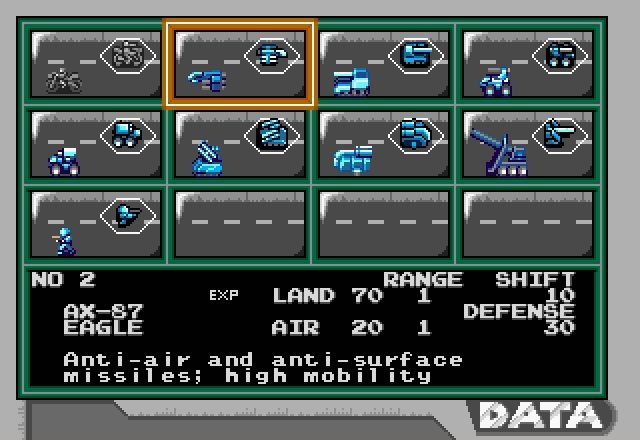
If you look closely at the battlefield and the contents of the factories that the Axis owns or will own, you'll notice that in this mission, they have five fucking Hunters. The only real saving grace here is that, since they'll have to deploy one of them and capture the factories of two of them, they'll be staggered out so that if we act fast, we won't have to deal with more than one or two at a time. Luckily, we have plenty of Falcons and Hawkeyes to shoot them with.
Most of the ground fighting will take place in the northeast, but we should have an easier time there. The enemy's ground forces aren't especially threatening, especially since we'll have two Atlases on them.
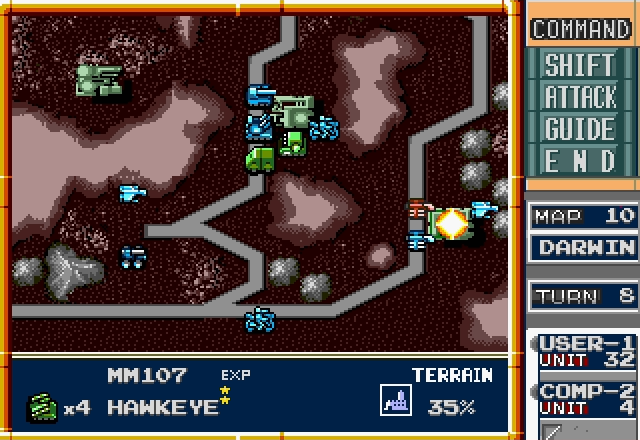
Bottom line: winning here depends on shooting down the Hunters.
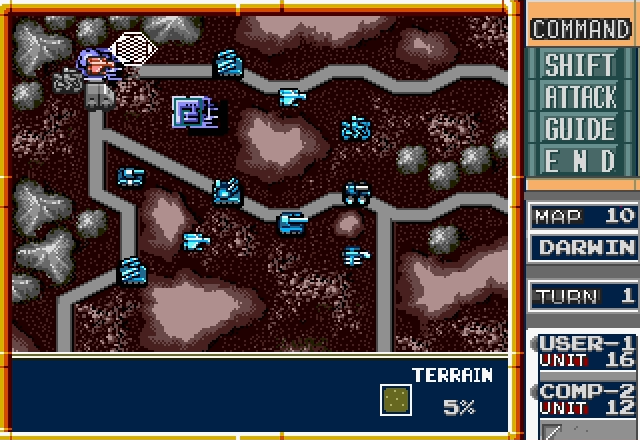
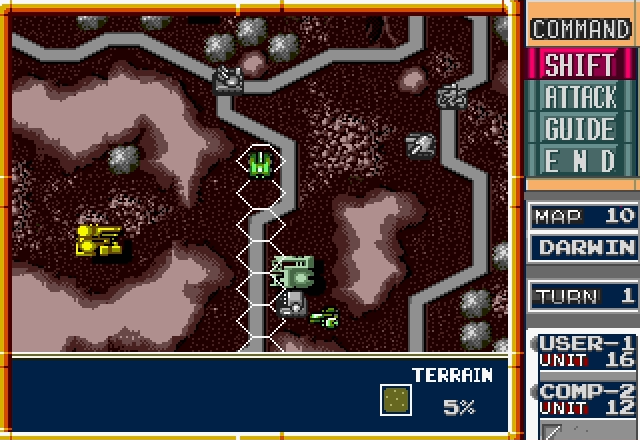
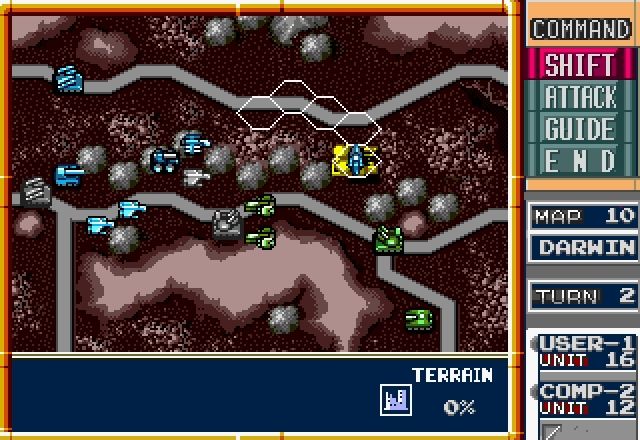
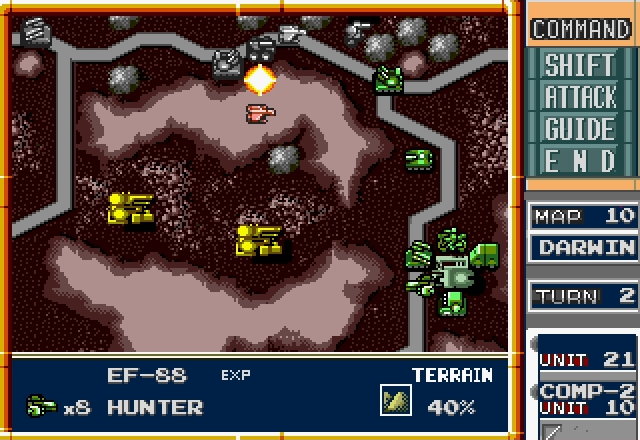
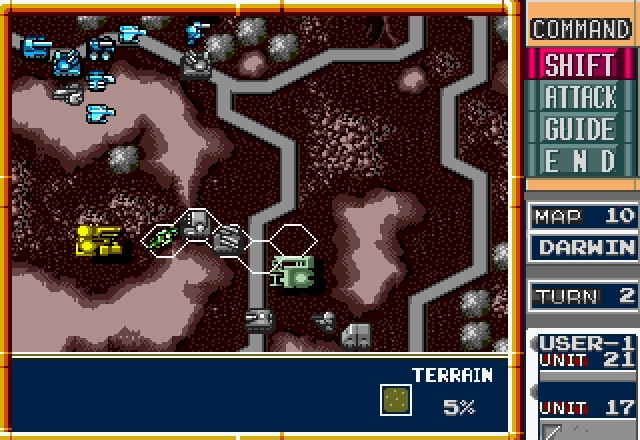
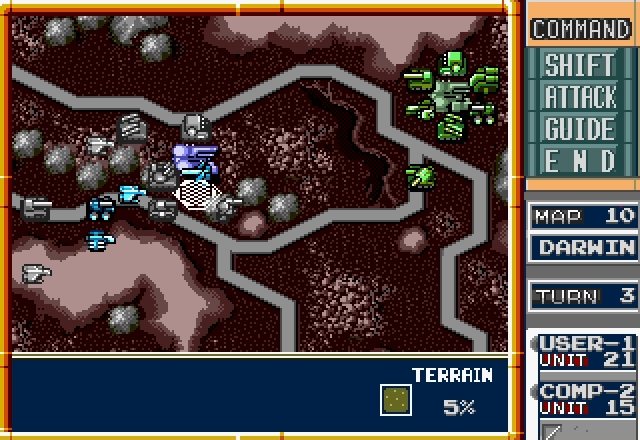
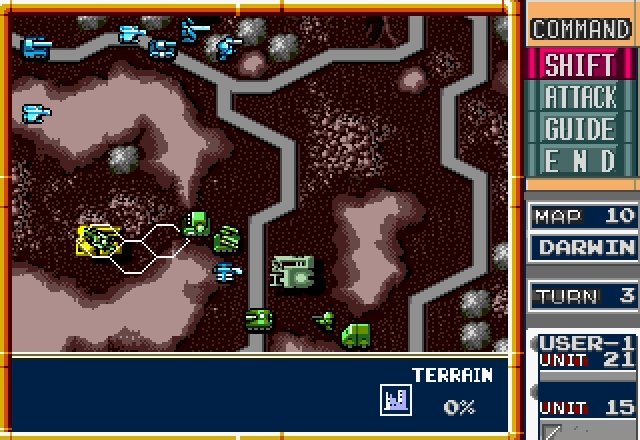
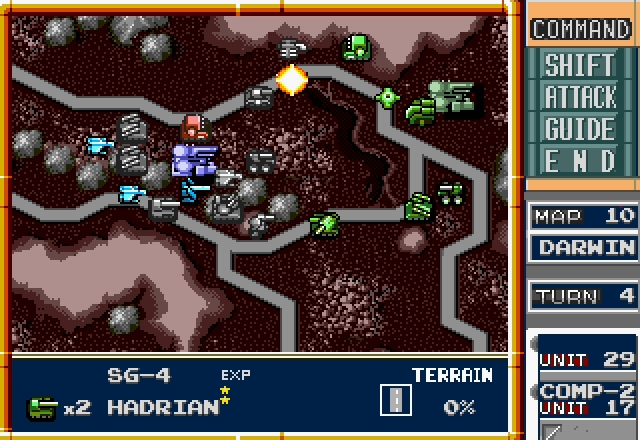
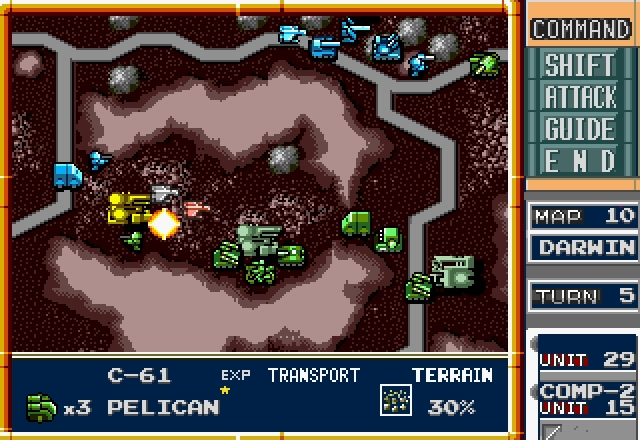
First off, the usual: deploy units from the factory. I sent the Charlie that was by the factory into the Mule. He'll be making a grab for factory #6.
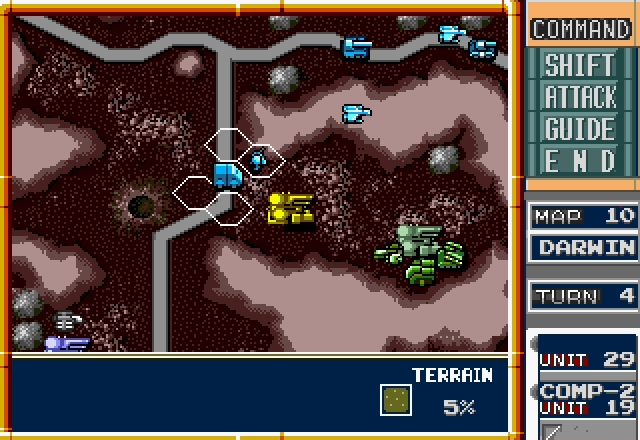
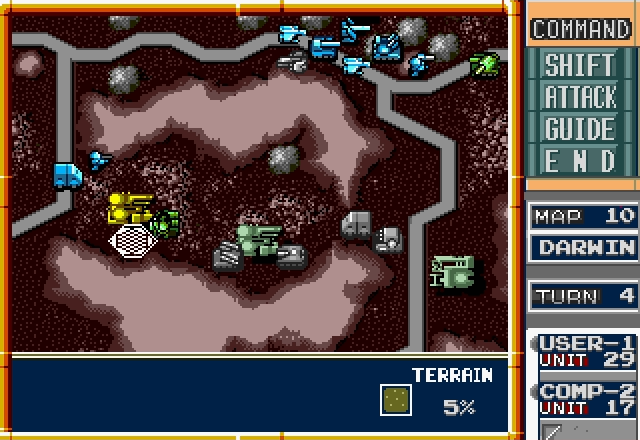
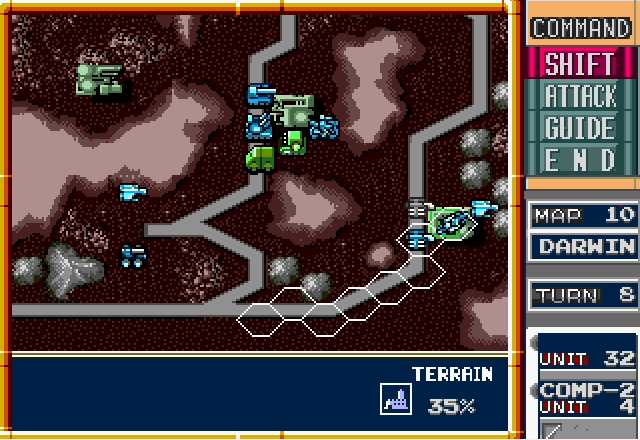
Now we've got to lure the first two Hunters into our range.
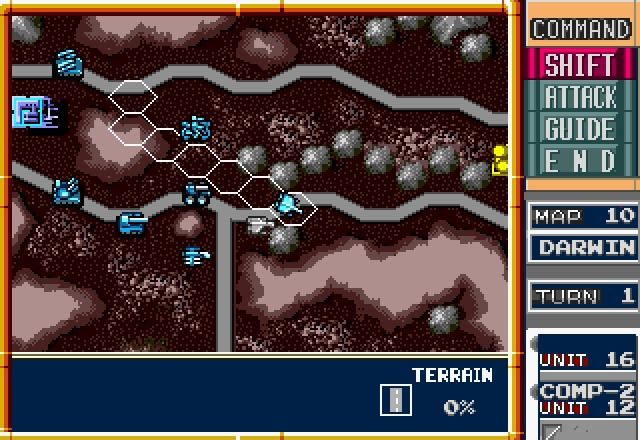
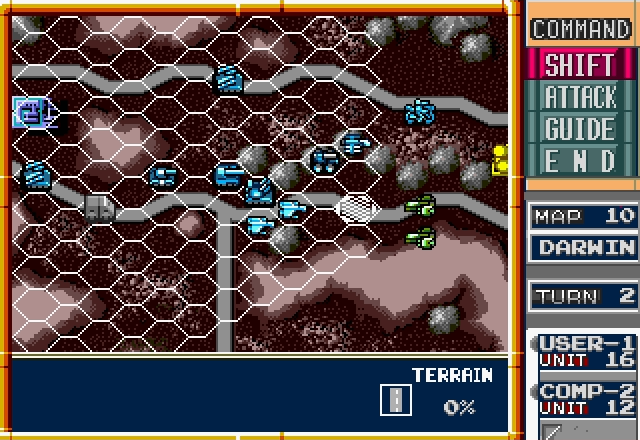
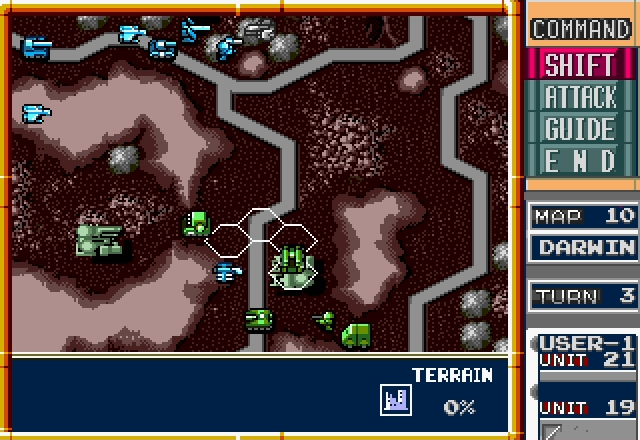
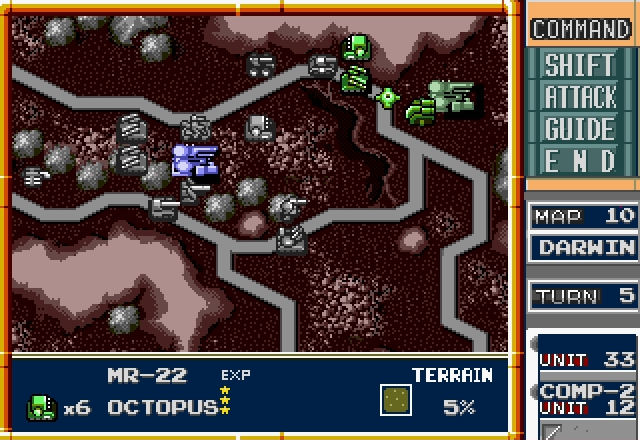
Then everyone heads northeast in a nice, tight cluster. We'll be making our stand at factory 4.
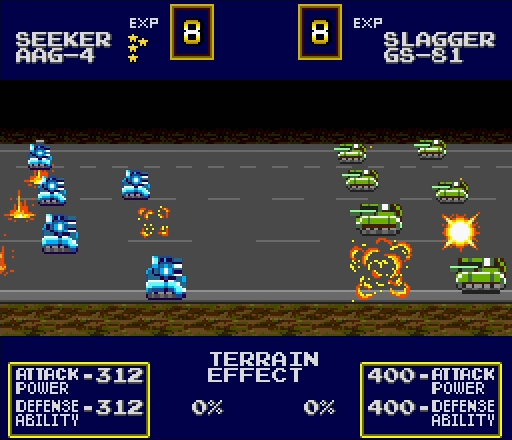
The Axis send their units northeast to meet ours, but a Lenet, a Slagger, and a Seeker aren't particularly dangerous.

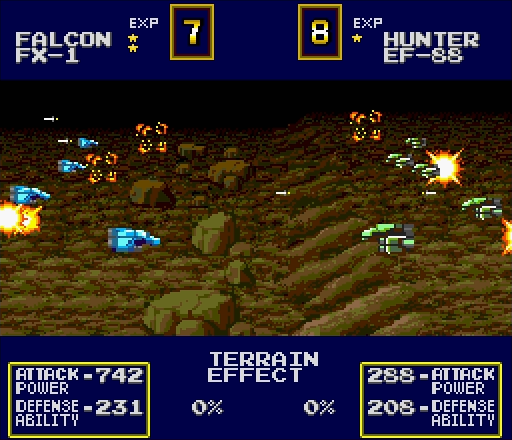
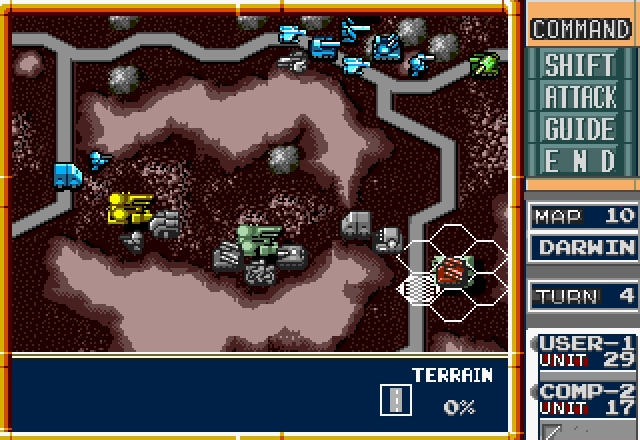
As expected, the Hunters #1 and #2 take the bait.
While they're putting themselves in pretty much the one situation a Hunter can't win, Hunter #3 comes out of its factory.
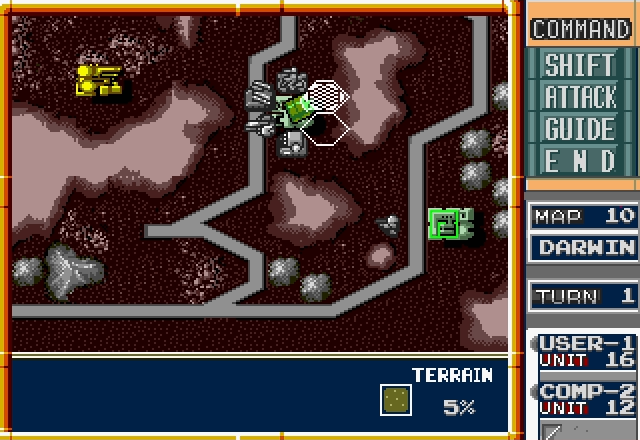
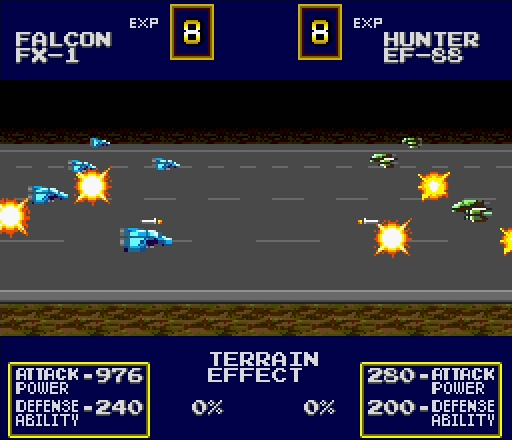
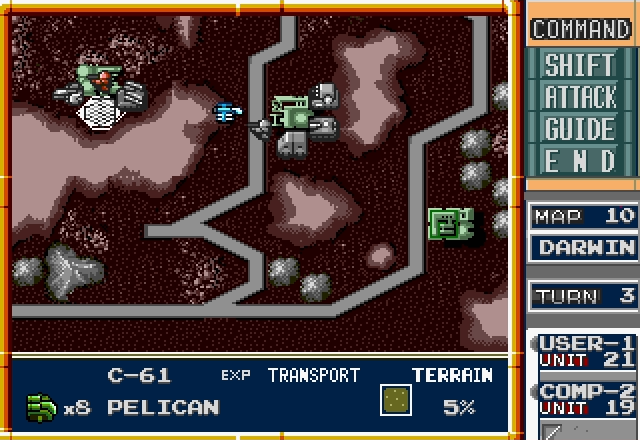
This is the Falcon I deployed last turn, just barely unable to get in range

This factory's usefulness is limited because it only has two deployment spots, but what the hell, I'll take it.
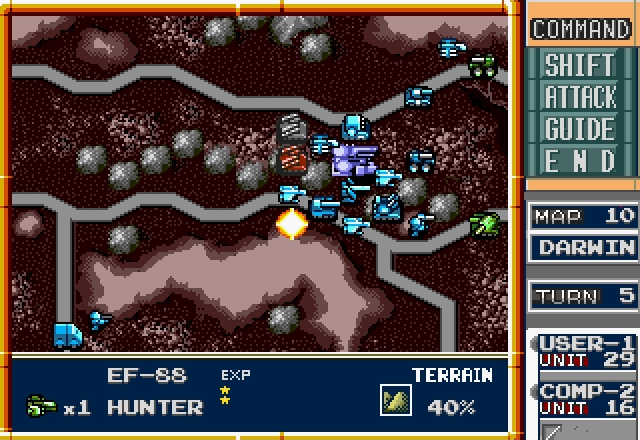
Also notice that Seeker next to the Hunters. You know what that means!
Could be better.
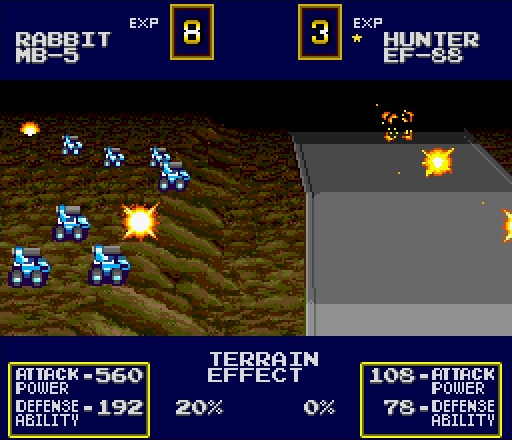

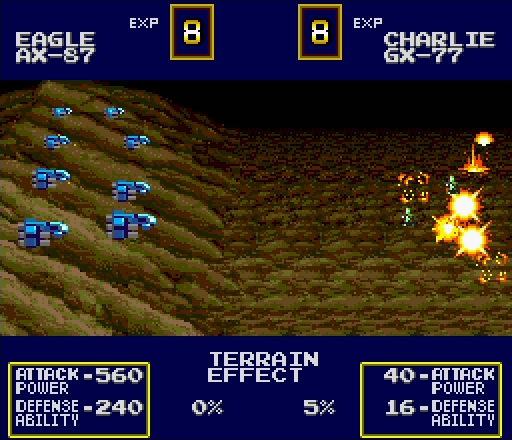
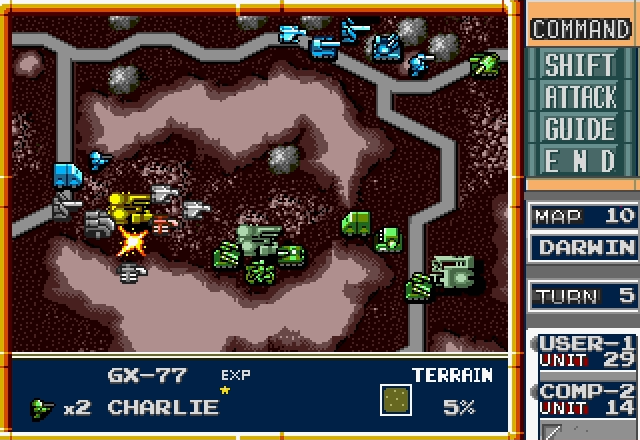
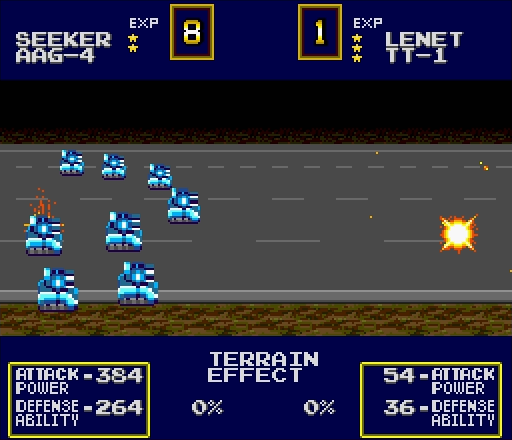
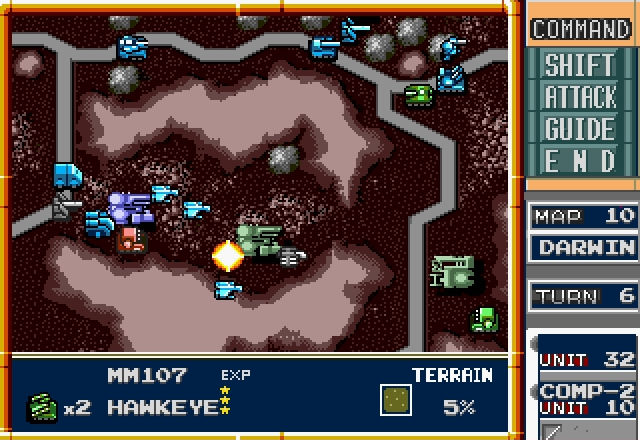
Shooting down three wouldn't normally be impressive, but Rabbits aren't made to fight Hunters in the first place. I think these guys earned a Killer Rabbit Award for finishing off Hunter #1.
Hunter #2 goes down a lot easier than his friend.

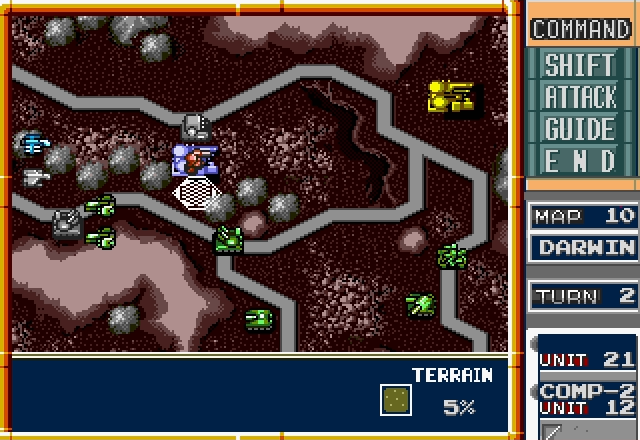
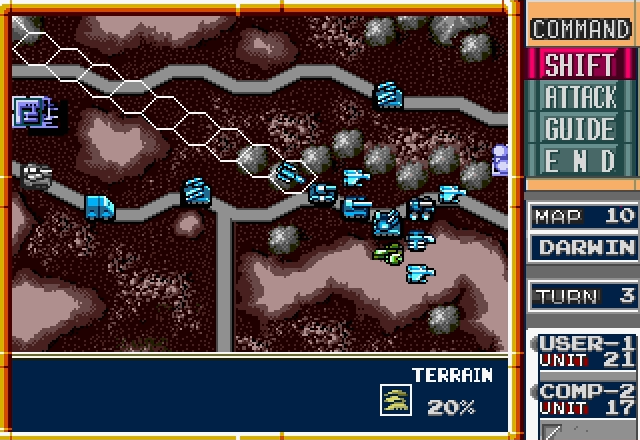
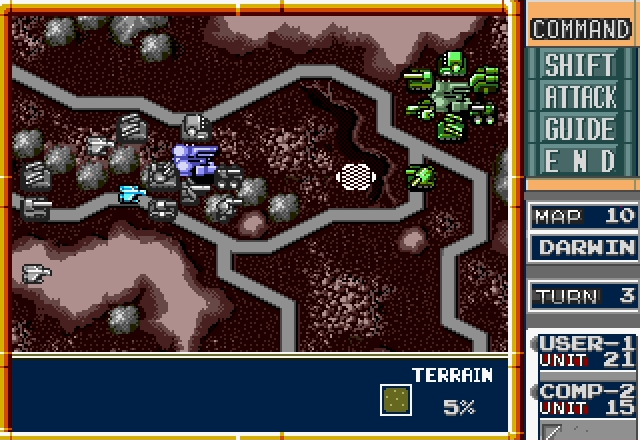
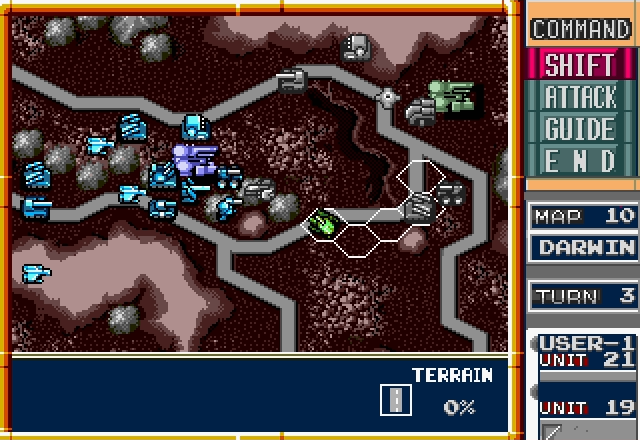
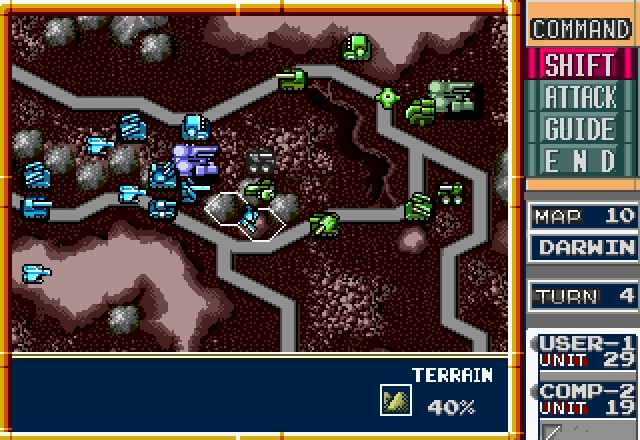
Here's what the frontline looks like after everyone pushes forward.
The enemy grabs the northeast factory, which contains Hunter #4.
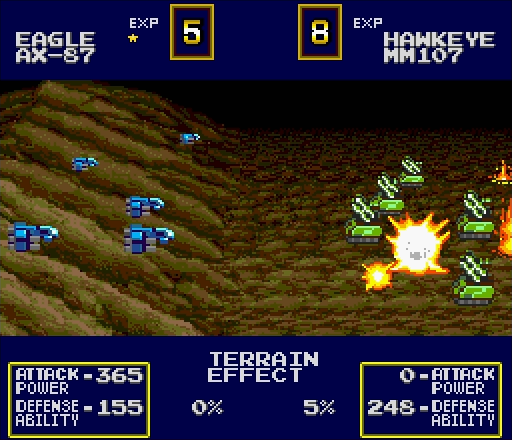
Speaking of which, Hunter #3 sees its chance and chews up my Eagle.
The good news is that it's left itself wide open for a counterattack. The bad news is, the Axis is about to get Hunter #5.
Now that I'm slightly less at-risk for Hunter kamikazes, I can move this Eagle forward.
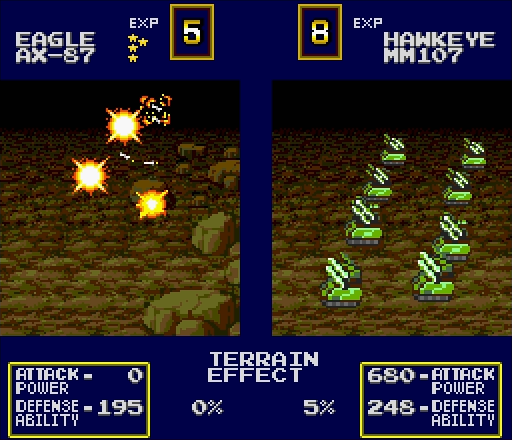
The Hadrian is pretty much the most disappointing thing ever. It has a huge attack range, but when you actually try to use it, this happens.
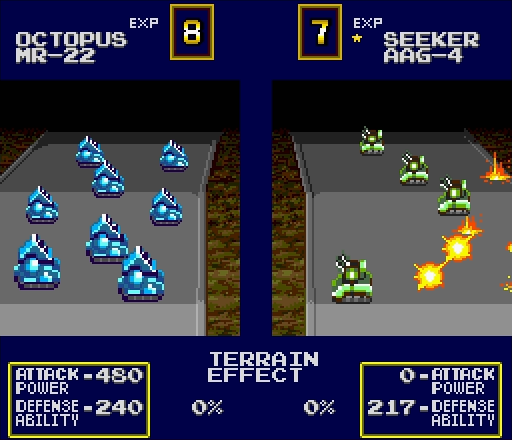
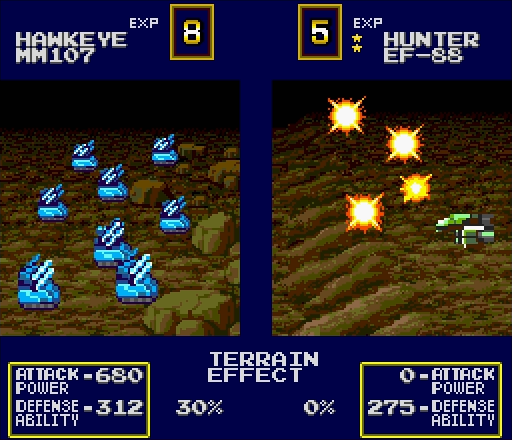
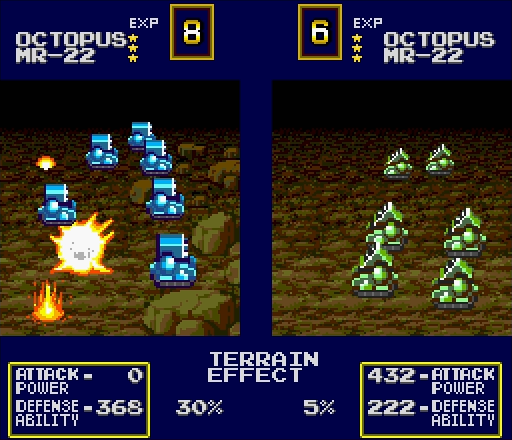
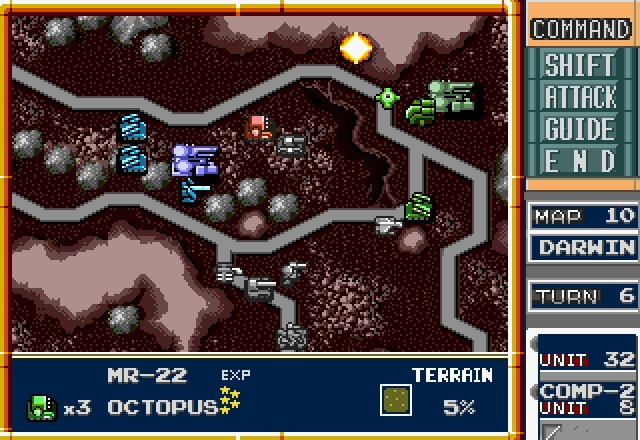
Octopi? Now those get results.
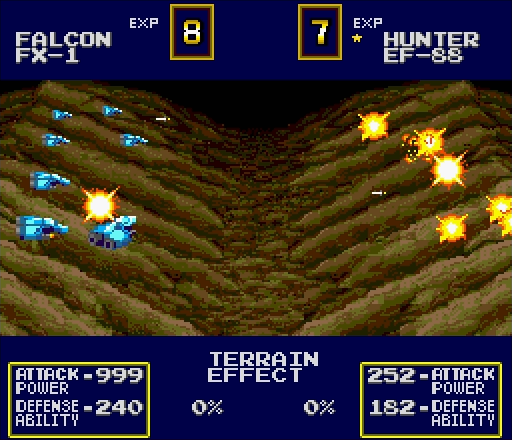
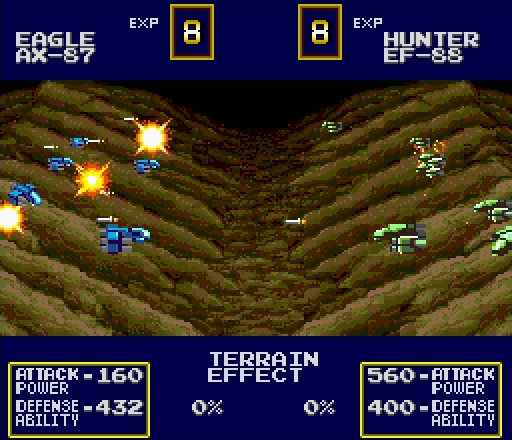
I don't think I need to tell you which Hunter this is.
I'll show you anyway, though. #3 is dead! Hard to believe we're over halfway to shooting down their air force already.
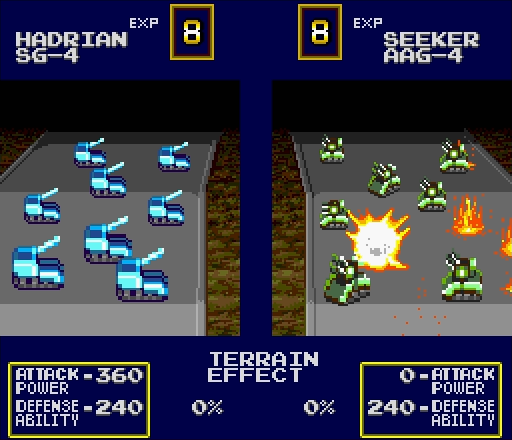
Take a good long look at this screenshot, keeping in mind that an unsupported Kilroy has less firepower than a Hadrian.
After all that, let's just finish it off in the most unimaginative way possible.
This is kind of an iffy move. I wanted to get my Atlas dropped as fast as possible, but putting it there means the factory now only has one open space to deploy from. If I have to juggle units in and out of it, things will get tricky.
Since it's not in range of any anti-air (and believe me, I checked repeatedly), the damaged Eagle bombs the enemy Hawkeye in the south. Of course I get a pretty solid hit on a unit that can just head into a factory next turn anyway

Still, this is a pretty good position. Rabbits aren't good meatshield material, but I'll be damned if I'm going to let the enemy shoot up my Atlas again
Yeah, kind of saw that coming.

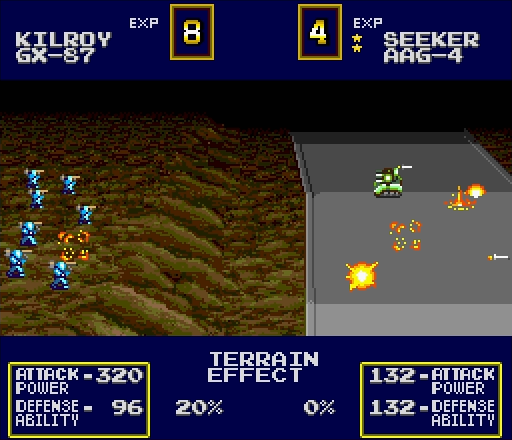
This too (though at least the Rabbit was able to kill a Hunter in return).
Well that's disappointing, but at least I didn't lose anything from-
Oh hey it's Hunter #5 and my Eagle has no hope of outrunning it
Up in the northeast things are going better, with the Axis trying and failing to mount some sort of decent assault.
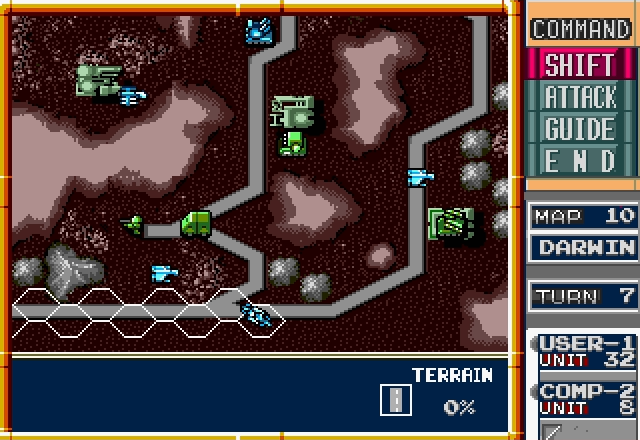
Meanwhile in the southwest, the Panther we sent that way back on turn 1 captures a factory.

The Atlas and Eagle will stop the enemy's advance in the center, but I've got other plans for the remaining units.
Speaking of the center, it looks like we're all set to grab the last factory.
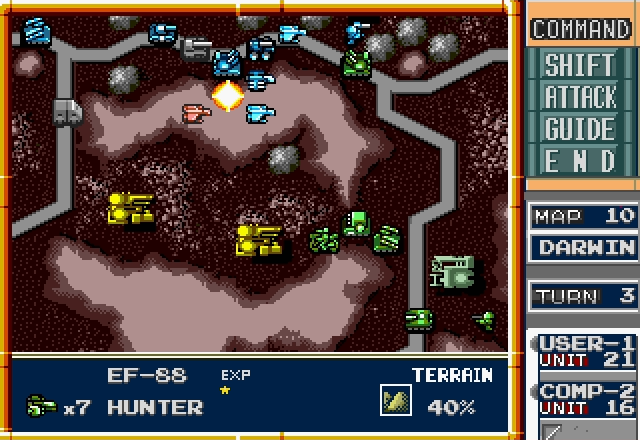
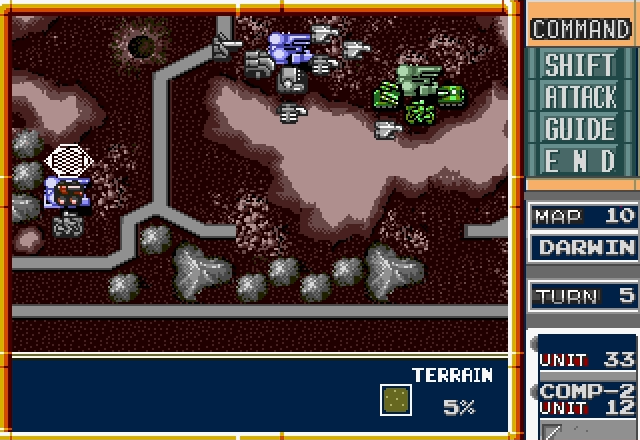
Meanwhile, it's time to kill Hunter #4. I have to get a little creative to surround it without leaving my aircraft exposed to that Hawkeye.
What happened to the fighter pilots in GALIOS? Can I have them back now?
Since my ground forces can actually hit things, they finish the job. Hunter #4 is dead!
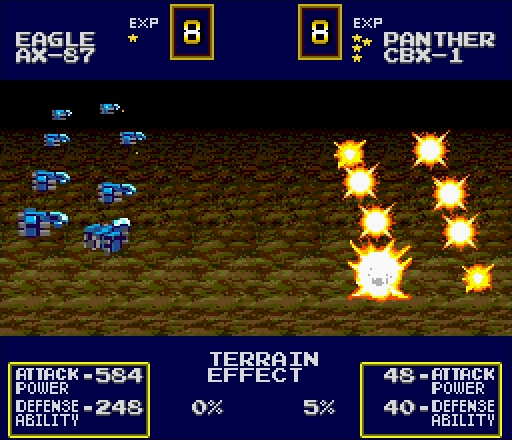
Just north of that, we wipe out an enemy Hadrian.
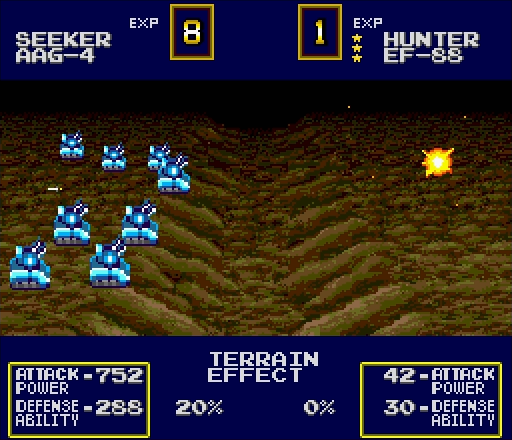
Oh, look, that Lenet wandered into the range of our Atlas! Let's see what it can really do!
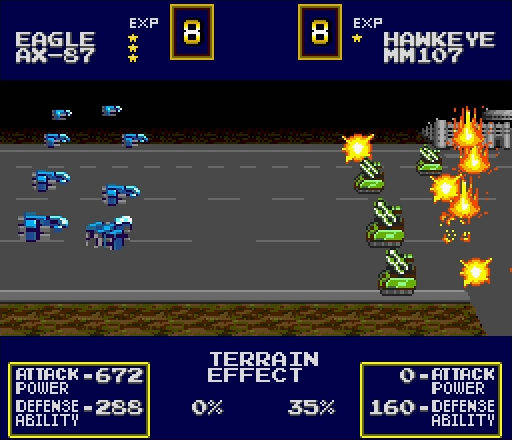
At least my Eagle was able to retreat behind this massive wall of death I've lined up for the last enemy Hunter.
Sure enough, the Hunter decides this whole "not getting shot down" thing is overrated and throws itself straight at the wall to scratch up one of my Falcons a bit.
Just east of that, the Axis' half-assed assault is still ongoing.

Well, that complicates things. Ordinarily in a situation like this, I'd just capture the factory and deploy all the best stuff I could before the enemy could capture it from me. This time that's not an option, though: that factory only has one deployment point and the enemy Charlie's sitting on it.
Suddenly, things aren't looking so good in the center. What can we do about this?
 And we're 5 for 5! Of course, our air force still has multiple Hawkeyes to contend with, but at least we don't have to worry about getting bombed anymore.
Right, now to deal with our problem at the factory.
First we make room for the Eagles...
...who can then finally start actually doing stuff.
Imagine that Charlie represents the enemy's chances of victory and you'll get a pretty good summary of the situation.
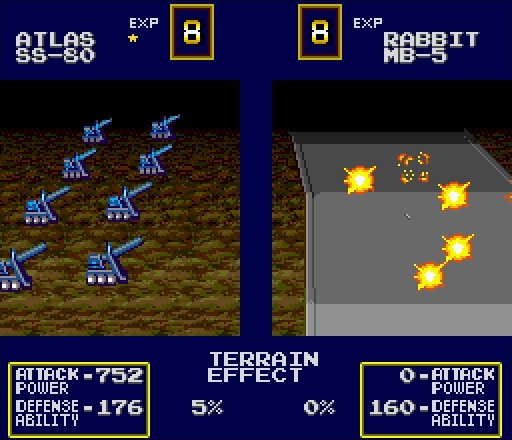
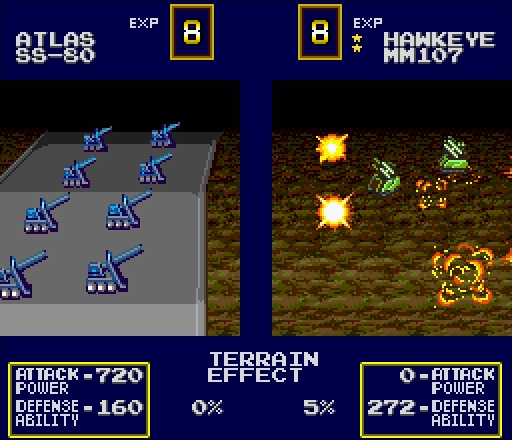
Finally! That is what it's supposed to look like when an Atlas shoots something.
Looks like things are going pretty well up here.
Back in the southwest...can you see my plan yet?

The Axis finally decide that maybe they should actually start scoring some solid hits, which you'd think they would've tried doing five Hunters ago.
Remember when I was worried about how things were going in the center?
It all seems so long ago, doesn't it?
Hard to believe it was actually turn 4.
While that's going on, we mop up the northeast. Now that we don't have to worry about being hit from behind, we can take their prison camp.
The only thing between us and that is an enemy Hawkeye.
Pictured: Irony.

Well, huh. For giving the enemy 5 Hunters, that actually wasn't especially difficult. If there's one thing this mission demonstrates, it's that for all the Hunters the AI gets, it's pretty terrible at actually using them effectively.
Of course, since there's a big-ass mountain range in the middle of the map, you live or die by how well you do in the air war. If you've still got Eagles and Pelicans left when the last enemy Hunter goes down, you've pretty much won already.
NEXT TIME: The enemy's gate is down at PASCAL.