Part 19: .07%
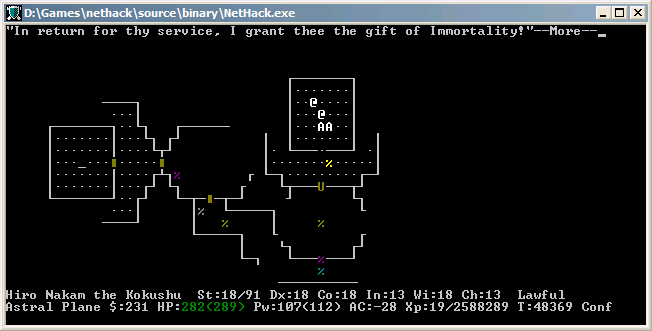
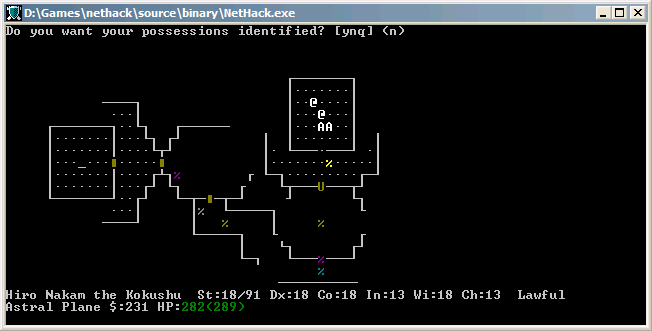
Last time on Heroes...
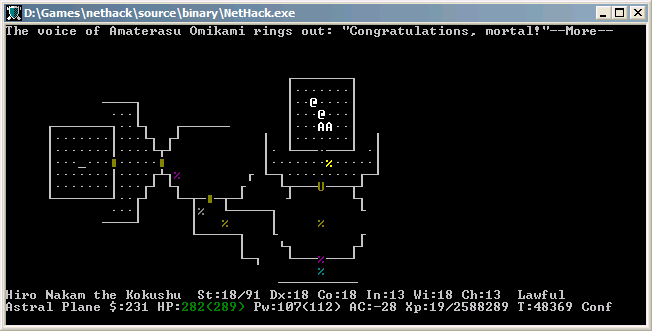
Ah, who cares. We're on the Astral Plane and we have the Amulet of Yendor. Everything else before this point is just a minor detail.
Chapter 19 - .07%
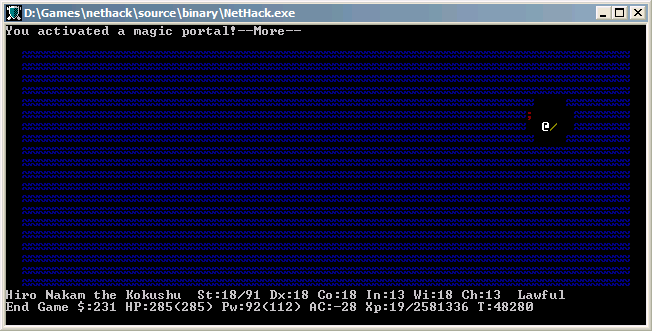
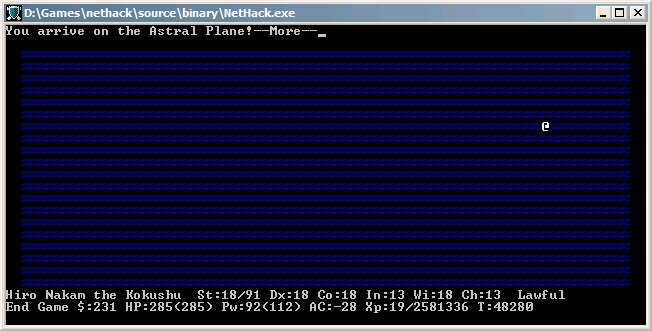
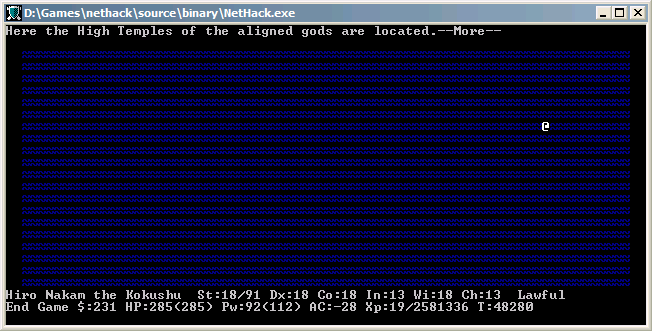

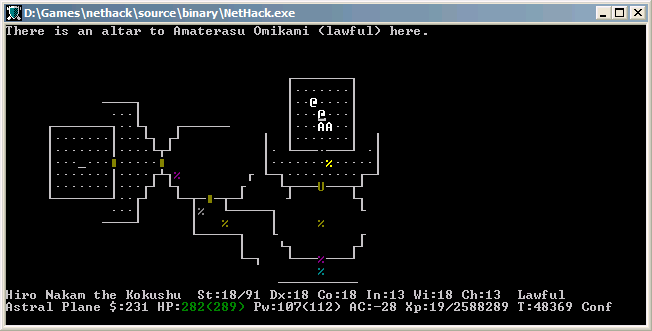
Astral Plane, baby.
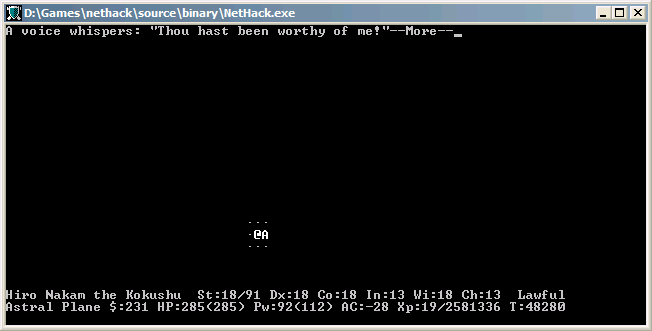
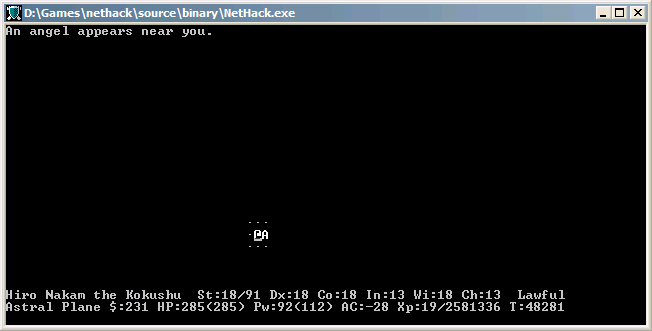
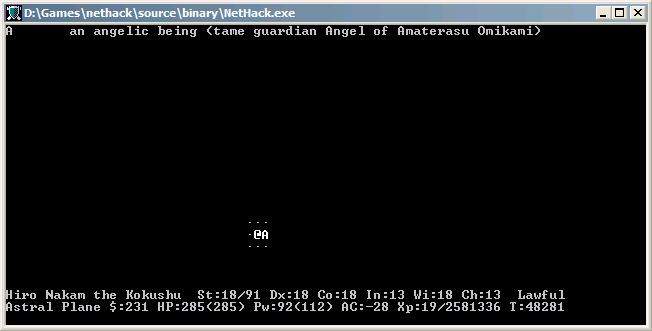
If you're not causing conflict when you enter the Astral Plane, your god will give you a pet angel. It's not terrifically strong, but hey, free pet is a free pet. If you are causing conflict, 1-4 hostile angels will appear instead.
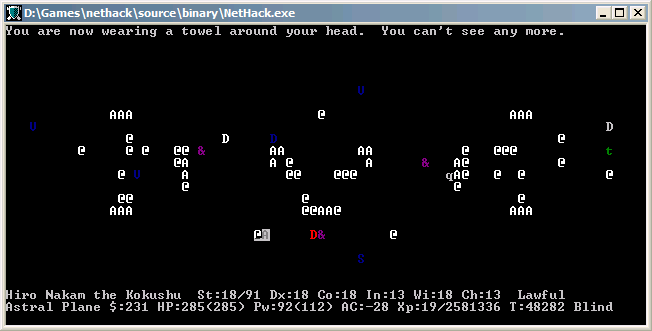
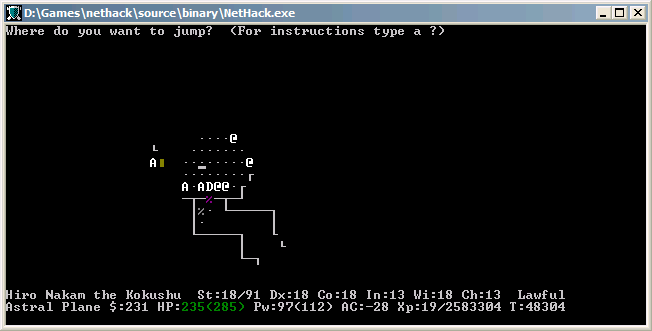
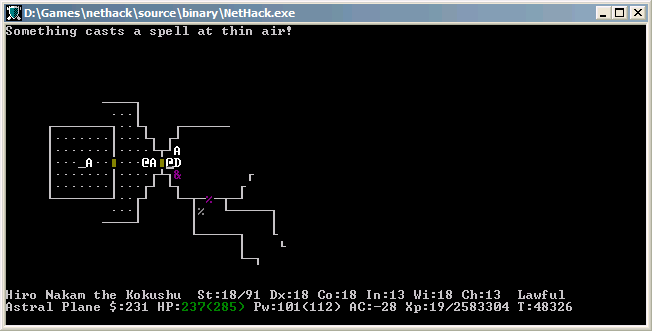
First thing you should do upon entering the Astral Plane is blind yourself and take a look around. There's a ton of angels (A) around, as well as priests and other player monsters (@). More importantly though, the Astral Plane has a few special monsters, the purple &. These guys are 3 of the Horsemen of the Apocalypse, known in Nethack as the Riders. All the Riders do 8d8 damage with their normal attack, as well as throwing in their own individual special effect. They're also immune to stoning and polymorph and almost everything else you can throw at them, and after you kill them they'll revive in 12 turns or so. At least you don't have to worry about Rodney any more - he won't respawn on the Astral Plane.

Famine is on the left. His special effect makes you hungrier, which is exactly as not-so-dangerous as you might imagine, as long as you're carrying some spare food. You can even #pray on the Astral Plane to stop from starving. Famine is generally considered the easiest of the riders to defeat.
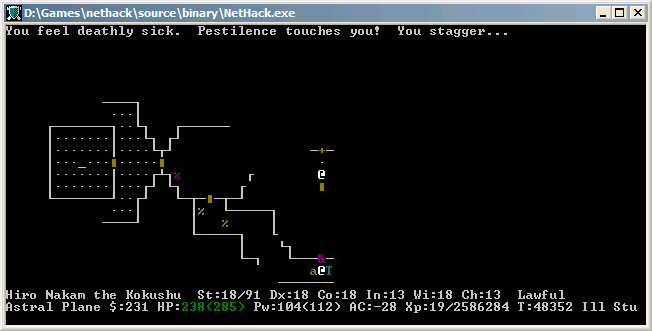
Pestilence is in the middle. His effect causes fatal illness, just like Jubilex and Demogorgon, meaning you have 20ish turns to live if you don't cure it. Because of this, Pestilence is probably the most dangerous of the riders.
Death is on the right. His special attack is to use the touch of death, which is stopped by magic resistance. He also can drain your maximum HP. Not pleasant, but it's not an instant death. Death, unlike the other two riders, is immune to death rays - they make him stronger.
Each of the riders guards one of the high altars. Unfortunately (short of using the call bug, which I'm going to say is probably abuse), there's no way to know which altar is which. You can't even farlook with ; to determine which altar is which - the only way to know is with the : command, which requires you to be standing on the altar. Since Famine is the easiest of the riders, it's usually smart to go check out his altar first.
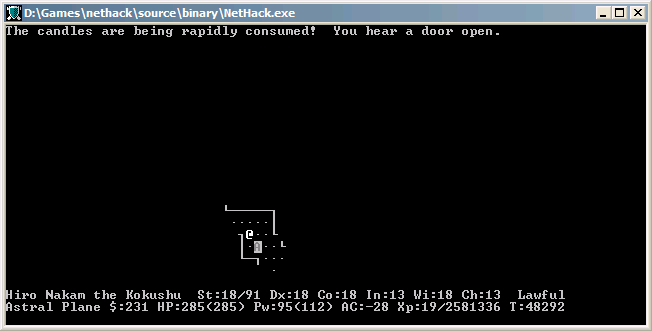
Time to light up the candelabrum again. This entire area is pretty dark, and you can't #jump to a dark square, which will be pretty important on the Astral Plane.
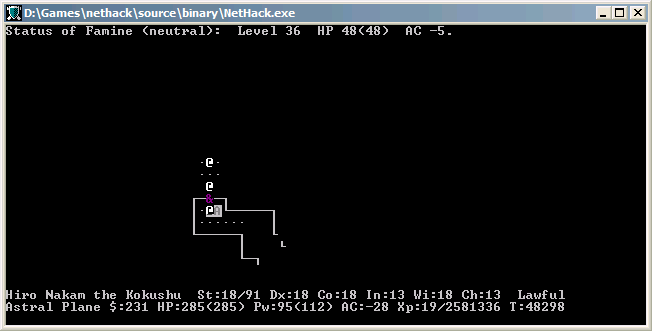
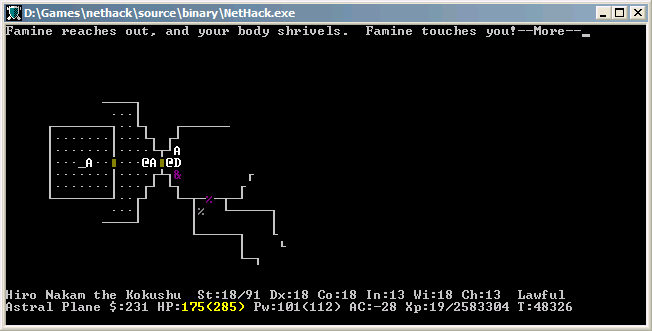
And heeeeeeeeeeeeeere's Famine.
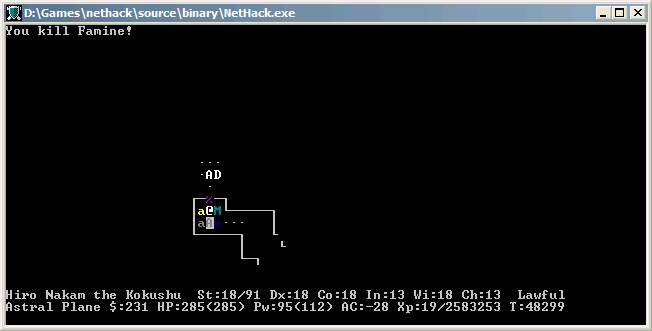
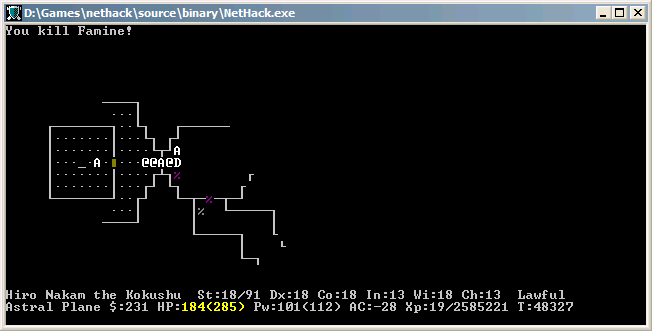
Who dies in two turns without even landing a hit. That was surprisingly easy. You can zap a wand of death/finger of death at Famine or Pestilence to kill them instantly, although it's not really necessary with Famine. Magic missile (the spell, not the wand) is also good against all Riders.
Fun note: usually, the Riders are immune to taming. However, if you have a level-draining weapon like the Staff of Aesculapius or a spellbook of drain life, you can drain their levels away, then tame Famine and Pestilence and ascend with them as pets. Death is immune to level drain, unfortunately.
Don't eat any of the Riders! That's a YASD that's real easy to avoid. Fun note #2: you also can't tin the Riders either, which gives the message: "Yes.. but War does not preserve its enemies." Wonder where the 4th Horsemen of the Apocalypse went? That's you.
As I've said a few times during the ascension run, the endgame is not about killing enemies. You already have all the experience and items you need. Instead, the main focus should be on avoiding enemies and moving quickly. A ring of conflict would help greatly in that regard, but I don't have one of those. Instead, I'll sum up my gameplan in two items: wand of teleportation and jumping boots. Jumping lets you move several spaces at once and is the fastest method of movement even the game, faster than boots of speed. Even on a no-teleport level like the Astral Plane, zapping a wand of telepoortation at an enemy will teleport them out of the way. So, the basic strategy is to clear out a path using the wand of teleportation, then jump where they used to be. Hopefully this will get you to the altar quickly, and more importantly, alive.
Unfortunately, it makes for a pretty boring LP, especially since wands of teleportation don't provide any sort of message. I promise you it's much more exciting in person.

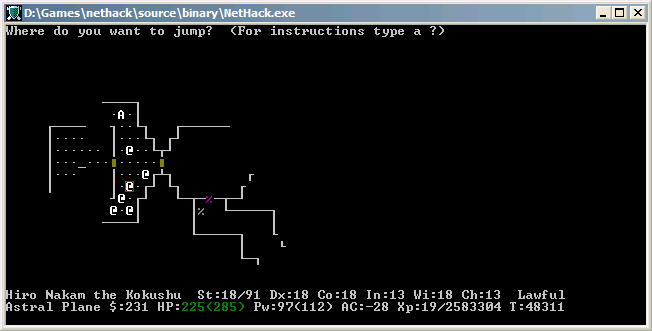
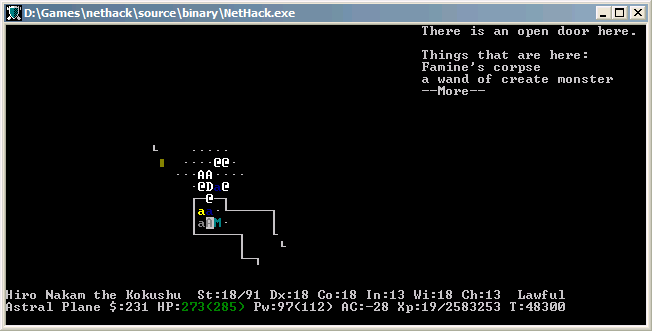
That's me! Remember, jumping lets you move diagonally through doorways, which is a great shortcut.
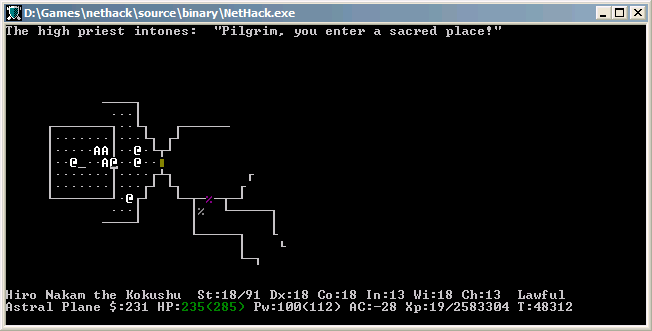
And we have entered our first temple. Thankfully, all of these high priests will be peaceful, unless you attack them or have conflict on or something.
Quick hop skip and jump later.
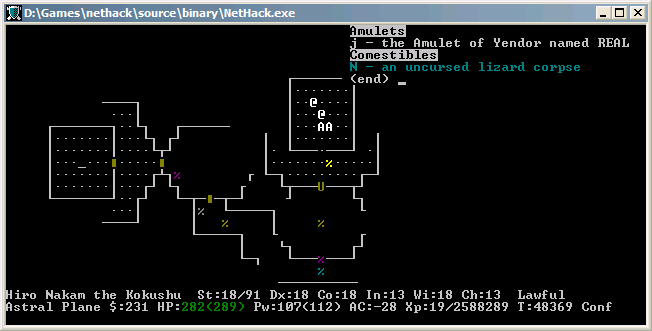
Poo.
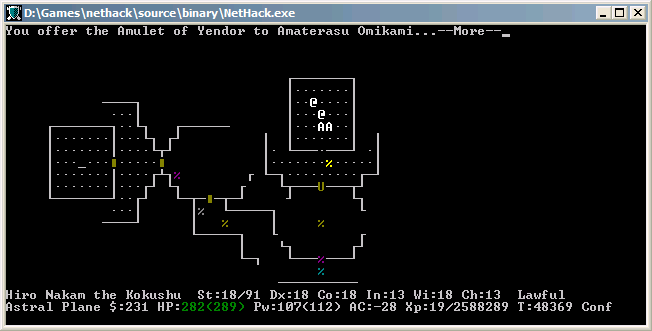
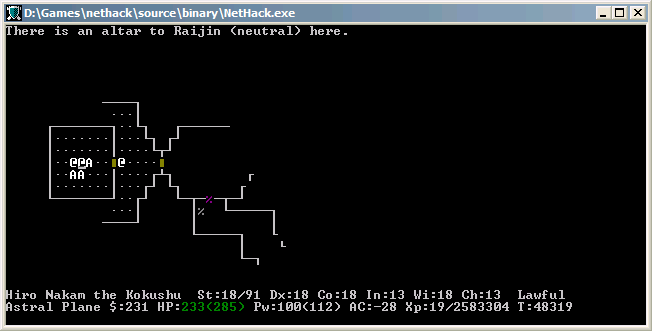
You want to sacrifice the Amulet of Yendor to your god, not the other ones. However, there is a way to circumvent that. If you have a helm of opposite alignment, you can use that to make a last-second conversion and offer the amulet to your new god, no harm no foul (although you do lose all your divine protection). Great way to use your last wish, if you have one left. Unfortunately, not only do I not have a helm of opposite alignment, putting it on would convert me to the direct opposite alignment, which would be chaotic. Neutral characters will have their alignment set randomly to one of the other two alignments - you can then uncurse the helm (it autocurses when you put it on) and try again for the other alignment.
Oh well, looks like we'll need to find another altar.
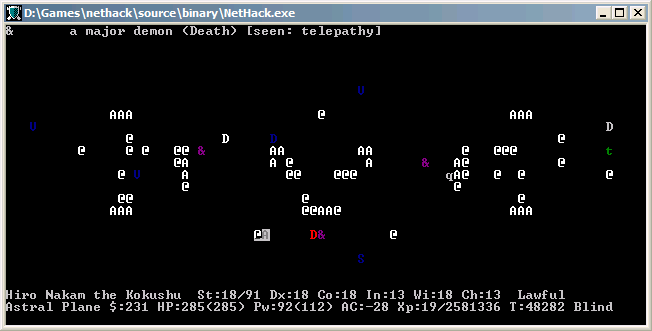
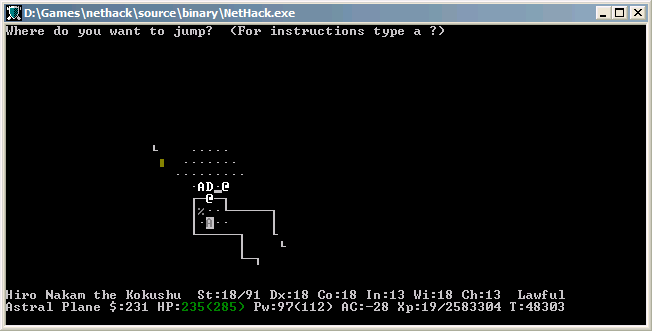
Well, look who decided to join the party again.
Well, that was considerably less fun. Remember that 8d8 damage? That, plus a few hits from angels or dragons or priests, can start to add up real fast.
Don't get me wrong, Famine is still a wuss. Maybe a slightly more threatening wuss though. I'll give him a 7.5 on the scary scale.
Same teleportation/jumping method gets me to the next door.
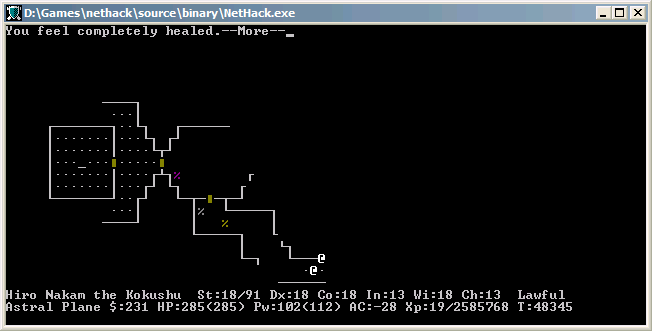
I'm starting to take a few hits here, so I decide to quaff a potion of full healing. You should have a few out in your main inventory and ready to quaff in emergencies - not only do they restore your HP, they'll also cure fatal illness, which will come in handy for...

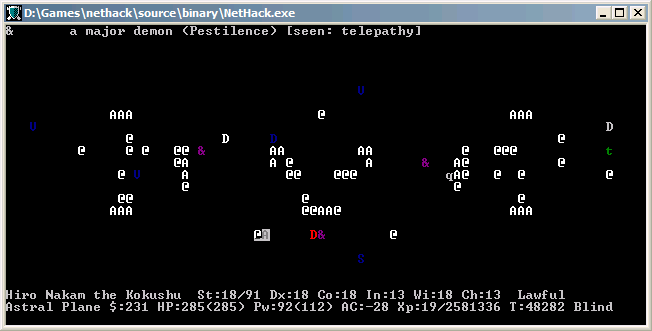
Pestilence!
Pestilence, as you can see, has his illness-inducing attack. The real problem is that every single one of his attacks induces illness, and if you're already ill when he attacks, the turns-to-live counter gets divided by 3. That's bad news. Now's a good time to review all our methods of curing disease.
Not to say that you should quaff a potion of full healing every time you get diseased, but if you've been hit a few times by Pestilence in a row, you might not want to use the unicorn horn to cure your disease.code:
Reliable methods: blessed potion of healing noncursed potion of extra healing/full healing spell of cure sickness eucalyptus leaf prayer holy water (if non-chaotic) Unreliable methods: unicorn horn (blessed is ~72% chance)
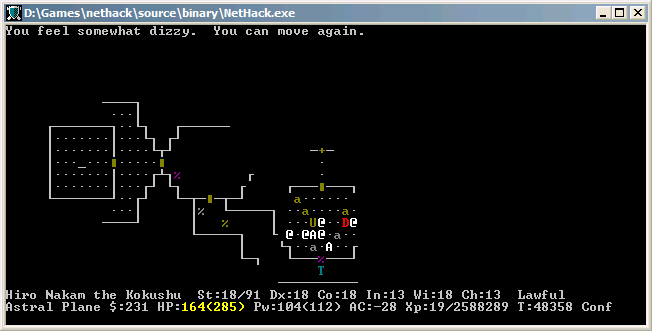
Of course, Hiro gets lucky in his first turn with the unicorn horn and cures both the illness and the stun.
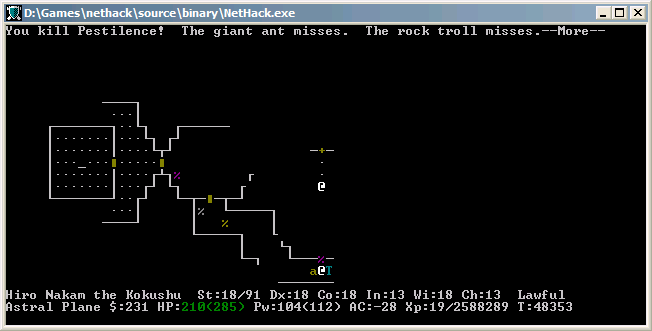
Then proceeds to smack him to death the very next turn. Guess that wasn't too bad either. If you're more desperate, don't forget you can use a wand of death.
I then get hit by a potion of paralysis and paralyzed for a few turns. This is why many people consider a ring of free action an important part of the ascension kit - with so many baddies beating down on you at the same time, those few paralyzed turns could mean death. Looks like I got lucky here though. If you have a ring of free action, you can also wield potions of paralysis and hit the Riders with them, which will stun them for a few turns and let you kill them/run away at your leisure.
Another thing that you should watch out for, which I didn't run into, is player monsters. Player monsters are other adventurers with the same goal as you, trying to #offer the Amulet of Yendor to their god - of course, since you have the real thing, they all get fake plastic imitations. They also get randomly generated with artifact weapons, which can include Vorpal Blade or the Tsurugi of Muramasa if you haven't already generated those. If you see a player monster wielding one of those, WATCH OUT! Decapitation/bisection on the Astral Plane is a terrible way to go.
Uh oh. Let's hope I don't need to do any more #jumping anytime soon. Those two fellows between me and the door are about to get a nice helping of teleportation next turn.
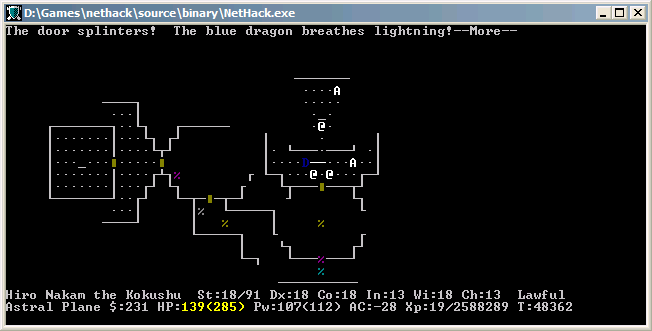
Instead of using the two turns it takes to unlock and open the door, it's usually easier to just zap it. Wands of lightning (shown here), fire, ice, striking, or digging will all instantly destroy doors.
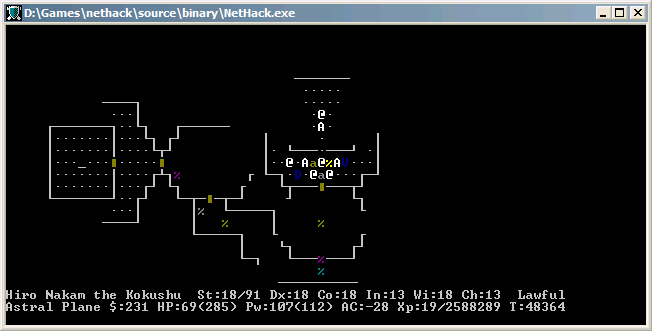
I almost didn't notice it, probably because HPMon decided to break for some reason or another, but I'm at 69 HP. Yipes.
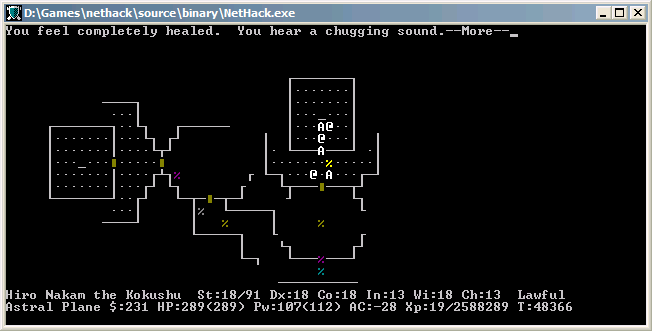
That's better.